Hello friends! Smitha here continuing the organization ideas with a few DIY Watercolor Labels today.
For a really long time in our household, it felt as if I was always cleaning and reorganizing. Constantly. I would make bins, tubs, buy cute boxes for things and yet nothing actually was put away where they belonged. Until I started labeling that is!
Now whenever I reorganize the kitchen or office, I always label everything. That way everyone in the house (and not just me!) know where to put everything back.
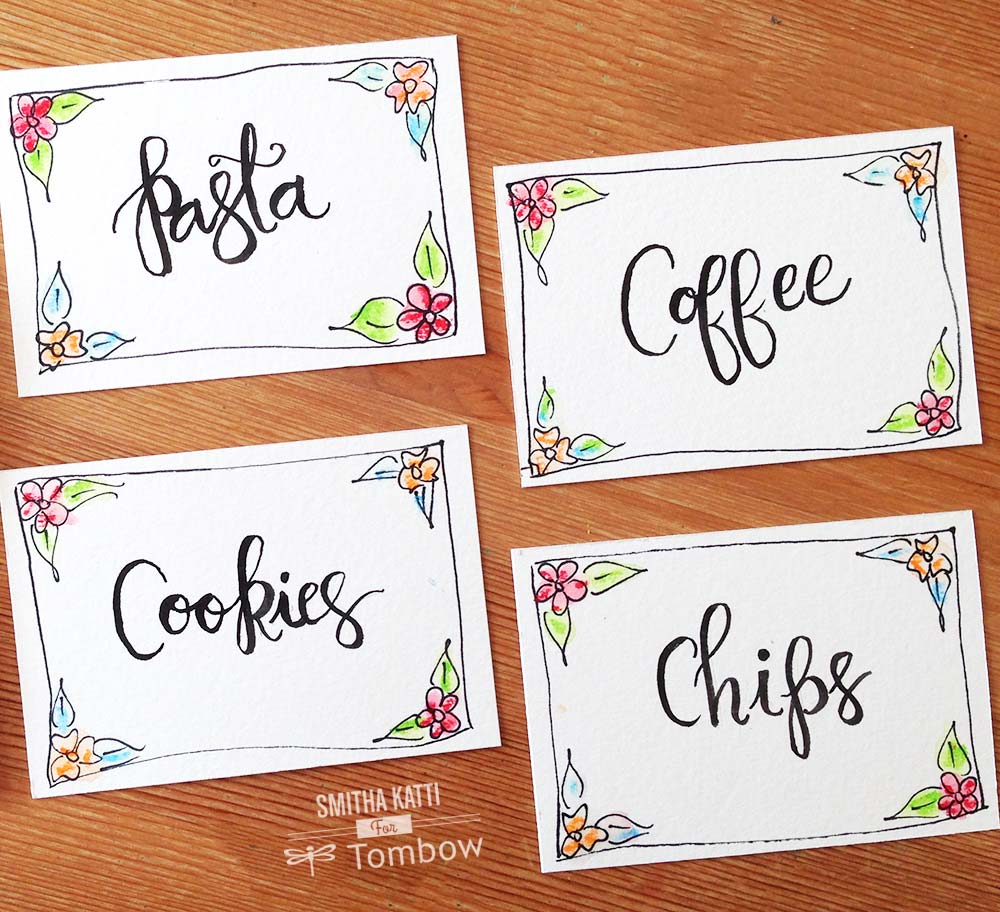
And when I get the time, I love to make my labels look pretty, and today I will show you how I made these labels in a few quick steps.
Step 1:
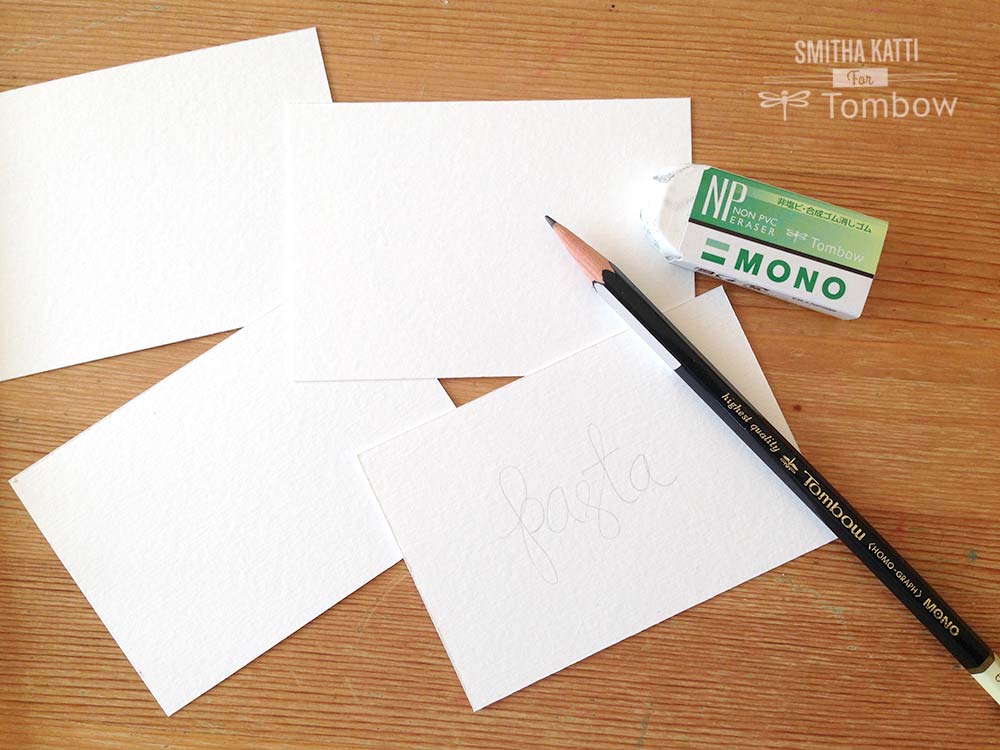
Trim watercolor paper to your required label size and pencil in your words. I am still a beginner at lettering and pencilling with a light Mono Drawing pencil 6H before inking the words works great for me. I later erase the pencil lines with the Mono NP eraser.
Step 2:
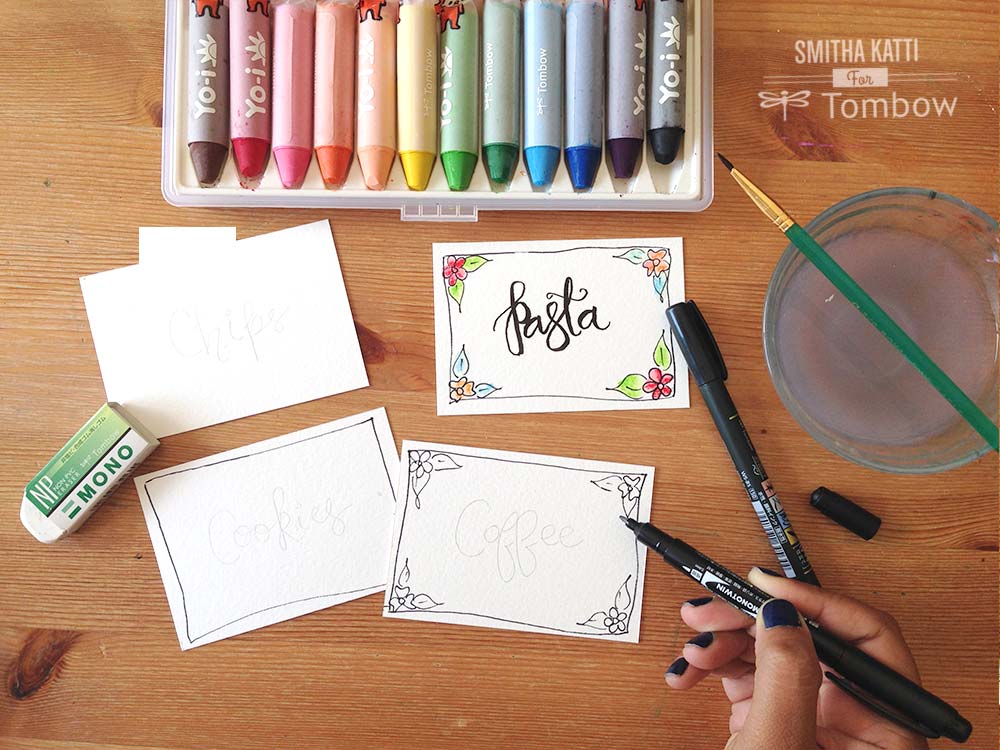
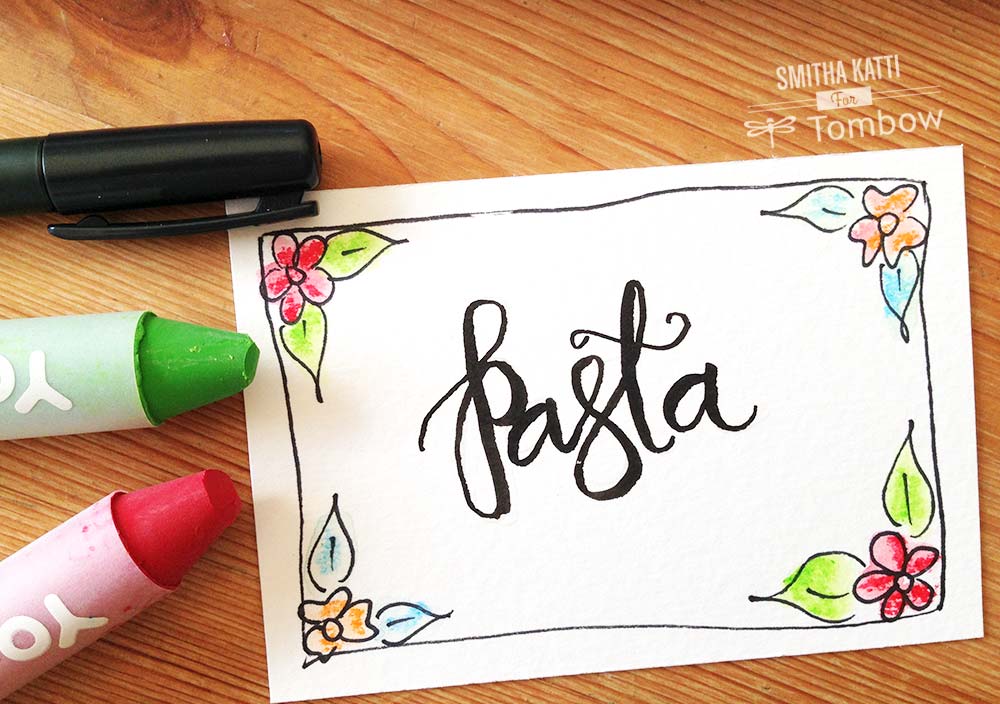
Using the Mono Twin Permanent Marker, doodle a black border all around, the wonkier the lines the better! Also add a few flowers and leaves.
Step 3:
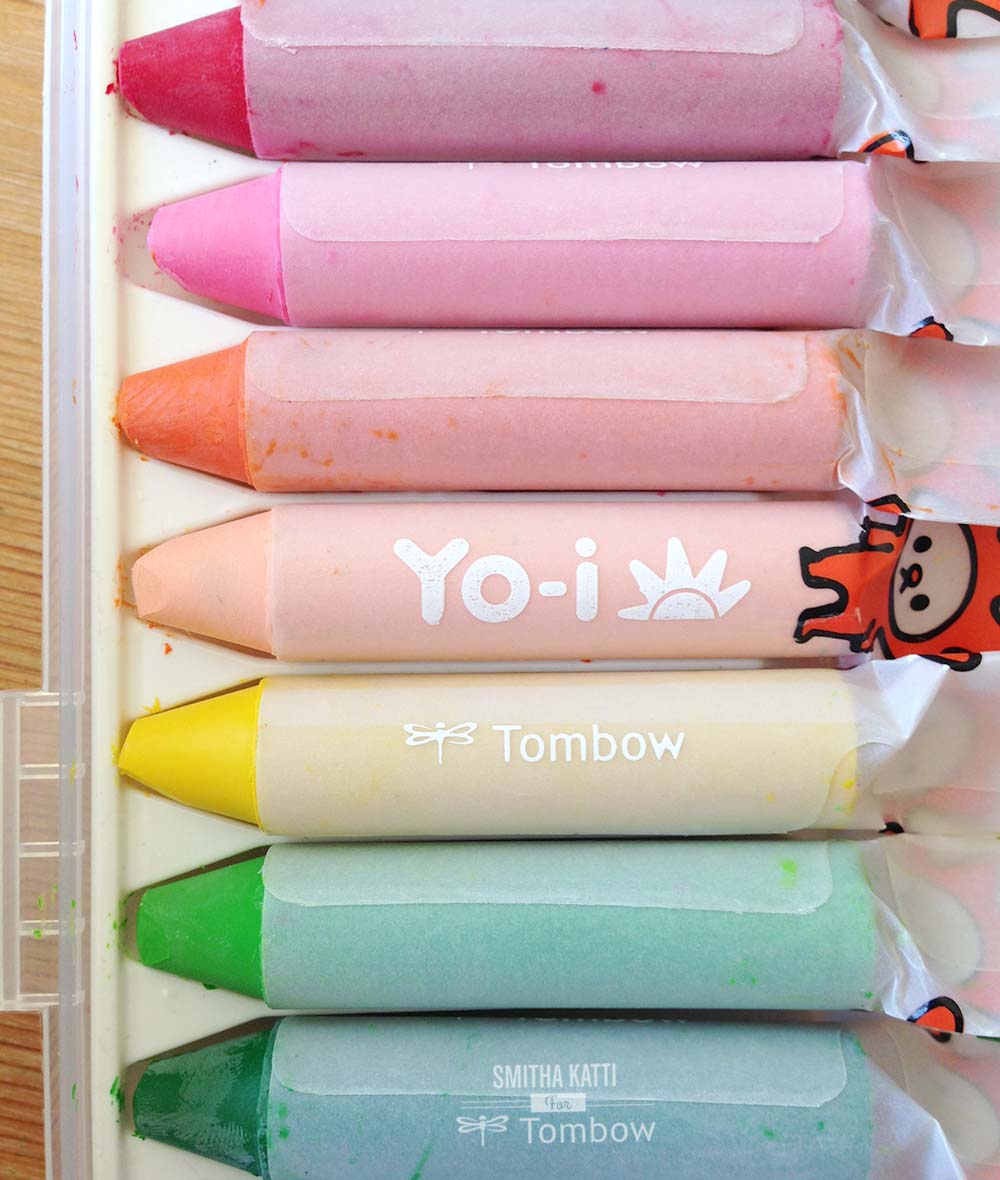
Color in the doodled flowers with watercolors. I used these Yo-i watercolor crayons to add bits of color and then moved the color around with a damp paint brush.
Step 4:
Letter in your label word with the Tombow Fudenosuke brush pen and don’t forget to erase any pencil lines seen afterwards!
Step 5:
Last step is to adhere the labels to your bins, I like to use Adhesive Dots on the back of the labels- easy to see those dots on white paper!

And that’s it! Time to pretty up your organizing!
