Glitter Holiday Cards
Hello lovelies, Serena here with a quick glitter holiday cards tutorial! Easy to make in bulk for your holiday cards this year! Let’s get started!
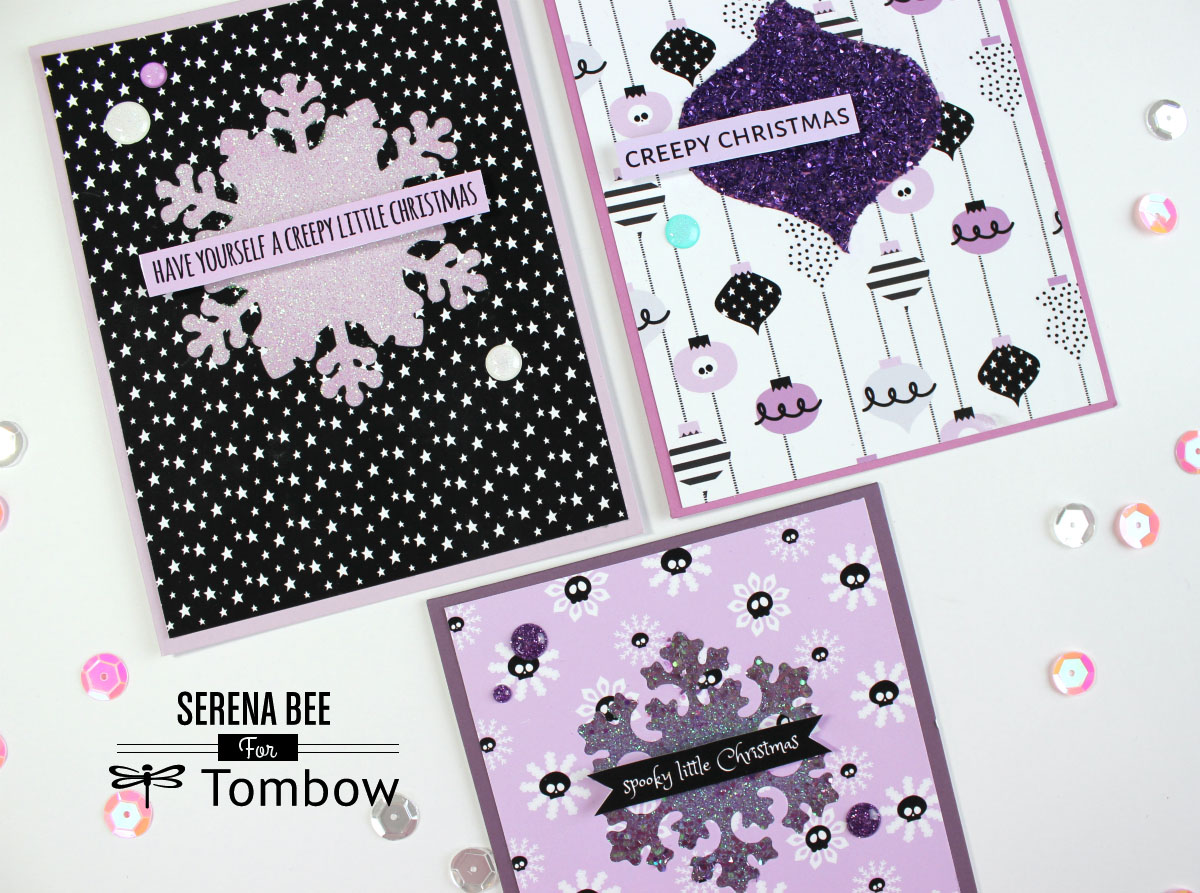
Begin by gathering your supplies:
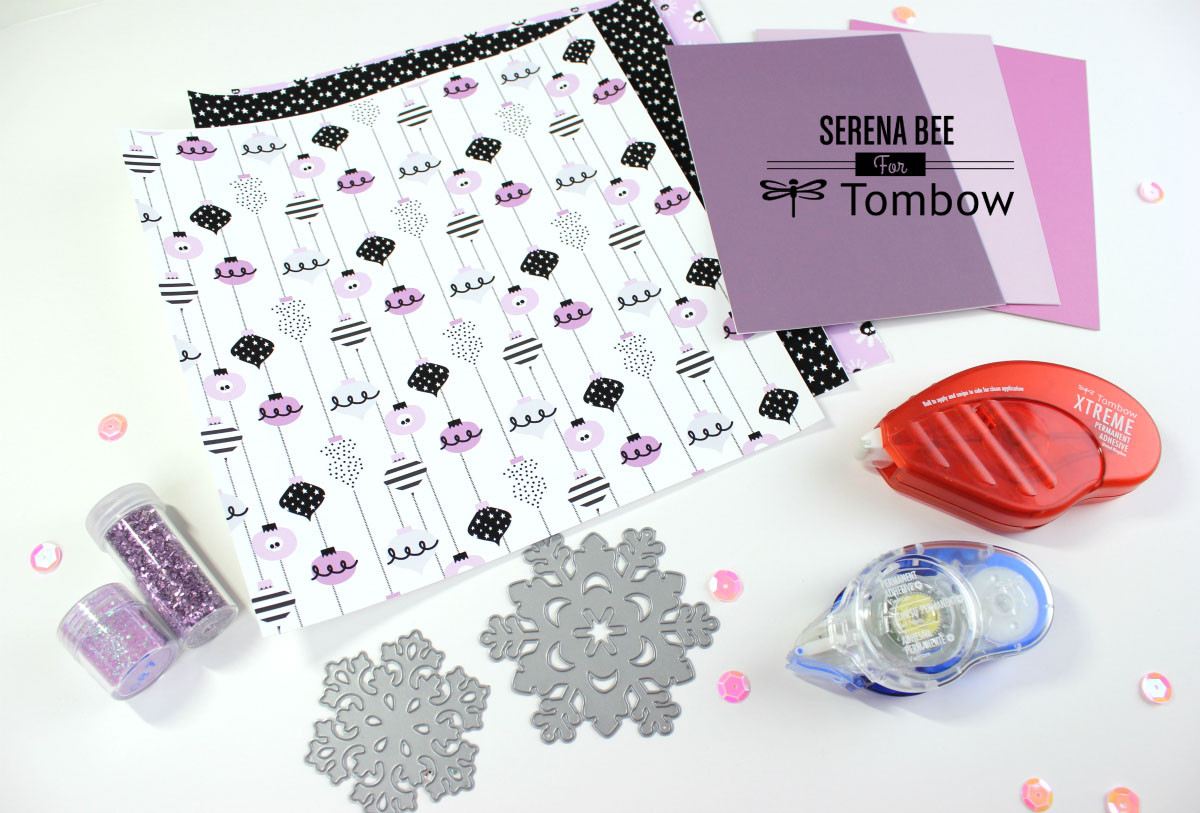
You will need:
- Pattern paper, I used my new Creepy Xmas digital 8×8 paper collection available on Nov 25th!
- glitter
- holiday dies or cut files on your electronic cutting machine
- card bases
- Tombow Xtreme Adhesive
- Tombow Mono Adhesive + Permanent
- Tombow Mono Drawing Pencil
- Tombow 3D Foam Tabs
Step 1:
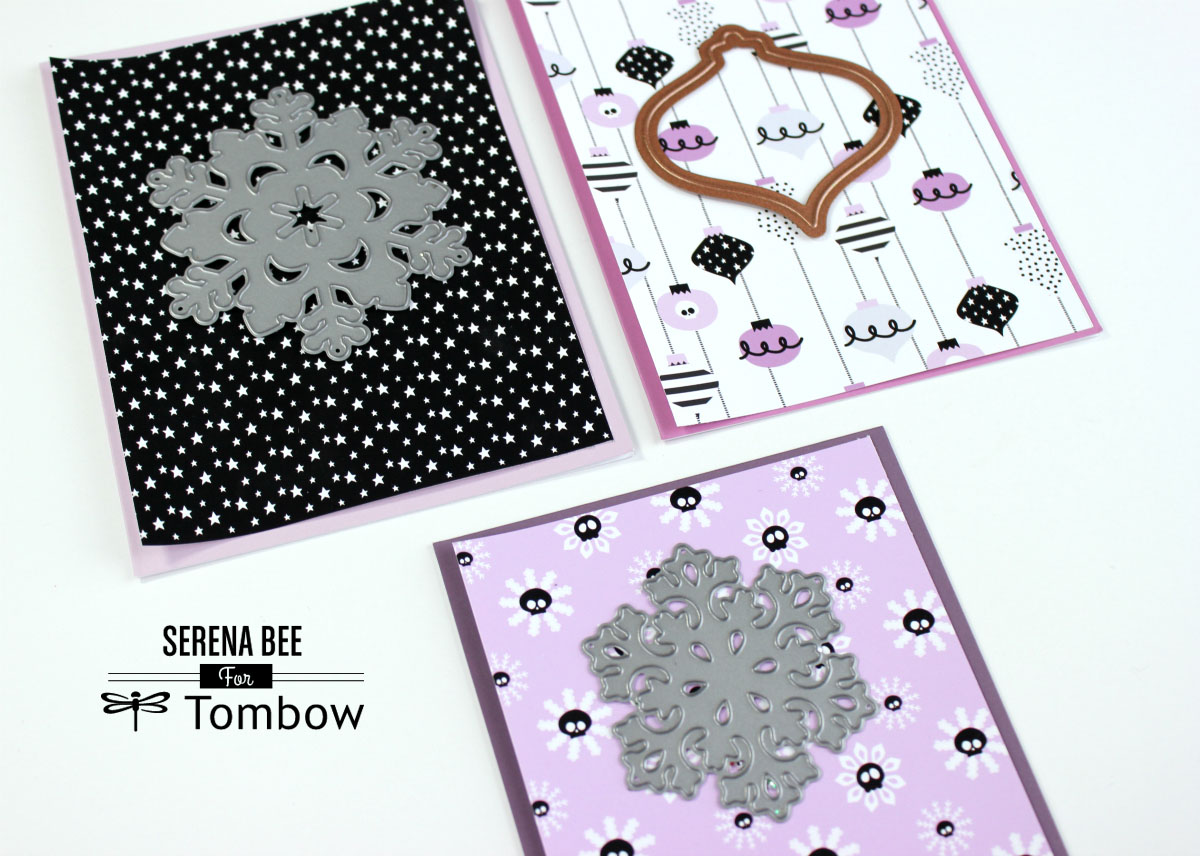
Using your Tombow Mono Drawing Pencil mark off where you need to cut on your papers and use your paper trimmer to cut down all your card fronts.
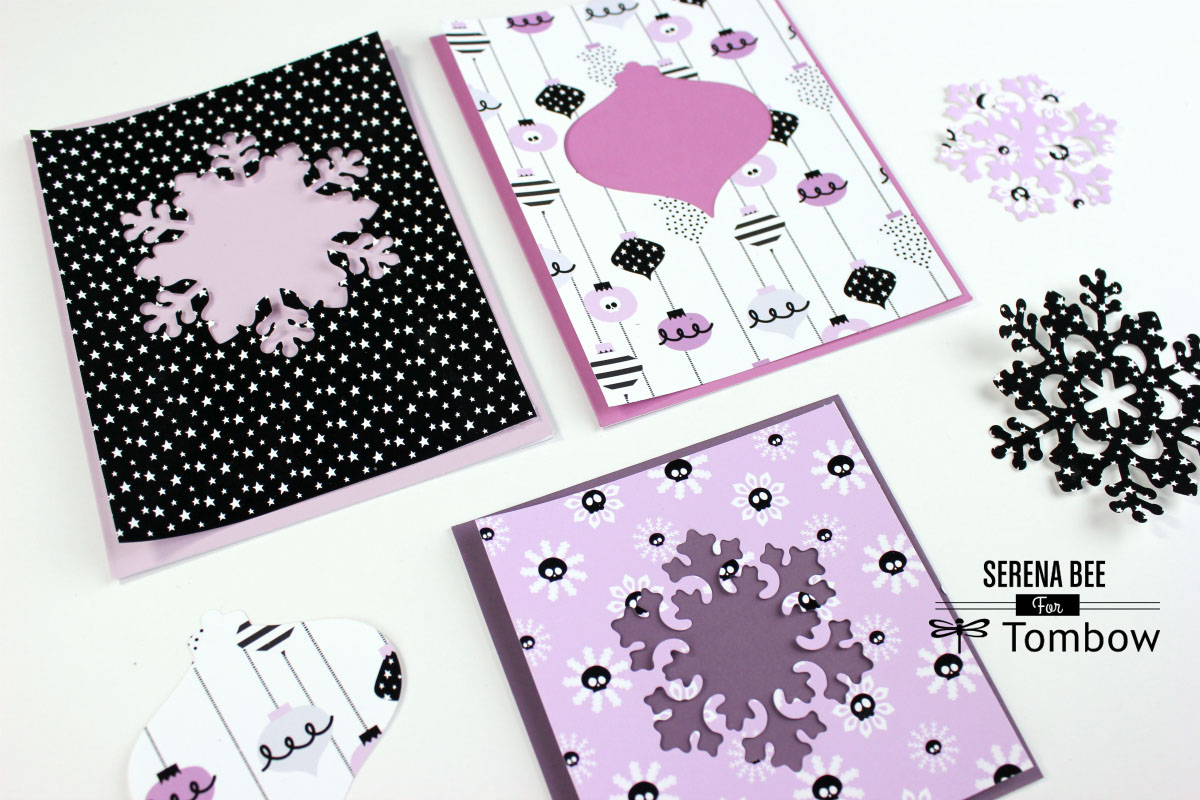
Next, Place your dies in the center of your card fronts. Take them to your manual die cutting machine and cut out the shapes. You can put a side the cut outs from your dies and save them for a later project!
Step 2:
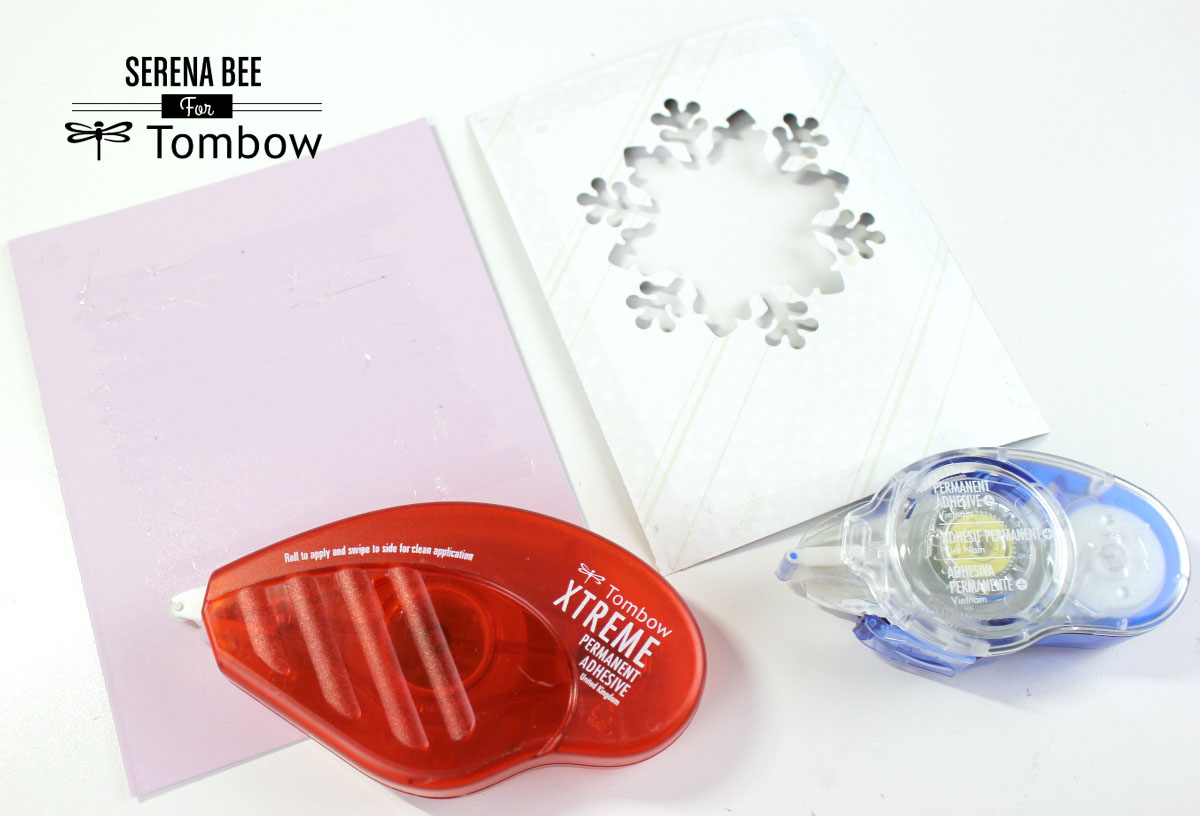
Use your Tombow Mono Adhesive + Permanent to add a clean application of adhesive to the edges of your card fronts. With the instant start mechanism you can add a smooth coat of adhesive right along the edges for a permanent bond.
Next, using your Tombow Mono Drawing Pencil, mark off where you need to add the Tombow Xtreme Adhesive to the center of your cards. Apply a generous coat of Xtreme Adhesive, making sure to reach all the markings you made.
Step 3:
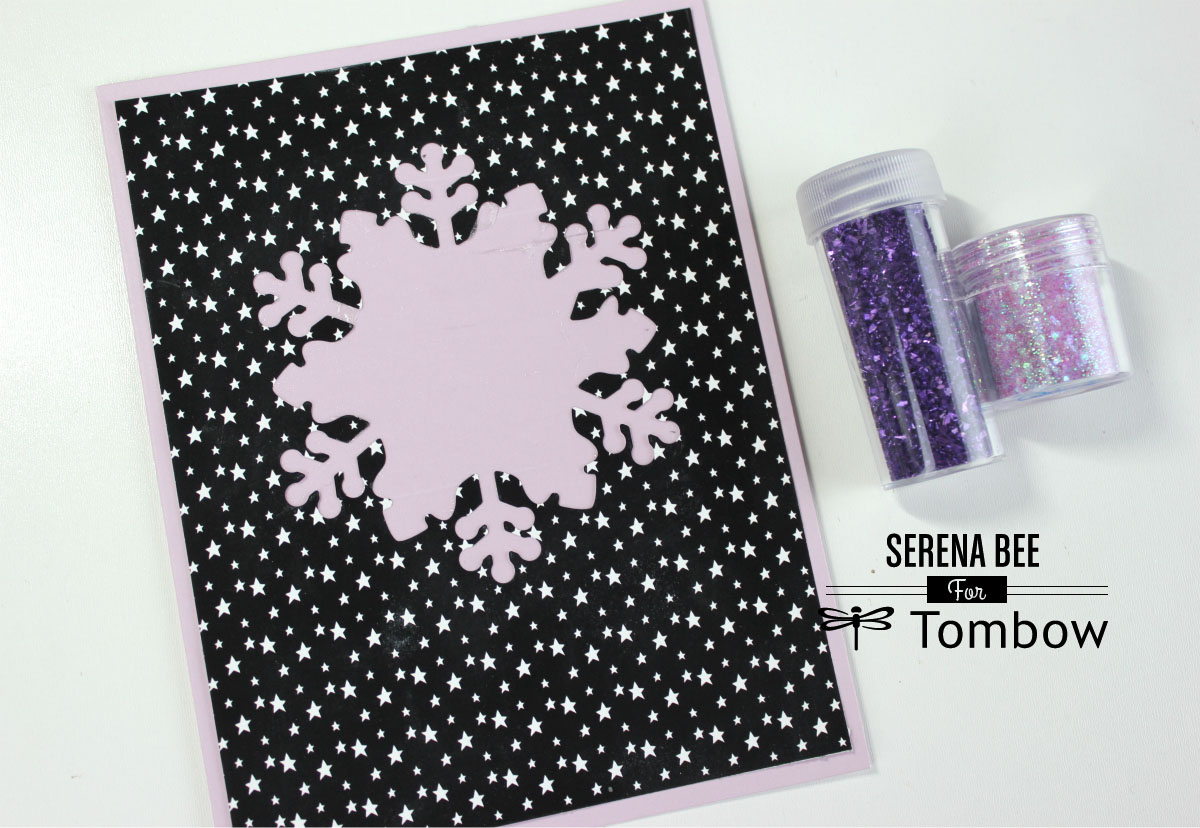
Apply your card front to your card base . Treat the front of the cards with an anti-static powder tool or use a dryer sheet to prevent the extra glitter from sticking to your papers.
And now the fun part! Let’s play with some glitter!
Apply the glitter to the Tombow Xtreme Adhesive in the center of your die cut shape. Press firmly with your finger to make sure you cover up all the adhesive with glitter. This is actually quite fun to do and something you can do with your family.
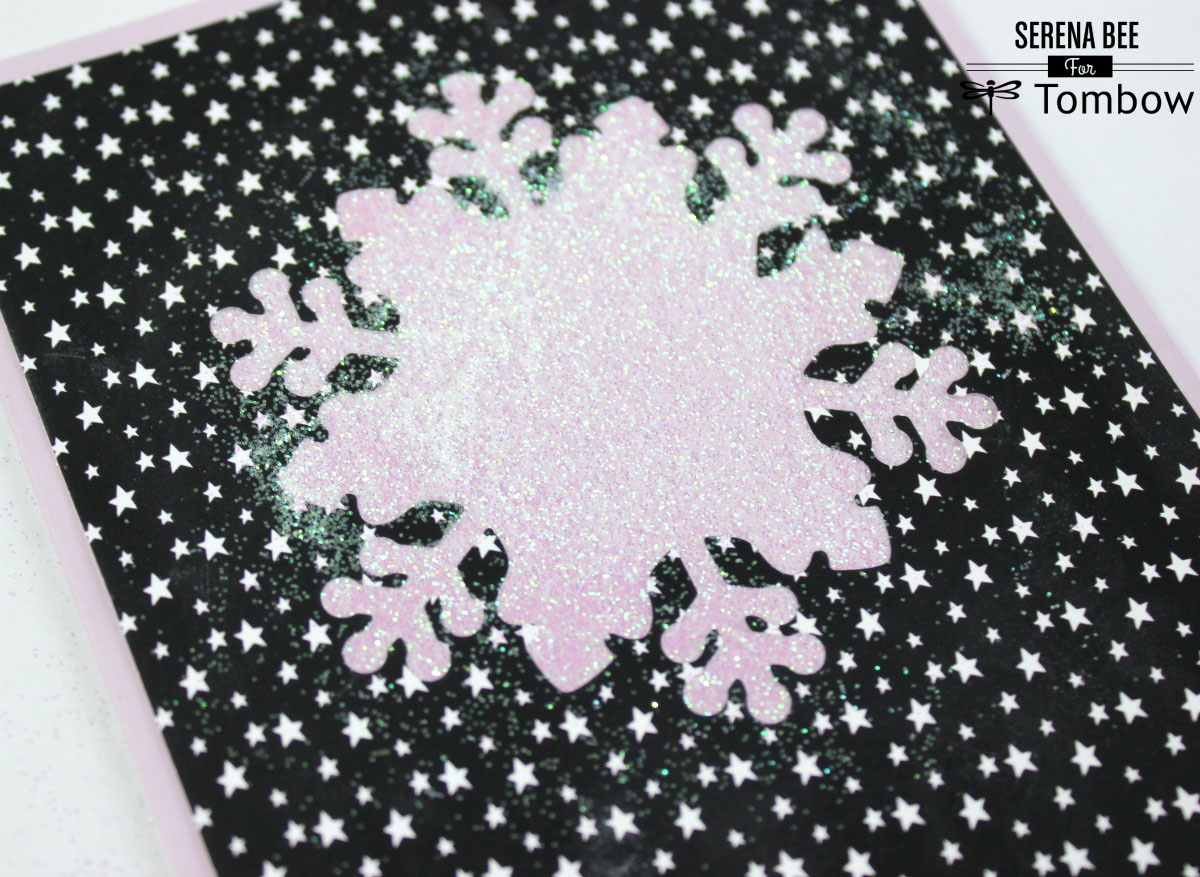
Continue these steps for the rest of your cards.
Step 4:
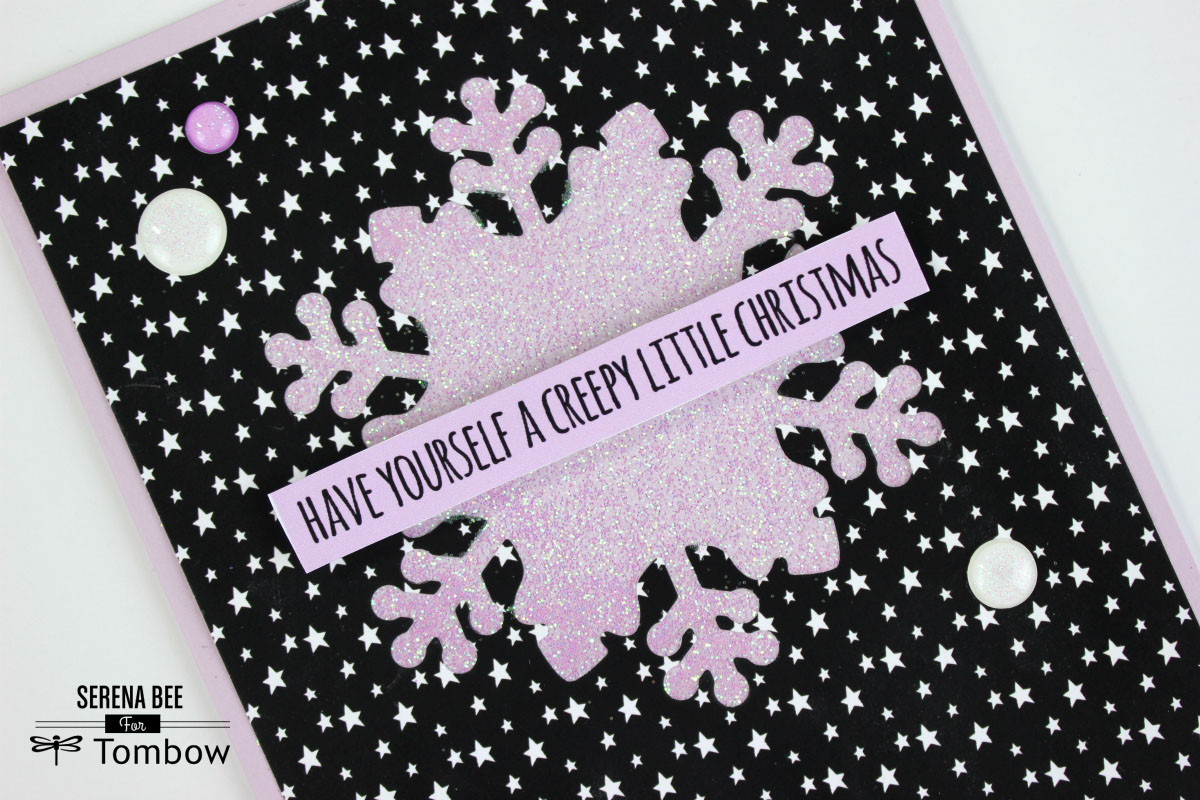
You can leave the cards as is but for further decoration, I decided to add sentiments and enamel dots to finish up my cards! Using the Tombow 3D Foam Tabs, pop up your sentiments on top of the glittered die cut area.
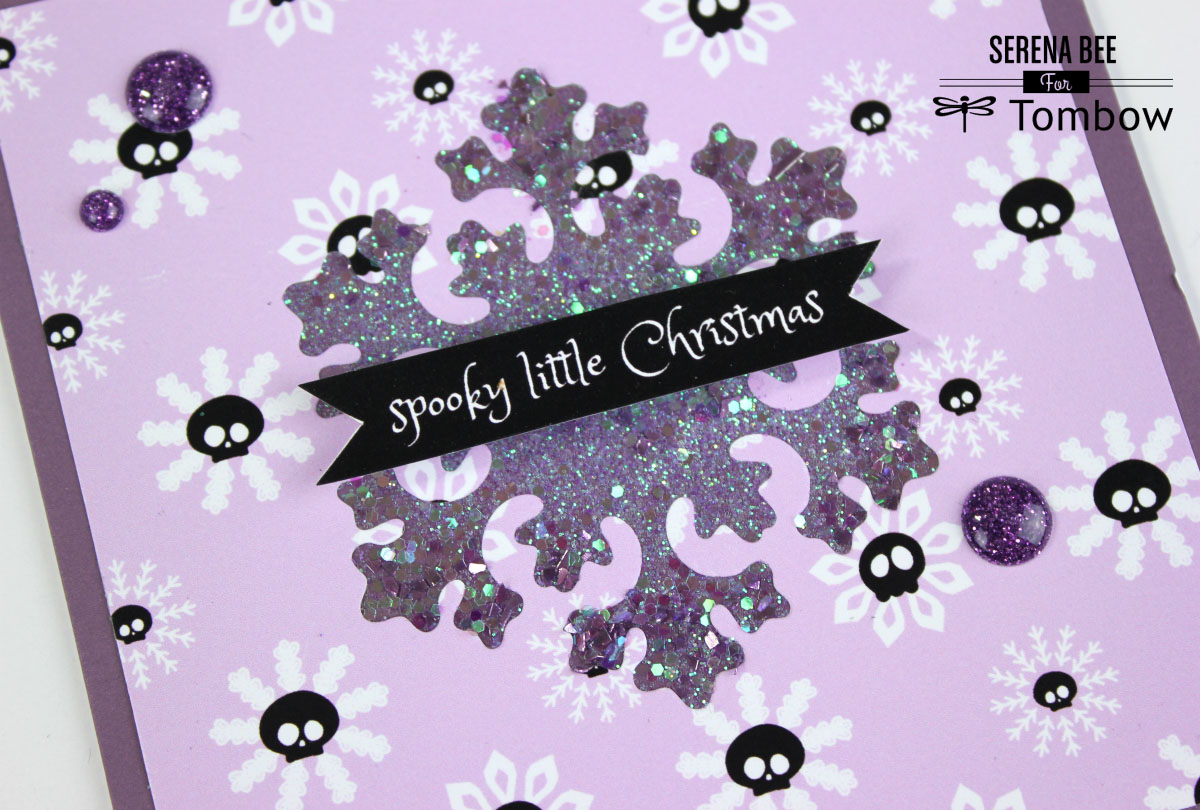
You can use all sorts of glitter and sizes! You can still see the color of the card base through the glitter which I personally love!
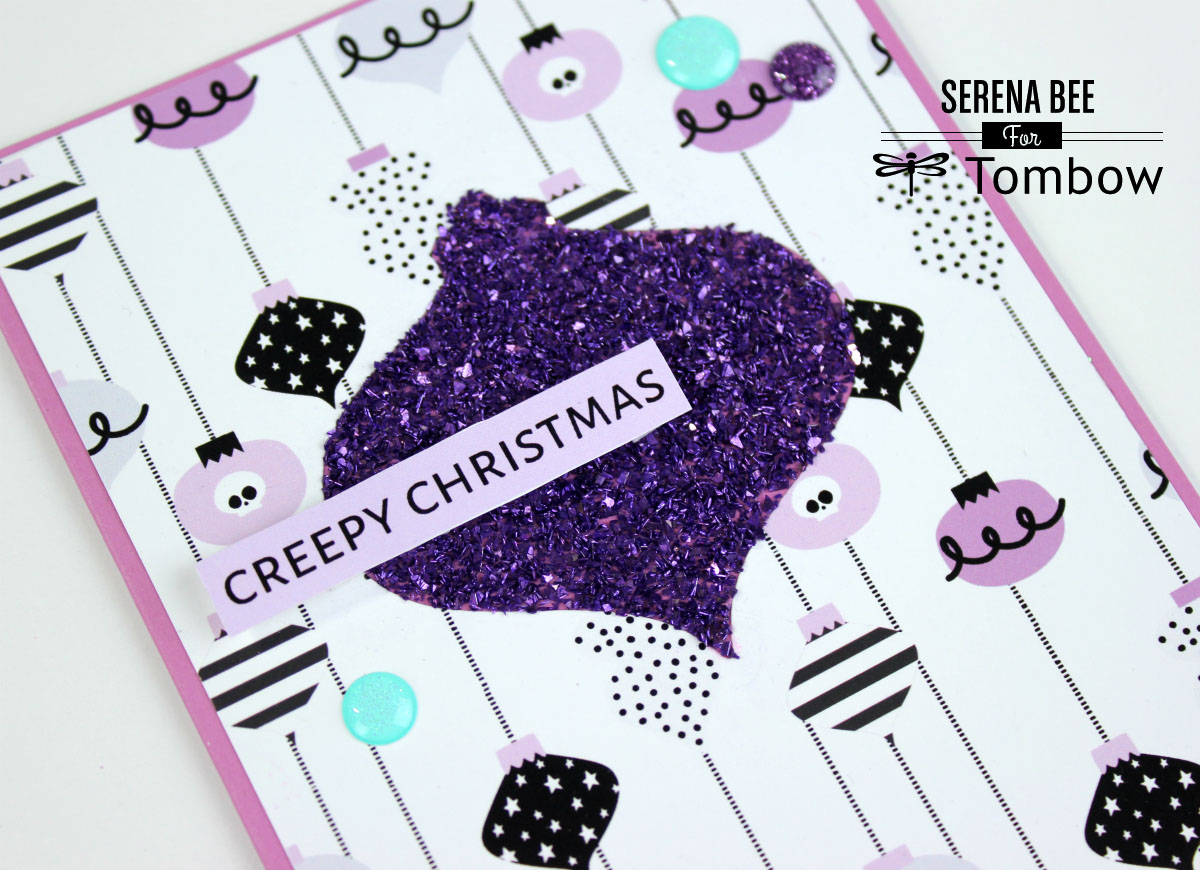
For this card I used crushed glass glitter and it creates such an amazing dimensional effect.
Thanks for stopping by today! I hope you enjoyed this glitter holiday cards tutorial!
If you like the Creepy Xmas collection I used you can check it out on Friday November 25th when I launch my 3 new holiday collections!
As always I’d love to see your holiday card projects! Tag me on Instagram @seresbee and use the hastag #inspiredbyserenabee!
Happy Wednesday!