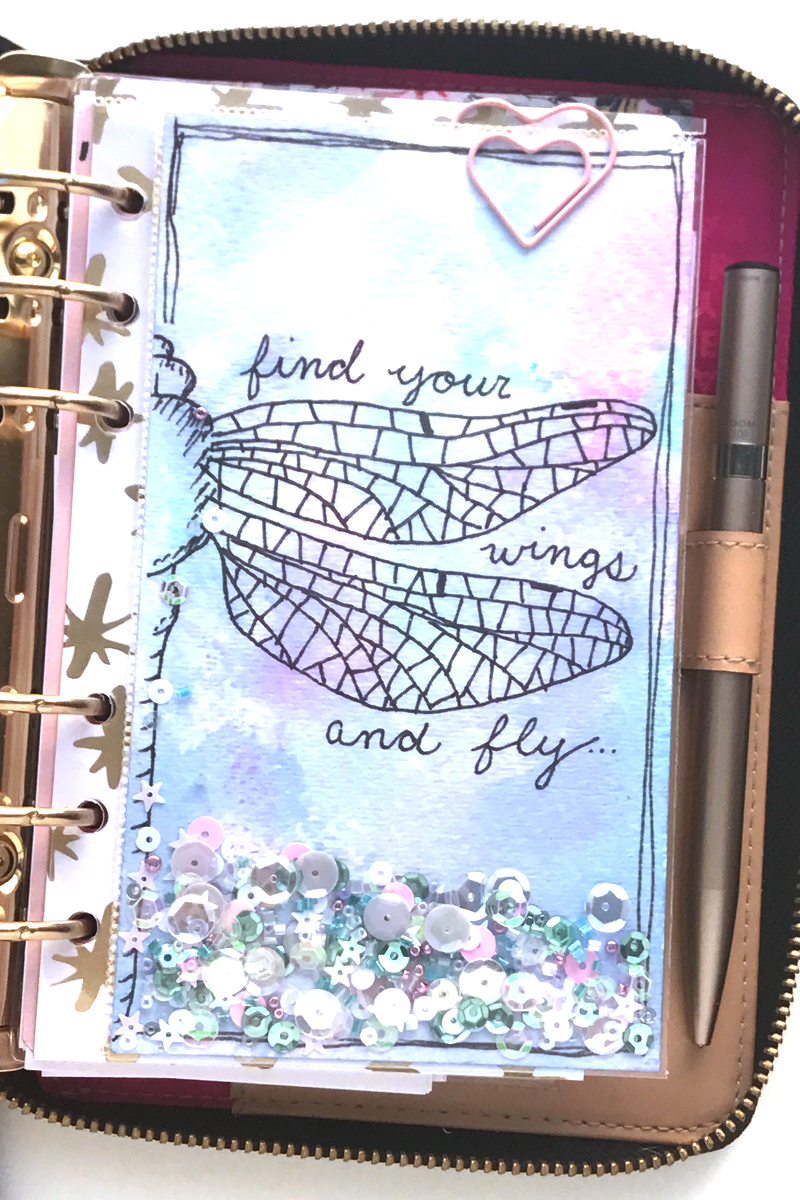
Hi everyone! Dani from @popfizzpaper here with a tutorial showing you how to make your very own shaker dashboard for your planner. It’s Springtime, so that means it’s time to make a new Spring themed one for my planner. This shaker dashboard in particular features a dragonfly, which is perfect for today’s post because in Japanese, Tombow means dragonfly! Isn’t that cool? And because I’m a firm believer in sequins for all the seasons, we’re adding some sparkle! Let’s get started!
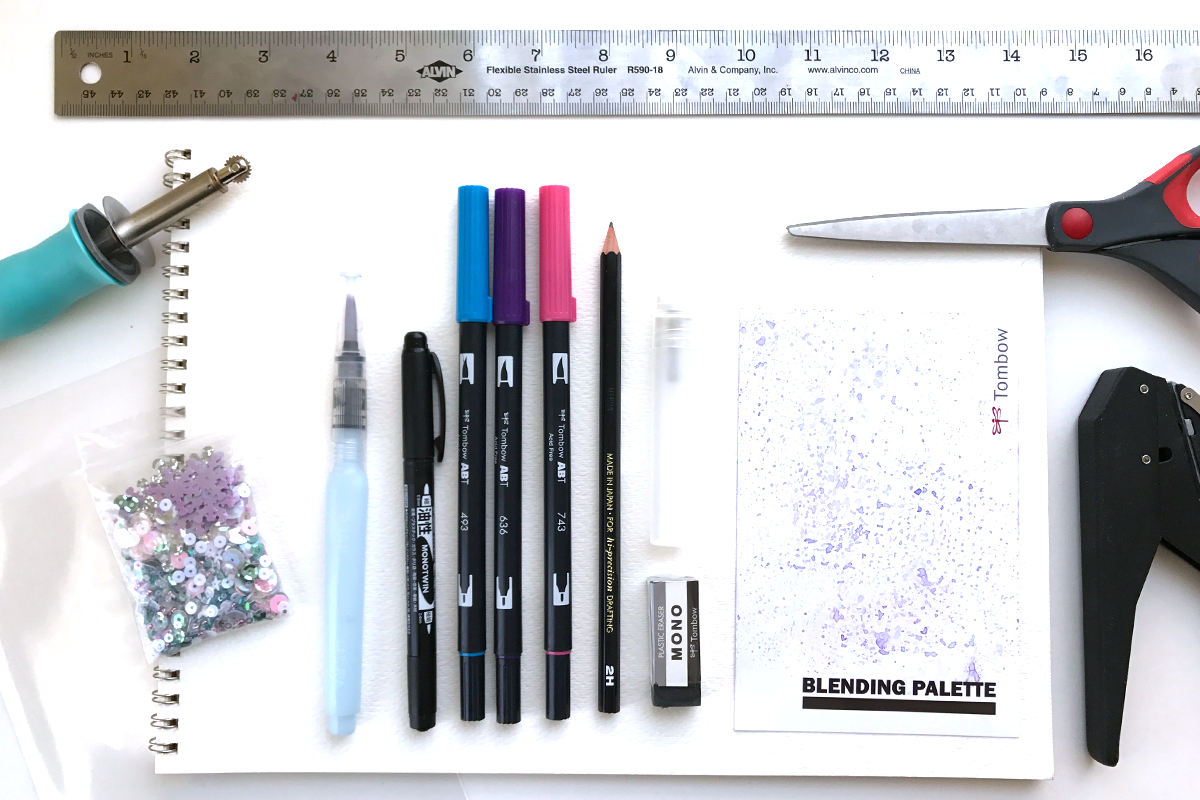
Supplies:
- Tombow Dual Brush Pens (493, 636, 743)
- Tombow Blending Kit
- Tombow MONO J Pencil in 2H
- Tombow MONO Eraser
- Tombow MONO Twin
- 3 3/4″ x 6 3/8″ piece of watercolor paper
- Waterbrush
- Plastic stamp storage sleeve that will fit your size dashboard
- Sequins (I’m using Papercakes ones!)
- Fusing tool
- Ruler
- Scissors
- Hole Punch
- Reference photo
Note:
The dashboard I’m making is for my personal size planner, but you can easily size this up or down for any size planner. Take one of your planner’s dividers and measure the height and width (not including any tabs). Then subtract a 1/4″ from the height measurement and 1/2″ from the width. This should give you a good starting point to play around with.
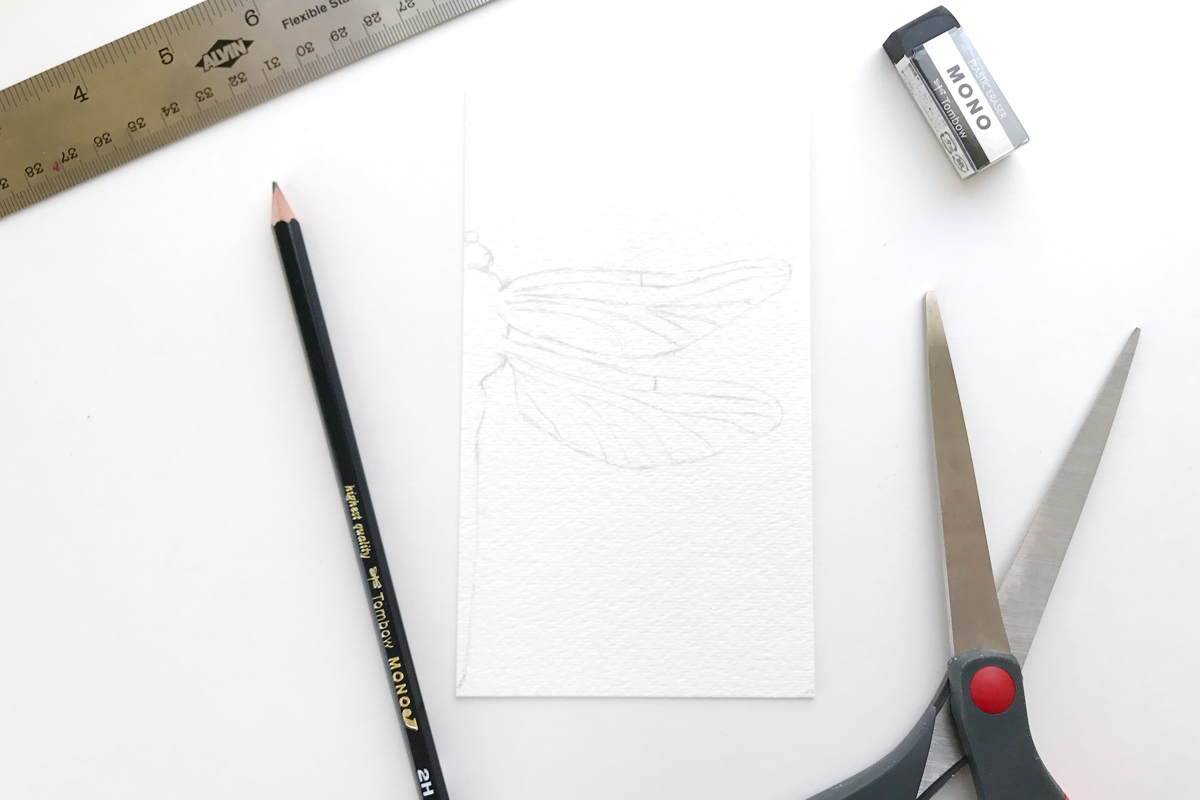
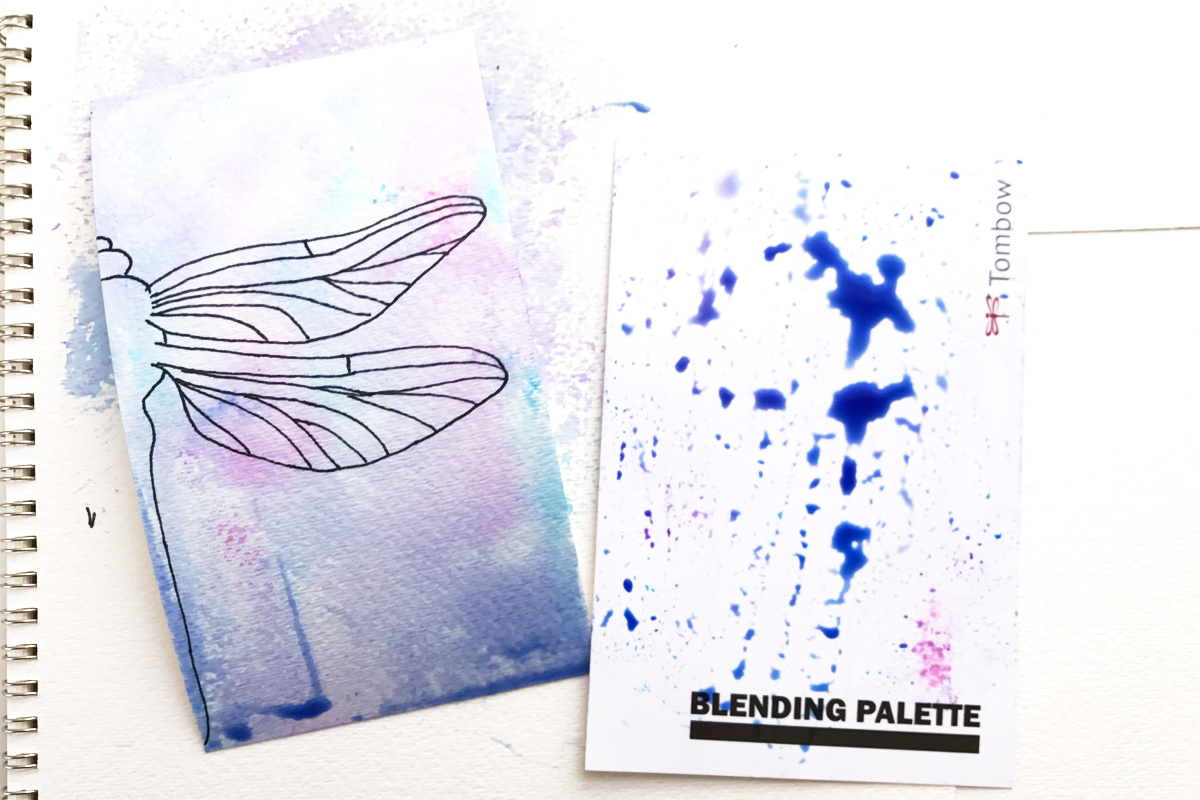
On your piece of watercolor paper, start sketching a dragonfly. For mine, I chose to do half of the dragonfly so it could be little larger and I could add more detail. I like using the Tombow MONO J 2H pencil because it’s great for sketching and you don’t have to use a super light hand with it. It also erases easily, especially with a Tombow MONO eraser.
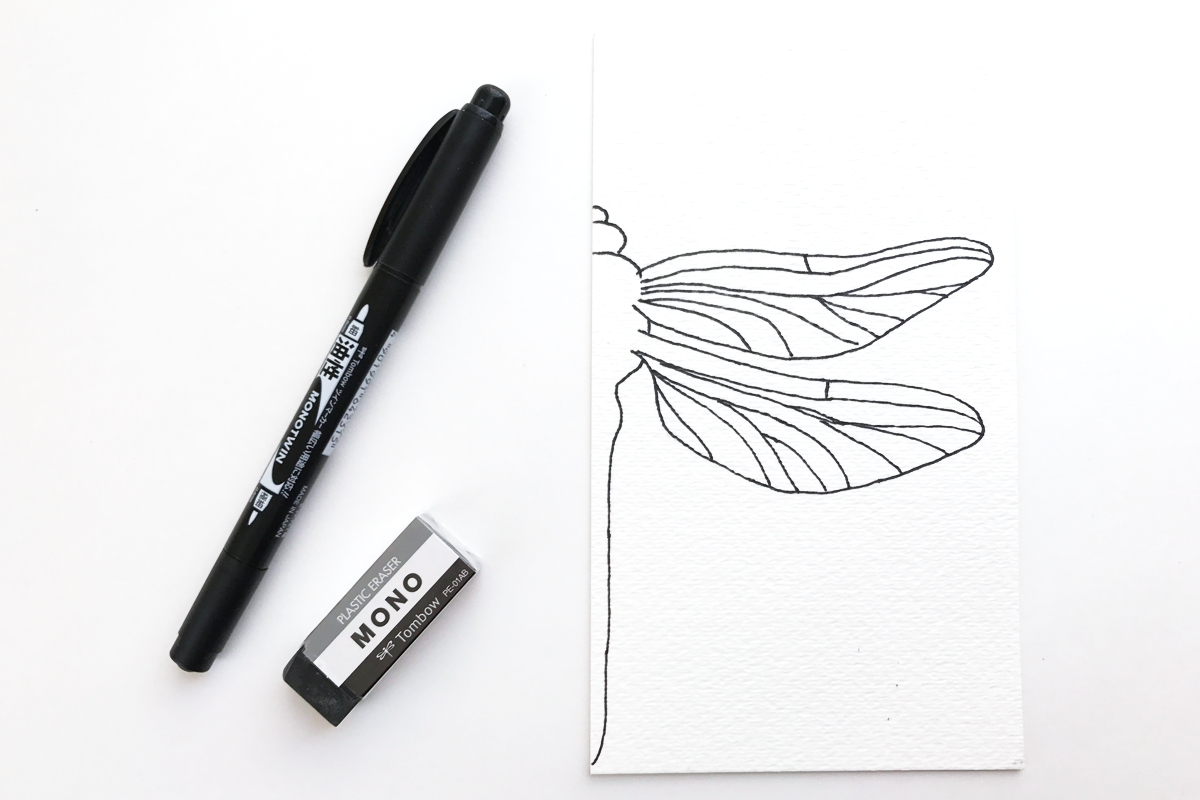
Next, get your Tombow MONO Twin marker and trace over your final sketch with the fine tip. This is my favorite pen for inking drawings!
Grab your Tombow Dual Brush Pens and draw big dashes of color on the Blending Palette. Take your spray bottle and spritz with a good amount of water.
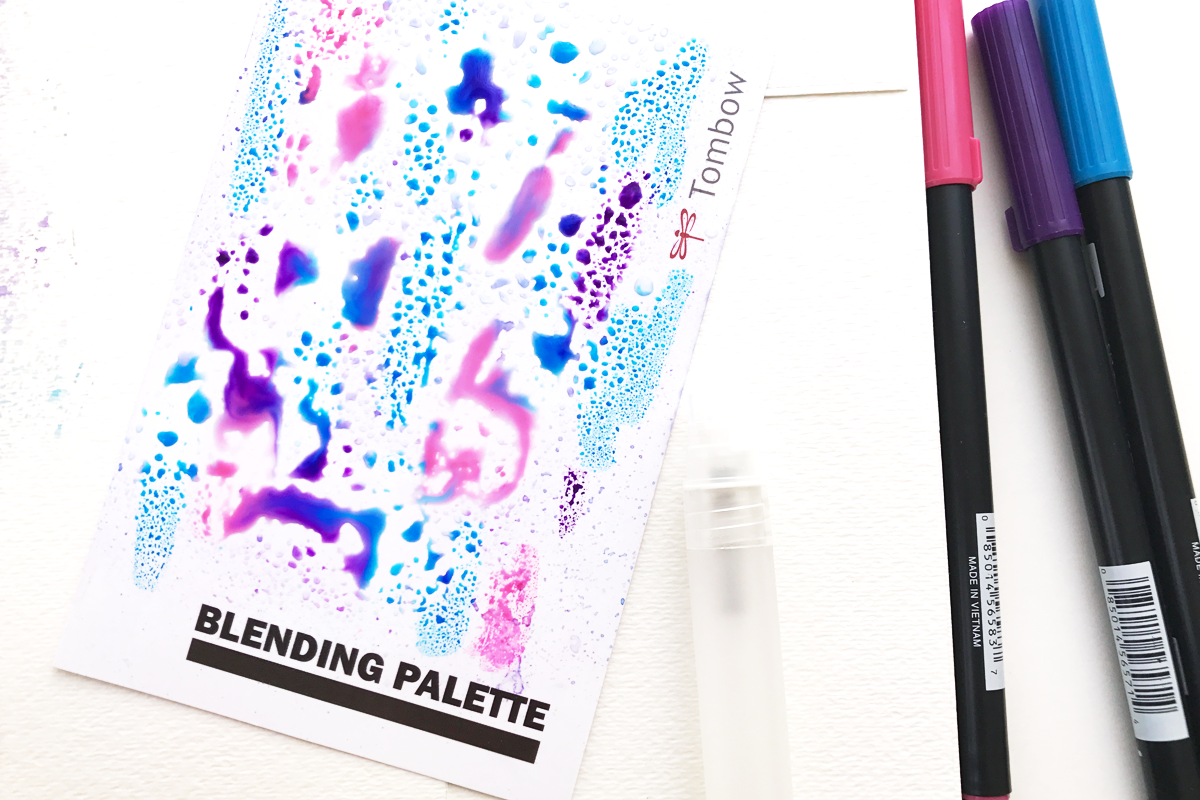
Take your watercolor paper piece and press it drawing side down onto the Blending Palette. You may have to do this a few times to make sure the whole paper is covered. Use a waterbrush to blend out any puddles of color, and if you have extra color left on your Blending Palette, why not also give the back side of your dashboard a pretty wash of color?
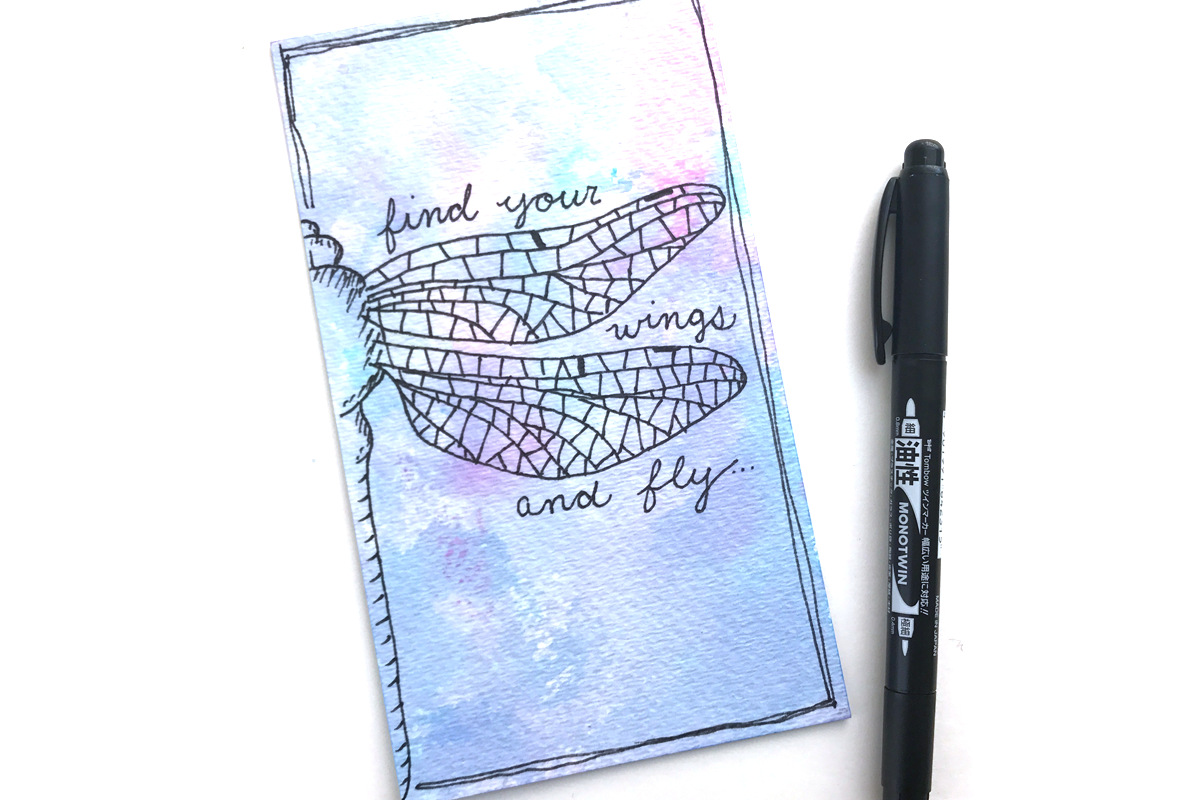
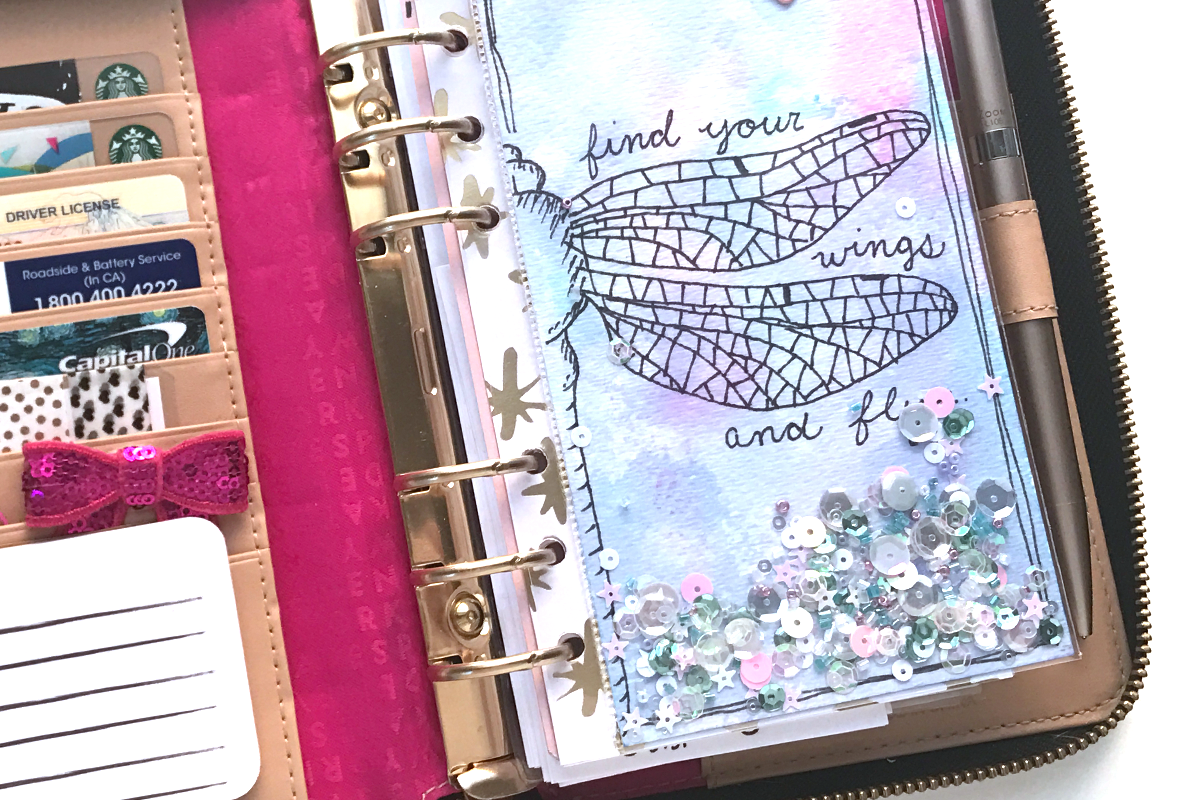
When your paper is dry, get your MONO Twin and add some extra detail! Add lines to the wings, a bit of contour to the edges of the dragonfly, and some quick lines around the edges of the paper to frame the image a bit. You can even add a quote!
Time to assemble the shaker portion of the project! Slide the finished watercolor paper piece into the stamp sleeve and make sure it lines up with the *right* side of the sleeve. You’ll need to leave the left side open so you can punch holes for your planner! Fuse up the long seam first, add your sequins, and then close up the top, as this will help keep the sequins for sliding all over the place.
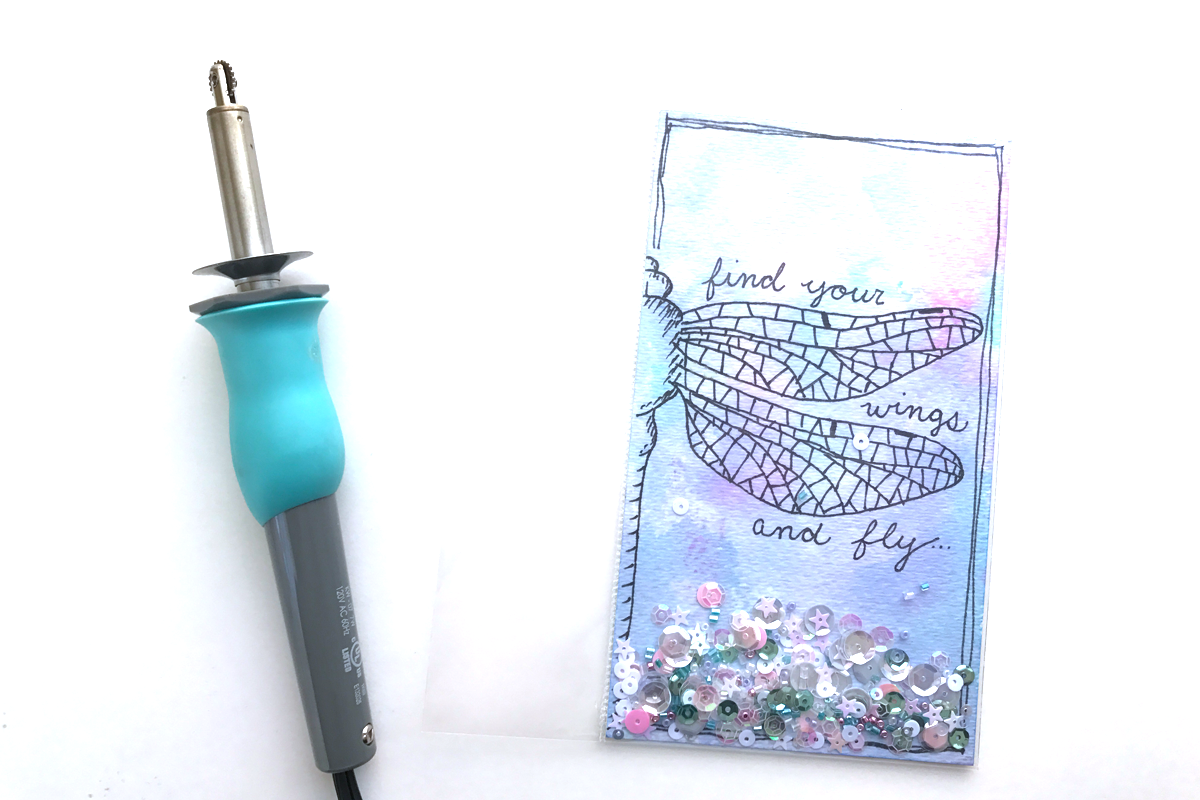
Finally, if you have a six hole punch you use for your planner, go ahead and punch the holes in the left side of the stamp sleeve. Or if you have a single hole punch, use a divider as a guide for where to punch. Trim off the excess plastic sleeve and put your new shaker dashboard into your planner!
And that is it! A fun way to add some sparkle to your planner. If you don’t use a planner, you can also create shaker pockets for happy mail, tags, and many different papercrafting projects, just don’t punch the holes at the end. Make sure to tag me on Instagram or YouTube if you create your own shaker dashboard – I would love to see!
Happy planning and I’ll see you next time, friends!
Dani
Pingback: DIY Foiled Marble Planner Cover with Tombow and Waffle Flower - Tombow USA Blog