Did you know National Scrapbook Day is coming up? This year it’s being celebrated on Saturday May 6 and the day is meant to encourage crafters to get out their scrapbooking materials to celebrate the hobby they love. This week, the Tombow Design Team is sharing projects using scrapbooking materials that were generously donated to us by our partners at DCWV, Paper House, Graphic 45, Amy Tangerine and Papercakes!
For this project, I’ll show you how to create scrapbook wall art by using papers, tools and embellishments from your scrapbook stash! I’m using gorgeous papers from DCWV and matching embellishments from Amy Tangerine to help make this beautiful piece. It was quick and easy to put together with Tombow Adhesives!
Step 1: Create scrapbook wall art base
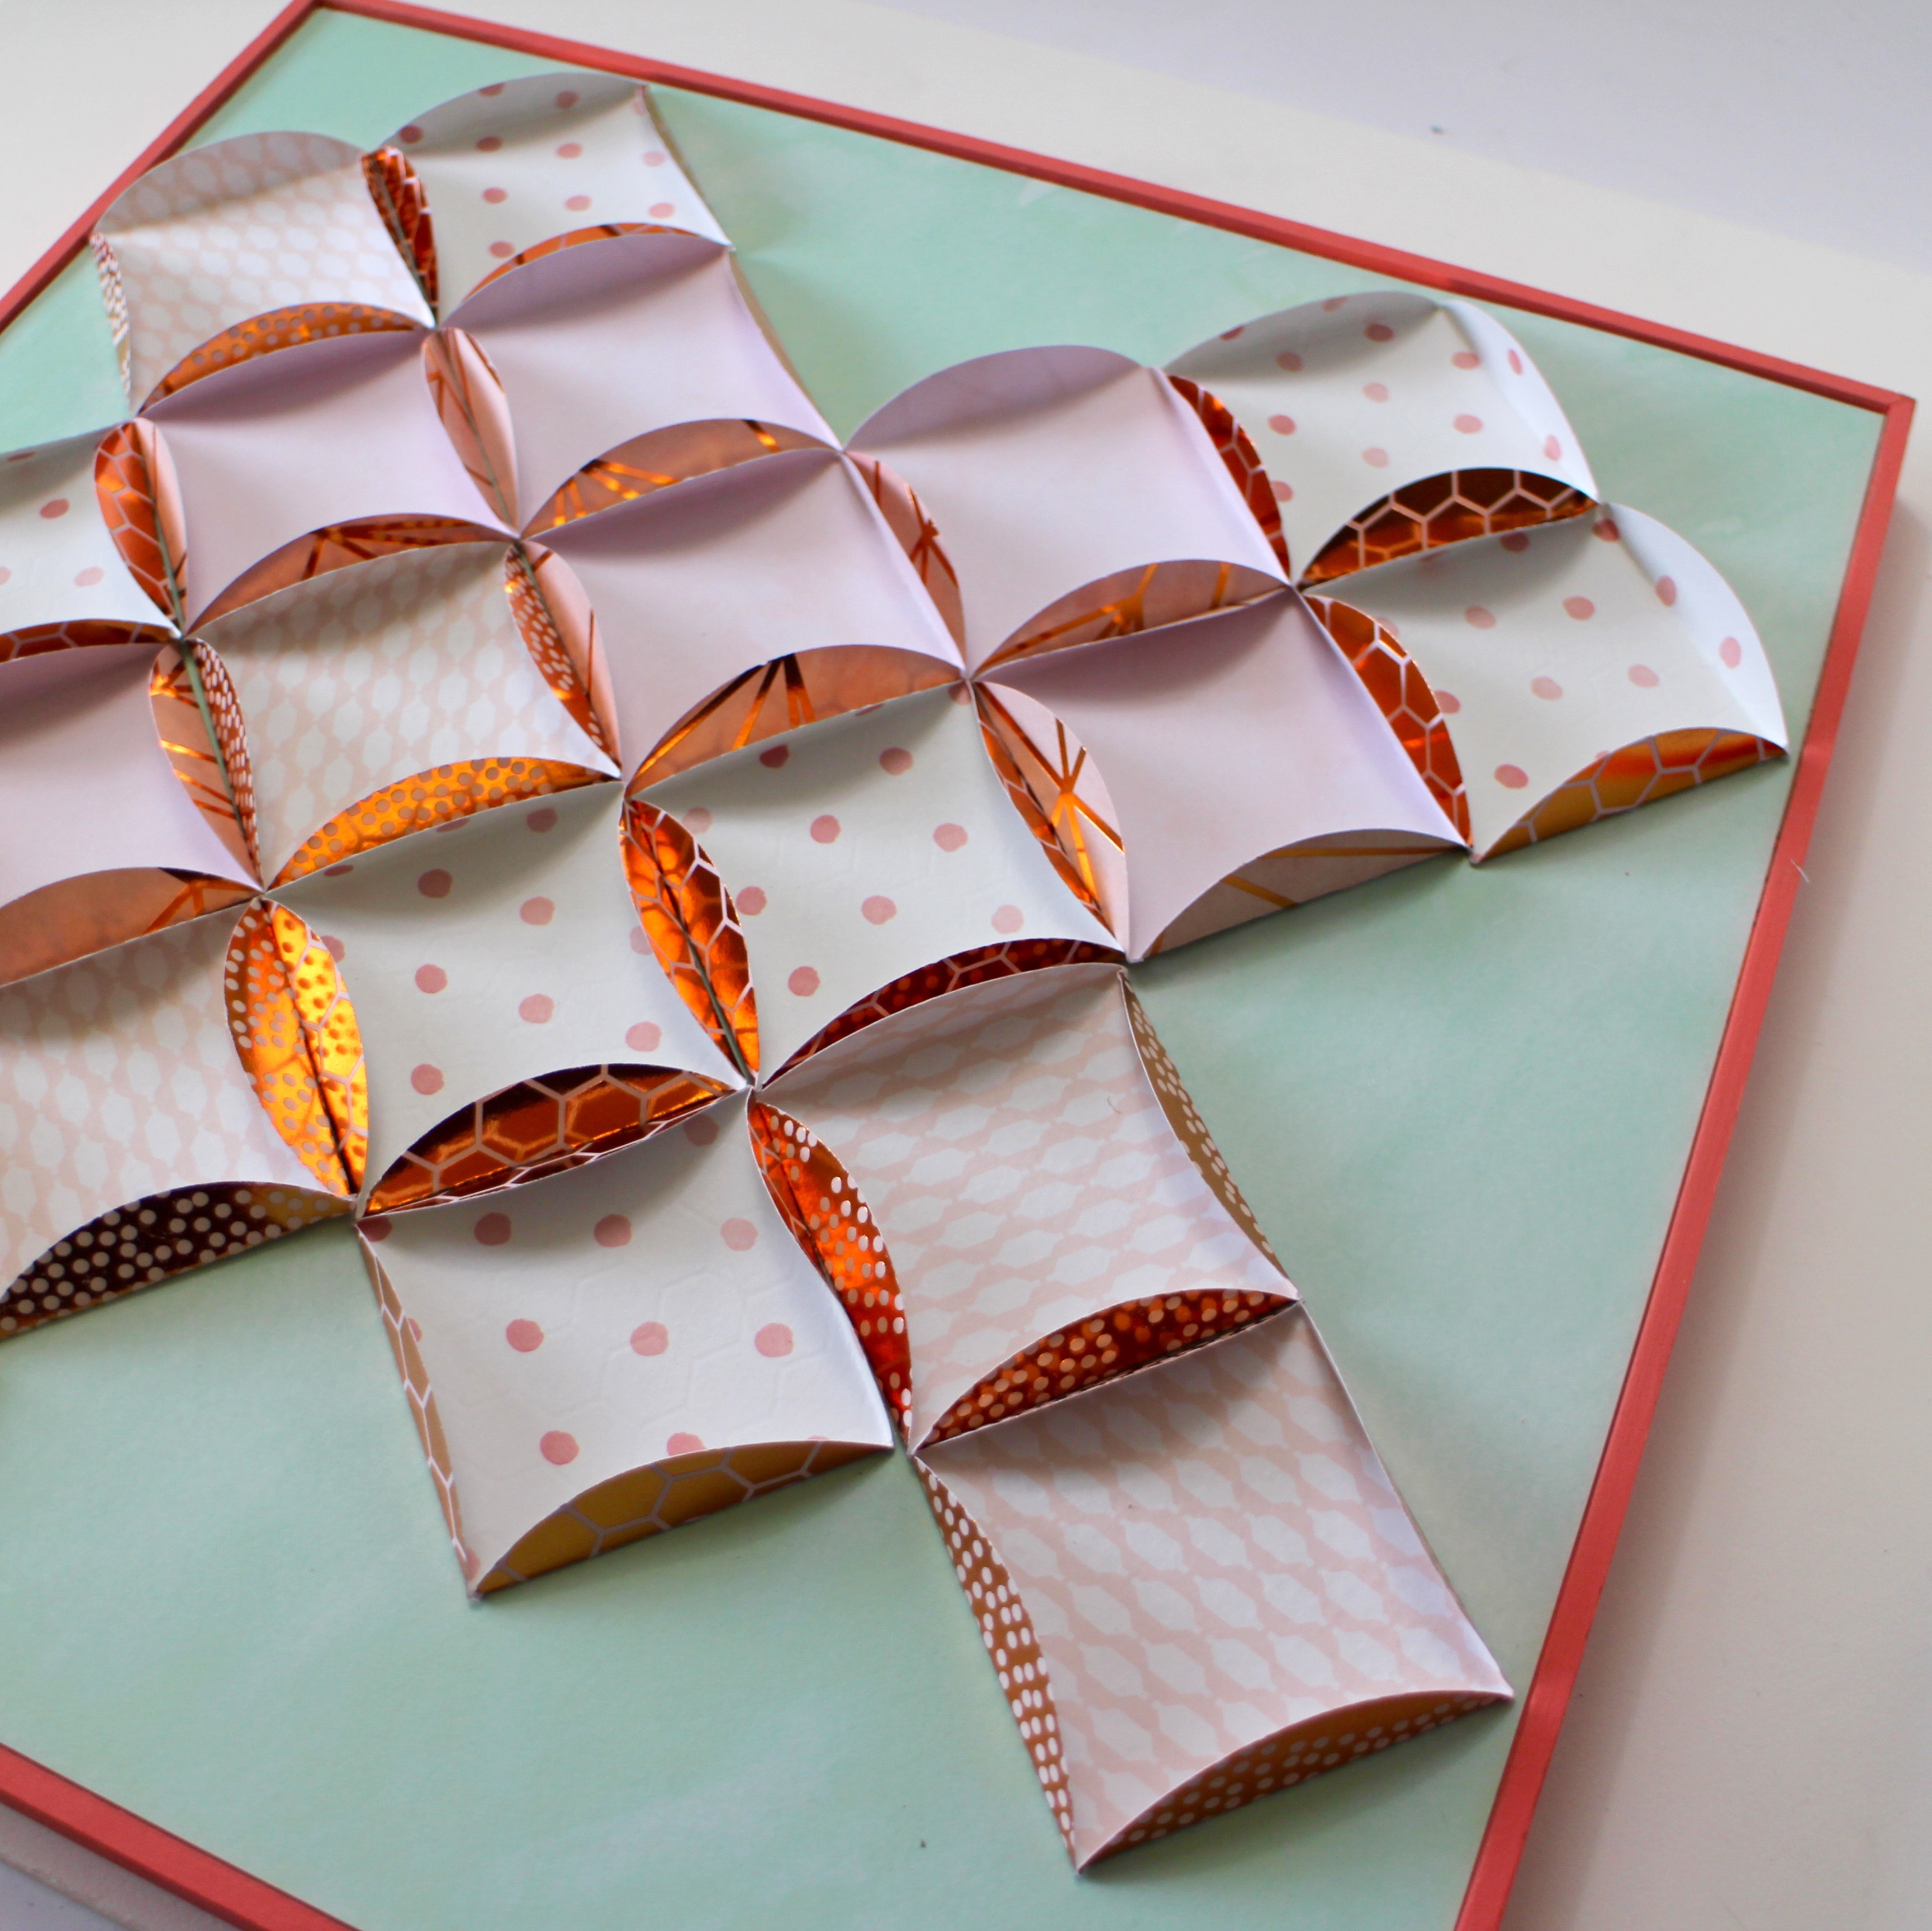
Start with a 12 x 12 wooden canvas and paint it with acrylic paint to match the paper colors. Next, adhere a piece of green paper from the Copper Luxury Paper Pad from DCWV into the frame. Because this is paper to wood, and going to be hanging vertically, I used Tombow Xtreme Adhesive. From the Copper Luxury Paper Pad, choose papers with the metallic copper finish and punch out 20 circles using a 3″ circle punch. You can also use your die cutting machine for this.
Using a scrap piece of paper, cut a 2″ square to use as a template. Use the MONO Removable Adhesive and place the template into the circle. Fold in the circle edges and press down with a bone folder. Repeat with all the paper circles using the template as your folding guide. When all your circles are done, attach them into the frame using the MONO Adhesive+. For this design, all the edges were the copper foil side.
Step 2: Adding squares of paper
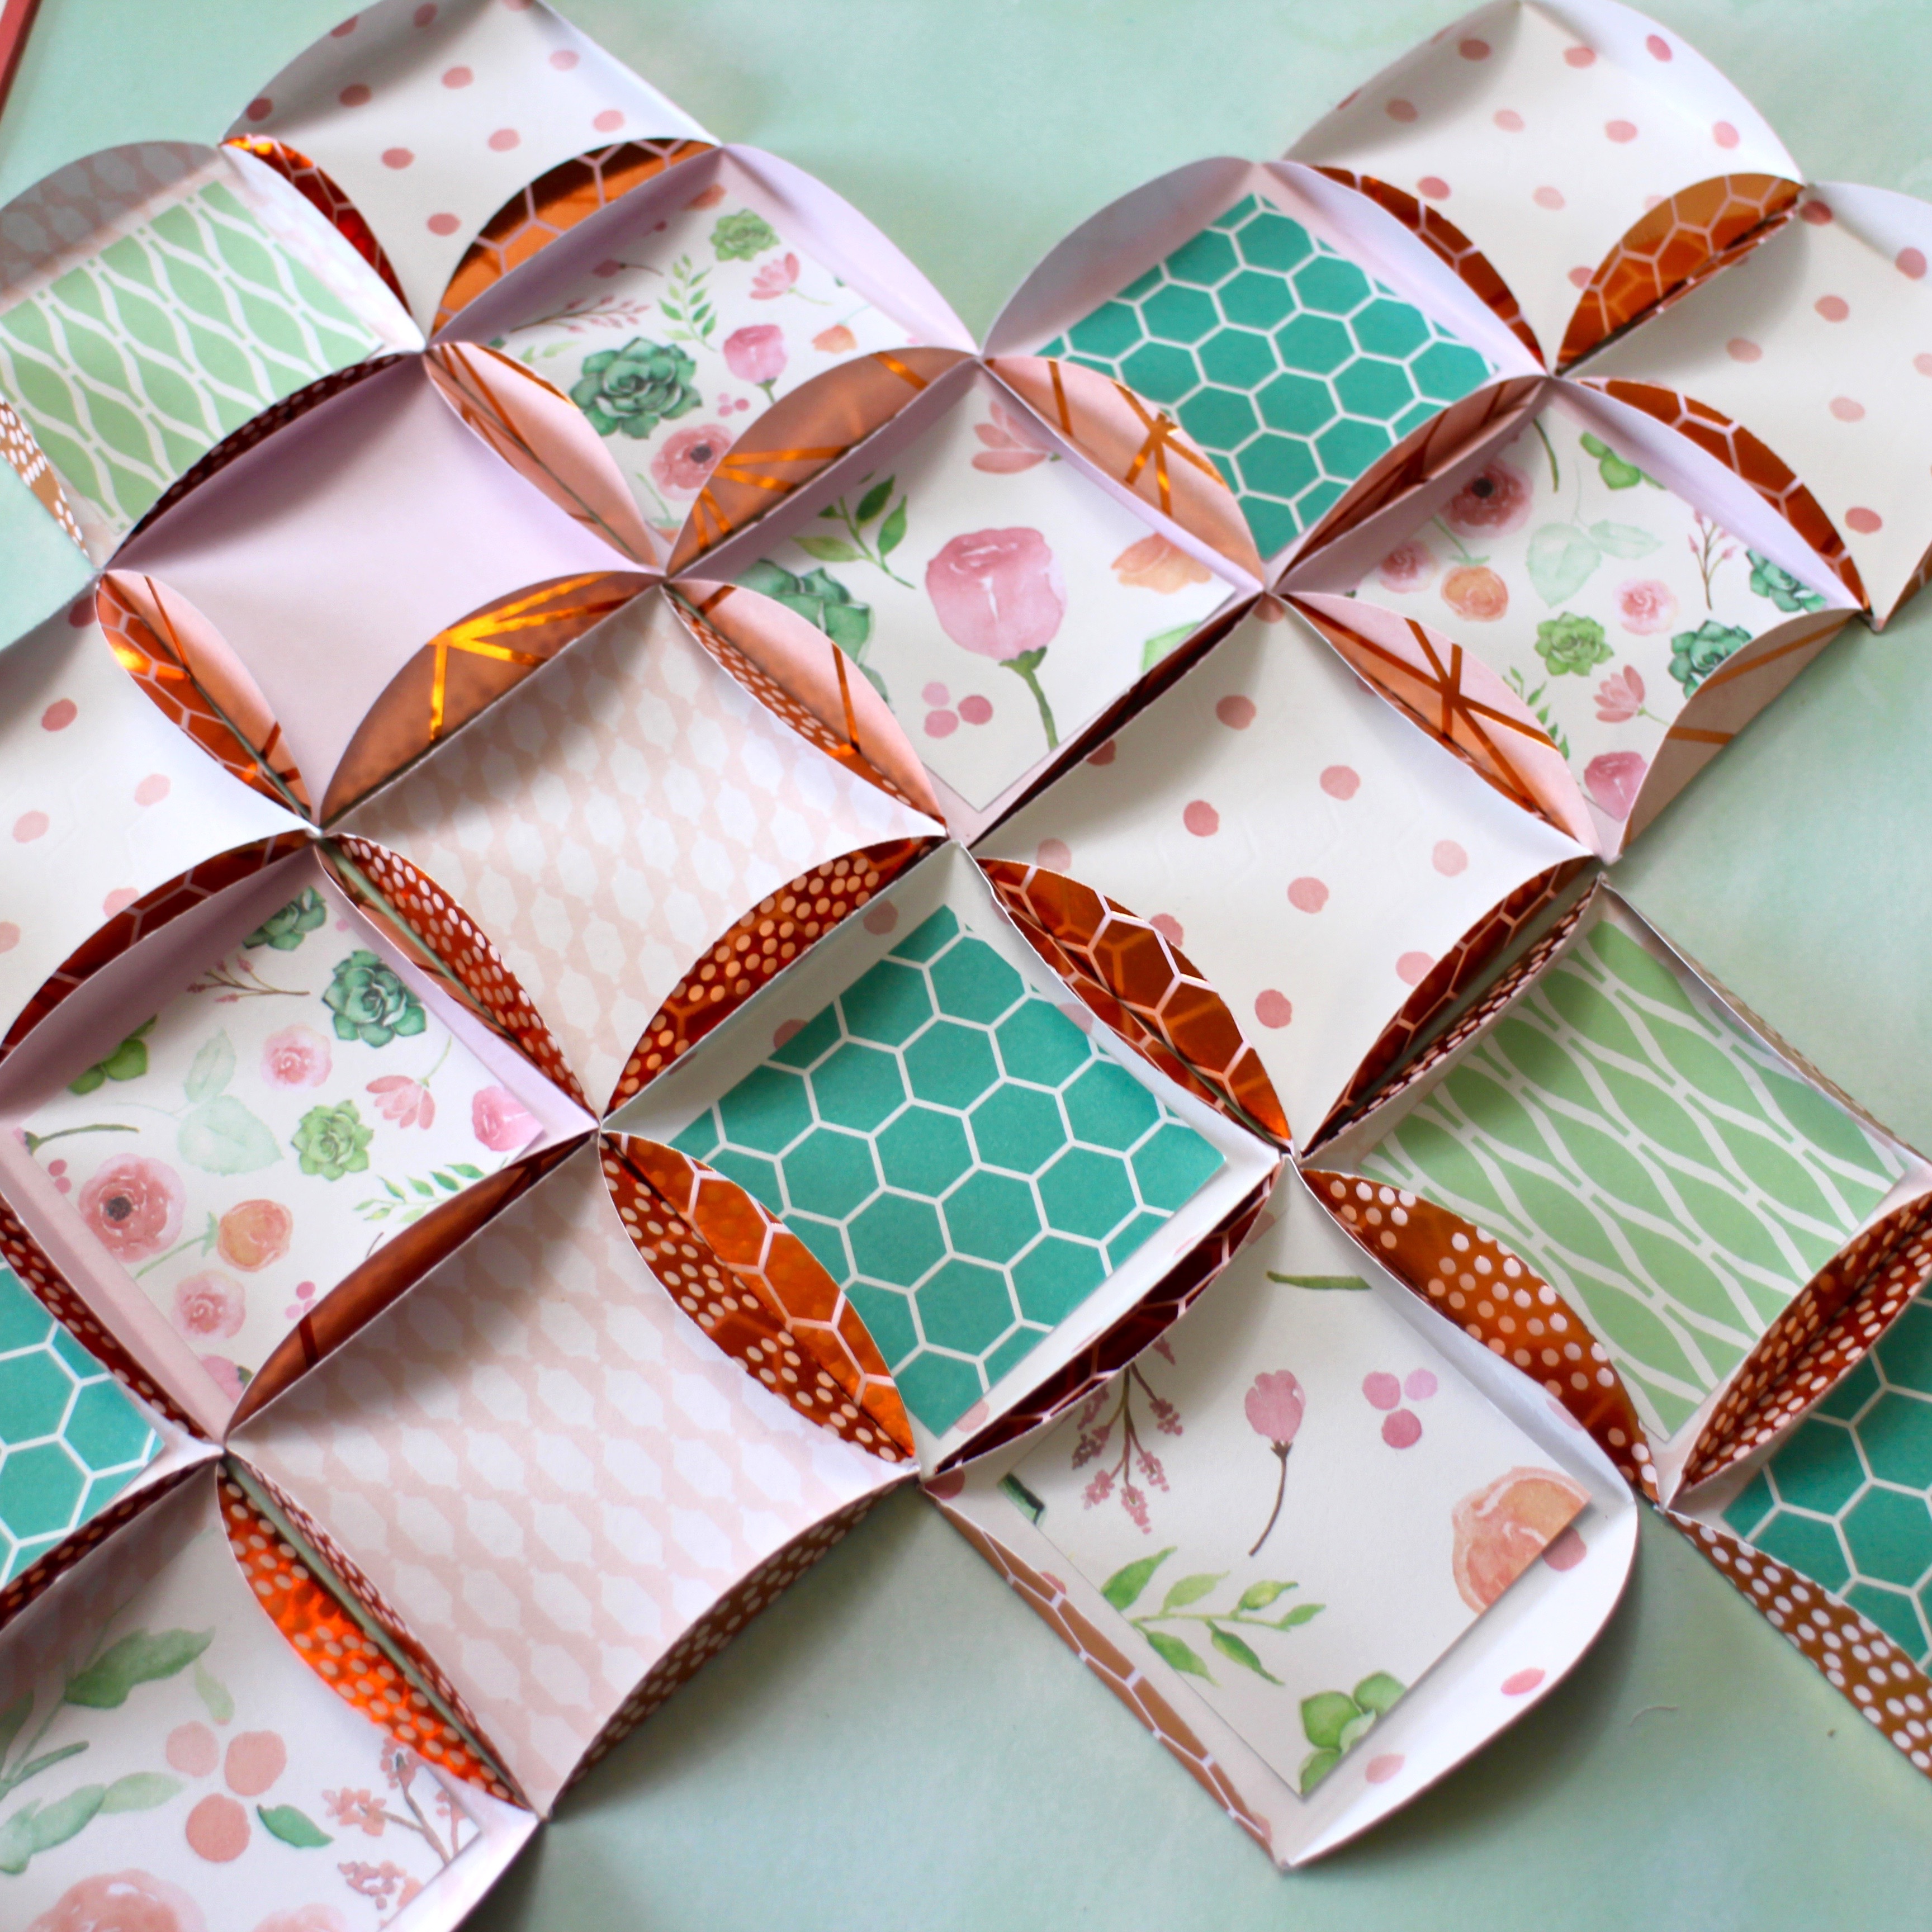
Cut 15 – 18 squares of paper from the Copper Luxury paper pad 1.3/4″ x 1.3/4″. These are adhered into random circles with the MONO Adhesive+.
Step 3: Create your embellishments
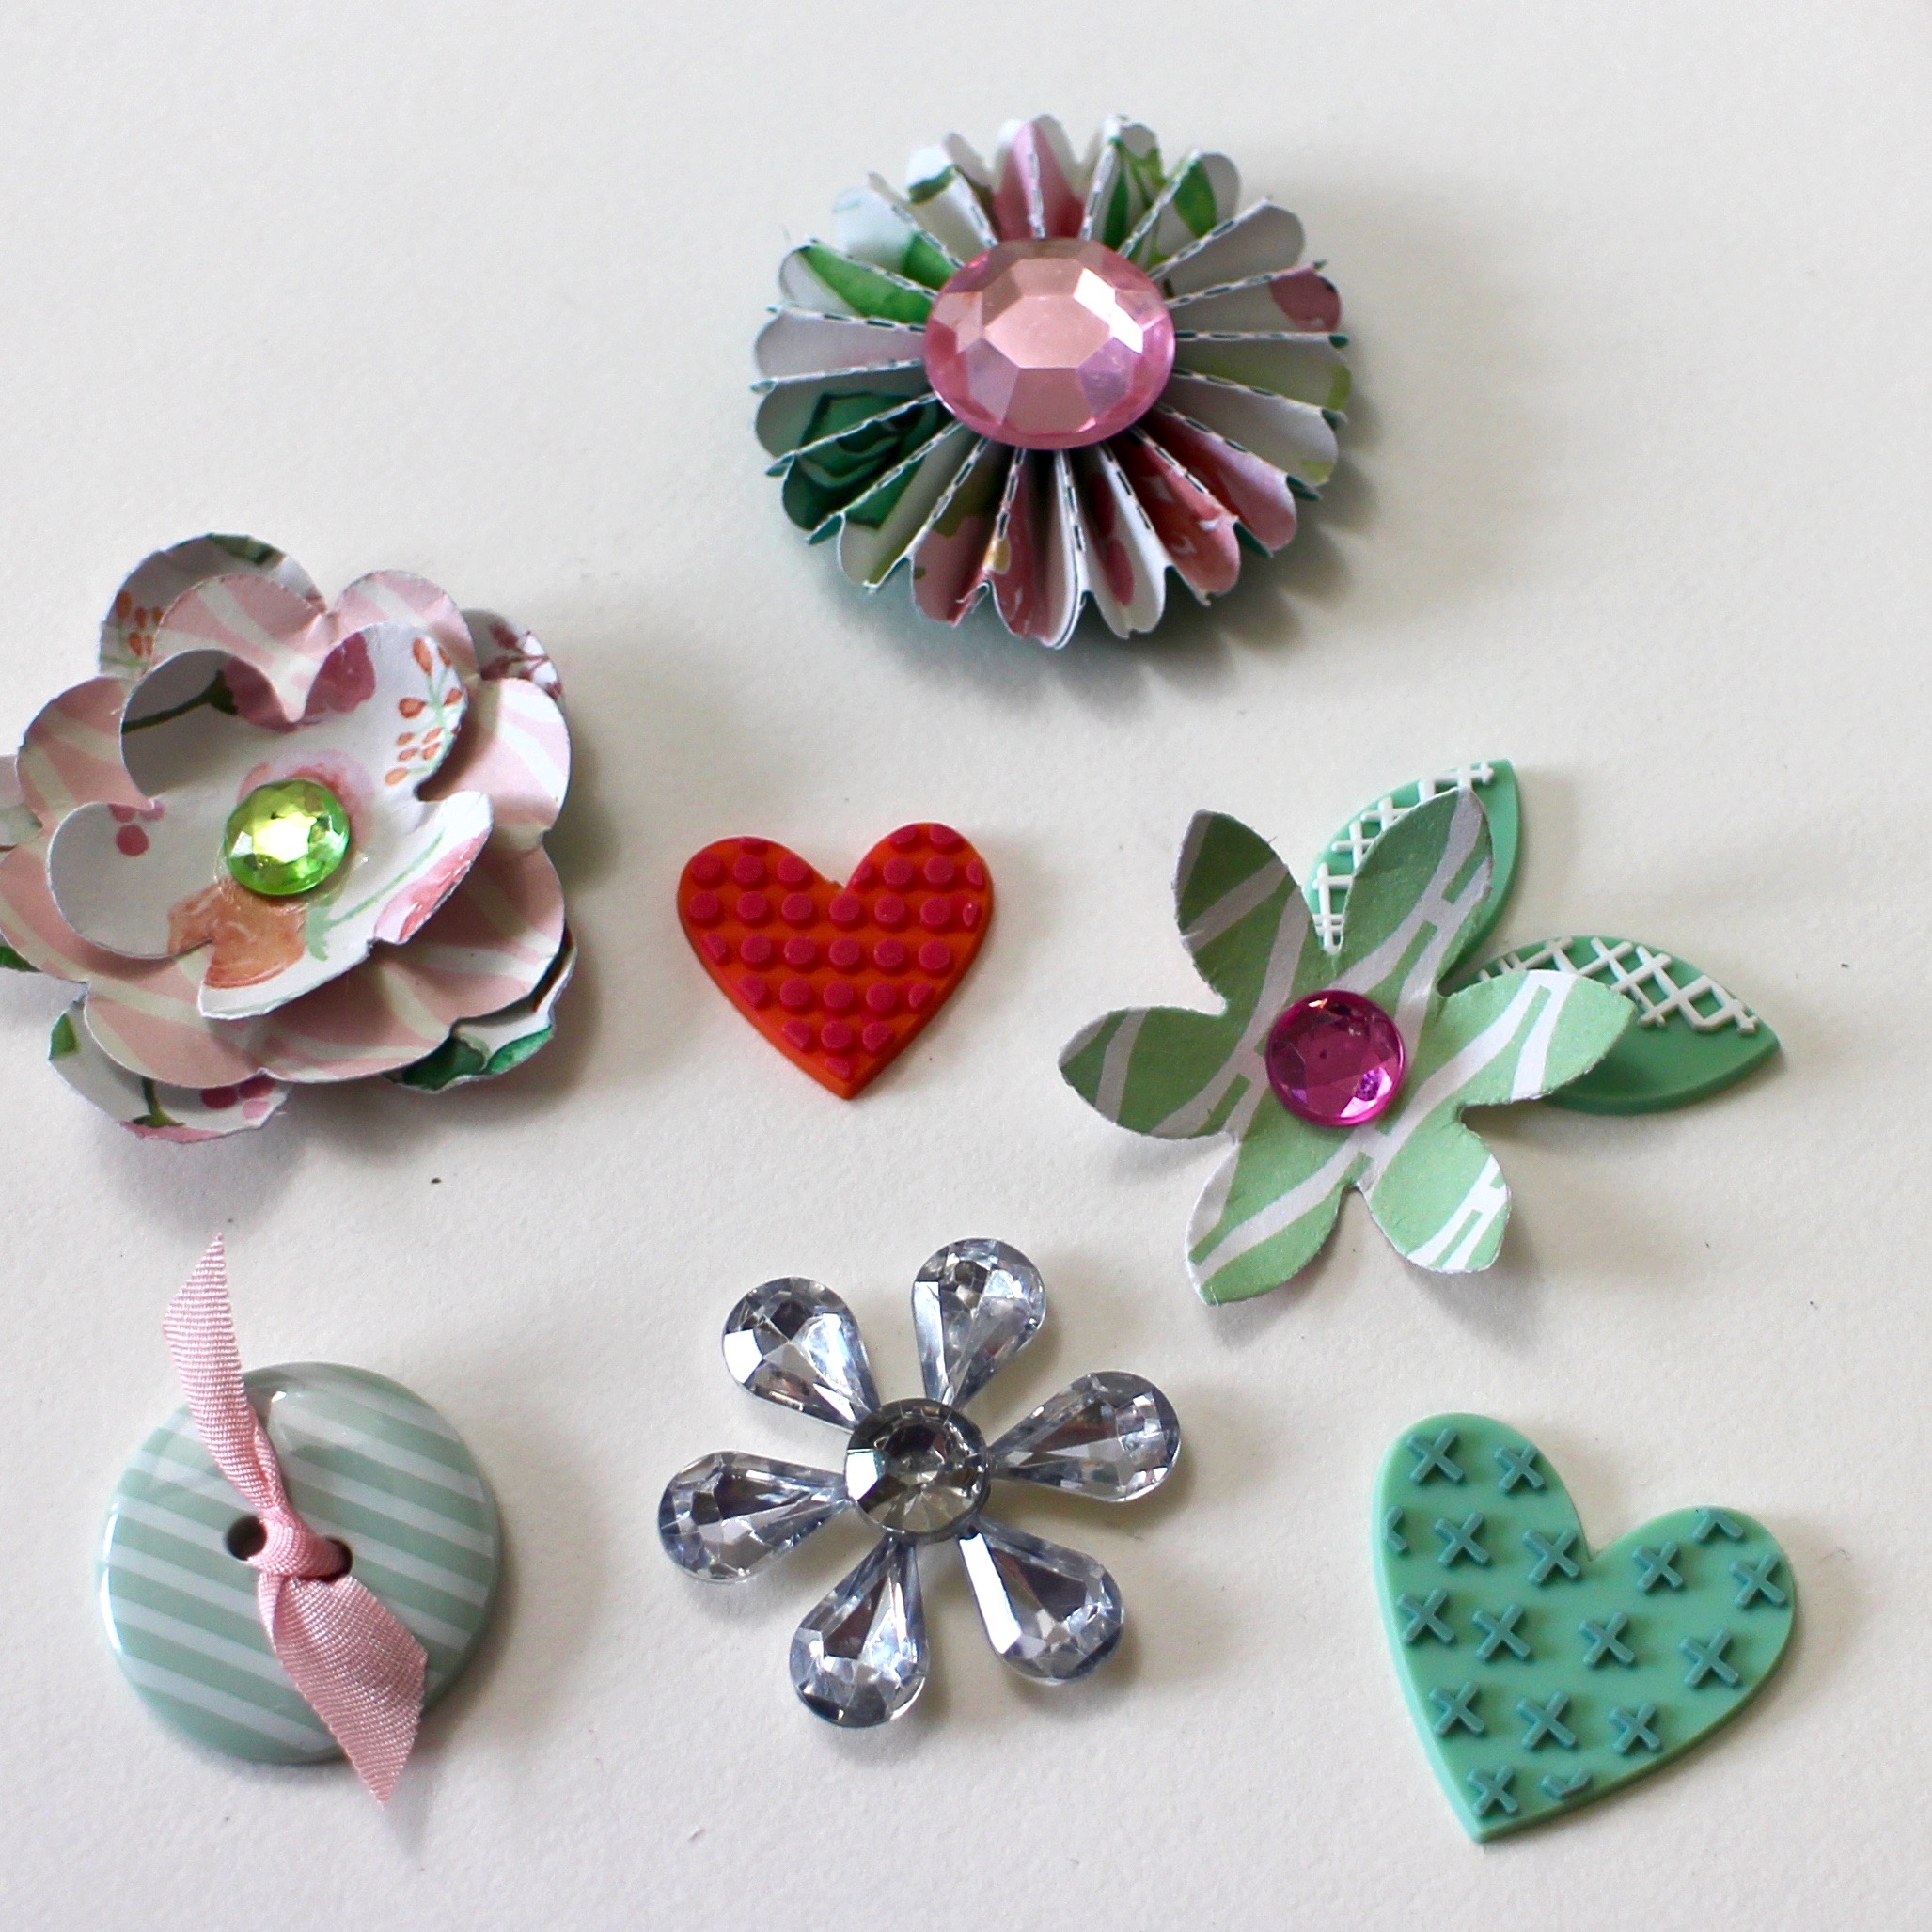
Create rosettes, paper flowers and be-ribboned buttons. The rosettes and paper flowers are constructed from the Copper Luxury Paper Pad using MONO Multi Liquid Glue and Tombow Xtreme Tabs. Look through your embellishments and discover other pieces, such as rhinestones and buttons that will match your color theme. I also used rubber shape embellishments from Amy Tangerine.
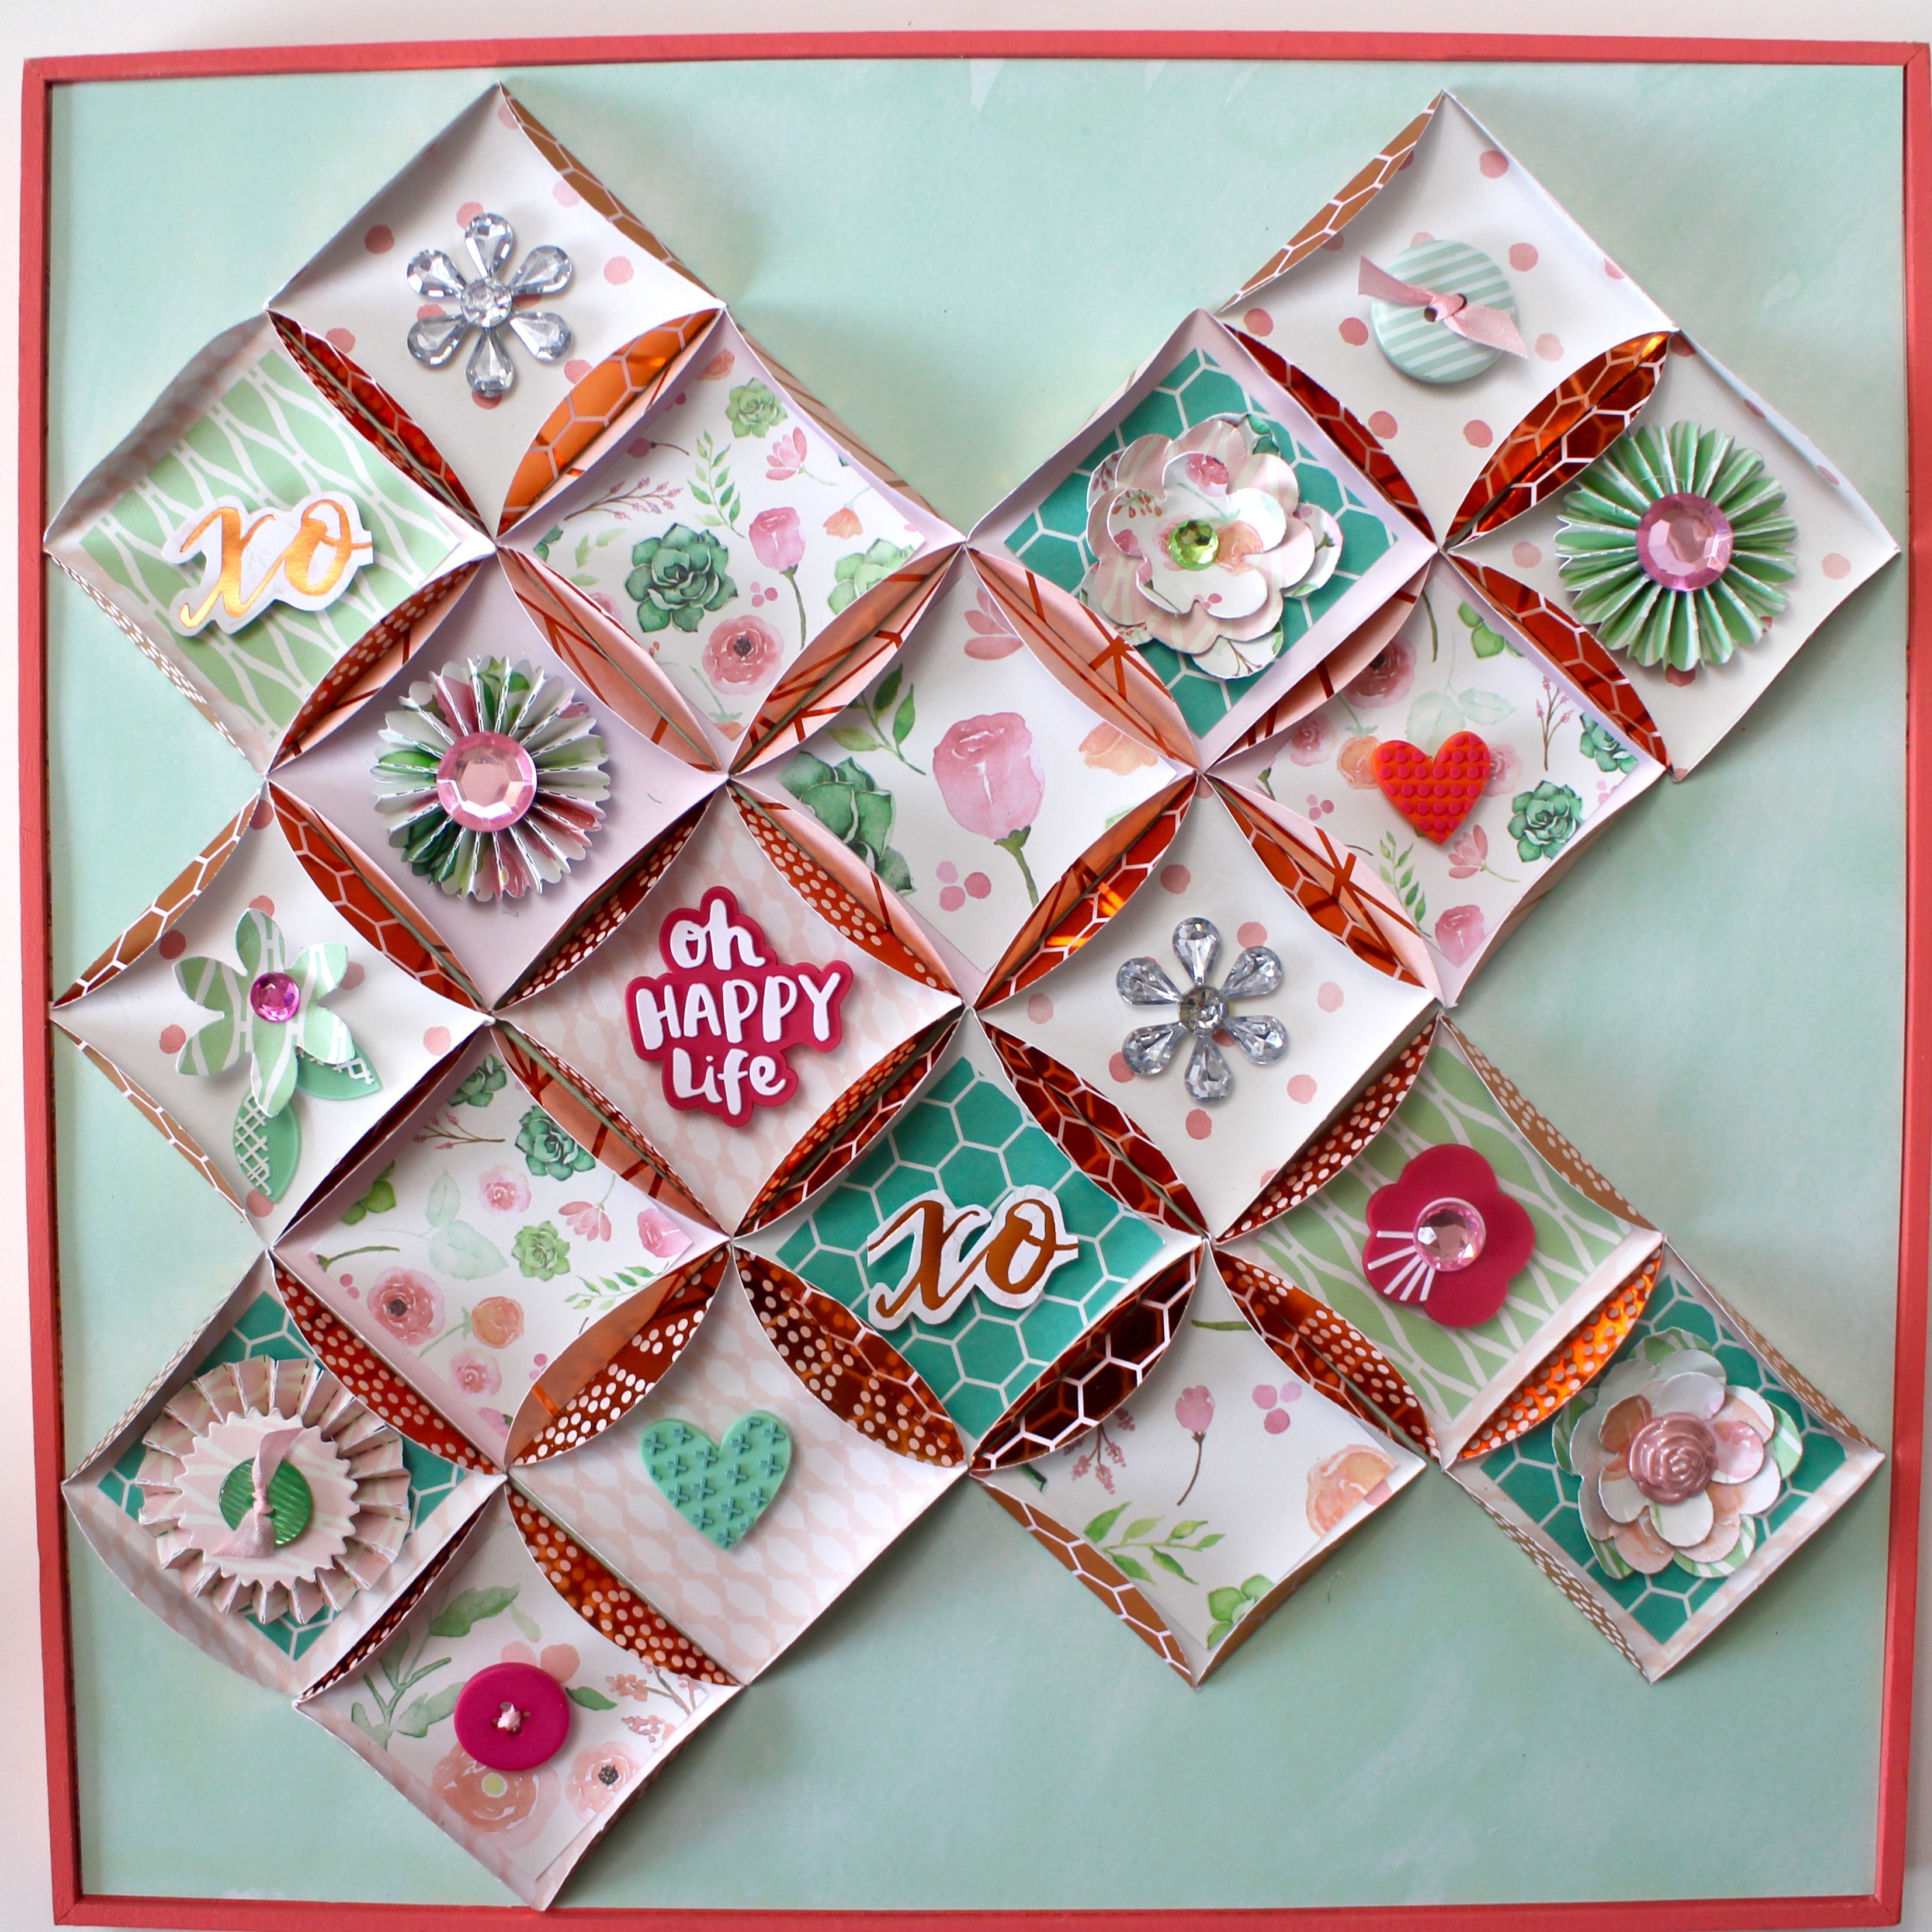
Step 4: Finish your Scrapbook Wall Art Creation
Glue in embellishments using MONO Multi Adhesive. For a dimensional look, some of the embellishments are attached using Foam Tabs. Beautiful, bold and using a trendy color theme – it’s not your mama’s scrapbooking!

Wow! super cool design love it is a great way to use our left paper or dsp great desing
Pingback: Celebrating National Scrapbook Day 2017 - Tombow USA Blog