Using scrapbooking paper to make little gift bags or treat bags is an easy craft that could jazz up your party! I’ll show you how I made mine in this tutorial today!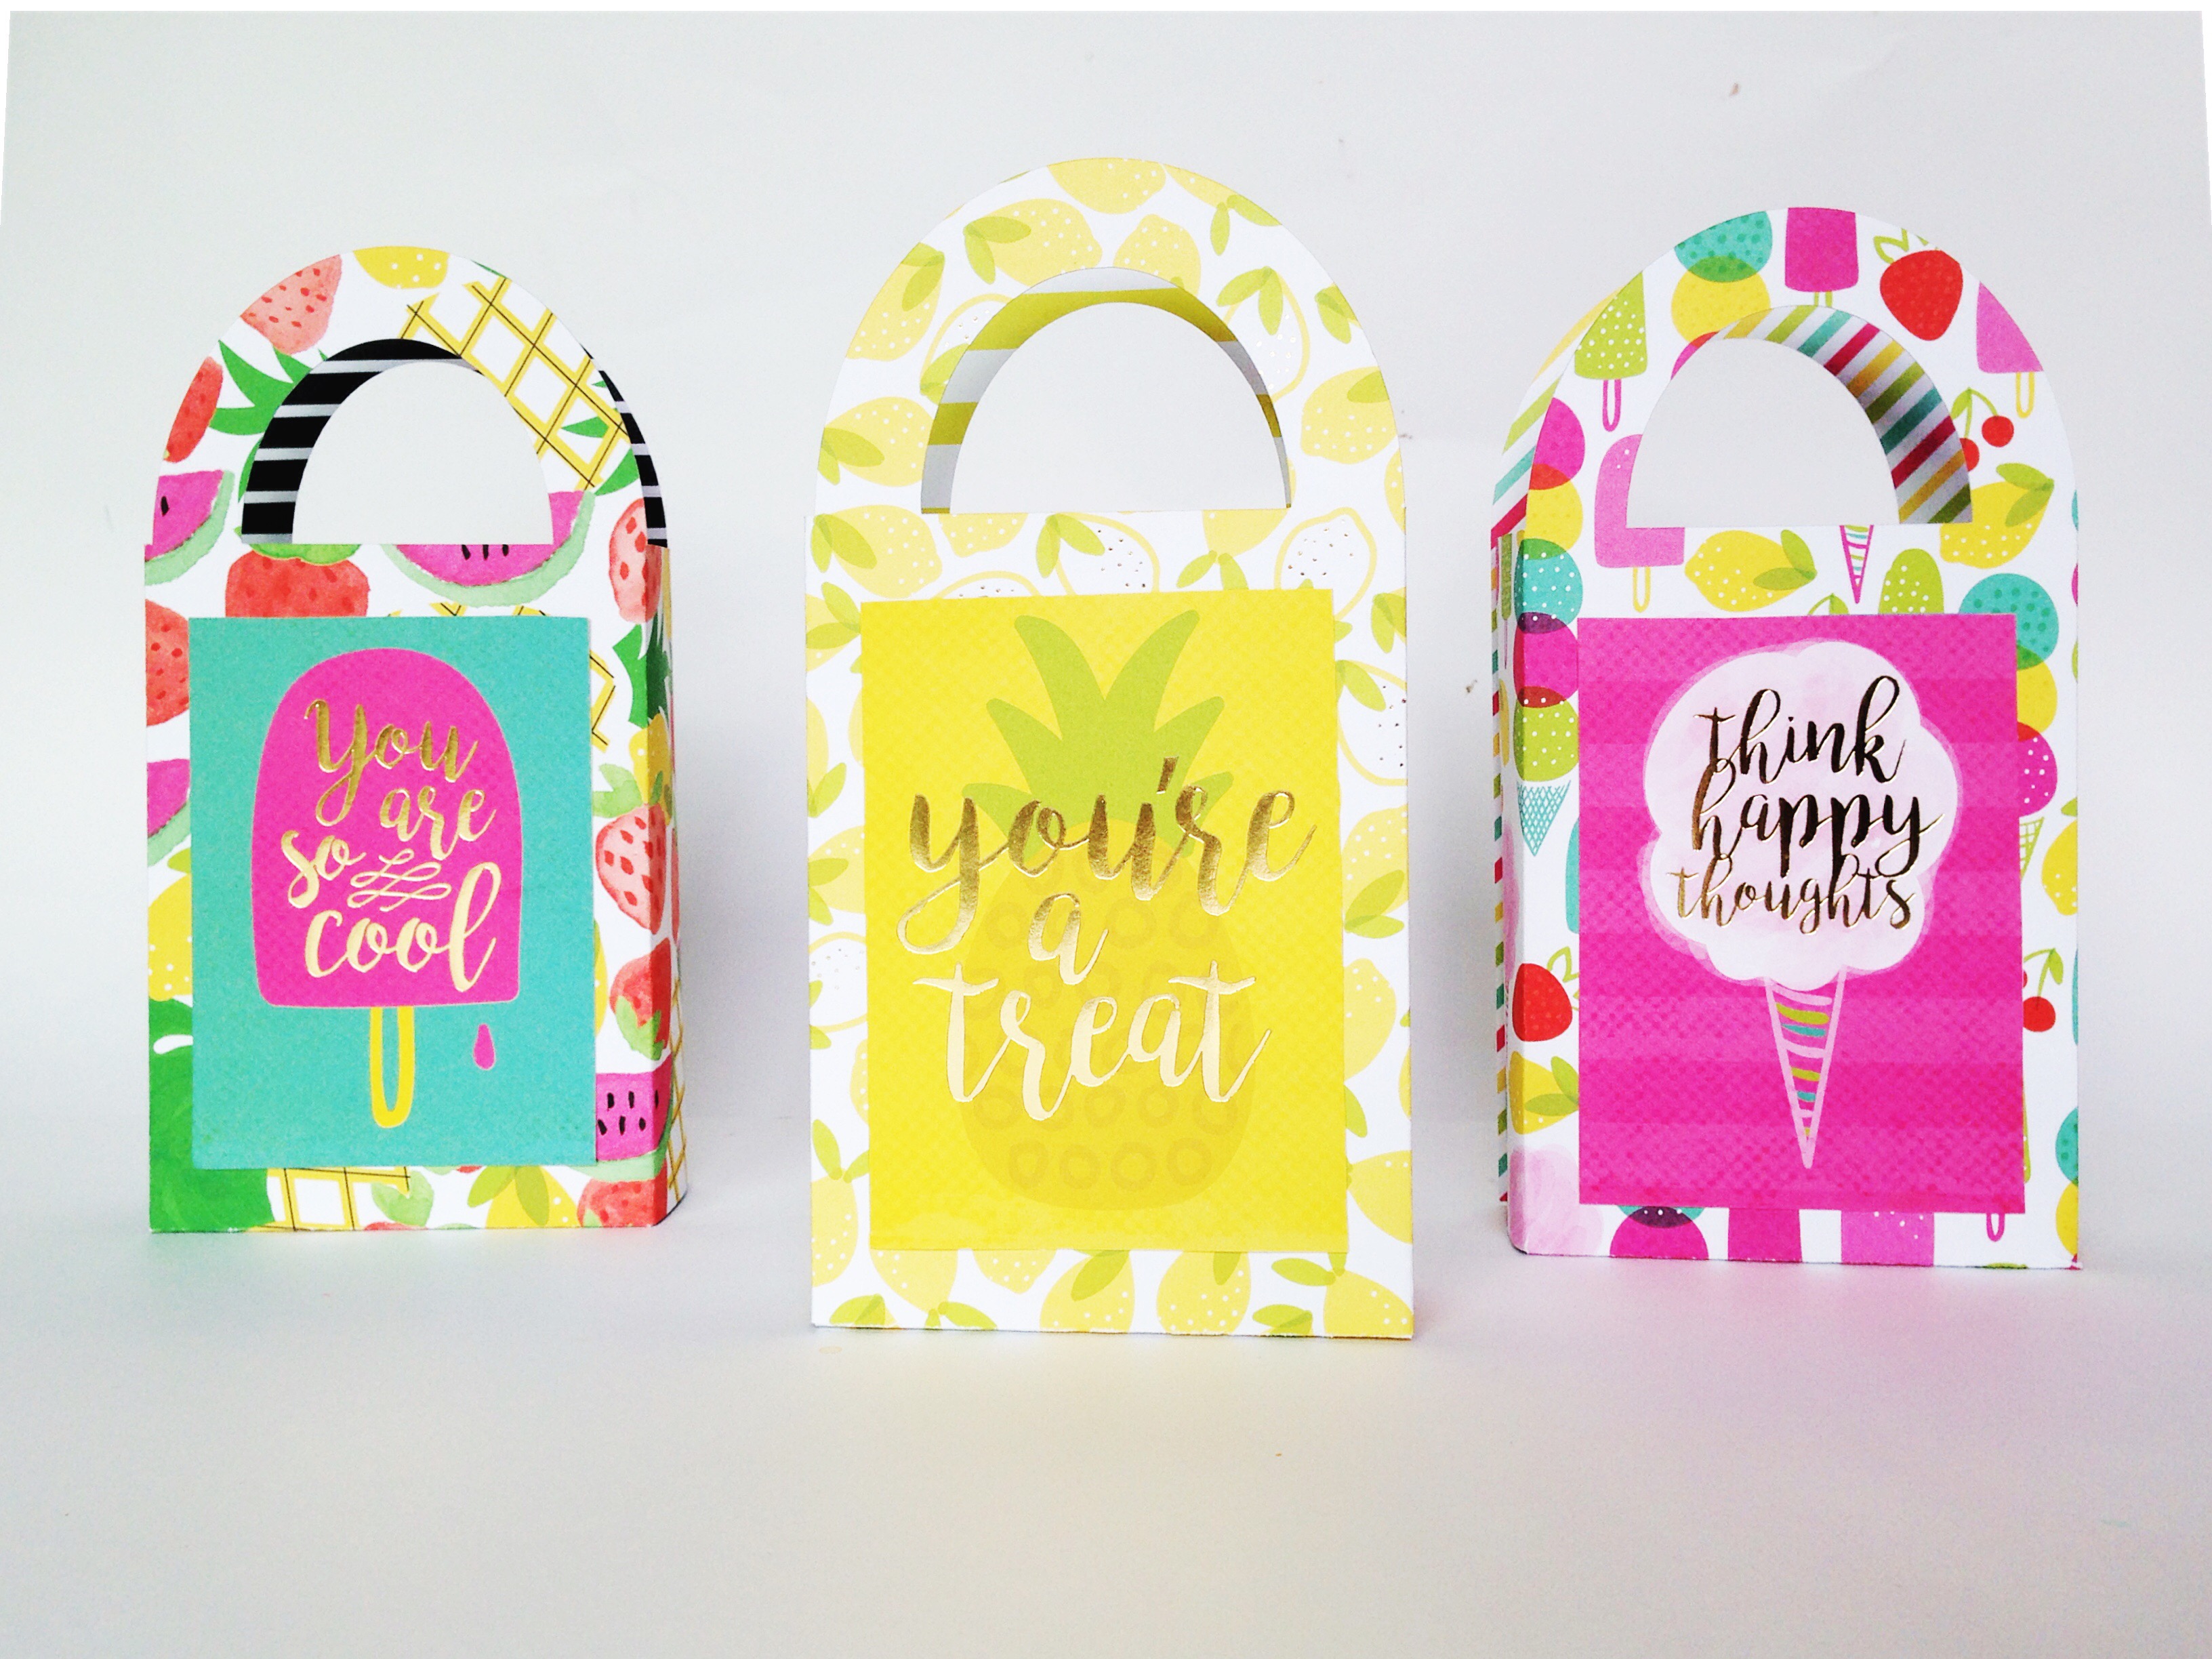
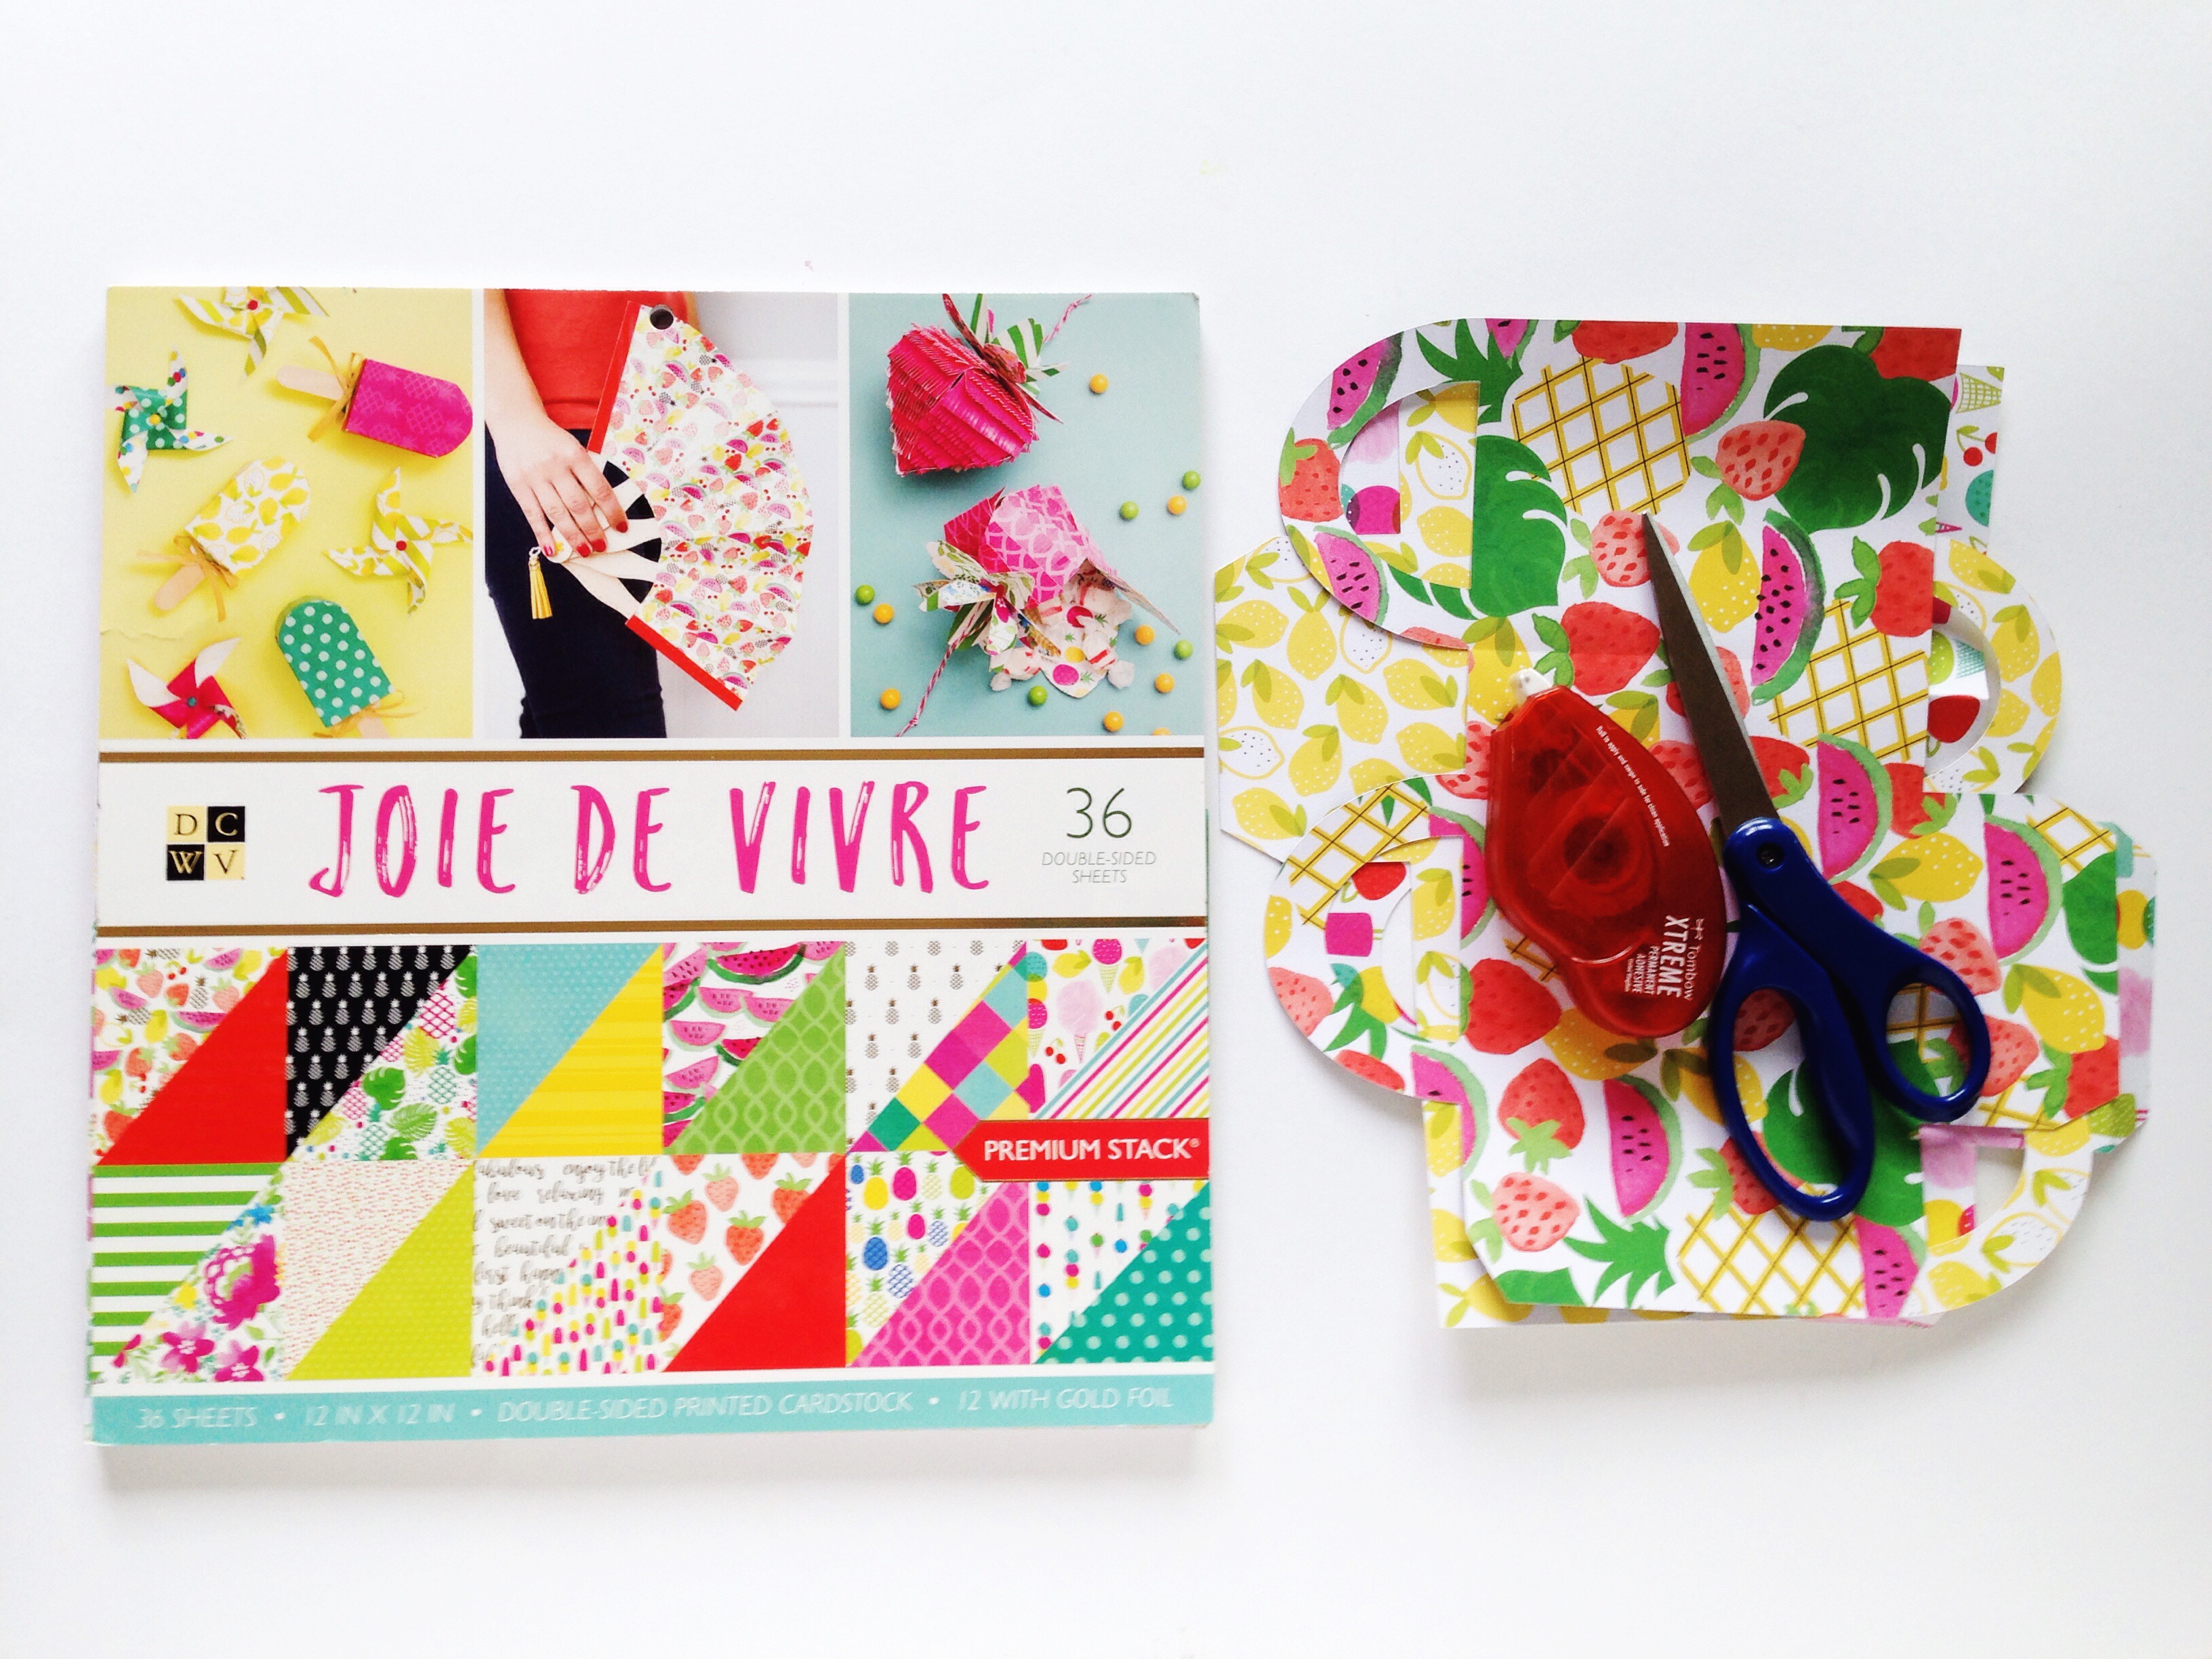
Today I am making these treat bags for a Summer themed party, so I chose bright colorful patterned paper. The beauty of making your own gift bags at home is that you can customize them to match any theme of your choice! You can make them as small or as big as you need and find the perfect size.
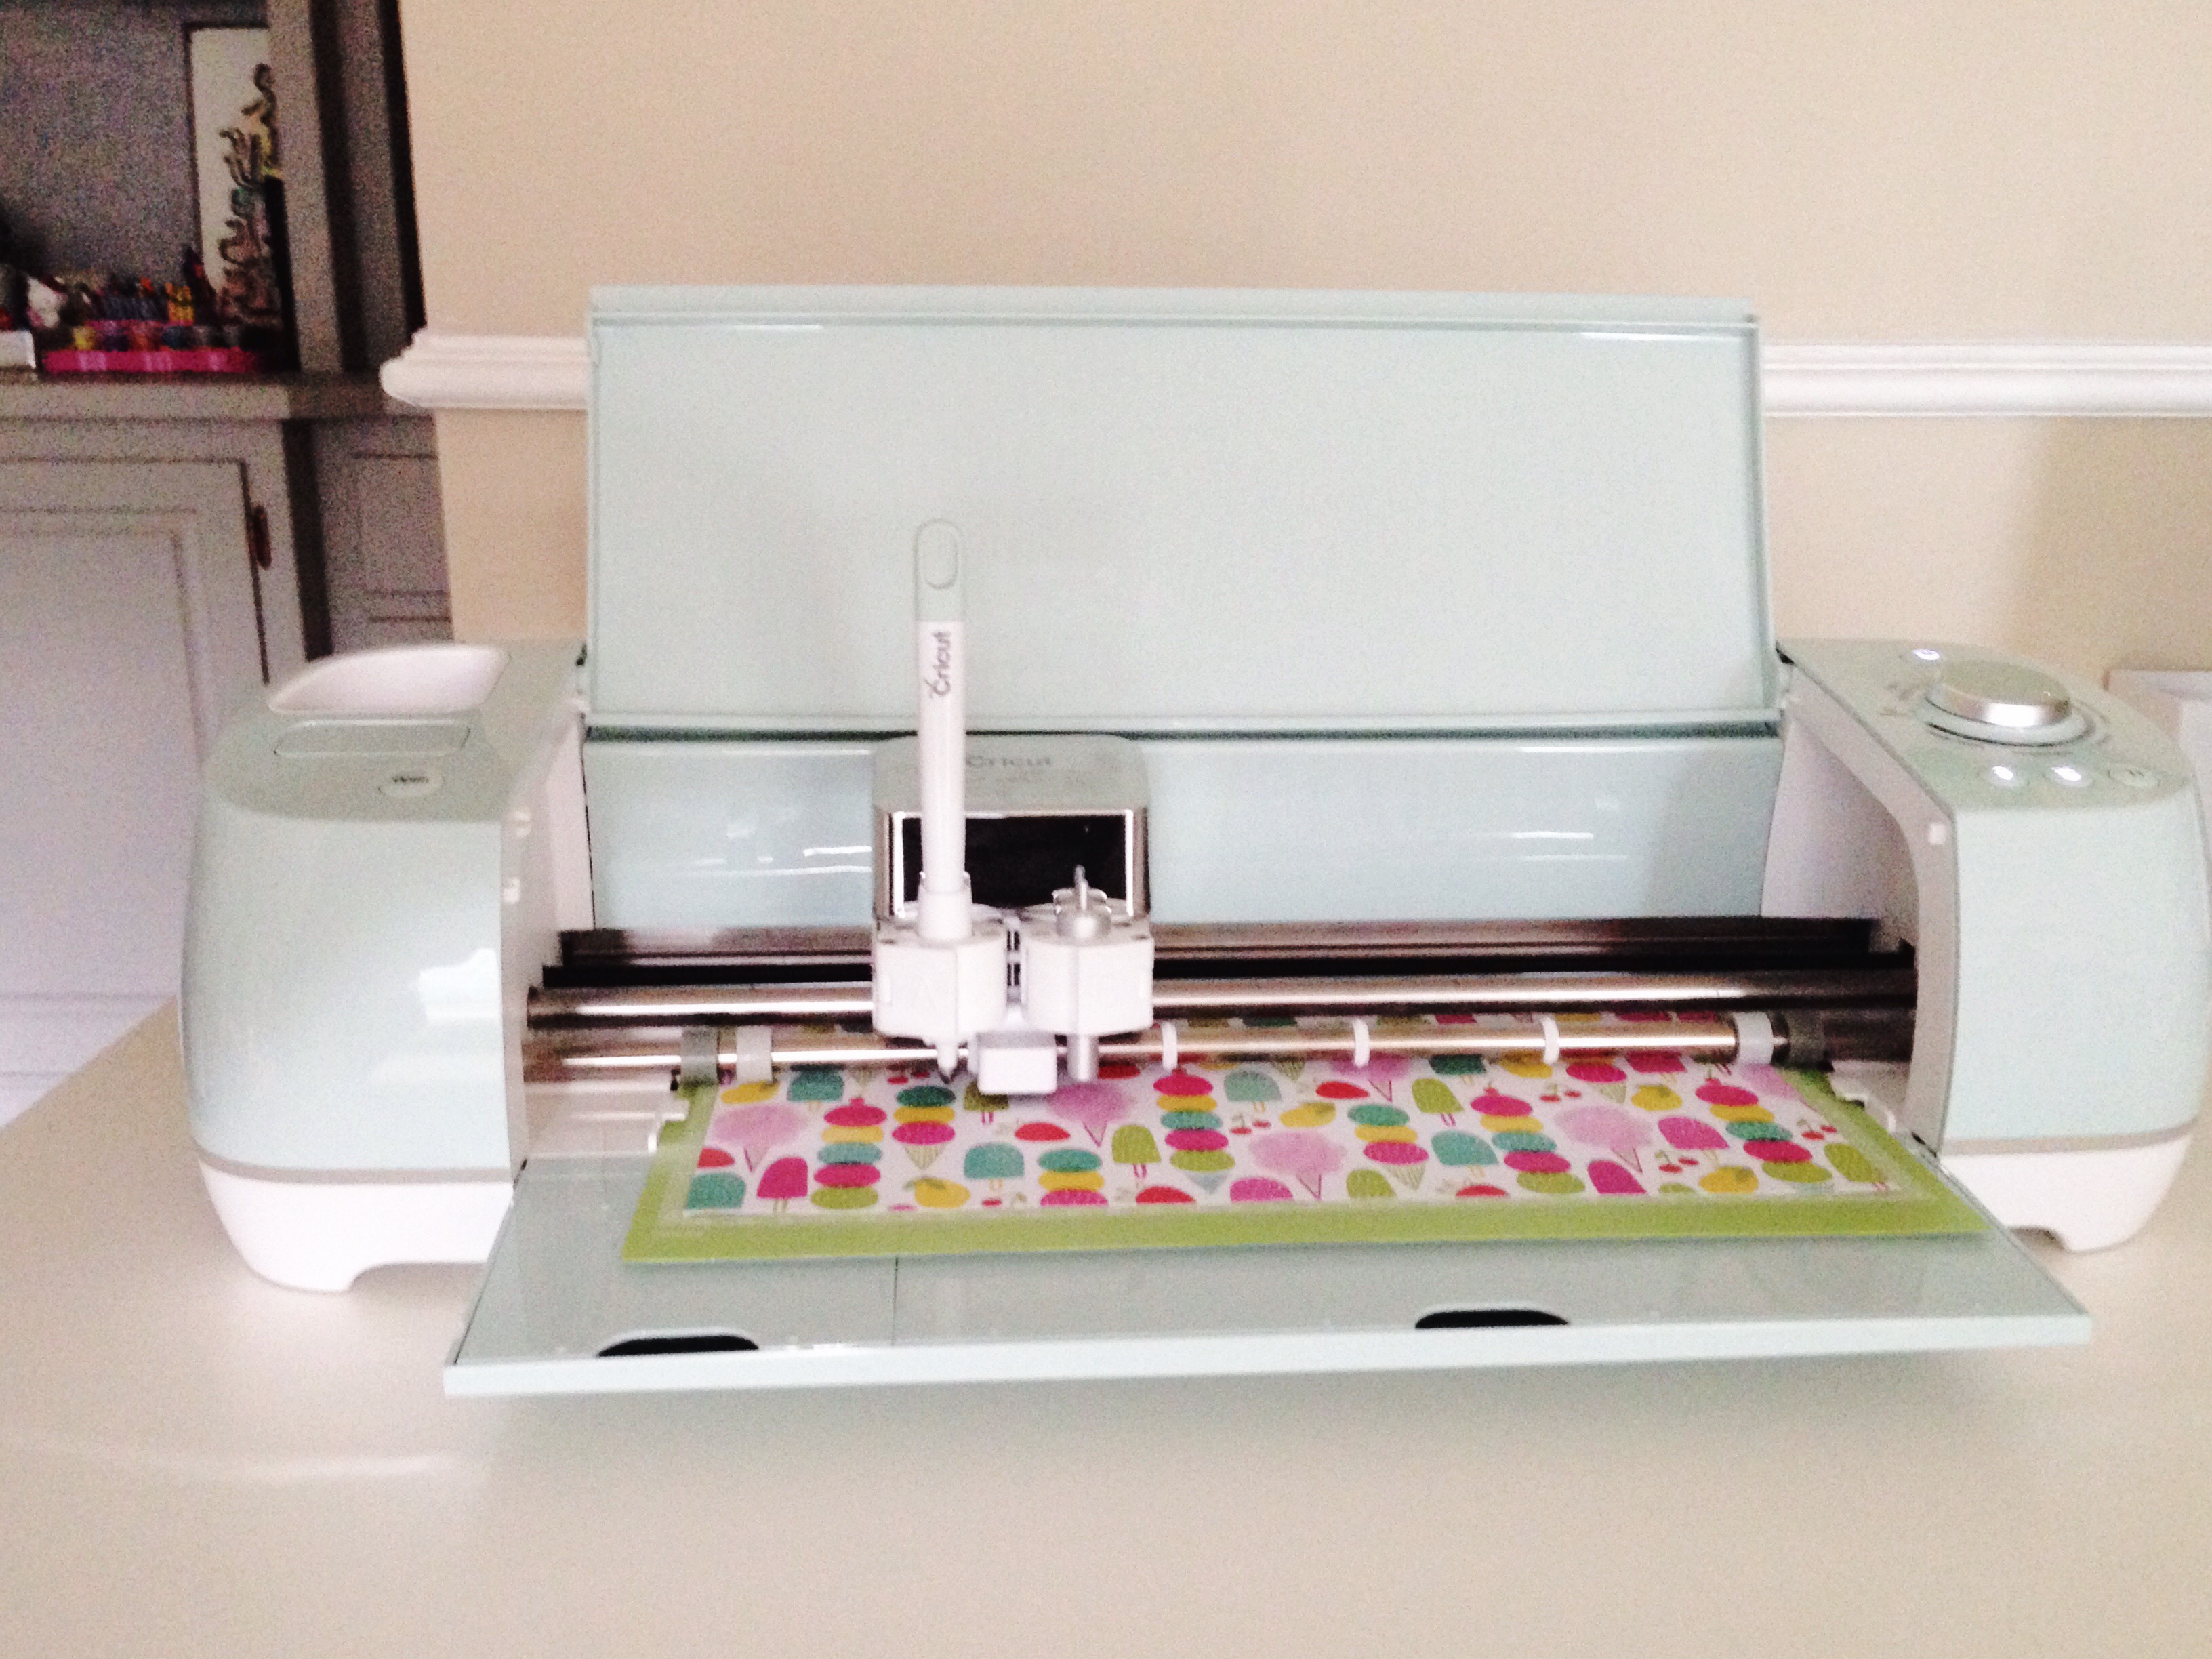
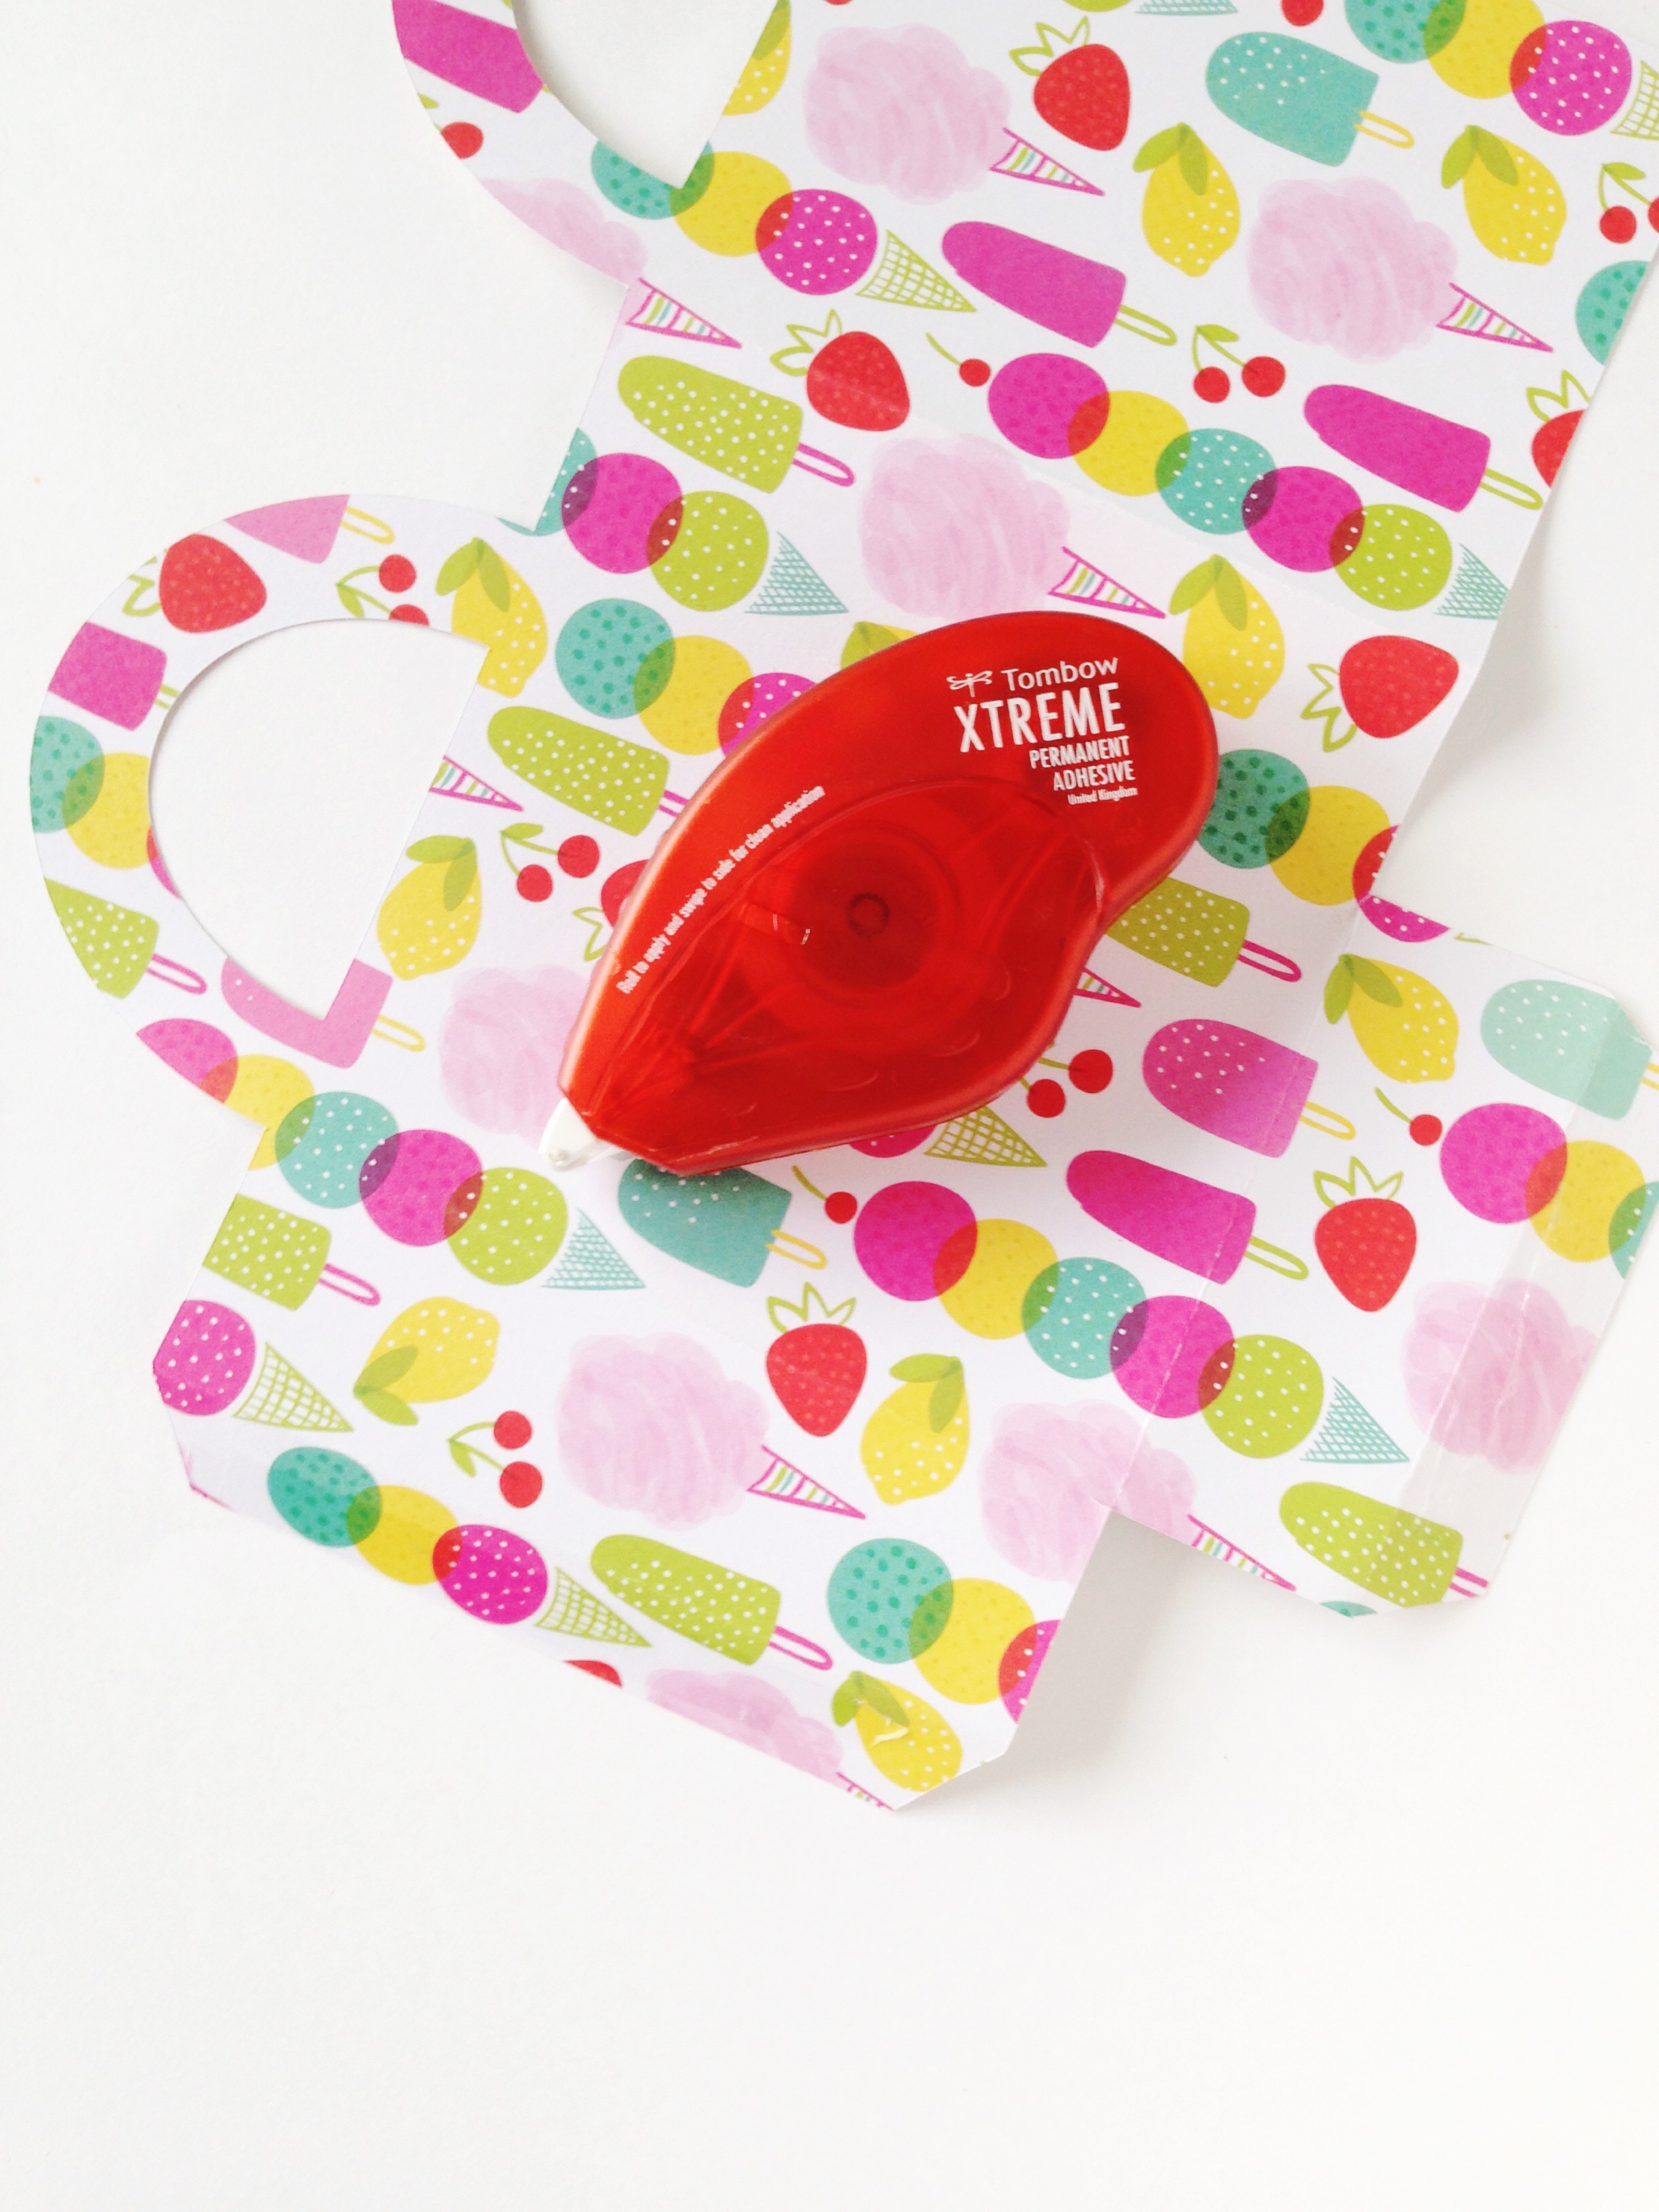
 I used the Cricut Explore Air 2 to quickly cut out my bag shapes. I chose a handful of papers and then went cutting.
If you don’t have an electronic cutting machine, don’t worry! These gift bags have a simple shape and you can easily find printable templates online. 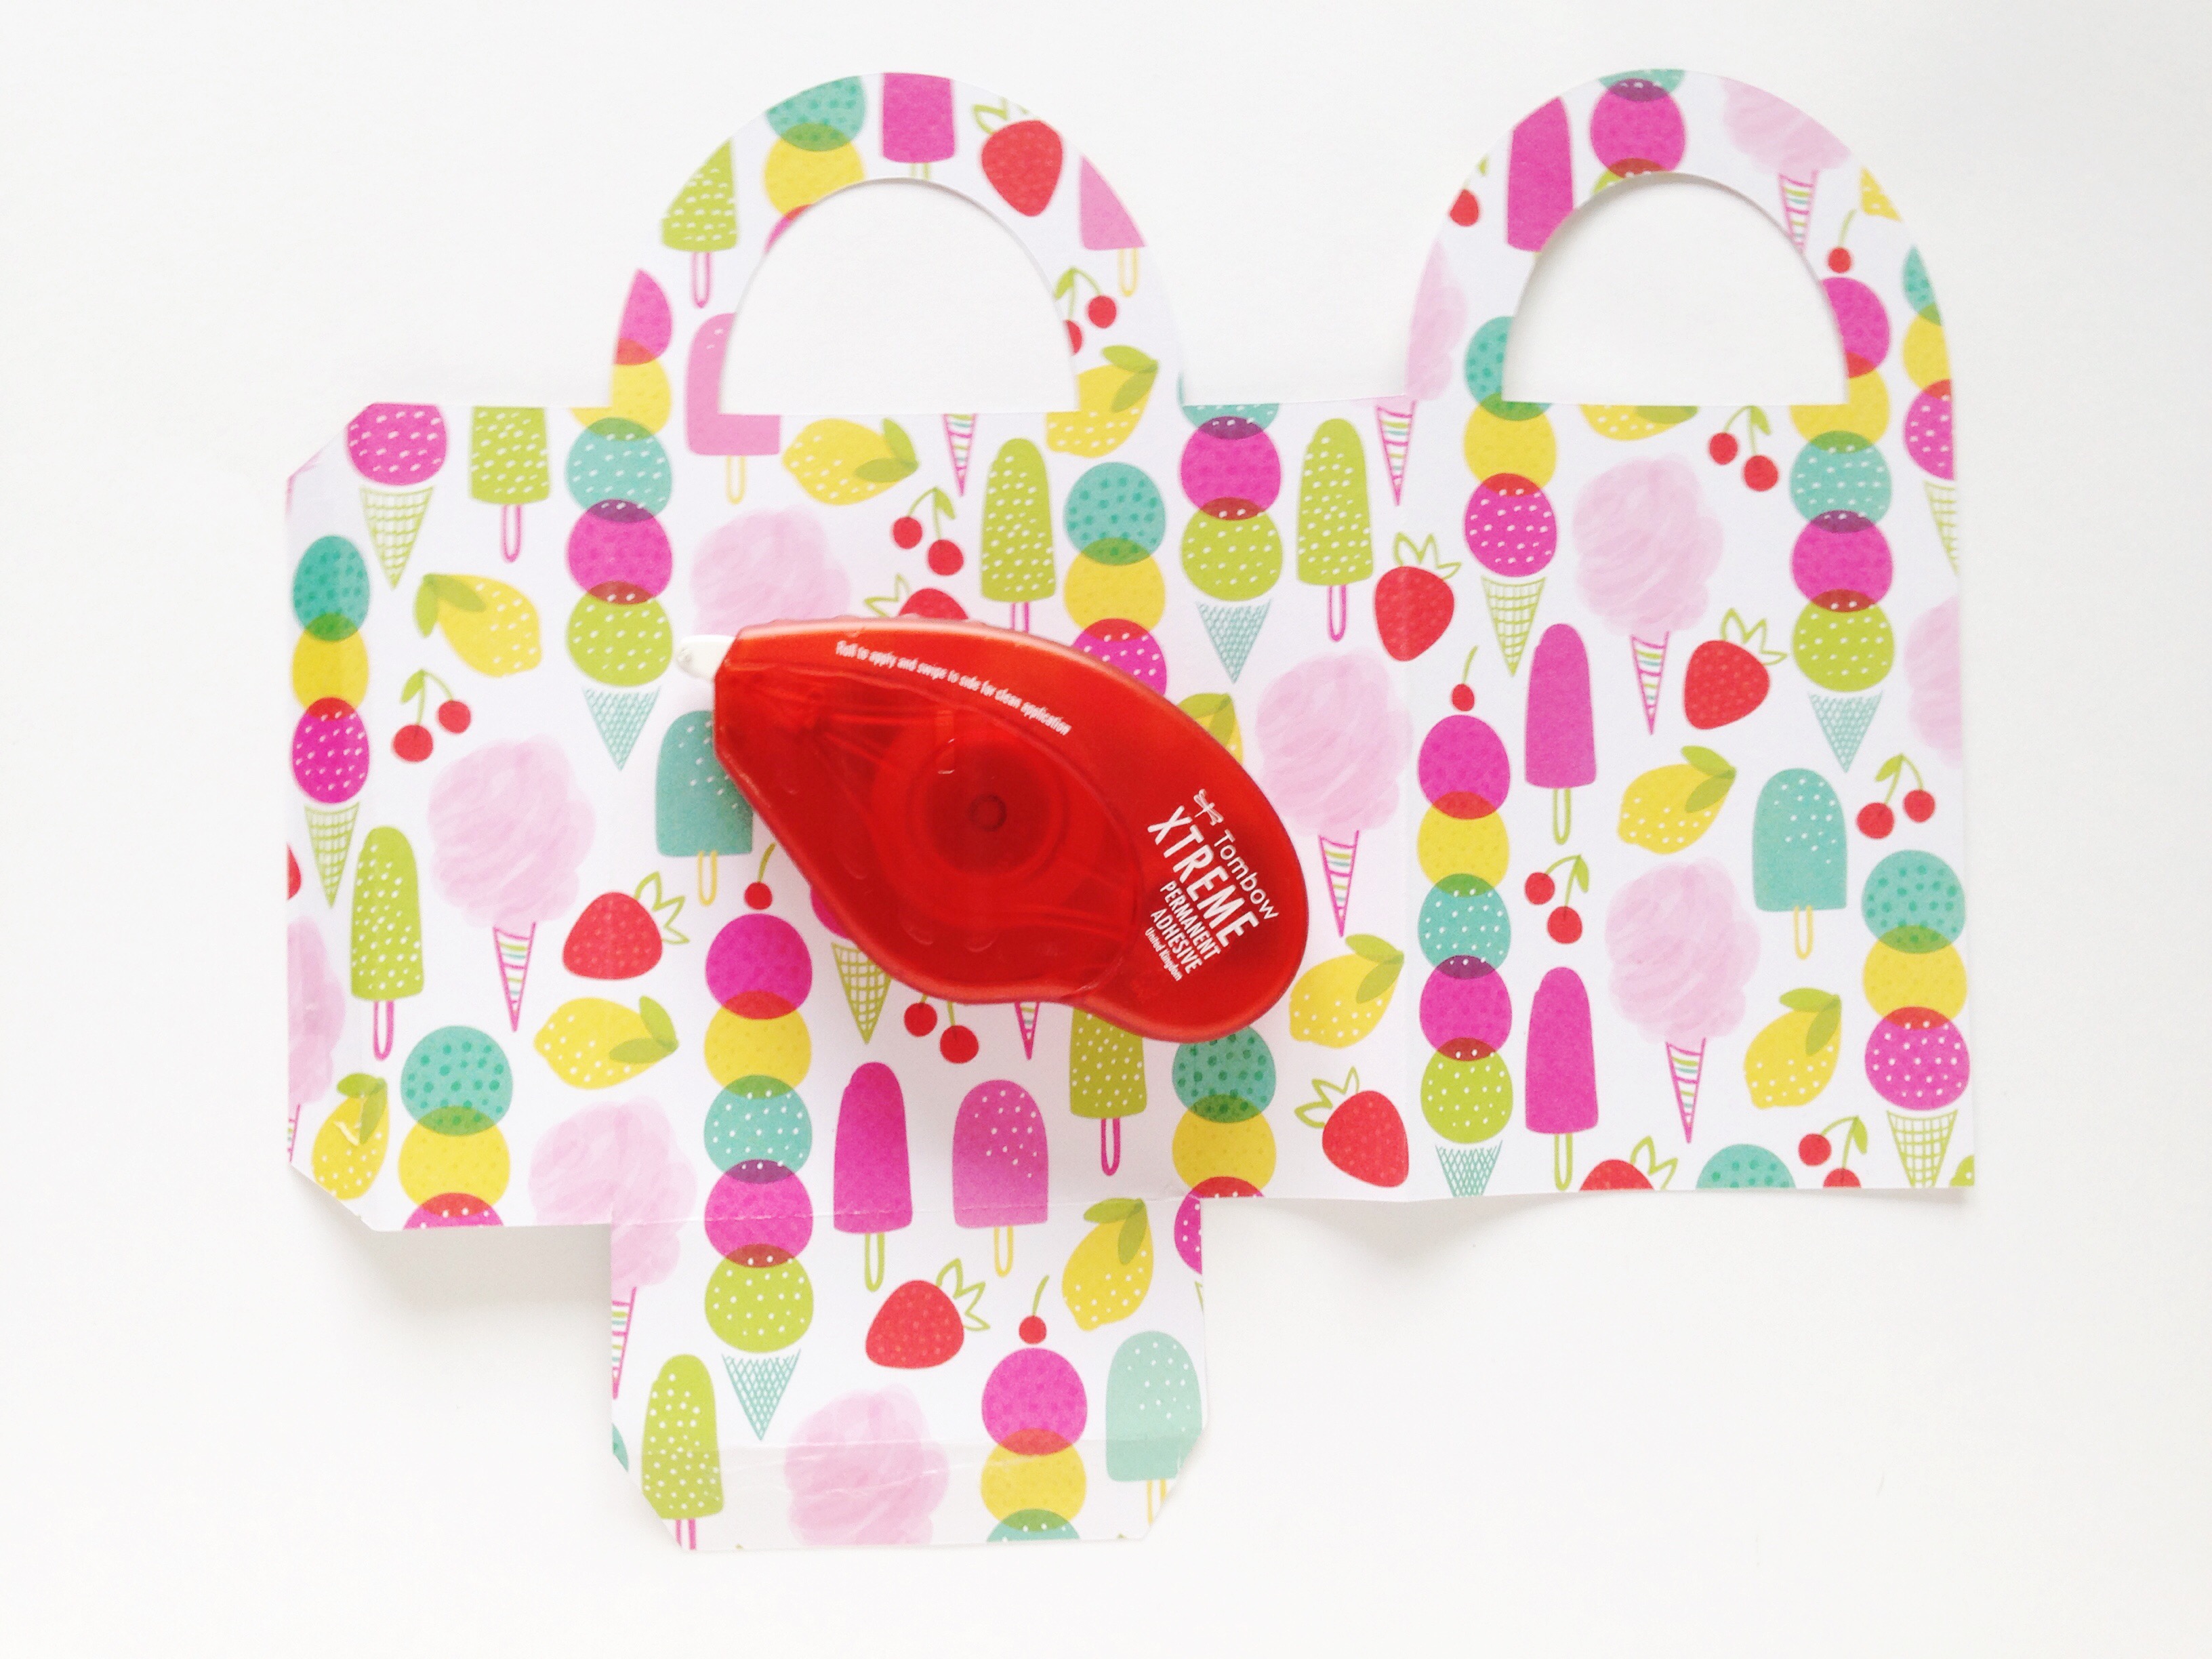
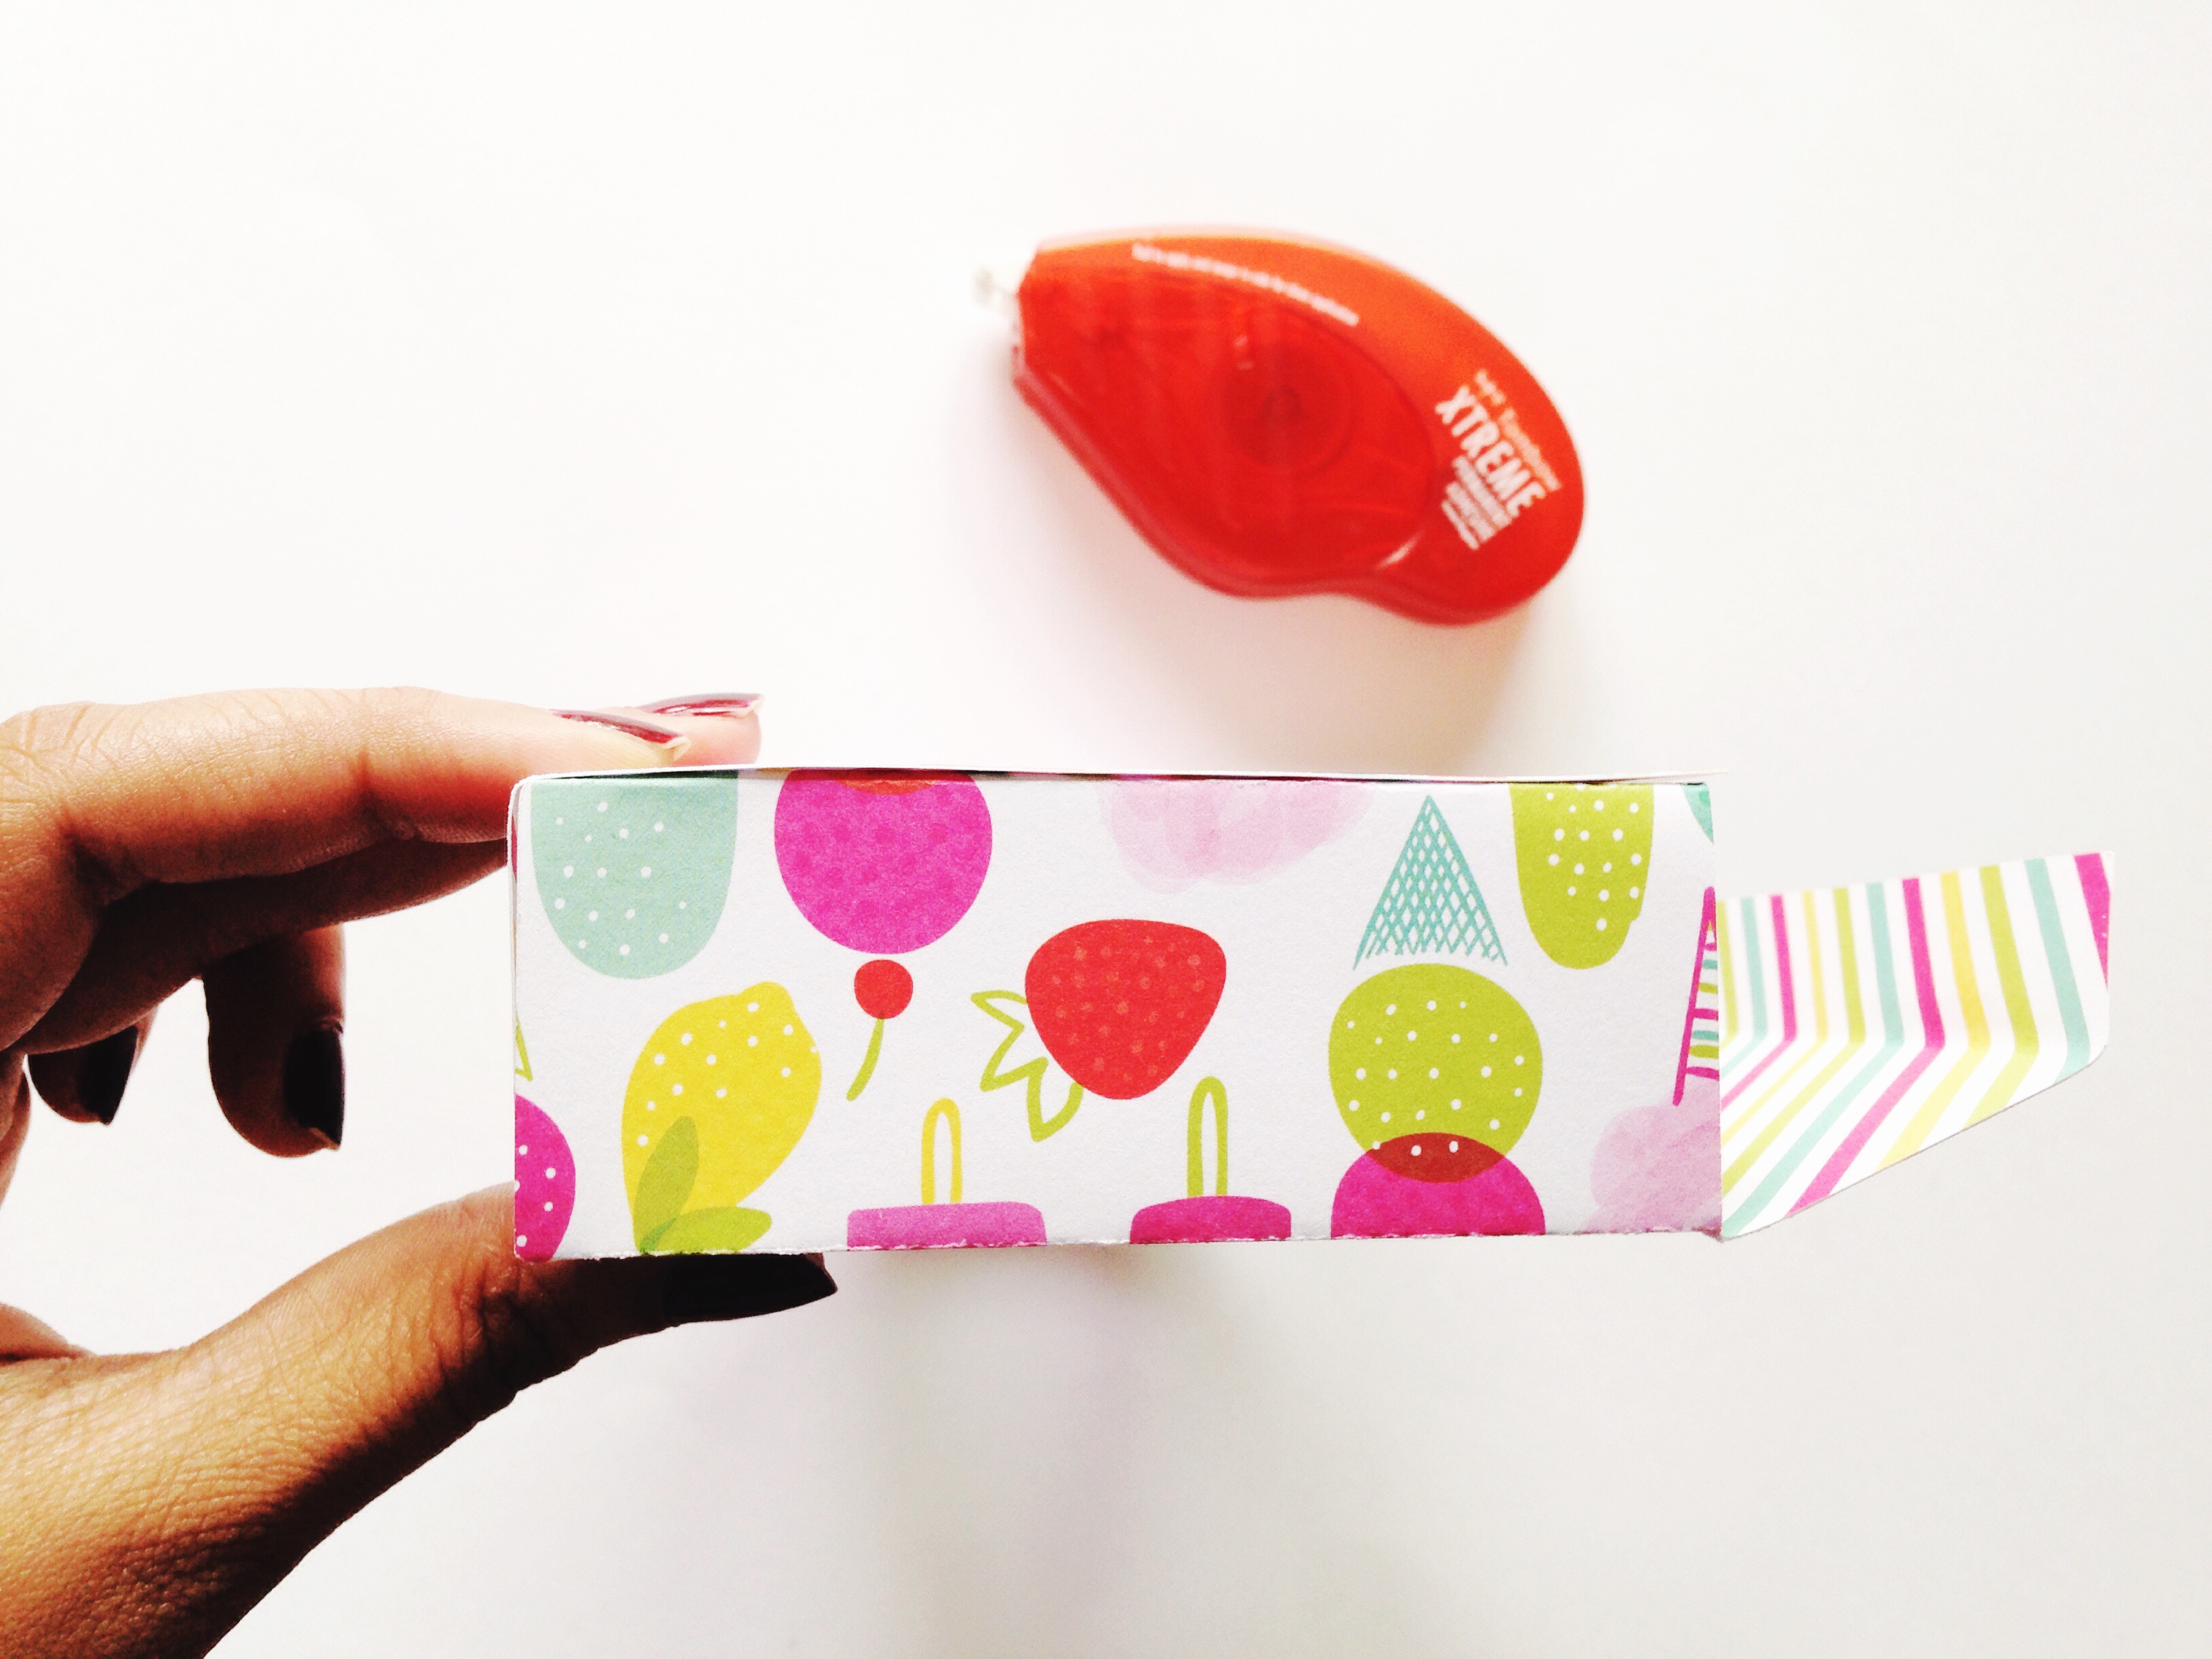
The important step while making these bags, is choosing the correct adhesive. You want to use something that is strong and will hold the weight of the bag’s contents- and the Tombow Xtreme Adhesive is perfect for this job! It creates a permanent instant bond and adheres the paper to paper.
And in a few steps you have a little gift or treat bag all done! How pretty are these? I added tiny labels to the front of each bag. You could also add pretty labels with your party guests name on it. Personalize them as you choose!
Let me know in the comments below if you enjoy making party paper crafts! I would love to hear more.
Happy Crafting,

These bags are so cute! Thanks for the tutorial!
Where is the paper pad from/ what brand is it?
Thank you 🙂
The paper pad is by DCWVinc!
Is the template for the bag in design space for the cricut?
Yes Sylvia, here is the link to the cut file https://us.cricut.com/design/#/landing/project-detail/11630
Awesome! Thank you
Pingback: DIY Custom Mother's Day Tea Gift Bag - Tombow USA Blog