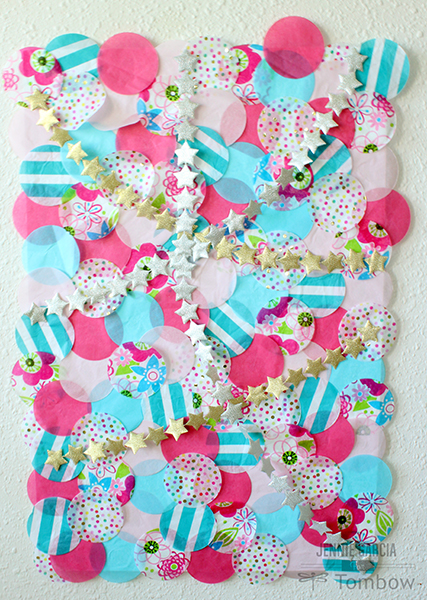
Hey everyone! This is Jennie. Lately every party has a little photo booth action, so today I have a quick DIY party photo booth backdrop project that you can reuse the whole year! I made a photo booth backdrop using a foam board and Tombow adhesives. This photo booth backdrop is small, making it perfect for selfies. If you want to make a bigger one you could use a presentation board and tape the sides so it’s one long board.
Step One:
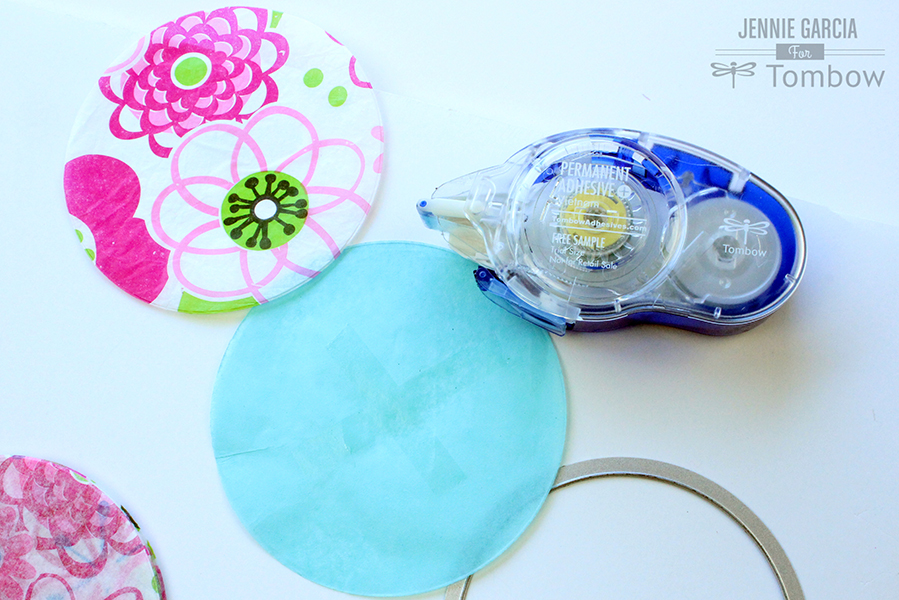
Cut a lot of tissue paper circles. Punches don’t work well with tissue paper so I used a Sizzix die. You can fold the tissue paper a bunch of times and run it through the manual die cutting machine a few times. It’s easier that way.
Step Two:
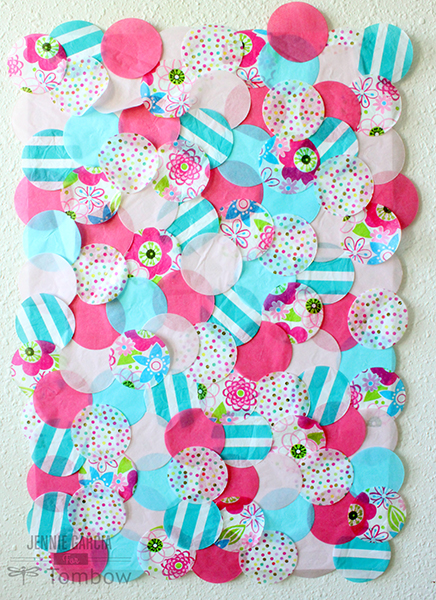
Apply the Tombow Adhesive + Permanent to the center of the circle. This adhesive won’t show through the tissue paper. Just a little bit at the center does the trick. Don’t apply adhesive around the circle because you need to layer and slip other circles underneath. I didn’t have an exact pattern, so just try to distribute the pattern an evenly as possible throughout the board. You could also do half circles to create a mermaid pattern. Glue the circles starting at the top corner. Keep going until you fill the board.
Step Three:
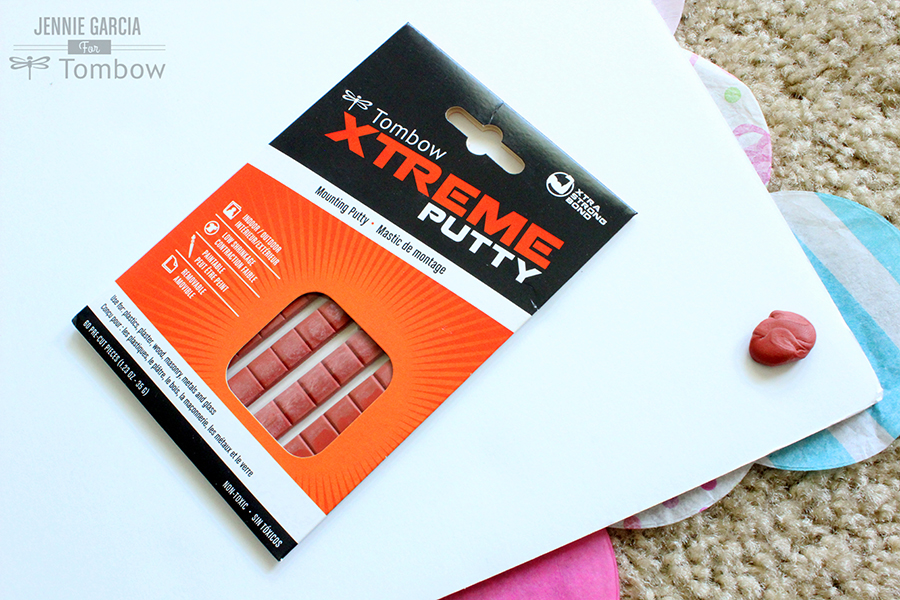
Use the Tombow Xtreme Mounting Putty to hang the board on the wall. That way it’s easier to add the rest of the decorations to the board. The cool thing about the Mounting Putty is that you can remove it and reuse it! This product is the main reason why this project is portable and reusable. It’s also super strong! The board will be secured to the wall until you remove it. No oops in this party!
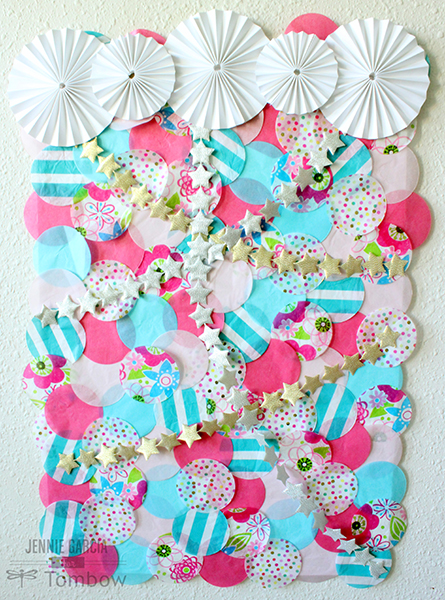
You could trim the borders to make it look cleaner. I like the messy bubbly look so I left it like that!
Step Four:
Add extra decorations like this star trim. To glue it I used the Tombow Xtreme Adhesive Tabs. If you need to add more Tombow Adhesive + Permanent you can do it now since all the spaces on the board are filled.
Step Five:
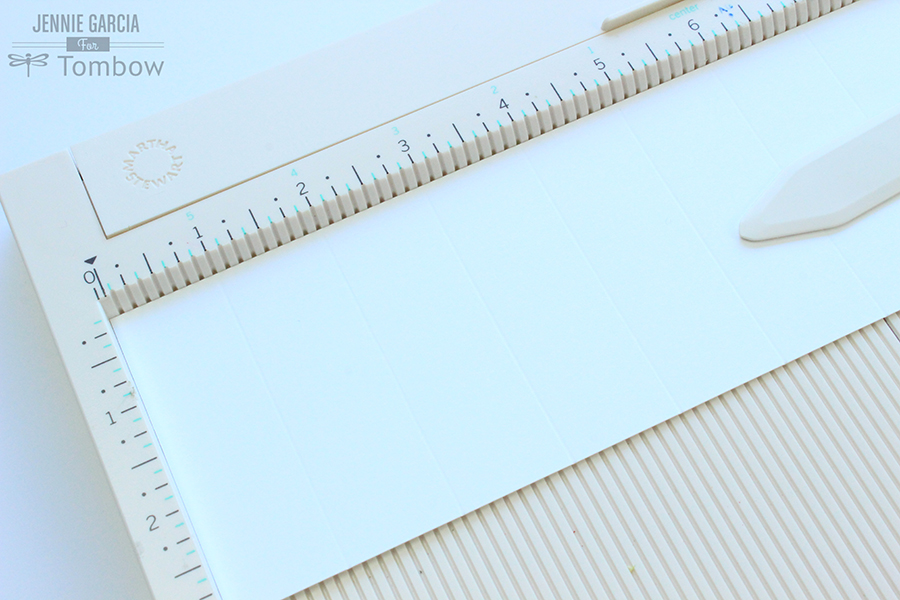
Make the Rosettes! I did 2 different sizes. For three of them I used strips of 12×3 paper. To make the other two I used 12×2 papers. You need 2 strips of paper for each rosette. You are going to score at every inch. Then flip it over and score at every half of an inch.
Fold them and apply the Tombow Xtreme Permanent Adhesive to the end of the paper to connect the 2 strips of paper.
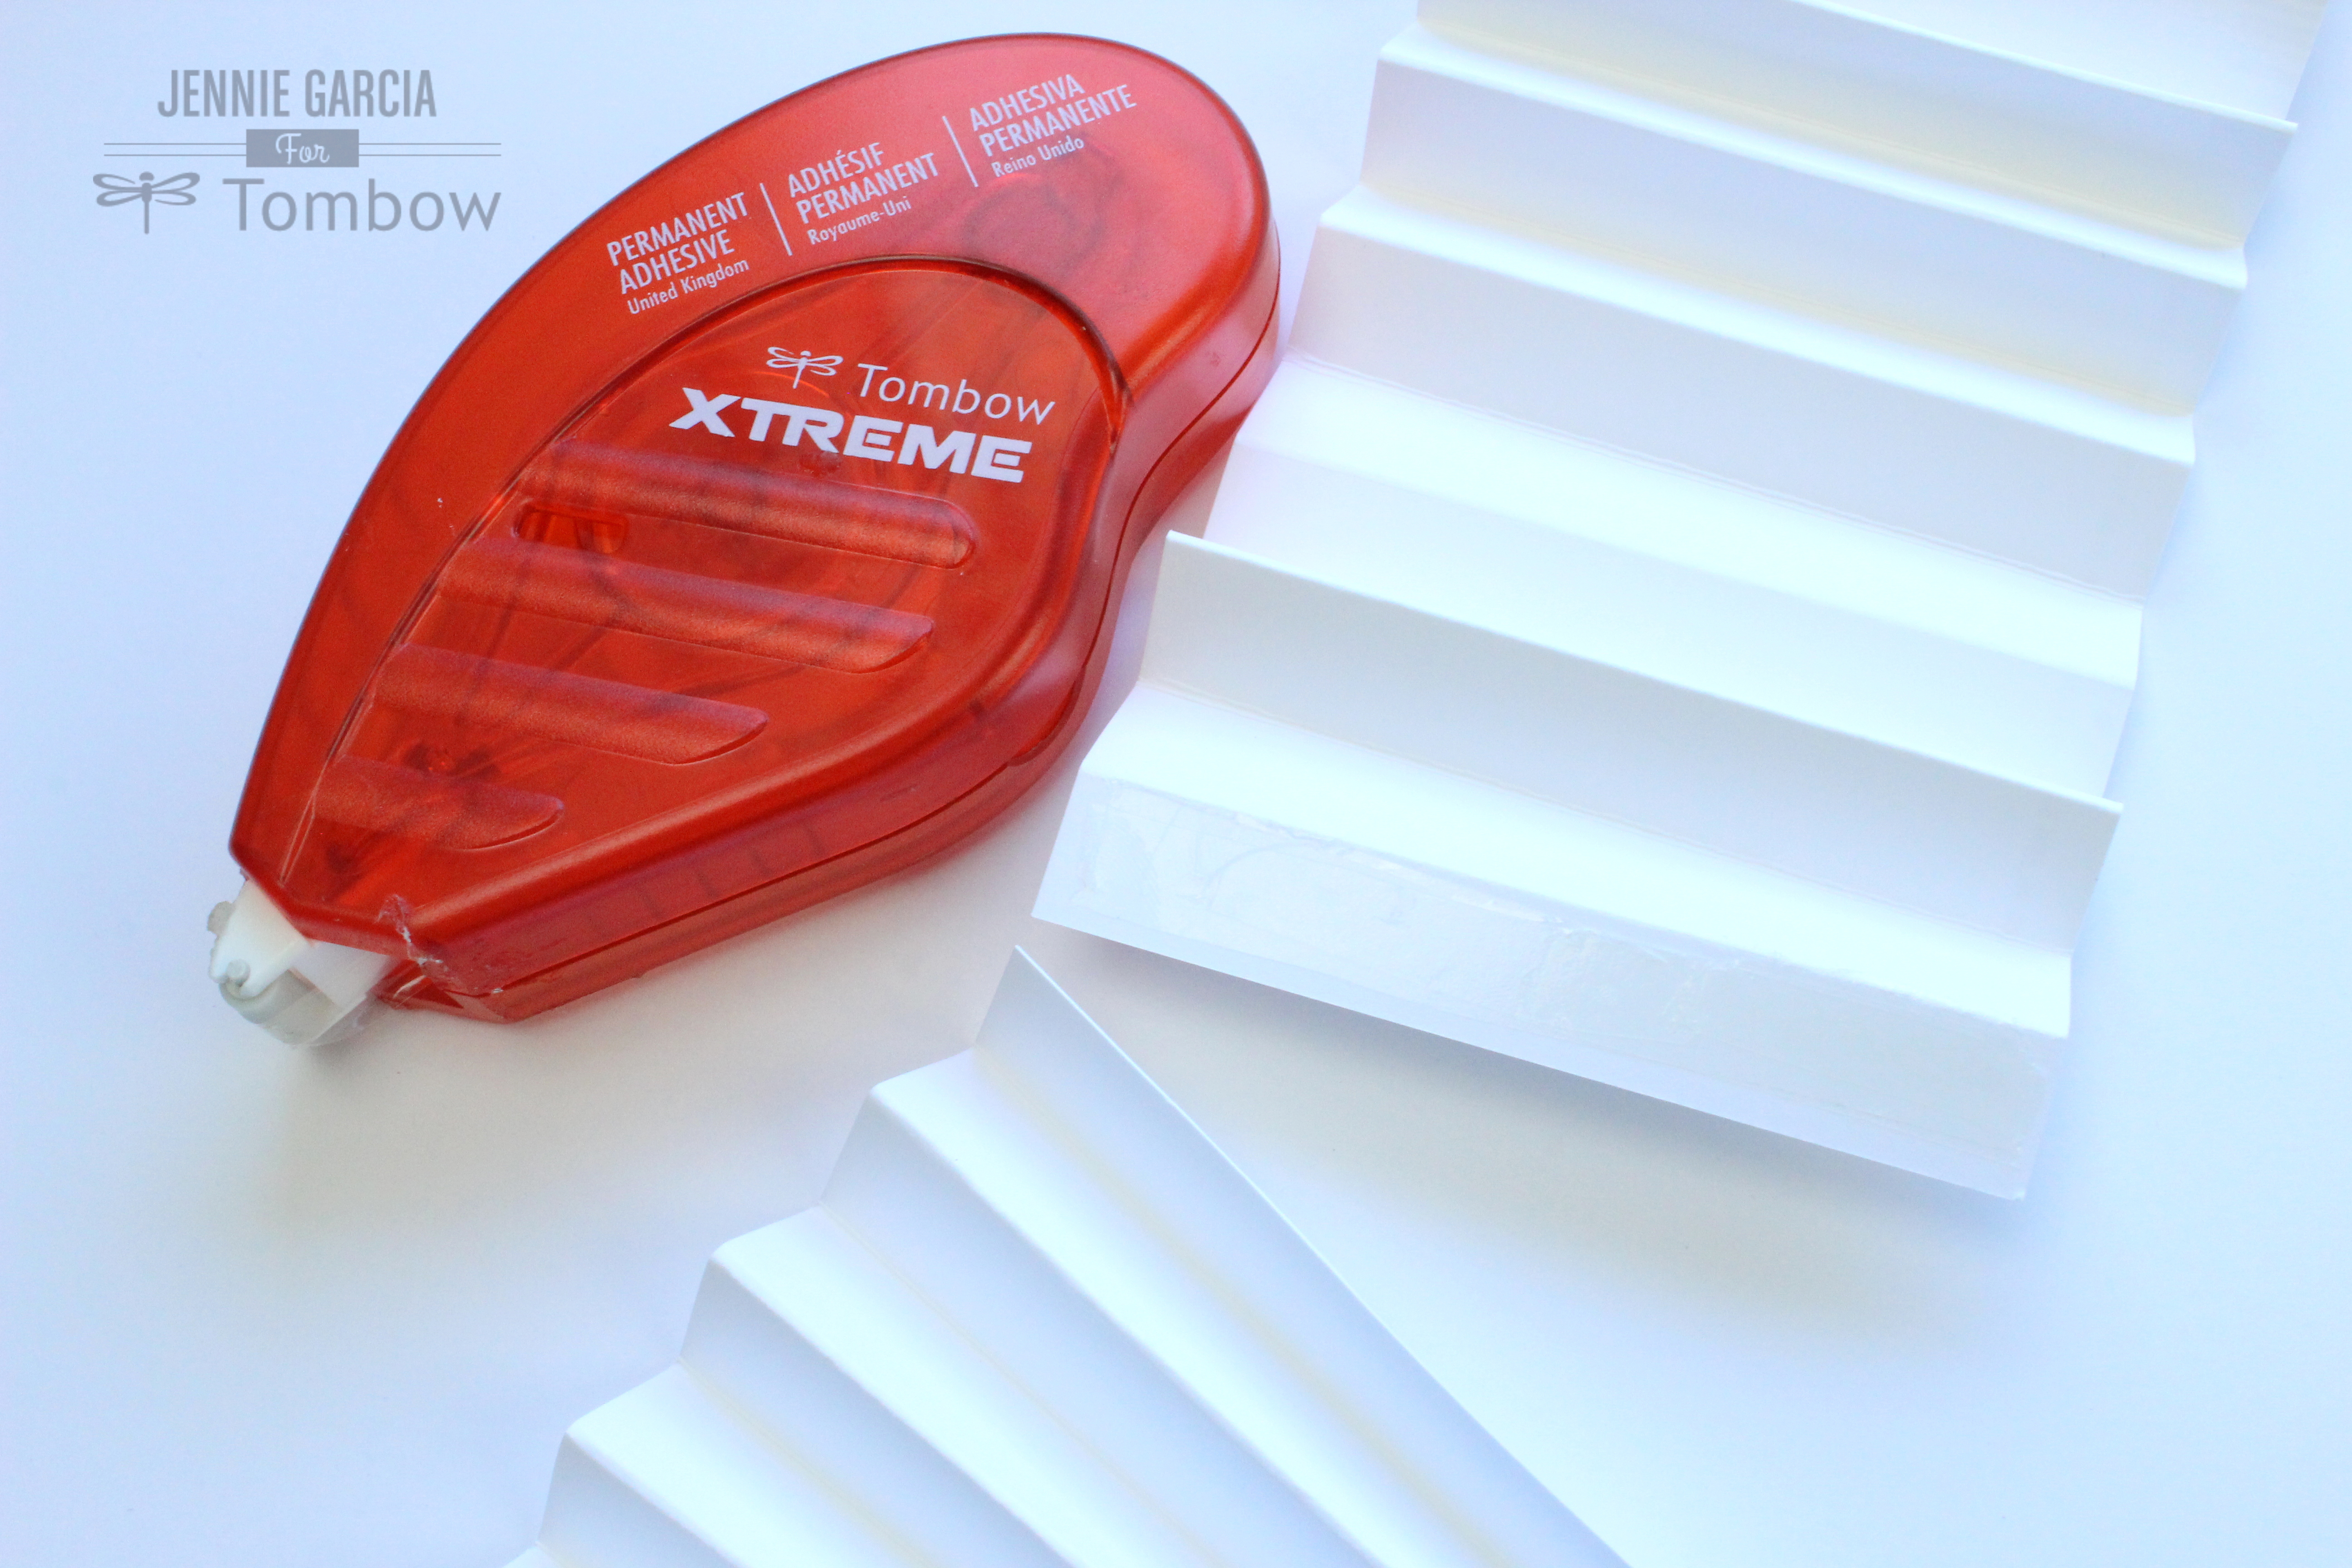
When you push it down it will take the shape of the rosette. Apply the Tombow MONO Multi XL Liquid Glue and hold the rosette in place. Put something heavy on top while it dries so you don’t have to hold it.
Step Six:
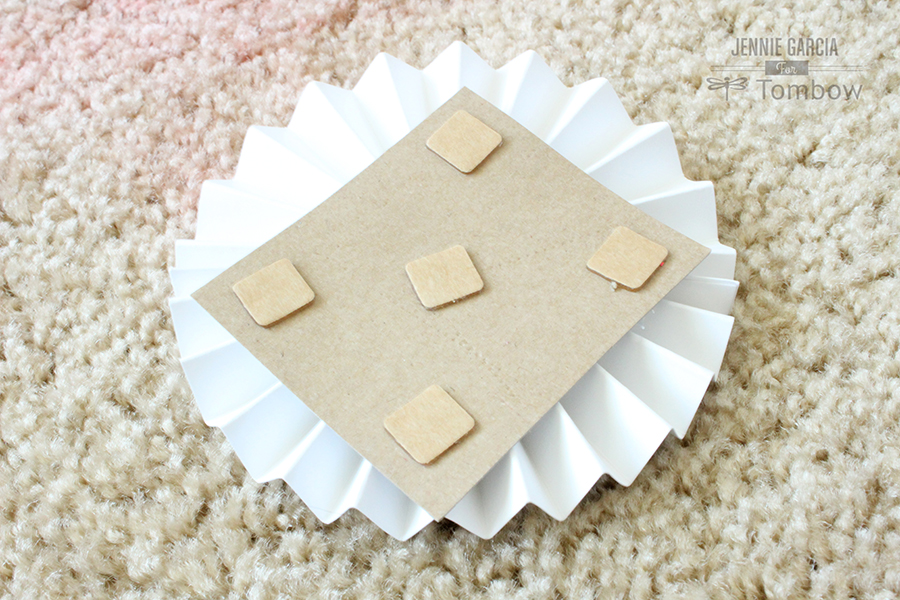
Glue the rosettes in the board using the Tombow Xtreme Adhesive Tabs.
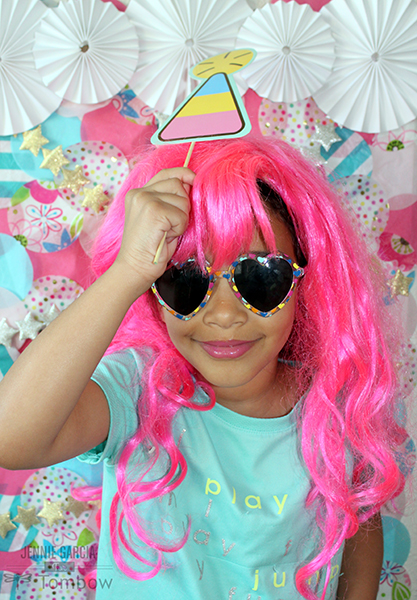
I chose to make the rosettes white because the board already had a lot of colors. It’s ready! Get your selfie stick!
Get your party props and start snapping!

I hope you enjoy this DIY party photo booth backdrop project! If you try it make sure you share it with us @tombowusa and @jenniegarcian.

Pingback: Easy DIY Ceiling Party Decorations With Circles - Tombow USA Blog