Hi everyone! You know when you have a project in mind and it comes out better?! This is that project! I’m Jennie and I’m a lucky girl! Our friends from Cricut are so amazing that they sent me a Cricut Explore Air 2! I’m going to share a super easy customized cup tutorial!

For this project I suggest white paper like the one in this Rhodia Pad and a black marker. You can use the Black Tombow Dual Brush Pen, any Tombow Fudenosuke Calligraphy Pen or even the Tombow MONO Twin Permanent Marker.
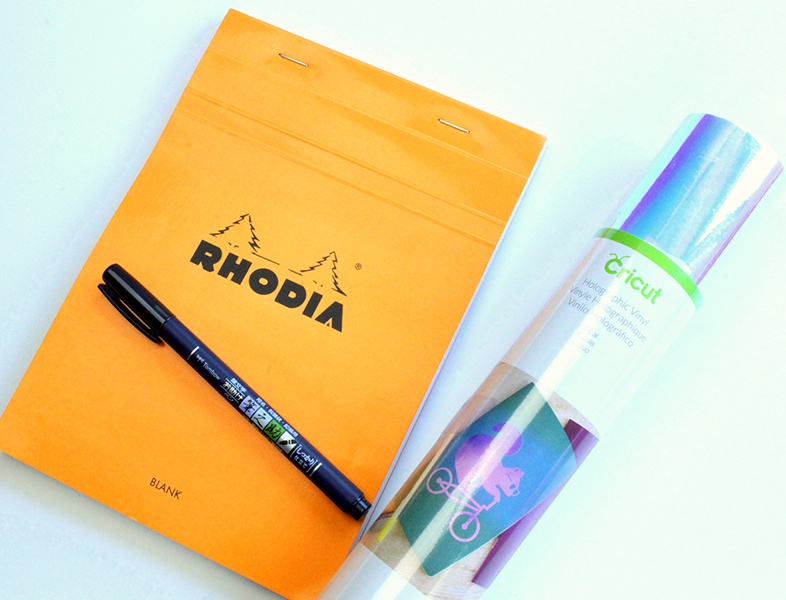
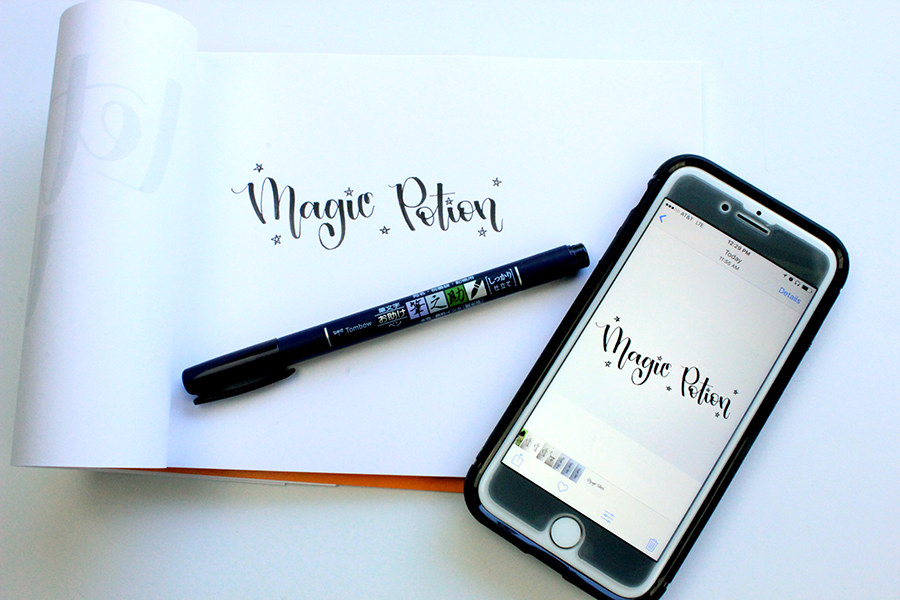
I used the Tombow Fudenosuke Calligraphy Hard Tip Pen. I like the Hard Tip Fudenosuke because I like my upstrokes super thin. Then I took a photo with my phone. Nothing fancy, I just made sure I had enough light. I also used the PicTapGo app to add even more contrast and crispness to my photo. After editing I emailed this photo to myself.
Once the photo is in the computer, open the Cricut Design Space. On the left at the bottom, you are going to click Upload. Then you are going to upload your image.
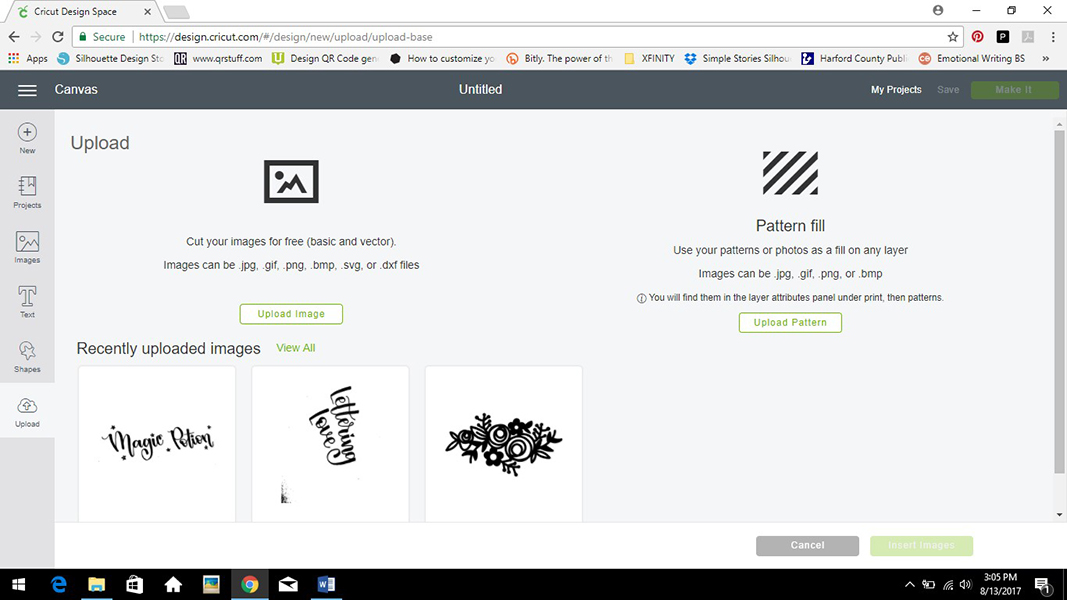
The Cricut Design Space will ask what kind of image you selected. Let’s keep it Simple!
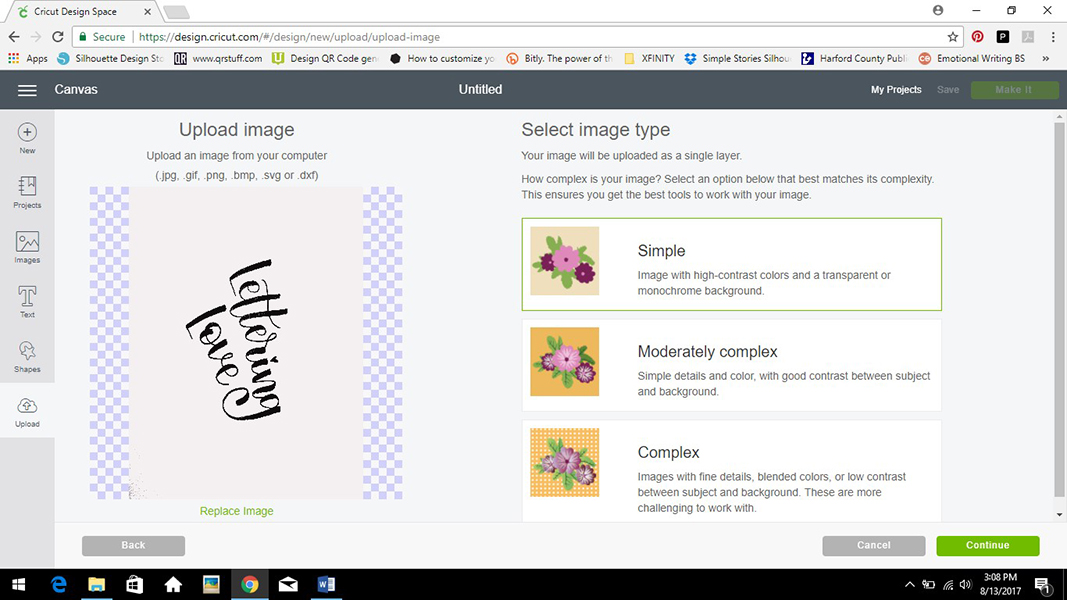
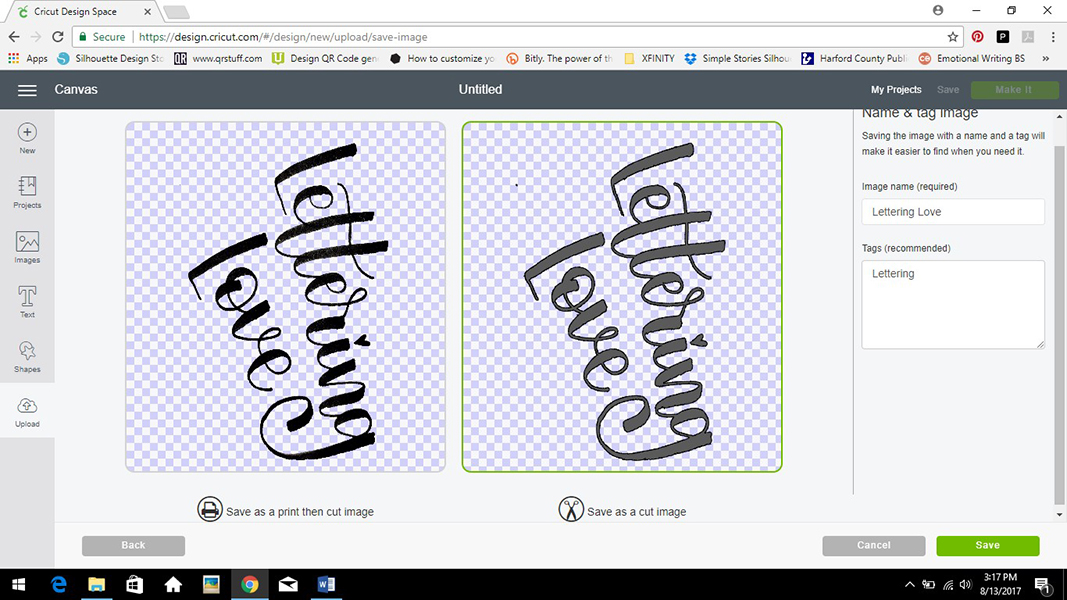
Now you are going to clean your image so you can cut it. You are going to click on the white spaces to eliminate the paper from the image.

When you erase it, you should see this pattern behind your image or lettering.

Don’t forget the little spaces inside the letters. When you are done press the green button that says “Continue”. 
Now you can save your image to Print & Cut or just Cut. Insert the image in the project, adjust size and placing and get ready to cut!
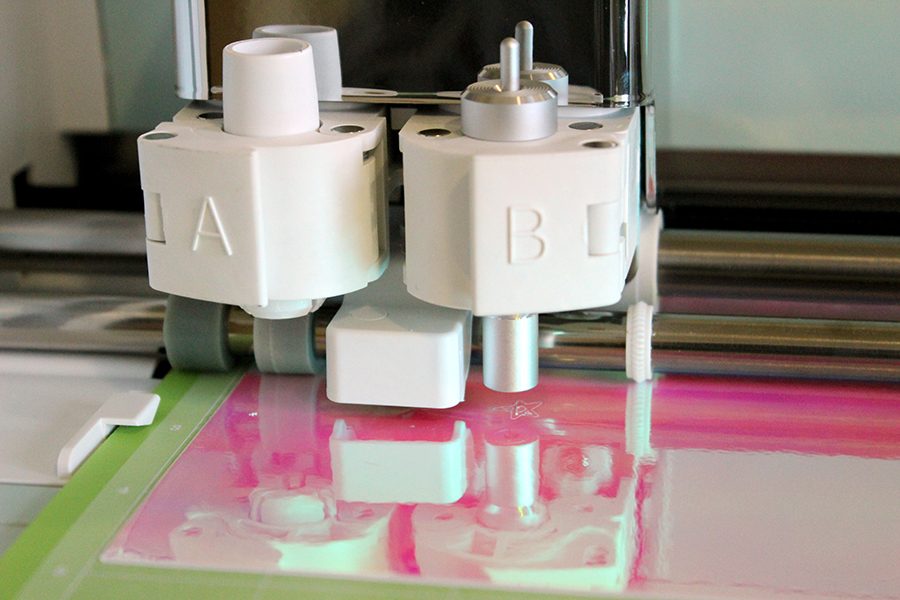
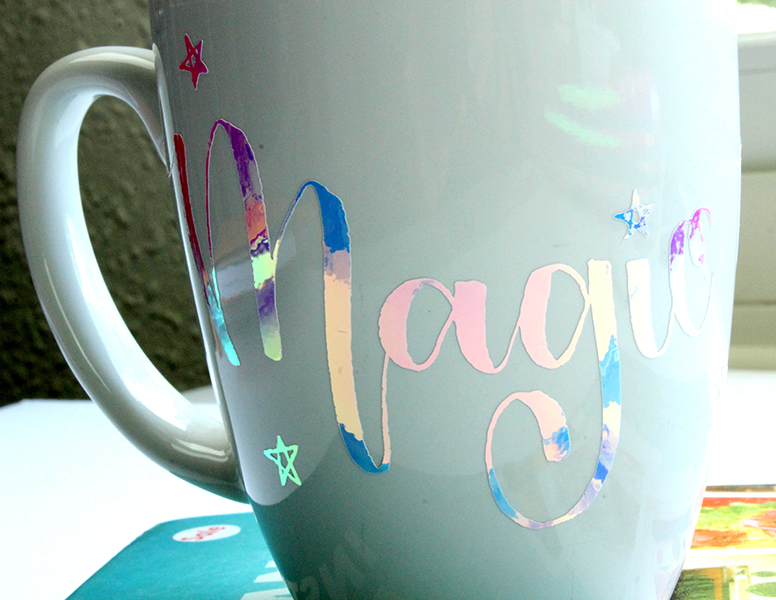
When it was time to cut I got worried about the fine lines that I love so much but this little machine got the job done! Cricut Vinyl has over 40 colors and styles and this beauty is Holographic Opal.
From your sketch book to the cutting mat! I think it was super easy to do! Now you are going to peel off the excess. To get the little bits out you are going to use the Weeder Tool from Cricut.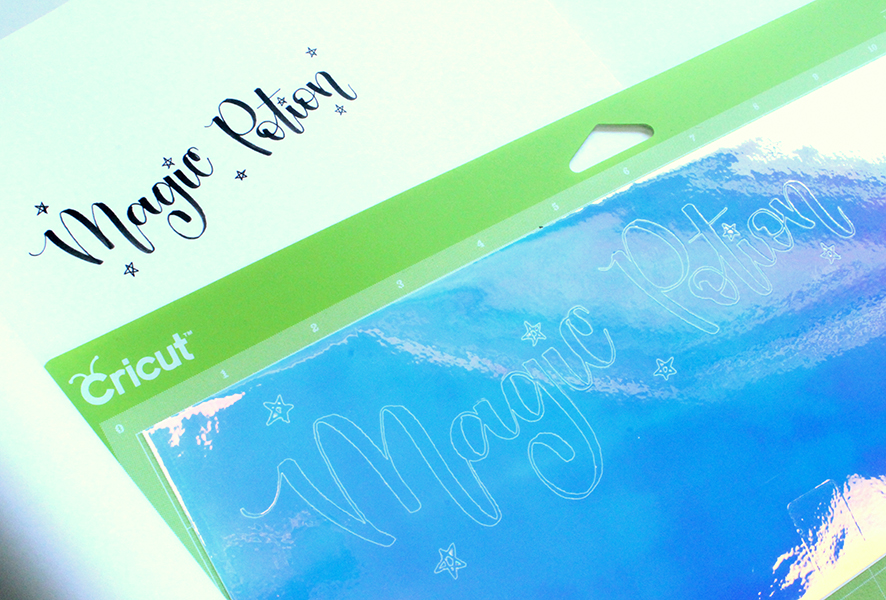
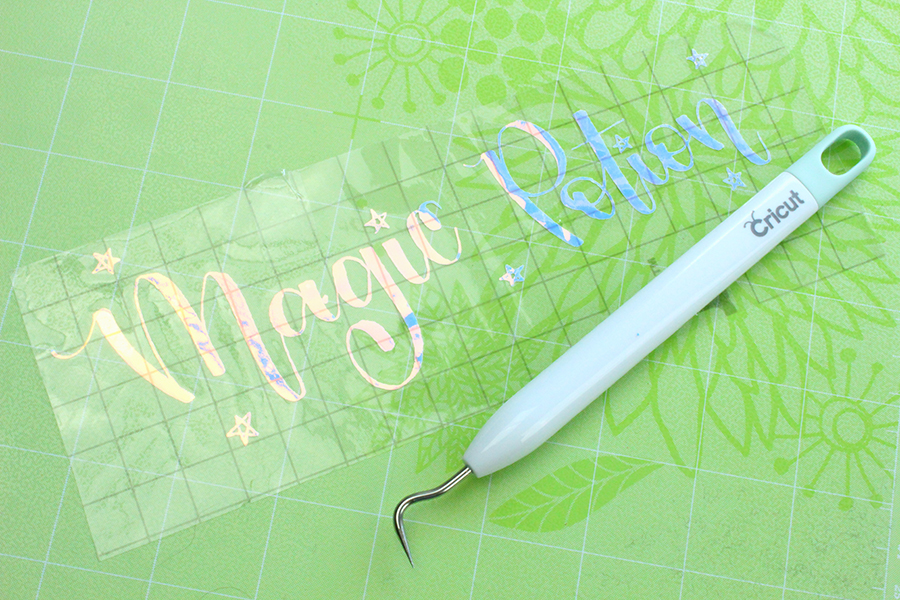
The Cricut Transfer Tape is perfect for these type of projects. It’s hard to pick a long skinny word like this without twisting it. After you remove the vinyl excess, place the Transfer Tape at the center and smooth it out to the sides. Use a craft stick to rub the word until it gets attached to the Transfer Tape.
Before cutting the word I measured my cup. Don’t get too close to the handles. Leave a little bit more than 2 inches. Use a craft stick on top of the transfer tape to attach the vinyl to the cup.

Check out all the colors in this vinyl!
The stars turned out perfect! They are around 1/4 of an inch. I’m going to use this same customized cup tutorial to make a cup with just tiny stars! 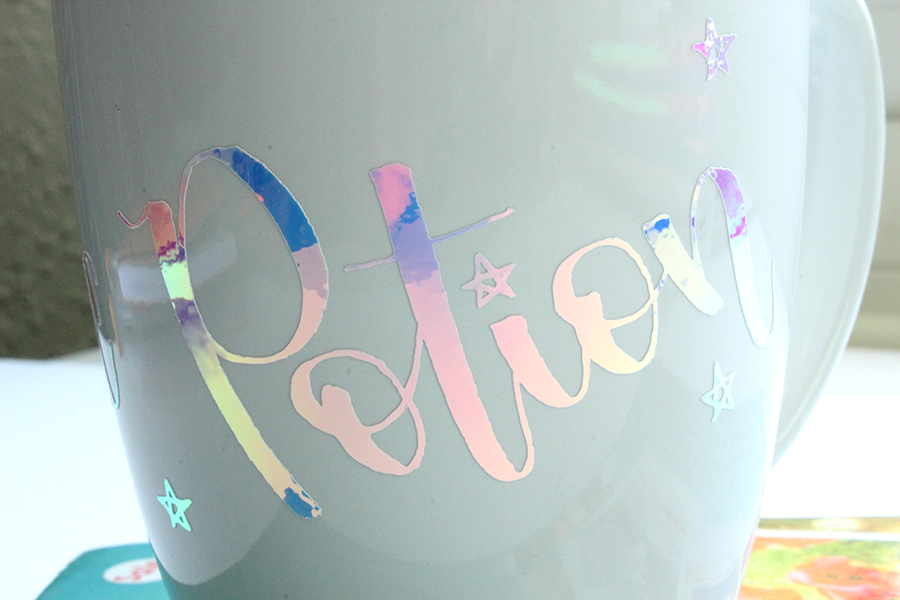
I hope you enjoyed this customized cup tutorial! If you try this tag me on Instagram @jenniegarcian! Make sure you follow me because I want to make a lot of them! #vinylallthethings!