Hi Tombow friends, it’s Dani from @popfizzpaper with a fun tutorial showing you how to make a mini travelers notebook happy mail! Making things to send to my friends is one of my favorite ways to get crafty, so when this week’s blog prompt was happy mail, I may have gotten a little excited. Today’s post has a step-by-step video that you’ll want to watch so you can learn how to make this project.
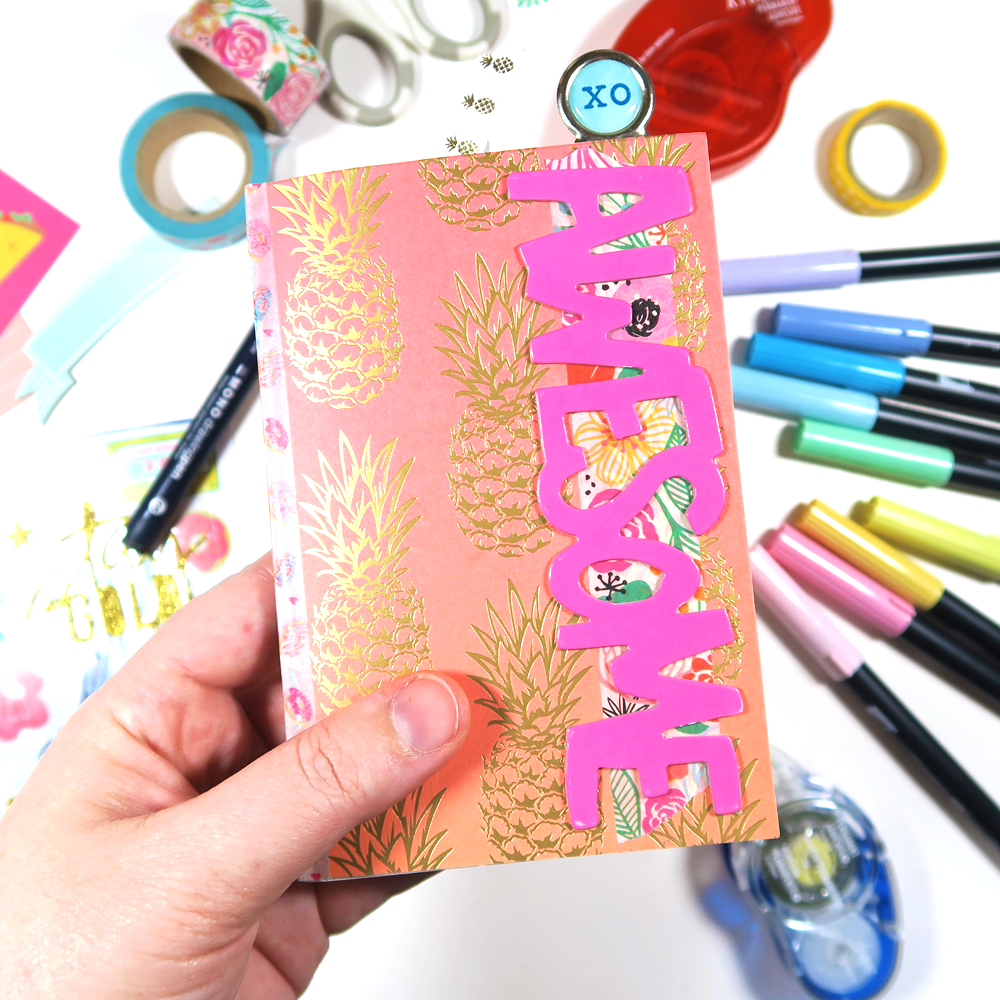
SUPPLIES:
- Scrapbook paper
- Cardstock
- Tombow Xtreme Adhesive
- Tombow Dual Brush Pens (I used the new Pastel set!)
- Scissors
- Stapler
- Bone folder
- Scrapbooking or papercrafting embellishments like washi, stickers, diecuts, etc
- Any other crafty tools you like to use, like a mini stapler, stencils, dies, etc.
Below you’ll find some close up shots of my favorite pages in this book. I really love using the Tombow Xtreme Adhesive for projects like this. It holds up really well and keeps things exactly where I want them, which is especially important for things going through the mail. You don’t want things flying off and getting messed up before it even gets to your friend!
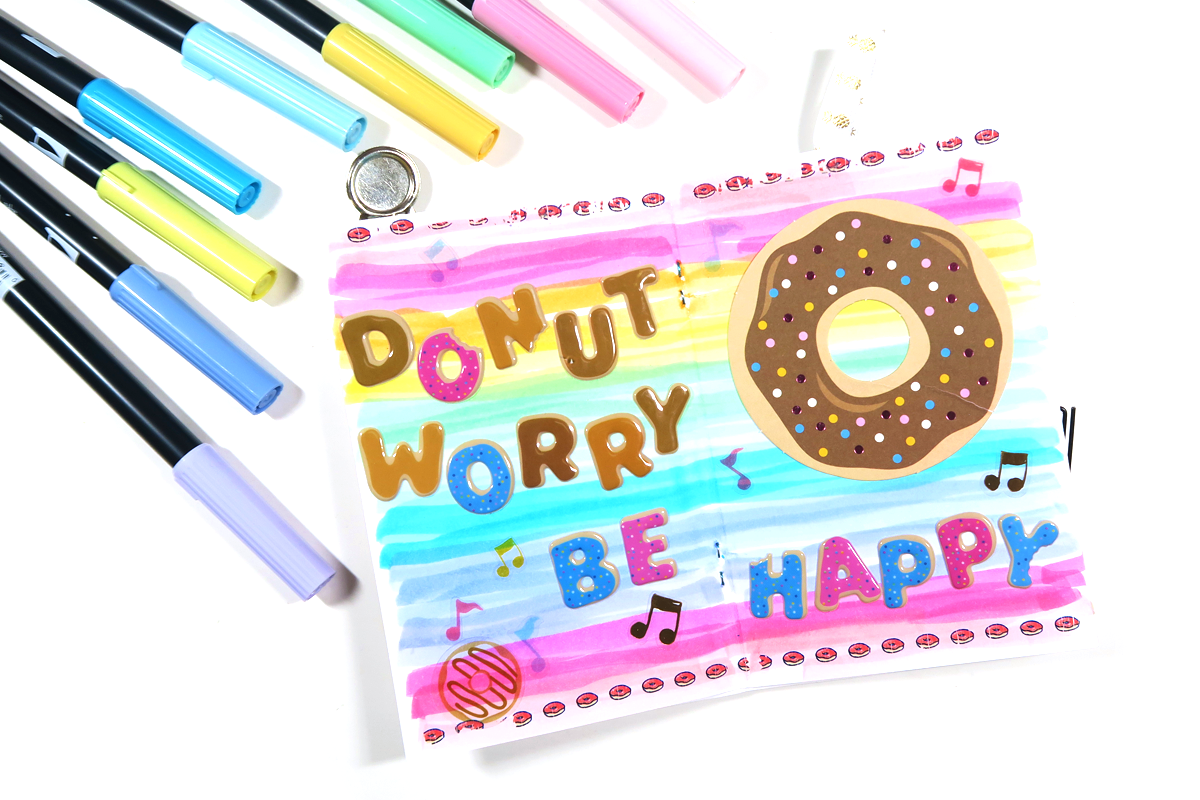
Donut worry and be happy! What better way to say it than with puffy, sprinkle-y stickers? I created the background for these pages with the new Tombow Dual Brush Pens Pastel set! They created a perfect backdrop for my sweet message. 😉
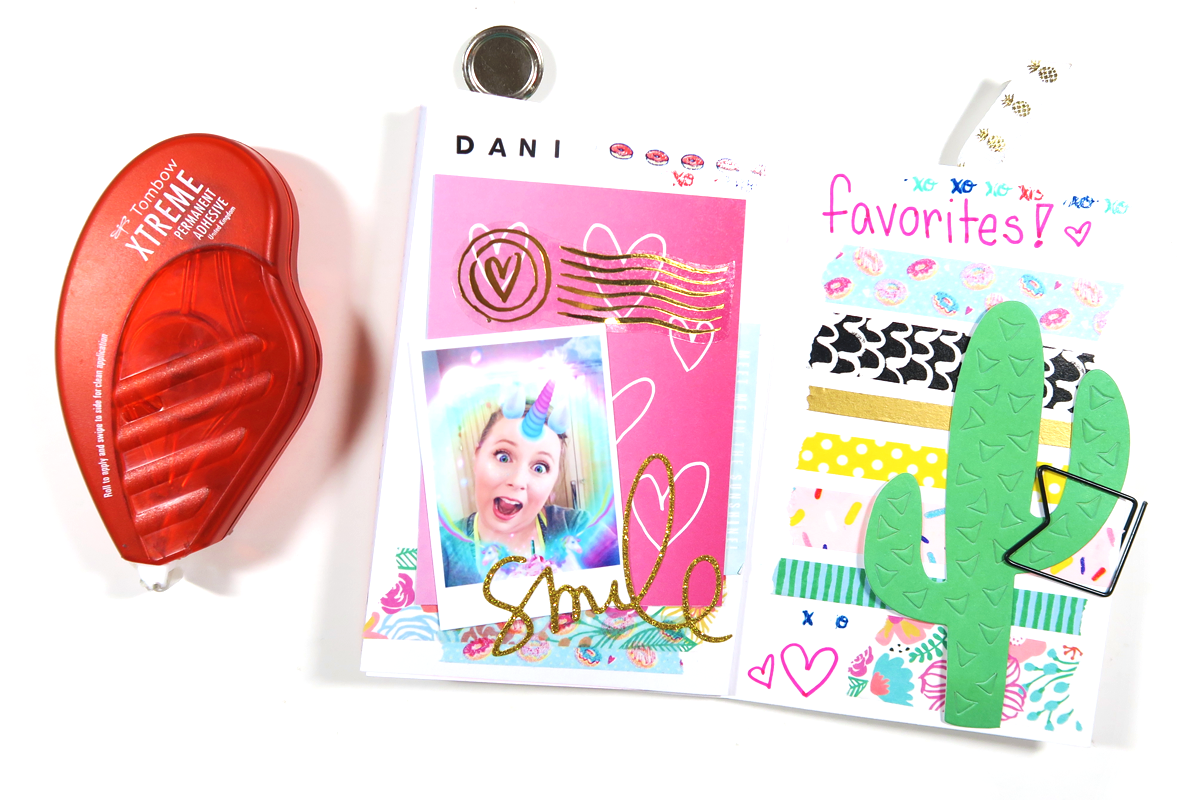
Washi samples are always fun to share, and so are silly selfies!
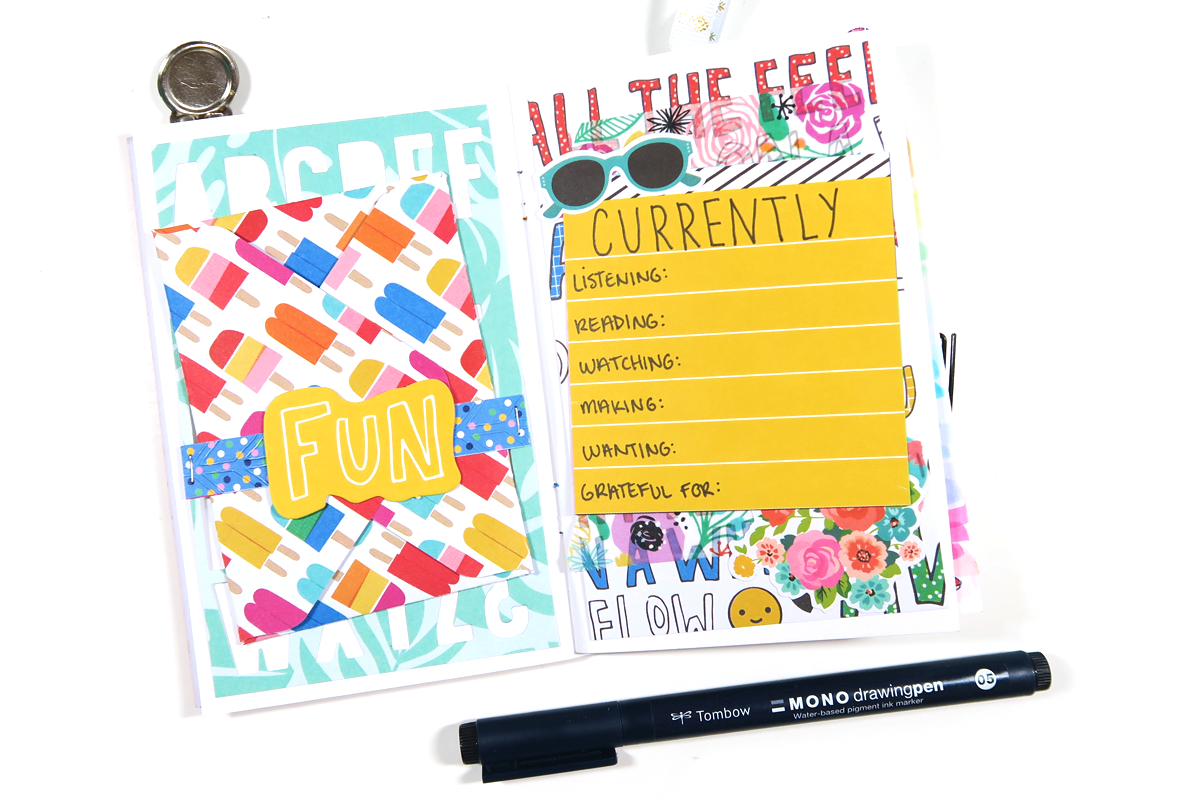
A “currently” card or page is one of my favorite things to add to happy mail! It lets your friend see a bit more of what’s going on in your day to day life.
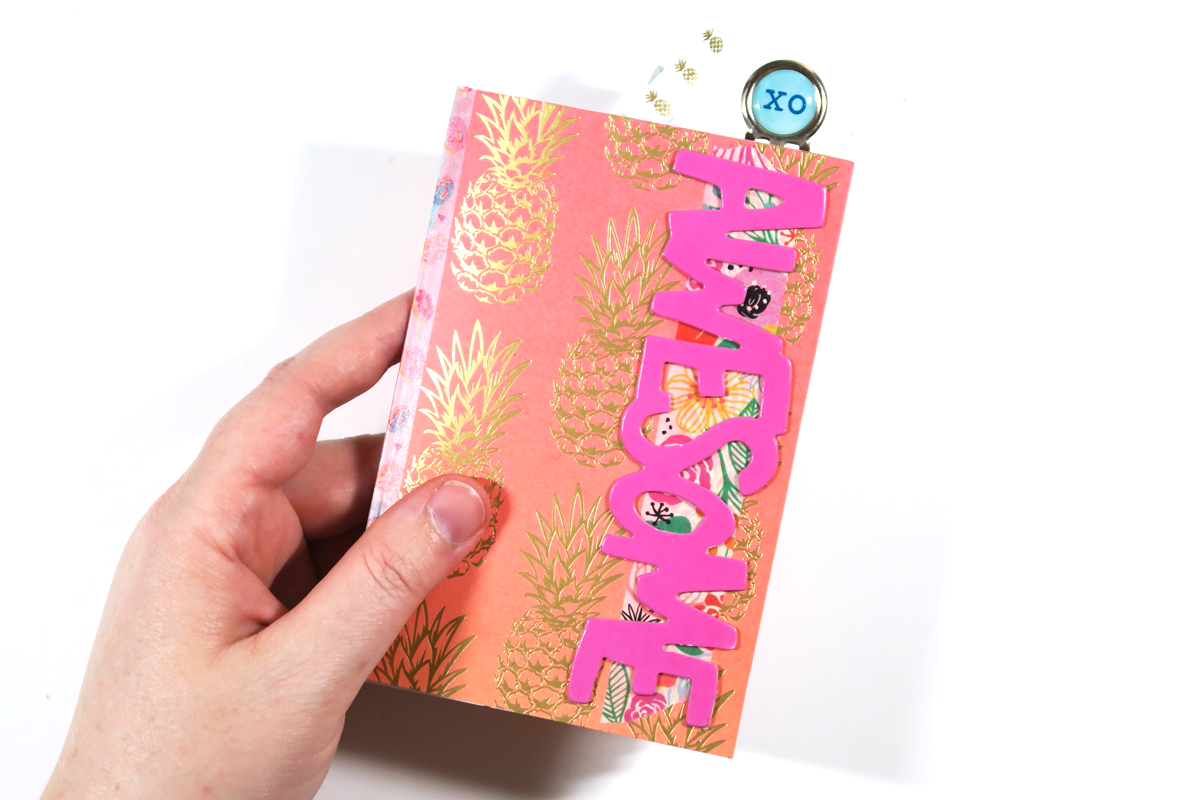
And that is it for today’s post! I hope you enjoyed this tutorial and got some happy mail inspiration. Thank you for following along! Make sure to check out this flipbook post by Serena for another fun happy mail project. And please tag me @popfizzpaper on Instagram if you make this travelers notebook project – I would love to see! Happy crafting!