Good Morning Tombow fans! Beth here on the blog today to share how to create happy mail envelopes 3 ways! I have several loved ones who are far away either at college or deployed overseas, so I am always sending notes and care packages. I think that those letters always mean more when they are personalized with crafty touches!
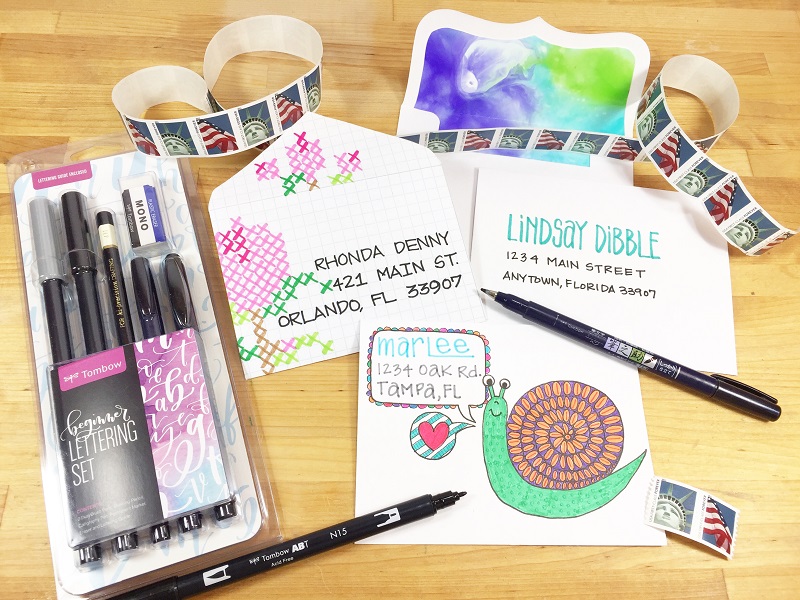
Envelope #1 – A Splashy Surprise
Pick your color palette of Dual Brush Pens. I selected one of my favorite combos 373, 606 and 173, then scribbled randomly on the Blending Palette and sprayed generously with the mister. Both items are from the Blending Kit. Place glossy photo paper on the Blending Palette, press and shift slightly, then peel paper away from palette to reveal the magic! Repeat as necessary. WARNING: The Splash Technique can become addictive!
Trace envelope flap on a plain piece of paper using MONO Drawing Pencil 4H grade. Outline 1/2″ INSIDE your pencil line with MONO Drawing Pen 05, allowing for the glue line and measure 2″ down into the envelope.

Cut out the envelope insert template, trace onto the dried splash paper, cut out and adhere to the inside of the envelope with Tombow Xtreme Permanent Adhesive.
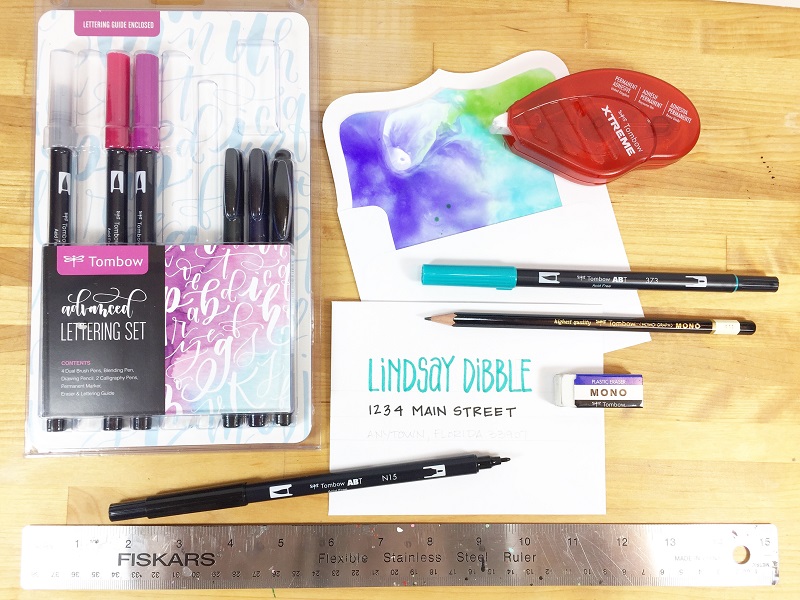
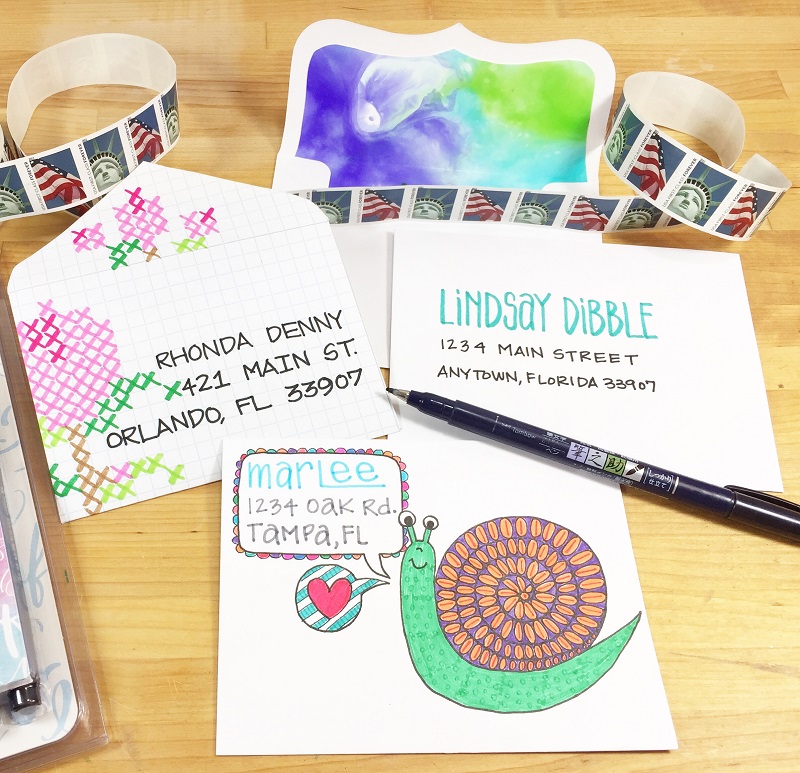
Address the envelope using the Advanced Lettering Set. Measure lines and sketch out address with MONO Drawing Pencil 4H grade. Ink in address with the brush tip of Dual Brush Pen 373 and bullet tip of Dual Brush Pen N15. Erase lines with MONO Eraser.
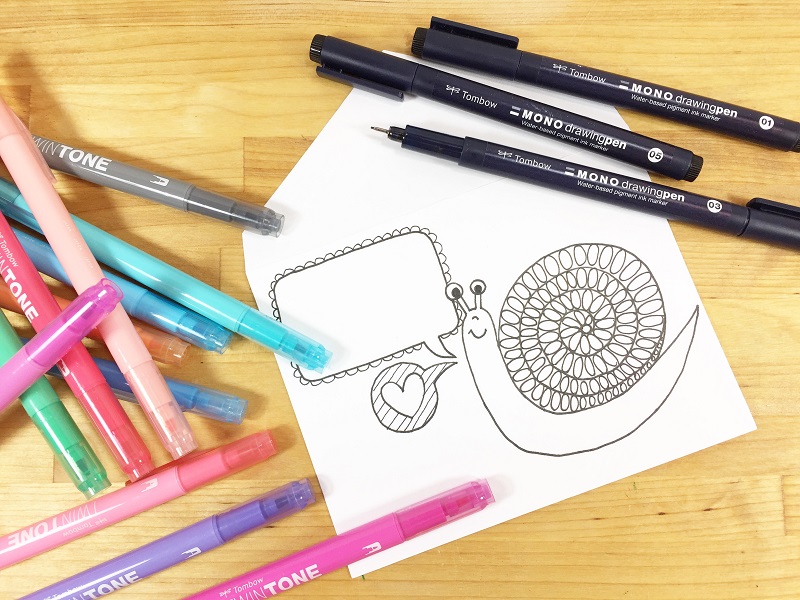
Envelope #2 – Snail Mail Doodles
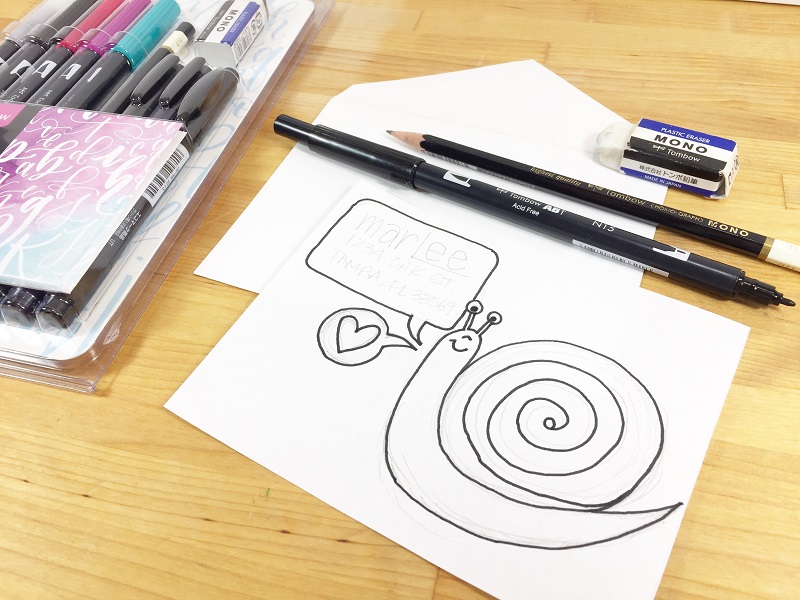
Trace the shape of your envelope on a plain piece of paper with MONO Drawing Pencil 4H grade and sketch out your design. Remember to leave space for the name and address, I forgot that part the first time, so I had to re-sketch! Fill in your drawing with the bullet tip of Dual Brush Pen N15, all of these items are from the Advanced Lettering Set.
Cut out sketch, slide inside envelope and place on the Cricut BrightPad then trace with MONO Drawing Pen 05.
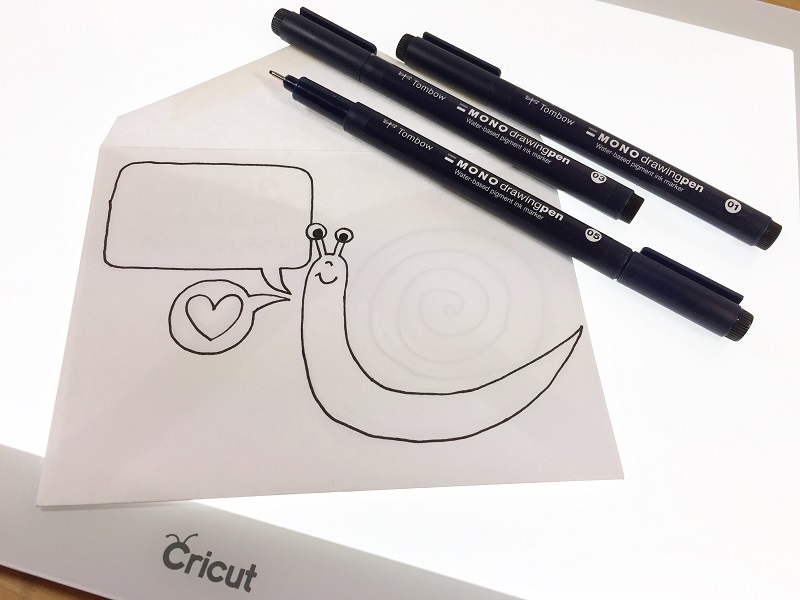
Embellish the line drawing with patterns using MONO Drawing Pens 03 and 01. I love the depth that variety of lines creates.
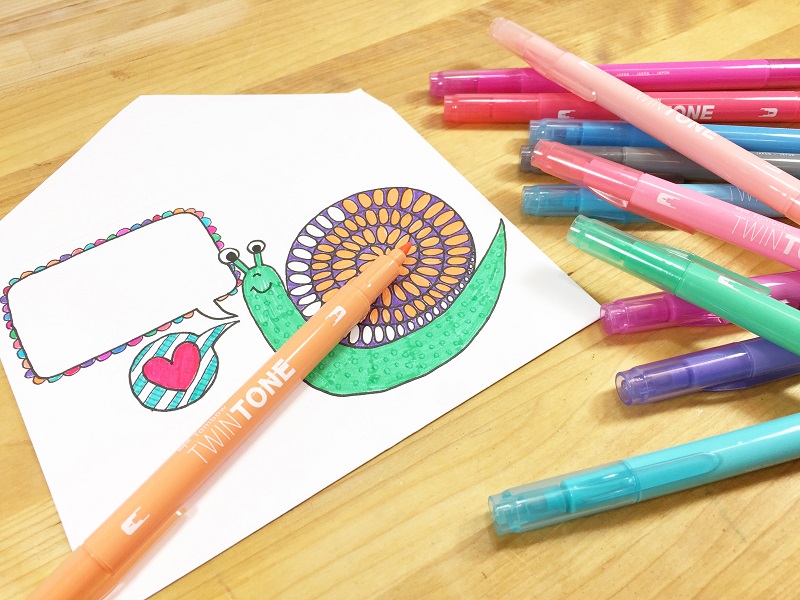
Color the Snail Mail illustration with the TwinTone Pastel Set of markers. I layered the medium and fine tips to create added texture and interest, then complete the envelope by adding in the name and address of the recipient in the bubble.
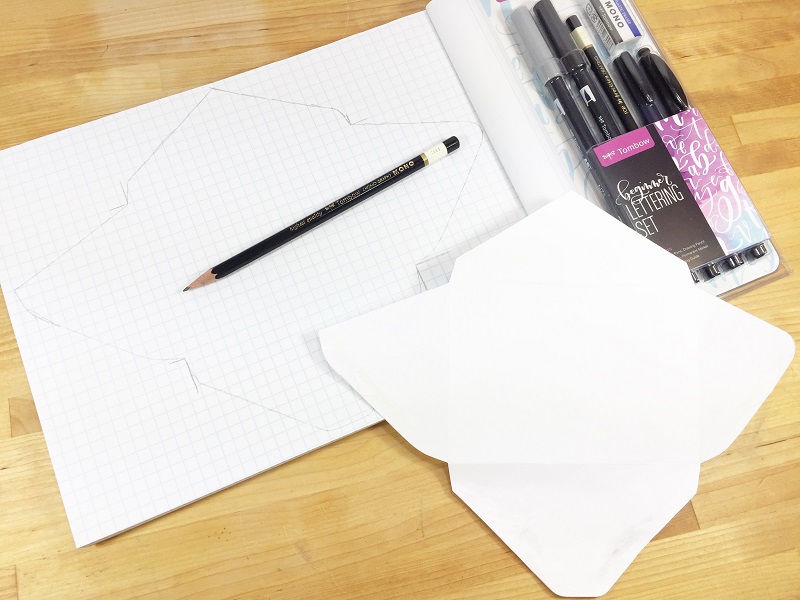
Envelope #3 – Faux Cross Stitch
Create an envelope template by opening an actual envelope, placing it on graph paper then tracing with MONO Drawing Pencil 4H grade from the Beginner Lettering Set. Cut out carefully with scissors.
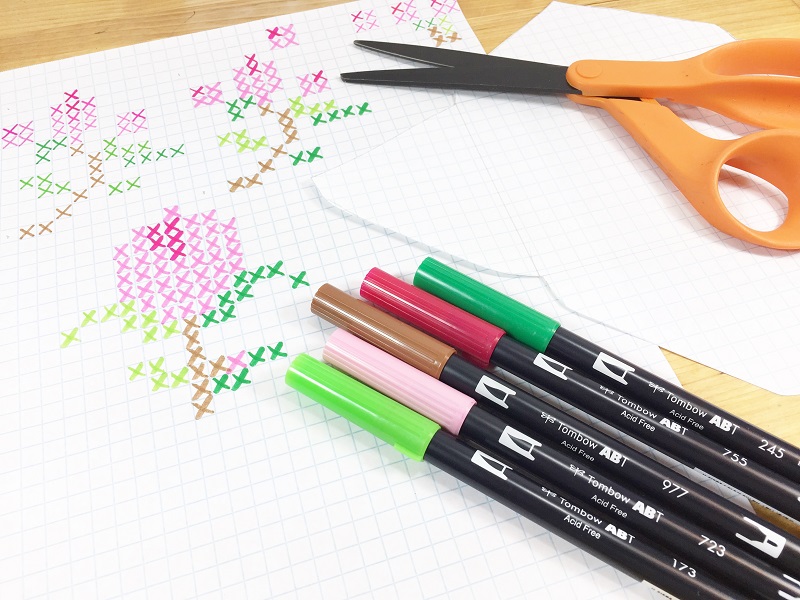
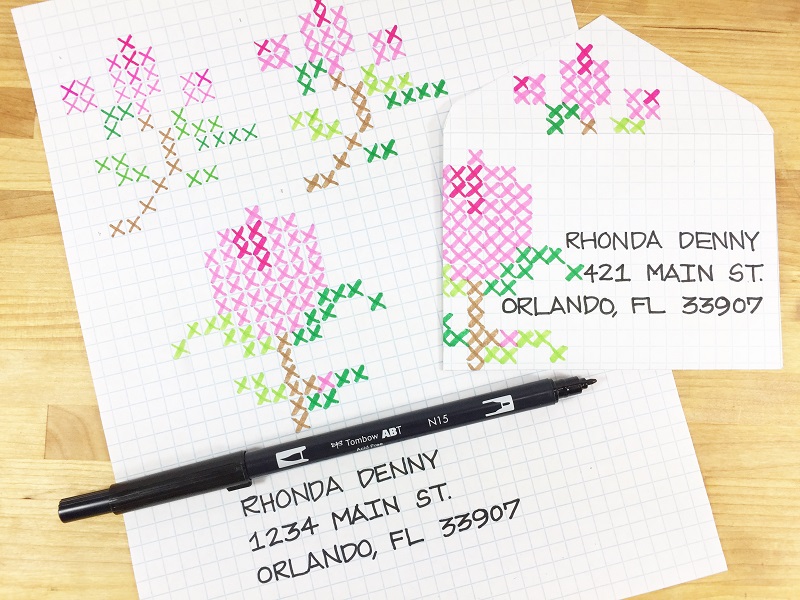
I researched cross stitch patterns online and found this cute set of flowers. Select your palette of Dual Brush Pens 173, 245, 723, 755 and 977. Create a sample using the bullet tip and the brush tip. I thought the brush tip gave a more accurate interpretation of the embroidery thread.
Using the Cricut Brightpad (this is seriously one of my new favorite tools), line up the plain envelope over the sample and ink in your design, remembering to leave space for a name, address and stamp.
Assemble the body of your envelope using Xtreme Permanent Adhesive, then apply MONO Removable Adhesive on the top flap of the envelope, so the recipient can open it once it arrives!
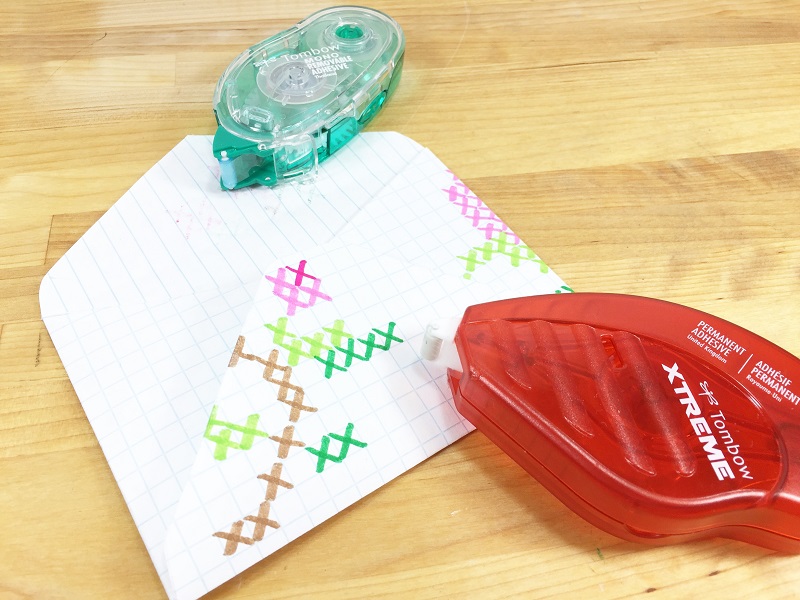
Using the graph paper as your guide, address your envelope with the bullet tip of Dual Brush Pen N15.
I hope that you have enjoyed my tutorials today on how to create Happy Mail Envelopes 3 ways and that you will use my projects as a jumping off point to showcase YOUR Tombow creativity!
More Happy Mail inspiration can be found HERE with my watercolor post cards. Or HERE with Serena’s flip book. And HERE with Jennie’s mixed media Valentine! You can also check out the Tombow IG for TONS of FUN!
Thanks for stopping by! Creatively, Beth

Recommend to try http://essaypapers.reviews/