Hello guys, Lhey here from Mommy Lhey Designs. I am so excited to share with all of you today a very quick and easy project that you can do at home. I love creating fun projects for my traveler’s notebook and today, I would like to share with you how I created my notebook cover from start to finish using Tombow and Paper House Productions products.
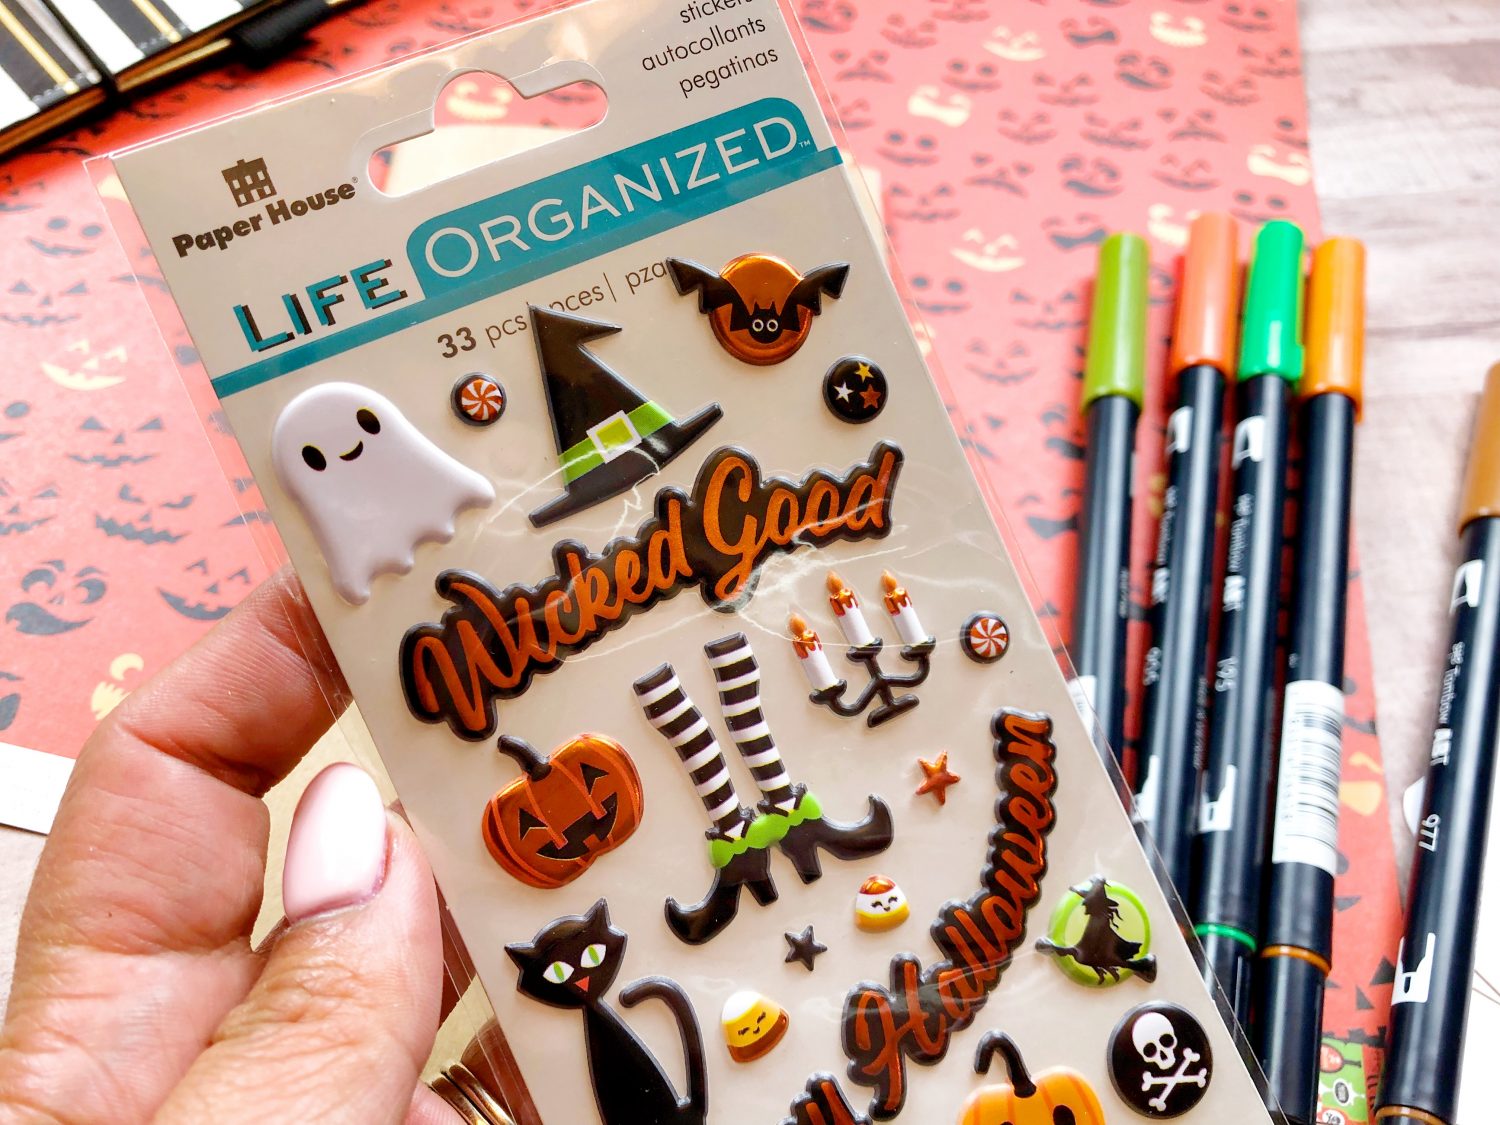
Since it’s October and Halloween is just around the corner, I thought I’d design a cover with a fun, spooky-cute theme going on. I chose these Halloween puffy stickers from Paper House and picked the same coordinating colors of Tombow Dual Brush Pens that will work well with the stickers.
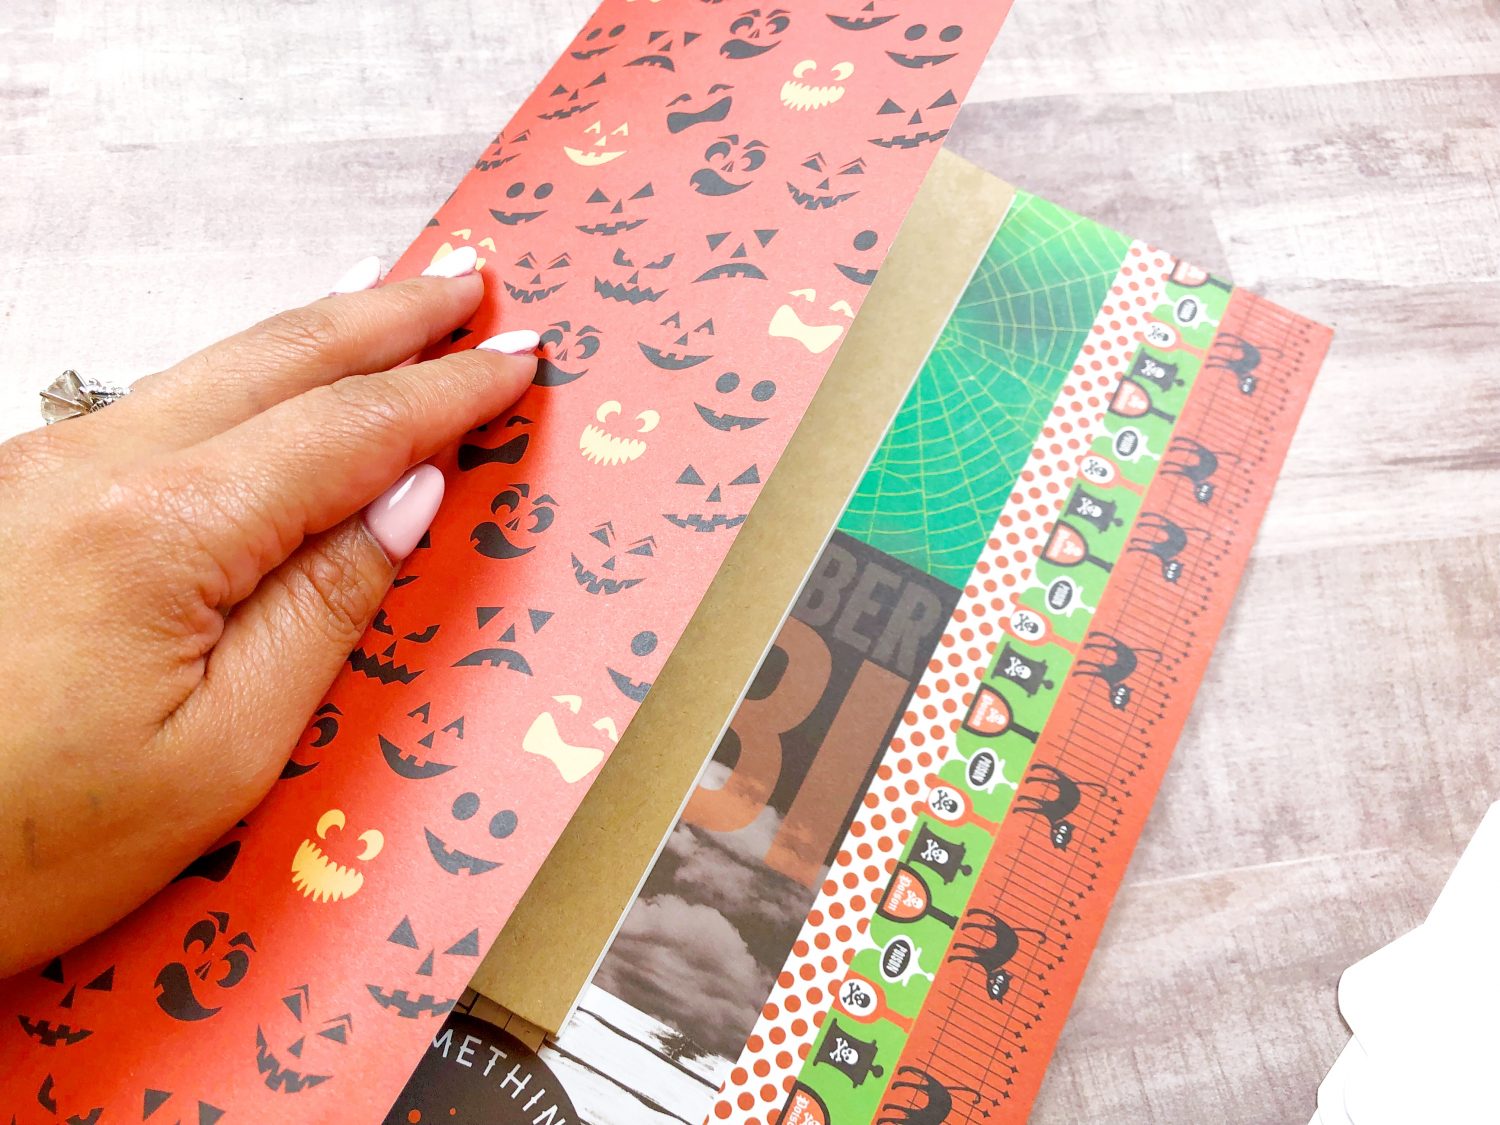
Step 1:
Fold the spooky faces of a 12X12 Wicked Good patterned paper from Paper House in half.
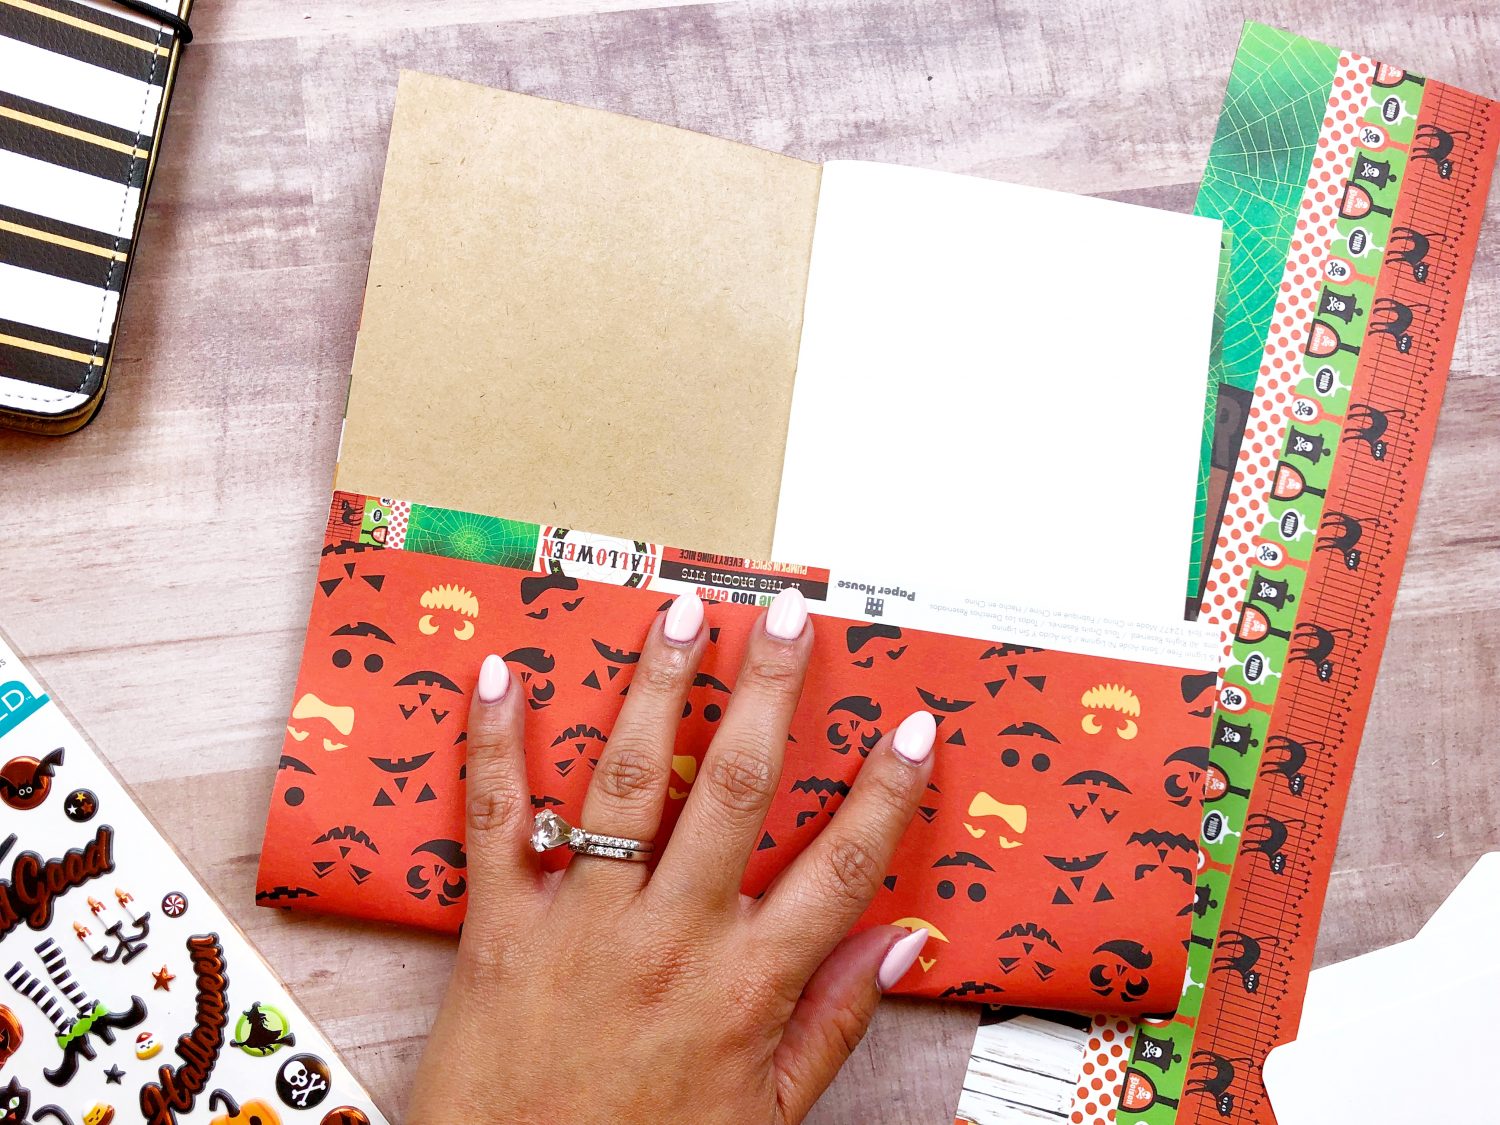
Step 2:
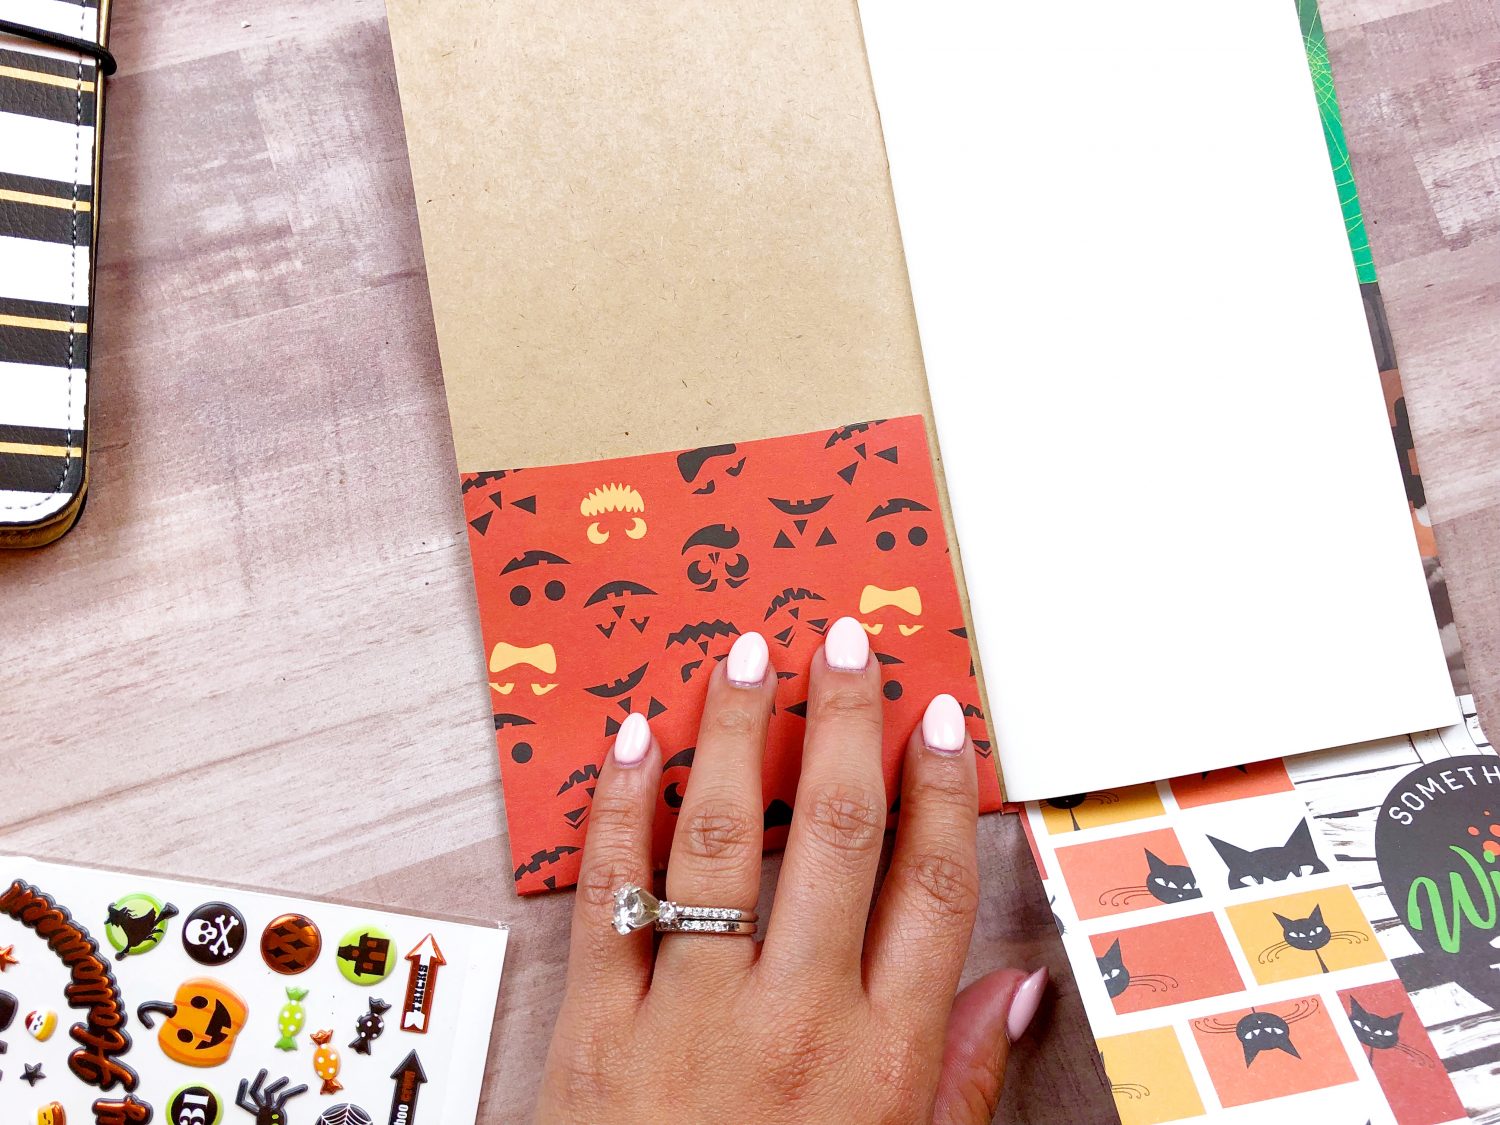
The cut the paper to size to fit your notebook. I intentionally left some extra paper (lengthwise) at the bottom. I needed those extras to create my pocket for pictures, stickers, or any memorabilia that I want to keep handy on my traveler’s notebook.
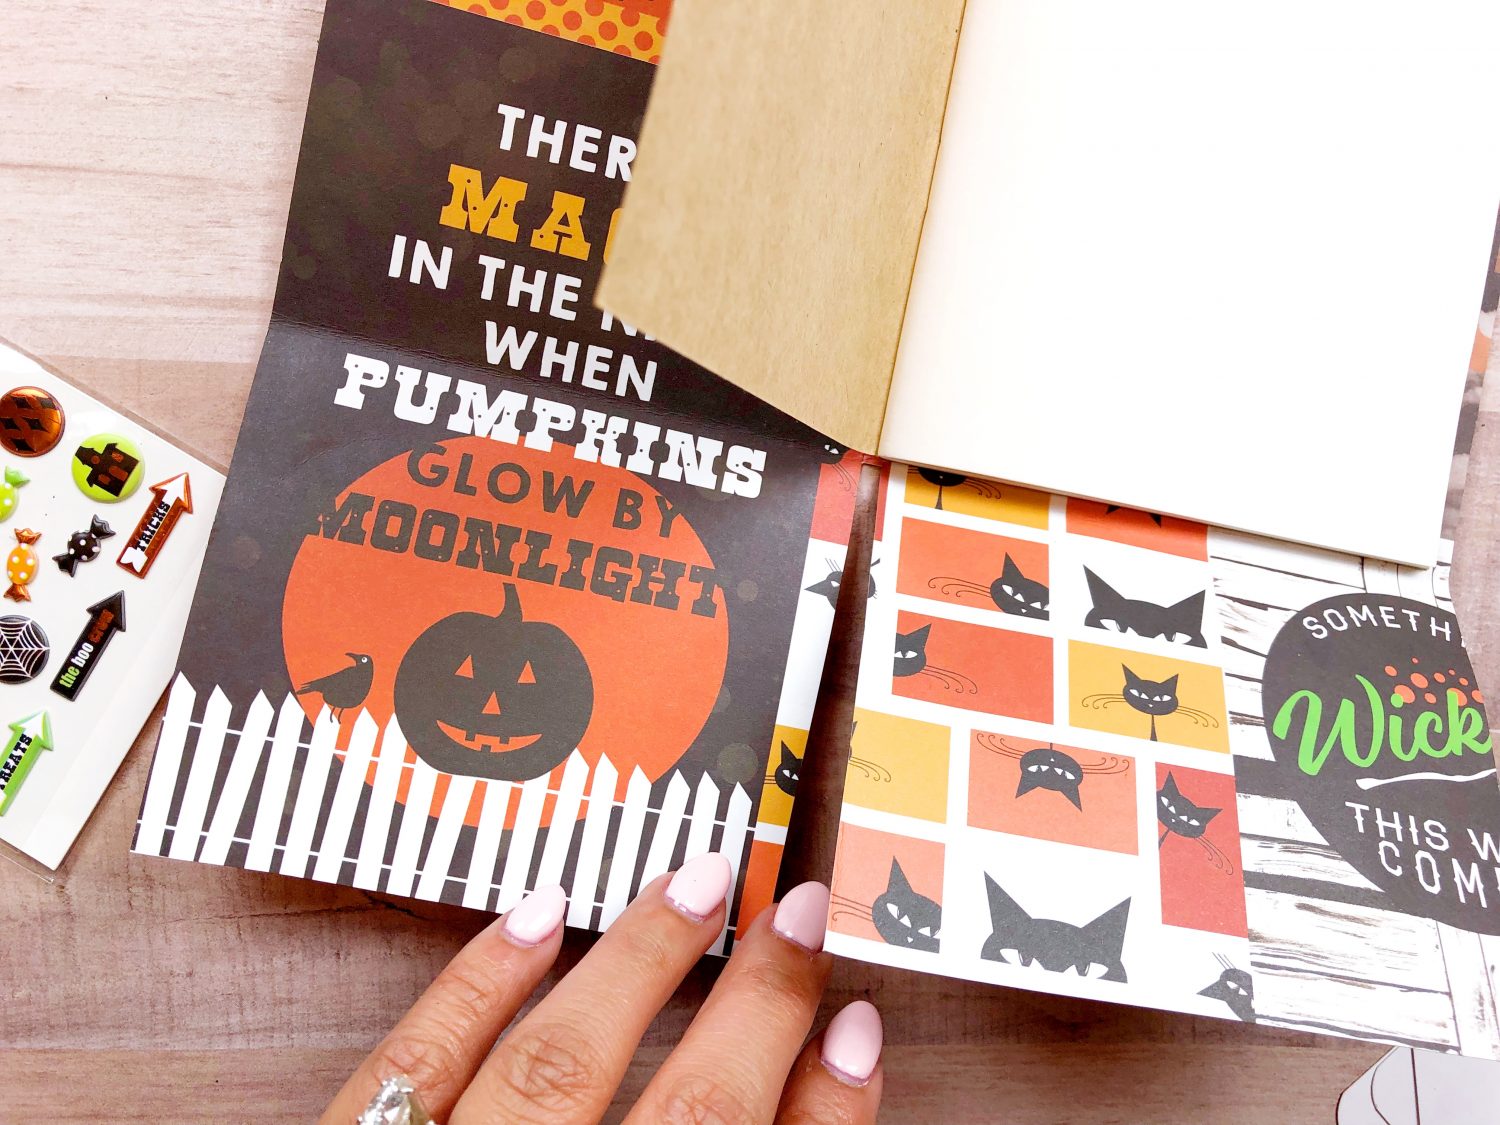
Step 3:
Cut down the middle. The size will depend on how thick your notebook is or how wide you’d like your pocket to be.
Step 4:
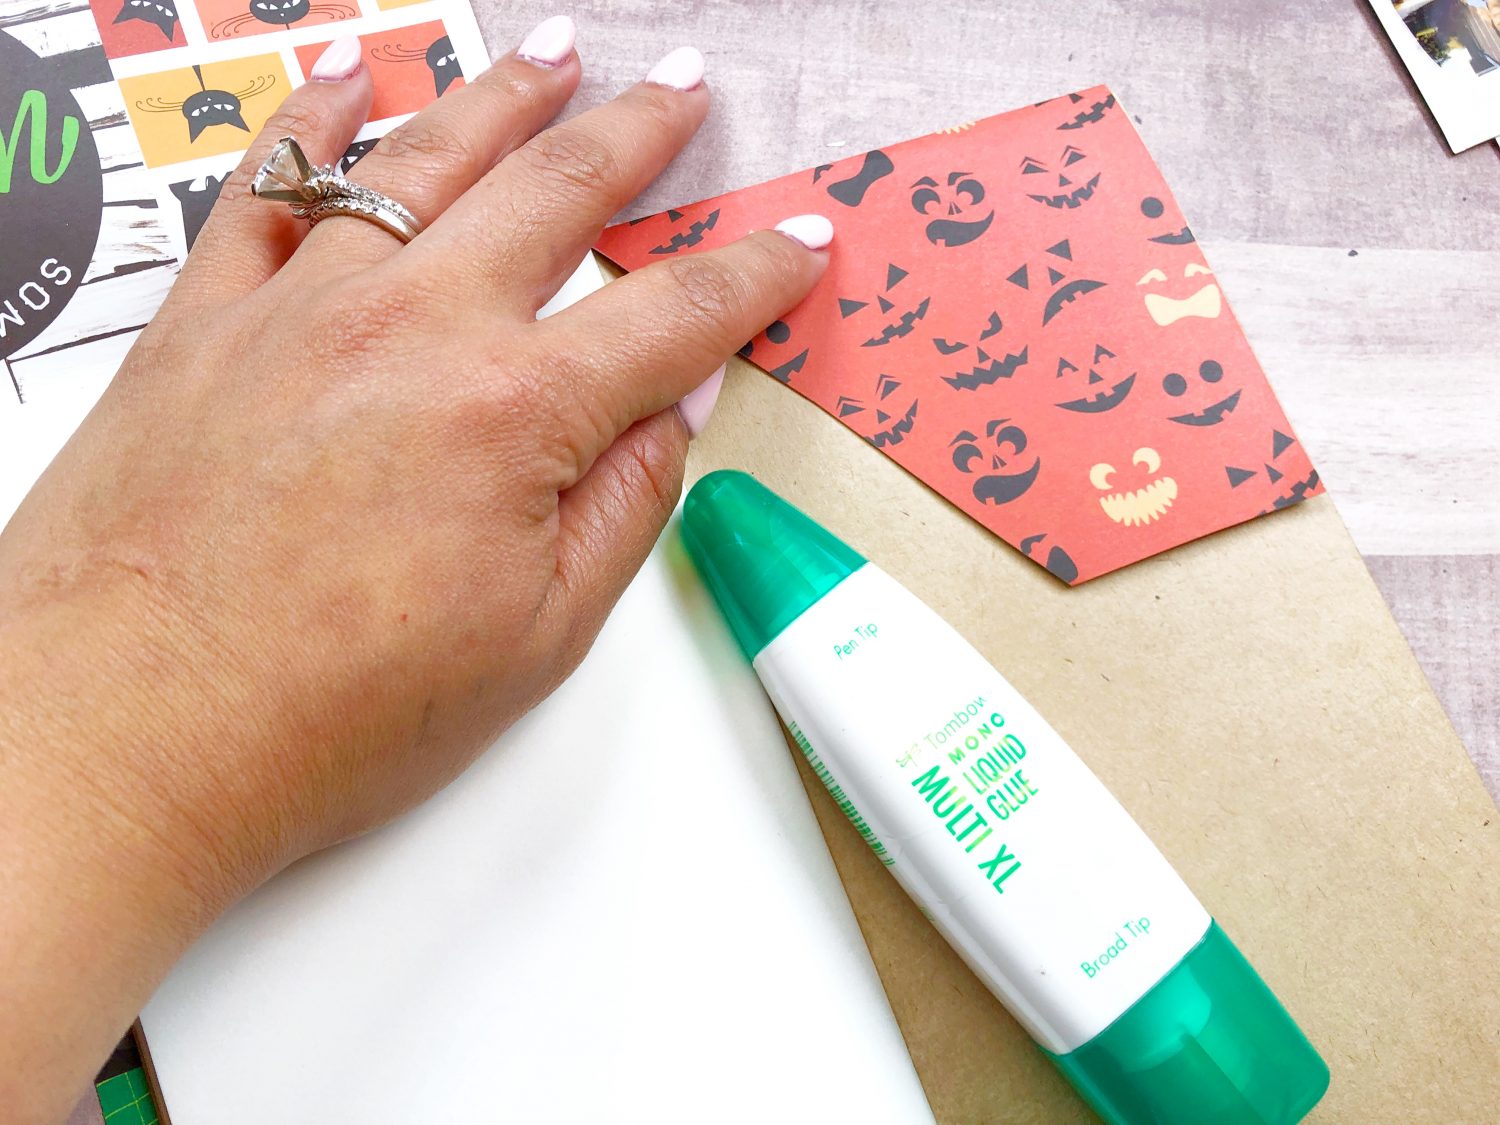
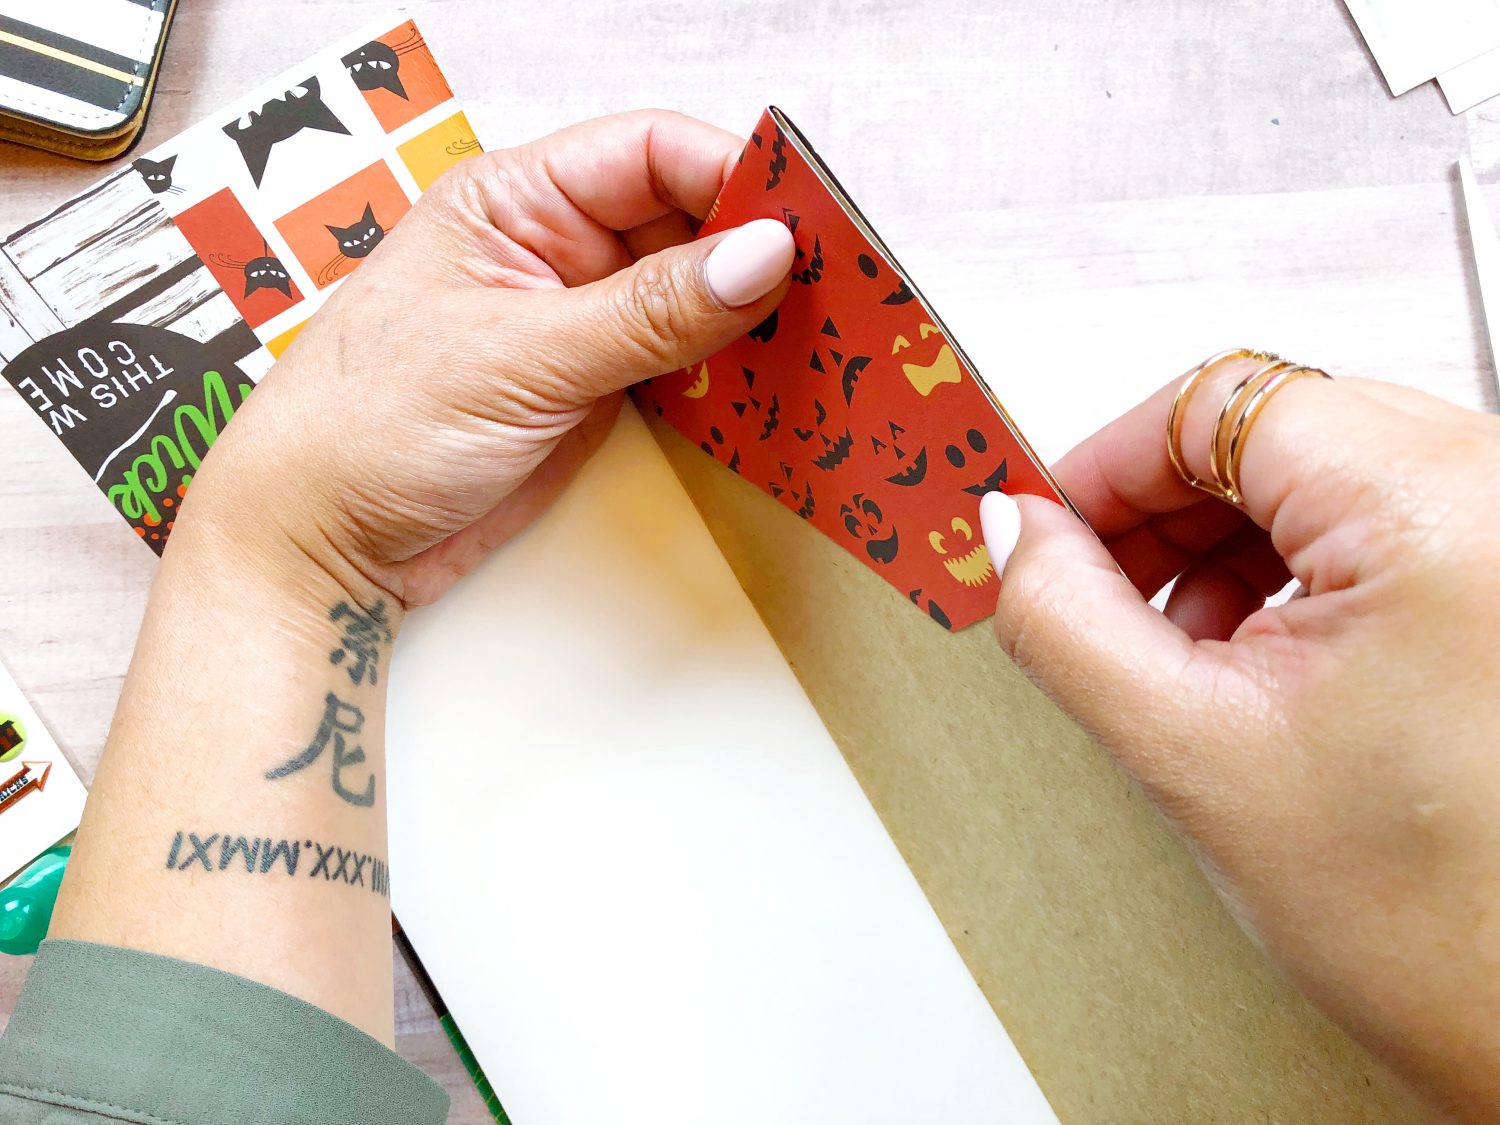
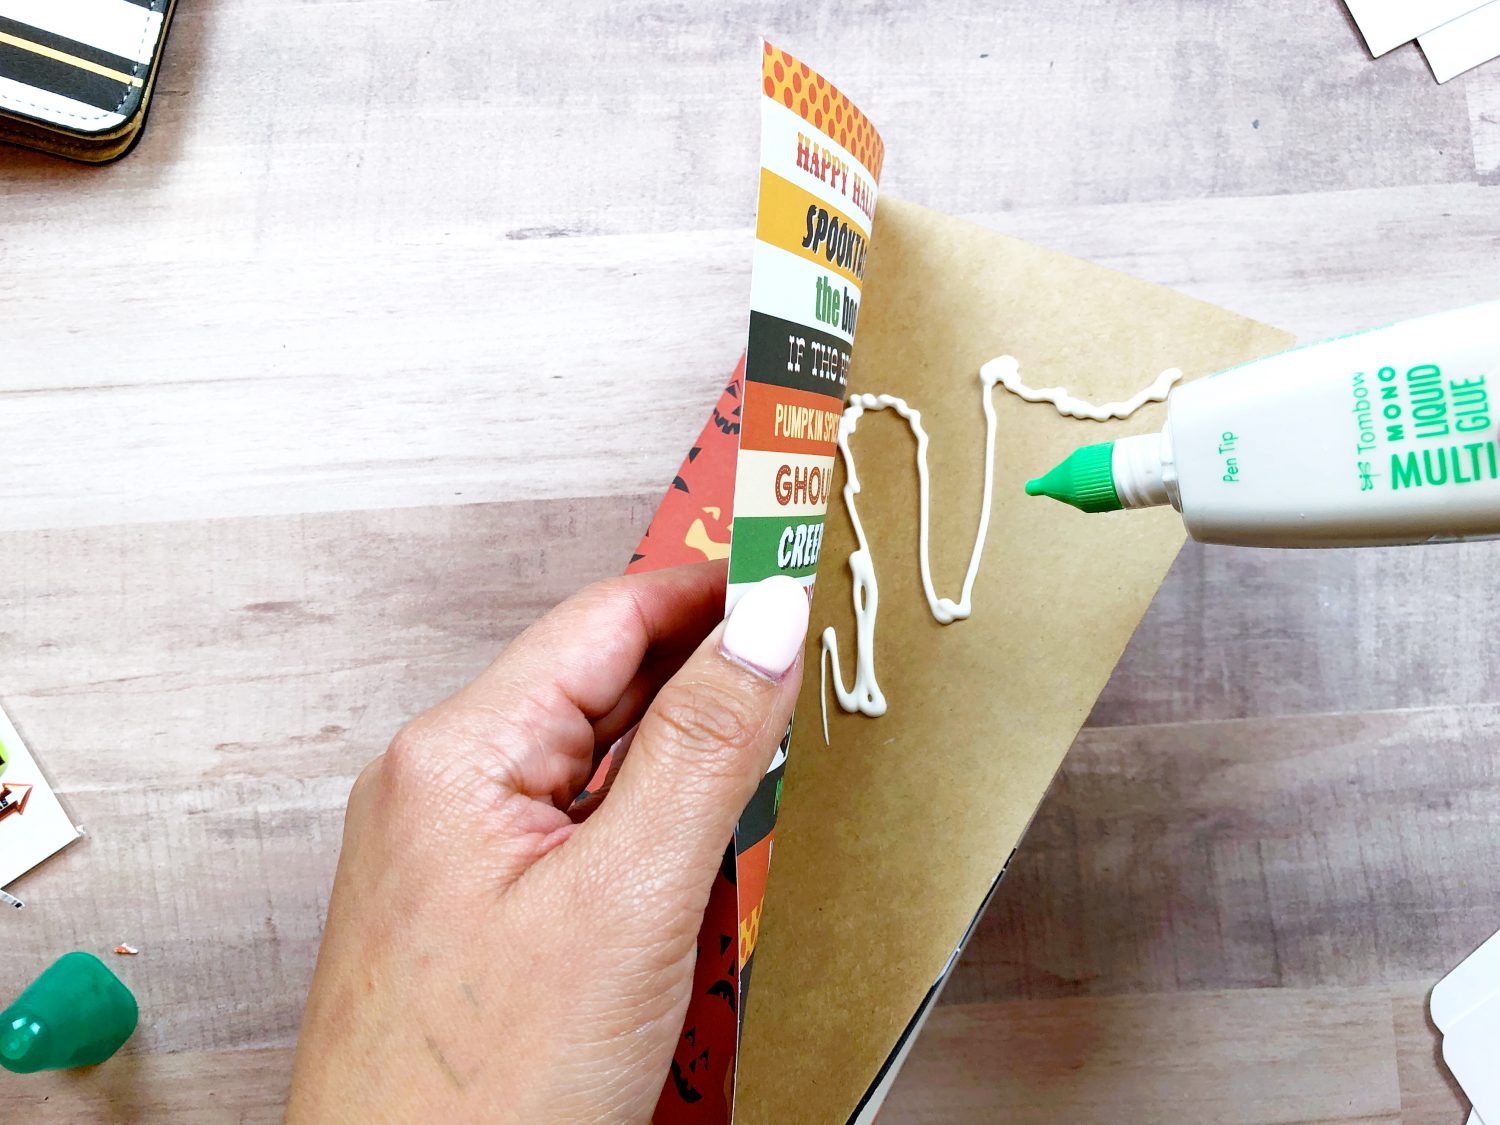
Crease the paper and fold.
Step 5:
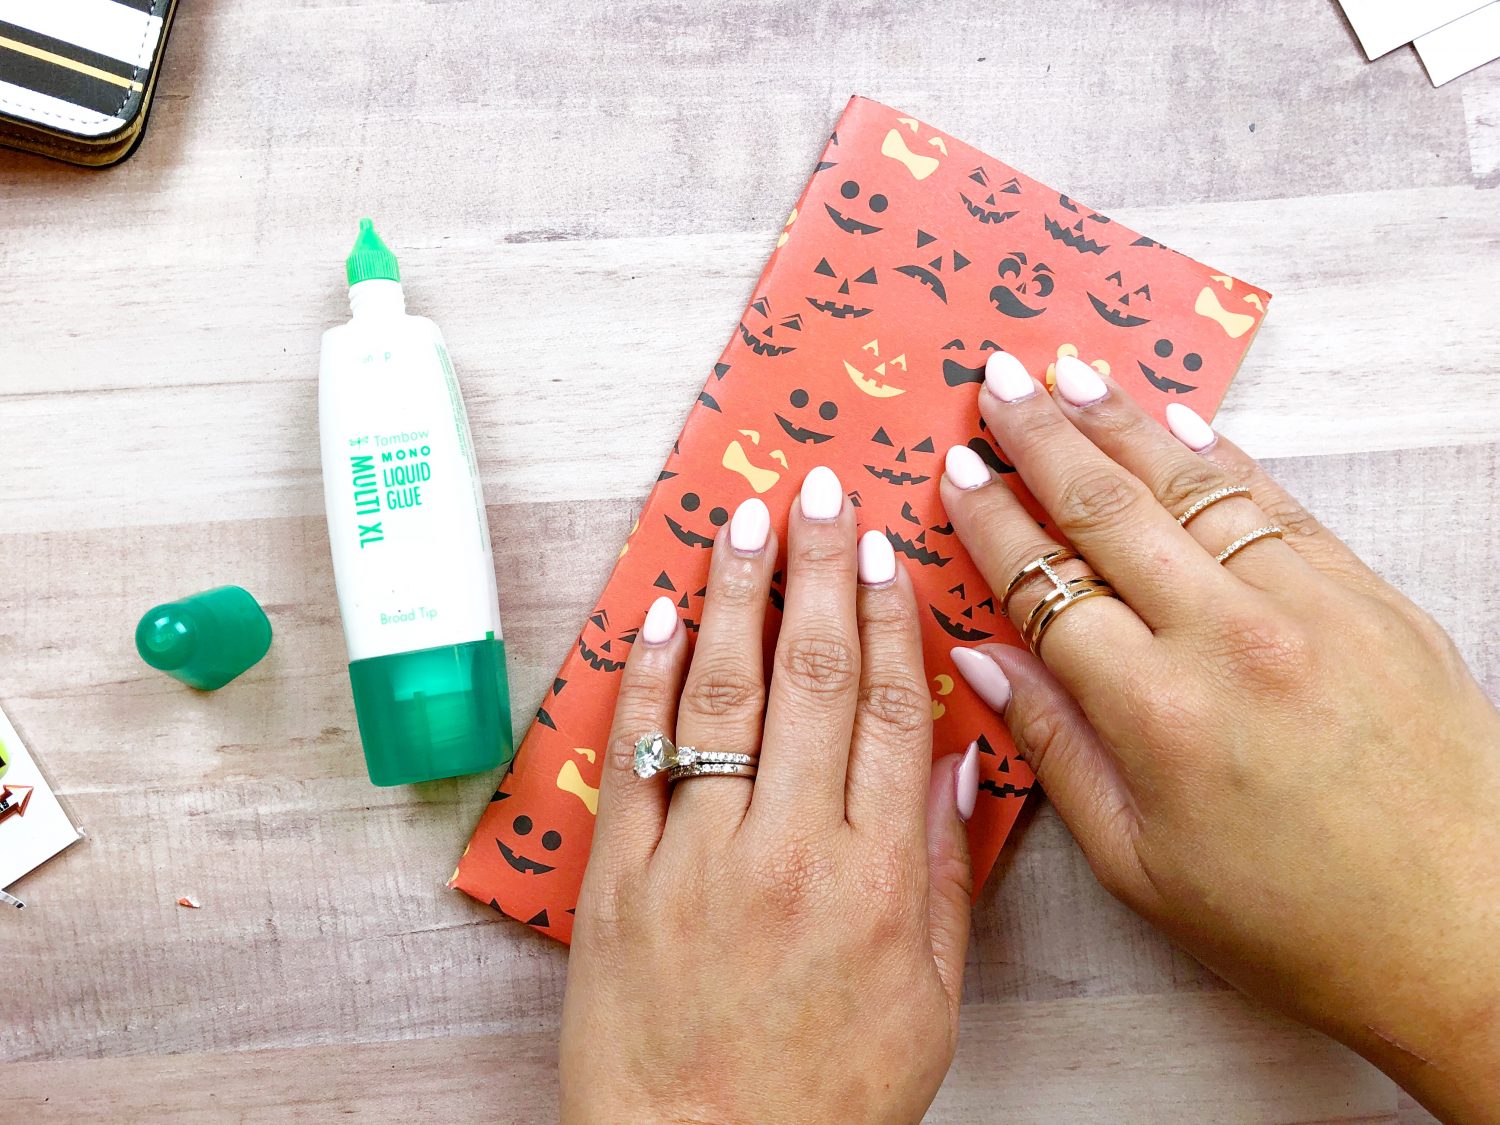
Step 6:
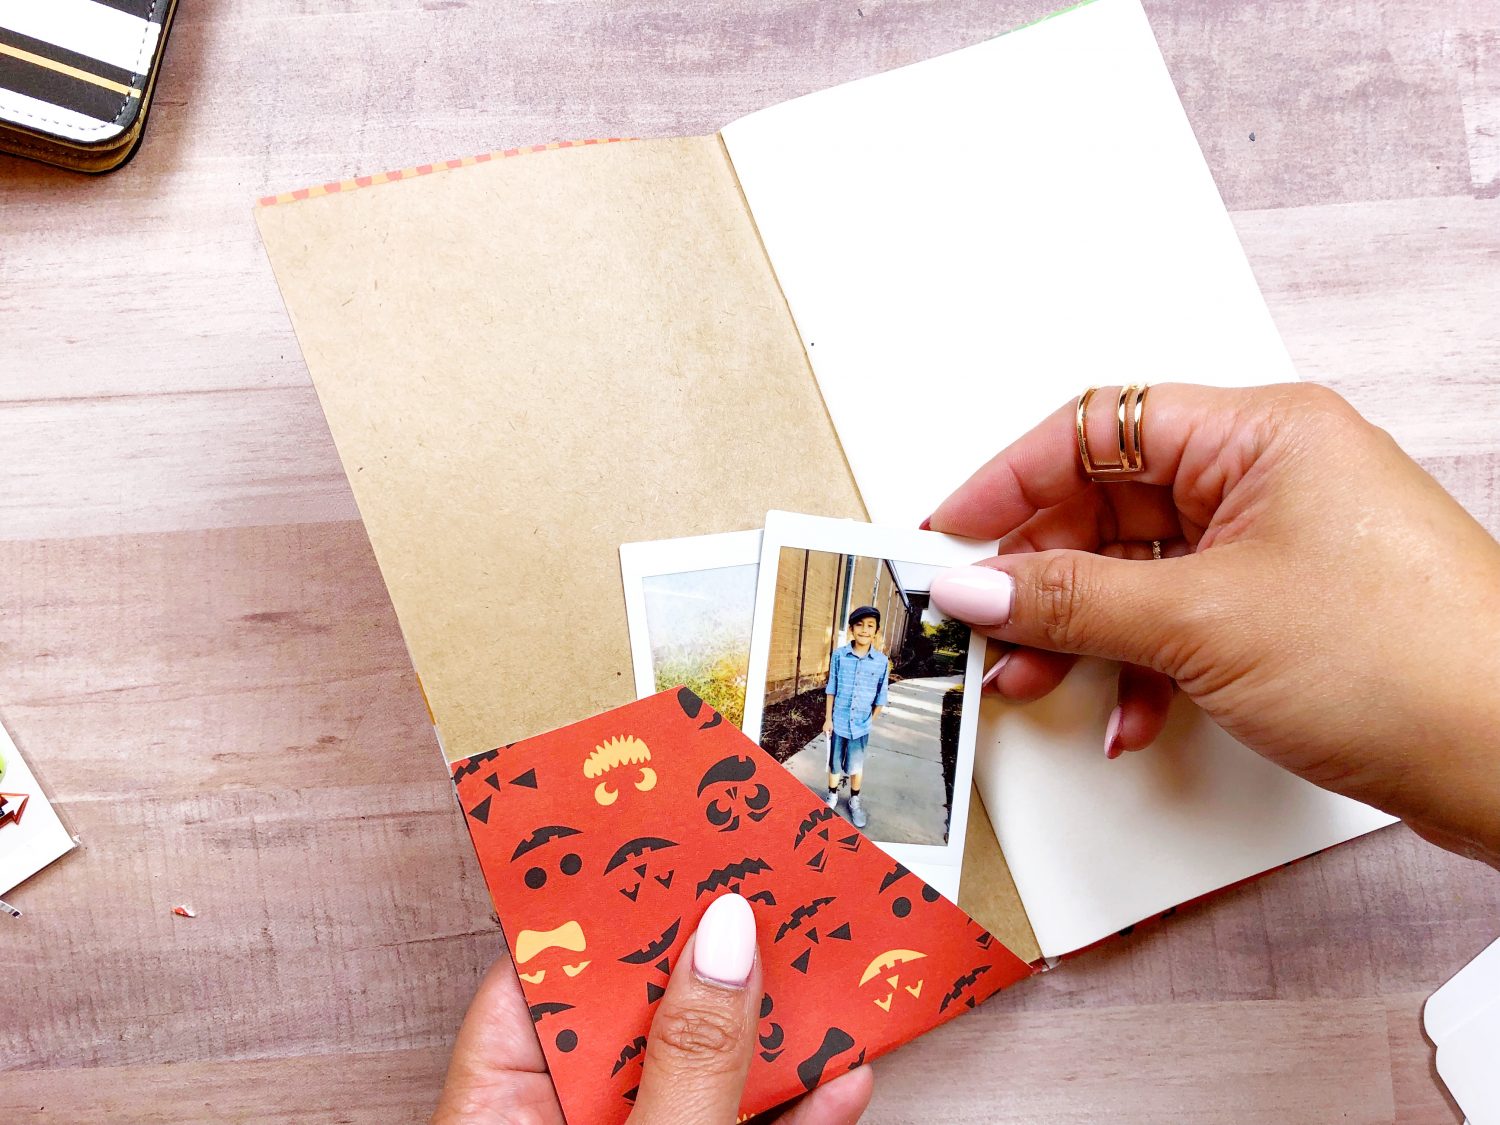
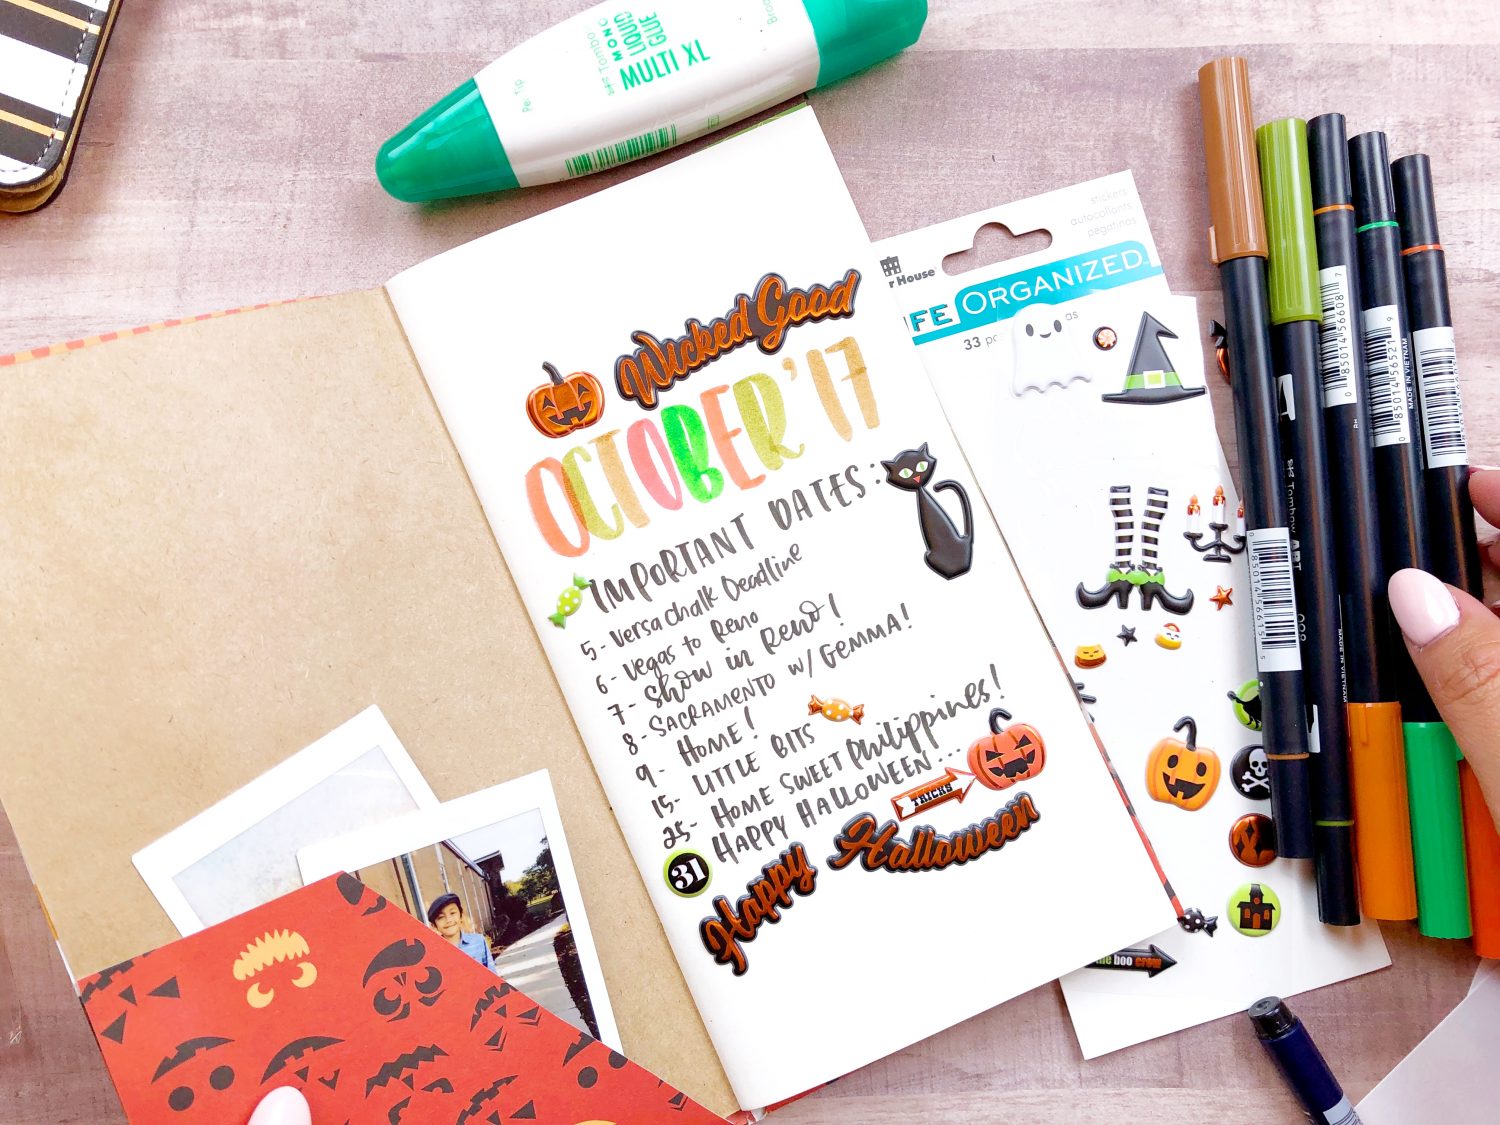
Step 7:
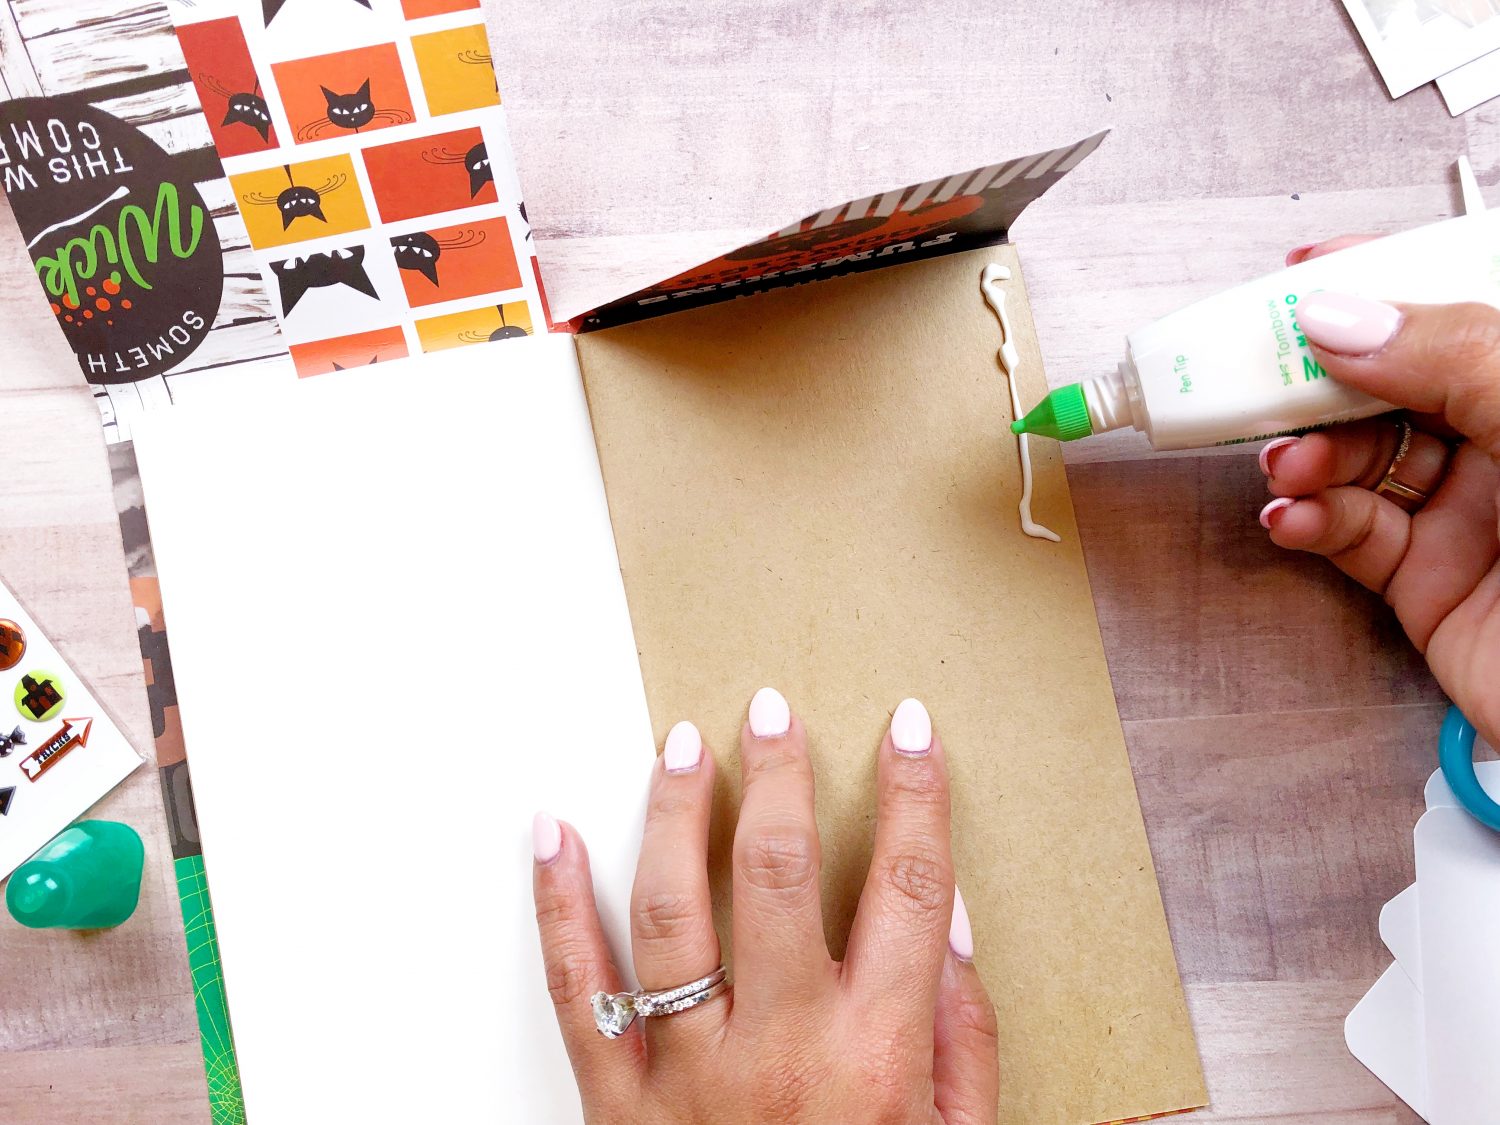
Cute notebook
and wonderful
papers.
Carla from Utah
That’s a great idea ! And not too hard to do, thanks !
Fun project! I love the papers and the beautiful autumn colors of the pens!