Hello crafty friends! This is Smitha here today with a DIY Happy Halloween art piece that you can create in 3 easy steps. Let’s get started!
You can see the whole entire process in this technique video I just added on YouTube. Click the video box below, or click here to watch on YouTube.
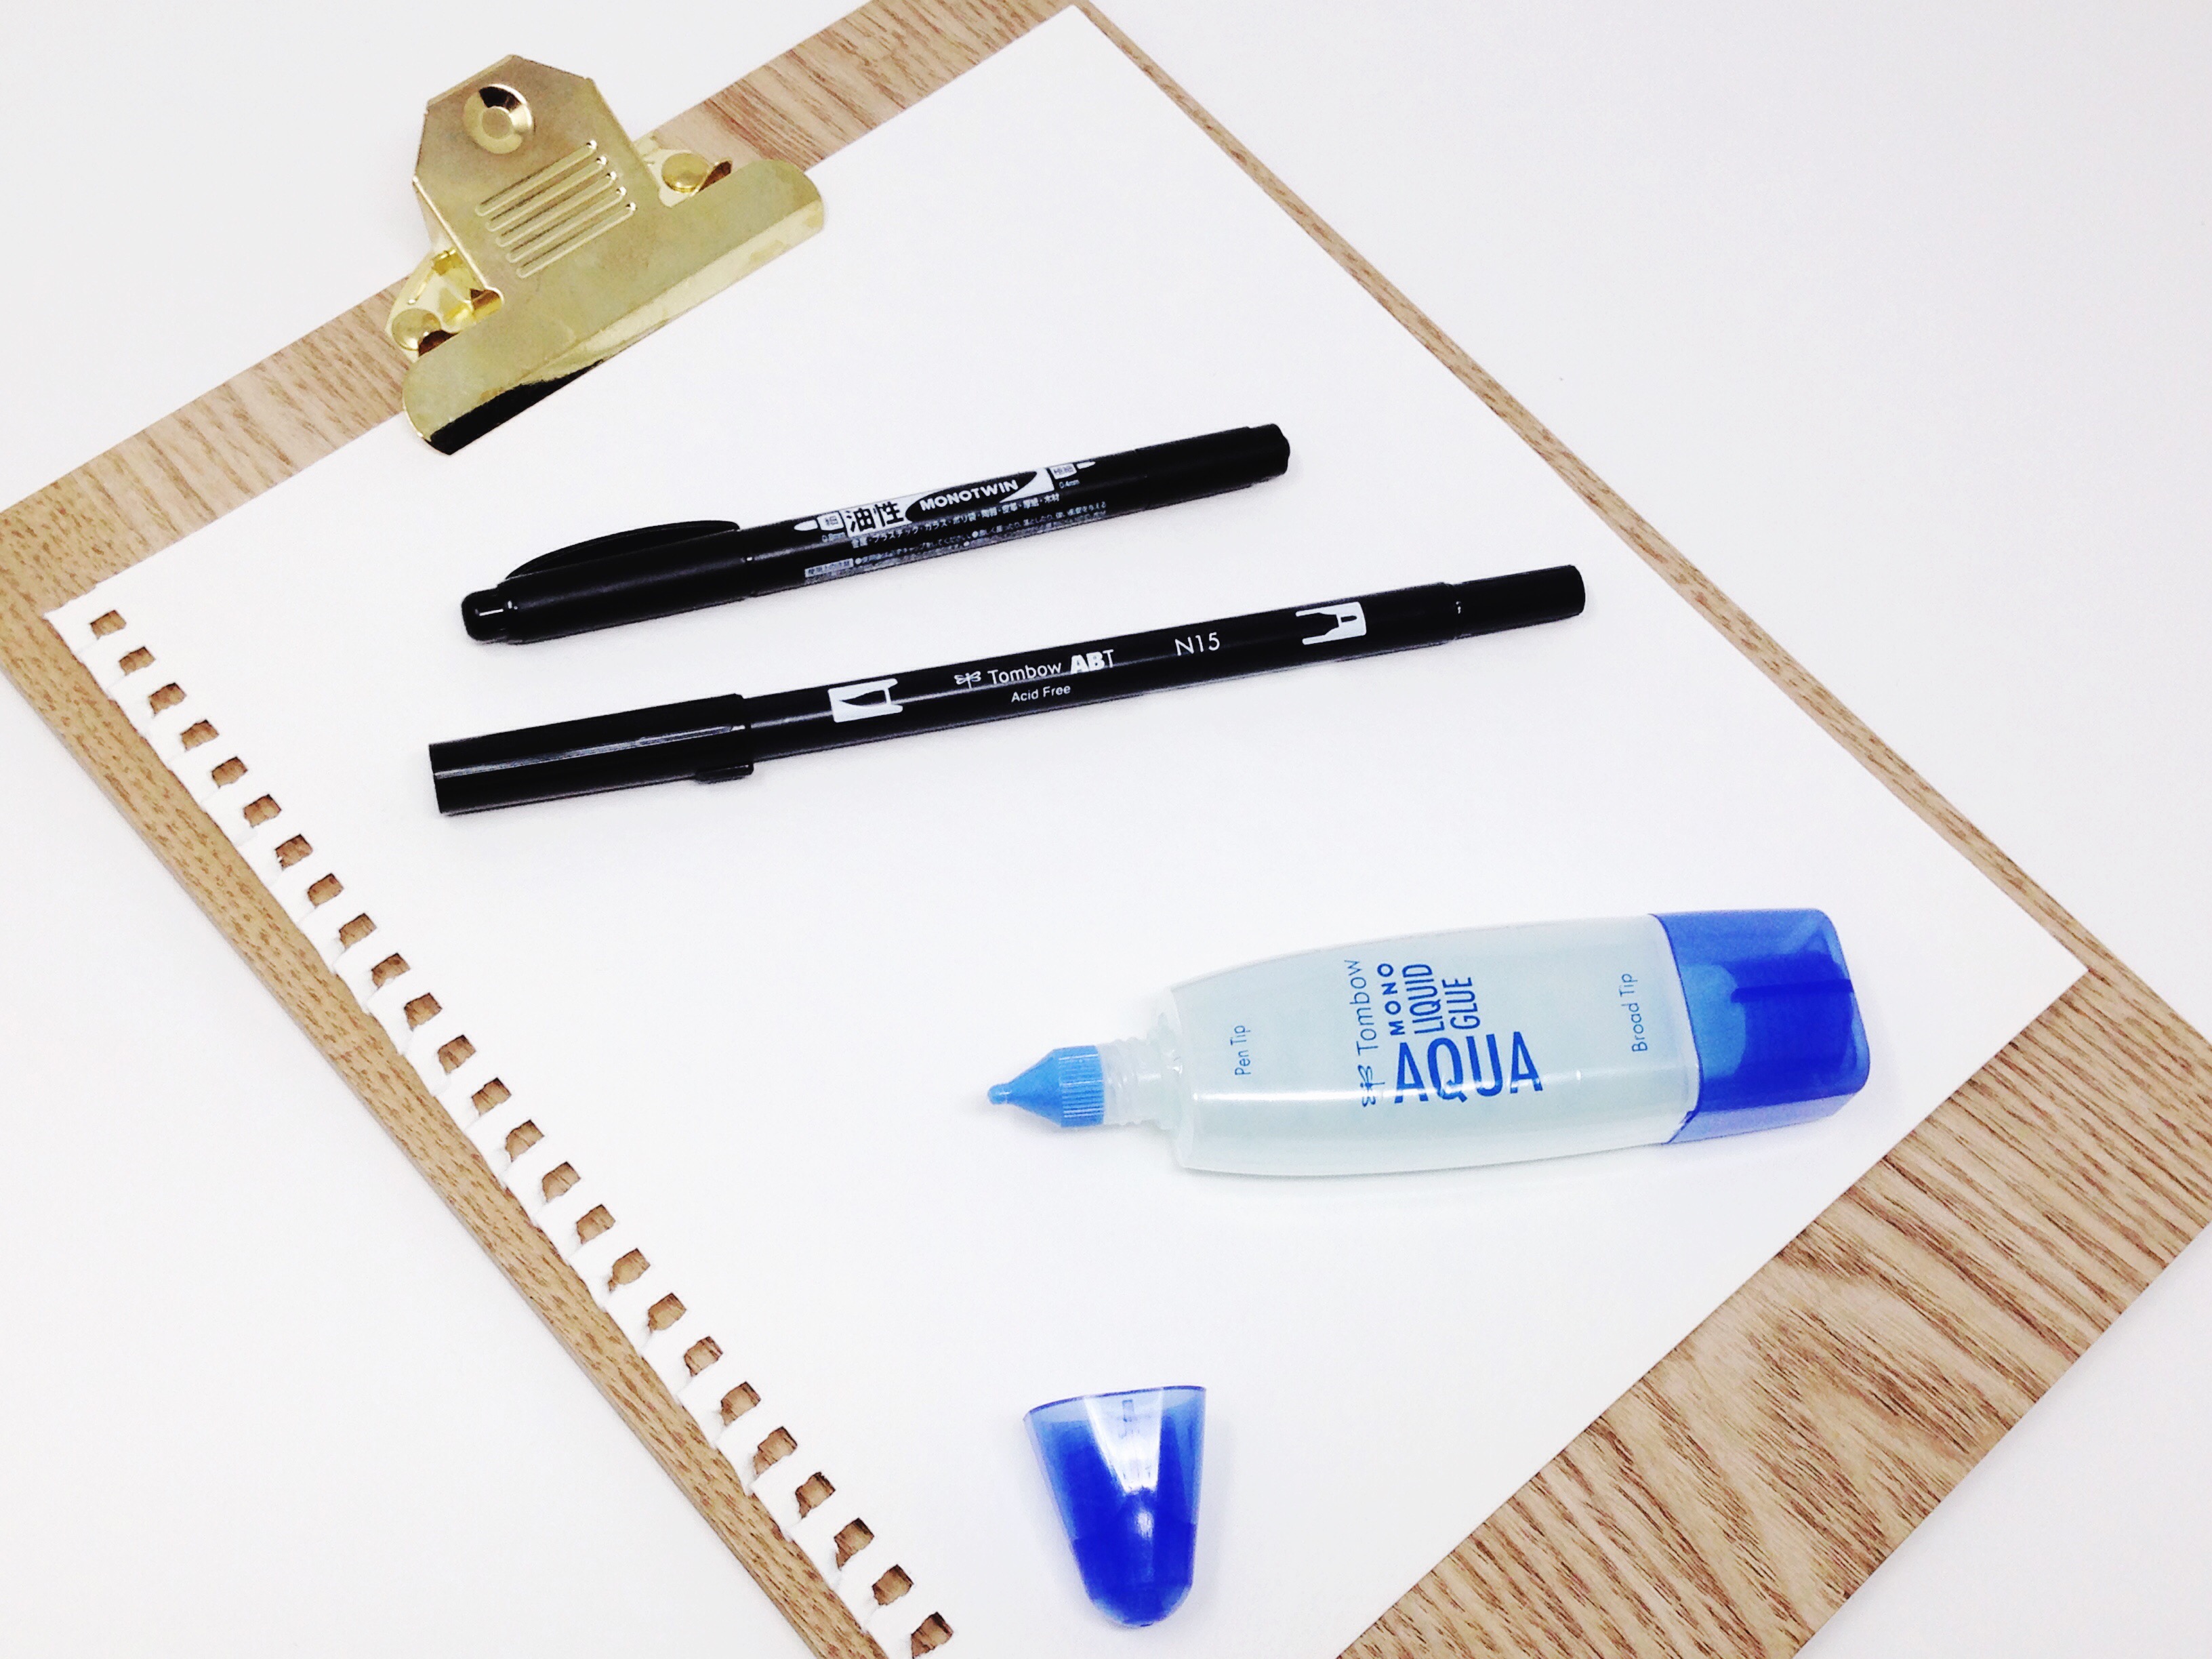
SUPPLIES:
- Tombow Dual Brush Pen N15
- MONO Twin Permanent Marker
- MONO Aqua Liquid Glue
- Watercolor Paper
- Paint Brush
- Salt
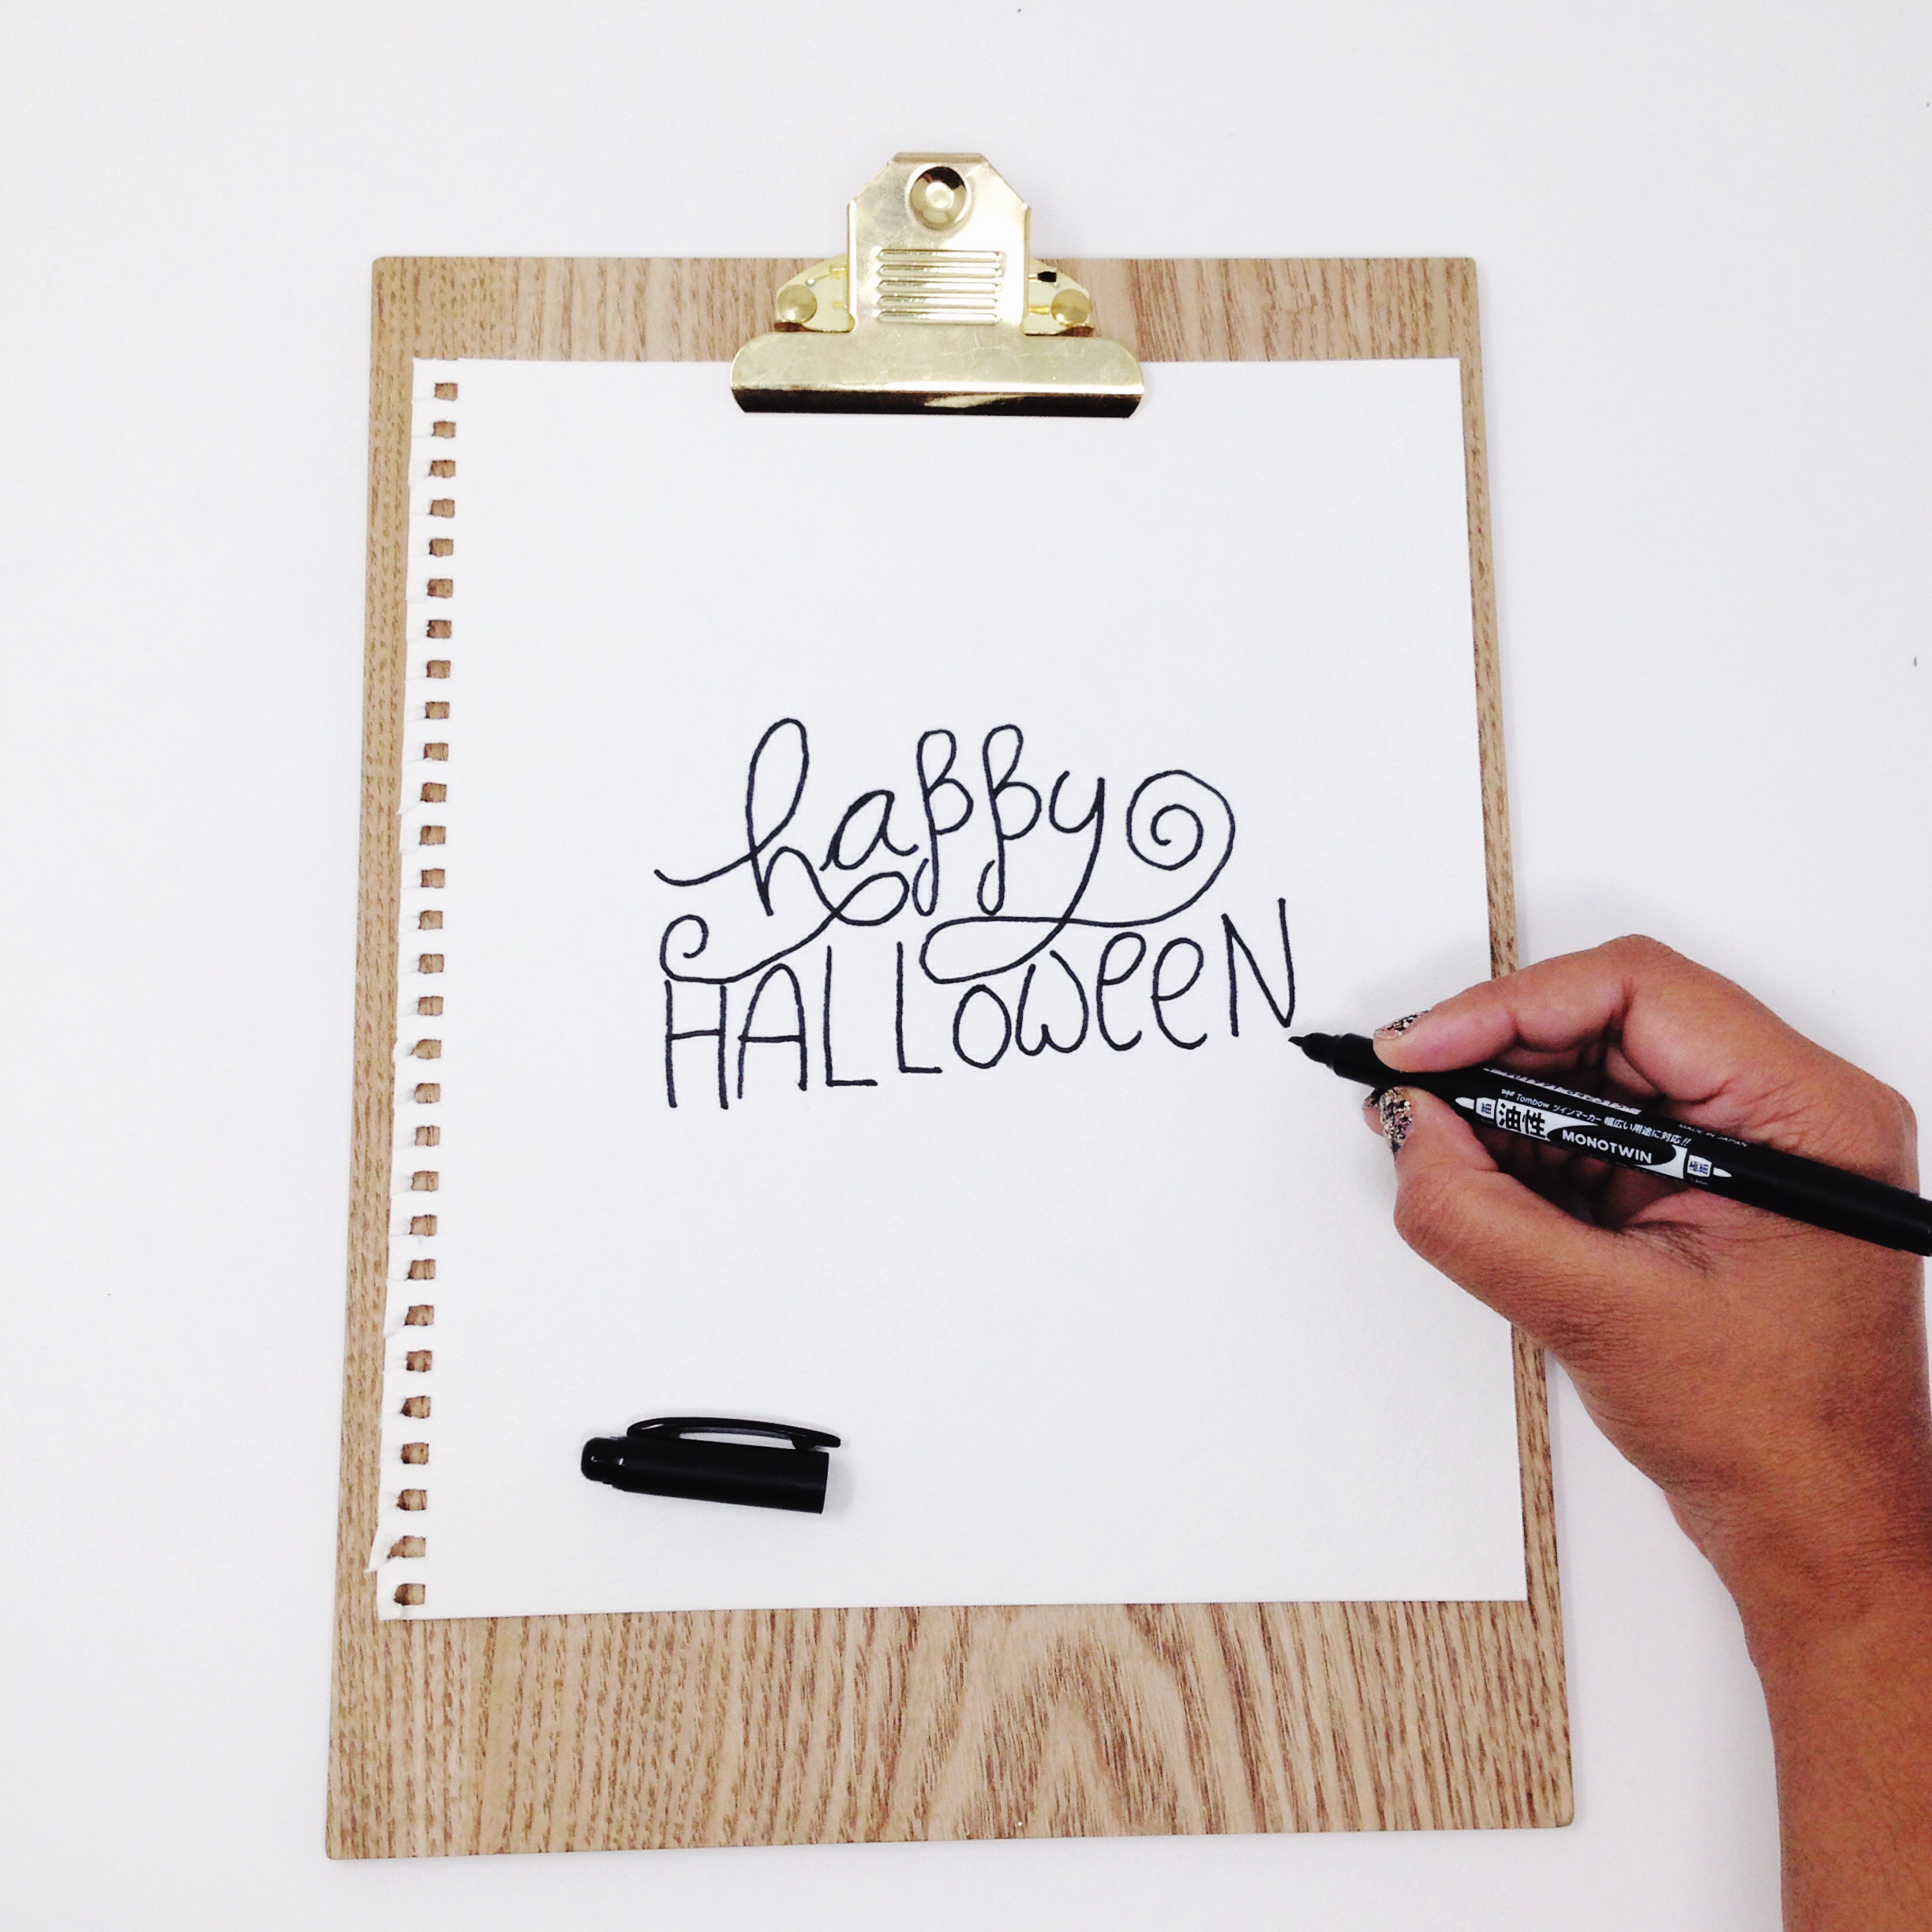
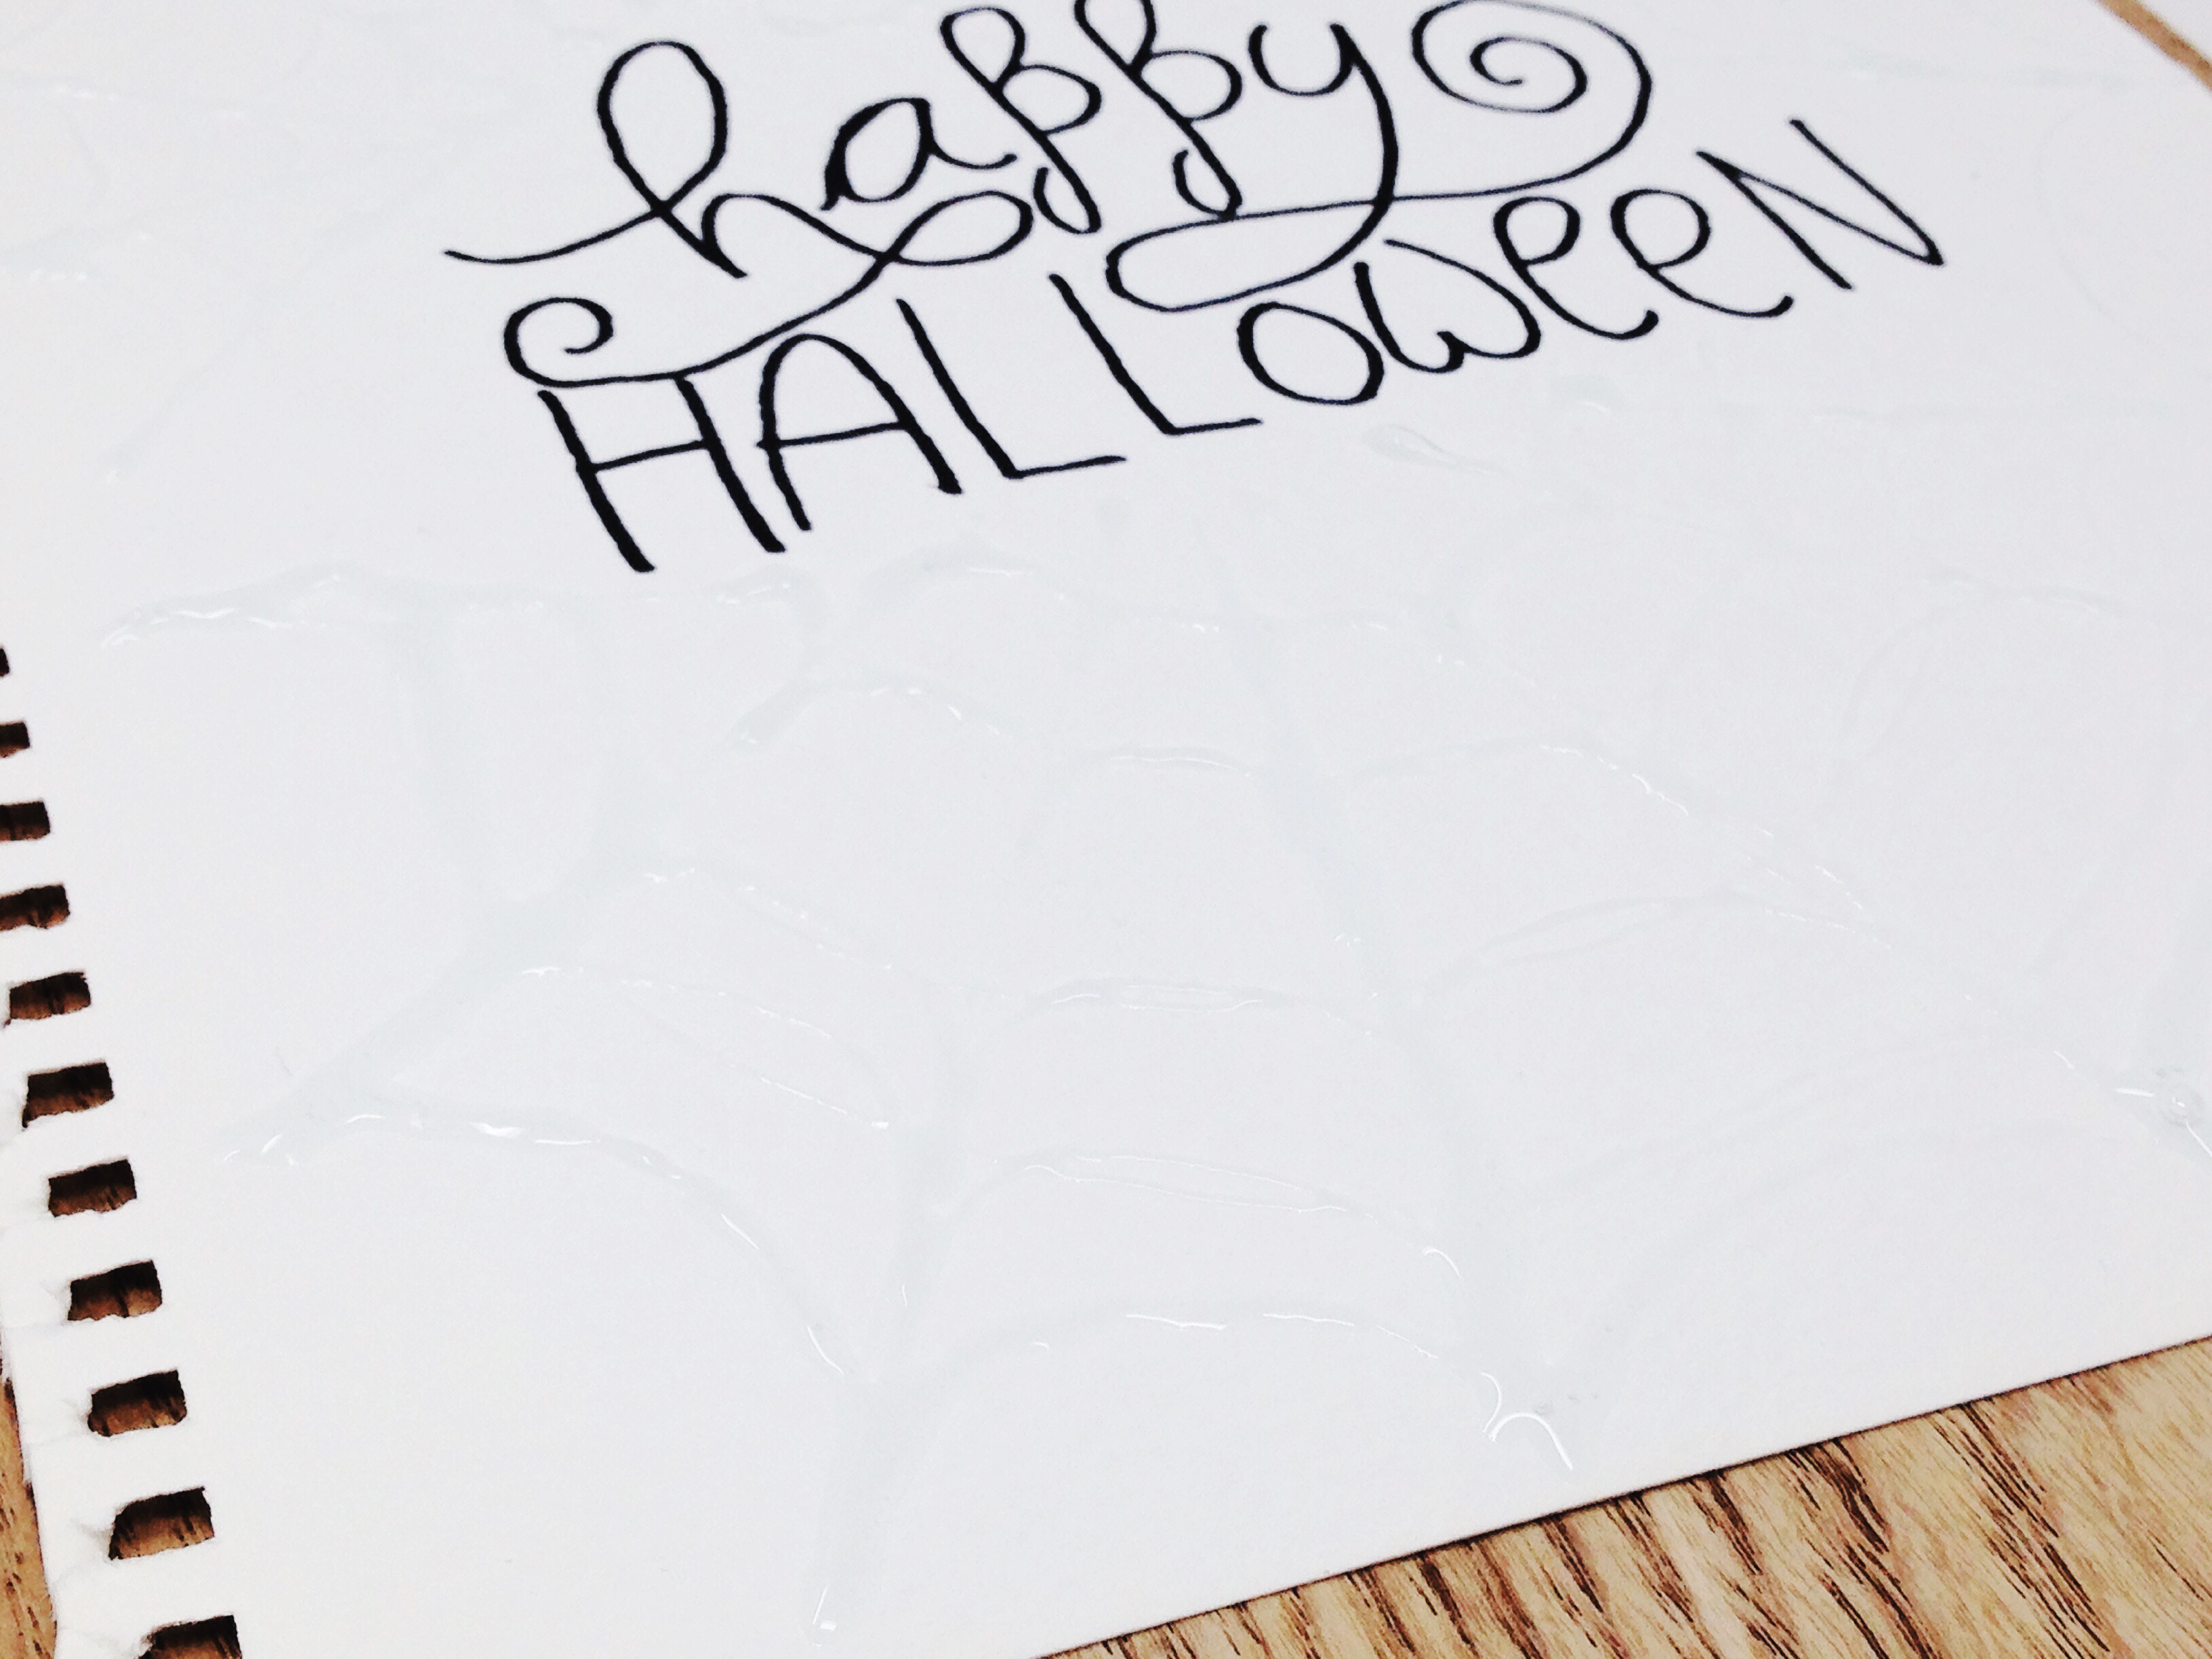
STEP 1:
Using the MONO Twin Permanent marker, letter the words “Happy Halloween.” Use a pencil to first sketch in your lettering if you want, or free hand it with the pen directly. Mix and match styles to create fun lettering.
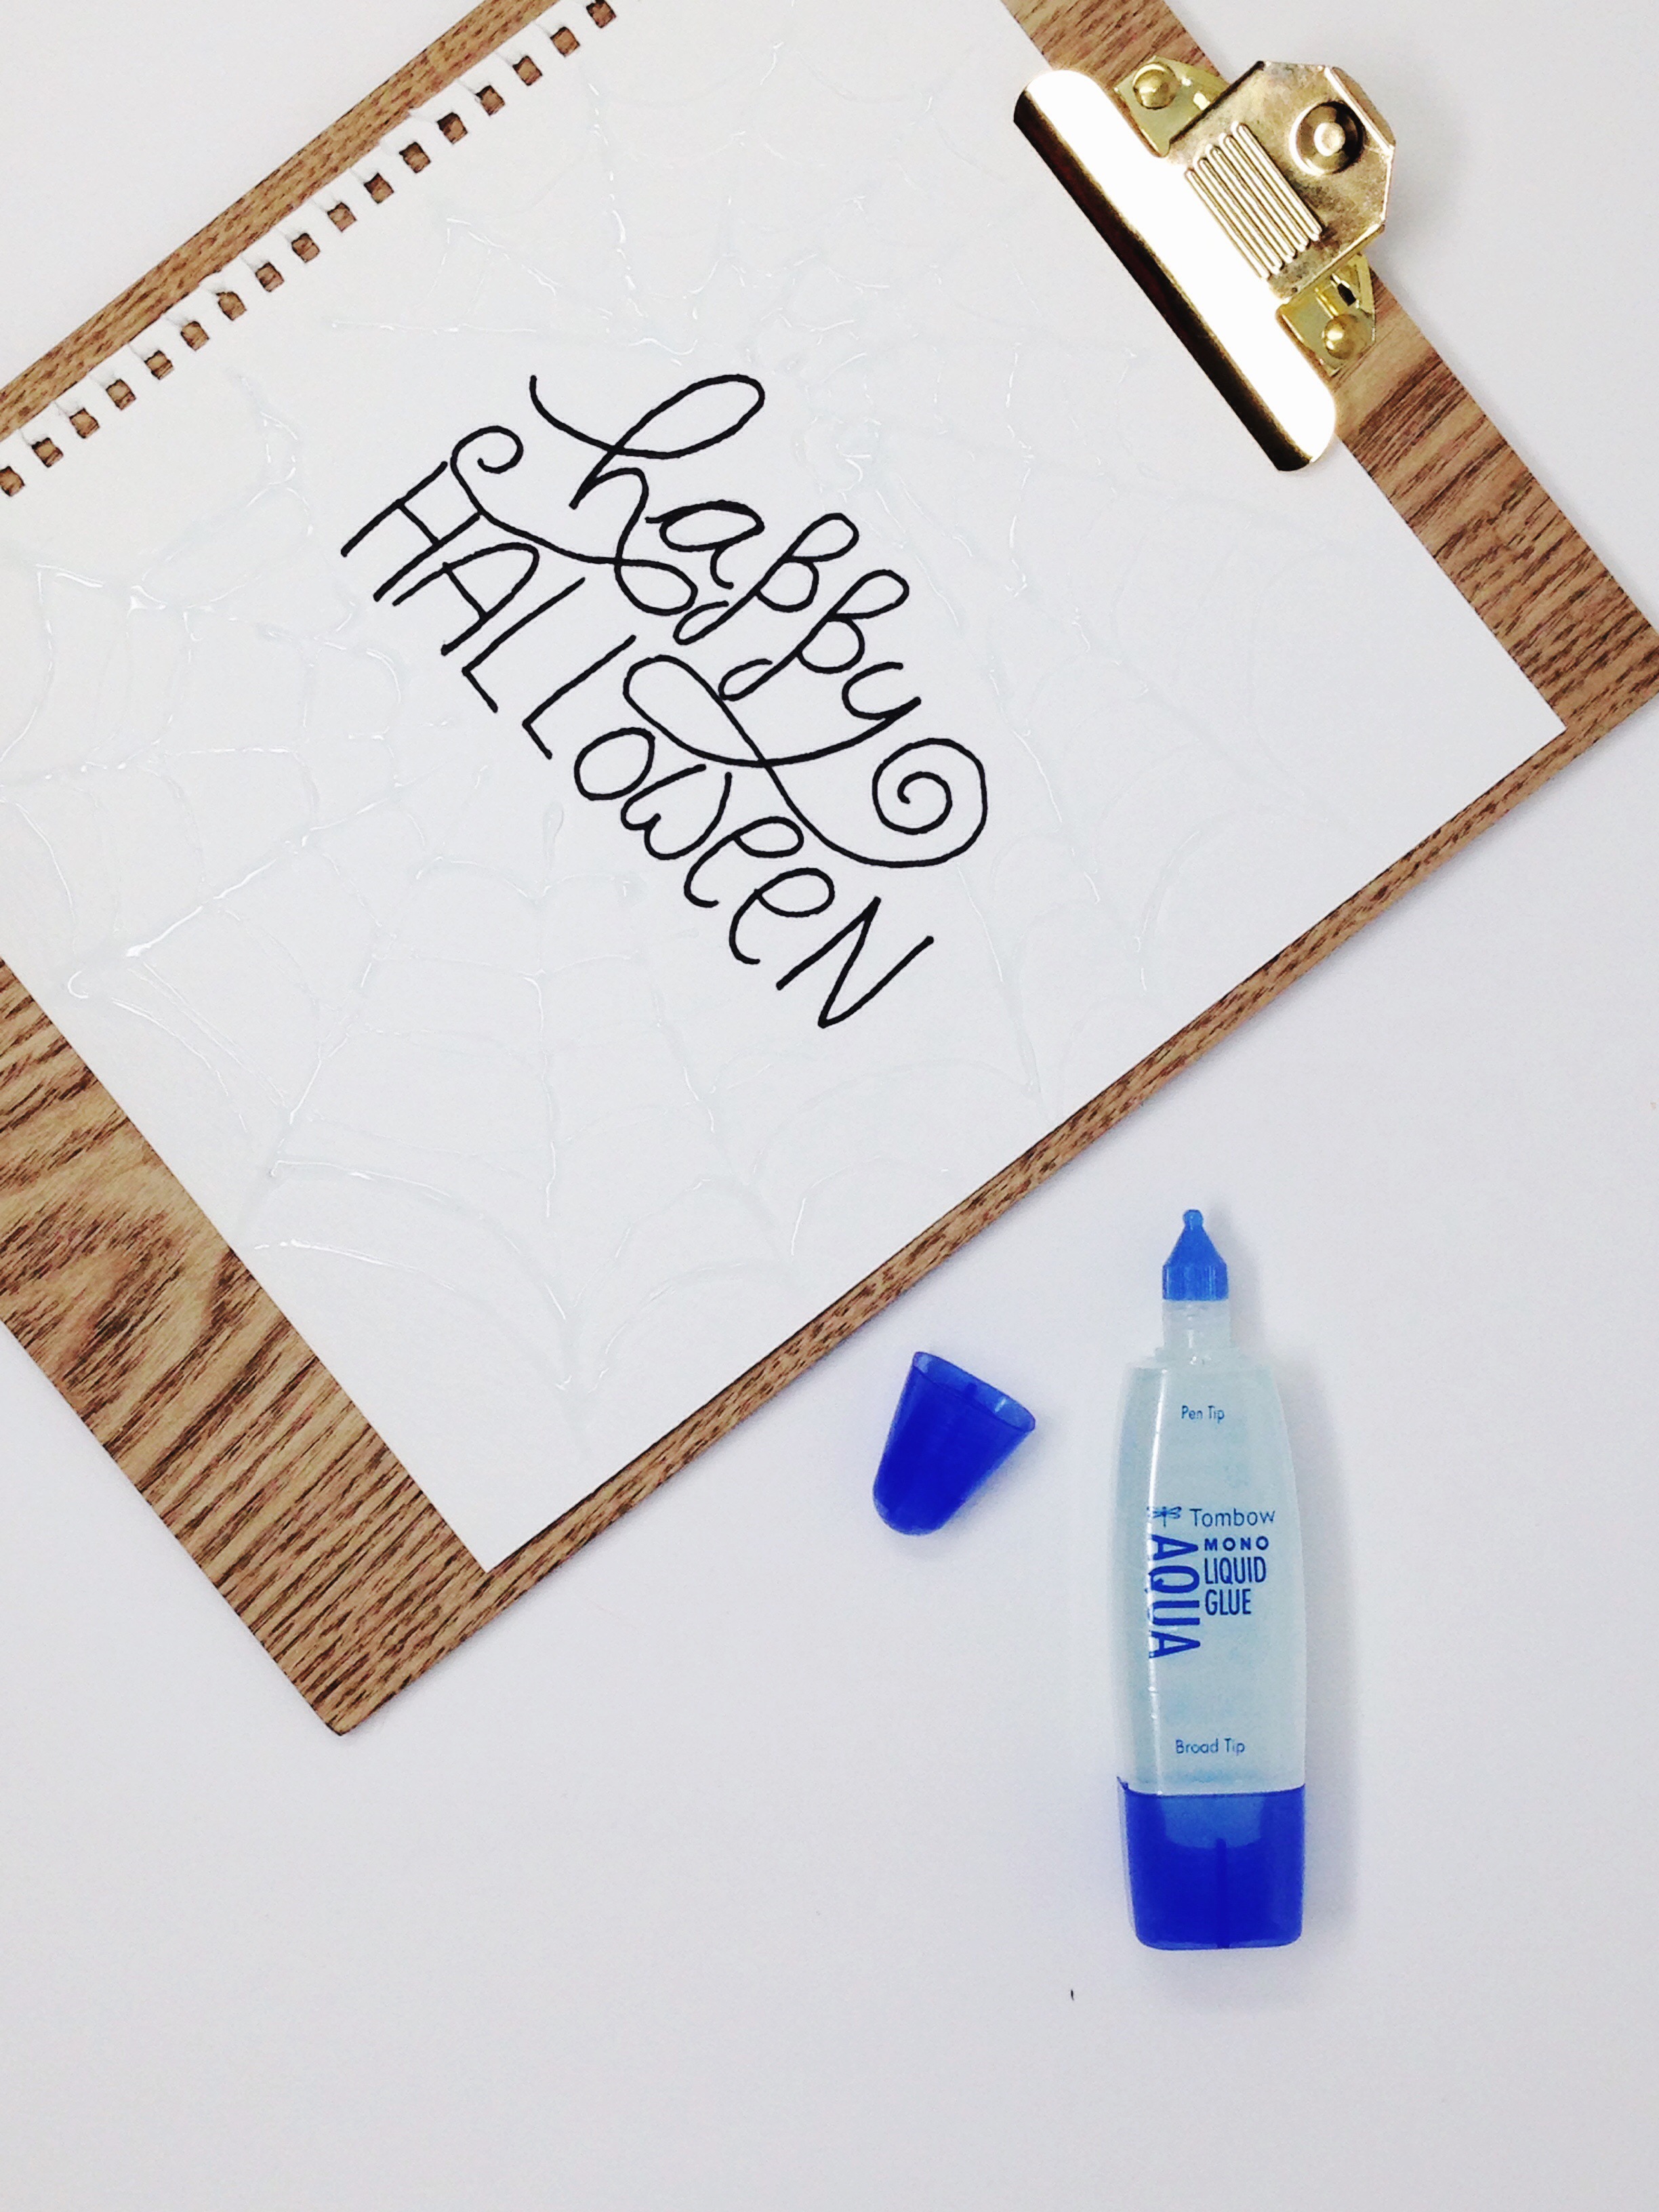
STEP 2:
Using the MONO Aqua Liquid Glue, draw spider web designs all over the watercolor paper. The glue comes with a narrow pen tip that is perfect for this!
The spider web does not have to be neat or precise, you just want a rough web shape in place. Let this dry nicely or go in with a heat gun and speed up the drying.
If you let the glue dry completely, it will be able to create a watercolor resist effect.
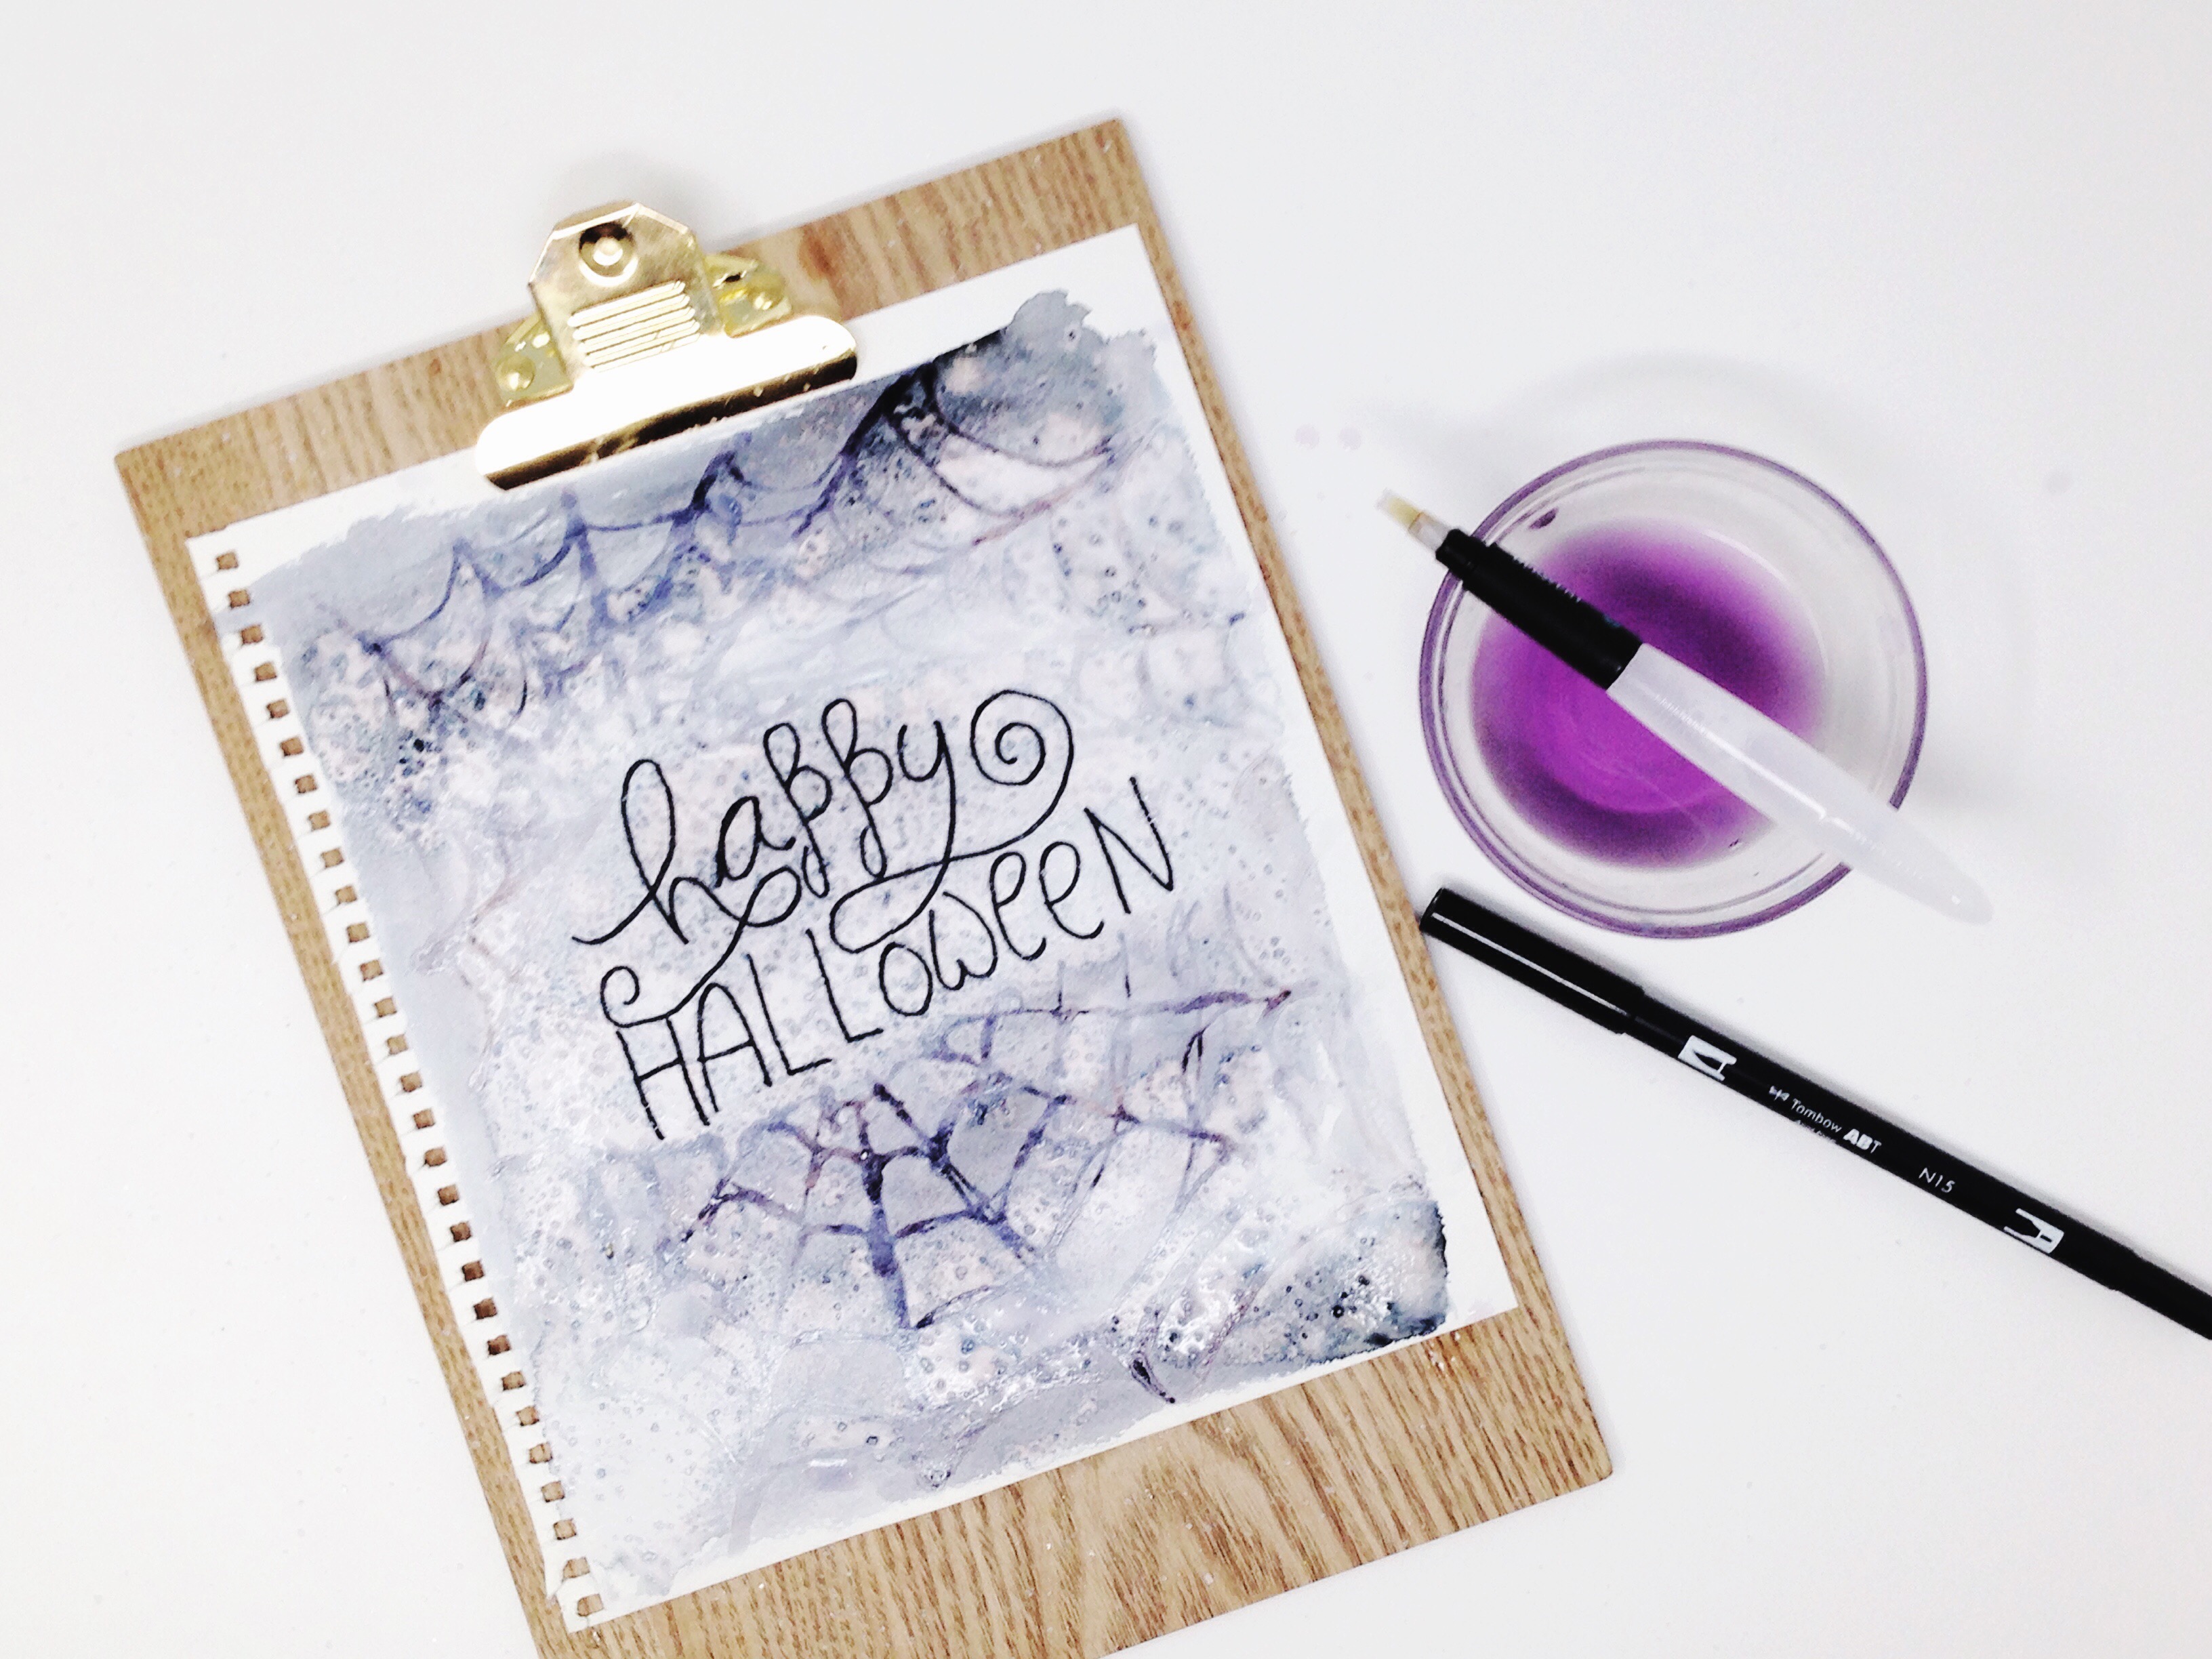
STEP 3:
Apply the Tombow Dual Brush Pen N15 directly to the paper, and spread the color all around by painting with water. Paint all over the page, over the glue spider web and over the lettering too. The pen we used for the lettering is oil based, and hence won’t bleed with the water.
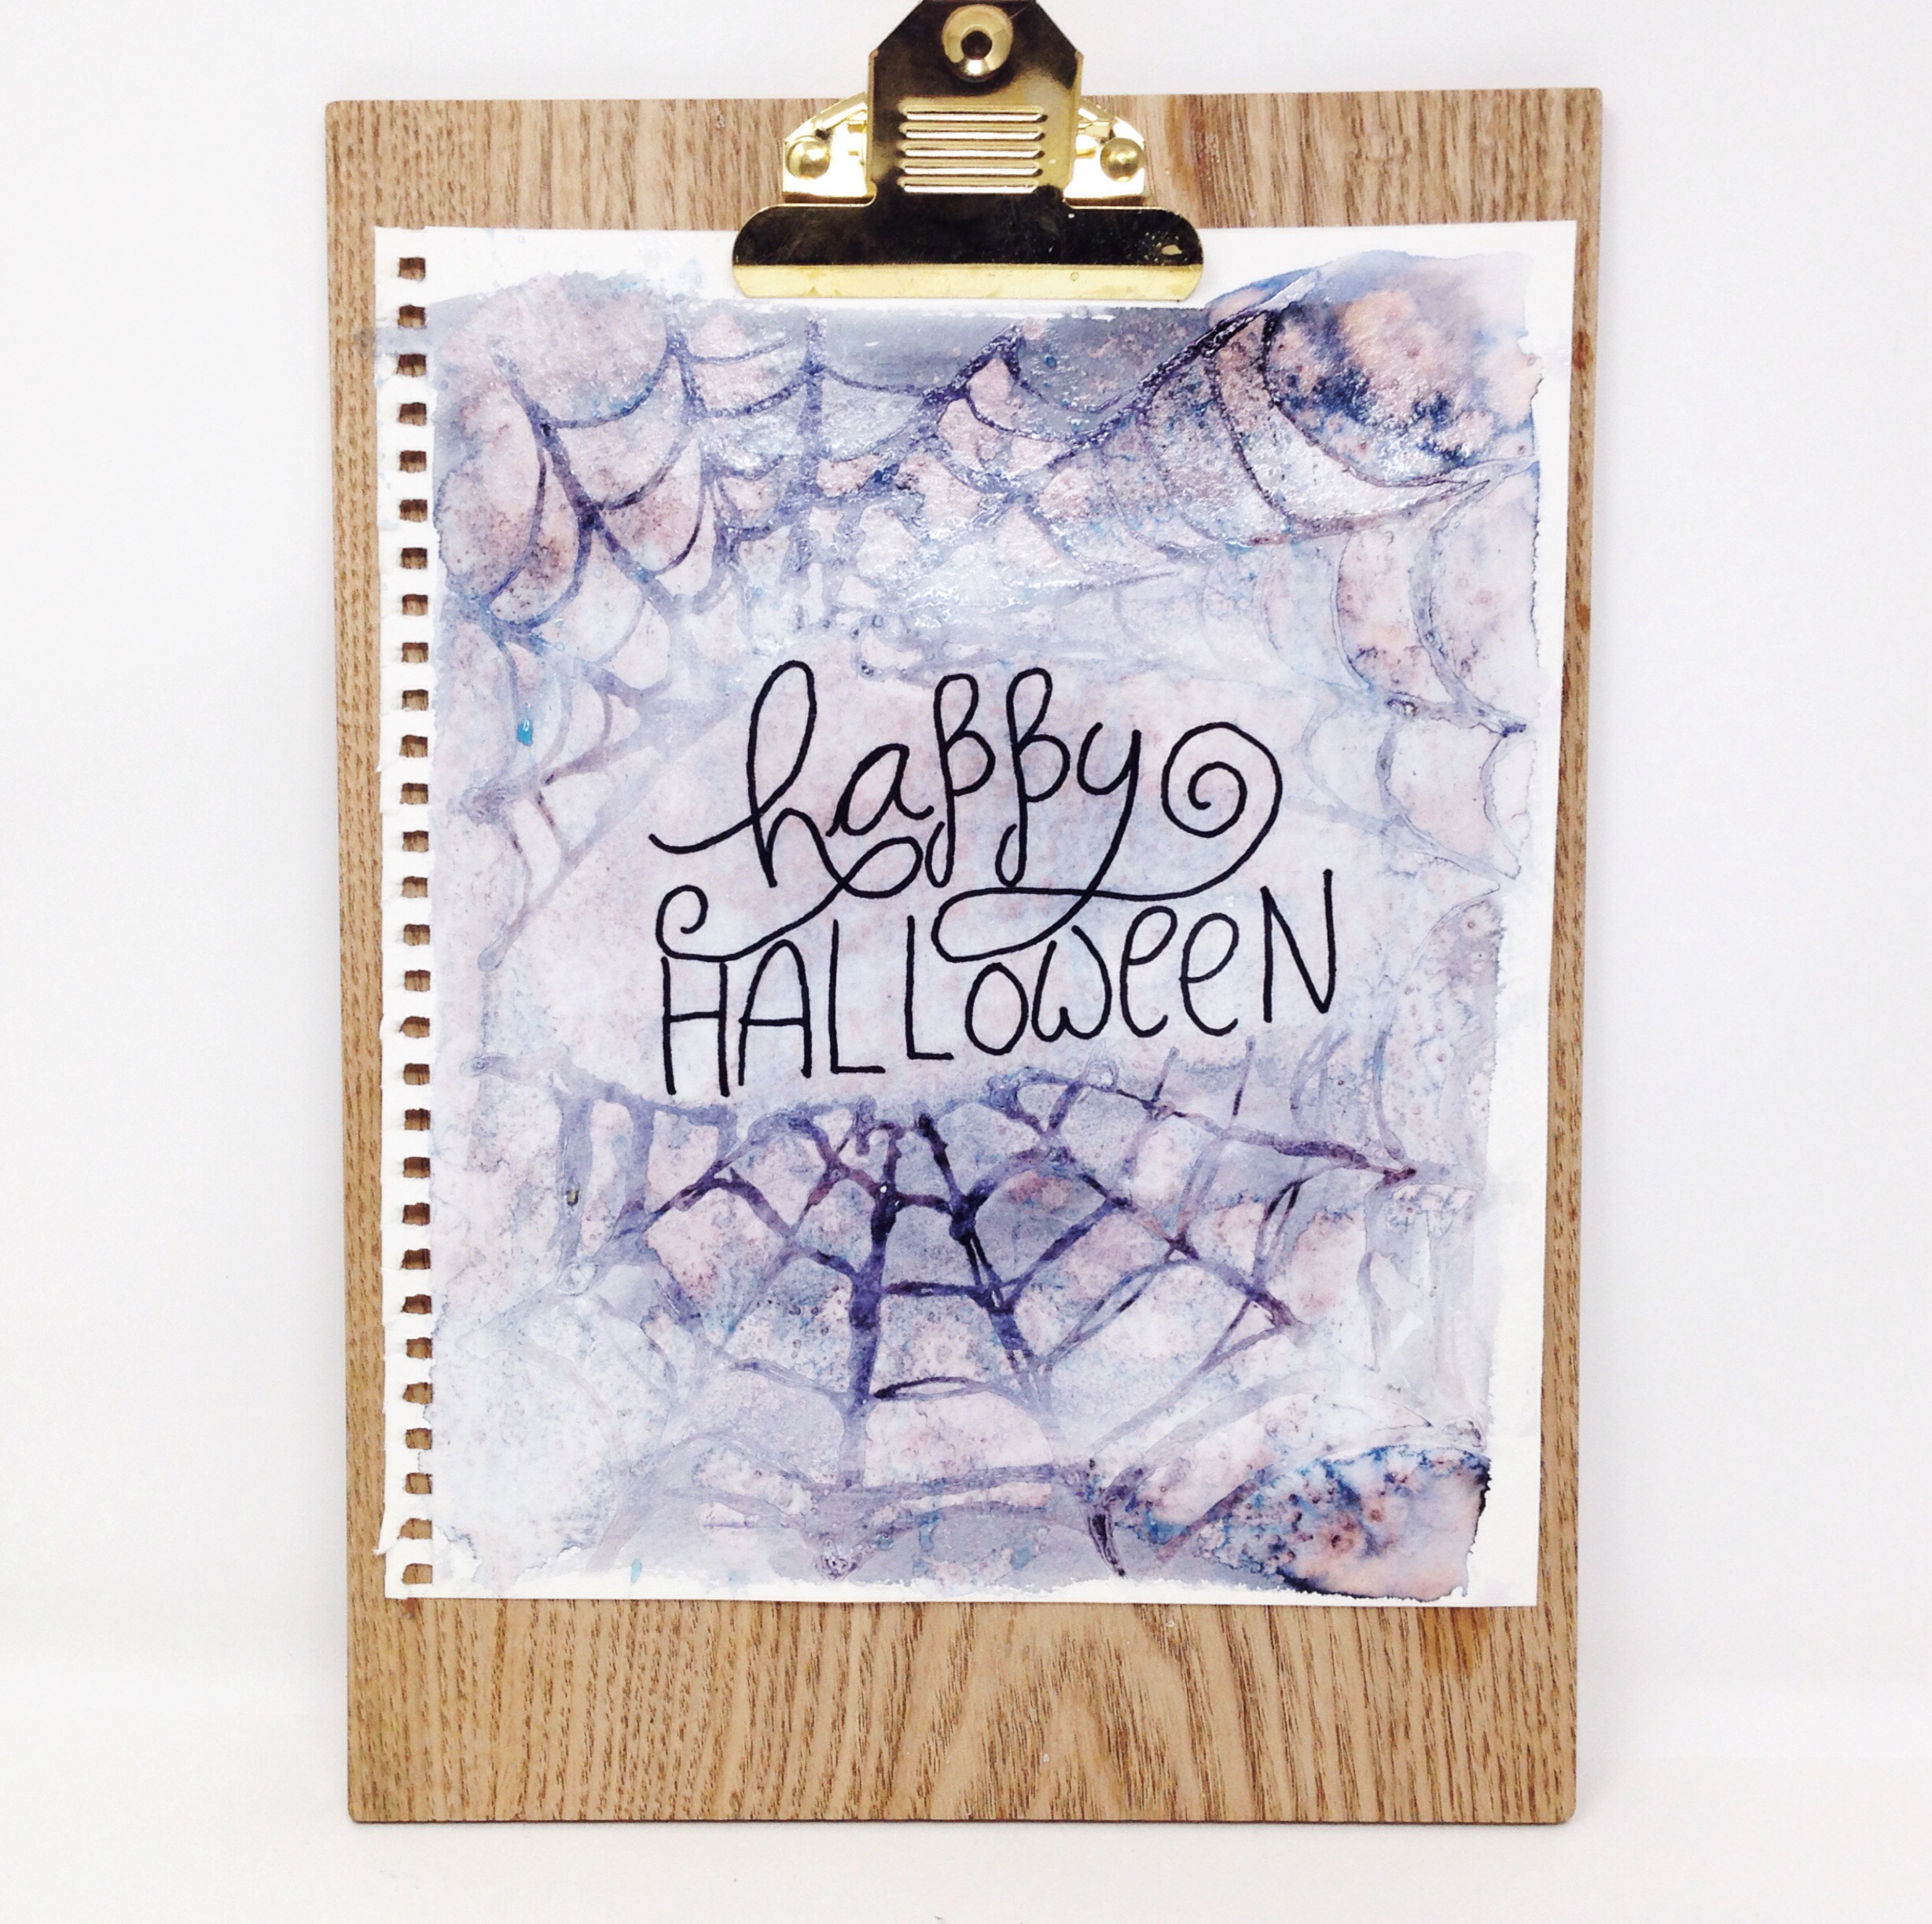
While the paint and water are still wet, generously sprinkle salt over the paper. The salt with react with the pigment and create this beautiful speckled, mottled aged look – that looks perfect for Halloween!

And that’s it! In 3 easy steps you can create a simple halloween piece of art. I actually liked how the sheet looked on my clipboard so I displayed just like that.
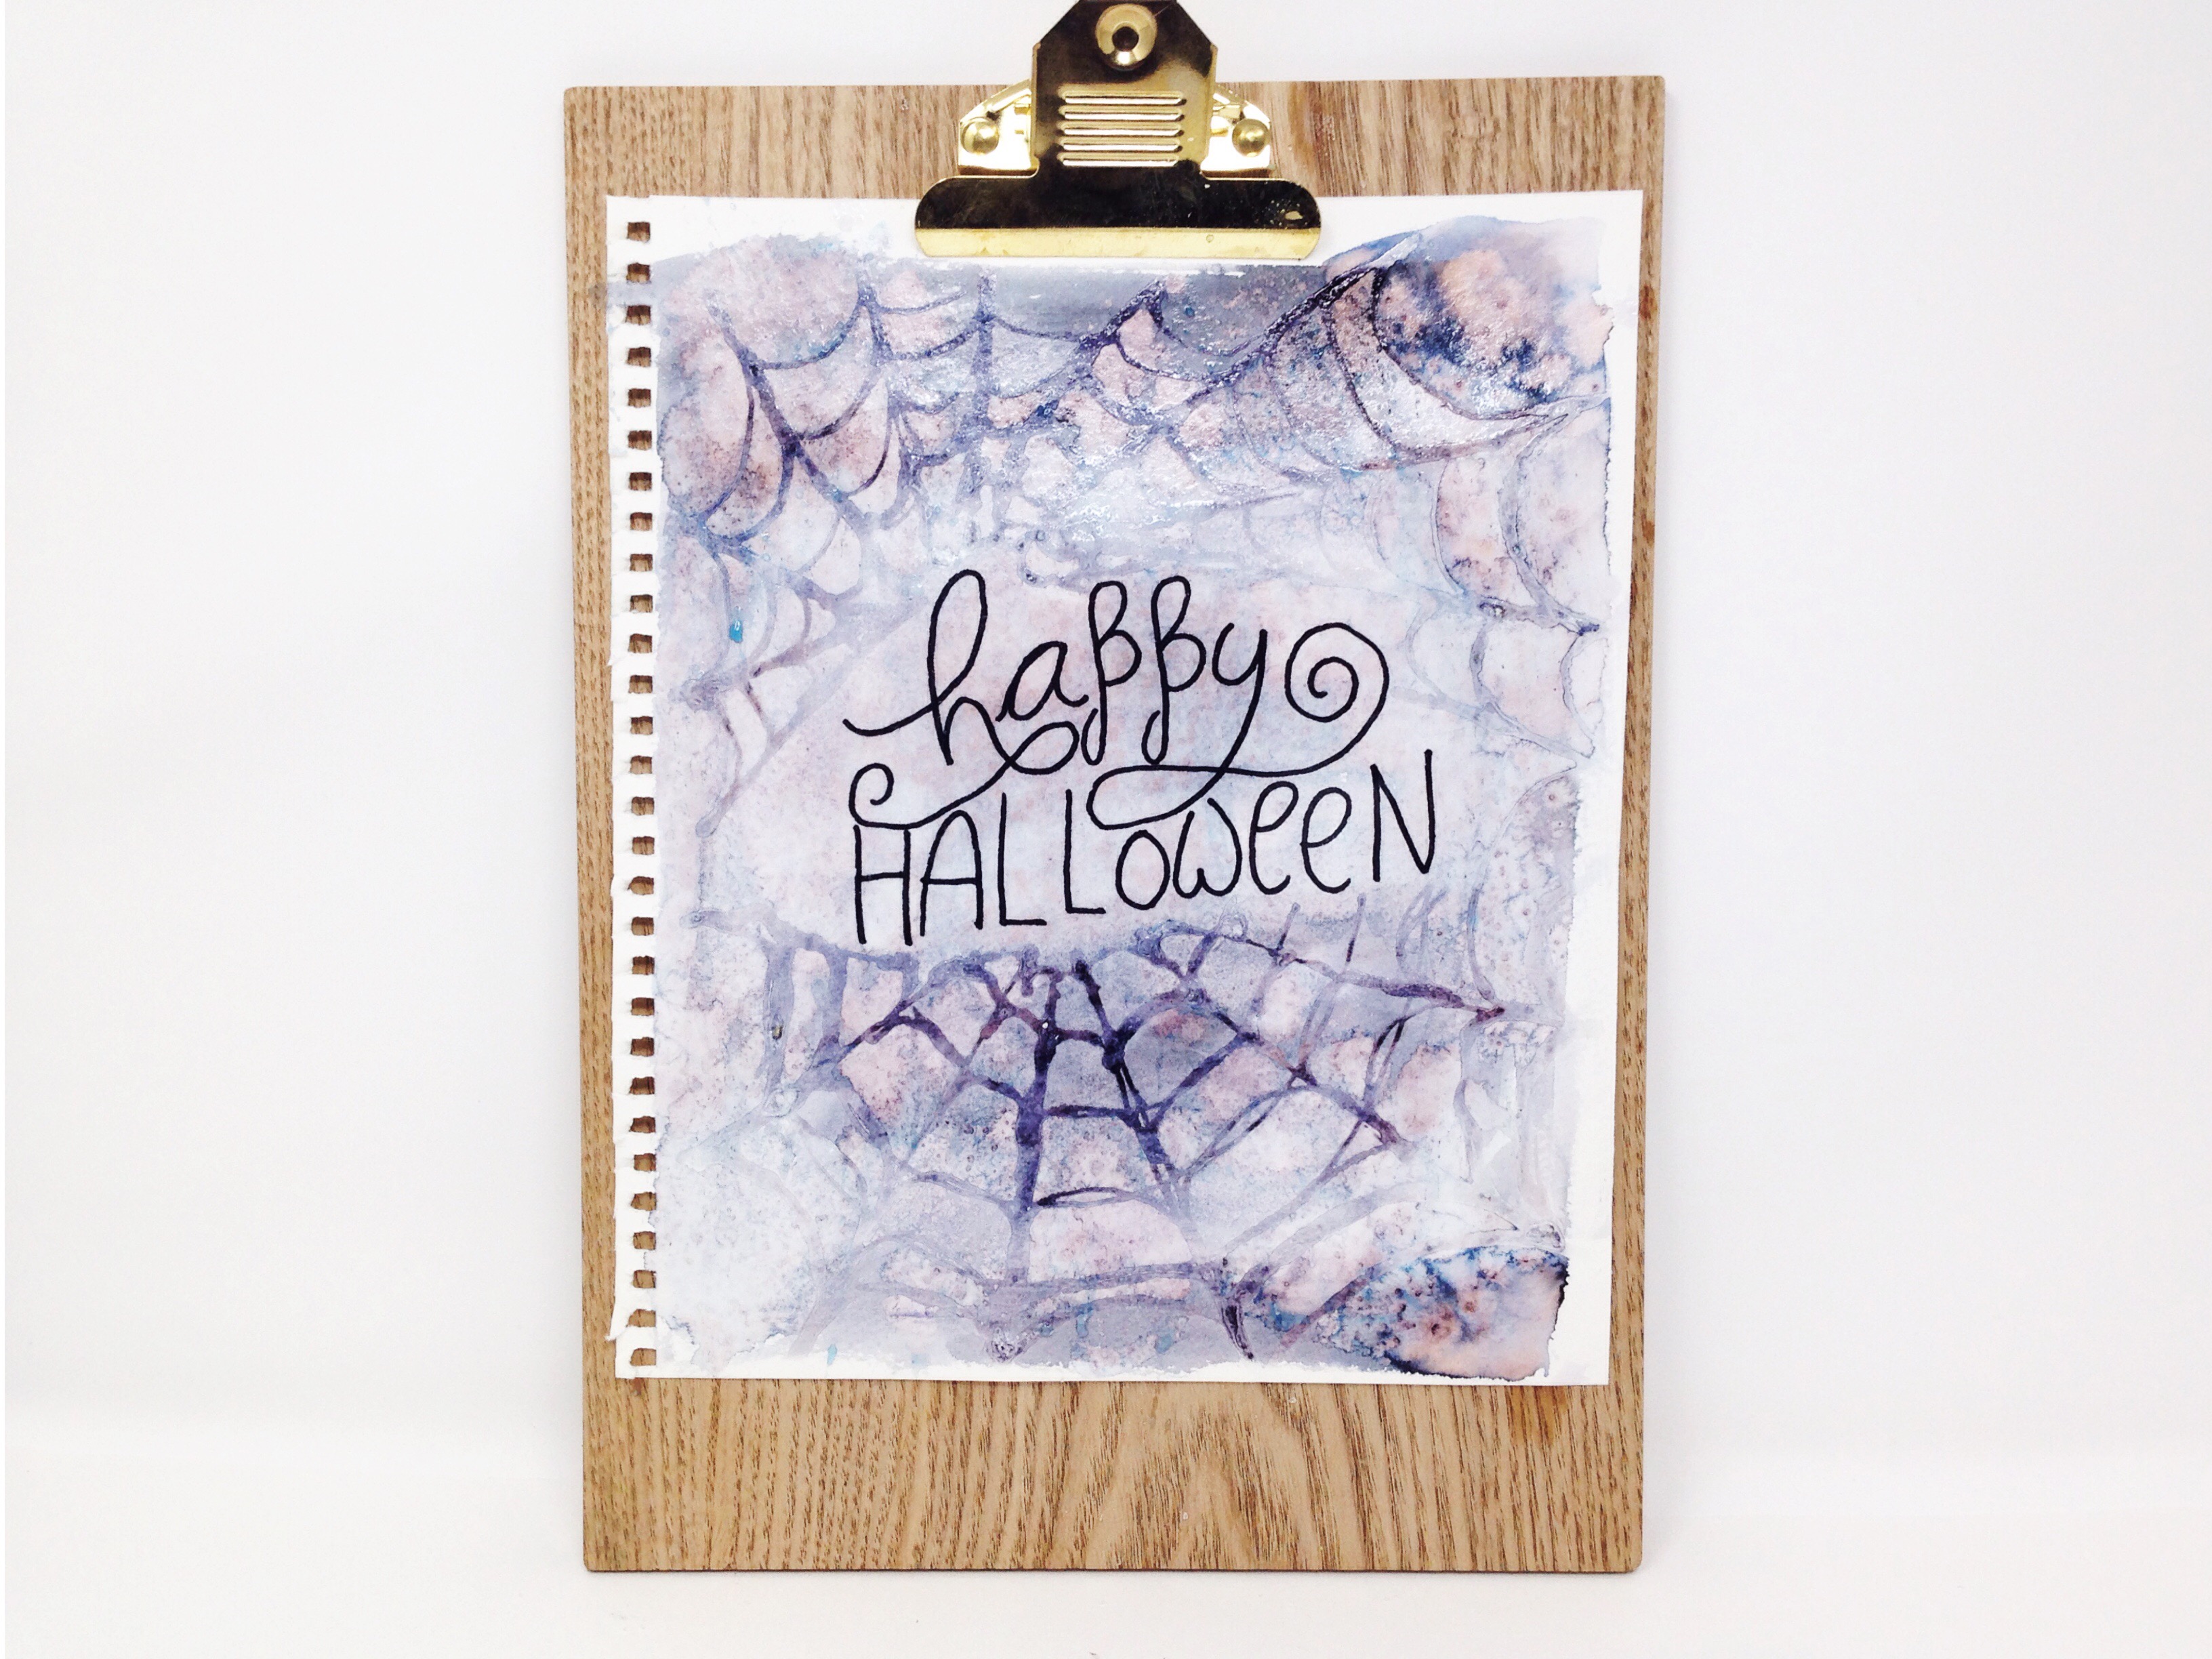
Happy Crafting!
-Smitha
Find me on instagram: @theshinynest