Hi there! Marie Browning here to help you with your holiday shopping! Today I’m sharing my top Tombow gifts for all the scrapbookers on your list. I’m also going to show you a cute DIY photo box using the products. Scrapbooking has continued to delight and engage paper crafters. However, lately it has gone in exciting new directions as photo gifts appear on walls, on live edge wood rounds, in mason jars and in many other fun directions!
My Top Tombow Gifts for Scrapbookers
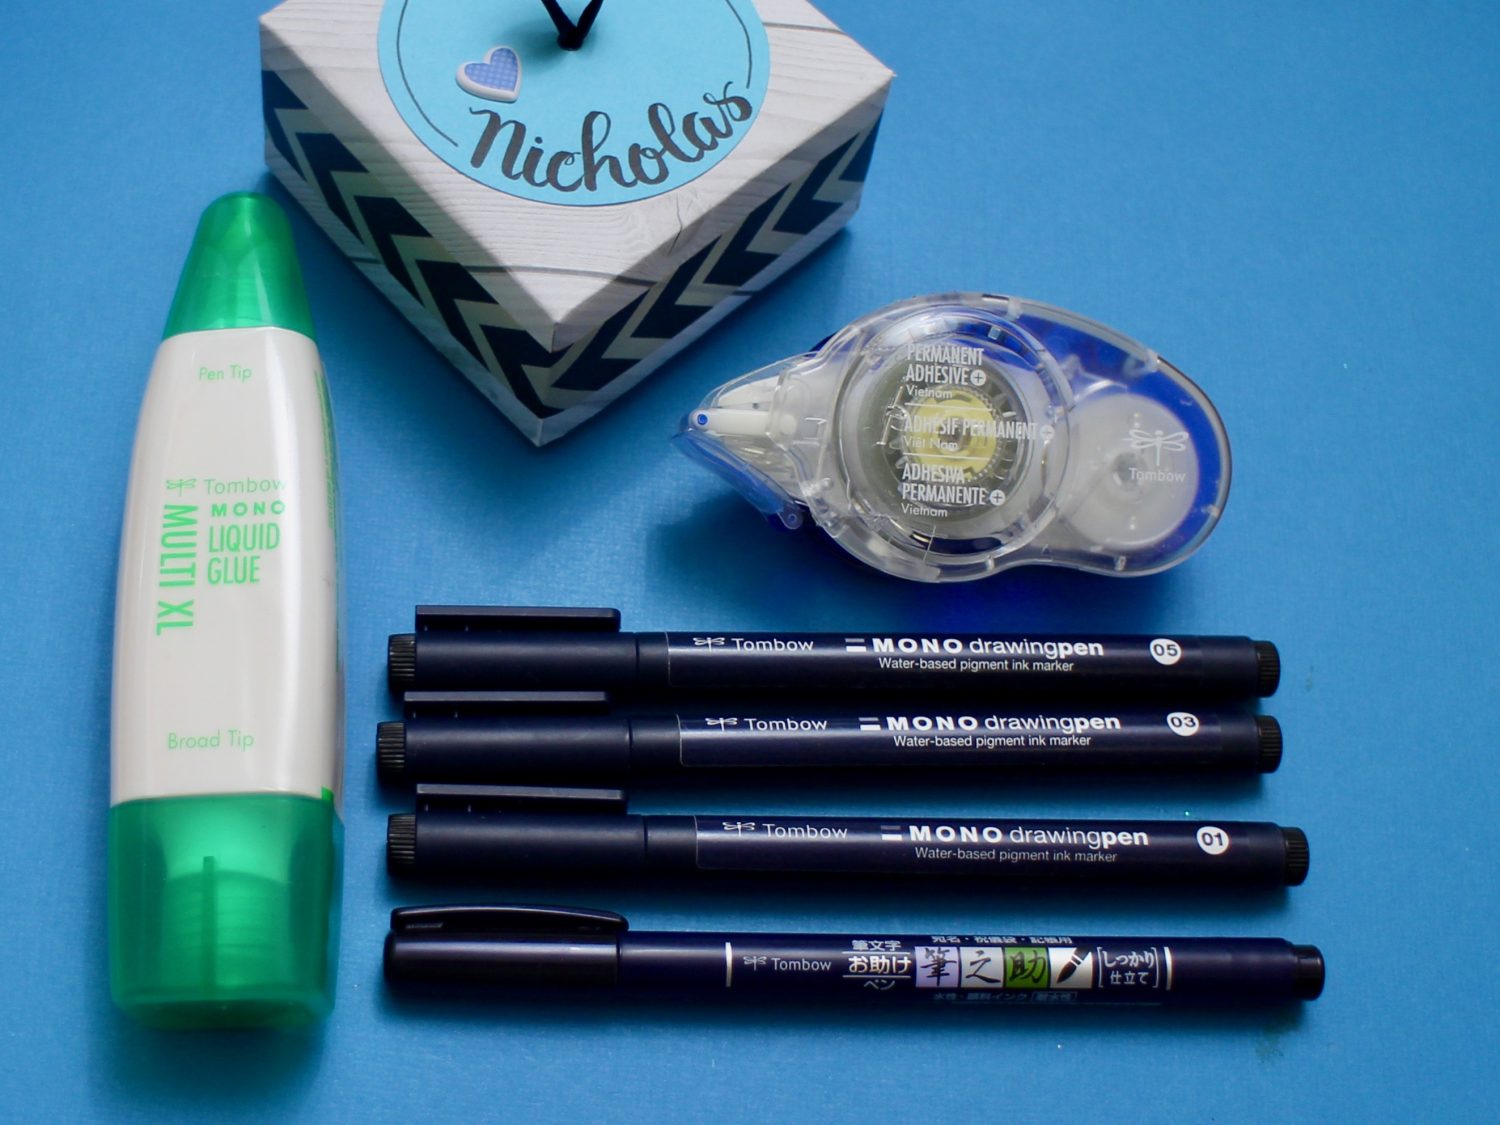
- MONO Multi XL Liquid Glue
- MONO Permanent Adhesive+
- MONO Drawing Pen 3-pack
- Fudenosuke Calligraphy Pen
Make Your Own Photo Box with My Picks
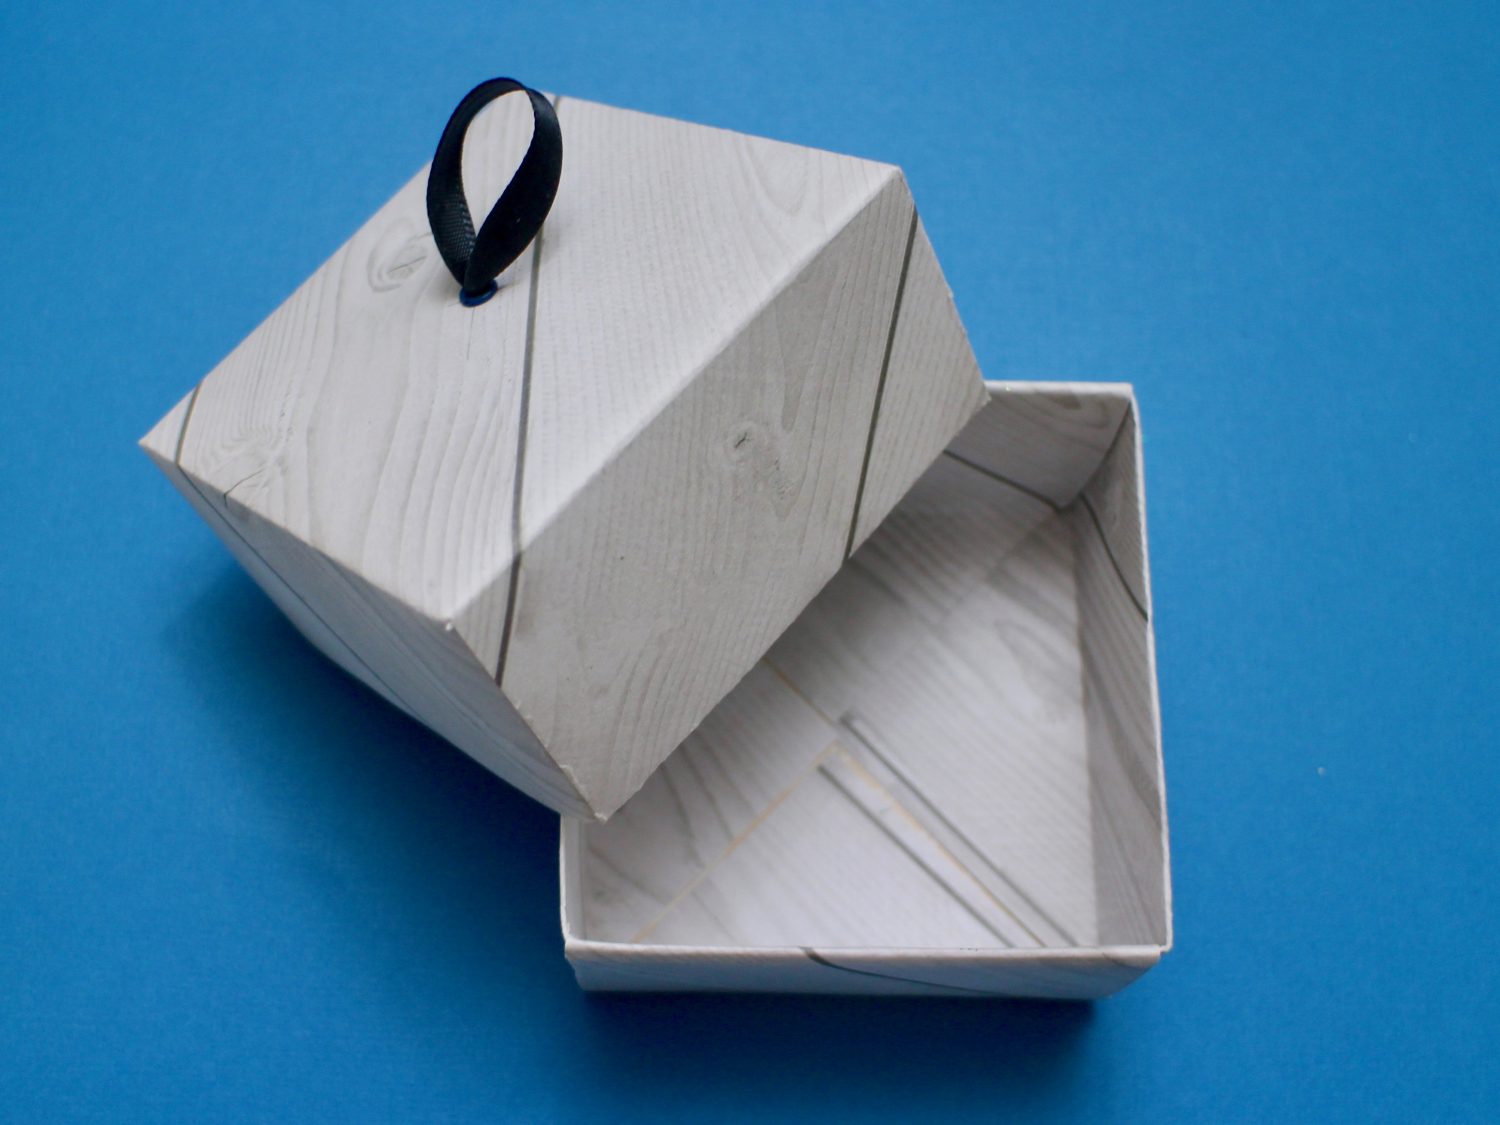
Start with making a folded origami box with a lid. I used 8″ x 8″ paper for the bottom, and 8.25″ x 8.25″ for the slightly larger top to make a 3″ x 3″ box. You can learn how to make the box here.
I used heavy cardstock for my box, so a bone folder for crisp, even folds was very handy. Make a hole in the middle of the lid, set an eyelet and thread through a loop of ribbon. The ribbon is secured on the inside with my first pick, MONO Multi XL Liquid Glue.
MONO Multi has long been a favorite adhesive for paper crafters, and now it comes in an extra large size! Still the same glue you know and love but now twice as much!
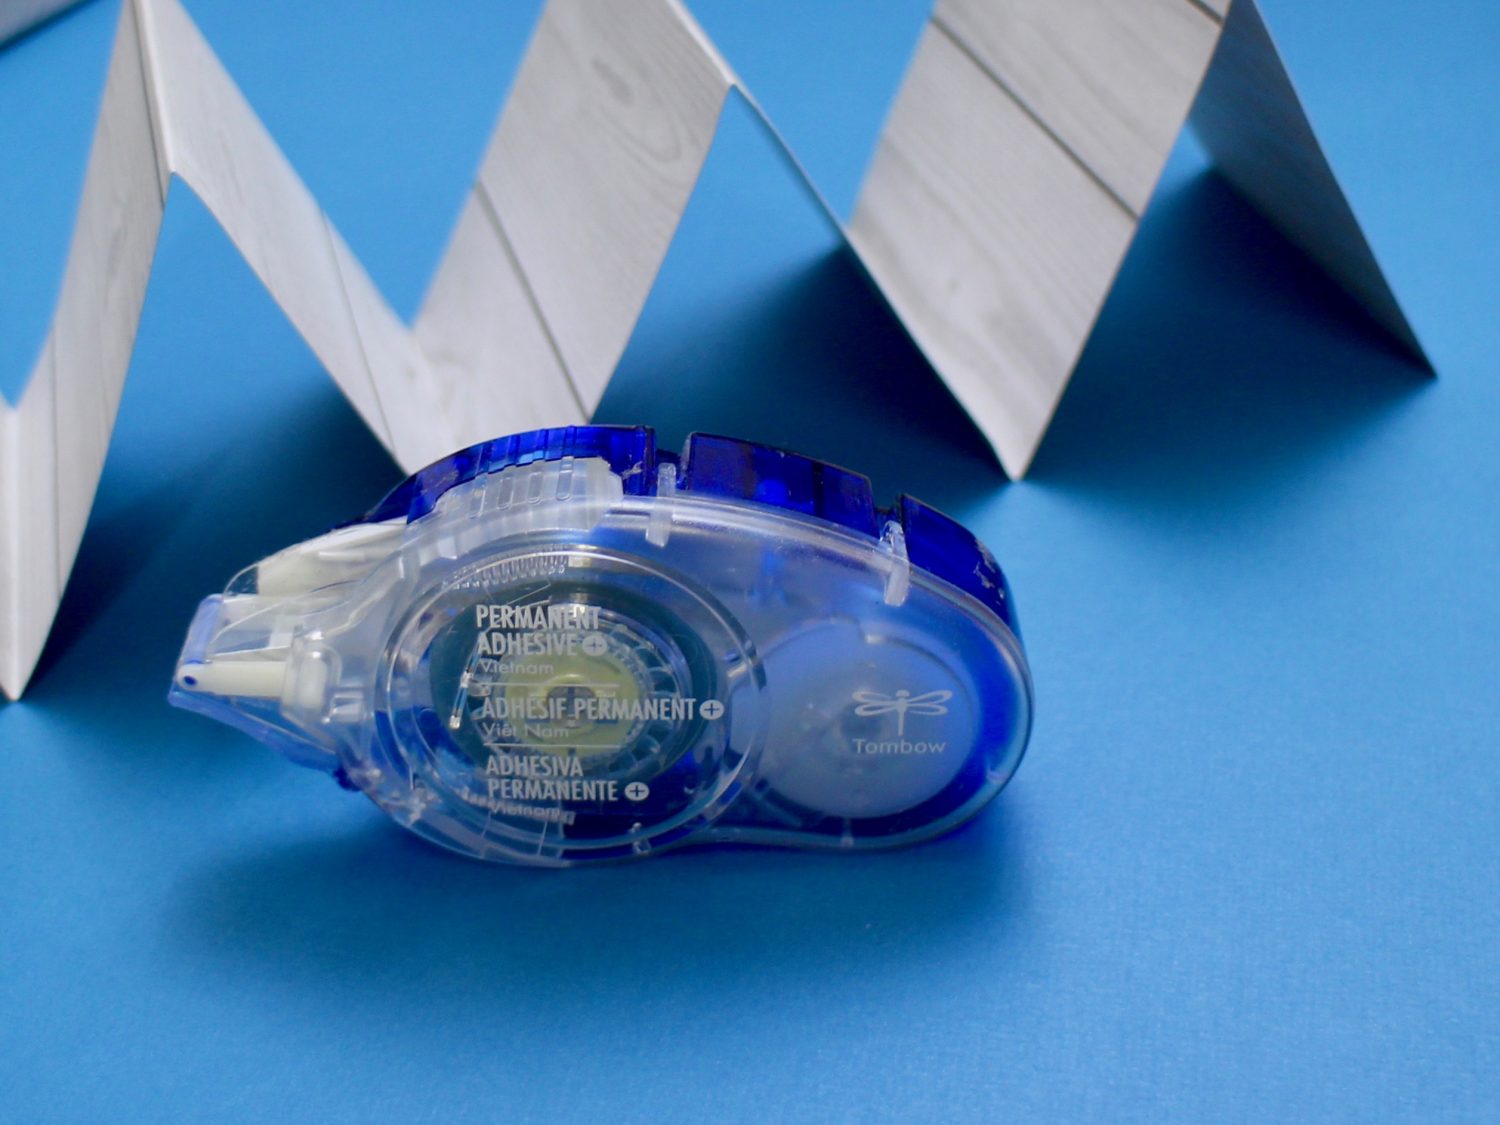
Make the Accordion Folded Pages
Cut strips of cardstock into 2.75″ x 12″ strips. Accordian fold the strips into 2.75″ x 2.75″ pages. Adhere the strips together using my second pick, MONO Permanent Adhesive+. This adhesive runner has a unique Instant Start System that advances the adhesive to the very tip of the applicator after every use, ensuring a quick grab and instant start exactly where you aim. Especially good for corners and edges! My box has eight pages, but you can make yours even longer, just keep them to an even number.
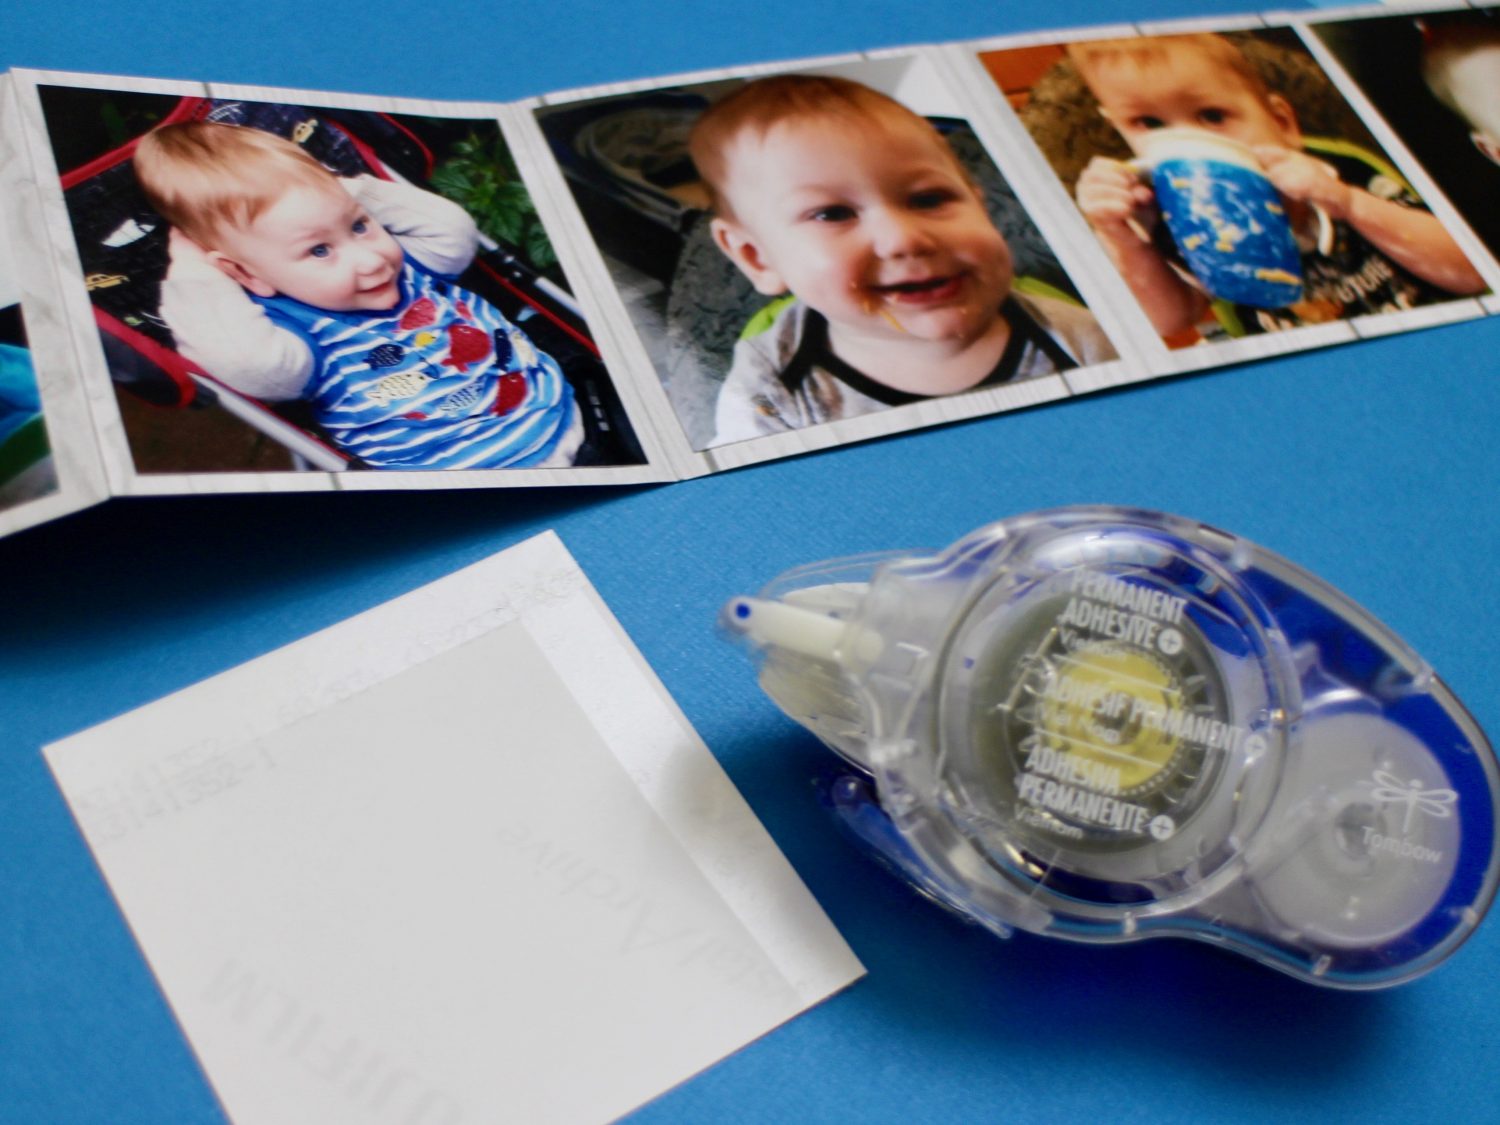
Add the Photos to Your Pages
Trim your photos to 2.5″ x 2.5″ and adhere to the pages. Again the new MONO Permanent Adhesive+ is perfect for this task! See how the tape goes on smoothly and right to the edges and corners of the photographs. That means as you repeatedly handle the photo box, those edges and corners will not lift up.
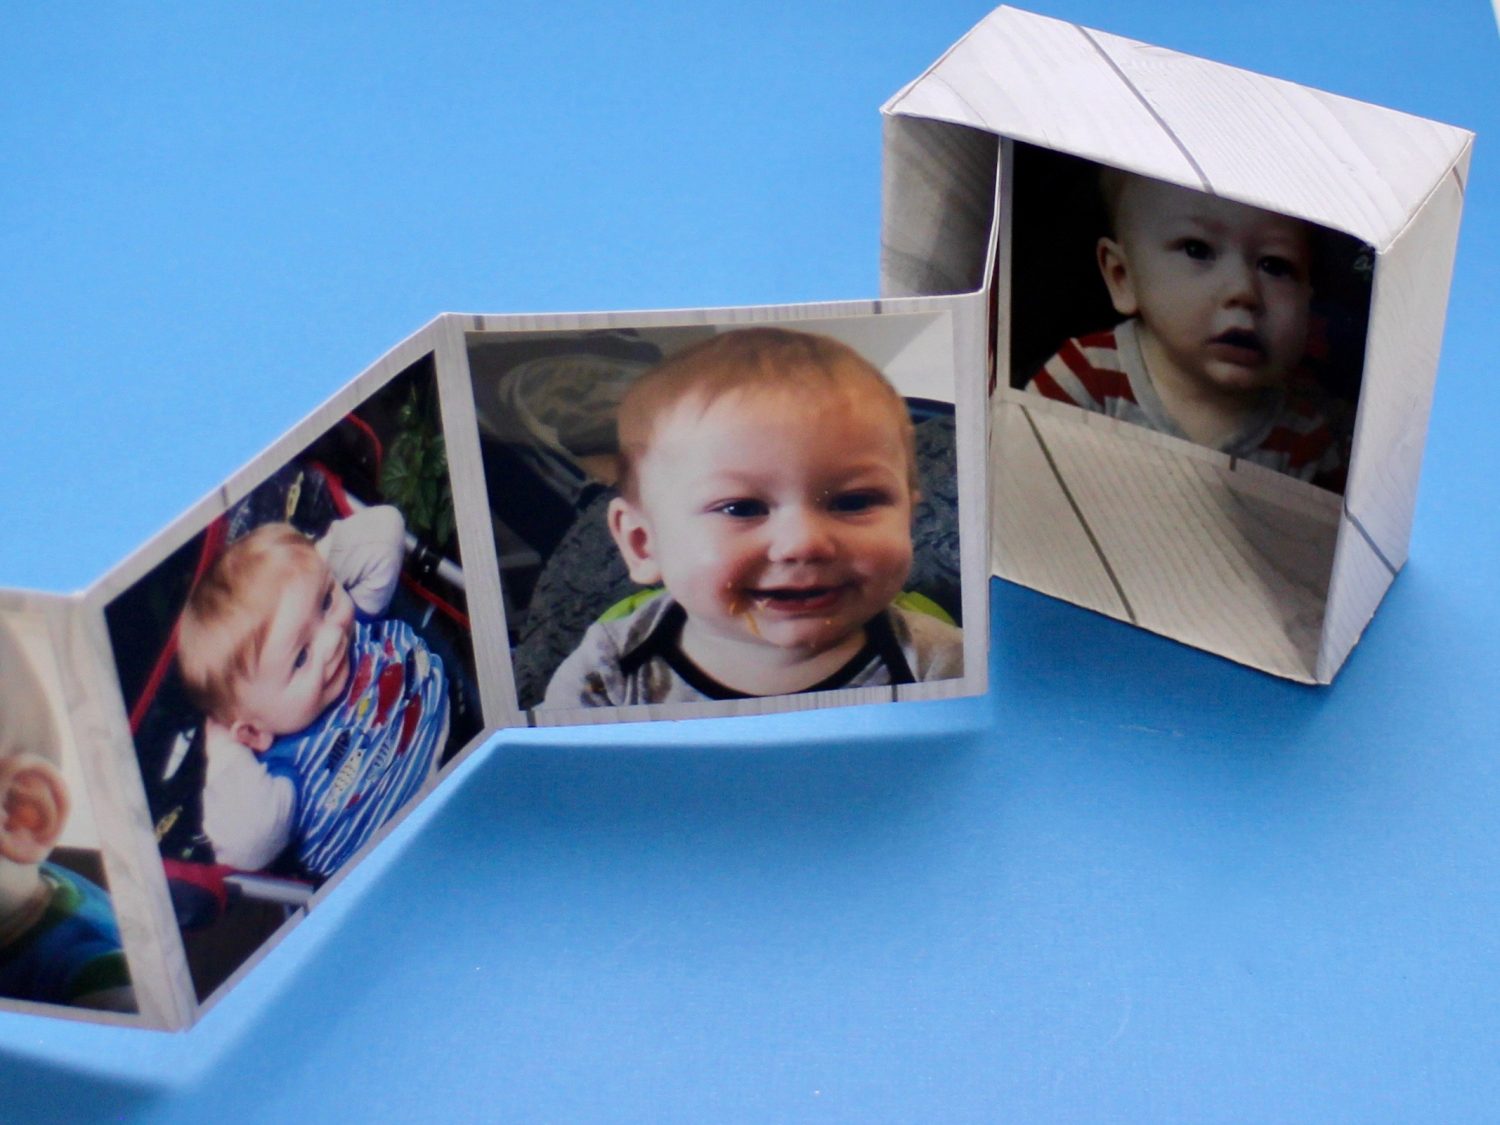
Glue the Pages Into the Box
Now you are ready to glue the strip of pages into your box. I used the MONO Multi Glue to glue the first page into the bottom of the box, and the last photo into the inside top of the box. Use the broad applicator to spread a thin layer of glue for a super strong adhesion.
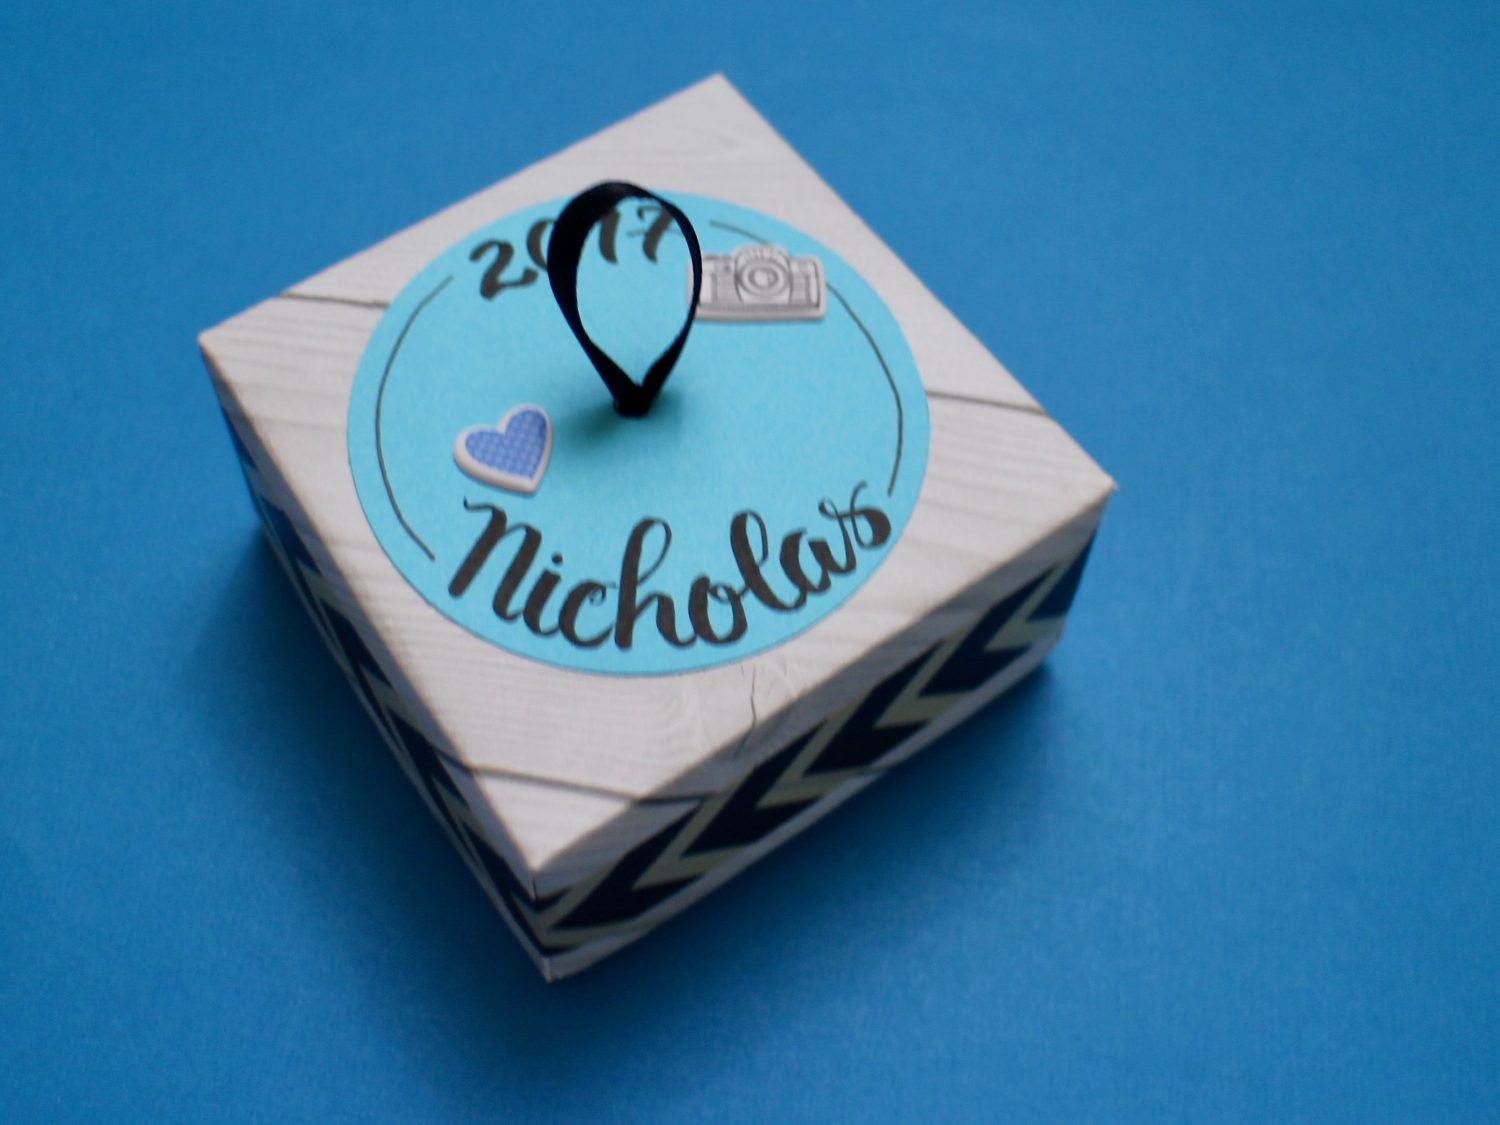
Decorate the Box
I decorated the box with some washi tape around the edge. I then added the journaling to a 2.5″ cardstock circle. This is my final pick, MONO Drawing Pens and Fudenosuke Calligraphy Pen for adding lettering, accents and doodles to your creations. These markers are a must for any paper crafter with juicy inks and strong tips to last. Use the Fudenosuke Pen to add modern calligraphy to your skills. Learn how by practising with these free Fudenosuke worksheets. The MONO Drawing Pens come in three sizes, 05 for thick lines, 03 for medium lines and 01 for fine lines. Adhere the circle to the top of the box with the MONO Permanent Adhesive +. Add any small embellishments with the MONO Multi XL Glue.
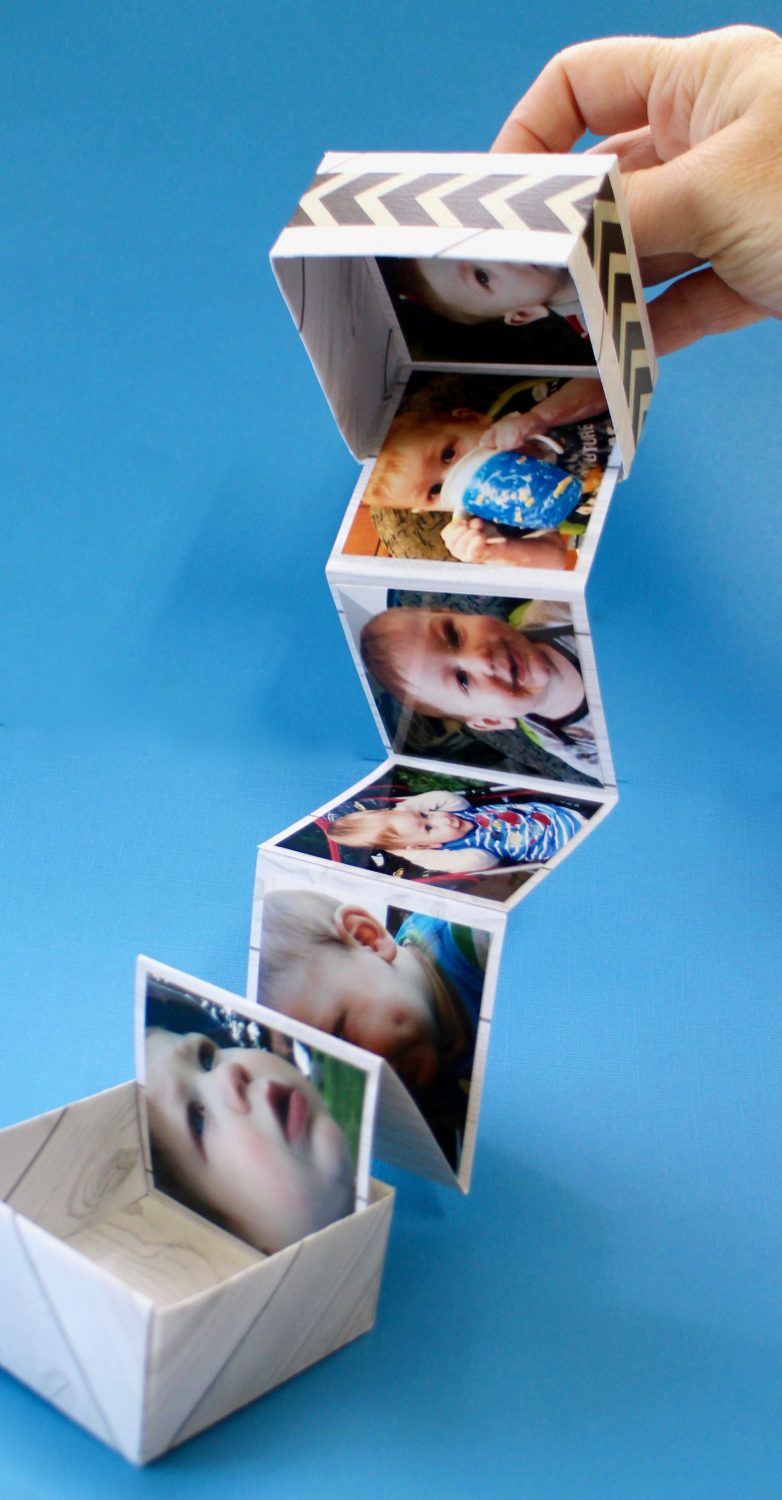
Finished Photo Box
Your finished box makes a great photo gift, and is fun to display openned or closed!
Thanks Nicholas for being so darn cute! For more crafting fun come visit my website www.mariebrowning.com