Hi my crafty Tombow friends! It’s Dani from @popfizzpaper here today sharing a Galentines tea for two envelope tutorial. These are a fun way to give cozy hugs in mugs to your best gal pals. Let’s get started!
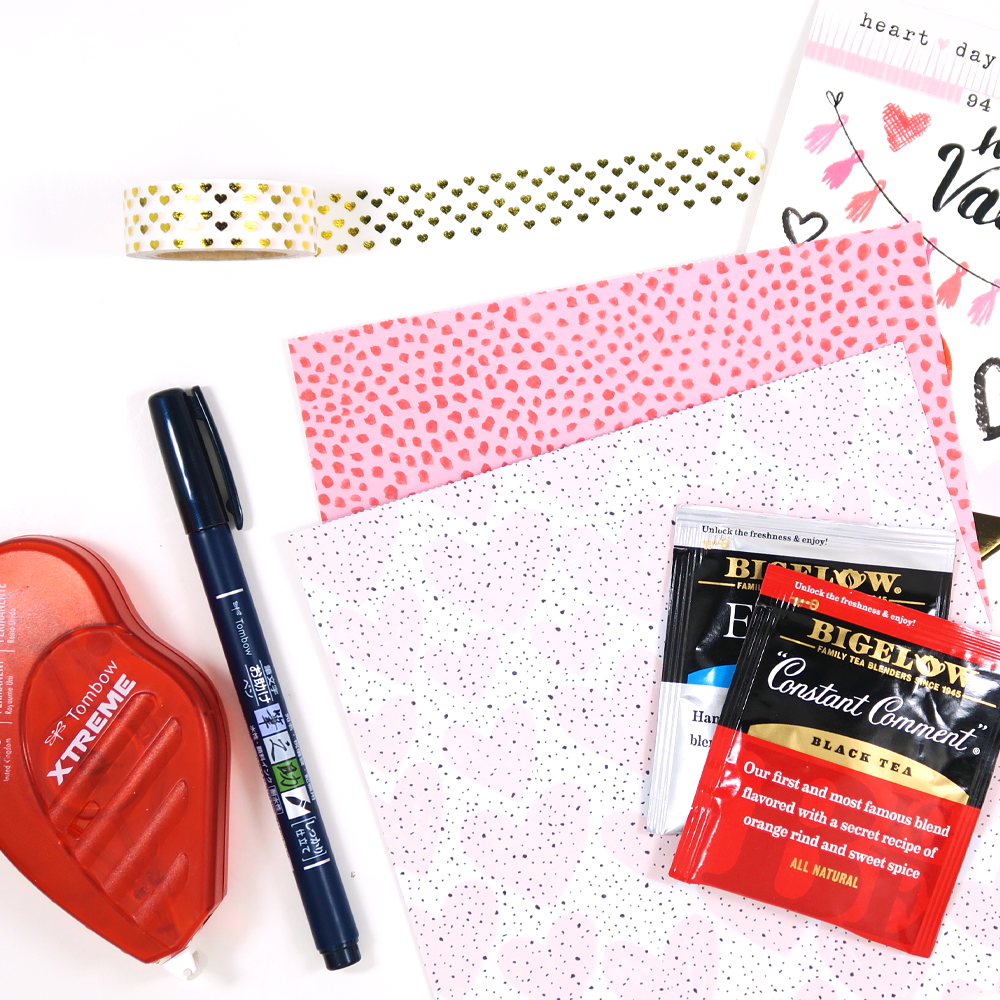
SUPPLIES:
- Tombow Fudenosuke Brush Pen (hard tip)
- Tombow Xtreme Adhesive
- scrapbook paper cut to 6″ x 4.25″
- scissors
- bone folder
- scoring board
- embellishments (washi, stickers, etc)
- bakers twine or ribbon
- individual bags of tea
STEP 1 – START THE BASE
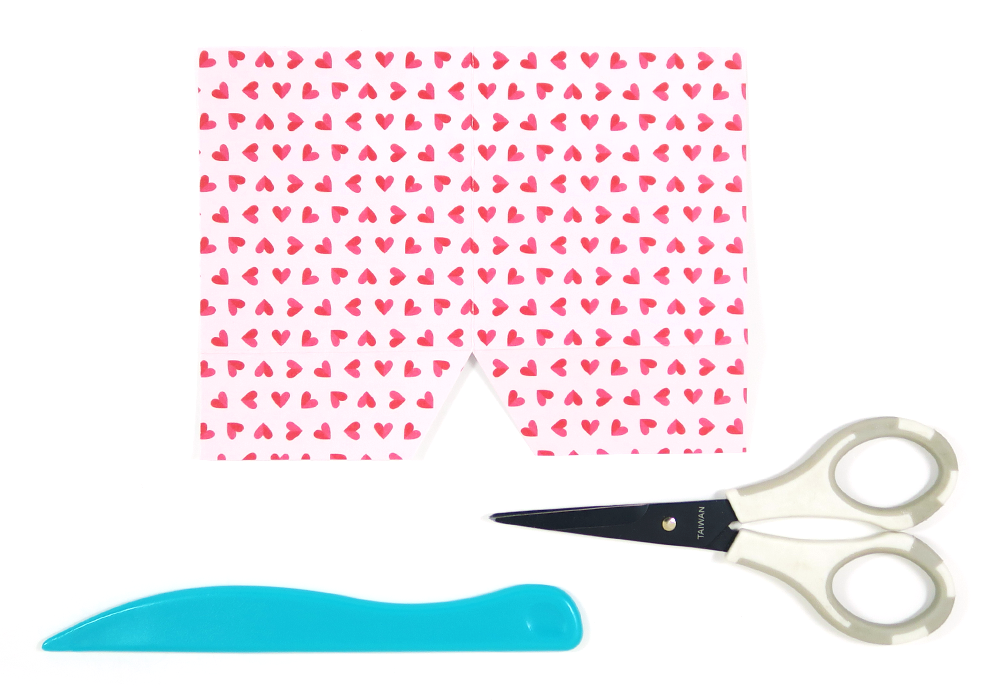
With the 6″ side of your scrapbook paper at the top of your score board, score at 3″. Turn the paper 90 degrees clockwise, then score at 1″. Next, fold your paper along the 3″ score mark, cut an angular shape from the bottom up to where the score lines cross, then unfold. It should look like the picture below with two flaps at the bottom.
STEP 2 – FOLD IT UP
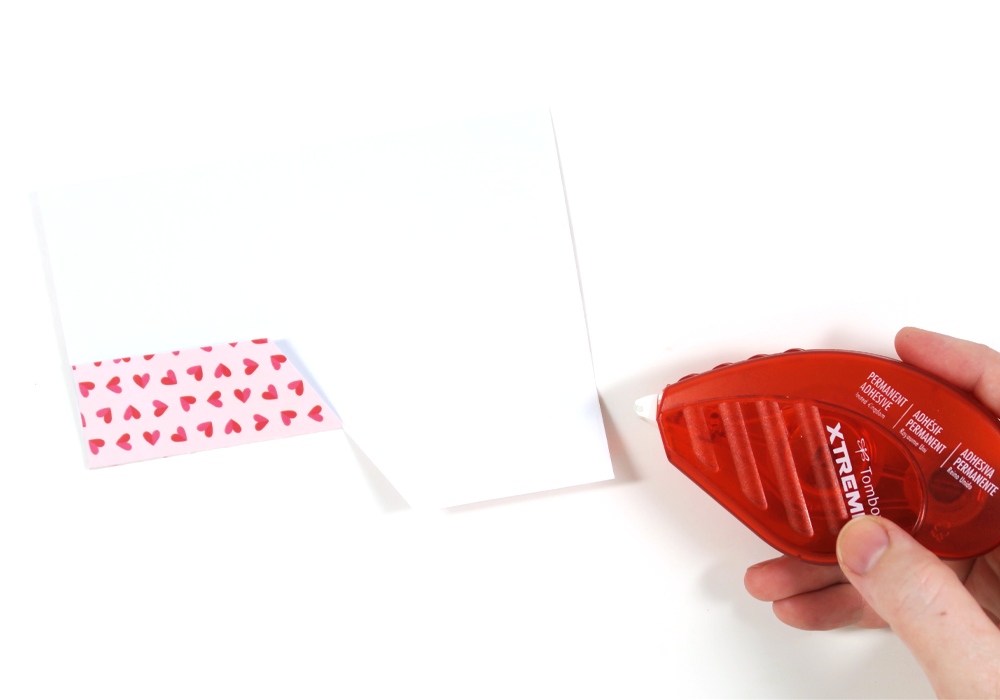
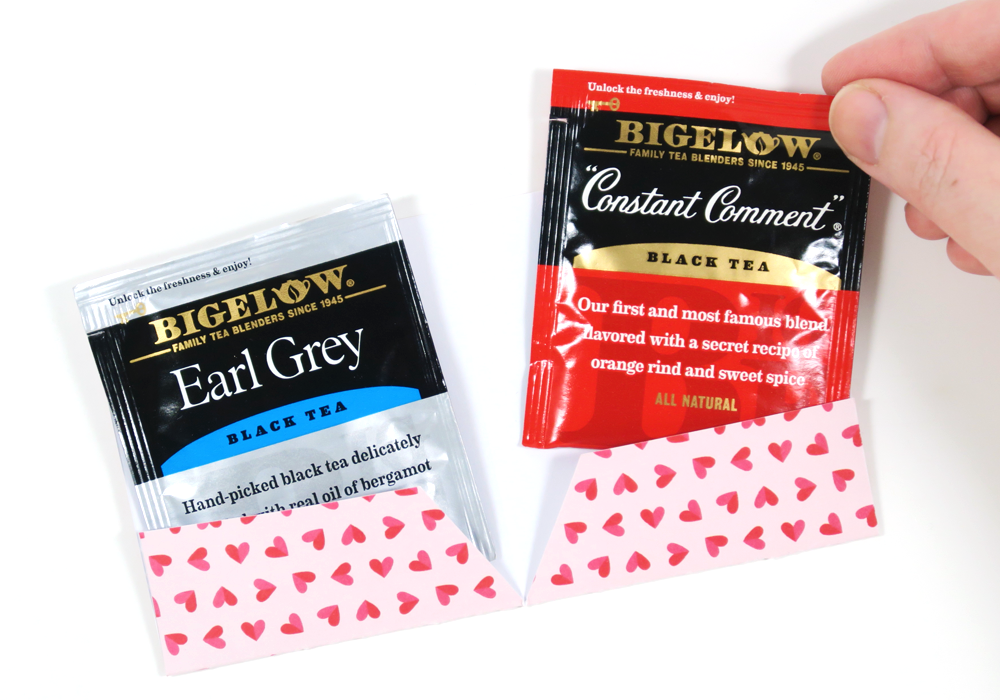
Next, flip your scrapbook paper over so the pretty side is facing down. Fold up the bottom flaps and secure along the outer edge with the Tombow Xtreme Adhesive. These are the pockets that will hold the tea bags. Ta-da! The base of our tea for two envelope is complete, so let’s get to making it extra pretty.
STEP 3 – DECORATE
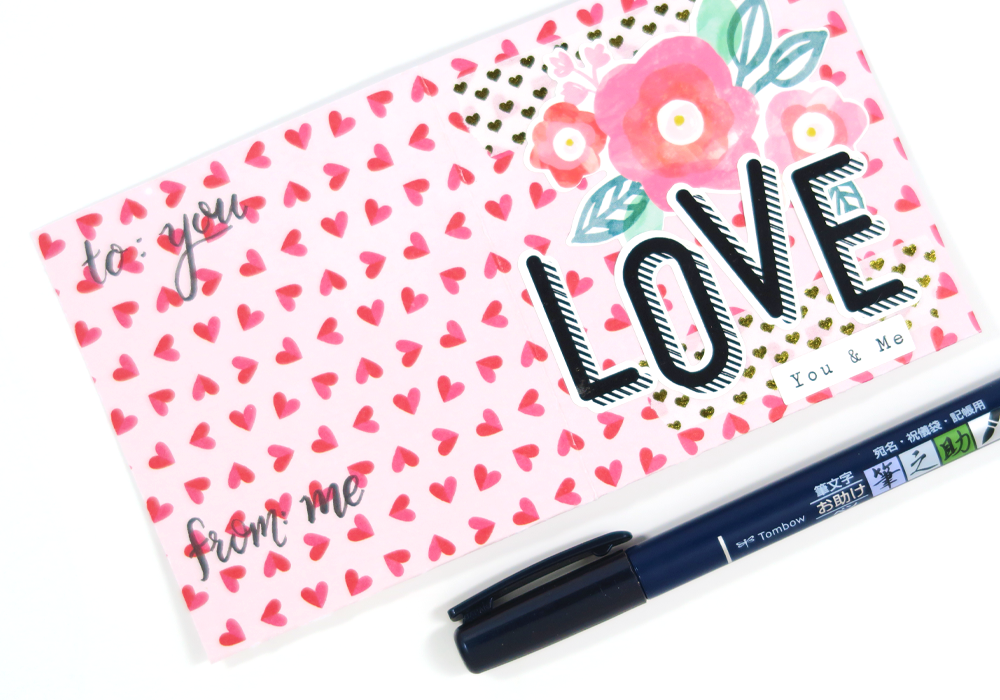
Now grab your stickers, washi tape, and any other embellishments you’d like to decorate your tea envelope. I like to layer them up a bit and secure them in place with more Tombow Xtreme Adhesive. Next, write your “to” and “from” with the Tombow Fudenosuke Brush Pen on the back of your envelope. This adds a really cute Valentines feel to this little gift.
STEP 4 – TEA TIME
Get a couple of tea bags and slip them into your envelope flaps. I like to include a couple of different kinds so my Galentine can have some variety, but if you know your friend’s favorite kind of tea, go with that!
STEP 5 – WRAP IT UP
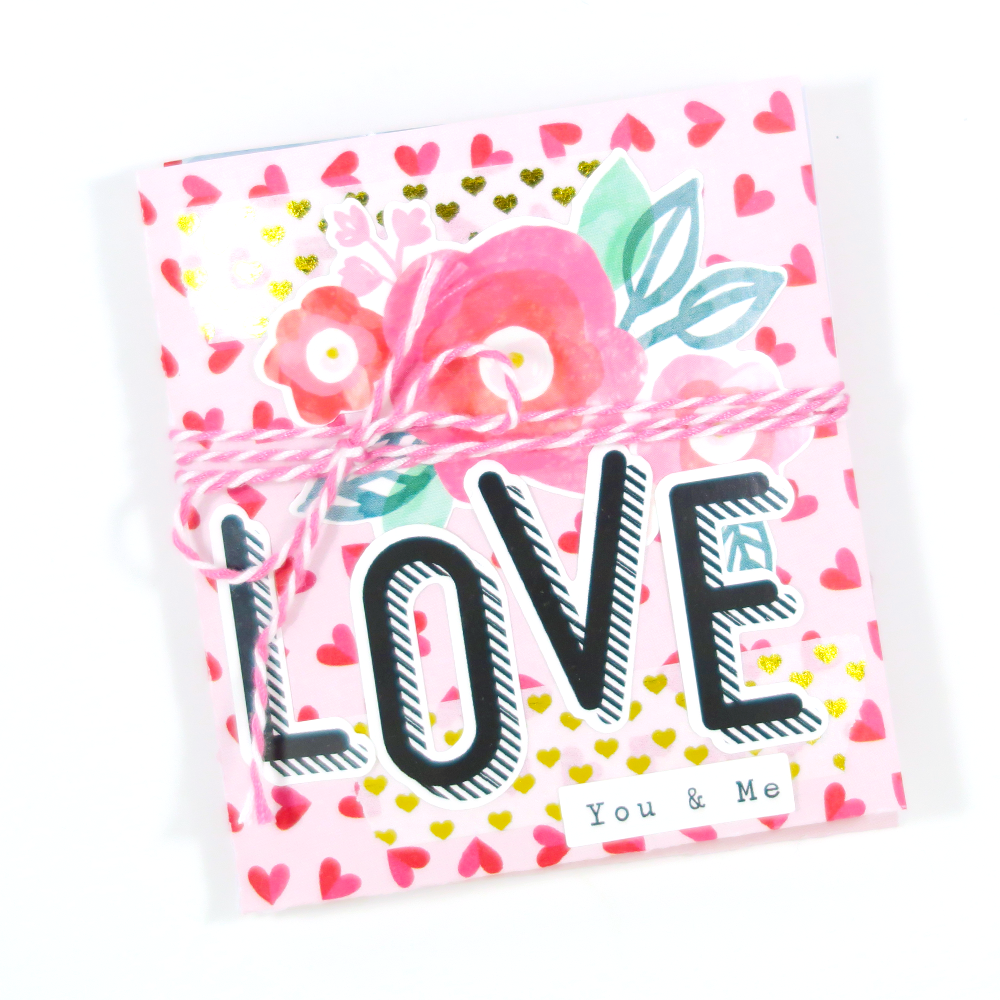
Loop some bakers twine or ribbon around your envelope to hold it closed, then tie a pretty little bow. All done!
Thank you so much for following along with my tutorial today! If you give it a try, please tag me @popfizzpaper on Instagram – I would love to see! Want to create your own patterned paper for your tea envelopes? Definitely check out this post! And I know you don’t want to miss this amazing mixed media book idea that’s easily modified for your favorite Galentine. See you next time!
super sweet!
Inner & Outer Envelopes If you’re including an inner and outer envelope (either out of tradition or to protect your beautiful envelope liner), guest addressing can be a bit confusing. Typically the outer envelope is for the guest’s full address and formal title while the inner envelope is less formal, listing all persons invited. For example, Outer Envelope:Mr.
Pingback: Mini Galentines Self-Care Folio - Tombow USA Blog
Pingback: DIY Easy Envelope Tutorial - Tombow USA Blog