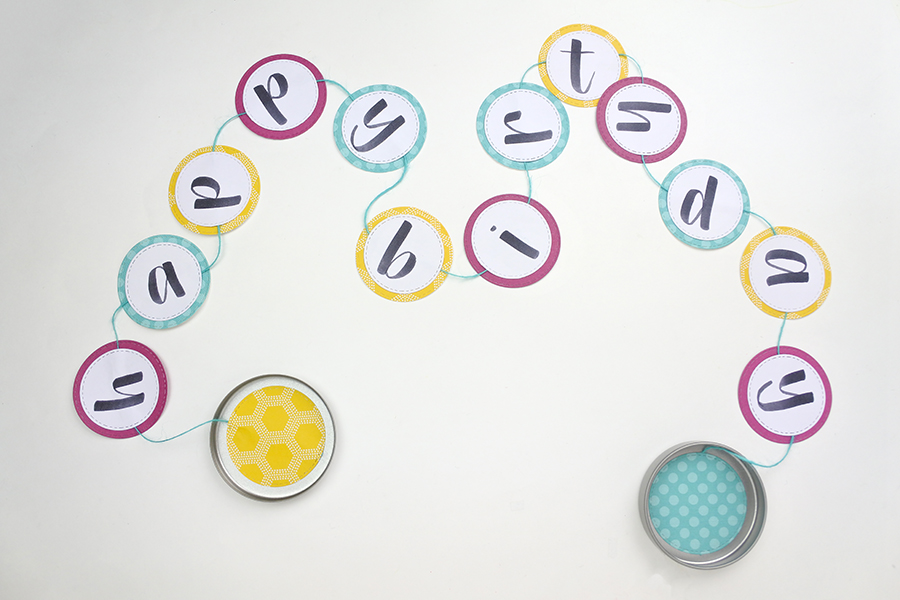
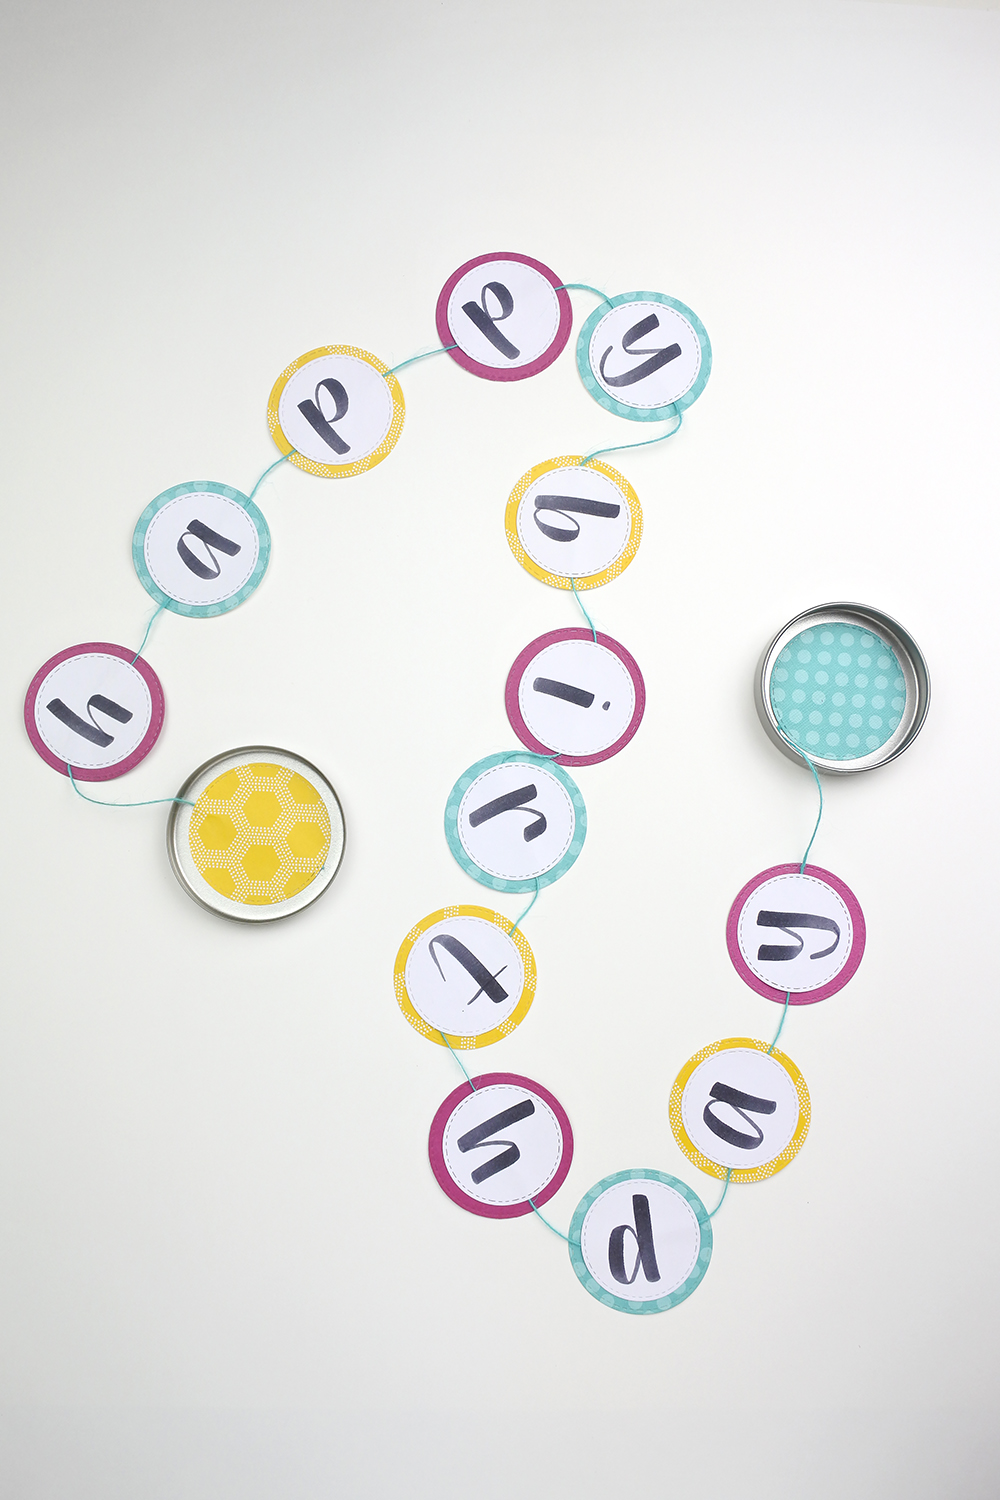
Hi friends! It’s Renee from thediyday and I’d like to wish Tombow a very happy 105th birthday/anniversary. Since this is Tombow’s birthday week, I decided to create a convertible birthday banner to help celebrate this joyous occasion. This banner is super cute and compact, it actually fits in my purse, literally.
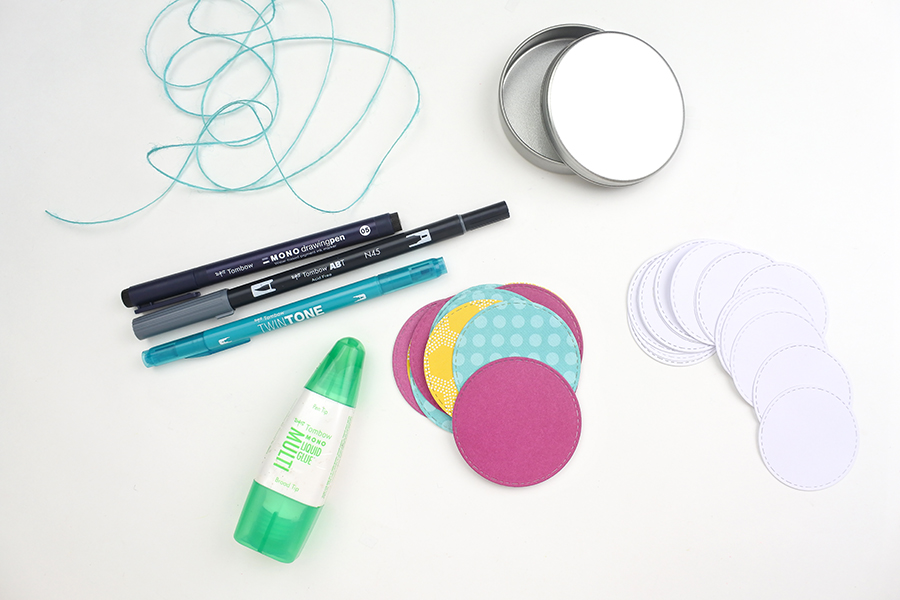
Supplies Needed
- Tombow MONO Multi XL Liquid Glue
- Tombow Brush Pen (N45)
- Tombow TwinTone Marker (Emerald Green)
- Tombow MONO Drawing Pen (05)
- 20 Colorful Circle Tags (2.5″)
- 20 White Circle Tags (2″)
- Jute Cord or Ribbon
- Circle Tin (3″)
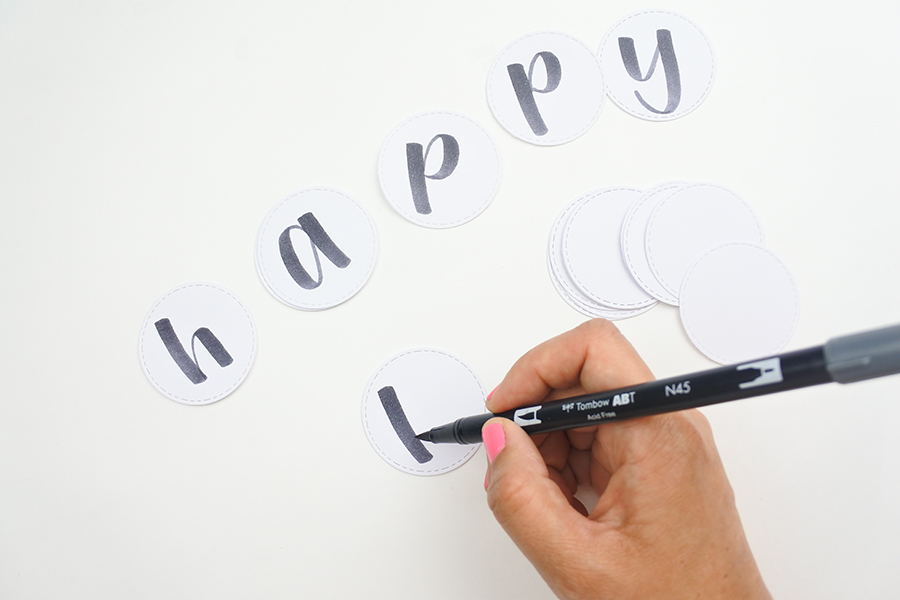
Step One
I am using white circle tags that I created with my die cuts and die cut machine. However, a circle punch or even cutting them out by hand will work too. With my grey Tombow Brush Pen (N45) I wrote happy birthday, one letter per circle.
Step Two
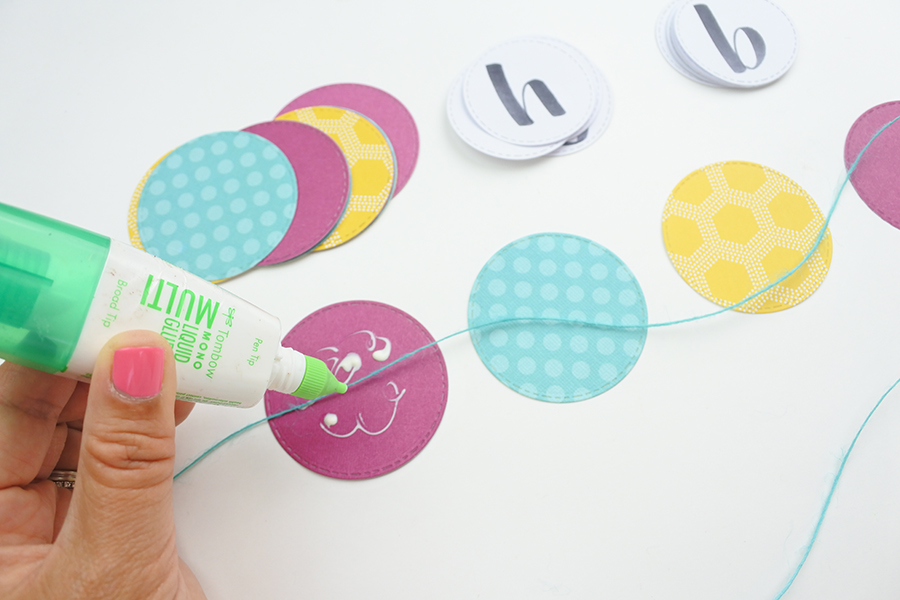
I grabbed my Tombow MONO Multi Liquid Glue, both sets of circle tags, and jute string. I started designing this in layers. I placed one colorful circle tag on my work space (first layer). Then I grabbed my string and placed it on top of the colorful circle tag (second layer). Be sure not to cut any string from the spool – but leave a 5 inch tail (this tail portion will be used later).
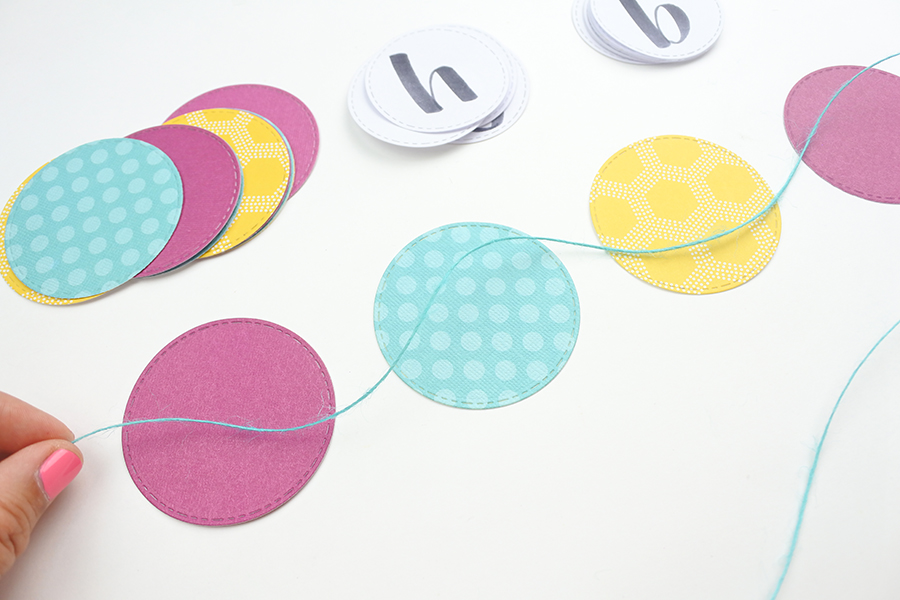
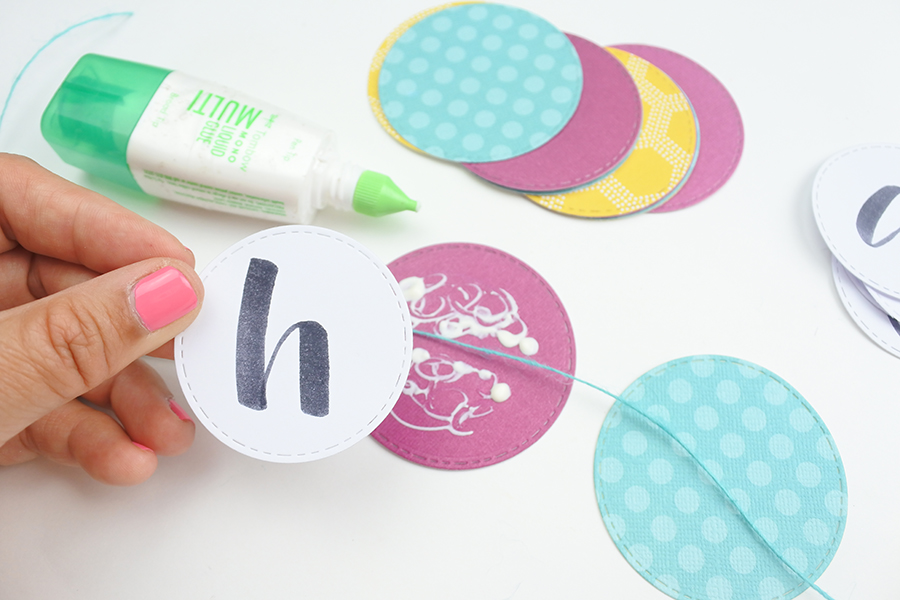
Next, I took the white circle tag (third layer) with the “h” on it and glued it to the top of the first two layers with my Tombow MONO Multi Liquid Glue. I spaced each circle approximately half an inch from the next. I continued this same exact process for the remaining letters until I finished spelling h-a-p-p-y -b-i-r-t-h-d-a-y. I left a five inch tail and cut the string. Note – there should be a five inch string hanging at the beginning and at the end of the banner.
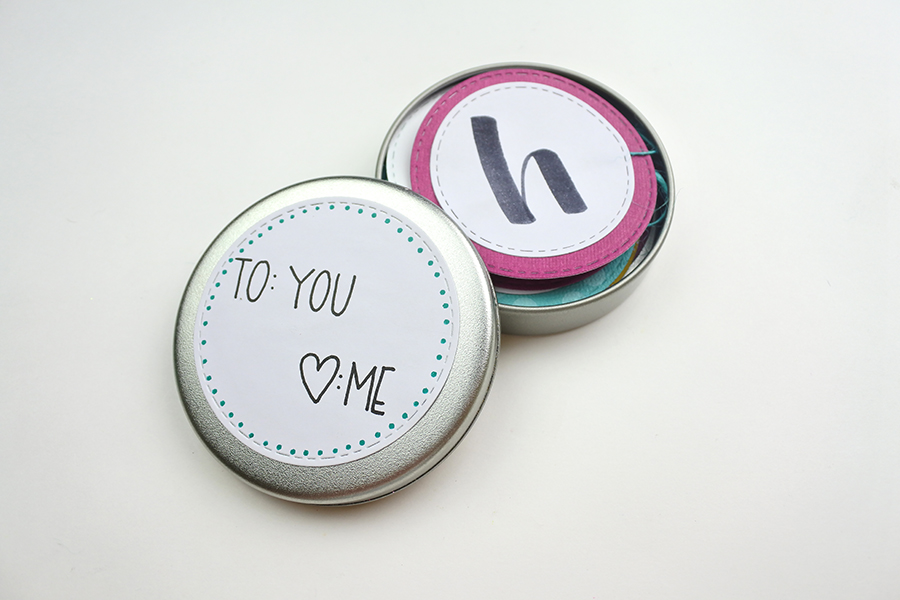
Step Three
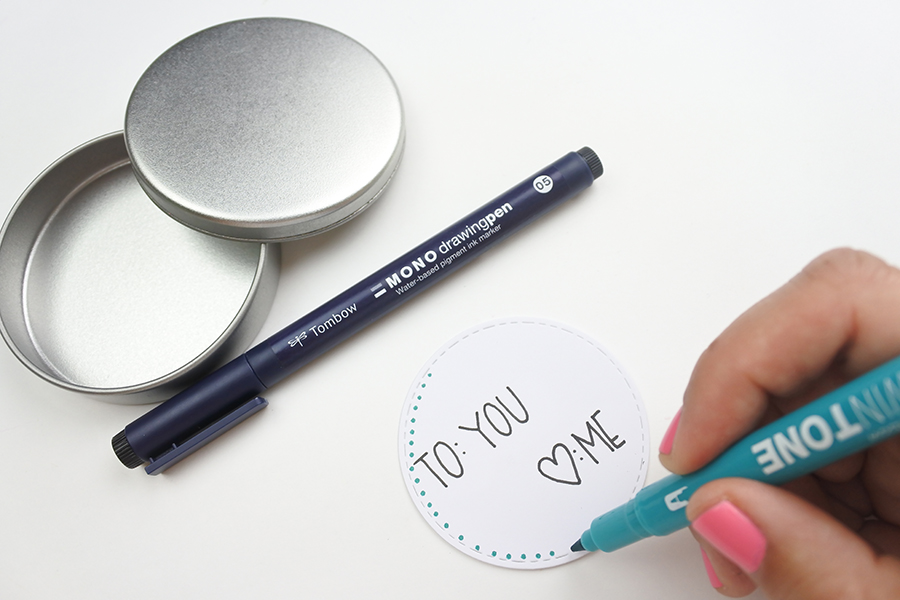
With another white circle tag, I made a cover for the tin. I wrote out the greeting with my Tombow Mono Drawing Pen (05) and then I added a dotted border with an emerald green Tombow TwinTone Marker. These markers are the absolute best. The colors are so bright and vibrant and I love the fact that there is a broad tip for bold lines and a bullet tip for more precise lines. After I designed the greeting, I glued it to the outside lid of the tin.
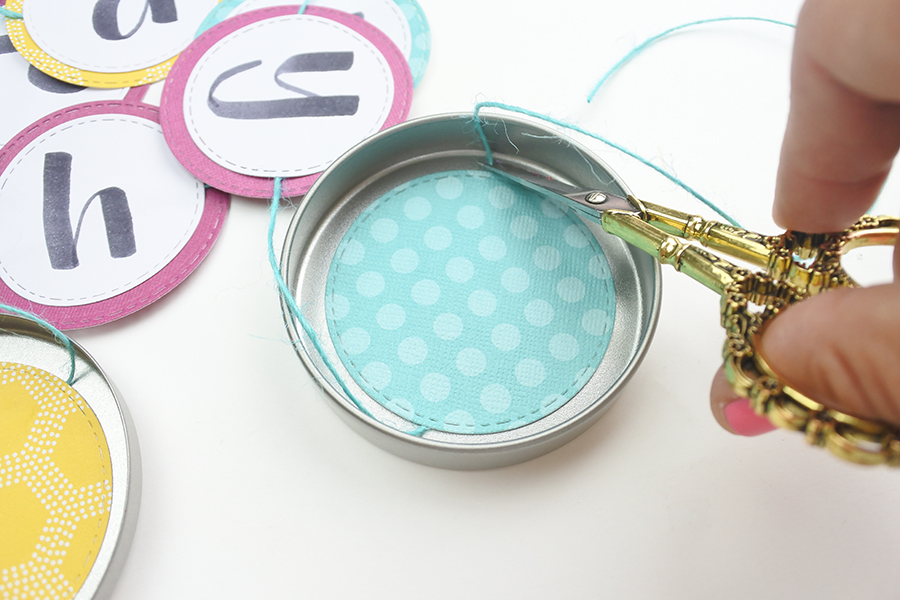
Step Four
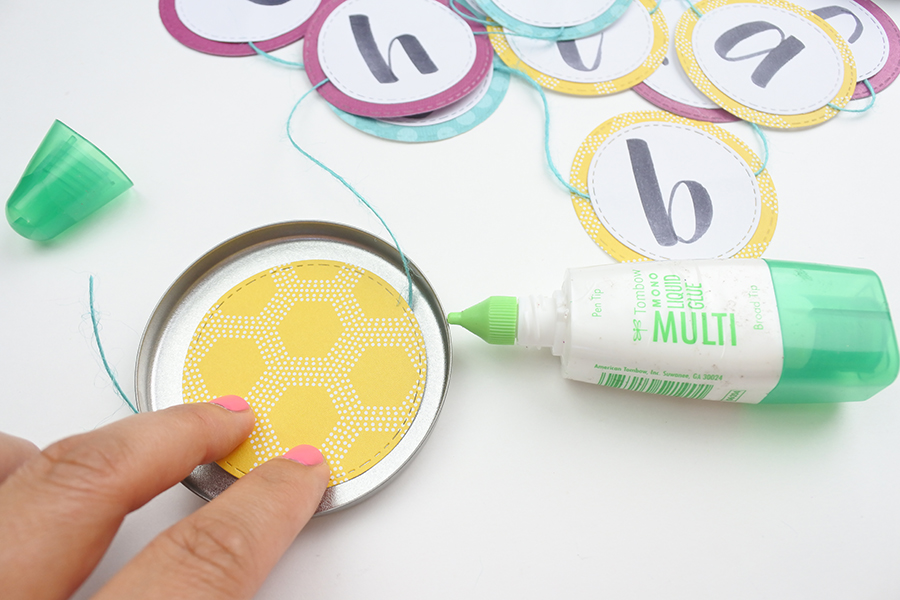
Next, I glued a colorful circle tag along with the 5 inch tail (that is connected to the banner) to the inside of the lid. I repeated this exact step for the bottom lid too. Then, I cut off the excess string.
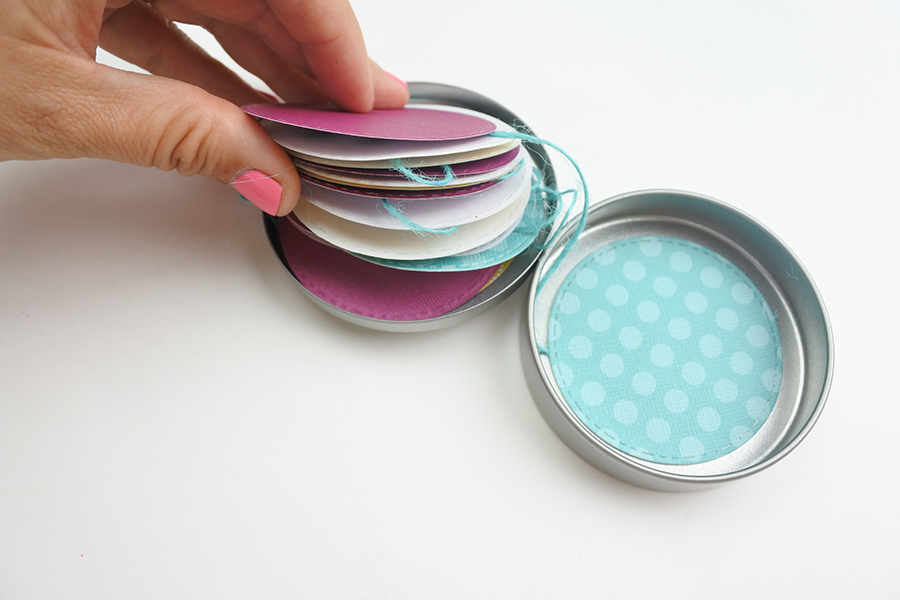
Step Five
Once dried, I placed the birthday banner inside the circle tin and closed it.
Thanks for crafting with me!
Renee
I love how it’s compact so if I were wanting to surprise a friend with it at a bar I wouldn’t need to bring in a large bag full of decorations.