Hi everybody! It’s Bonnie From Archer and Olive. I am so excited about Tombow’s new 1500 Colored Pencils! These colored pencils come in three different sized packages (12, 24, and 36). If you’re just starting out, the 12 pack is a great place to begin. You can blend to almost any shade you want. If you’ve been using colored pencils for a while, the 24 and 36 pack would be great choices!
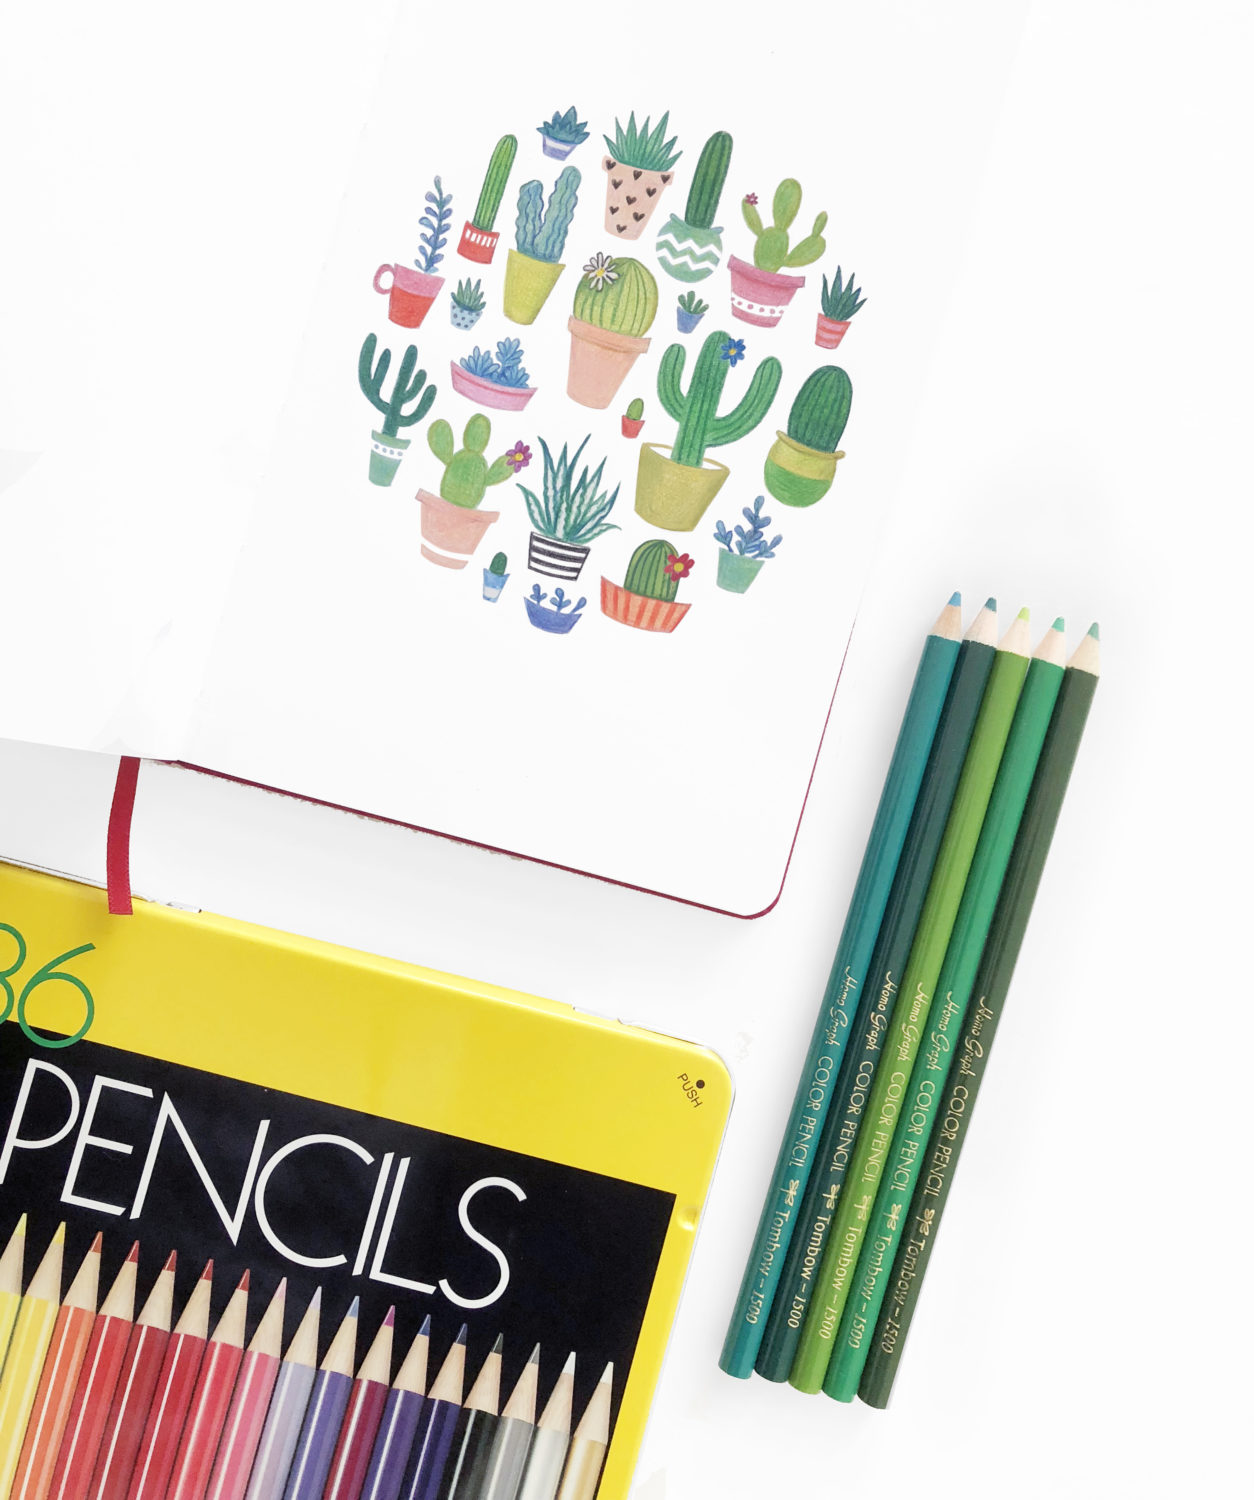
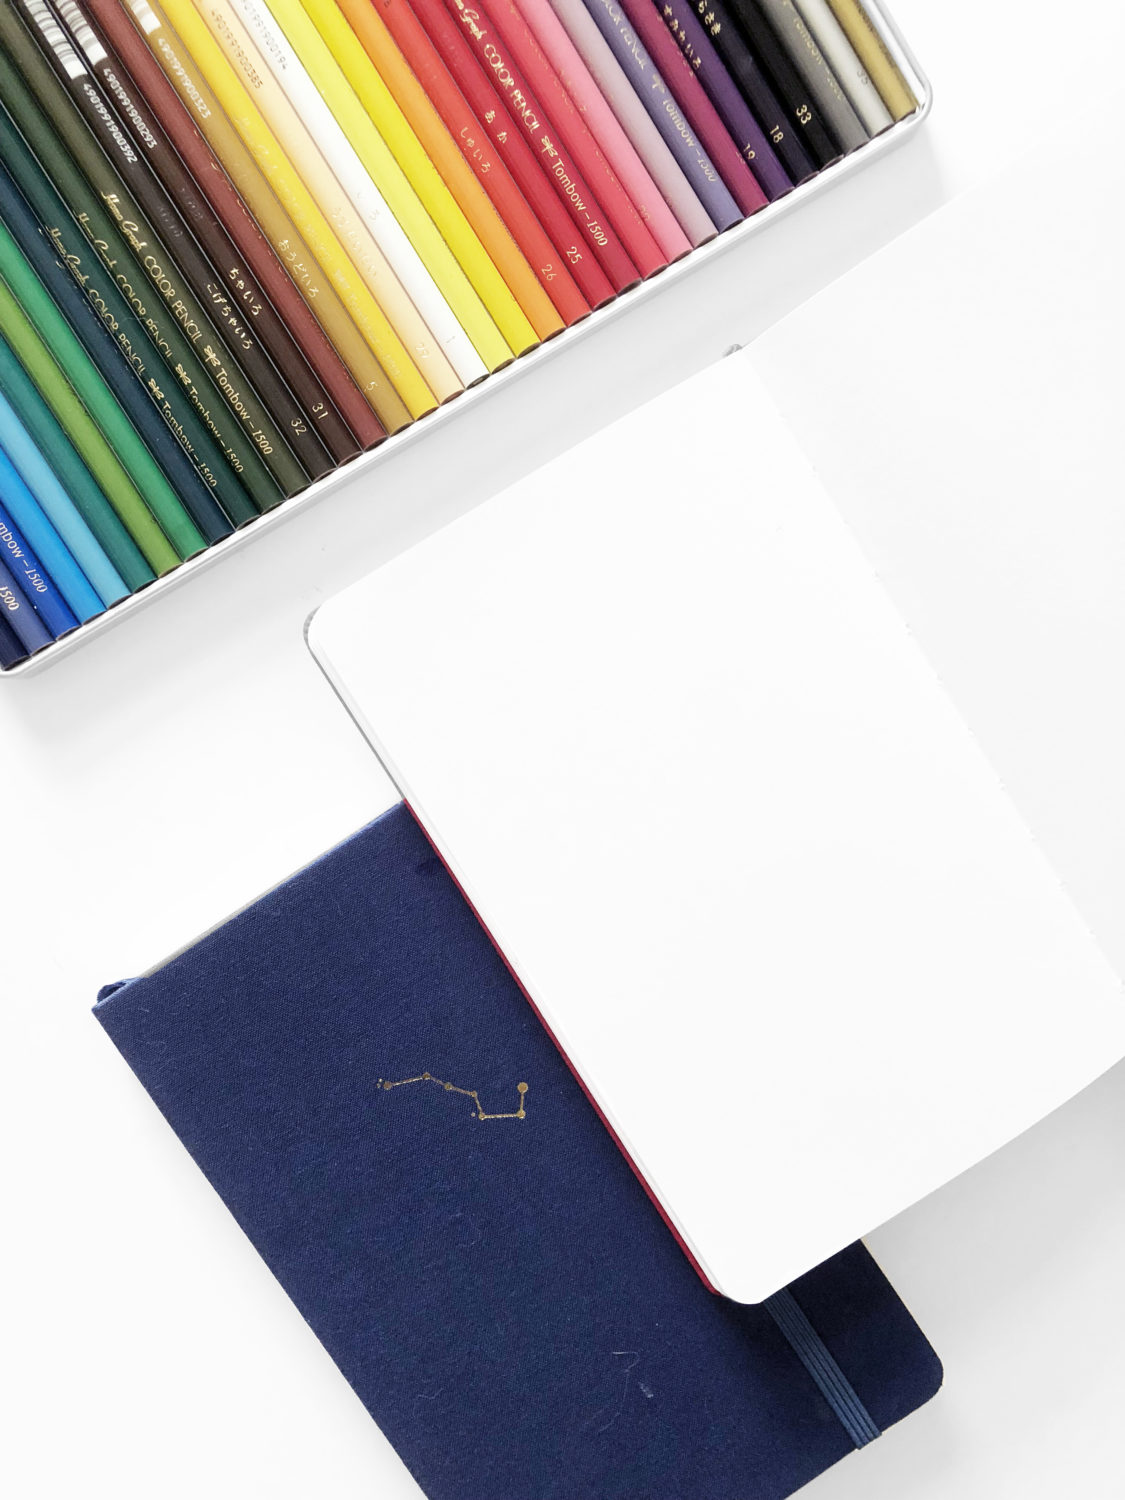
Supplies:
Step 1: Draw an outline
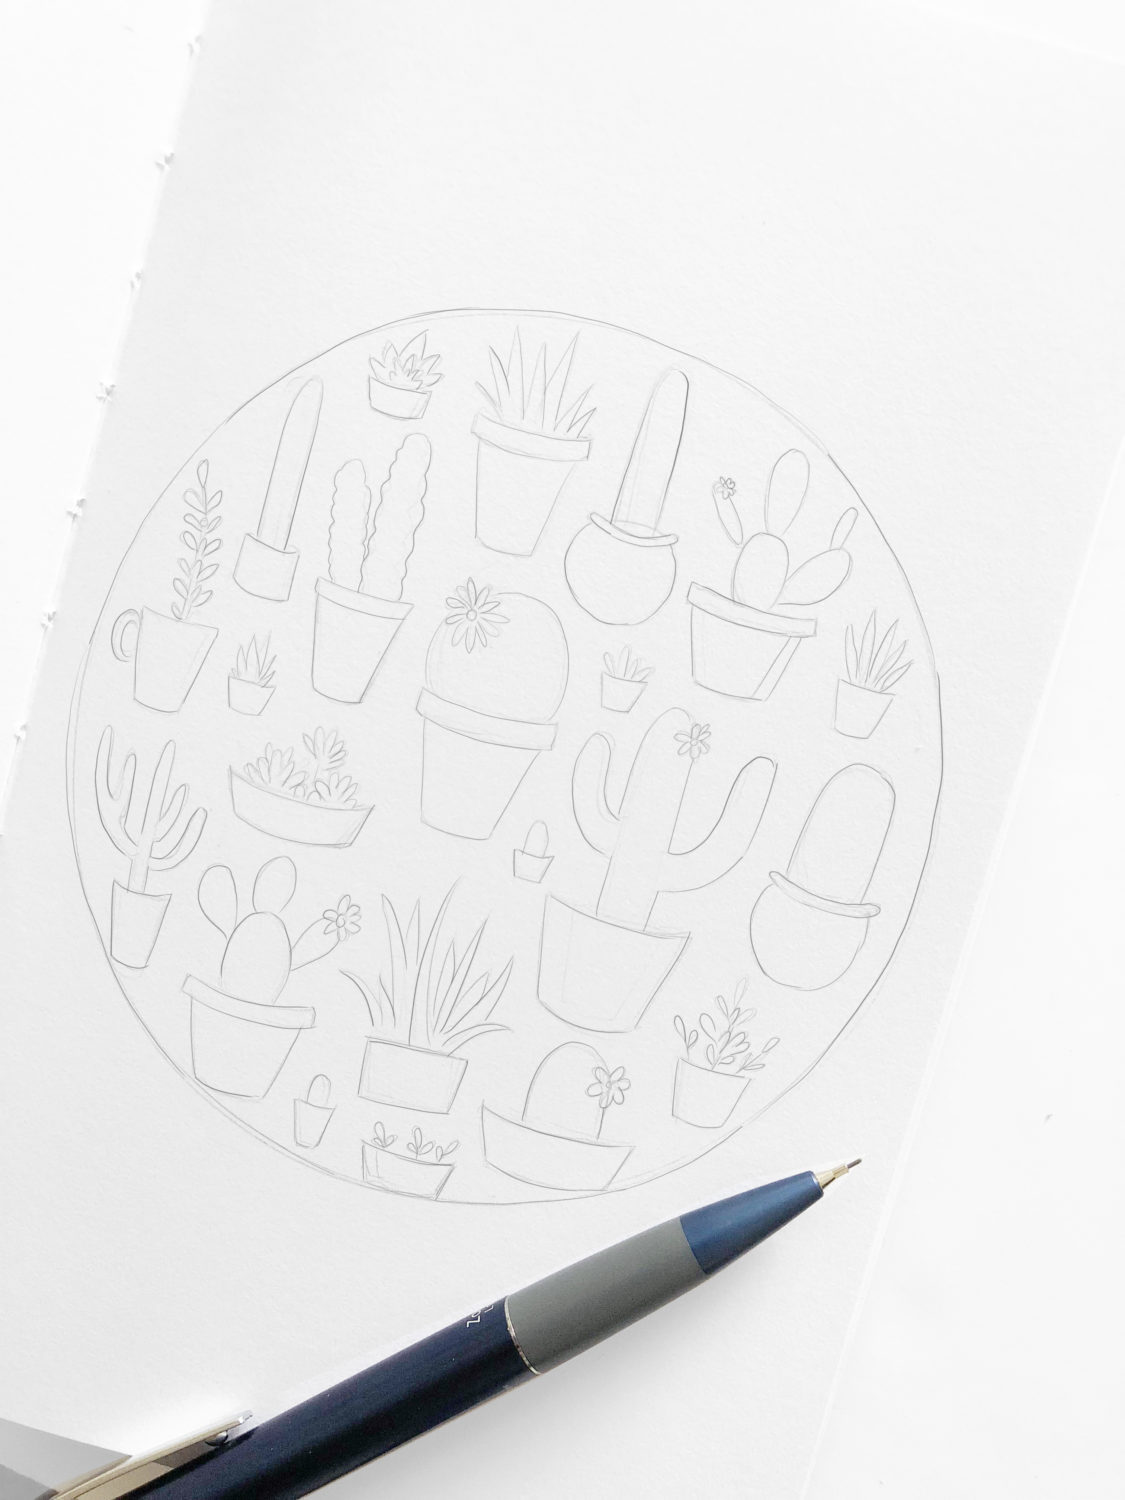
Using your mechanical pencil, draw the outline of your illustration. My succulents have been placed in a circle. To achieve a perfect circle, I used a roll of masking tape, and traced around the edge. Then I placed my succulents on the inside. It’s a good idea to draw the larger object first, then fill in the empty areas with smaller plants.
Step 2: Color in the pots
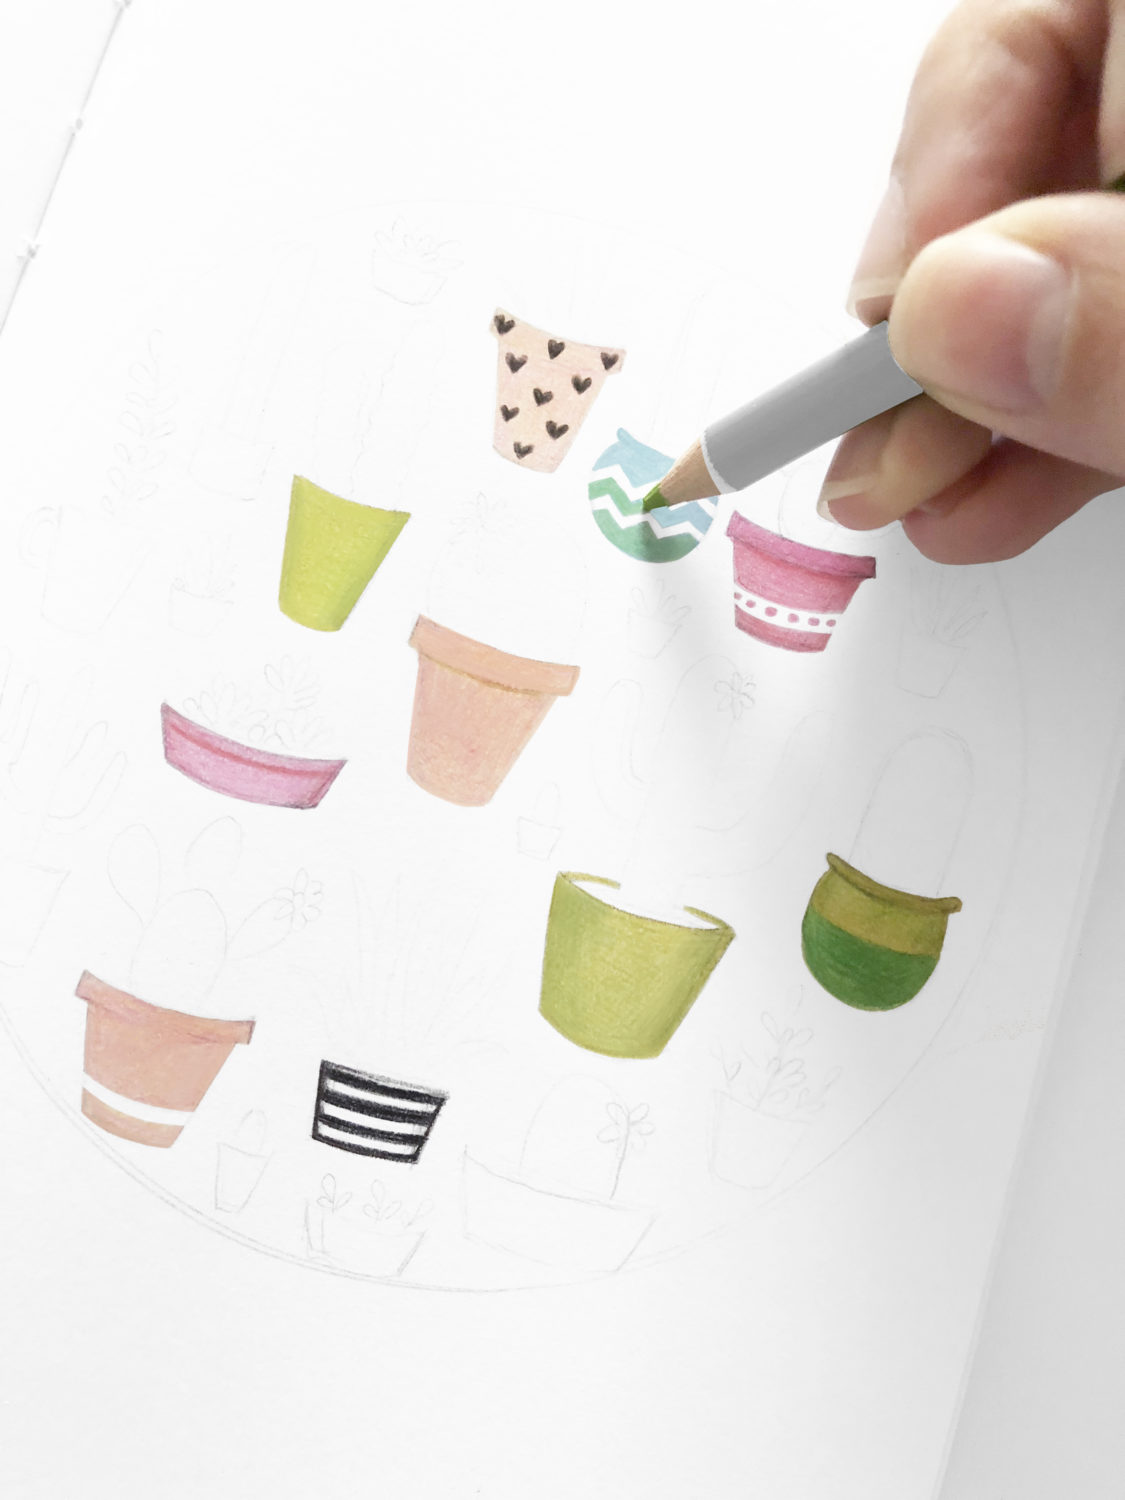
To blend colored pencils, the trick is to layer, layer, layer! As lightly as you can, put down your first color. Then, just as lightly, go over it again with your second color. Repeat the process, until the new color reached its desired opaqueness. It’s really important not to press down too hard with the colored pencils, or you will get a waxy buildup that inhibits you from placing any other colors on top.
Step 3: Color in the Succulents
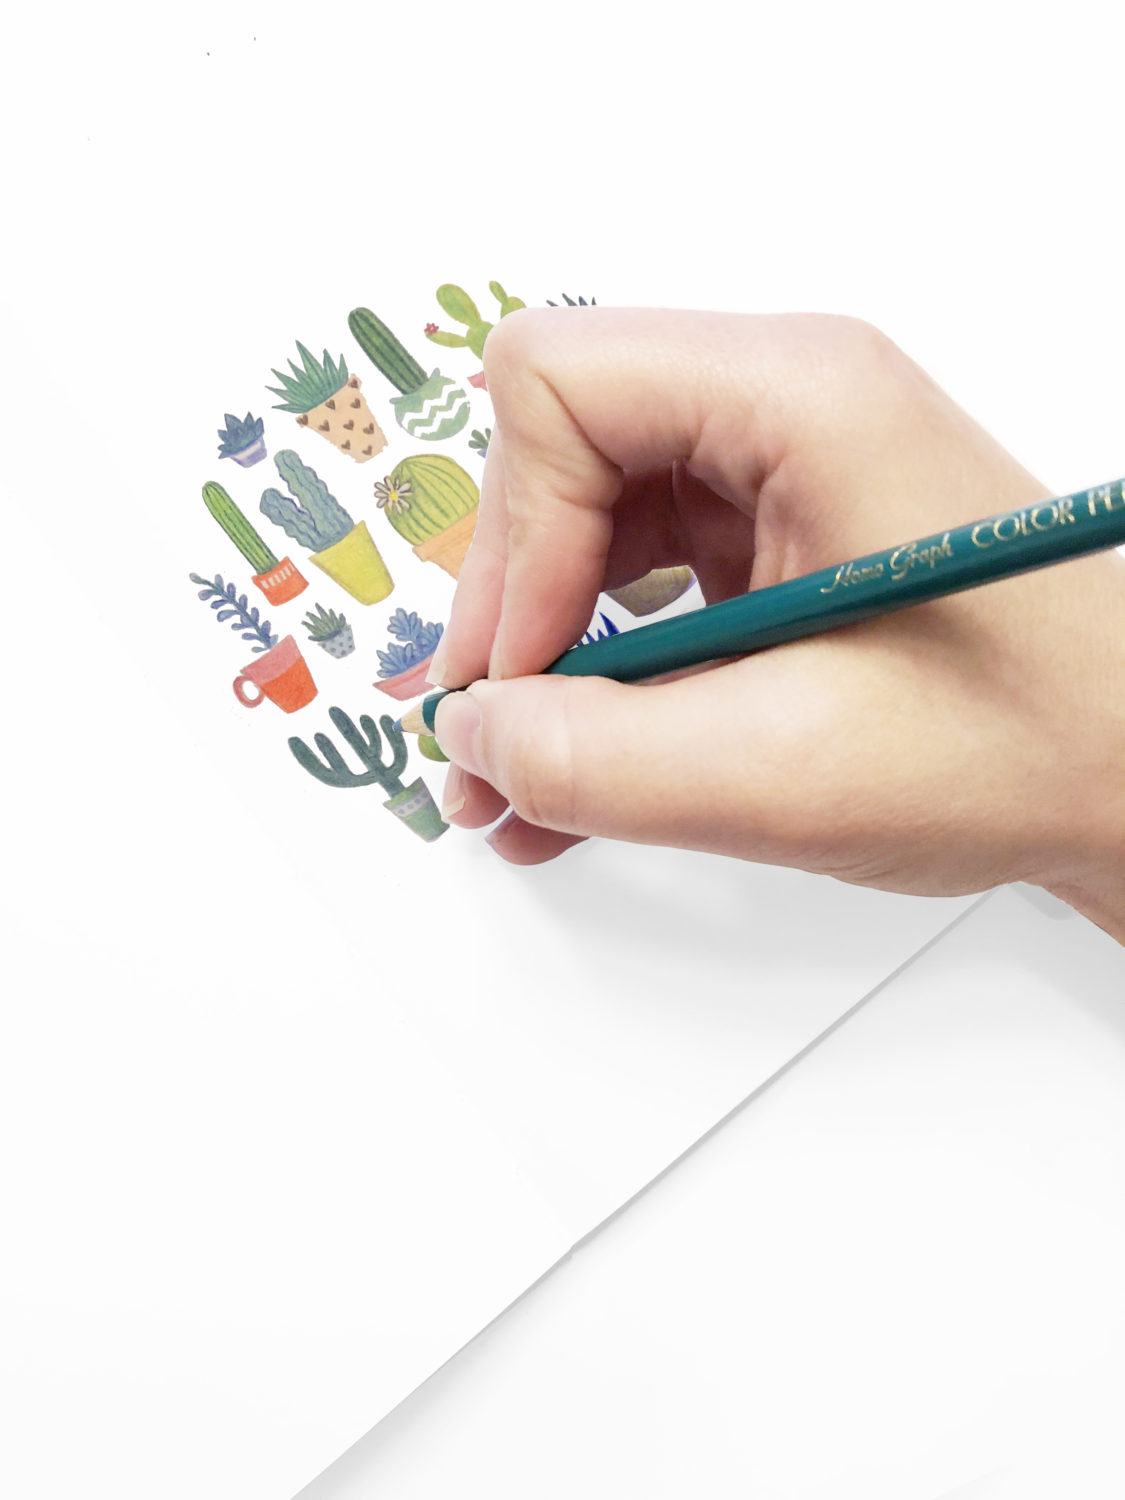
One lovely thing about succulents, is that they come in a wide variety of colors! So don’t be shy with your color palette. Try mixing some lovely shades of blue and purple in with your greens. And don’t forget to layer, layer, layer!
Pingback: DIY! How To Make Your Own Cactus Emoji Stickers!