Hello! Renee with www.thediyday.com here to share a few travel journal layout ideas. Whether it’s a road trip, a mini vacation, or a grand vacation, documenting the event is always fun. Today, I am sharing three layouts in my Webster’s Travel Journal that may inspire ideas for your travel notebook or journal.
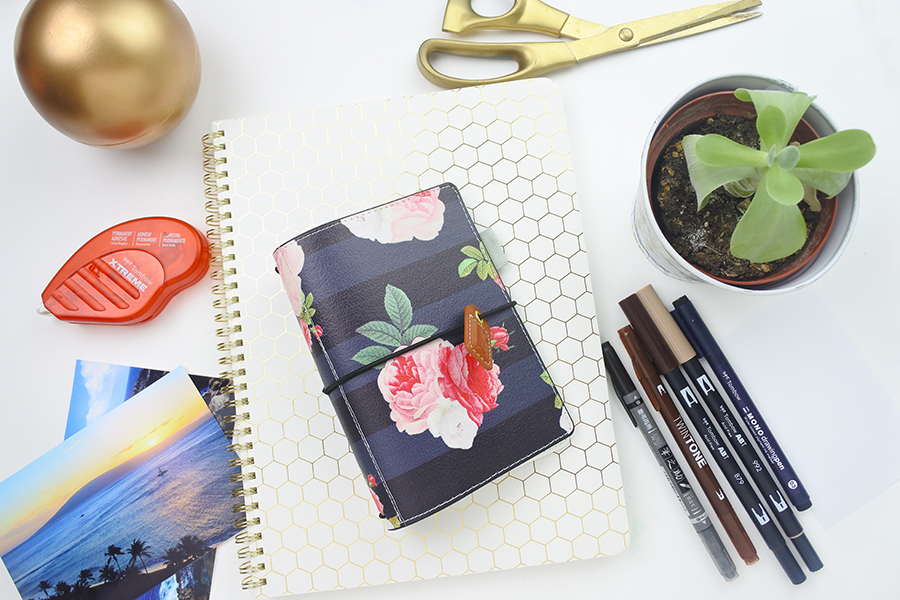
Supplies
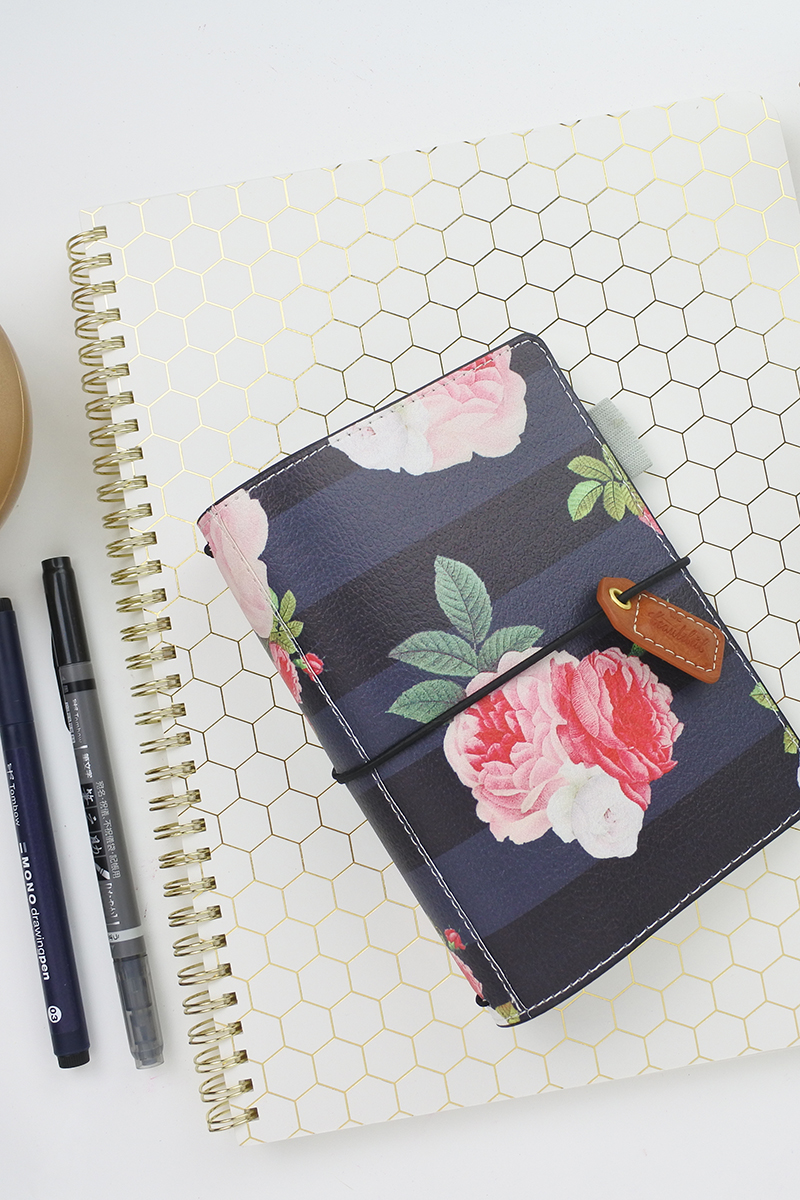
- Webster’s Pages Pocket Traveler
- Tombow Xtreme Adhesive
- Pictures
- Tombow MONO Drawing Pen
- Tombow Dual Brush Pens (992 and 879)
- Tombow Fudenosuke Brush Pen
- Tombow TwinTone Markers
- Scissors
- Cardstock
- Scrapbook Paper
- Stickers/Cut Outs (optional)
- Washi Tape
Step One (Layout One)
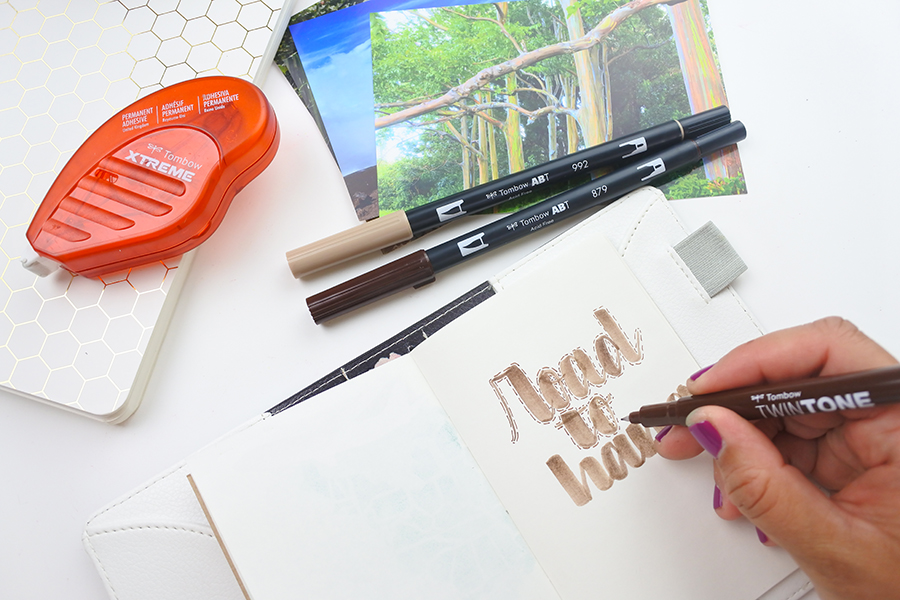
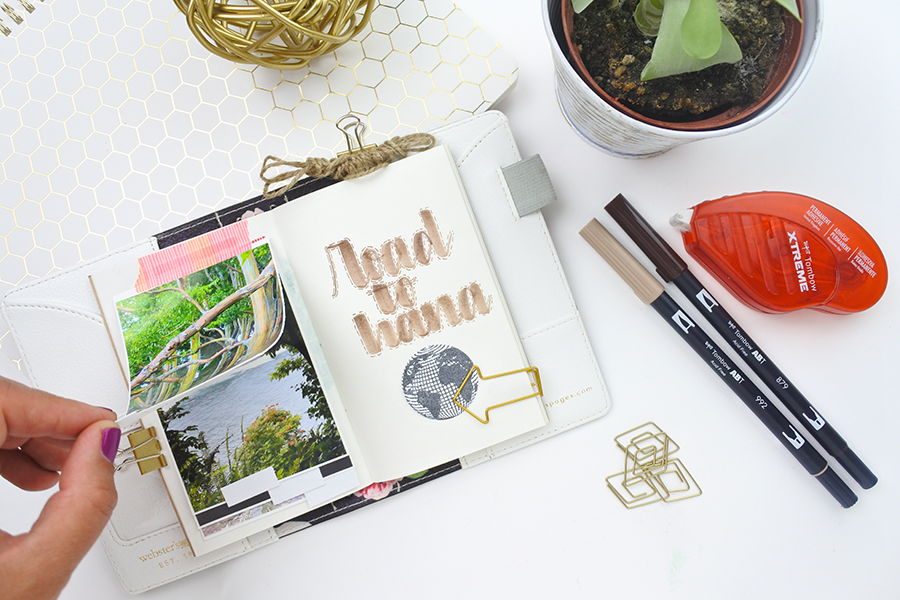
For one of the layouts in my Pocket Traveler I’ve chosen to include pictures. Pictures are great to include because it’s fun to reminisce while flipping back through the pages. Not too long ago my husband and I were in Maui, so I thought that trip would be a welcomed addition to my travel journal. But first, let’s work on the lettering. I blended Tombow Dual Brush Pens 992 and 879 together. Blending two brush pens is easy – I just hold the two tips of the pens together to “transfer the color” to the other. And then, with the lighter shade of the two pens, I lettered the word Road to Hana. Last, I added some dashes to the design with a brown Tombow TwinTone Marker.
Step Two
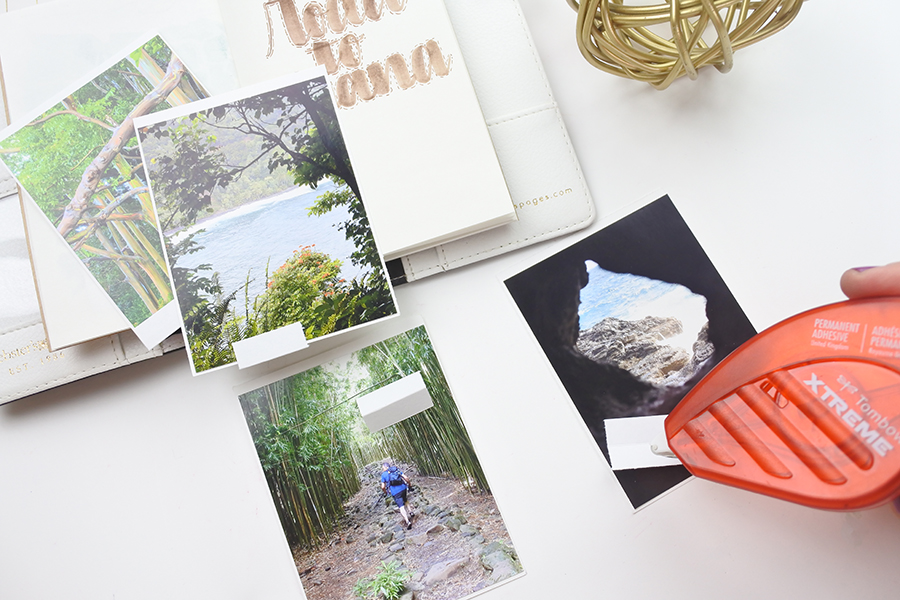
Next, I added the pictures. I cut 4 pieces of cardstock slightly smaller than that of the page. Then, I cut several pictures slightly smaller than the cardstock and adhered each with some Tombow Xtreme Adhesive. This adhesive is one of my favorites because it’s strong, permanent, non-toxic, and acid-free!
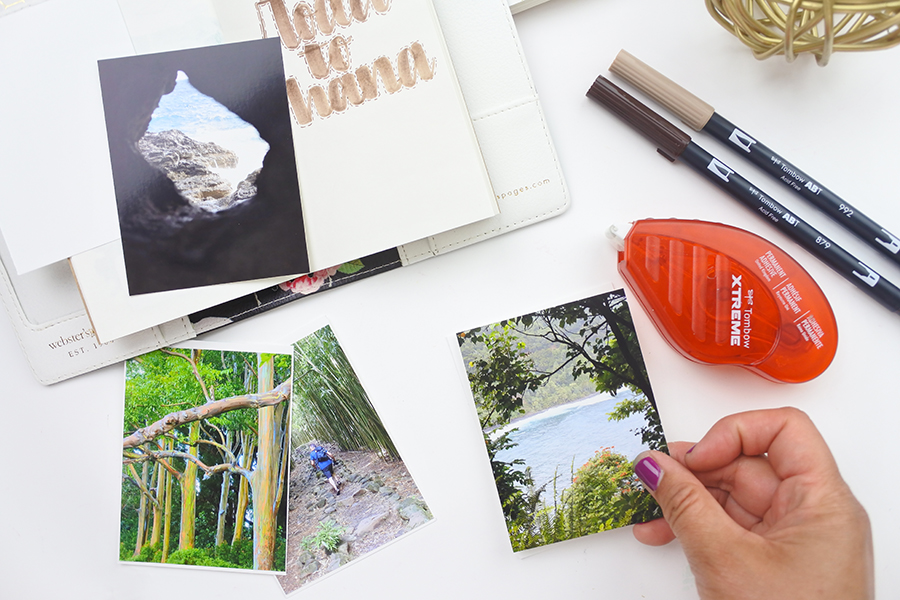
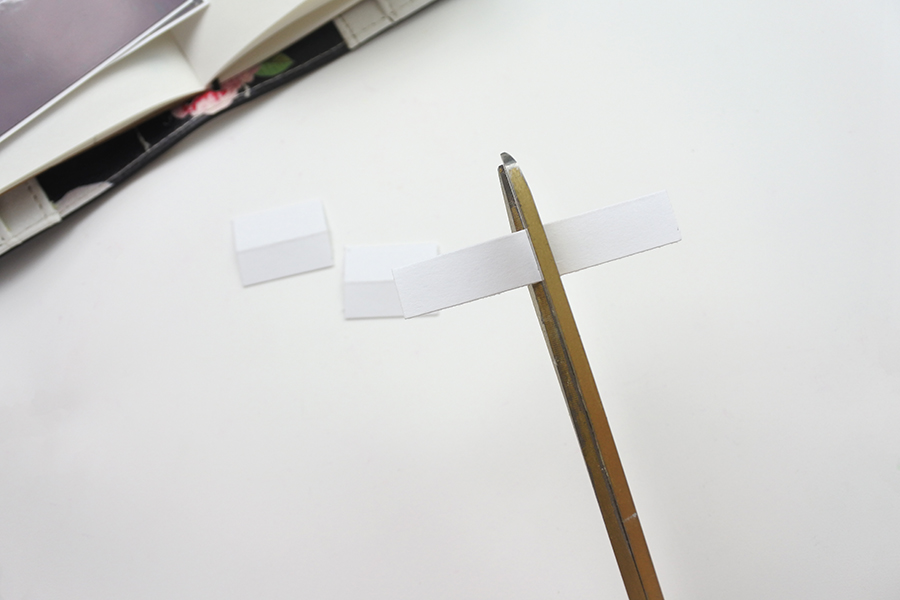
I wanted to add some accent tabs to each picture. To do this I folded a piece of cardstock in half, cut 1″ (wide) pieces, and used the same adhesive to attach and stagger each tab to the picture.
Step Three
Once the tabs were complete, I put the pictures in order. Then I placed some washi tape to the top of the cardstock/picture combo and attached it to the layout, layering each picture slightly above the next. The layering technique is a great way to add several pictures to the travel journal without using too much space.
Step Four (Layout Two)
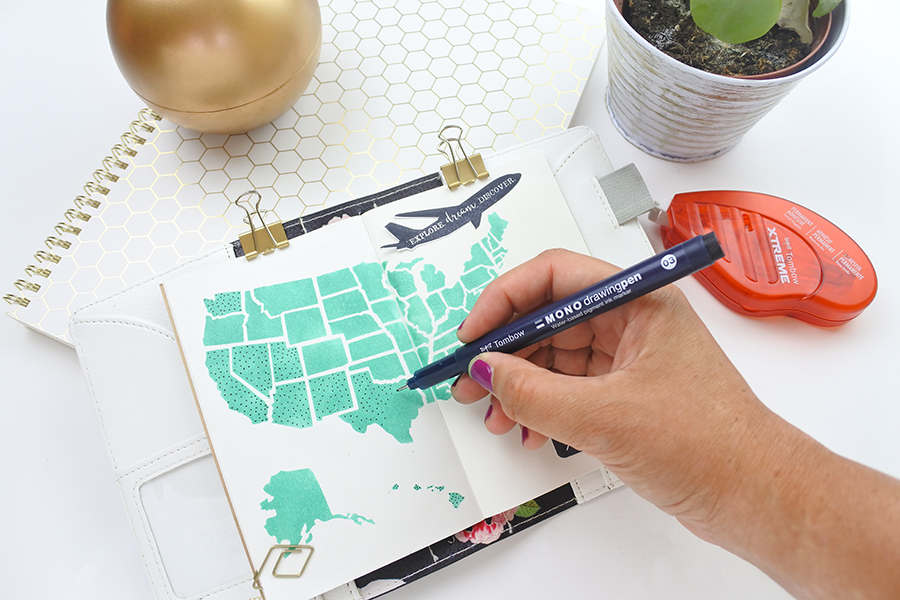
One of the items on my bucket list is to visit all 50 states. To document my visits, I decided to include a layout of the United States. For mine I used a stencil, but drawing the states, listing them, or using stickers, are other options. You can also check out Katie’s post from yesterday where she teaches you how to transfer a a map into your journal. Each time I visit a new state, I dot it out with my Tombow MONO Drawing Pen.
Step Five (Layout Three)
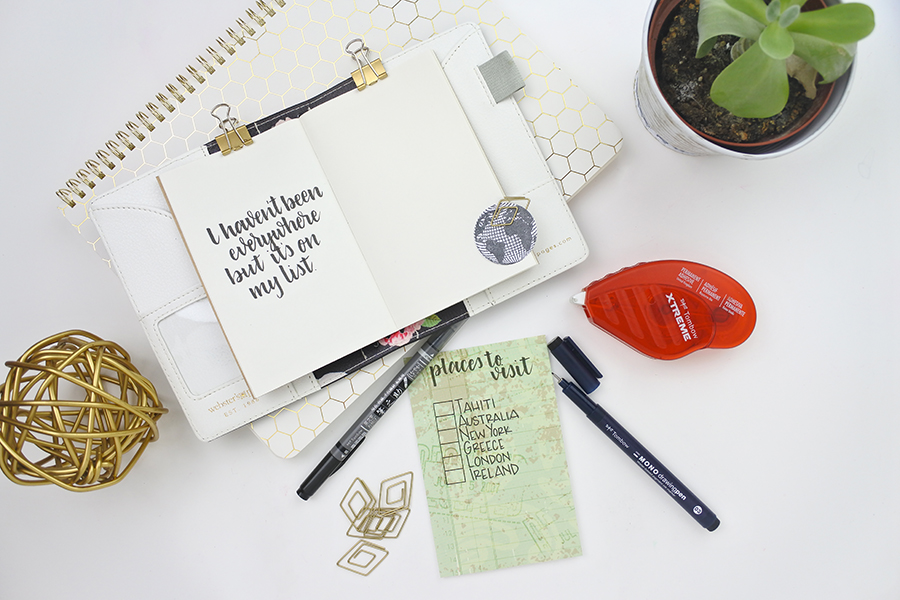
Last, the third and final layout in my travel journal includes the top places I want to visit. For this spread I hand-lettered a quote on one side of the page with a Tombow Fudenosuke Brush Pen. Then, with my drawing pen and a piece of decorative paper (cut to the size of the journal page) I wrote the places I want to visit. Next to each location I included a box. After each visit, I will check mark that place off of my list. Last, I used some Tombow Xtreme Adhesive to permanently attach the “places to visit piece” into the journal.
I love documenting my travels. It’s time to book another vacation so I can start documenting more wonderful memories!
Pingback: Walnut Hollow Travelers Notebook Planning Shelf - Tombow USA Blog