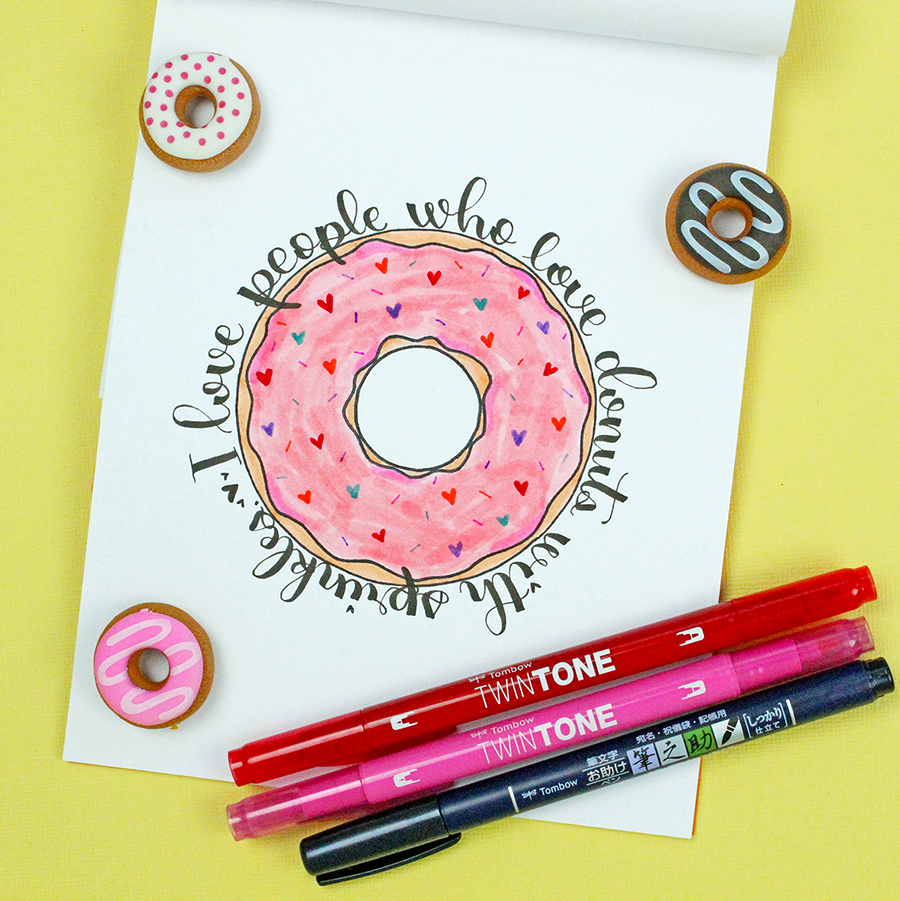
Hey Everyone! This is Jennie and this week we are drawing inspiration from our amazing designers. I was inspired by Lauren! Her lettering style is amazing! You can read some of her lettering tips on this post! She is also a donut lover! So I created this donut lettering piece inspired by her!
To make it you will need:
- Tombow MONO J Drawing Pencil
- Tombow MONO Twin Permanent Marker
- Tombow Fudenosuke Hard Tip Brush Pen
- Tombow Dual Brush Pens
- Tombow TwinTone Dual Tip Markers
Step One:
First, trace circles to create the donut using the Tombow MONO J Drawing Pencil. Trace the bigger circle first to make sure the donut is at the center of the paper.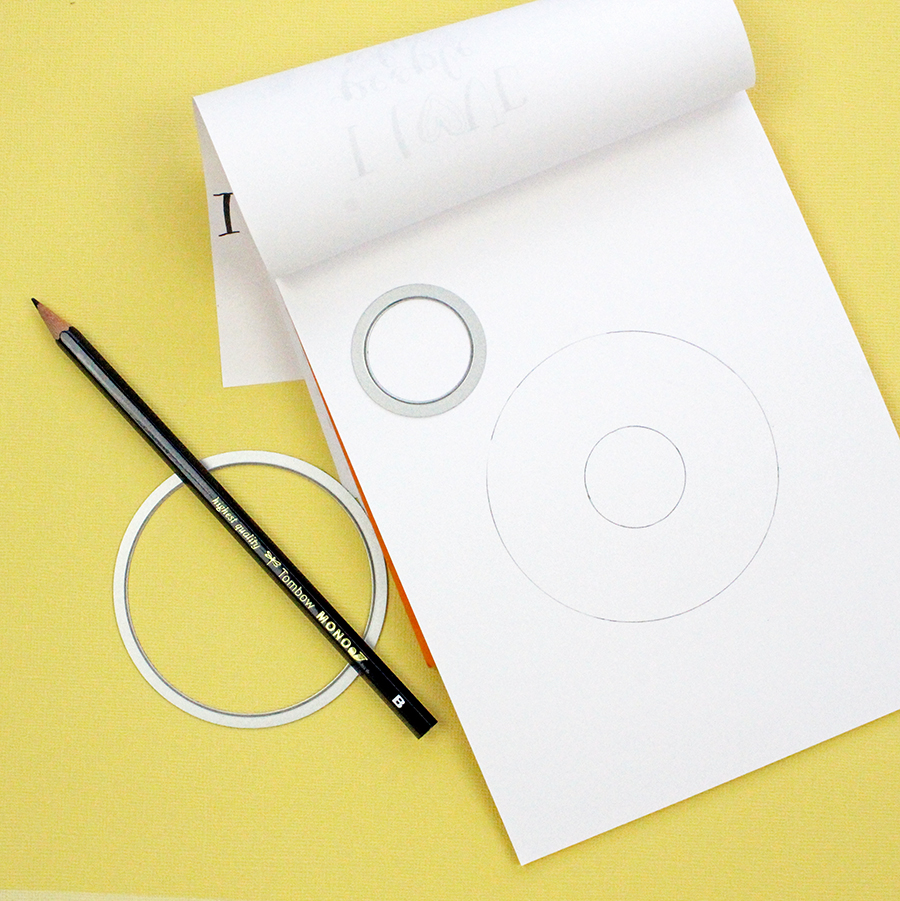
Step Two:
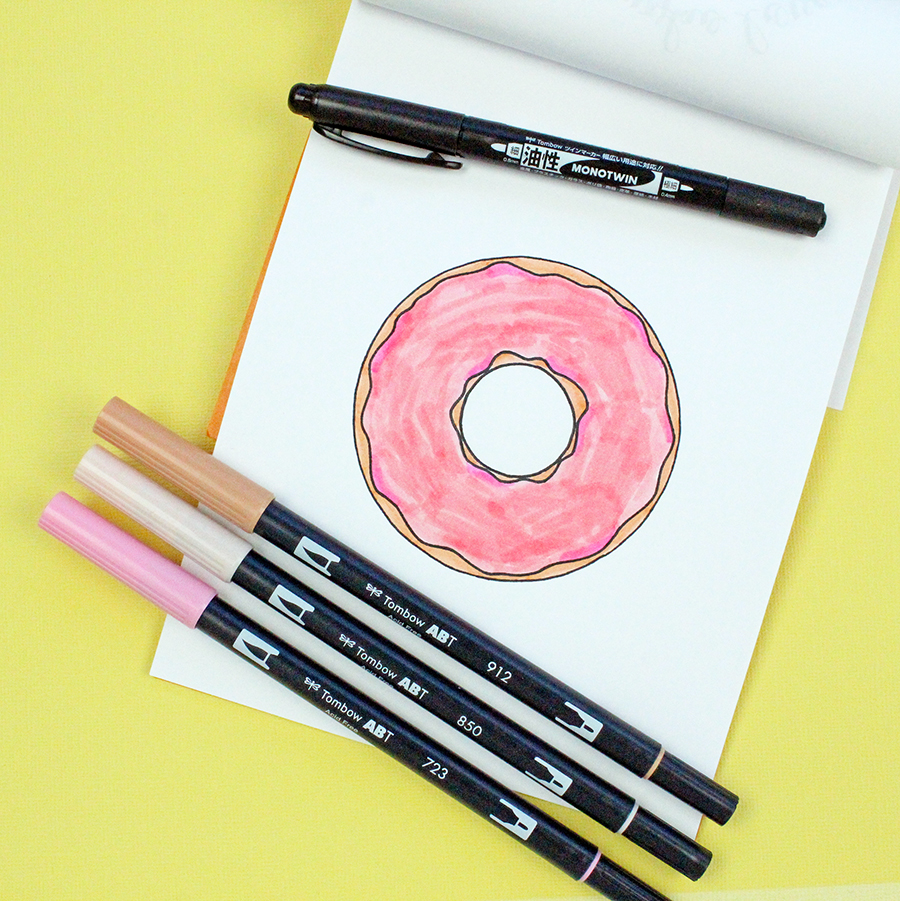
Then trace the lines with the Tombow MONO Twin Permanent Marker.
Step Three:
Color the donut with the Tombow Dual Brush Pens. I used a Rhodia Pad for this piece. But if you want your coloring to be more blended and smooth use Mixed Media paper from Strathmore. I actually like this sketchy look!
Step Four:
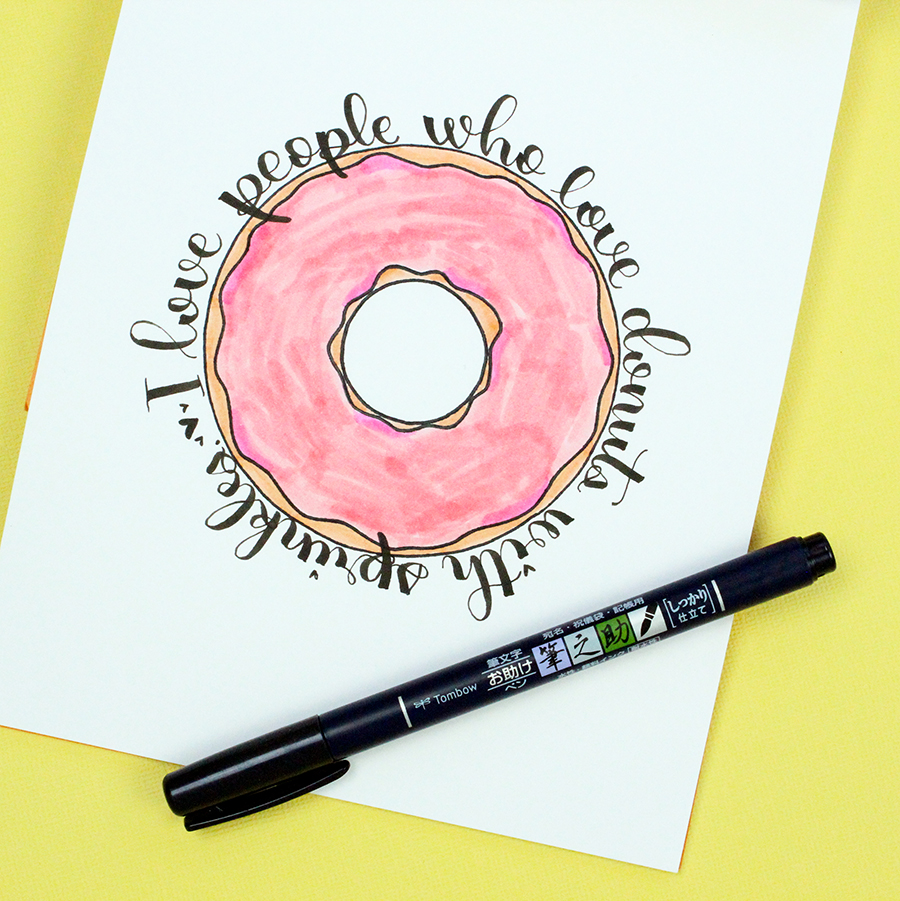
Use the Tombow Fudenosuke Hard Tip Brush Pen to write your quote. Remember to always write slowly when you practice lettering. Keep turning your paper around. Make sure you try out the length of your quote on a different paper before you write it on your final piece.
Step Five:
Last, draw the sprinkles using the Tombow TwinTone Dual Tip Markers. I used the felt tip for the hearts and the fine tip for the lines. Another good alternative is to use the fine tip of the Tombow Dual Brush Pens.
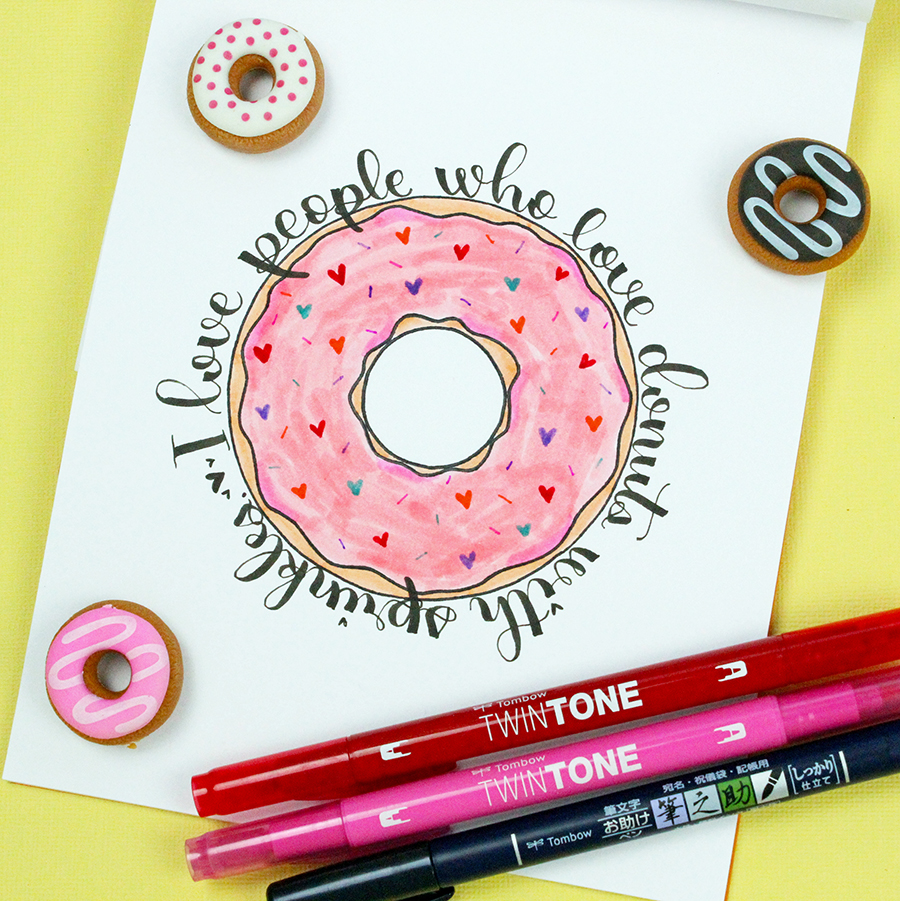
Voila! Your donut lettering piece it’s done! You can save this image so you can use it as a photo for a donut loving contact. 
I hope you enjoyed this easy tutorial! Don’t miss Lauren’s lettering, specially if you are left handed!

Love it!!! Your calligraphy is adorable!!!
Pingback: Cookbook Inspired Recipe Art - Tombow USA Blog