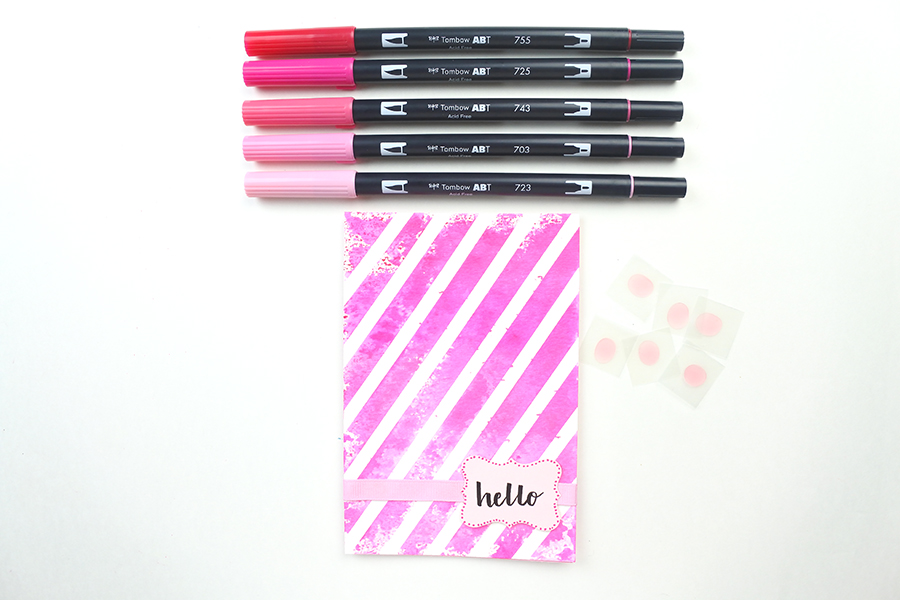
Hi friends, it’s Renee with @thediyday. Just a friendly reminder, Saturday, June 23rd is National Pink Day. So let’s celebrate and create a pink greeting card in five easy steps. Just a warning, this card is loaded with pink. Enjoy!
Supplies
- Tombow Dual Brush Pens
- Watercolor Paper
- Pink Cardstock (2 different shades)
- Tombow Fudenosuke Brush Pen
- Medium Paper Punch (frame shape)
- Tombow Adhesive Dots
- Page Protector
- Spray Mister
- Washi Tape
- Ribbon
Step One
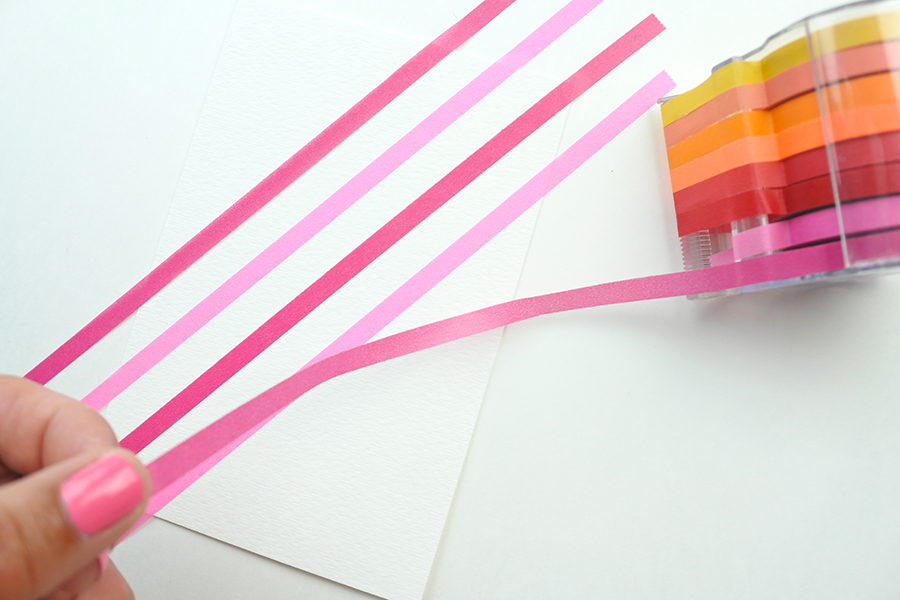
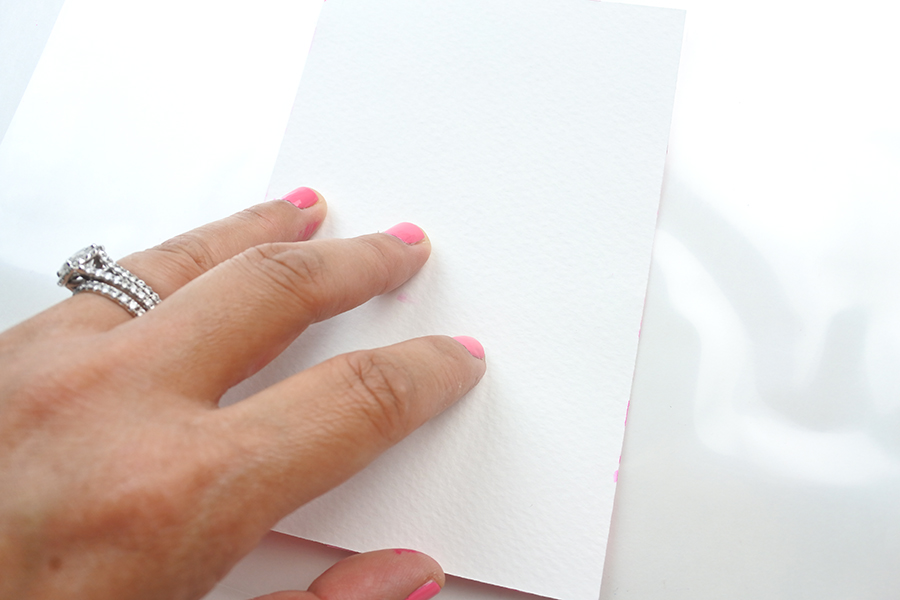
On watercolor paper, I created a diagonal design with my washi tape, in pink of course. No measuring is needed, just eyeball the washi tape placement. It’s important to use watercolor paper as printer paper and cardstock are too thin and will cause the paper to curl. Also, the colors don’t turn out as bright and vibrant.
Step Two
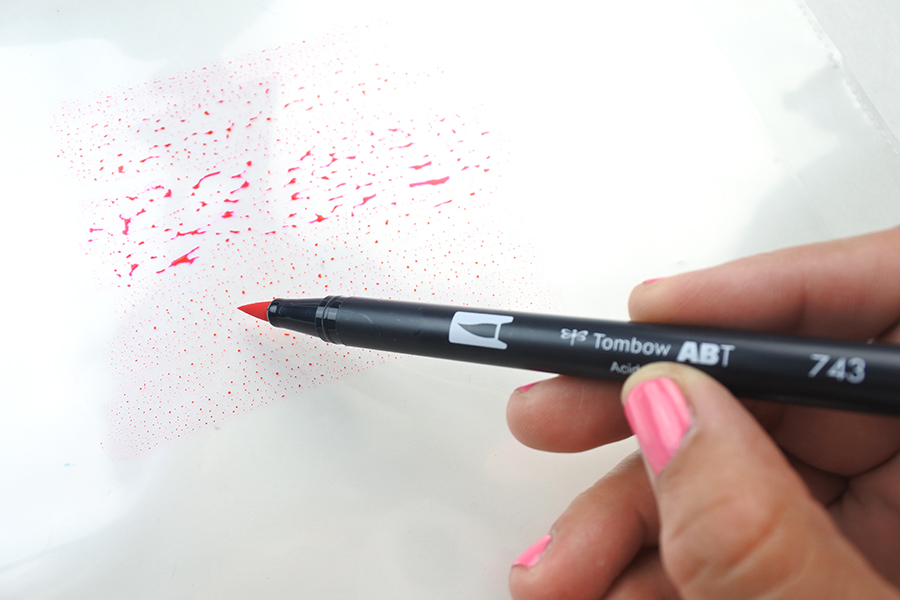
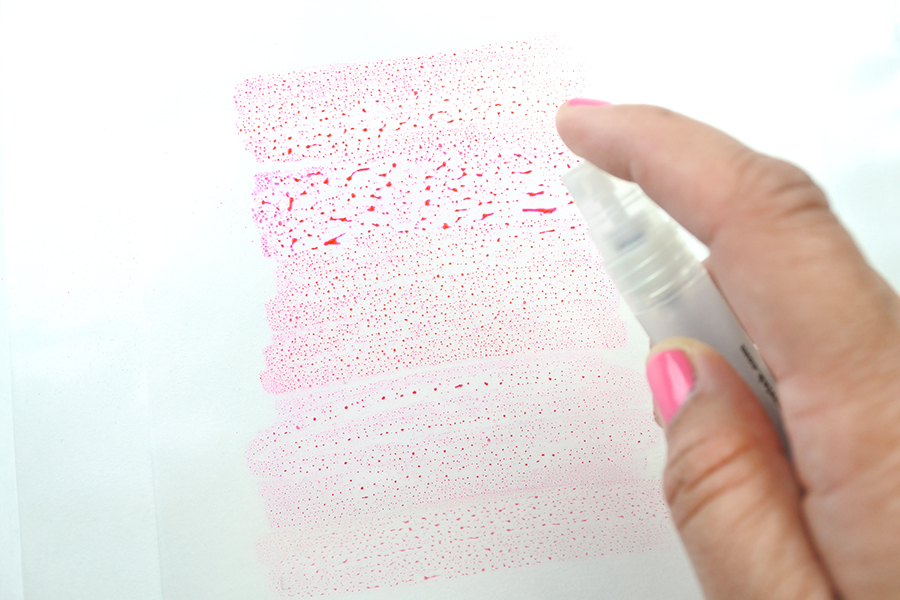
Now that the washi tape design is in place, it’s time to color. I grabbed my page protector and various shades of pink Tombow Dual Brush Pens (755, 725, 743, 703, 723). Next, I colored right on top of the page protector. Once complete, I lightly sprayed the top with my Spray Mister, turning the colors into a watercolor.
Step Three
Next, it’s time to dip the washi tape watercolor paper into the mix. For best results, let the mix absorb onto the paper (re-dip if needed). Allow the paper to dry before removing the tape.
Step Four
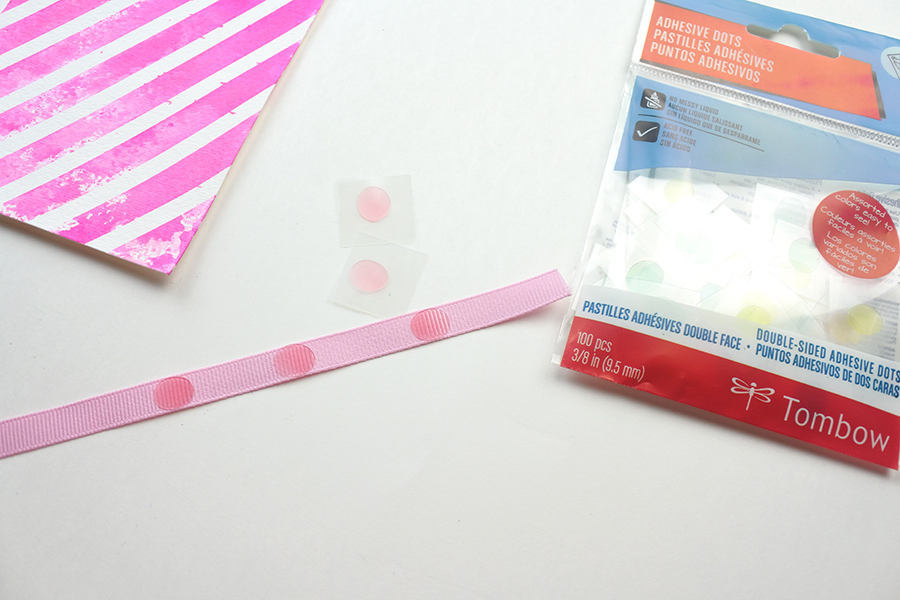
To add some texture to the card, I decided to use ribbon. I placed some Adhesive Dots onto one side of the ribbon, then placed the ribbon on the bottom portion of the pink greeting card.
Step Five
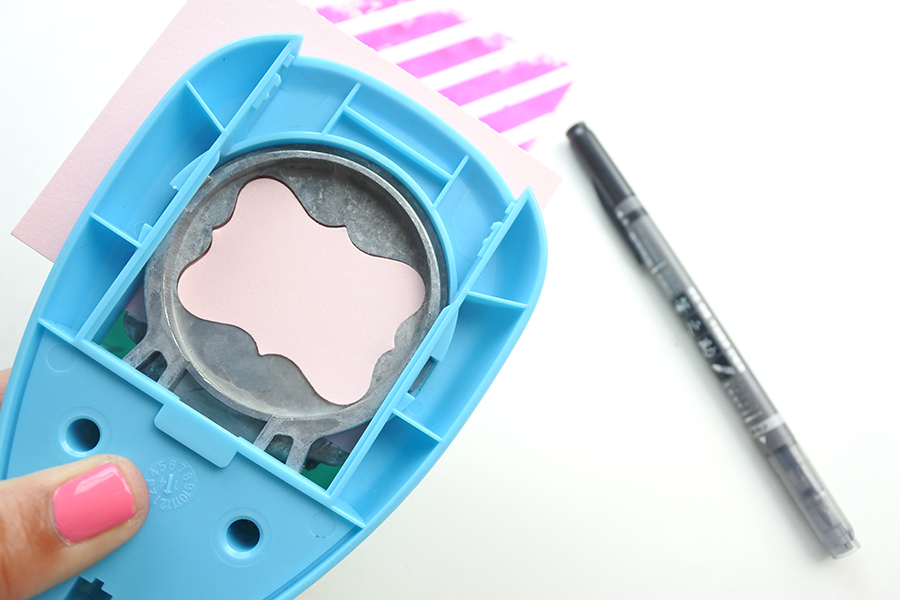
Last, with my frame shape paper punch, I punched out a pink frame and lettered the word hello with a Fudenosuke Brush Pen. Using the same Adhesive Dots as before, I placed the greeting right on top of the ribbon. Finally, I placed the base of the pink greeting card right on top of pink cardstock.
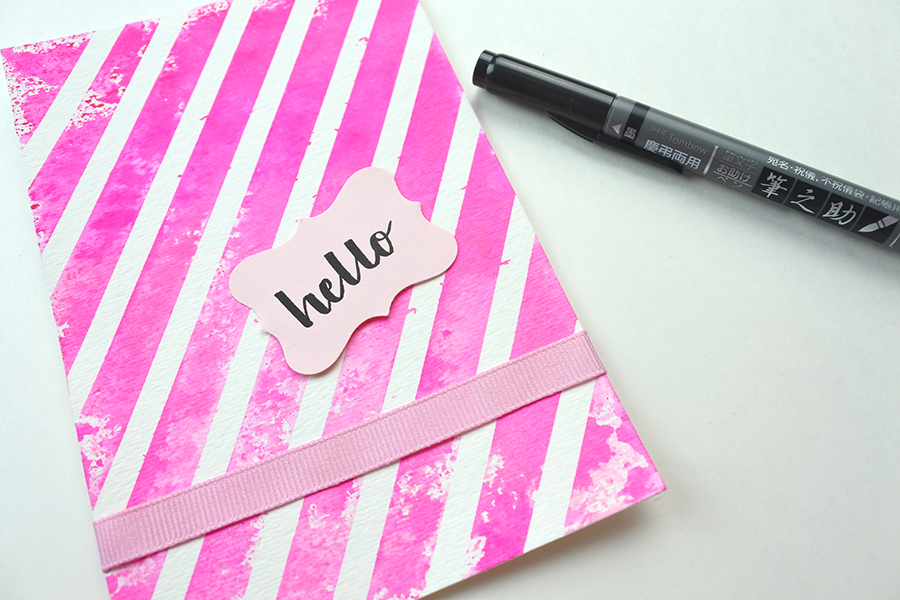
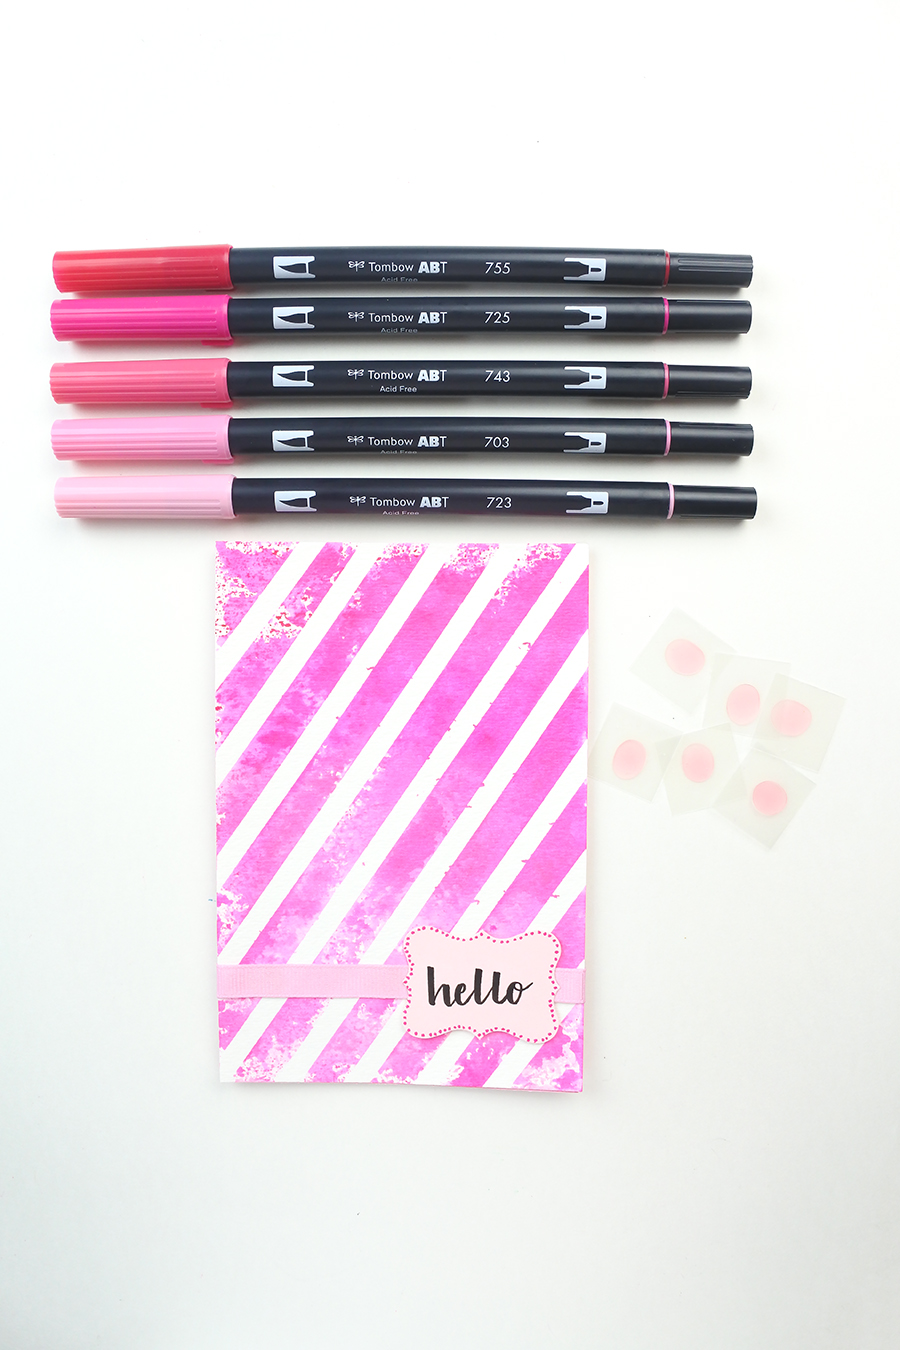
And that is it. I hope you have a wonderful week and don’t forget to wear pink!
Renee
