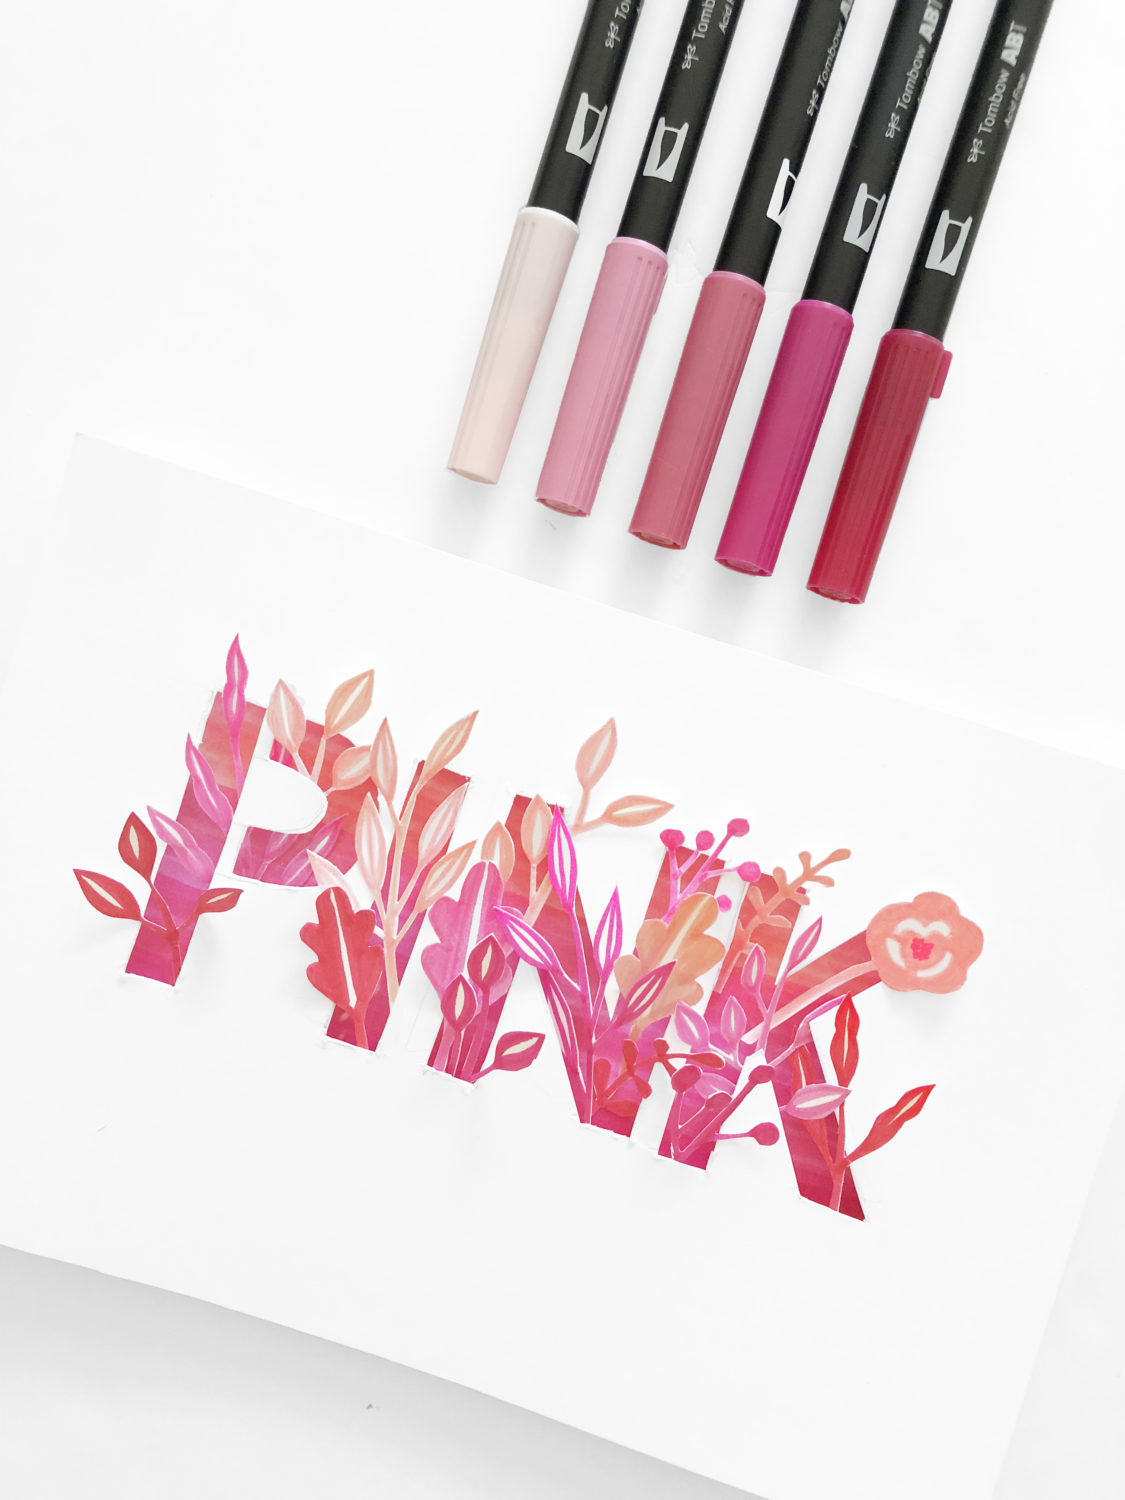
Hi everybody! It’s Bonnie from Archer and Olive. This week project is going to be all about the color pink.
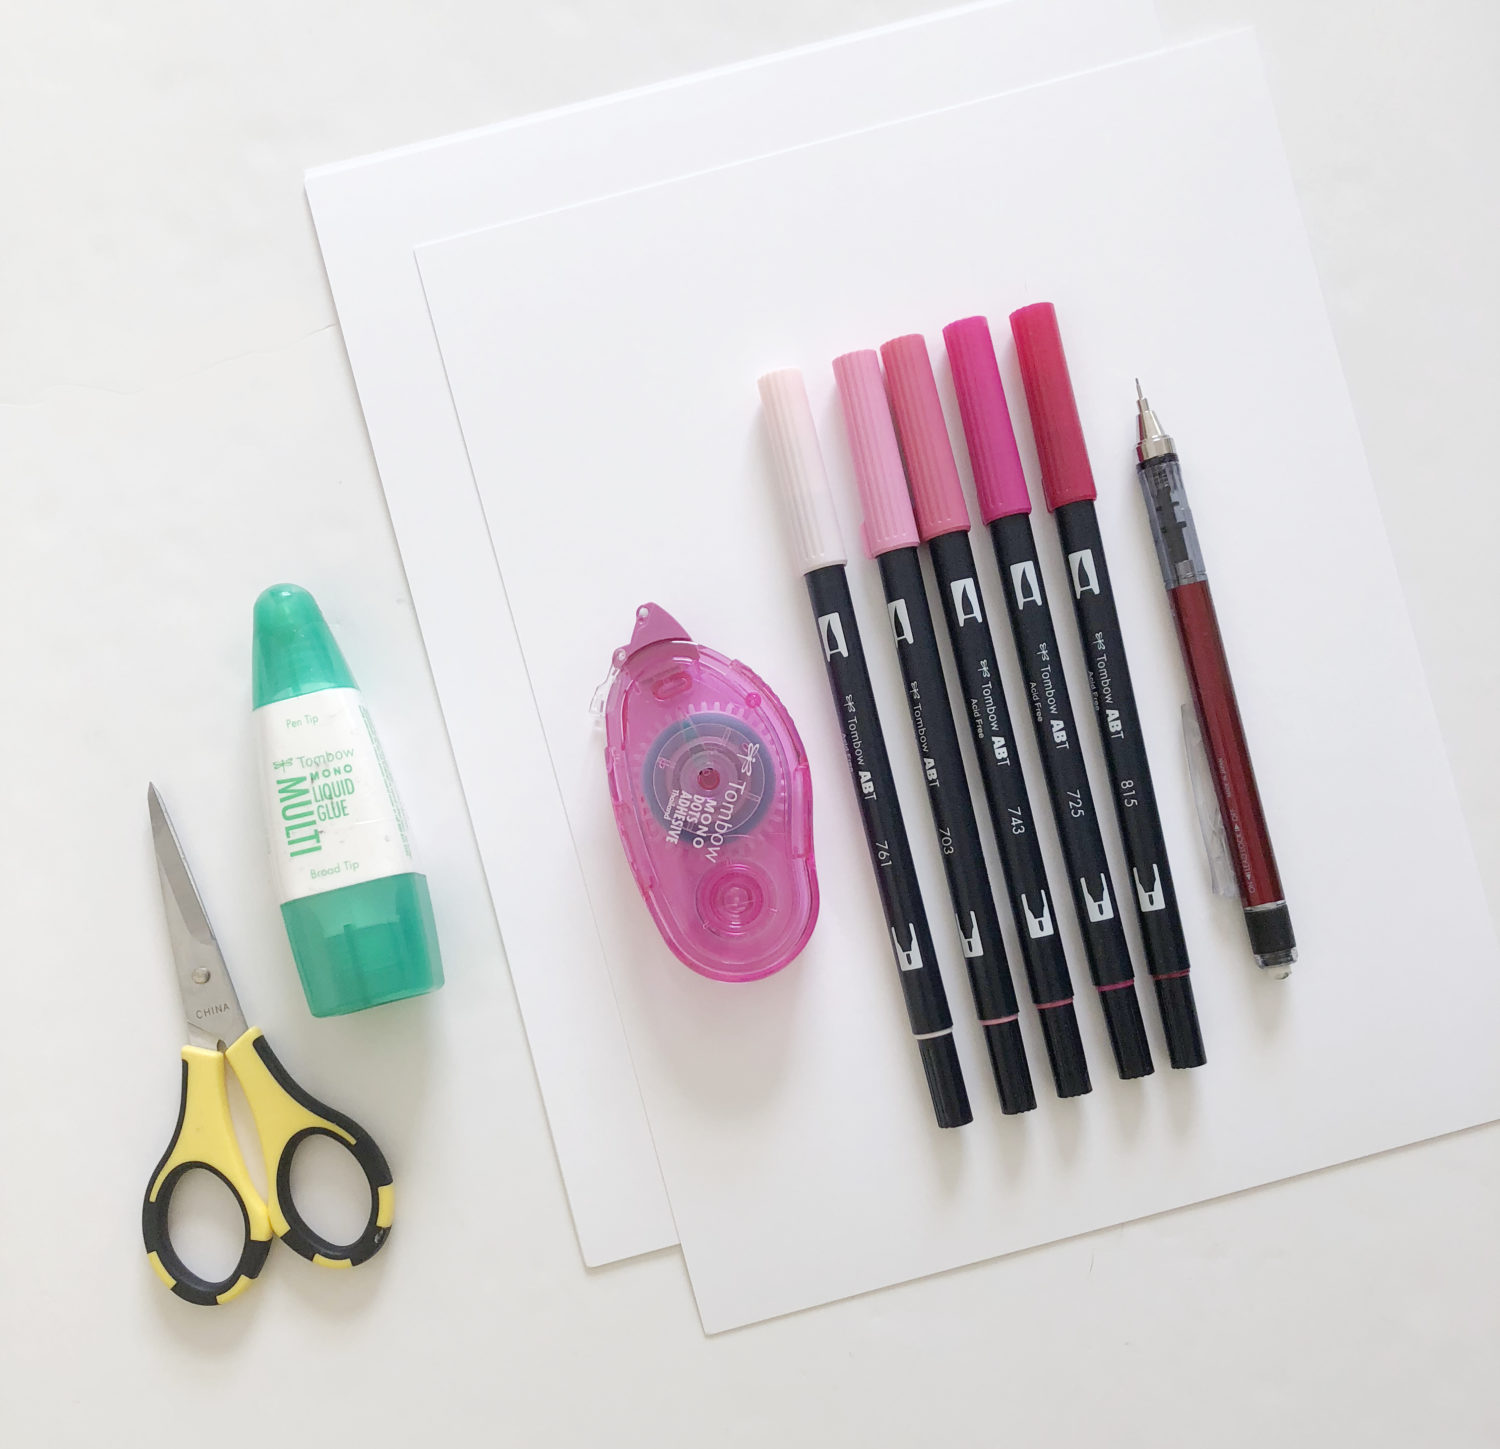
To start with, you will need:
- Tombow Dual Brush Pens (In a variety of pink hues)
- Tombow MONO Multi XL Liquid Glue
- Tombow MONO Dots Adhesive (Because it’s pink, of course!)
- Tombow Mechanical Pencil
- Scissors
- Two Sheets of Cardstock
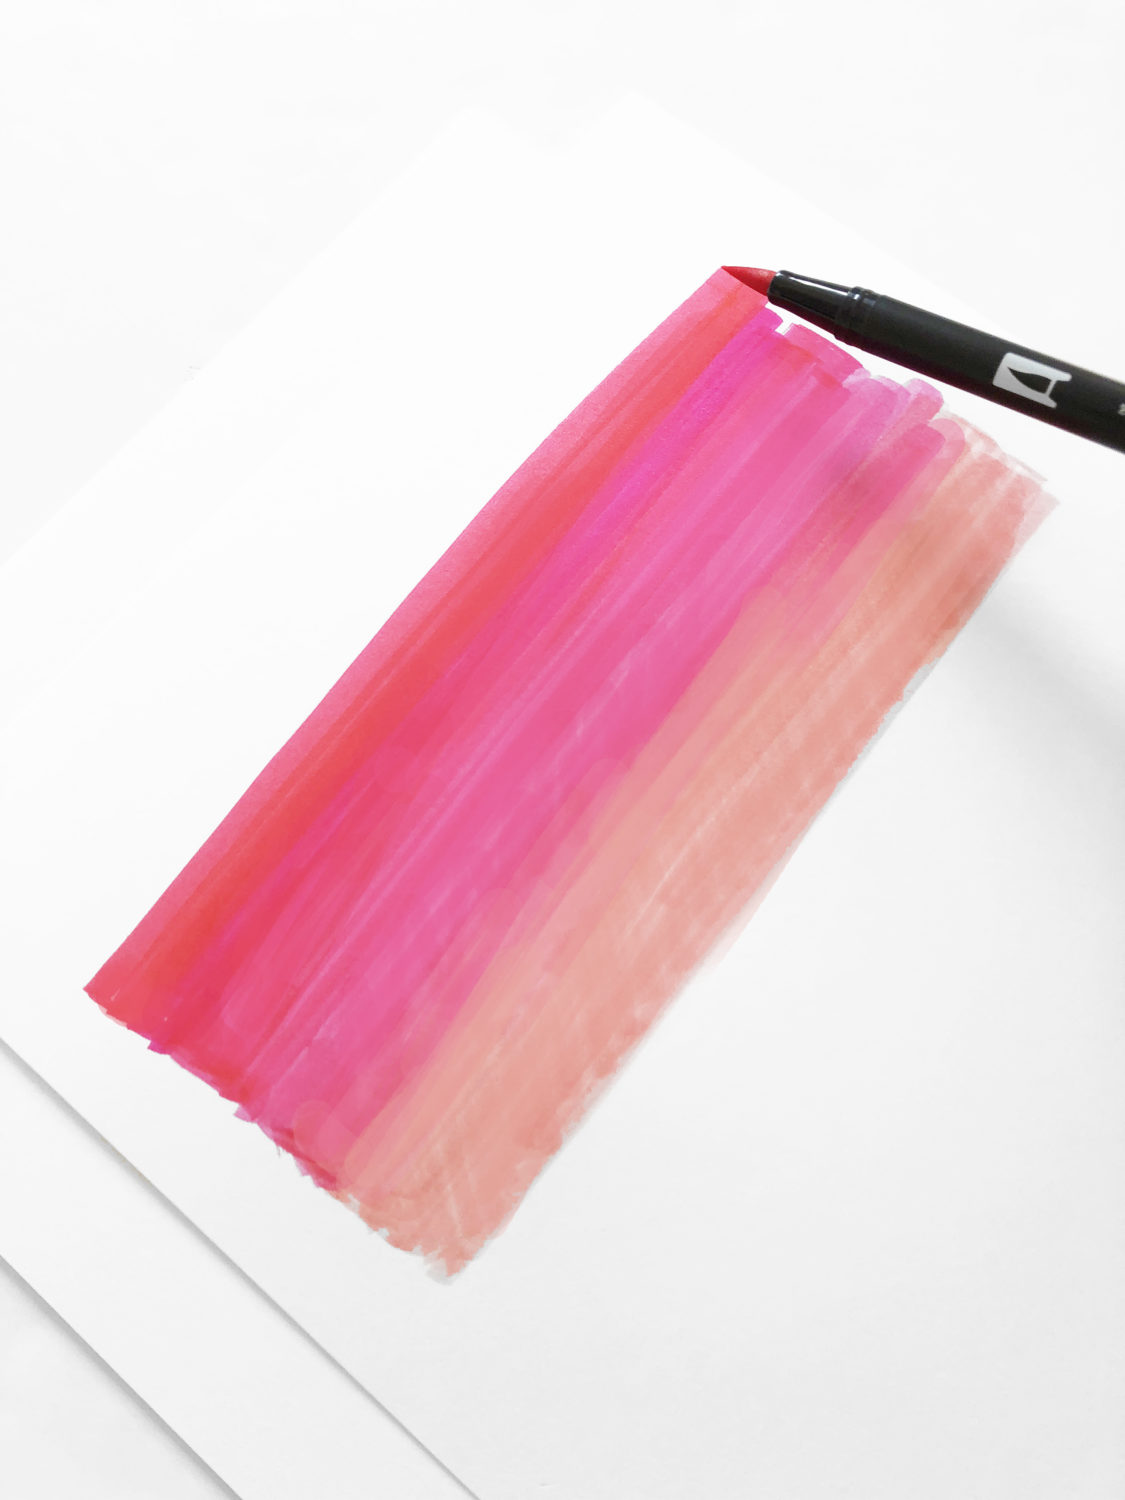
Step 1:
On a sheet of cardstock, create an ombre background by starting with your lightest shade of Tombow Dual Brush Pen, and applying darker and darker shades, until you reach the darkest. Use the Tombow Dual Brush Pen Colorless Blender to blend the colors.
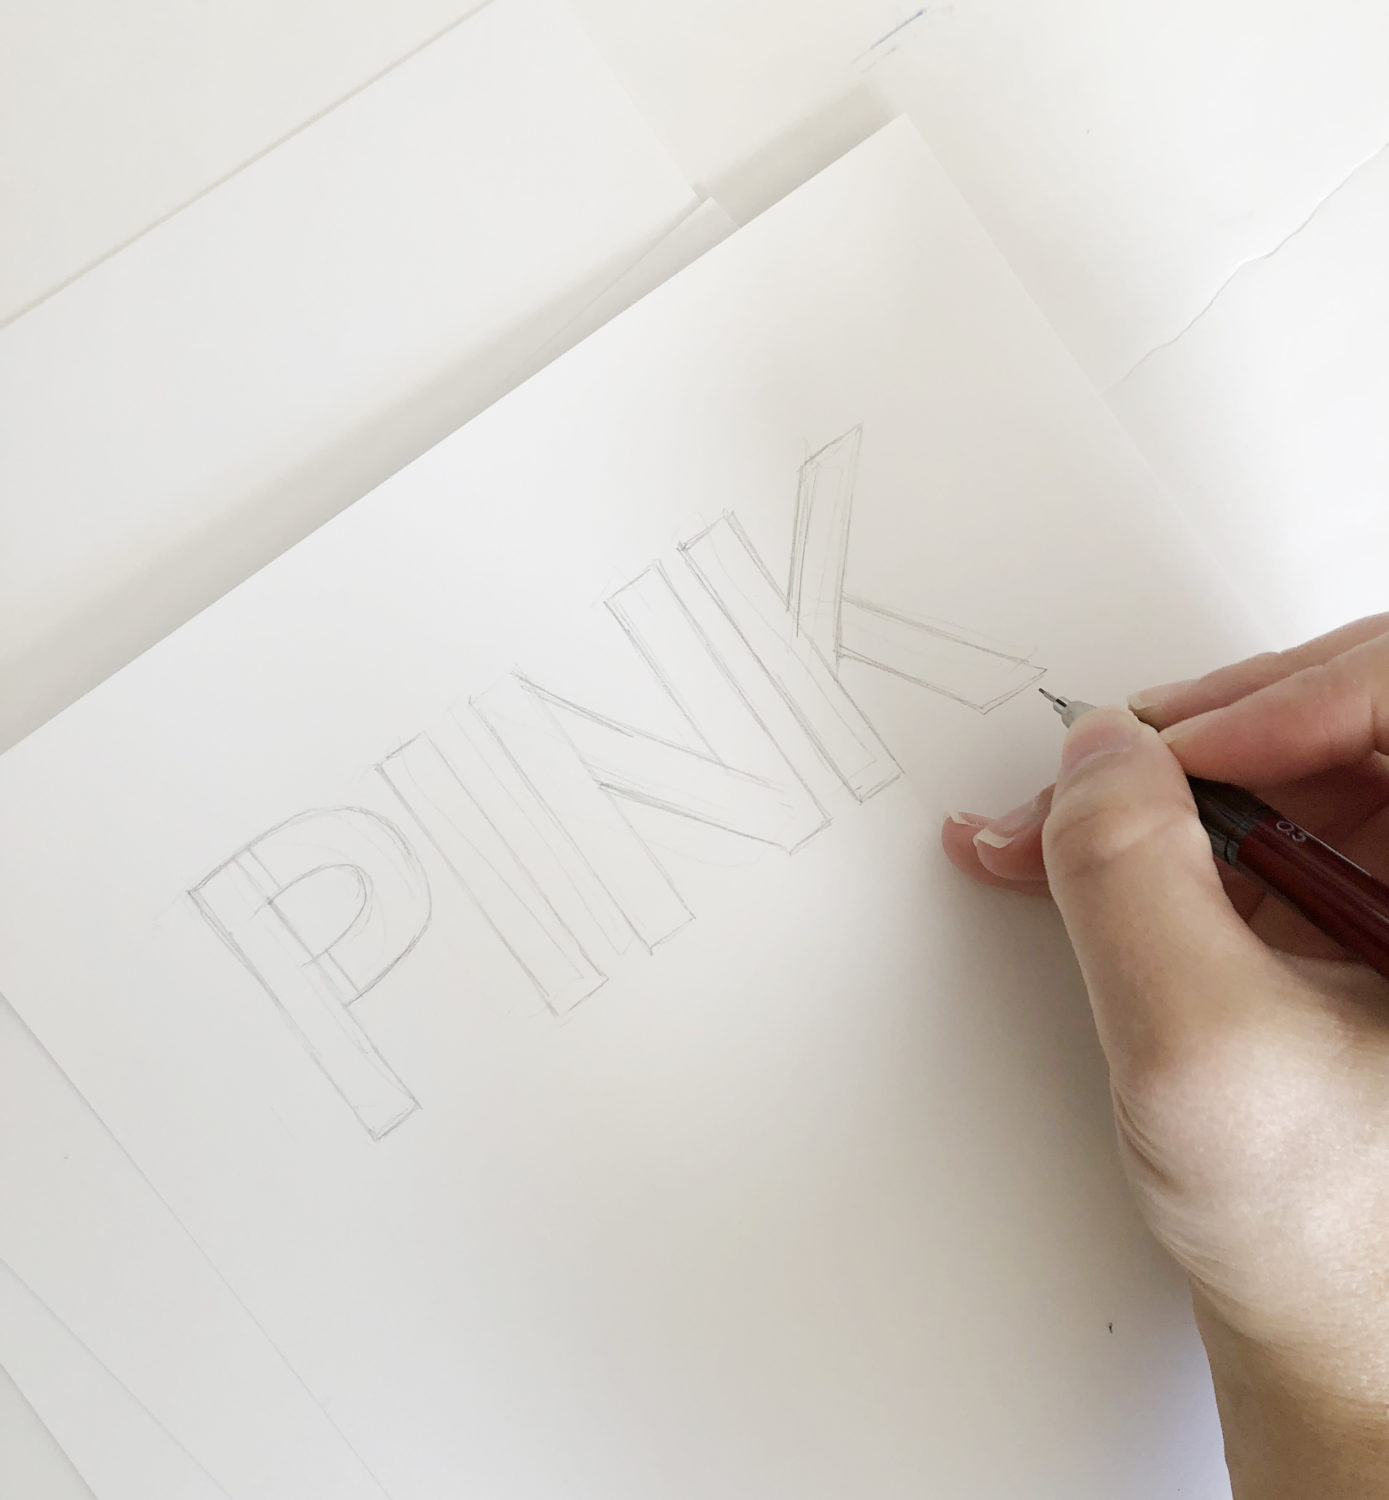
Step 2:
On the second sheet of card stock, use the Tombow Mechanical Pencil to draw the outline of your word.
Step 3:
Cut out your word. Be mindful of the inner parts of each letter. You might need to leave a little “bridge” connecting the inside to the outside.
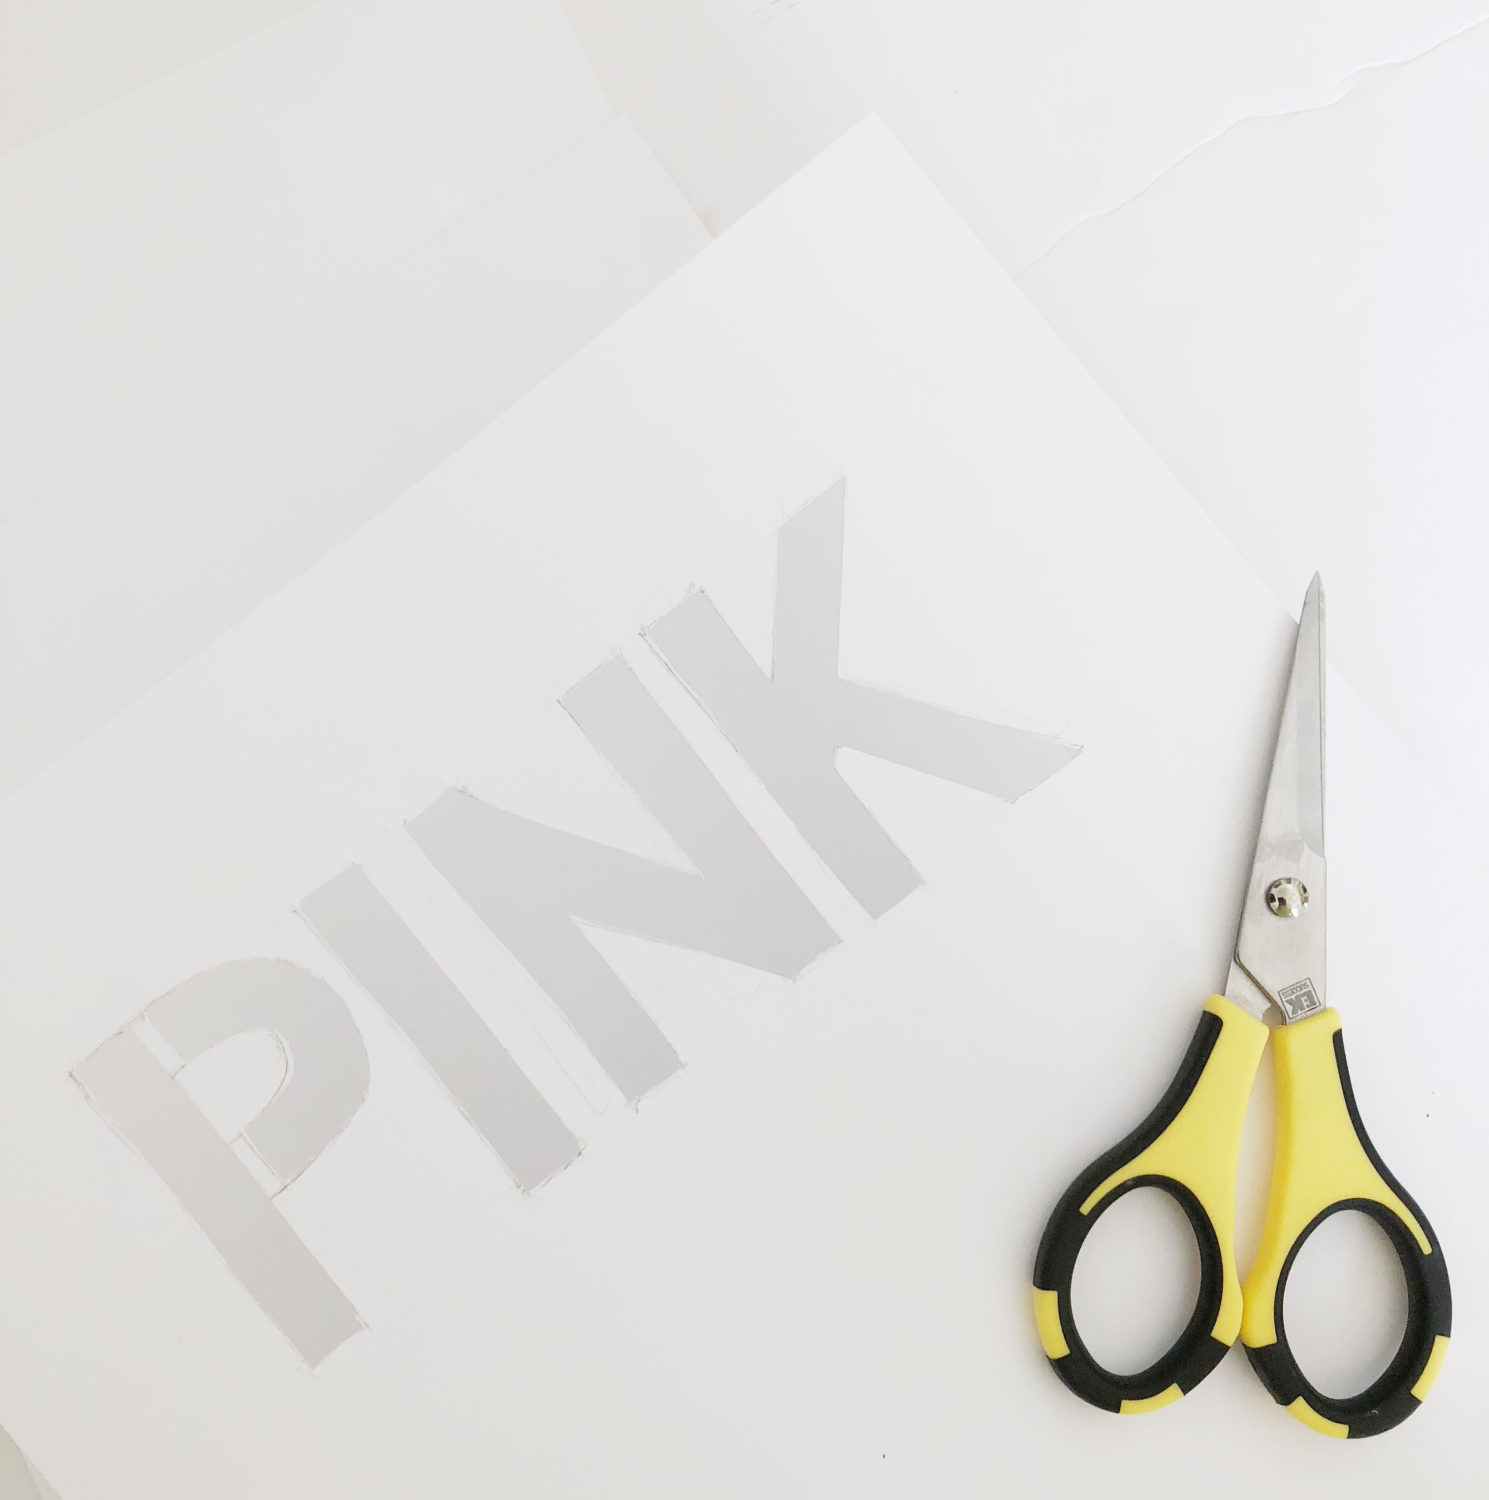
Step 4:
Overlay the word on your colorful background, and trim both sheets of card stock to the size you want your final piece.
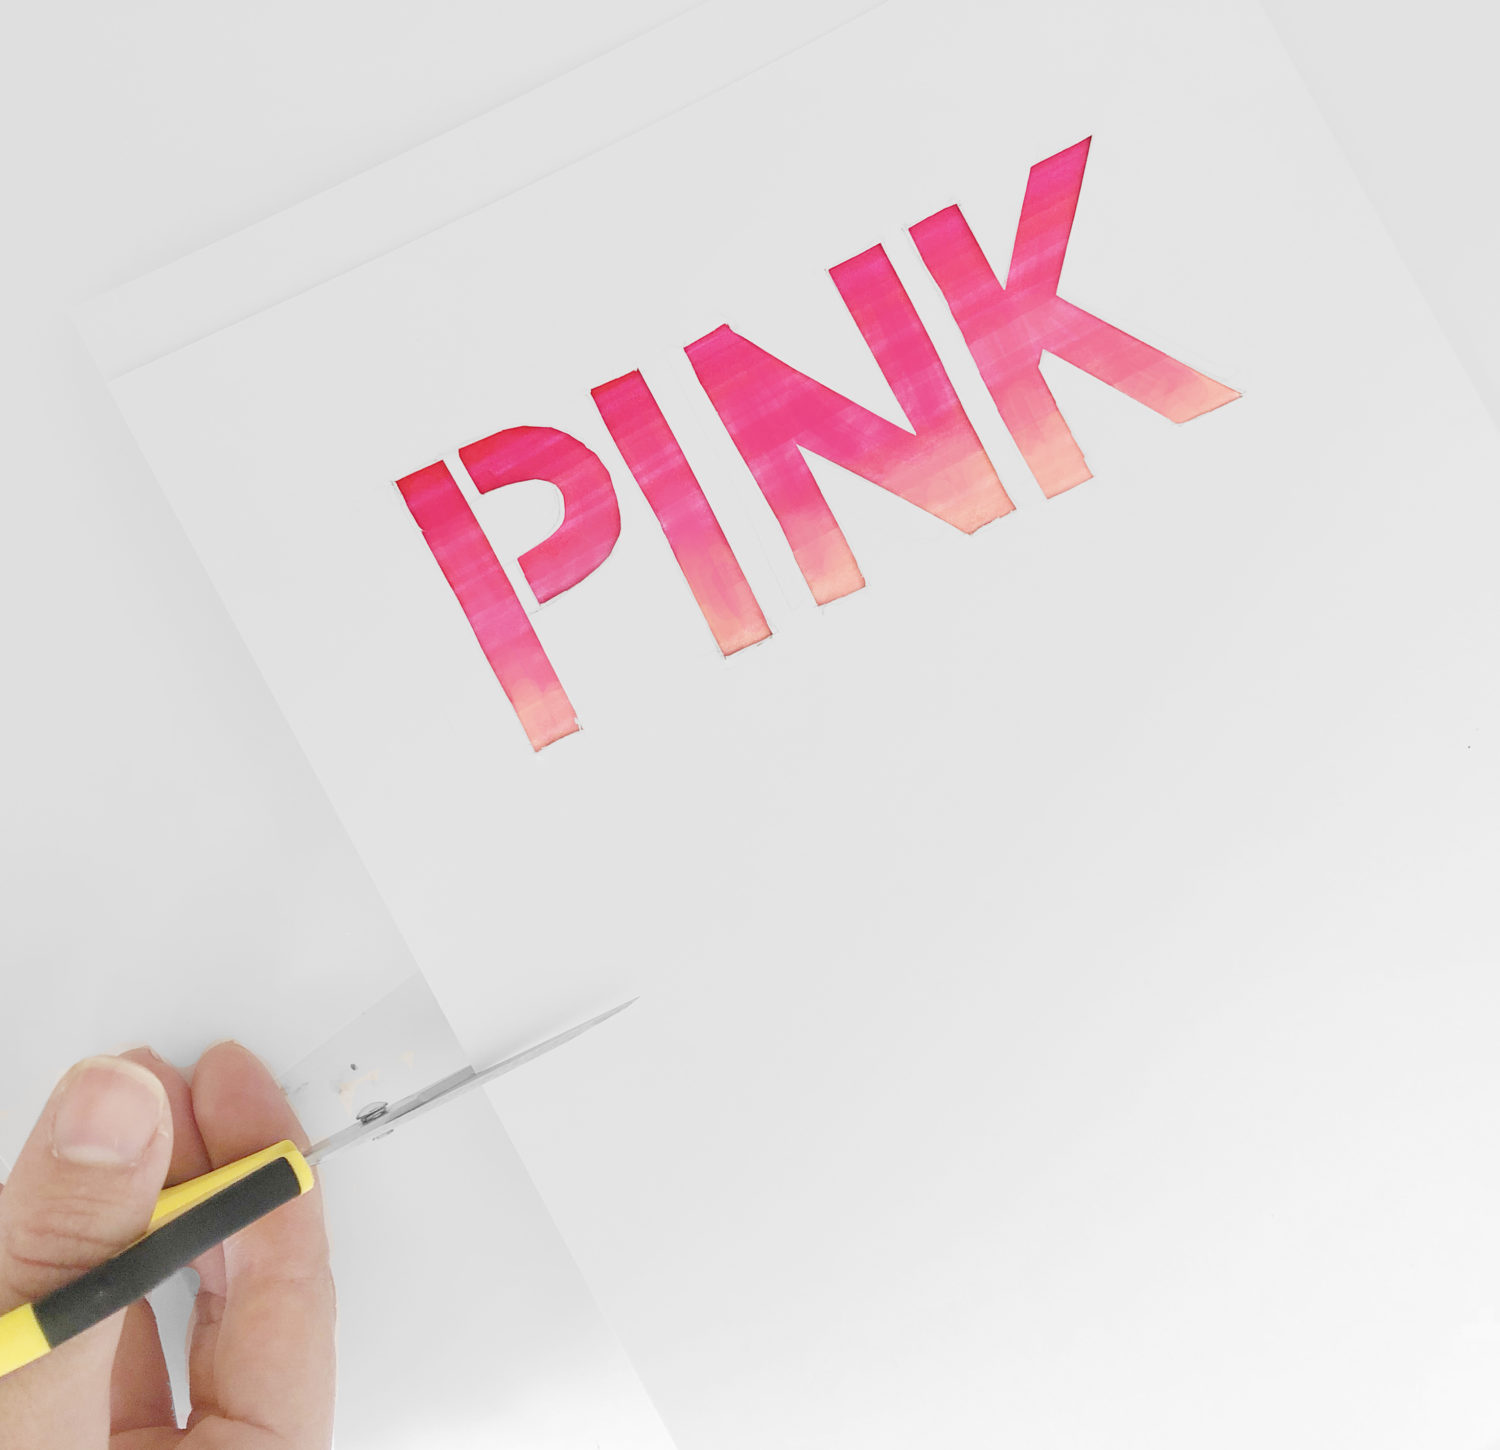
Step 5:
Using scrap pieces of card stock, cut out four tabs. Each tab should be about 1 cm wide and 3 cm long.
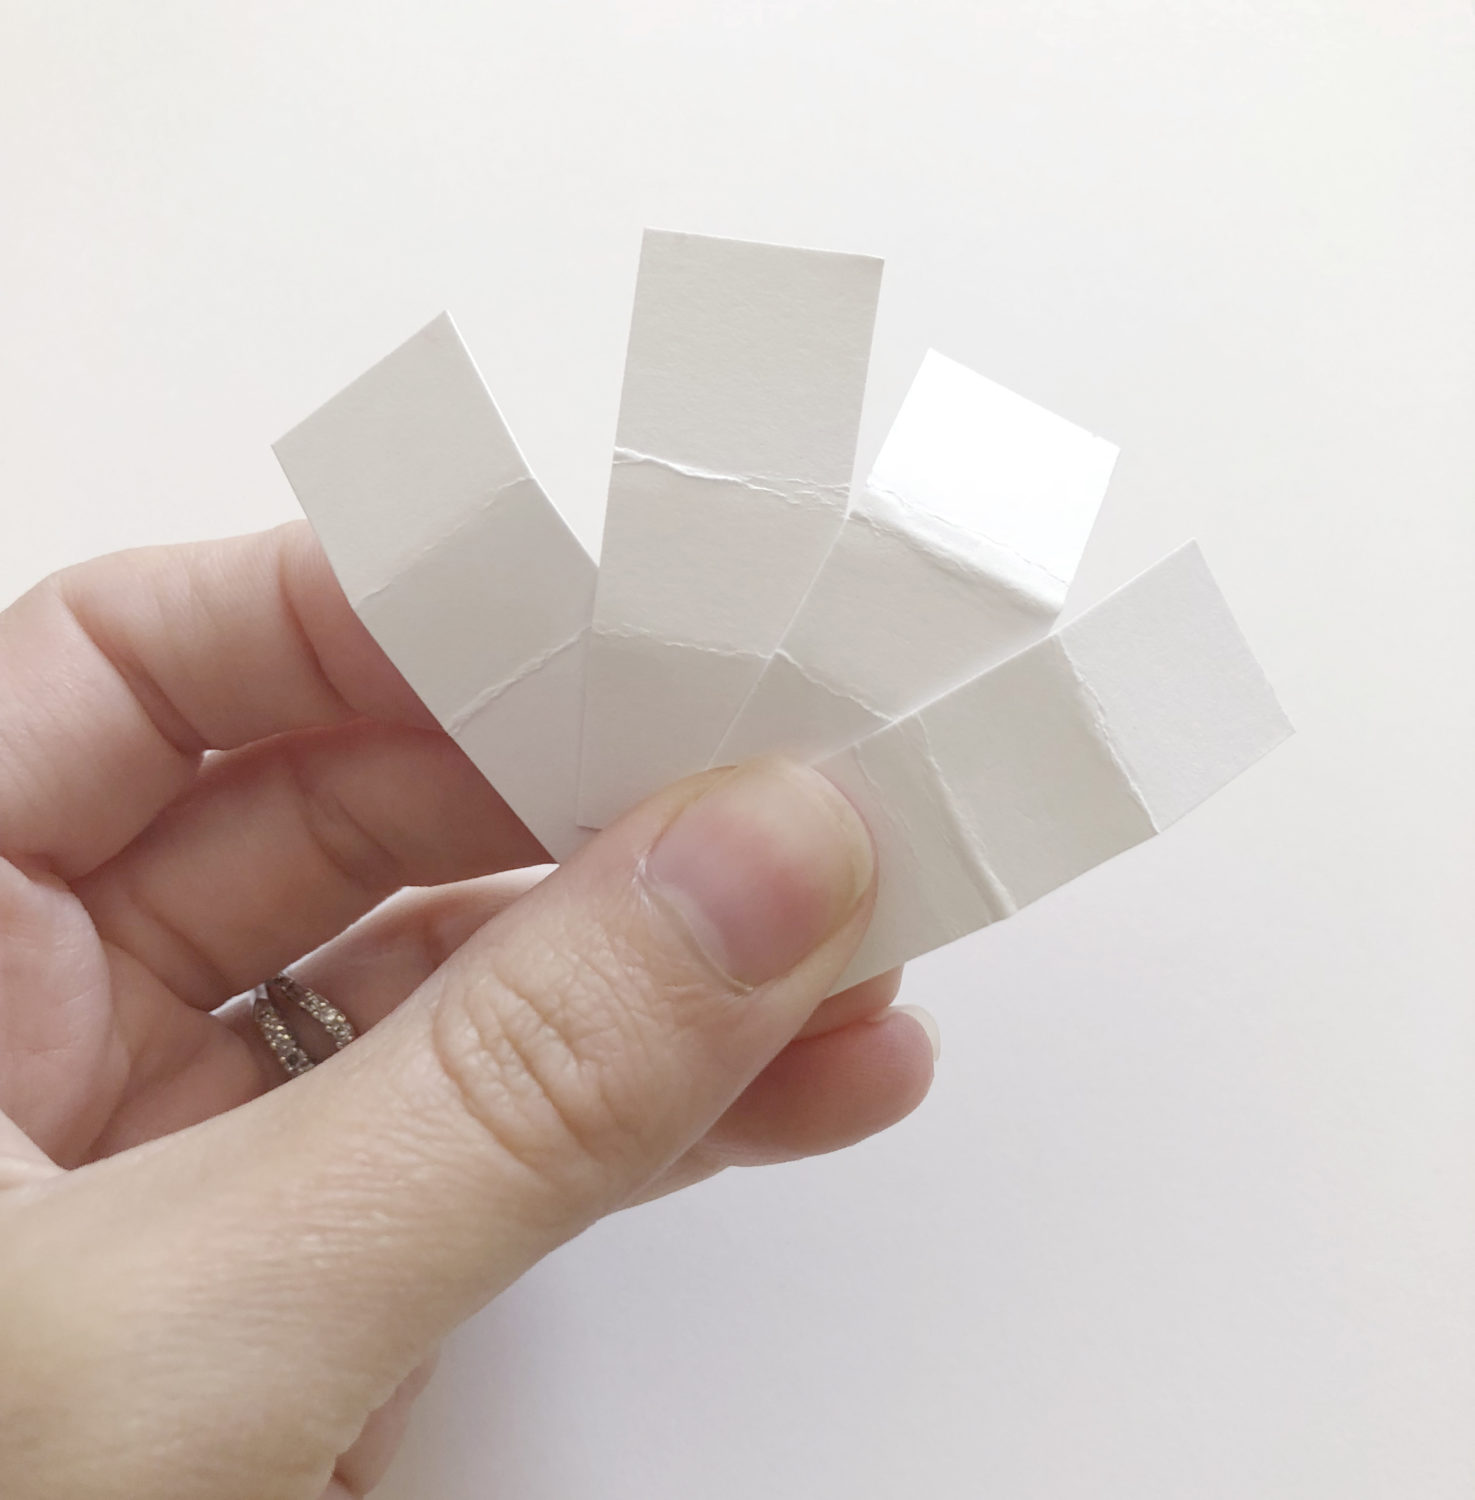
Step 6:
Fold your tabs two times, this should create 3 sections, each about 1 cm long.
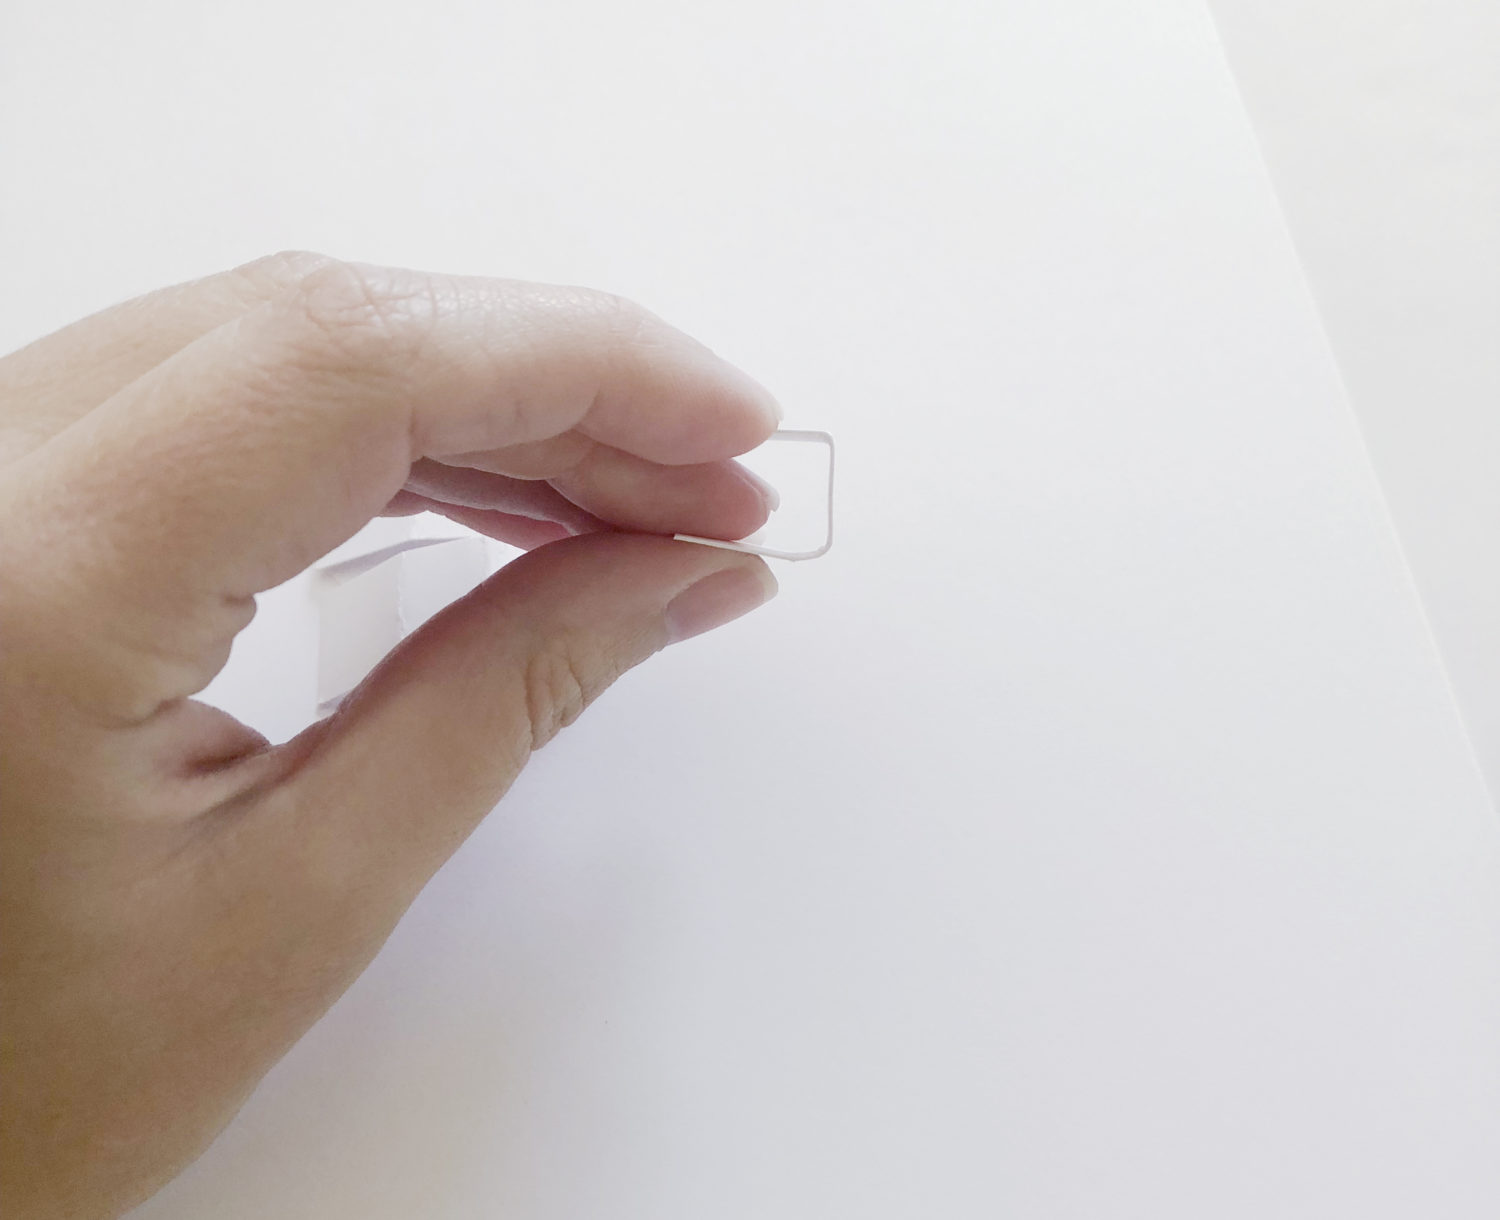
Step 7:
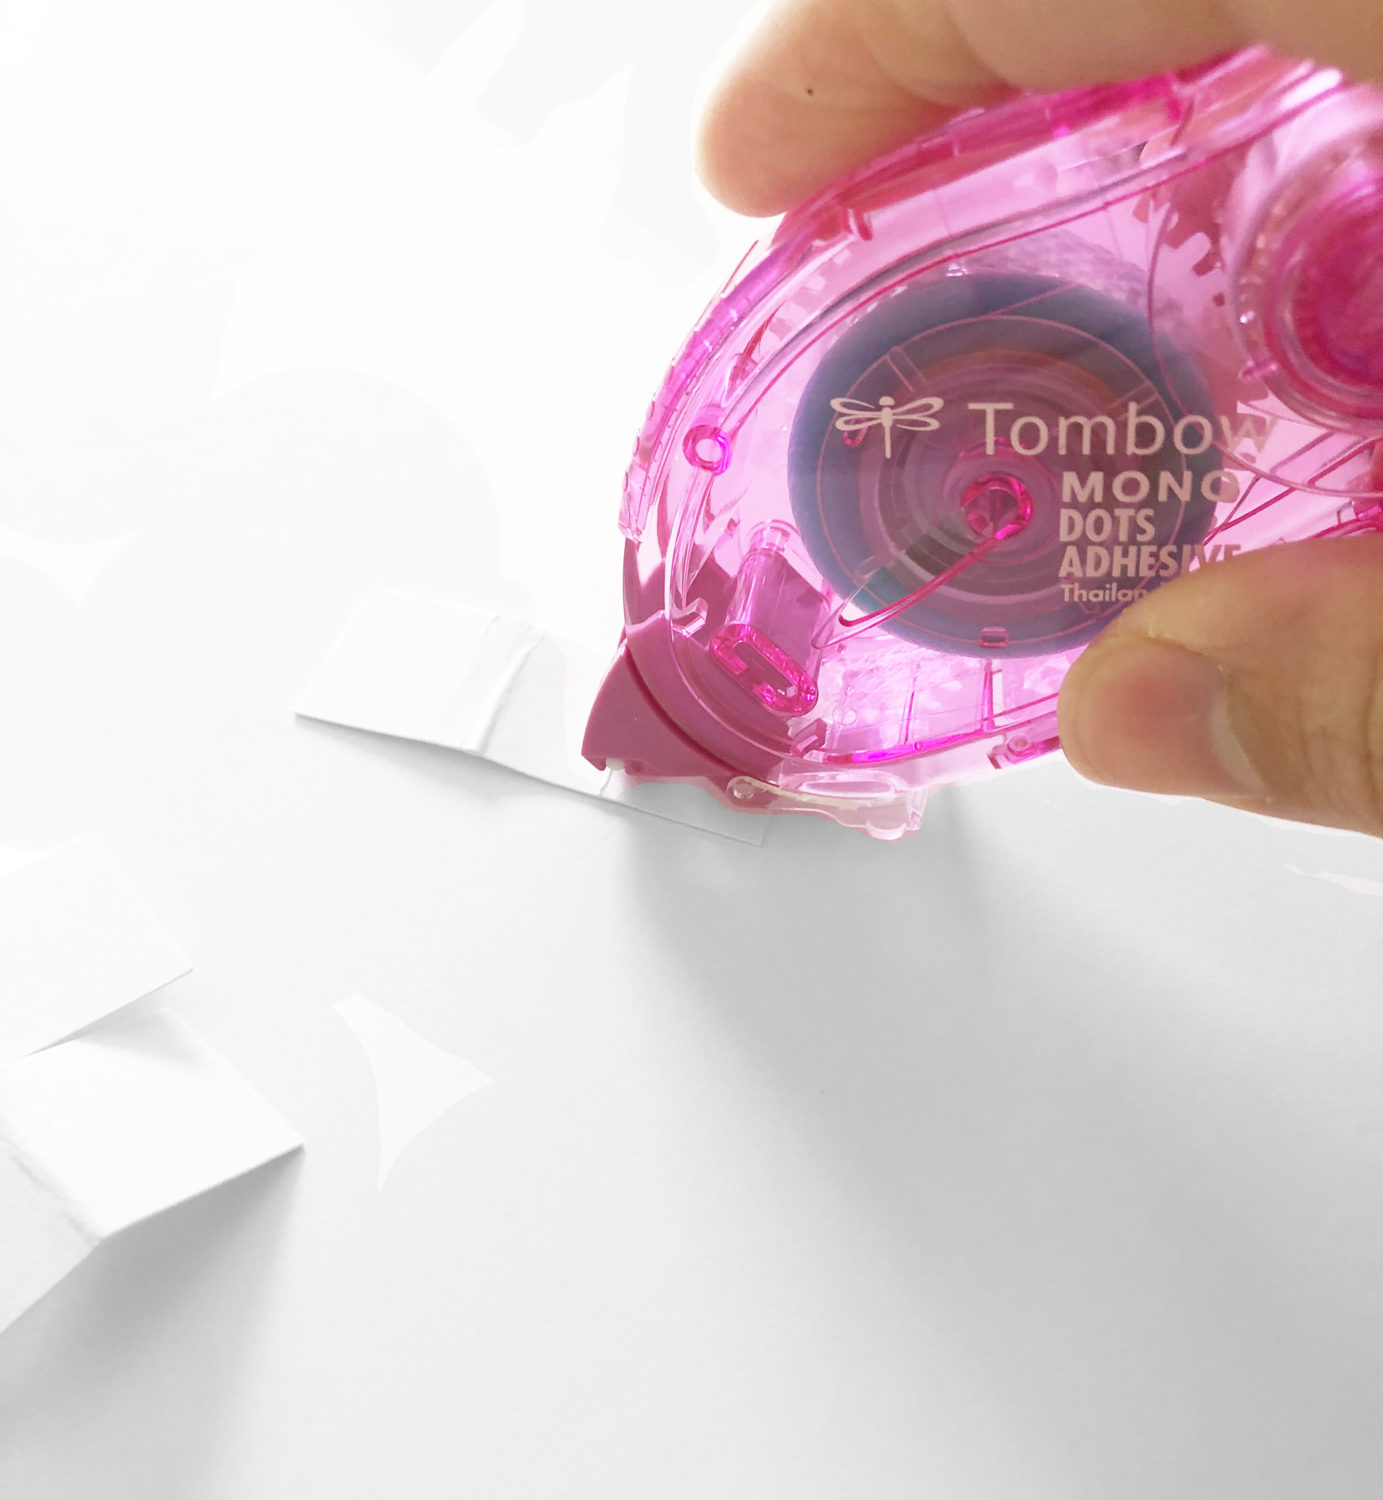
Apply Tombow MONO Dots Adhesive to the top and bottom of each tab. Adhere one tab to each corder of your colorful background.
Step 8:
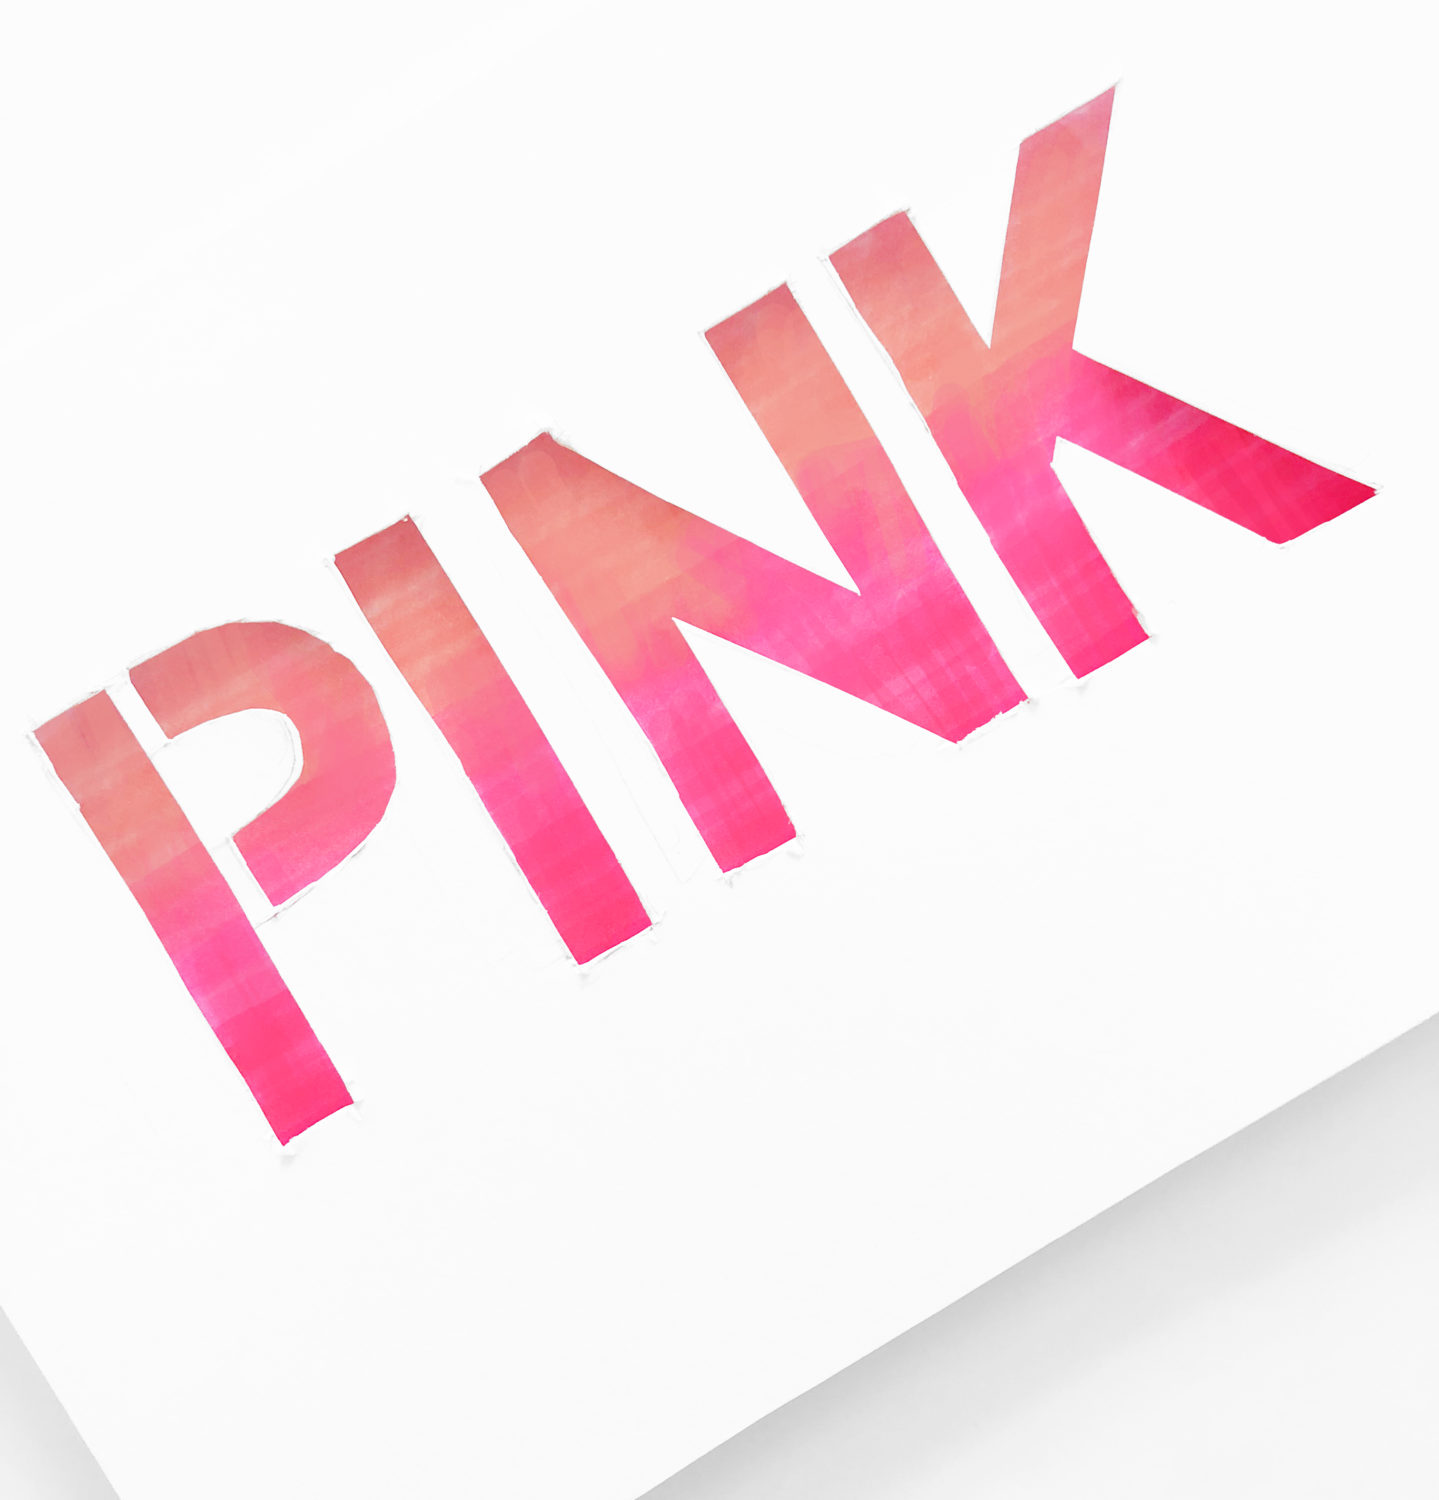
Place the cutout word on top of the tabs, so you create a 3D workspace.
Step 9:
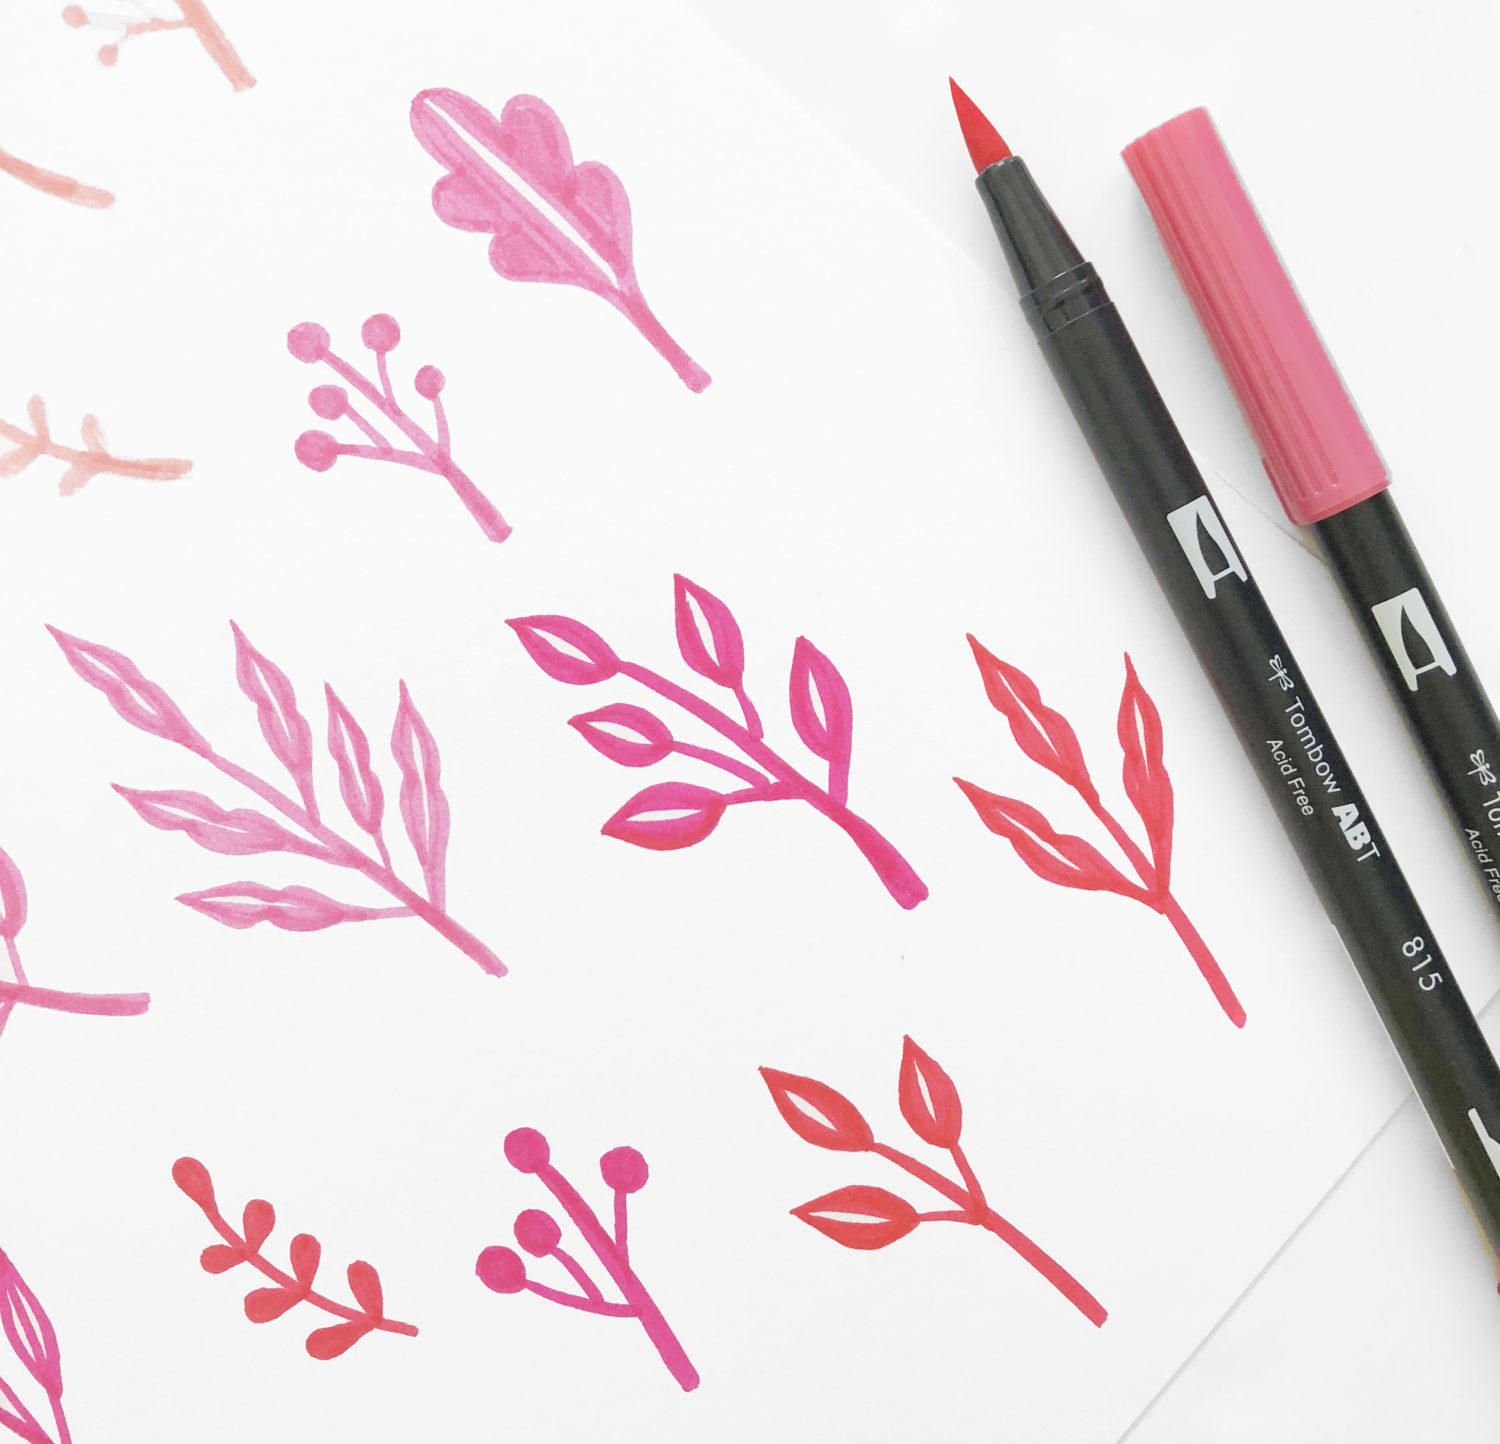
On a separate sheet of paper, draw your floral elements. Make at least 3 per color.
Step 10:
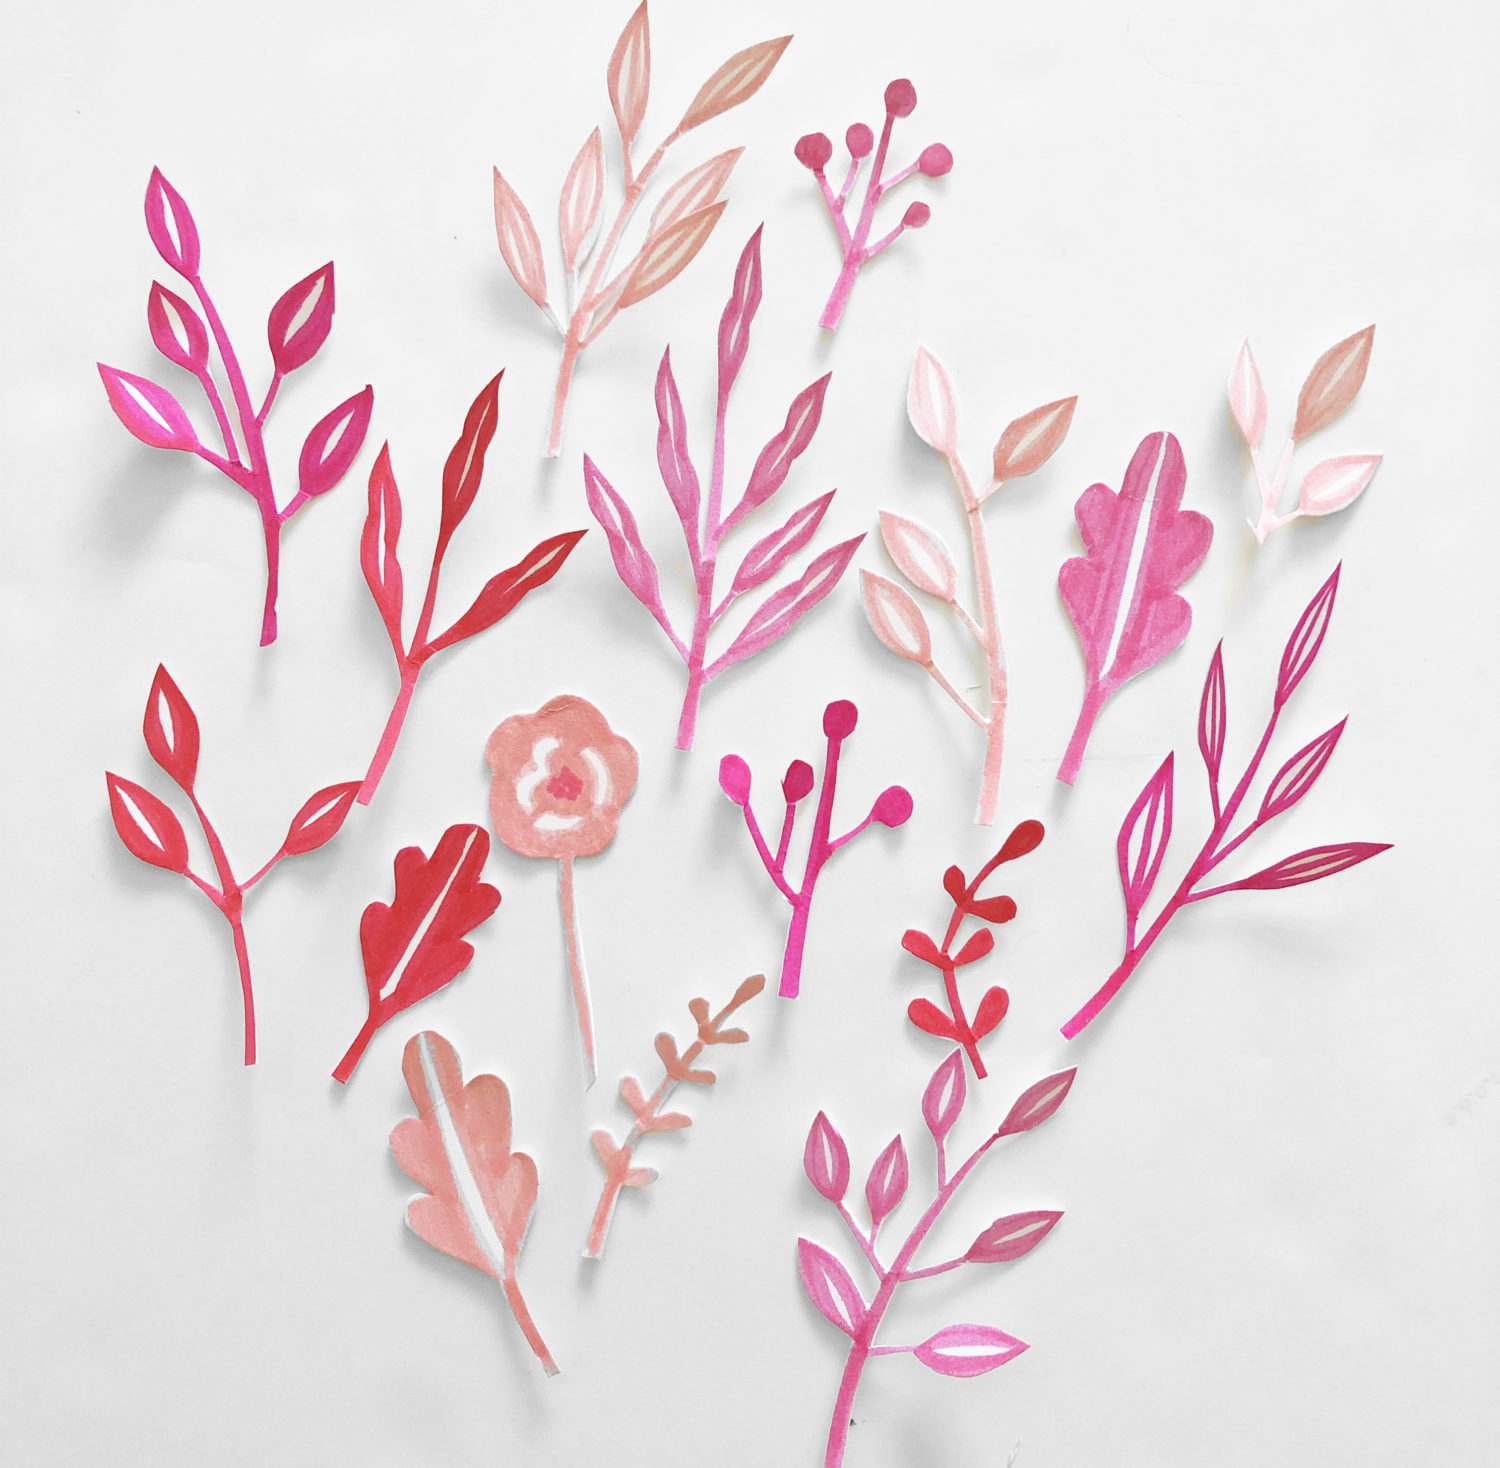
Cut out your floral elements.
Step 11:
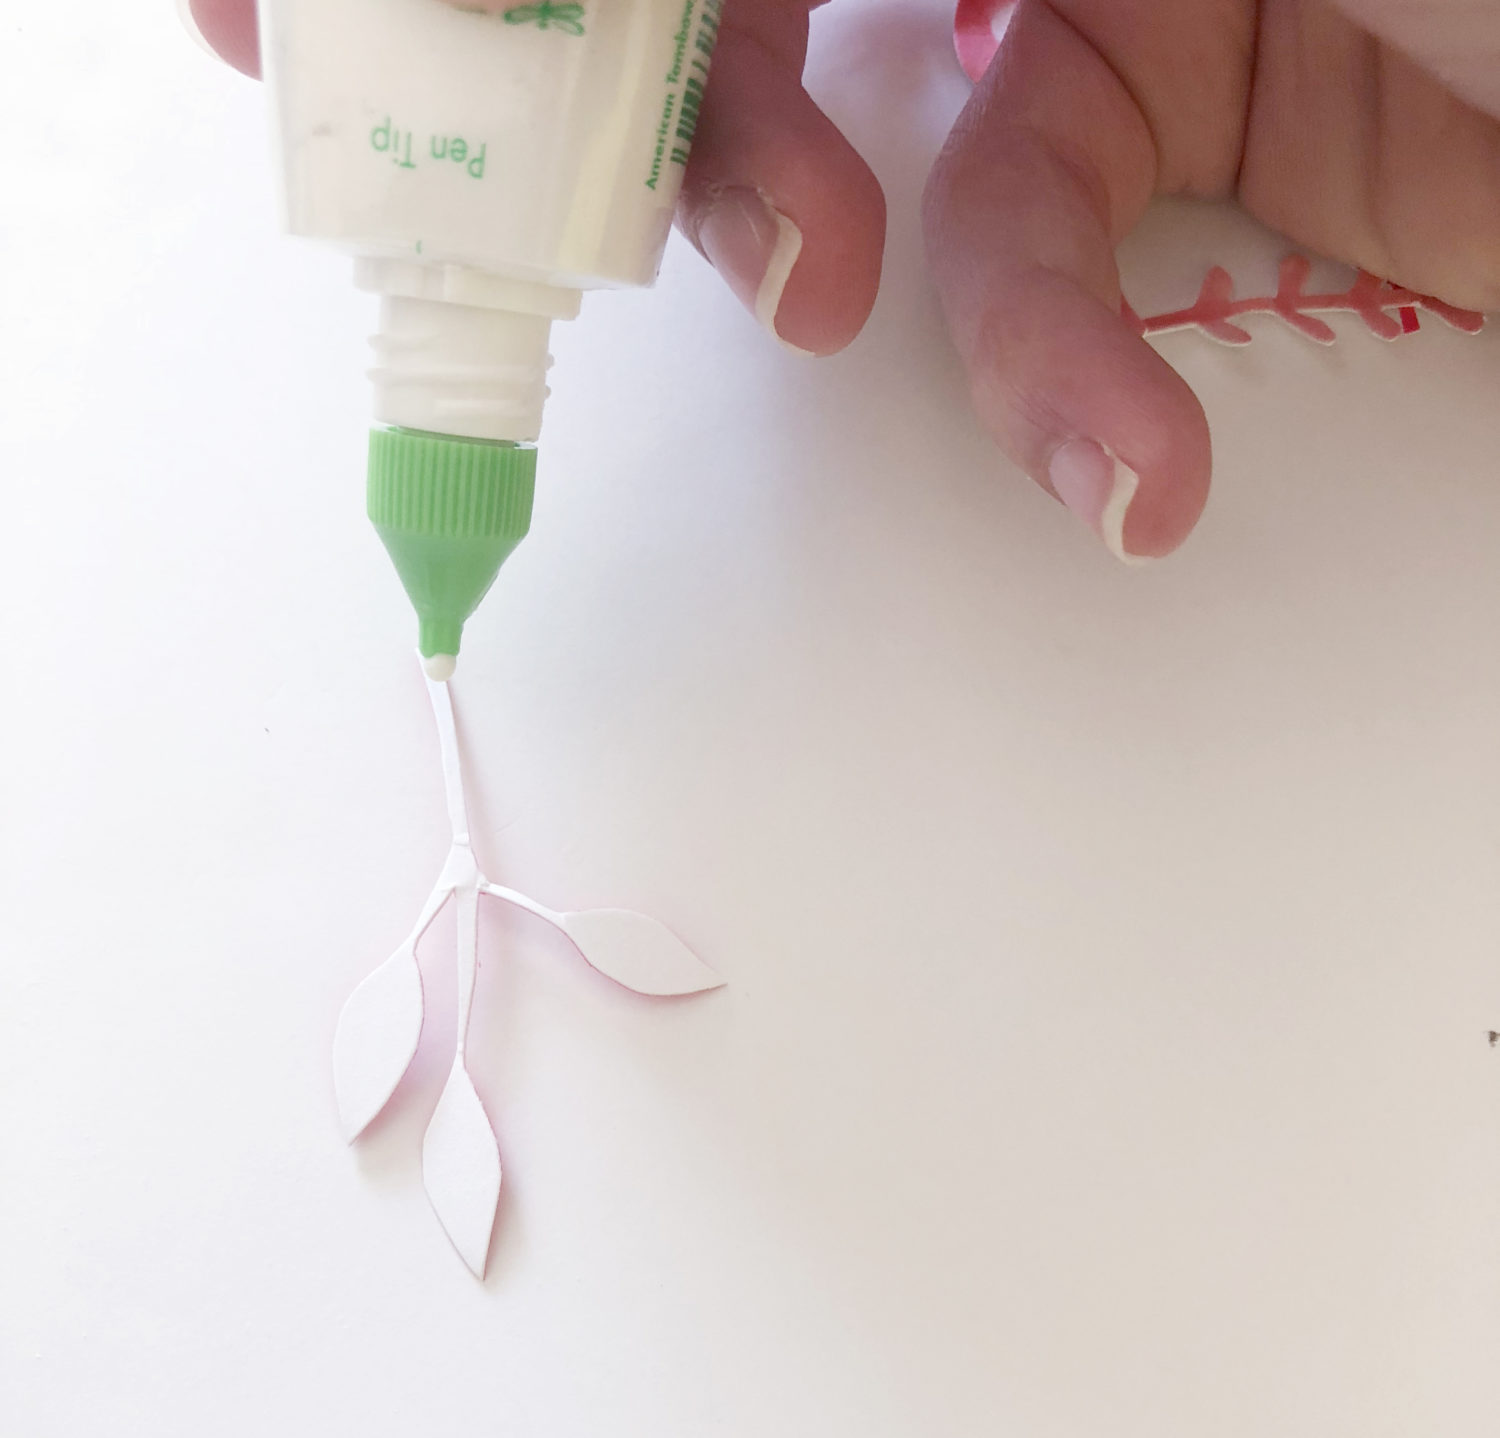
Use the precision tip of the Tombow MONO Multi XL Liquid Glue to apply glue to the floral elements.
Step 12:
Begin gluing your flowers to inside of the word. Make sure each color of the floral element corresponds with the color used on the background.
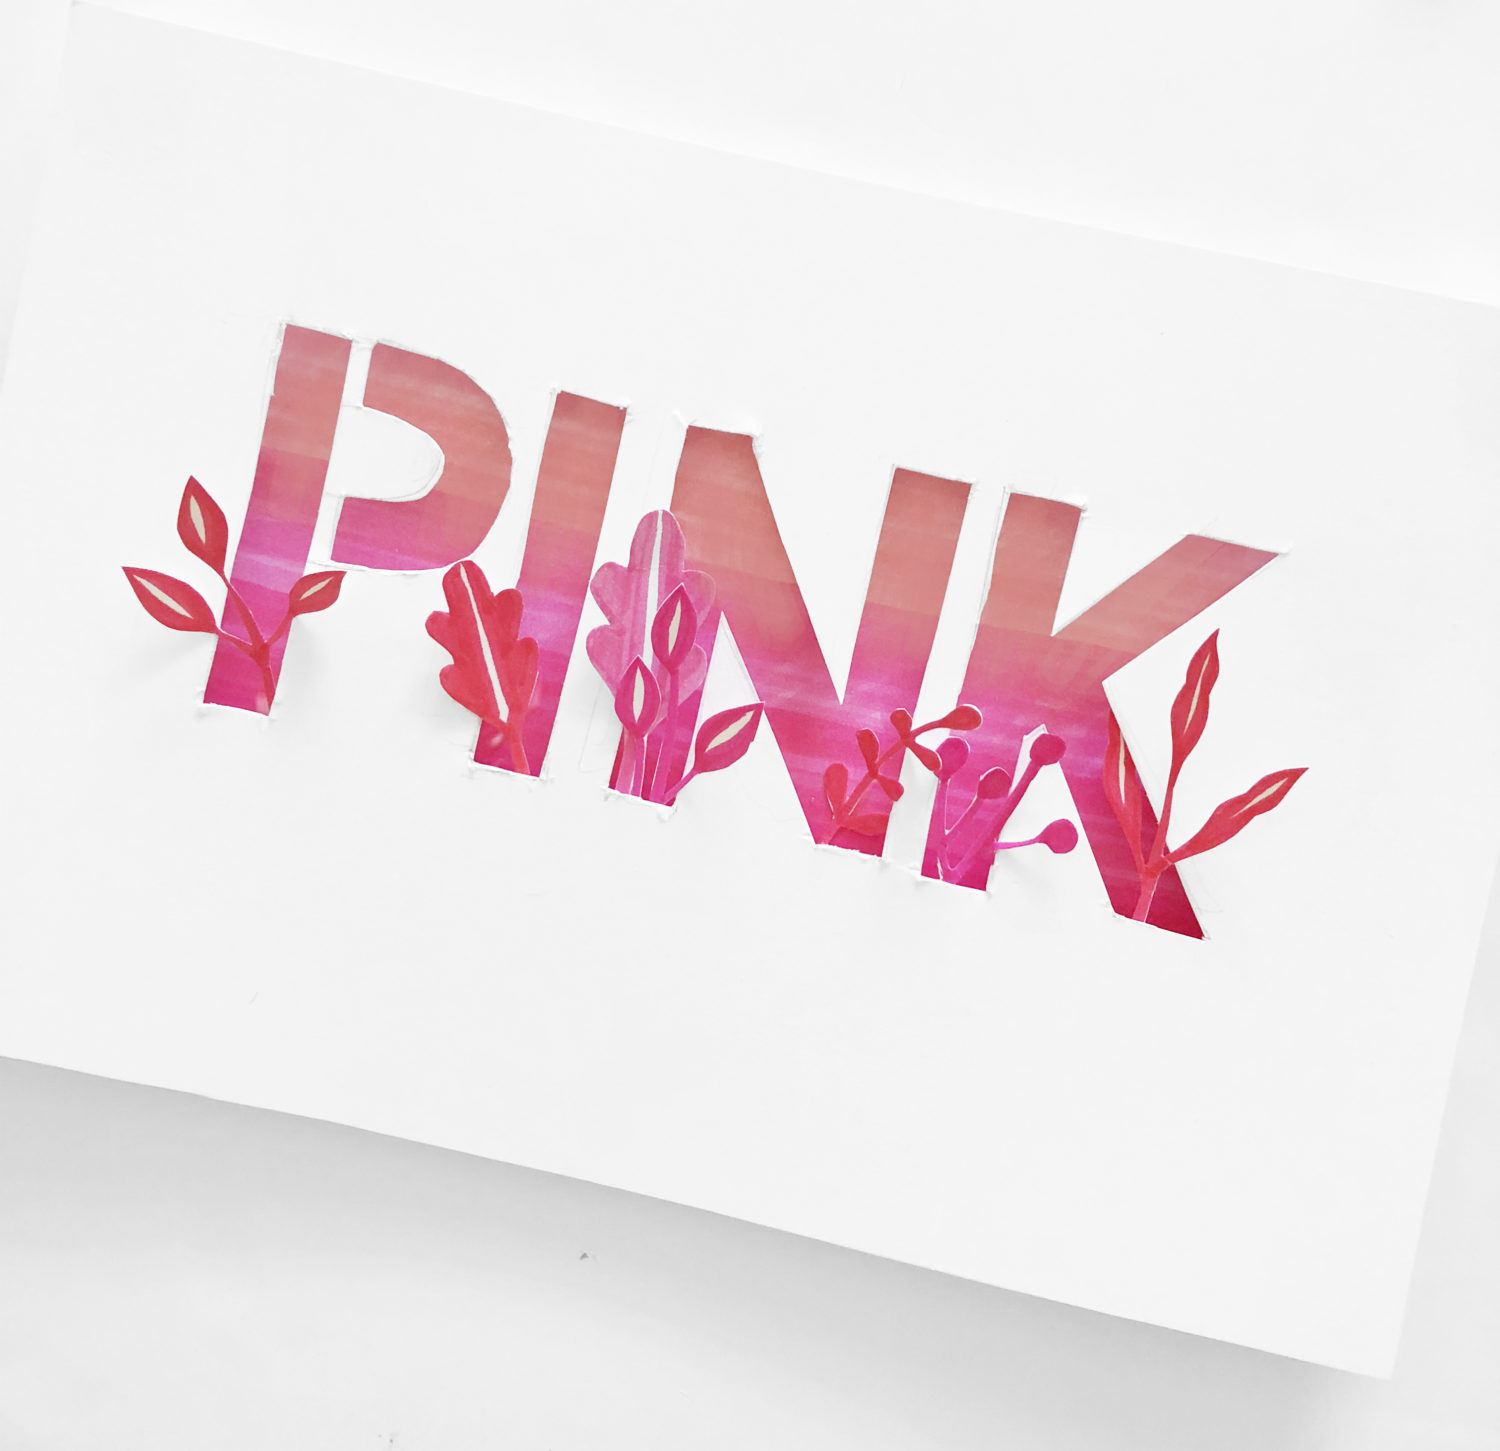
Bonnie this is magical!