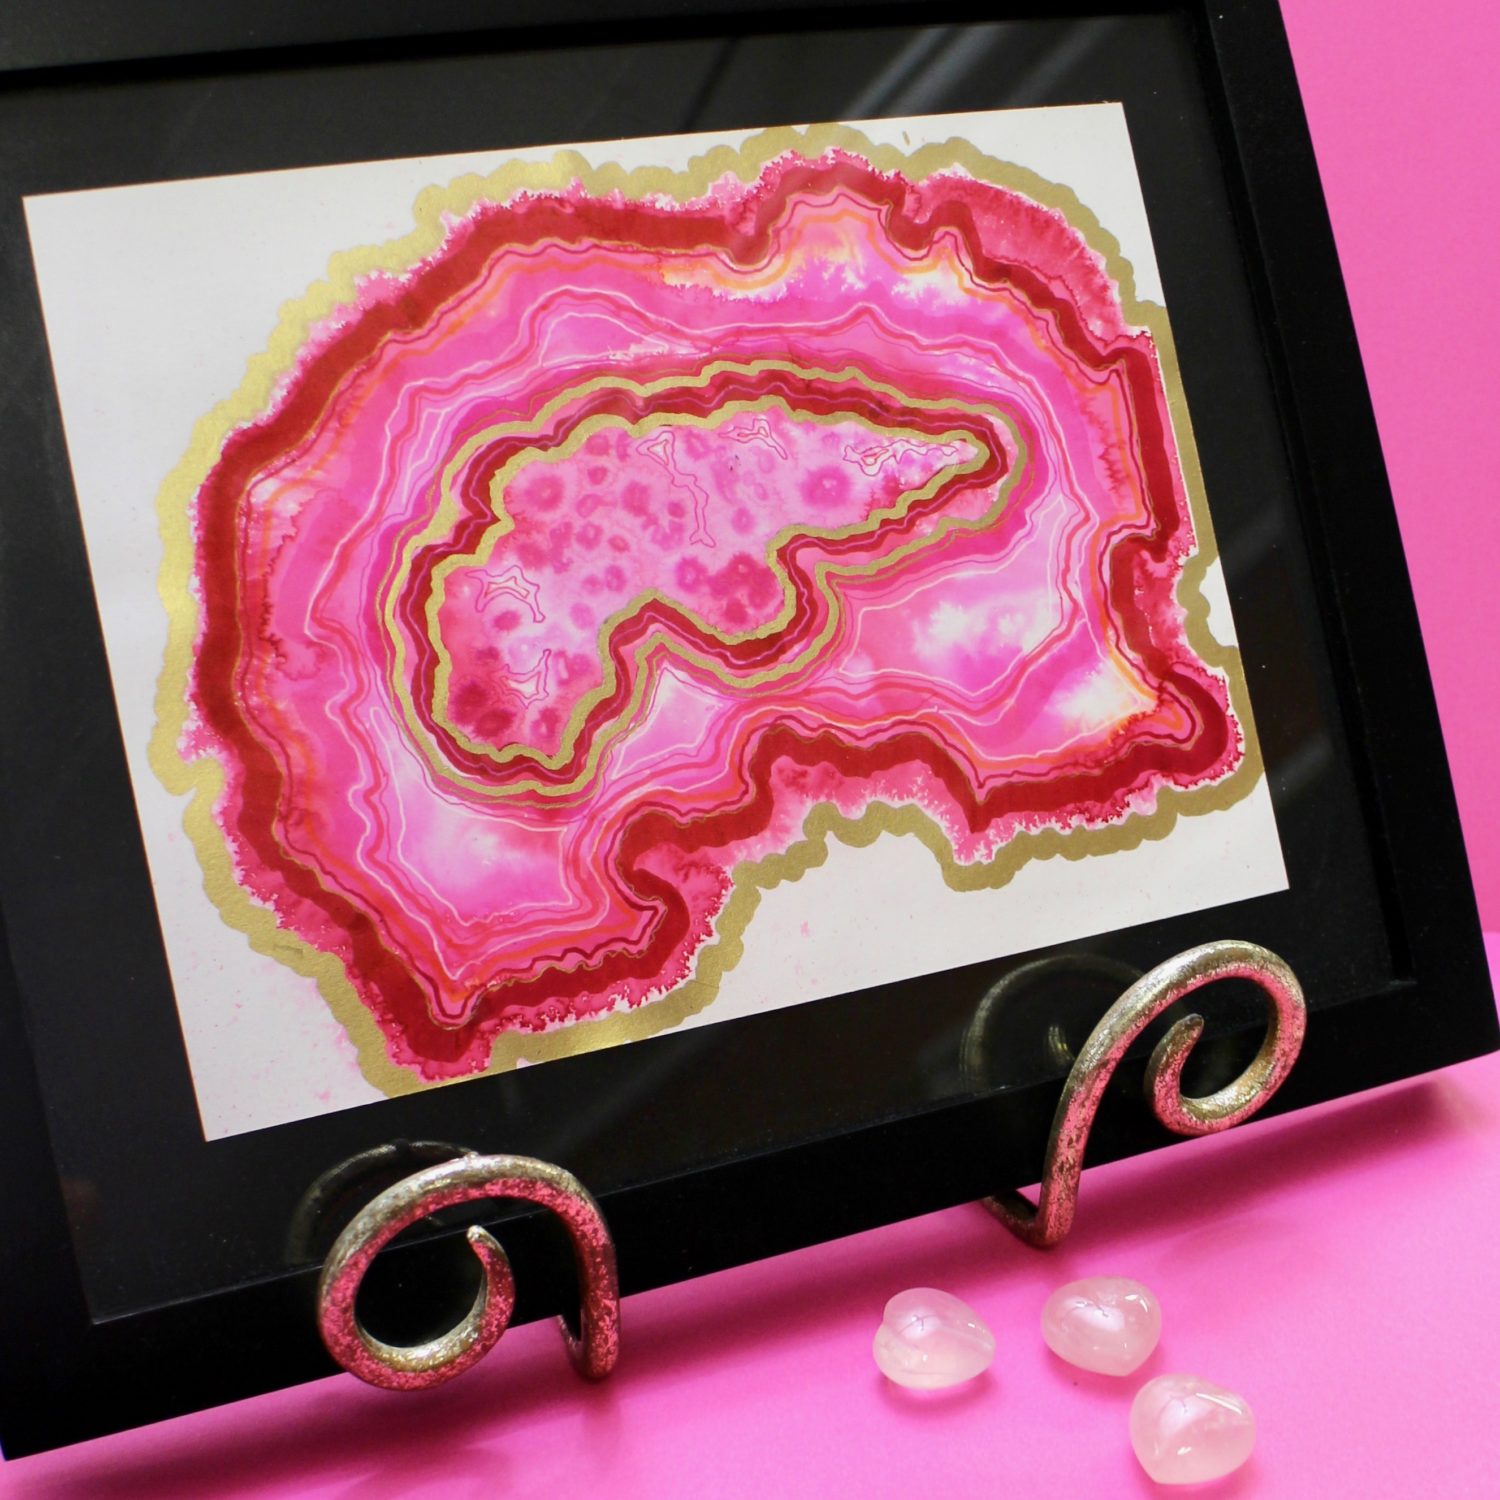
Greetings! Marie Browning from mariebrowning.com, here to show you step-by-step on how to draw a pink agate slice in honor of National Pink Day on June 23rd. This was so much fun, so pretty, so easy…and so PINK! You can frame your finished agate slice or cut it up to make cards. You can also use the technique for creating hand-drawn agate slices of different colors!
Materials
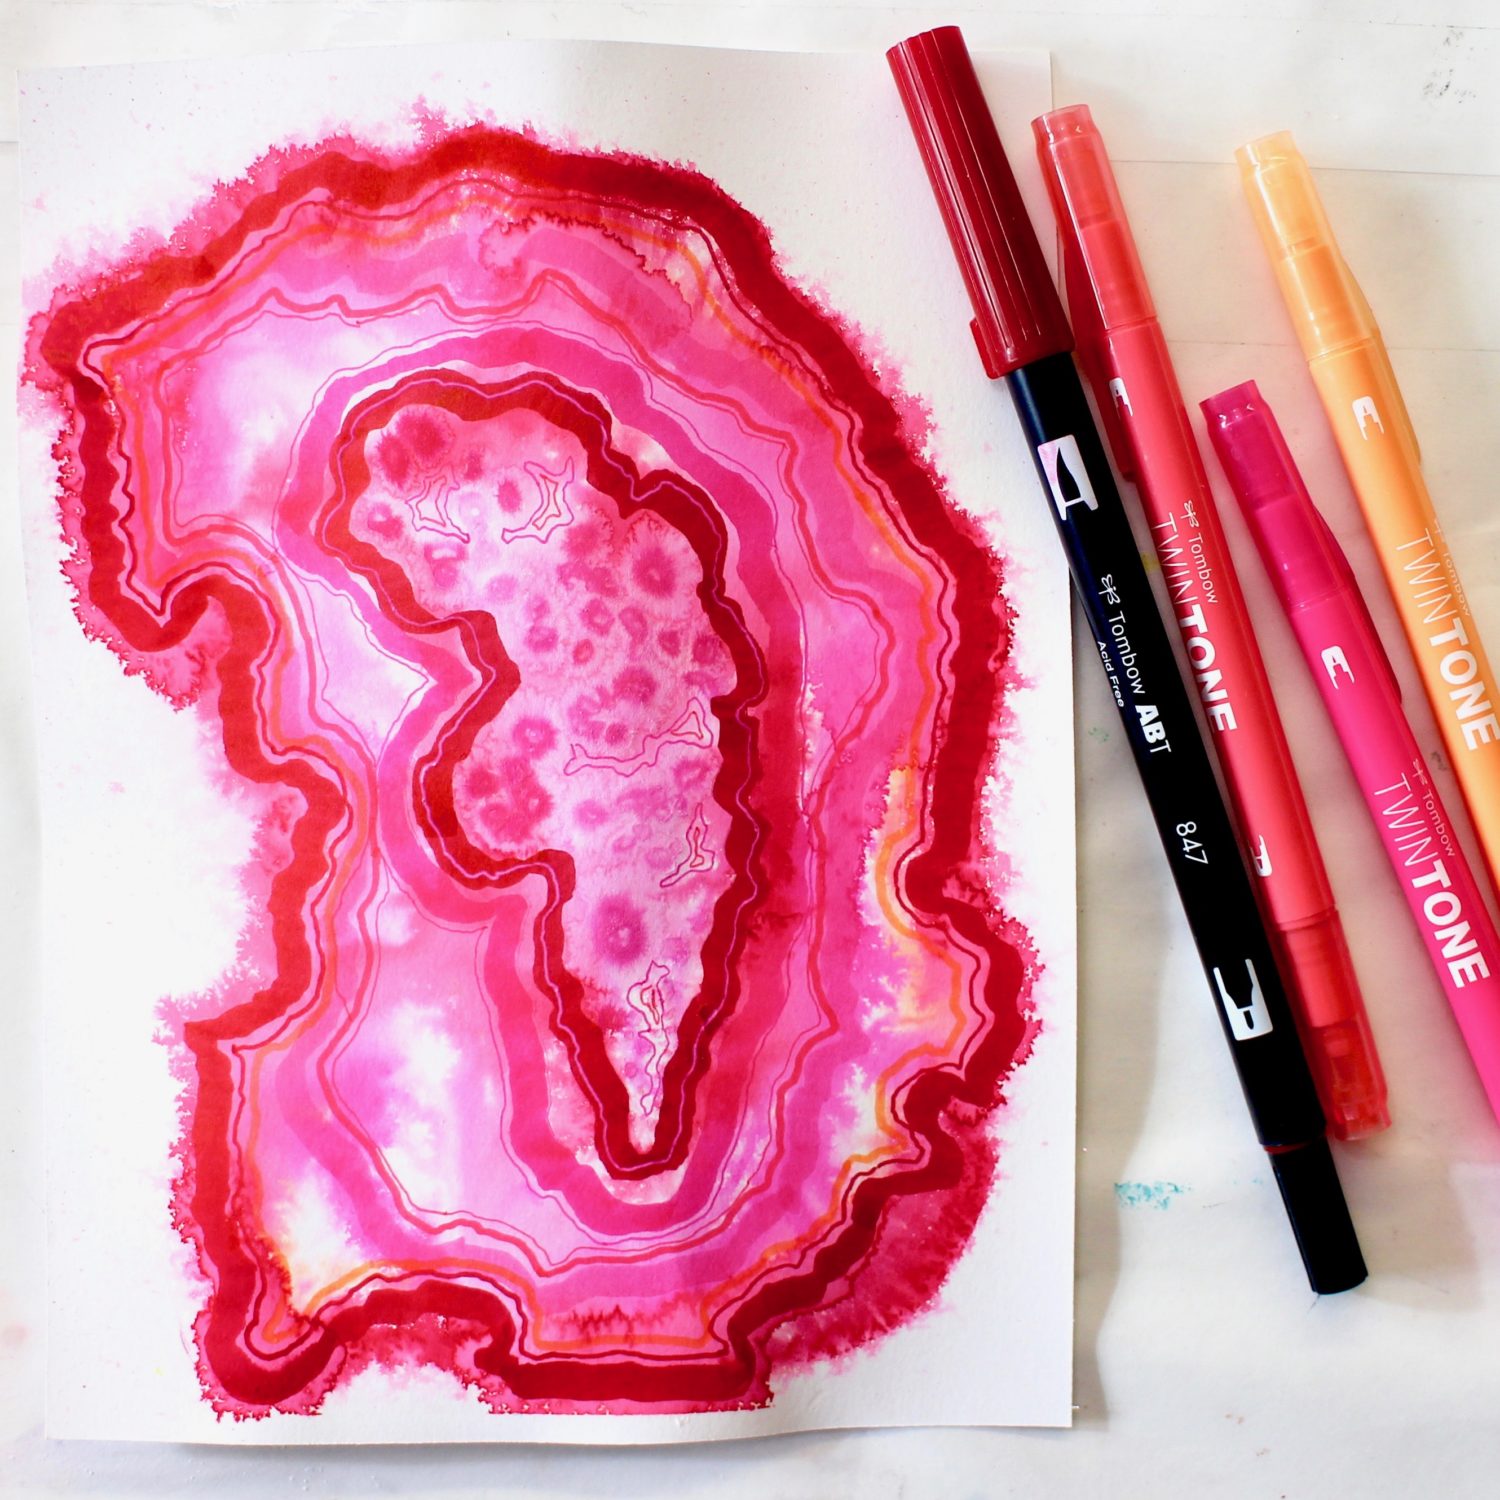
- Dual Brush Pens – 703 Pink Rose, 725 Rhodamine Red, 847 Crimson, and 837 Wine Red
- TwinTones – Pink, coral and peach markers from the pastel set
- Mini Mister from the Blending Kit – filled with water
- MONO Twin Permanent Marker or Fudenosuke Brush Pen
- Tombow Xtreme Adhesive
- Gold paint pen
- White gel pen
Step 1: Draw the Pink Agate Slice
Paper used was the Strathmore 400 Series Mixed Media Paper, 6″ x 8″ pad.
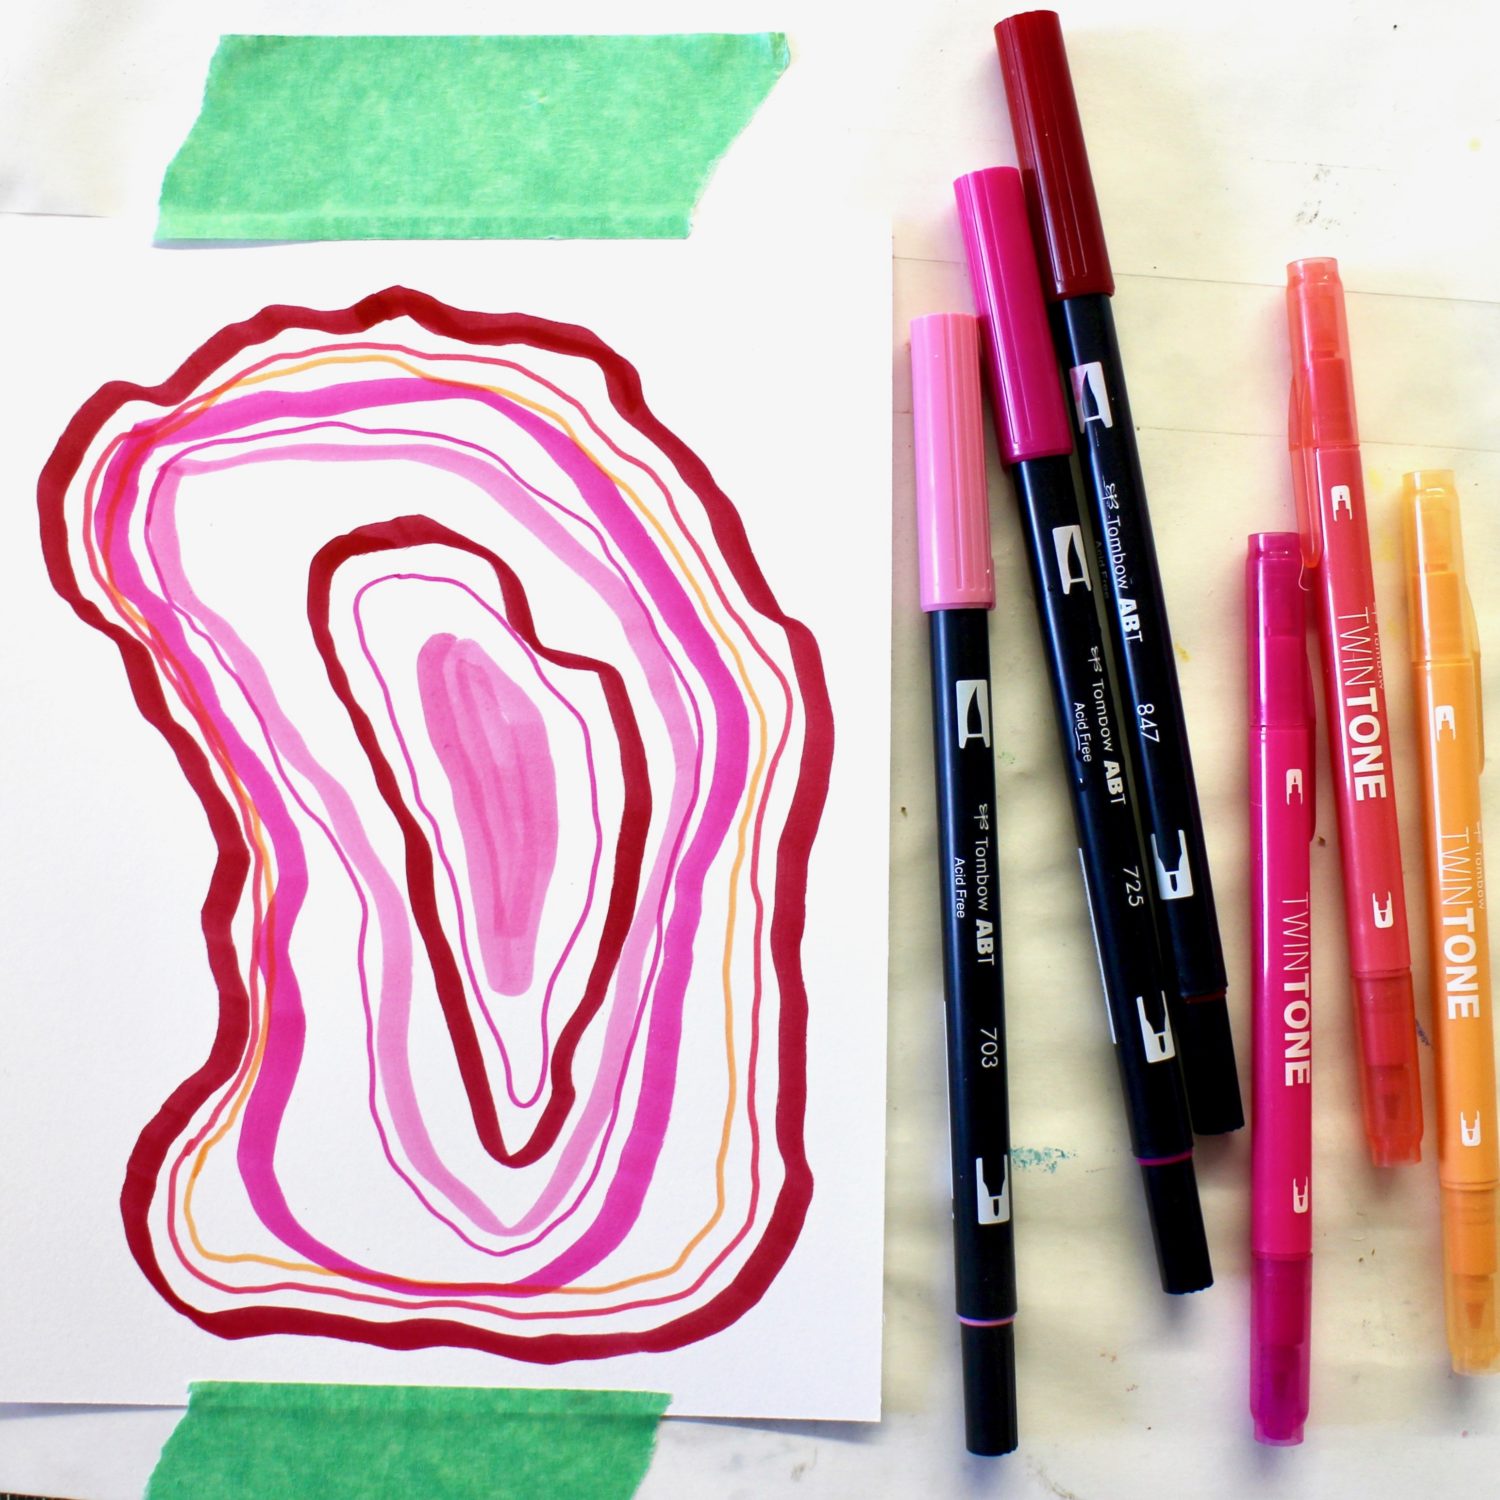
Using the brush tip of the 703, 725 and 847 Dual Brush Pens, and starting from the outside of the shape, draw the agate. Keep it interesting by drawing an irregular shape.
Use the large tip of the TwinTone Markers to create thinner shapes.
Step 2: Spritz with Water
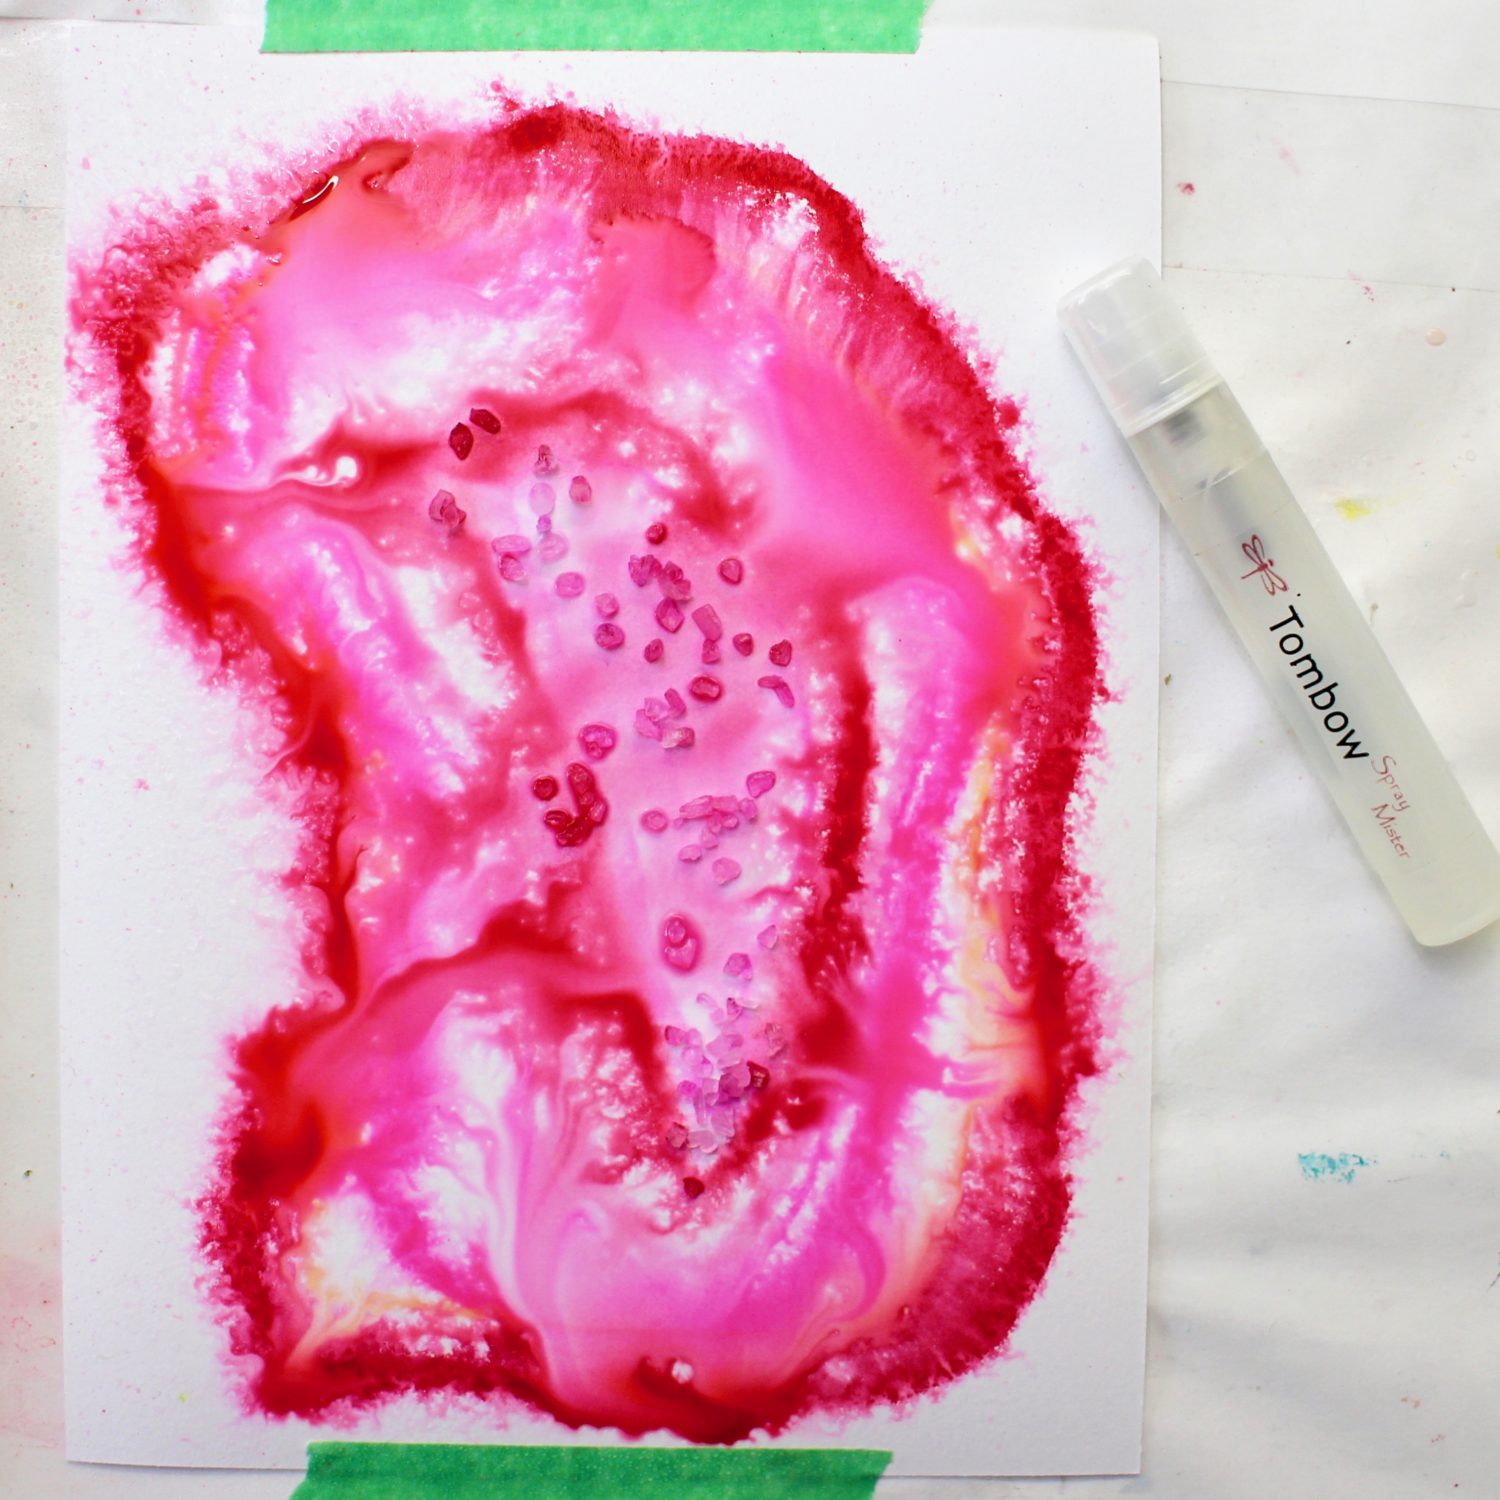
Tape the paper down to your work surface to prevent it from curling.
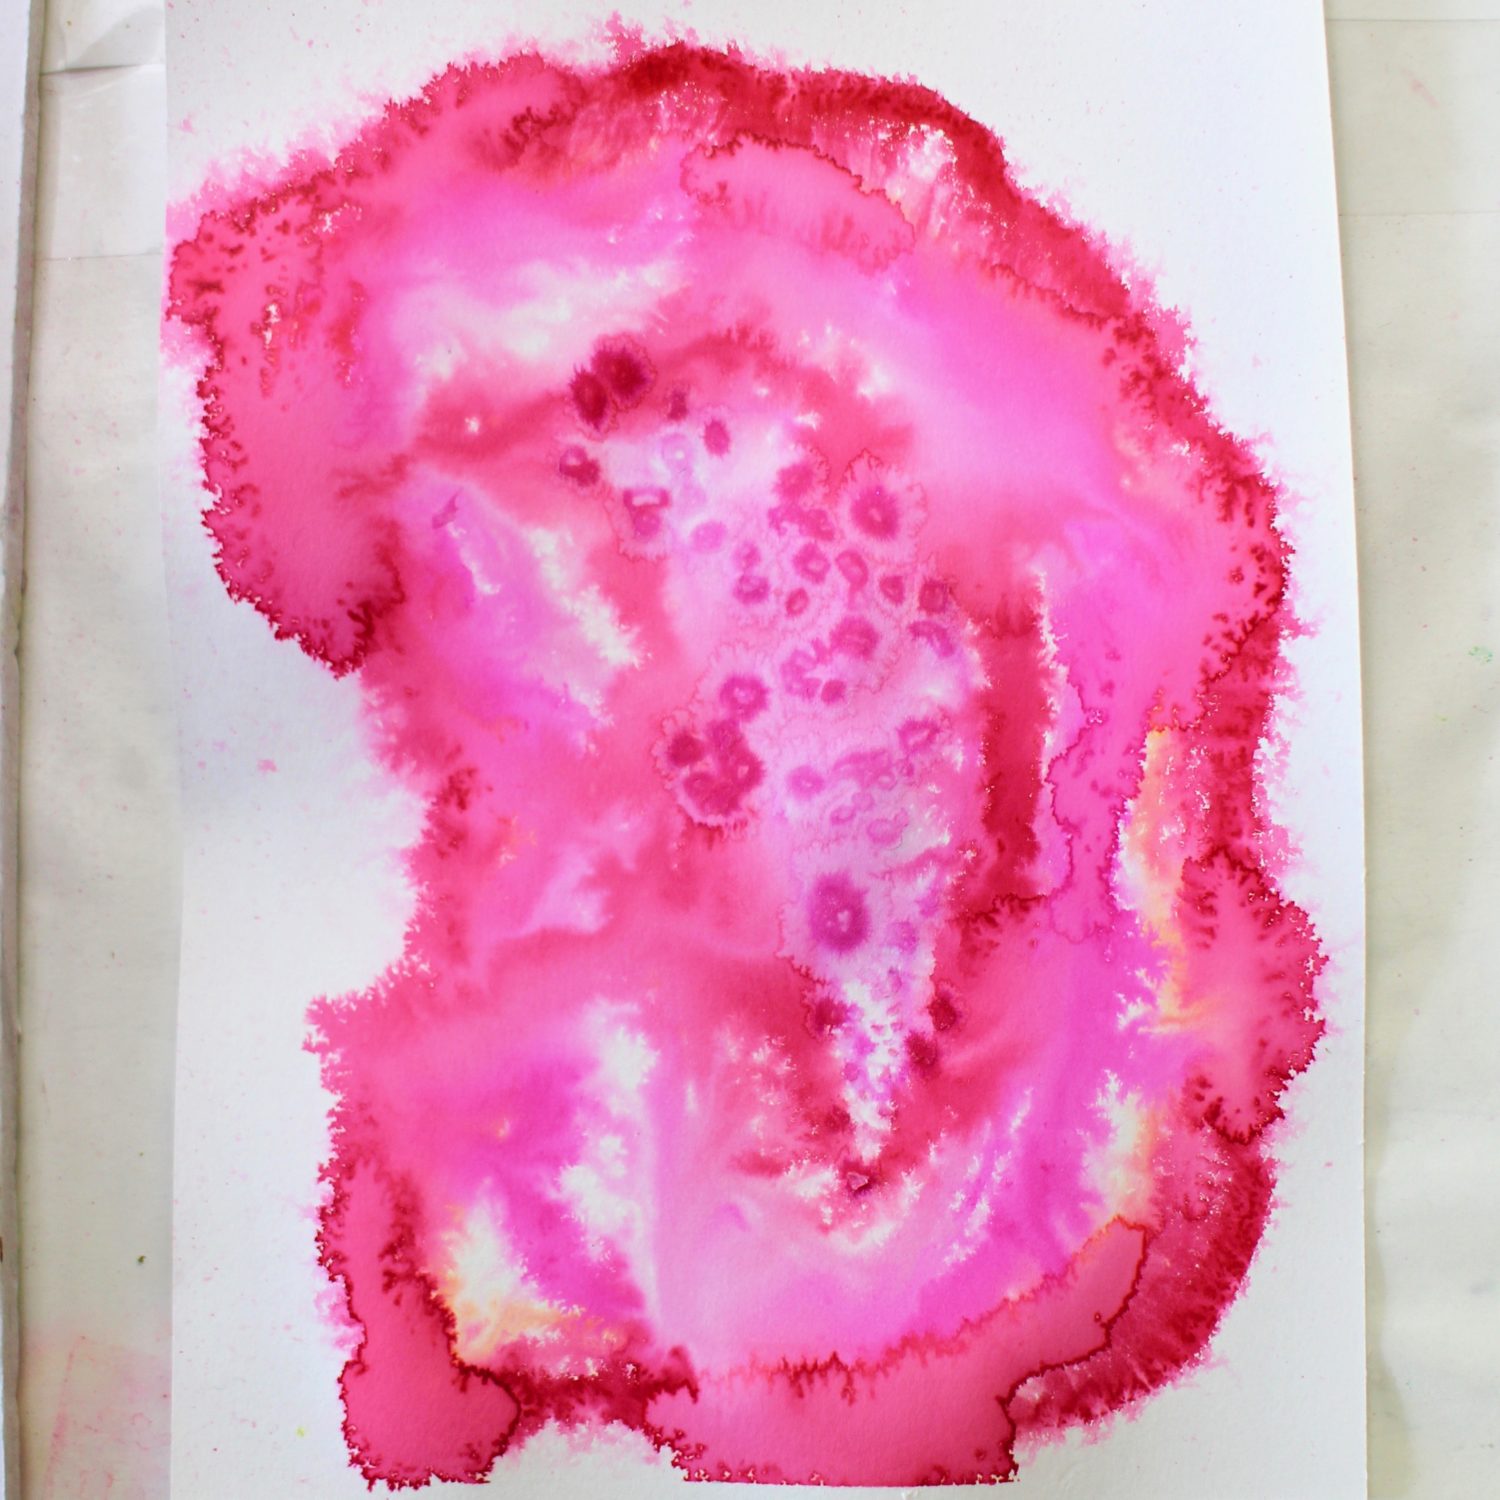
Spritz with water using the Mini Mister. Sprinkle salt in the middle of the image. Don’t worry about how it looks, the dried image will be very different as you can see with the two images. Let dry completely before brushing off the salt and proceeding to the next step.
Step 3: Draw in the Details
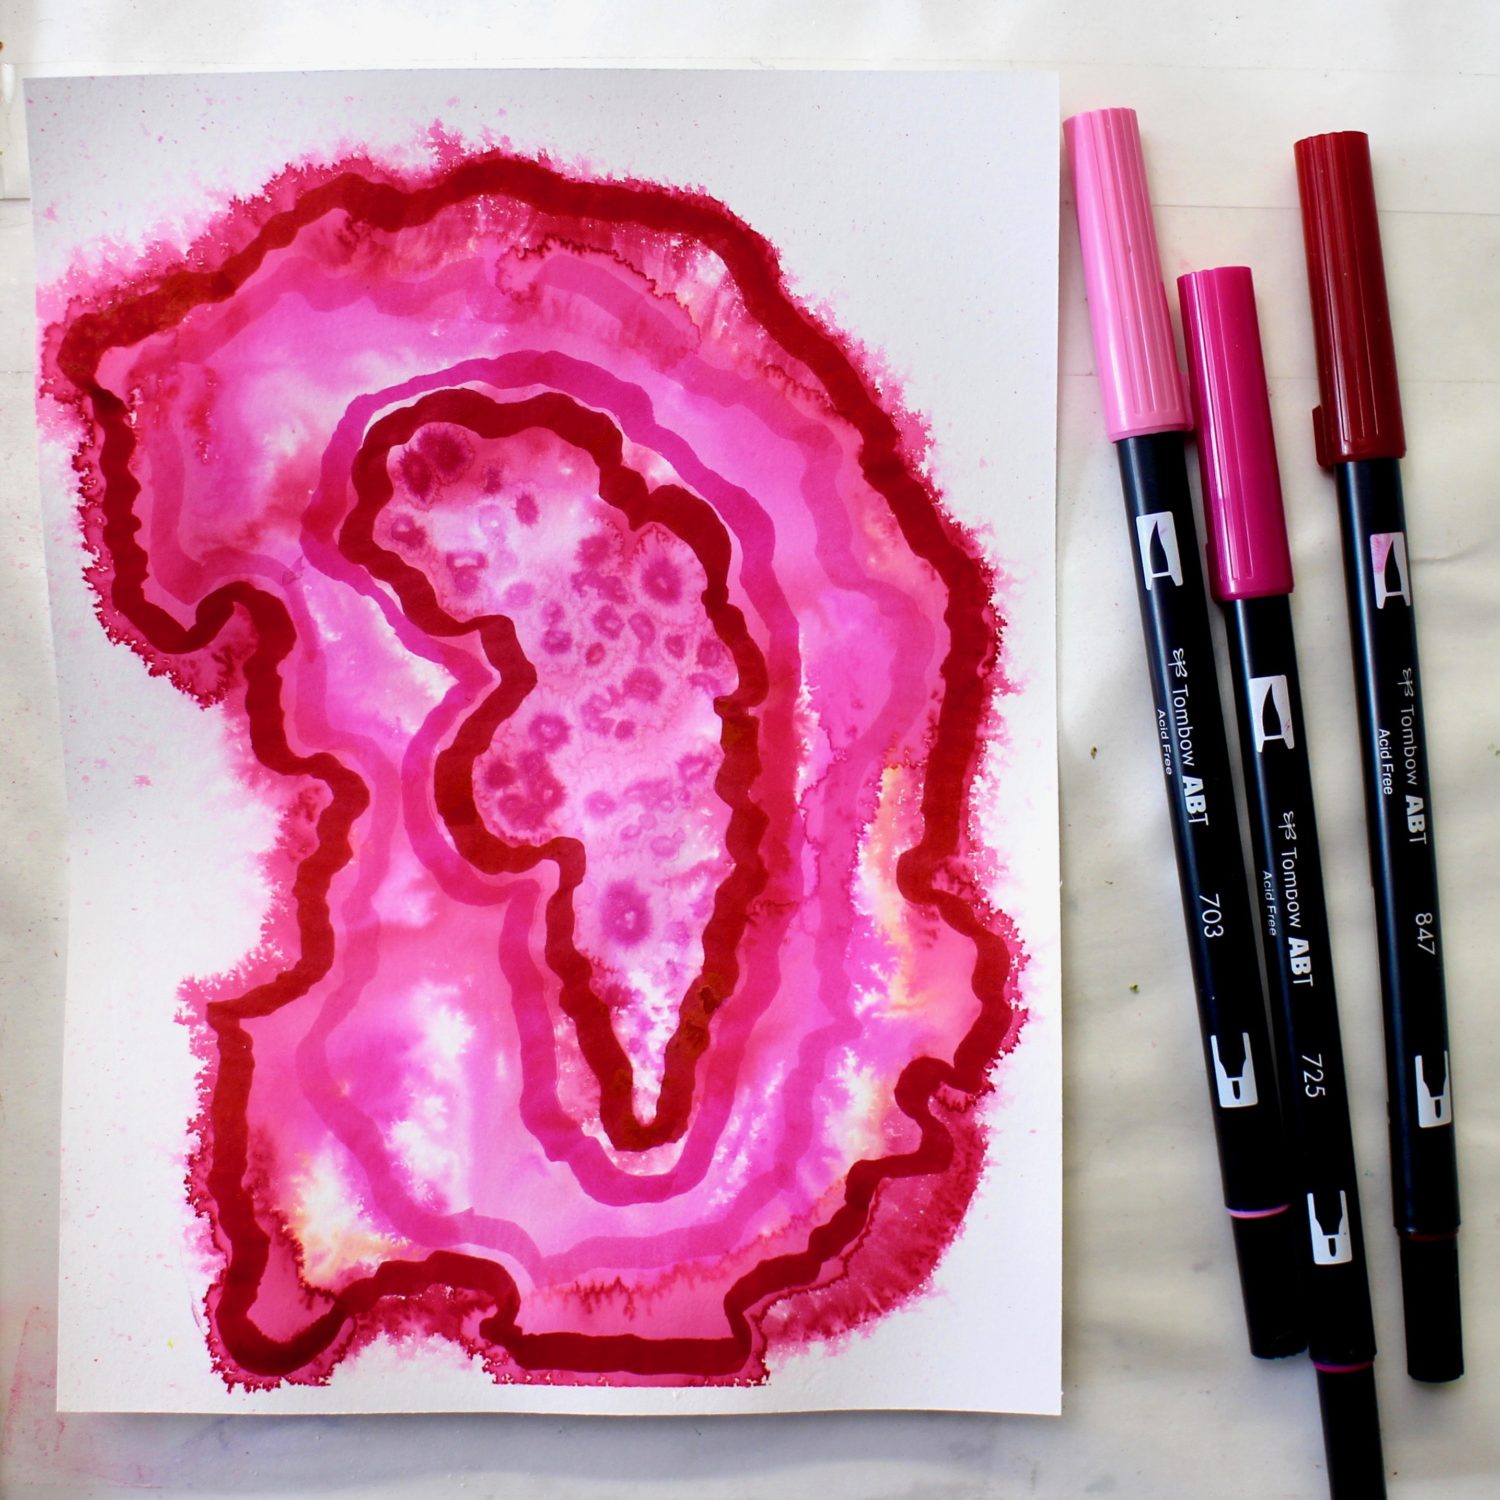
Using the brush tip of the Dual Brush Pens, draw in the agate bands following the splashed marks. Push the tip down firmly to create wide bands. The tip will always bounce back to the original shape; you can’t hurt it!
Step 4: Continue Drawing in Details
Use the bullet tip of the 847 Dual Brush Pen and both tips of the TwinTone Markers to trace around the splash shapes and the wider bands of the pink agate slice to add more interest with the agate-like bands.
Step 5: Add Pink Agate Slice Detail
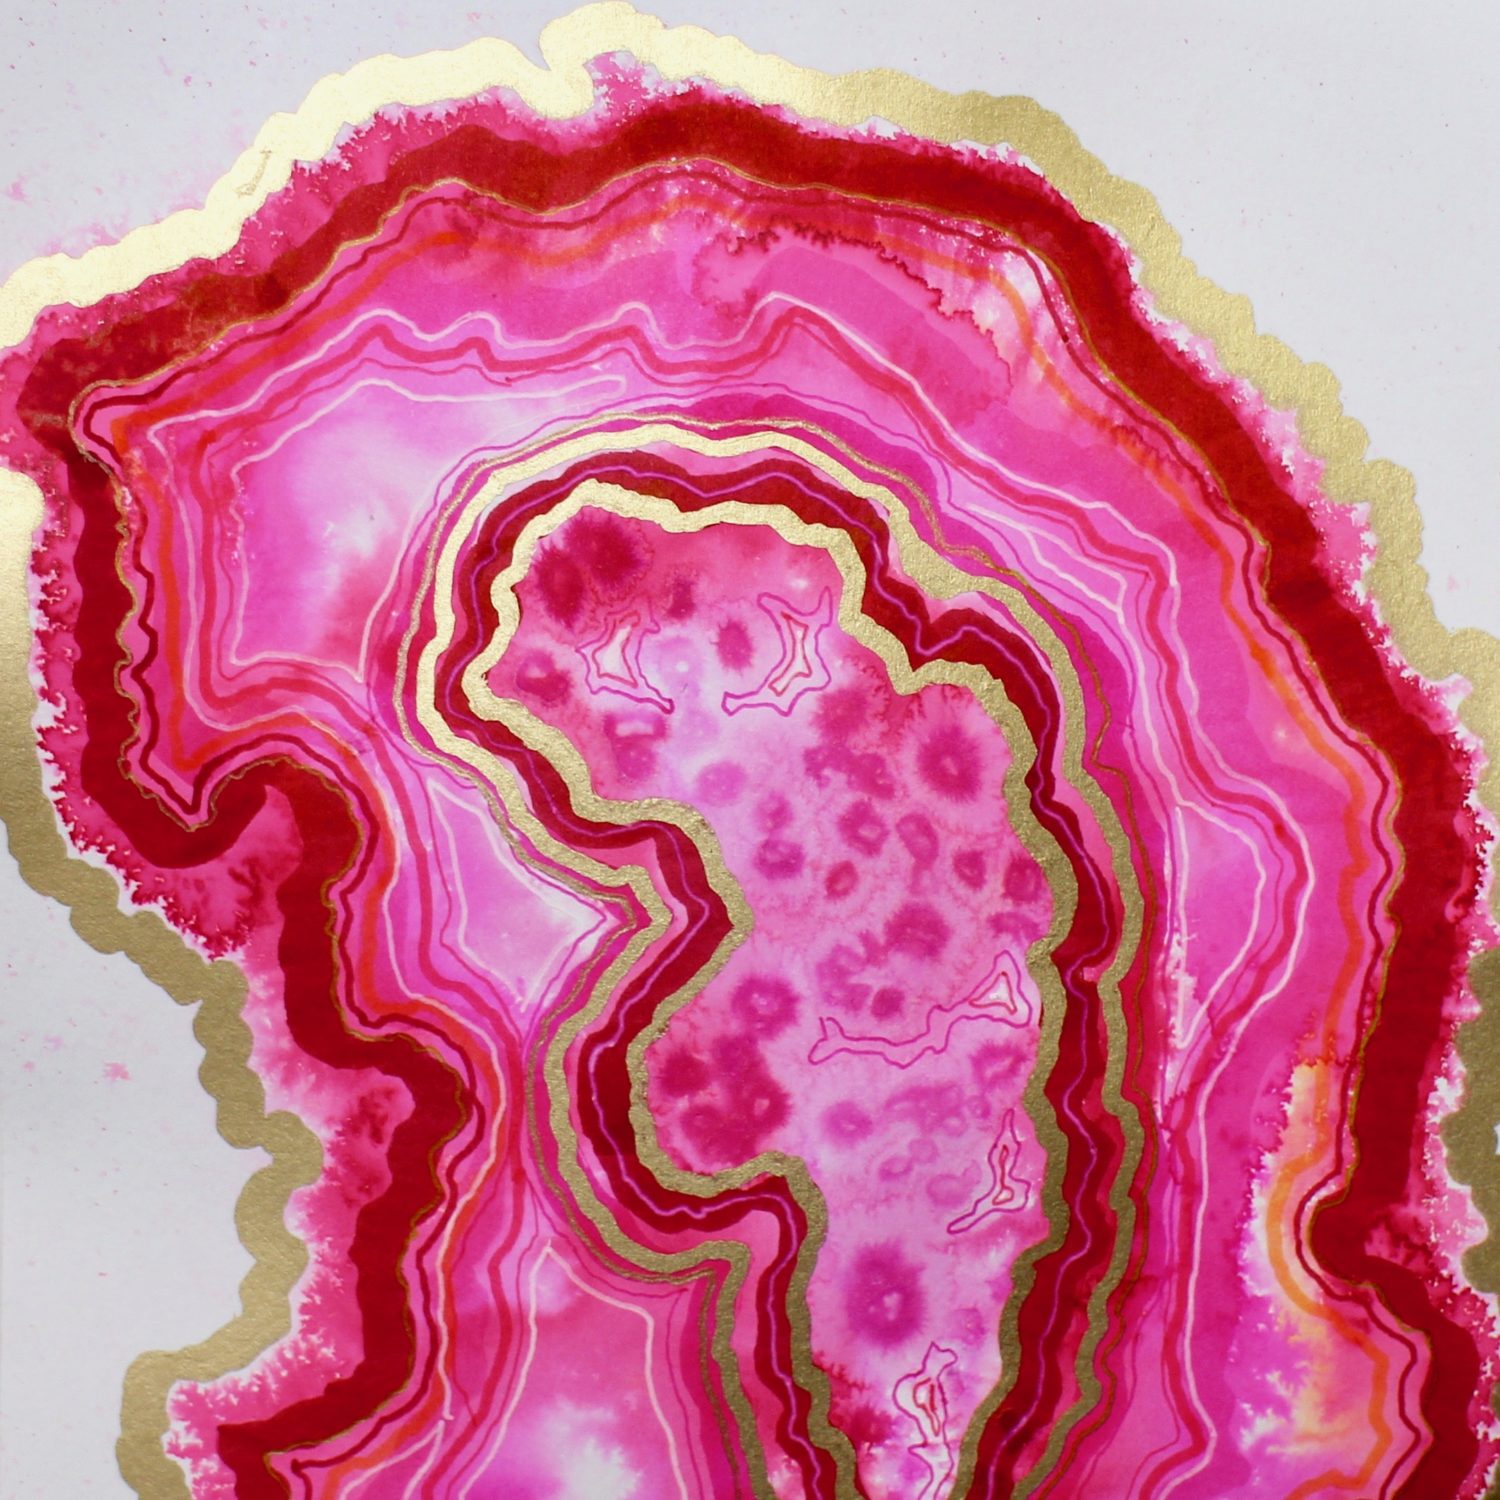
Here a wide gold paint pen was used to add agate bands around the edge and inside of the agate. You can also add thinner gold lines and white lines with gel pens for further drama.
Step 6: Frame or Make Cards
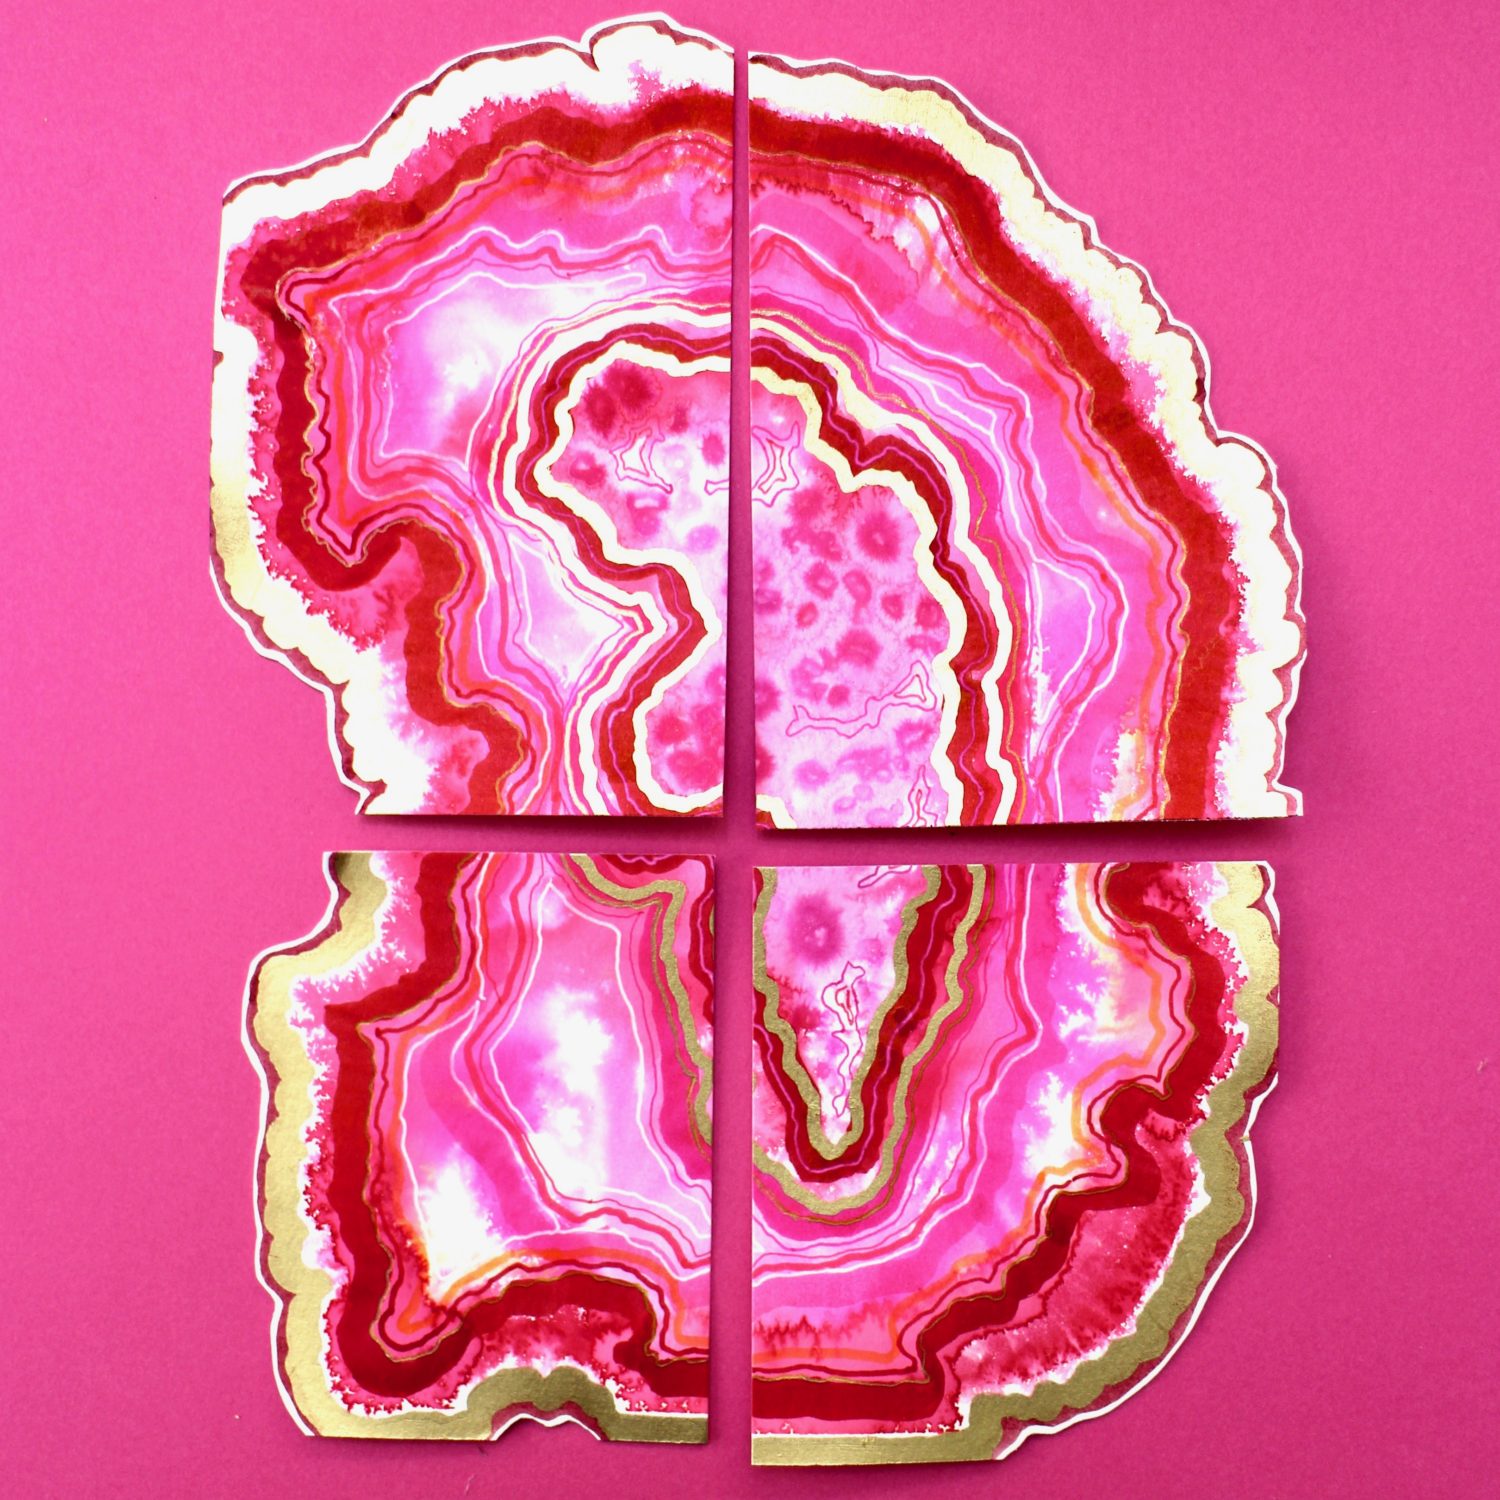
At this time you can simply frame your gorgeous piece of art, or cut the slice up to make cards.
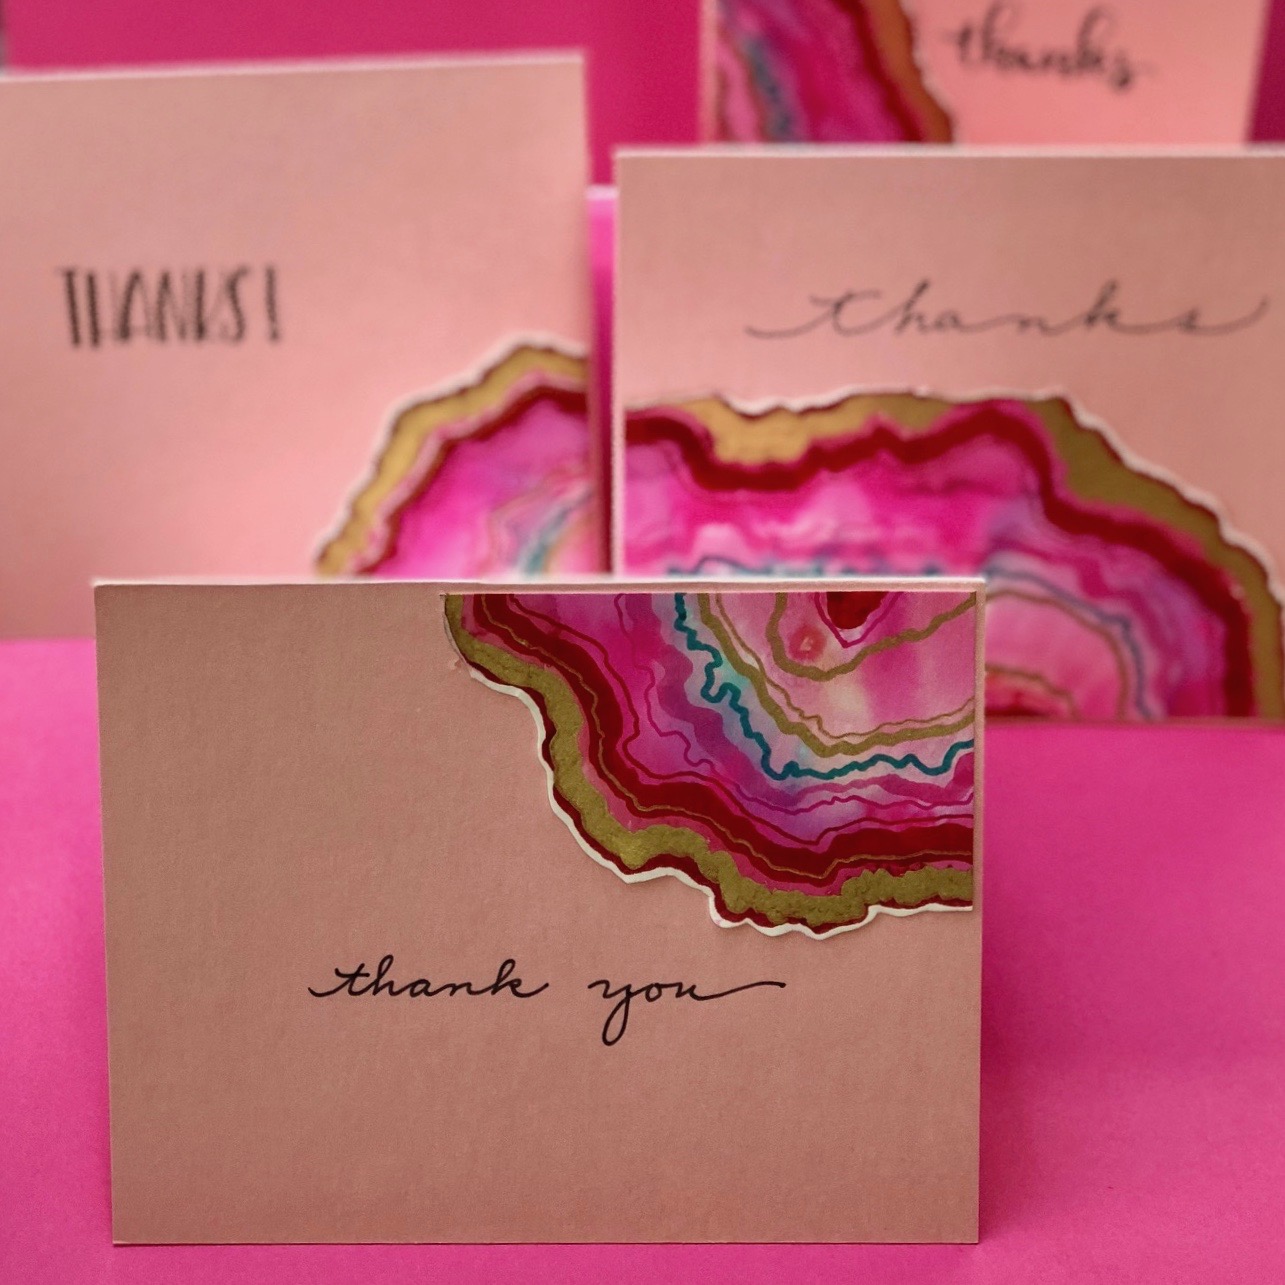
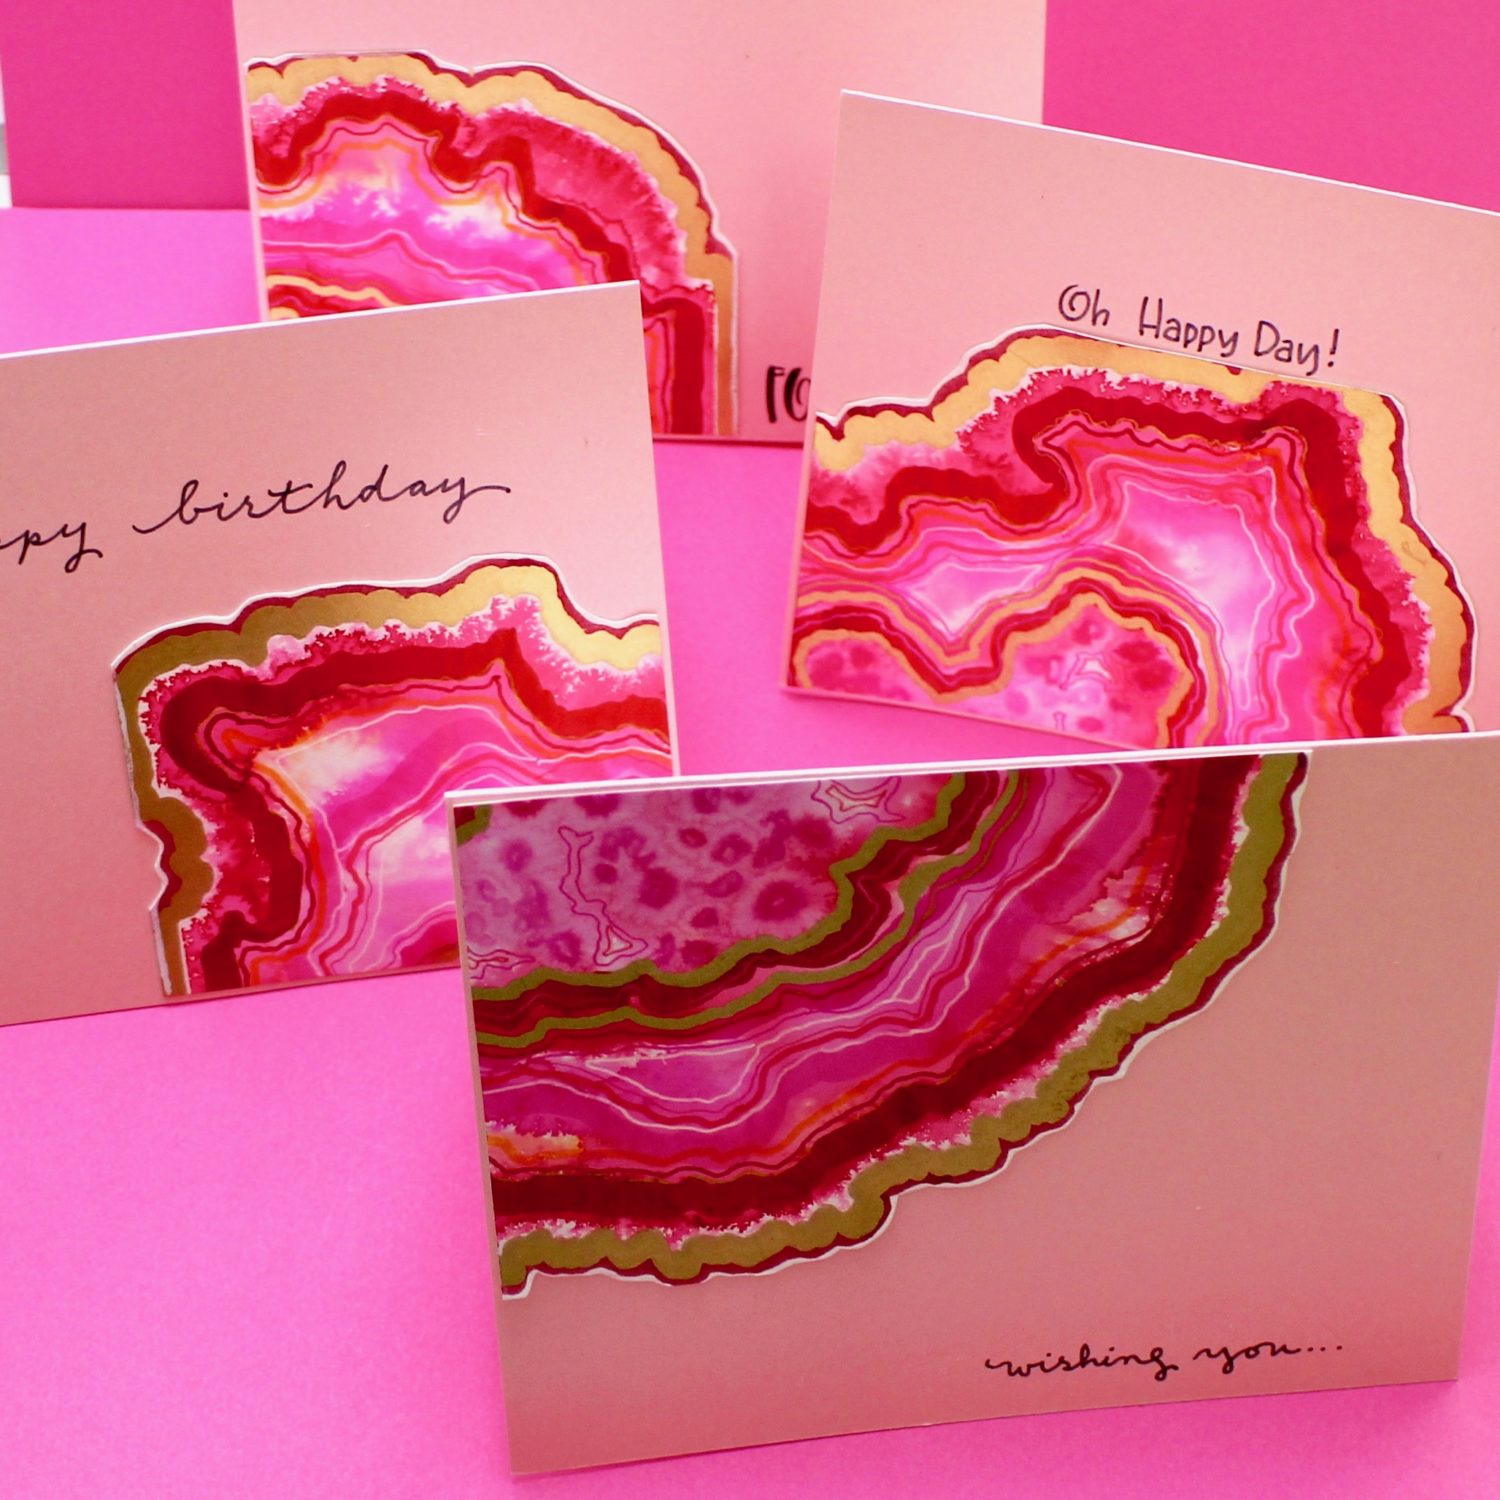
To make the cards, cut the pink agate slice into quarters using straight lines. You can quickly make a bundle of cards as one agate slice makes four cards! Trim the edge of the agate pieces leaving a slight white edge. At this time, I used the 837 Dual Brush Pen to edge the agate slice on the paper edges. Adhere the cut piece of the agates into the corner or edges of a pink card blank using Tombow Xtreme Adhesive. Use the MONO Twin Marker or Fudenosuke Brush Pen to add sentiments to the card front.
Pink, a delicate color that means sweet, nice, playful, cute, romantic, charming, feminine, and tenderness! The color pink is the color of universal love of oneself and of others. Hope you enjoyed the Pink Agate Slices! Show me yours using other colors from the 96 Dual Brush Pen Colors.
Marie this looks phenomenal!
Very neat technique! Thanks for sharing. Going to play now.:)