Hi everybody! This is Amy from Ampersyme. Since wedding season is upon us, I thought it would be fun to create a simple and elegant congratulations card in four easy steps.
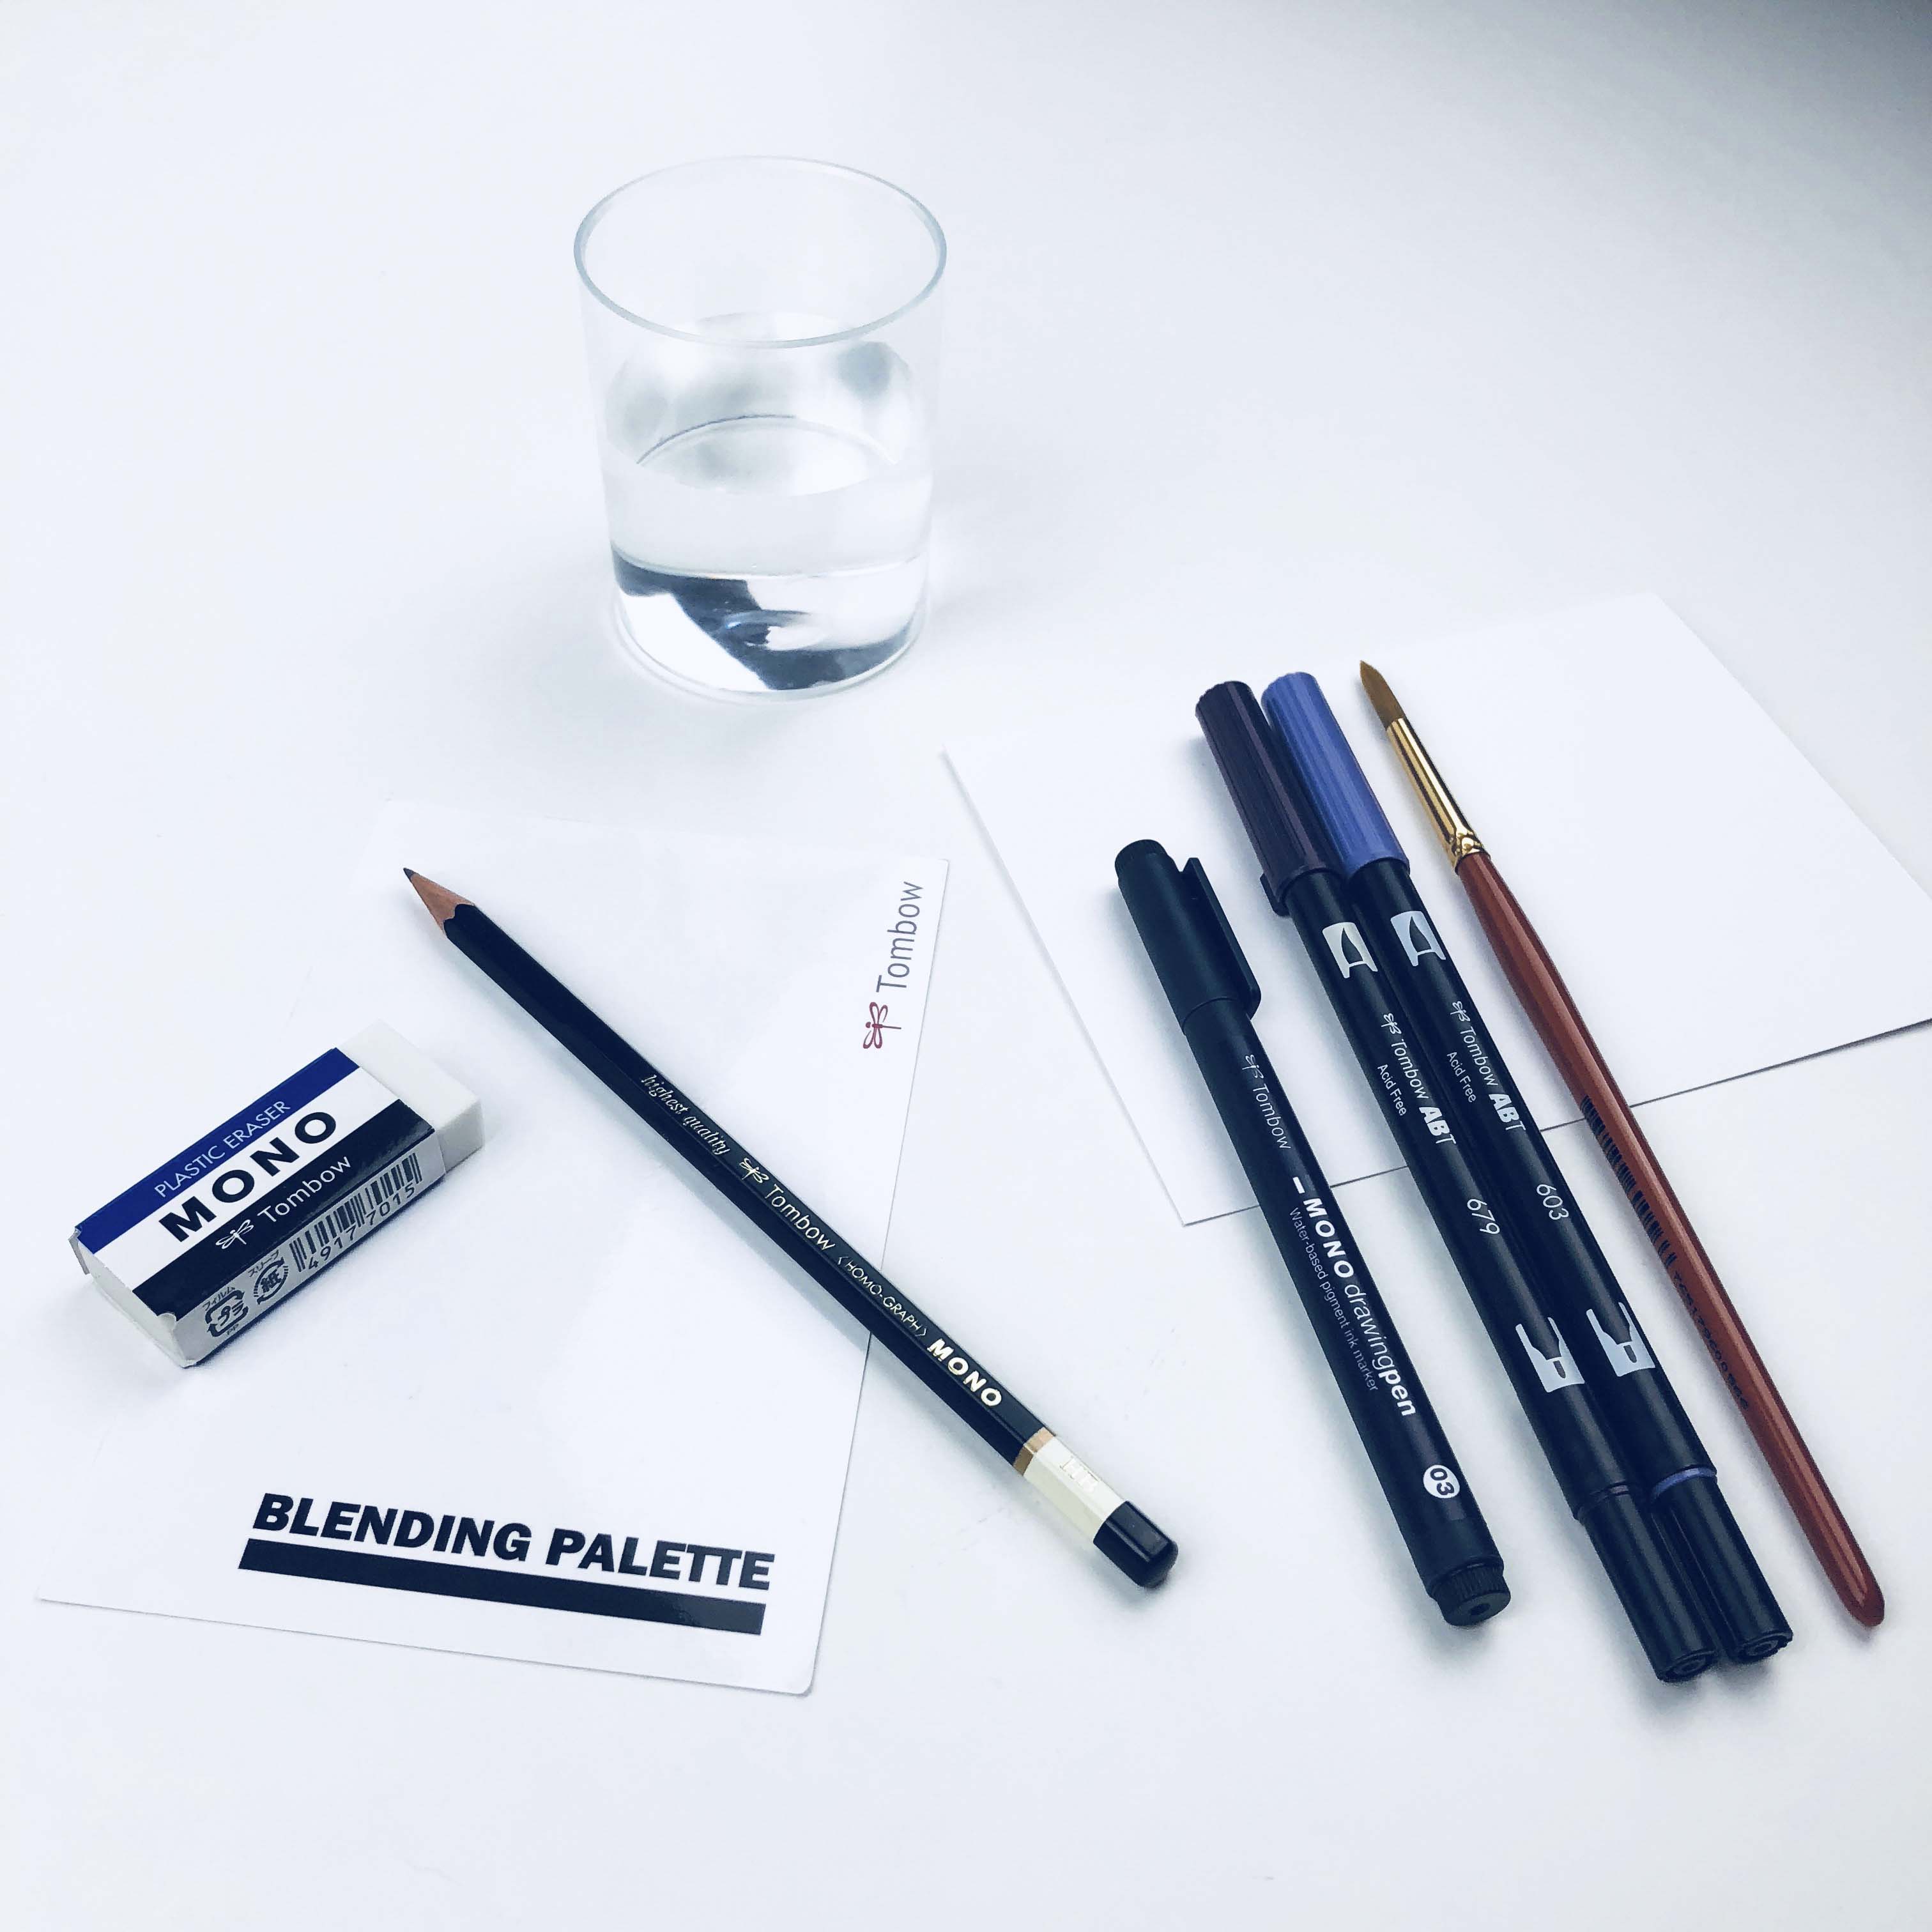
Supplies:
- Mixed Media or Watercolor Paper
- Small cup of water
- Paper towels
- Paintbrush in round size 6, 8, or 10
- Scissors
- Ruler
- Tombow Blending Palette
- Tombow Dual Brush Pens (I used colors 679 and 603)
- Tombow MONO Drawing Pen (any size)
- Tombow MONO Drawing Pencil in H or HB
- Tombow MONO Plastic Eraser
STEP ONE:
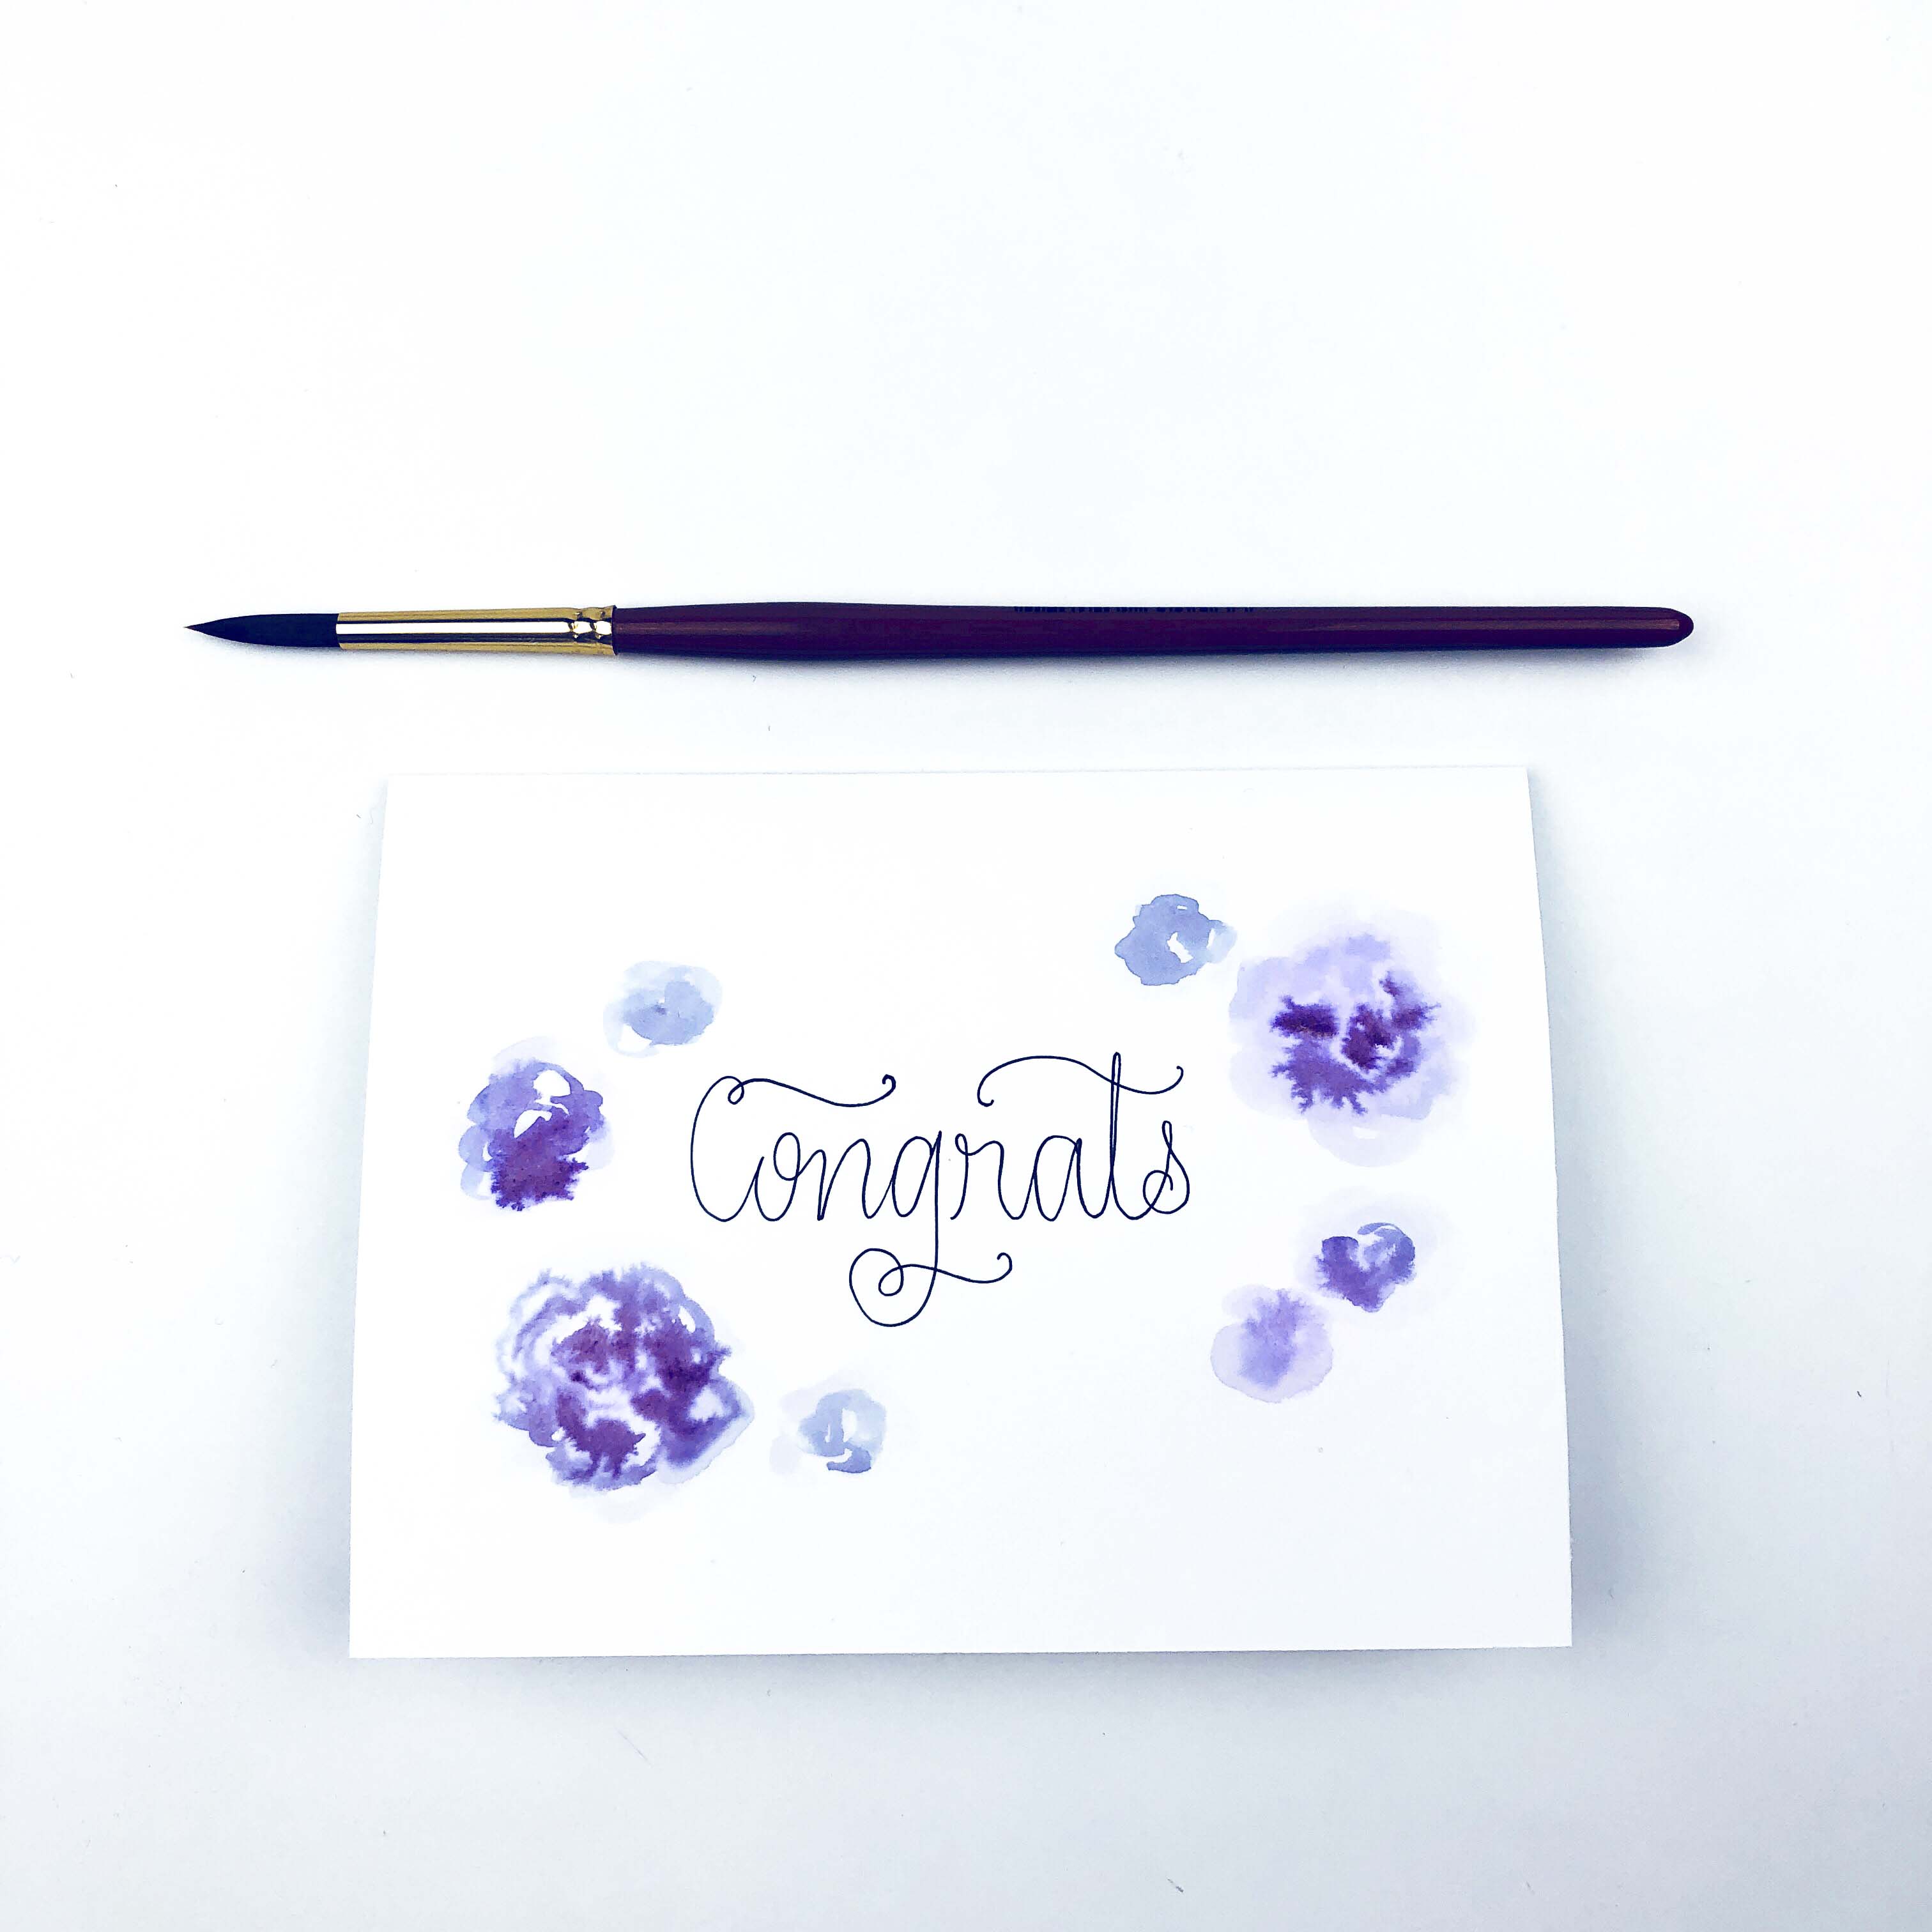
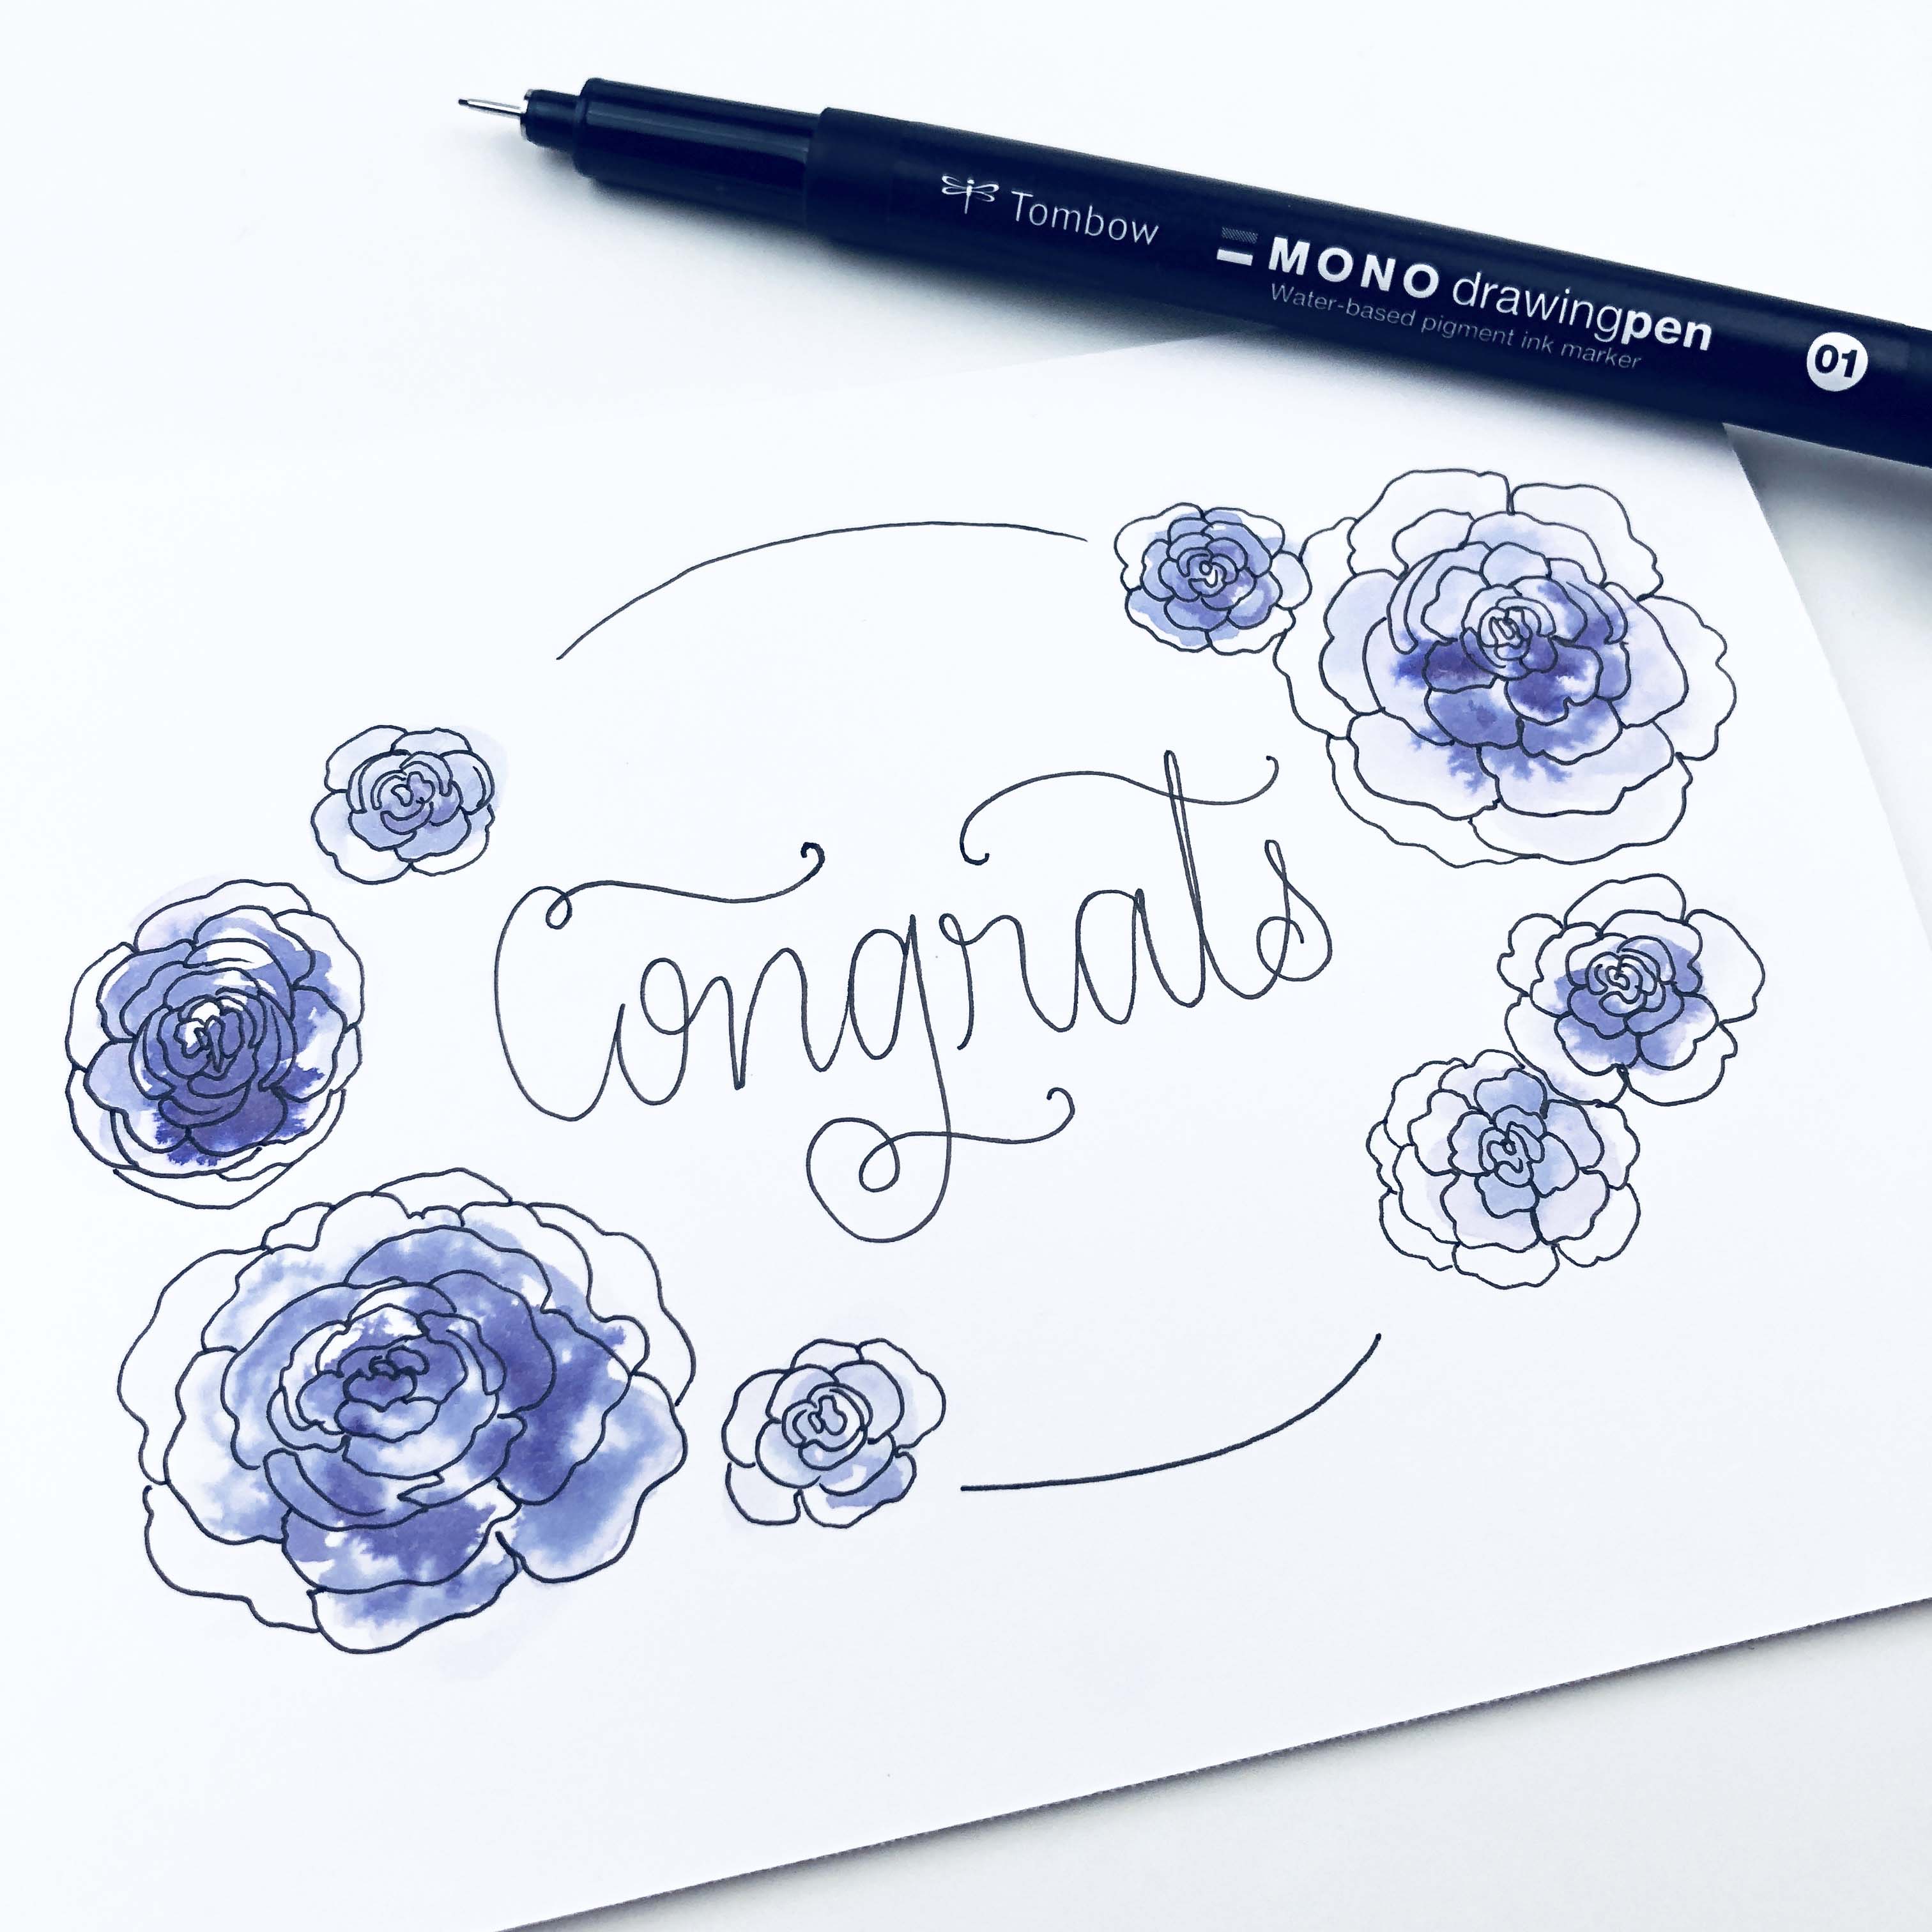
Write “Congrats!” To make sure your letters stay centered on the front of the card, use the MONO Drawing Pencil in H or HB to very lightly sketch a guide ine for your lettering to sit on. Next, use the MONO Drawing Pen in whichever size you prefer (I used the 01 here) to letter the word “Congrats.” Once your lettering is complete, use the MONO Eraser to remove your pencil guideline.

STEP TWO:
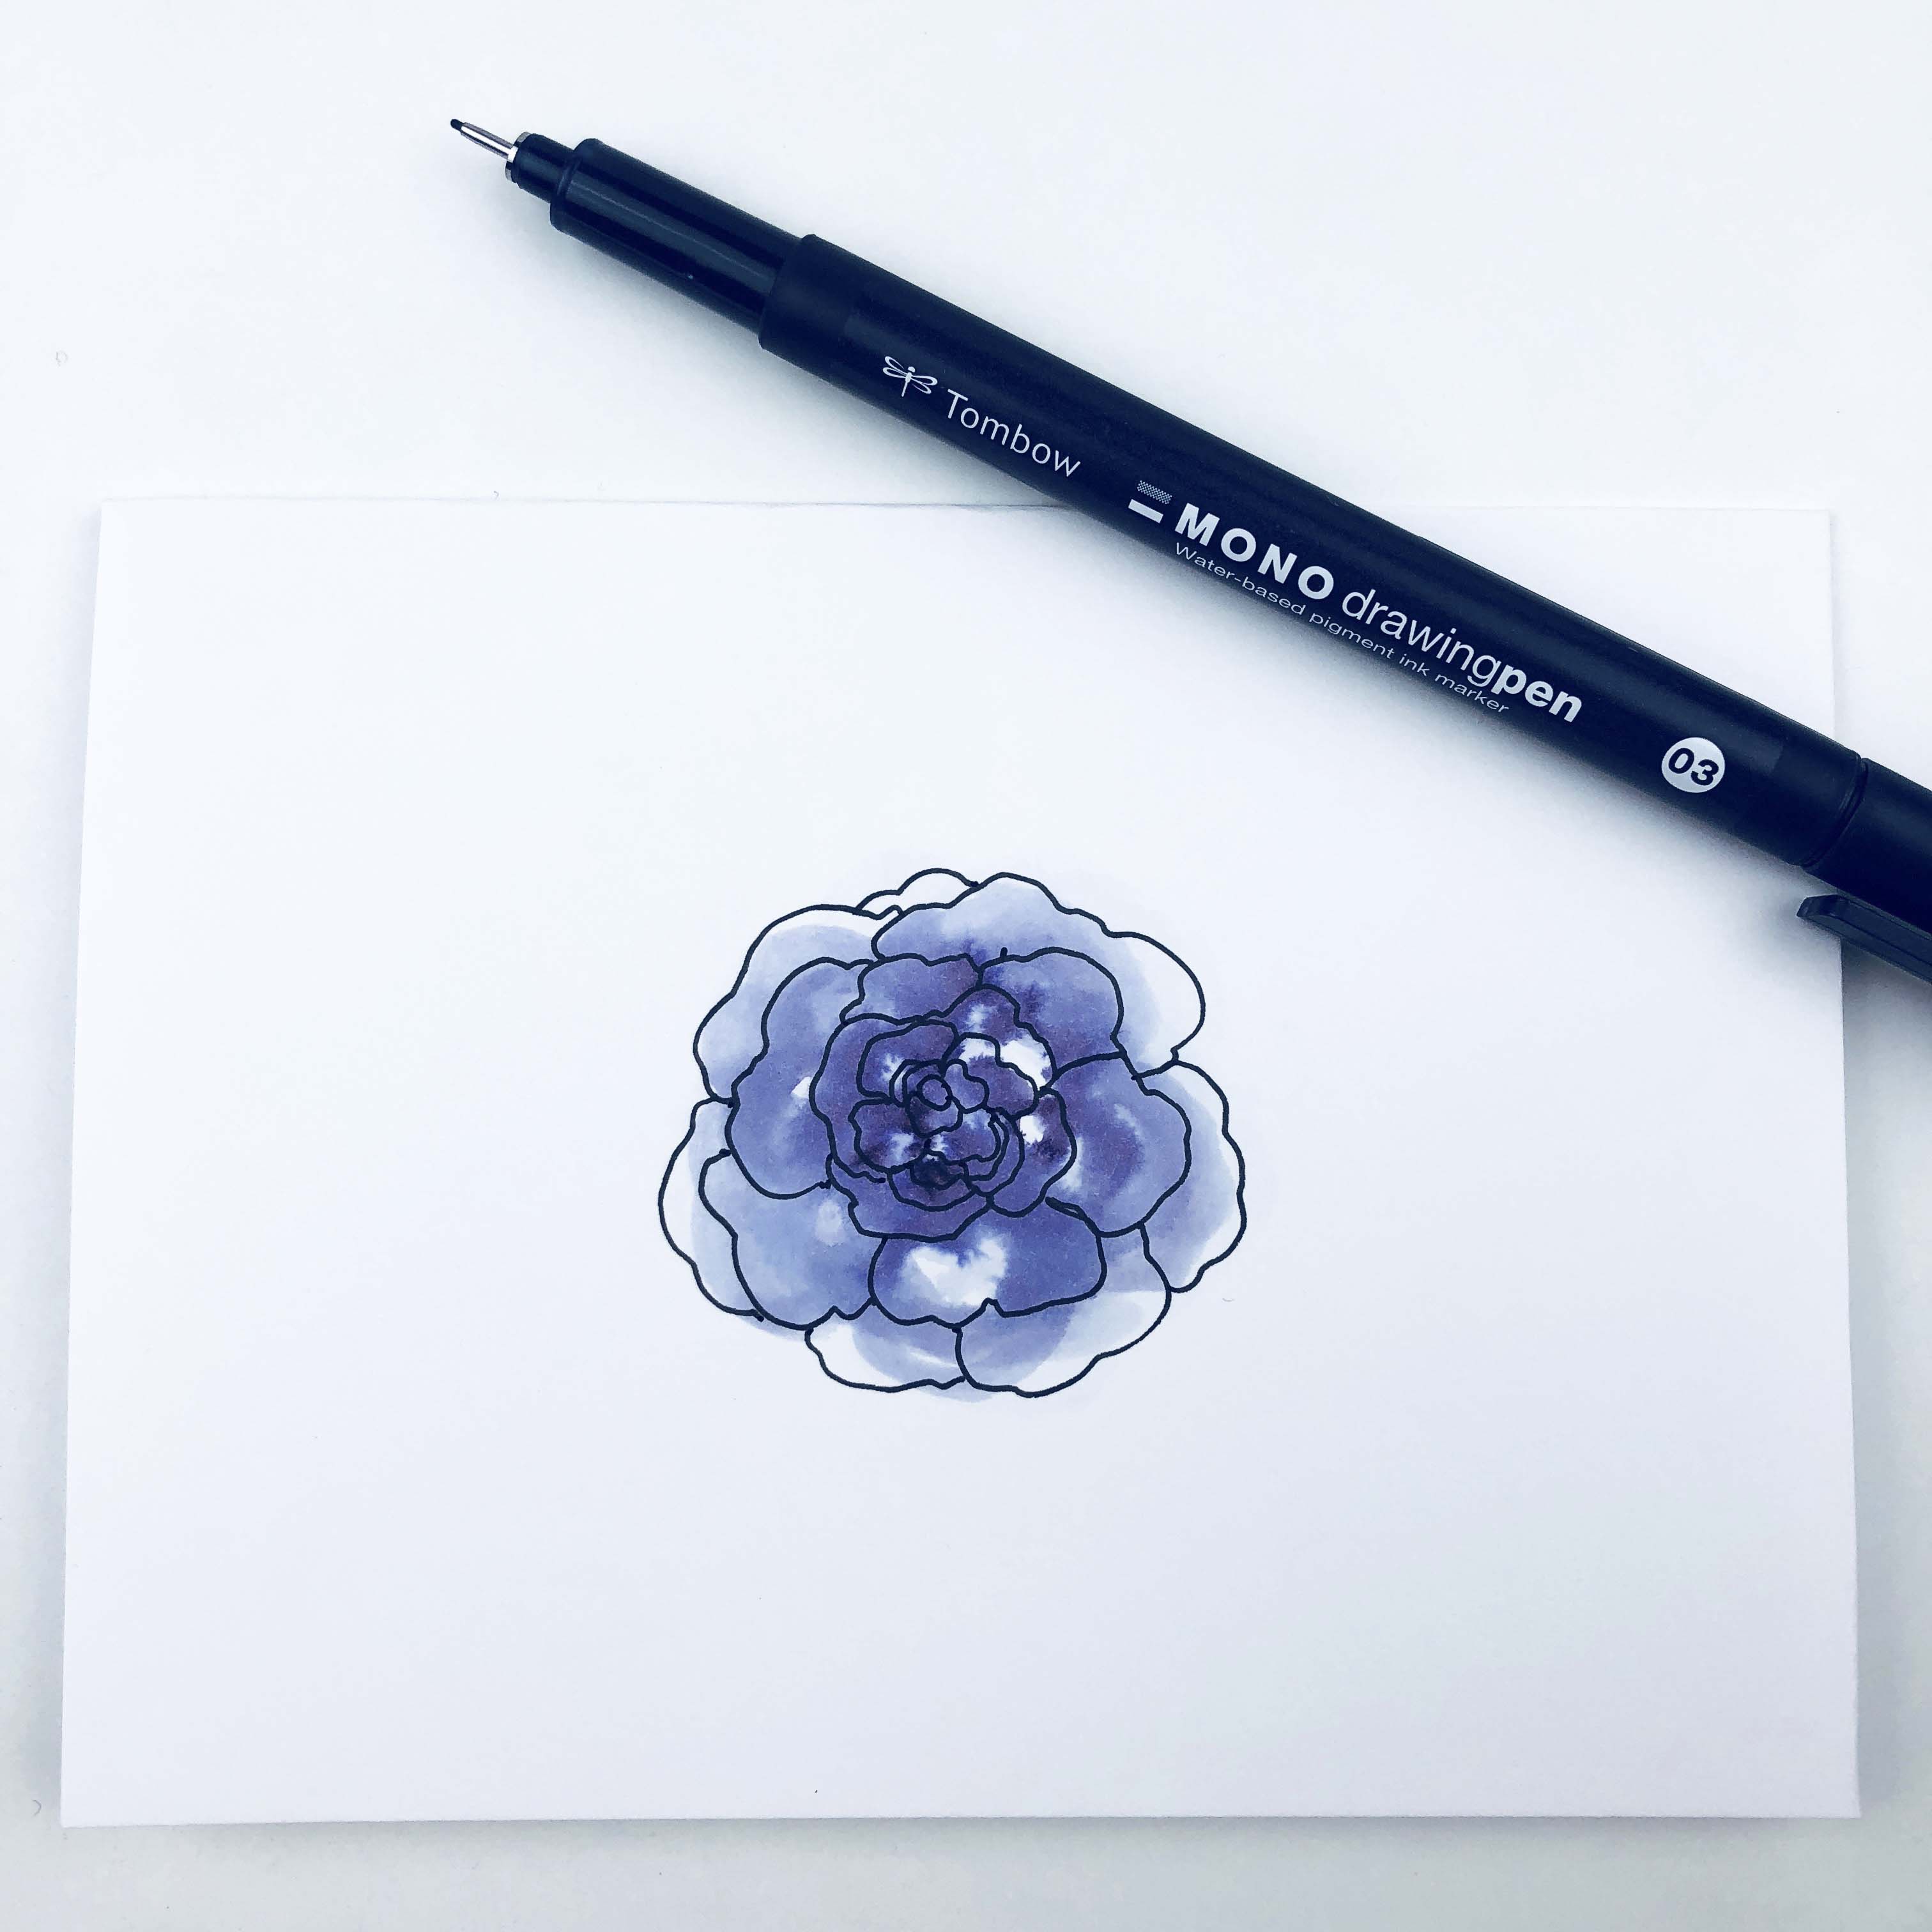
Our flowers need some color! I love using the Dual Brush Pens to create a watercolor effect; since the ink is water-based, they blend really beautifully together when activated with a little bit of water. First, use the Dual Brush Pens in 603 and 679 to color some swatches on the Blending Palette.
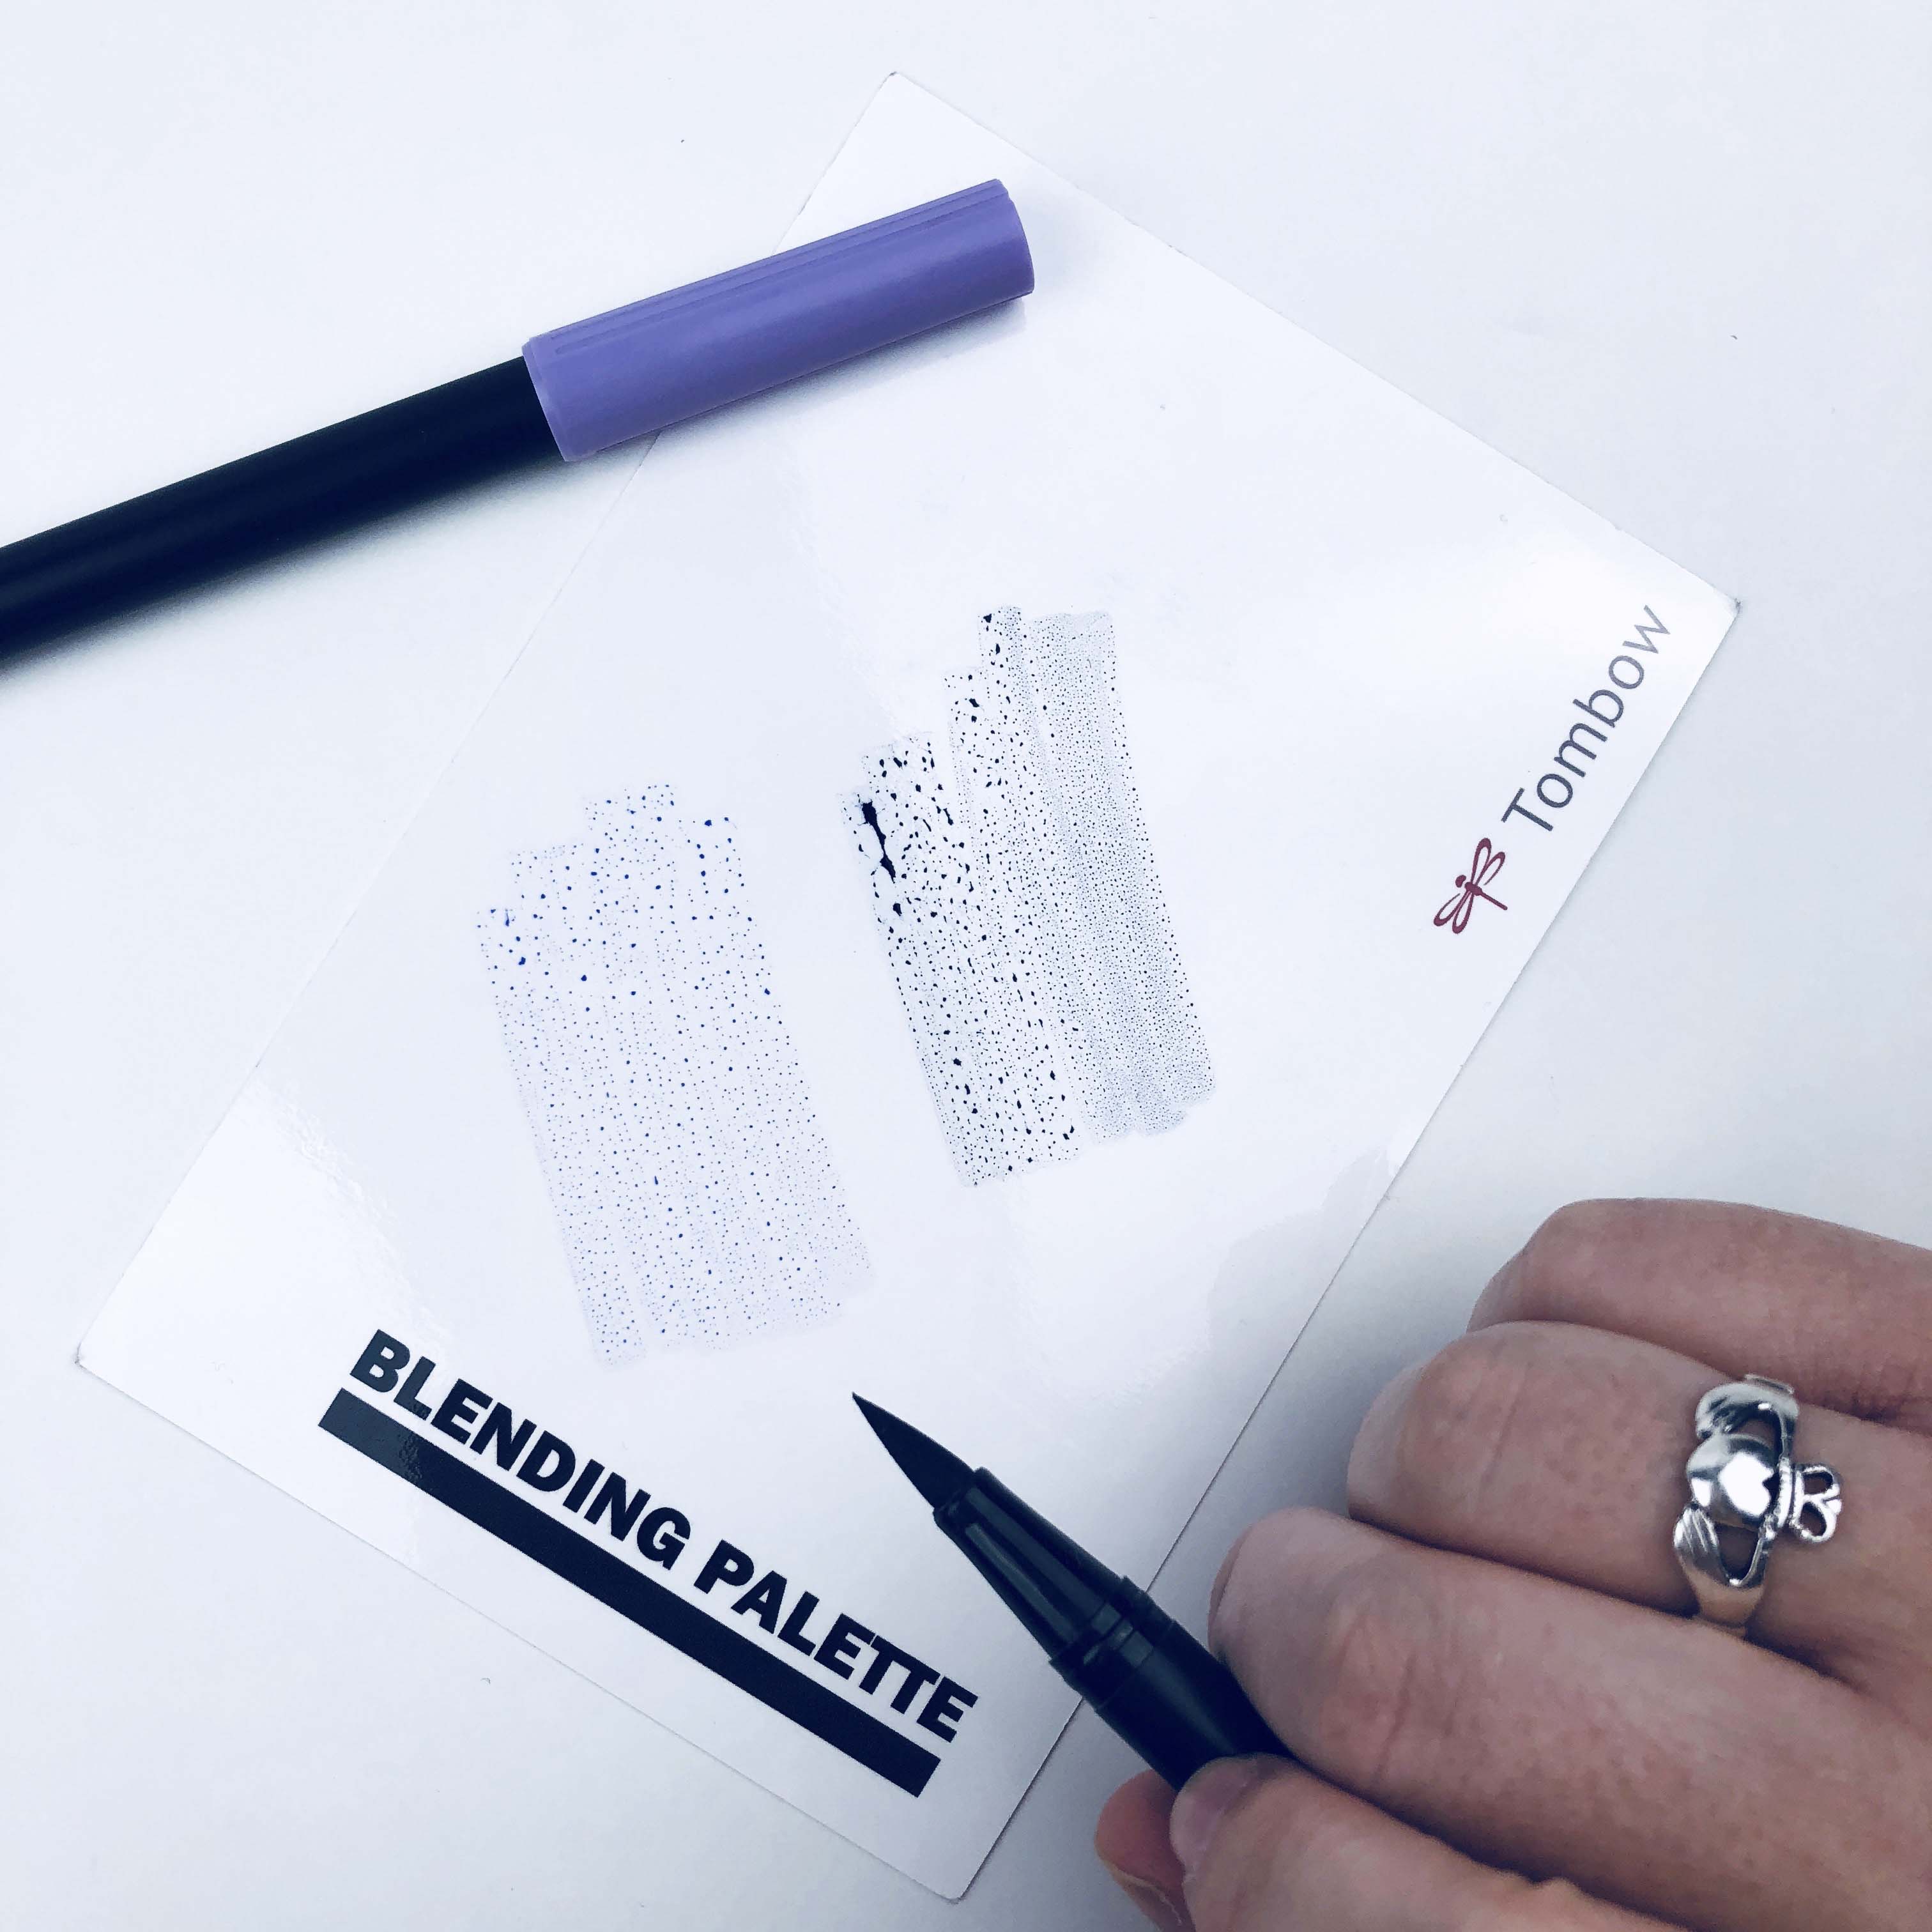
Now, generously wet your paintbrush and pick up some of the lighter color from the Blending Palette (you want to make sure the brush is very saturated with water, almost dripping but not quite). Once the ink is on your brush, apply it to your paper, making loose, wobbly circles on either side of “Congrats.” I like to make mine different sizes to create some variety, but this is your card – make your flowers whatever size(s) you like!

While the paper is still very wet, use your paintbrush to pick up the darker color from the Blending Palette (a little bit goes a long way!) and then use a semi-circle motion with your brush to gently dab some of the color into the circles you’ve already painted. The trick here is to let the water do the work for you – that’s why you want to make sure you keep your paintbrush really wet during this process!
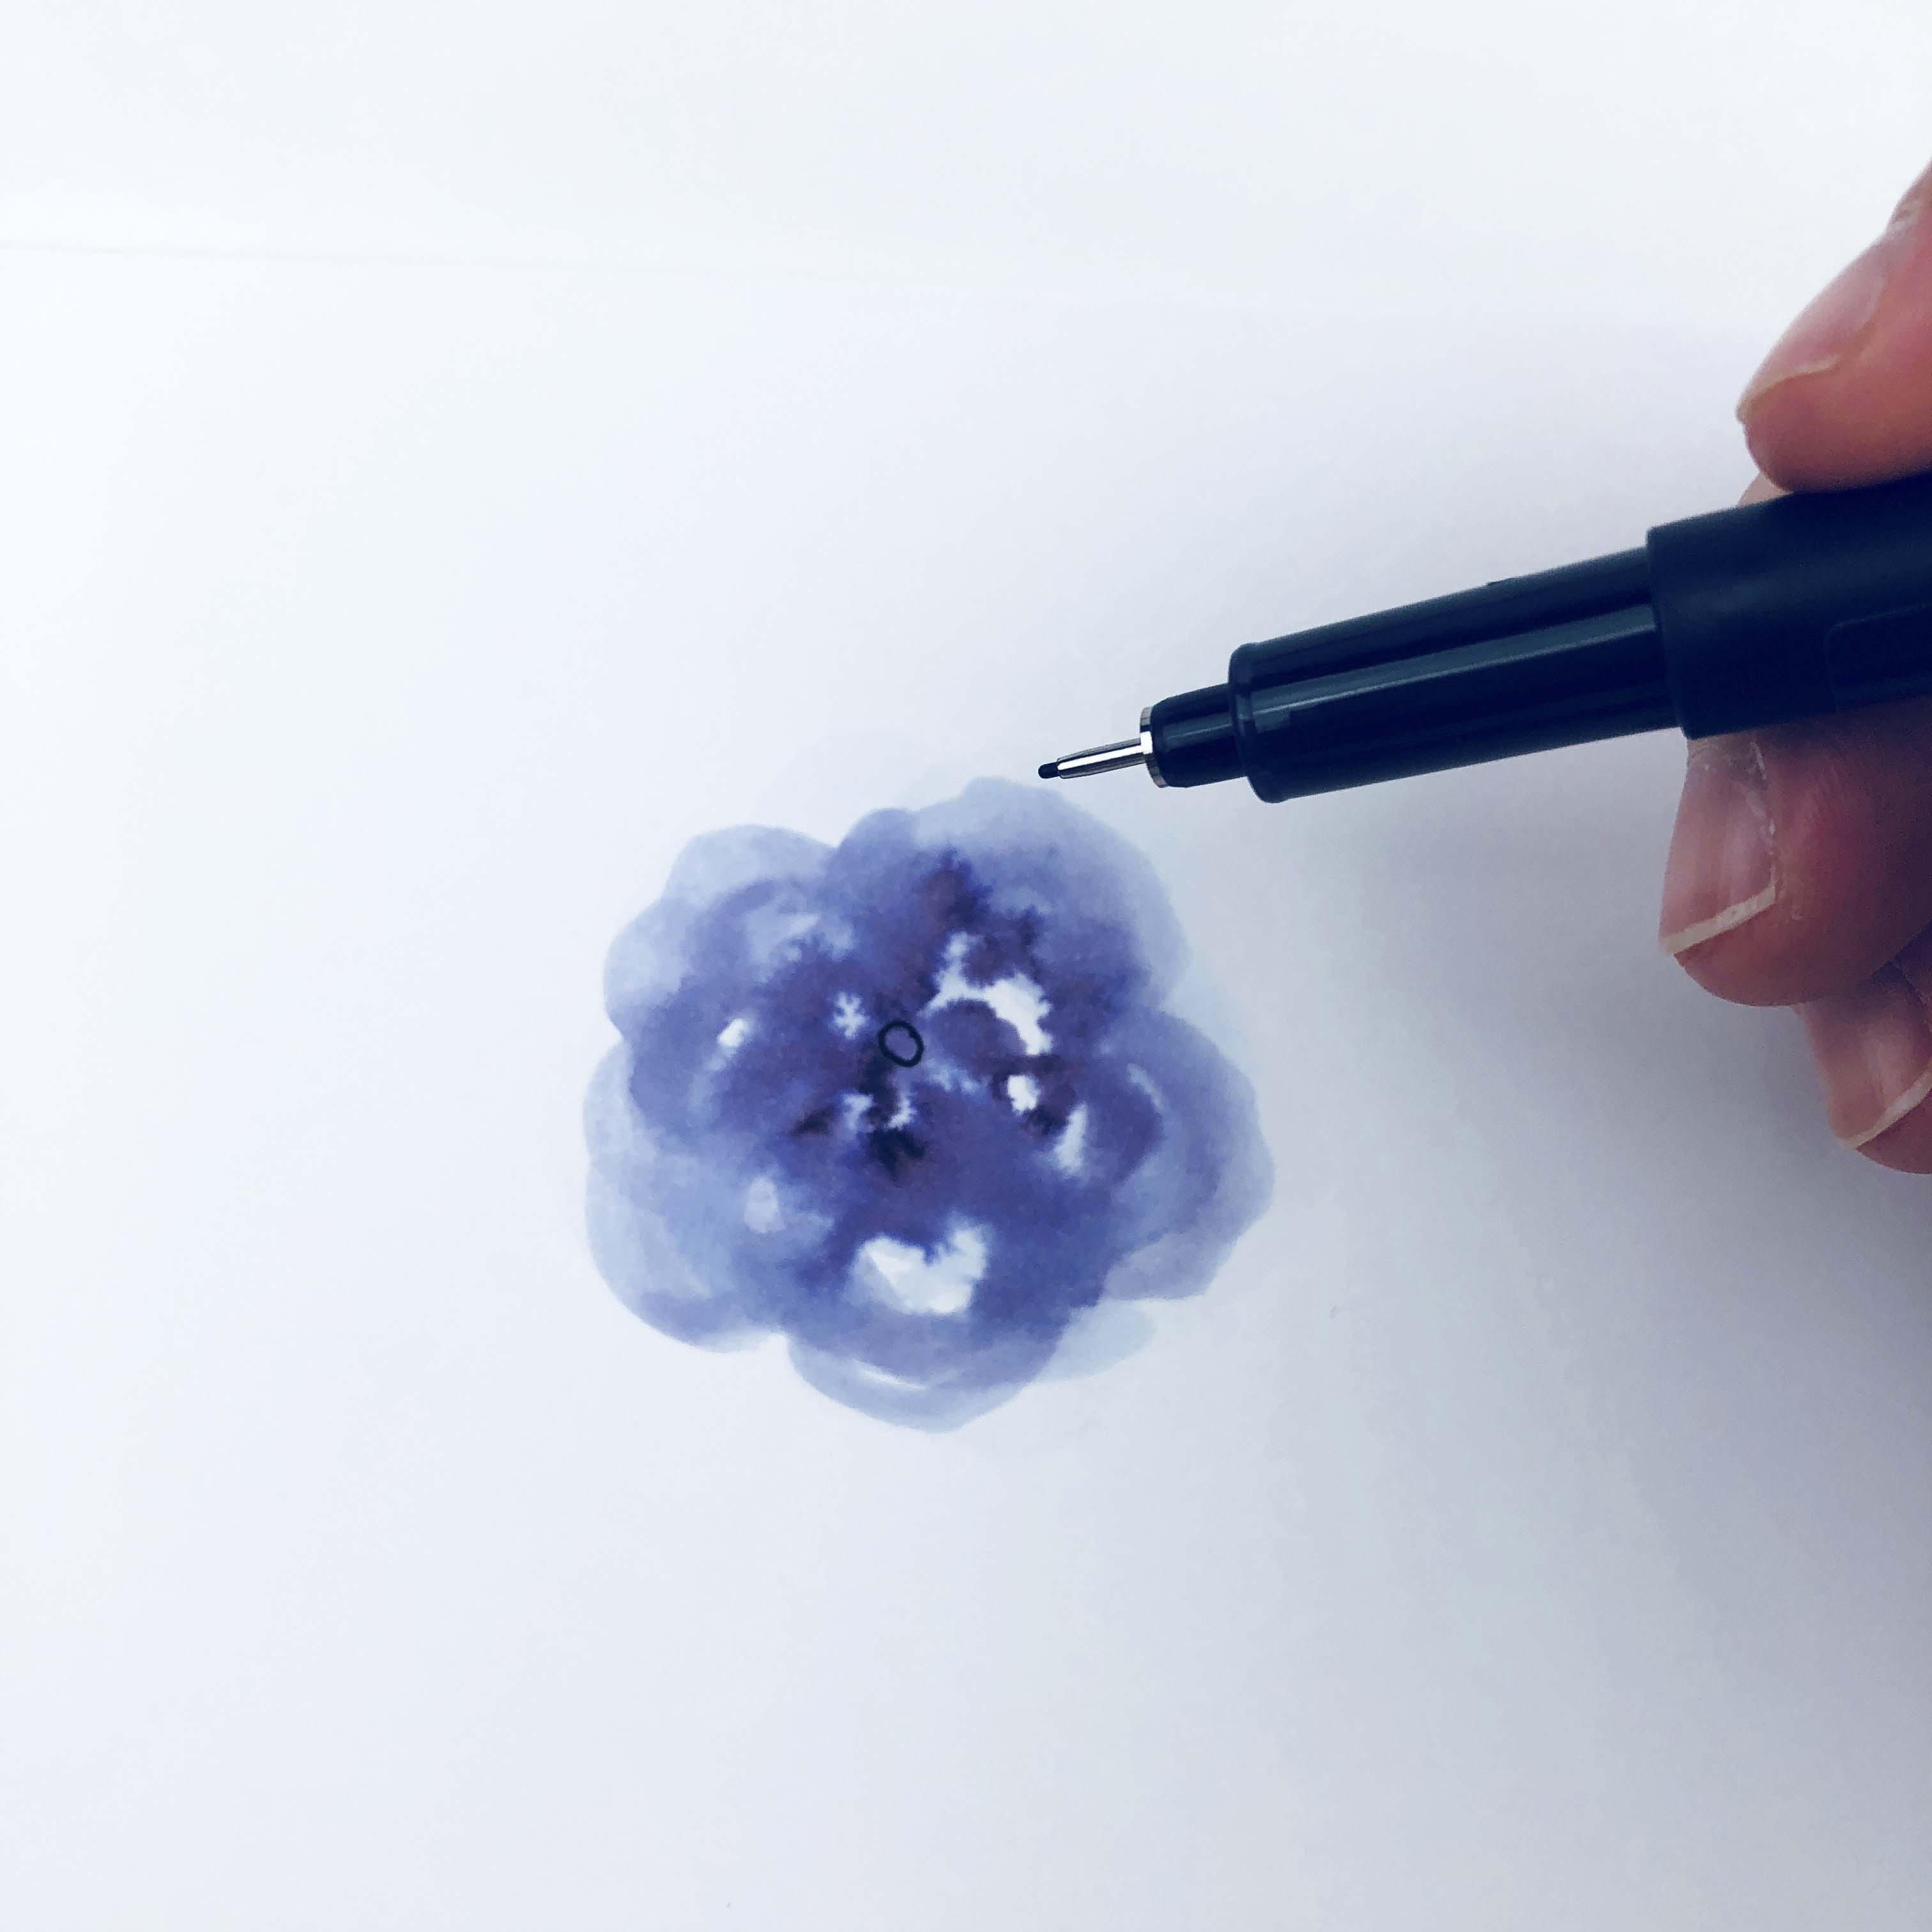
STEP THREE:
What’s a flower without its pretty petals? Once the paper is completely dry, use your MONO Drawing Pen to draw petals over the watercolor. Try to keep your linework loose – you don’t have to stick to just the places where you’ve painted. Think of it as coloring outside the lines (although in this case, you’re “lining” outside the color)! I find it easiest to start with the center of my flower and then add petals onto that, moving outward. Peggy Dean of The Pigeon Letters has some really great tutorials for this step!
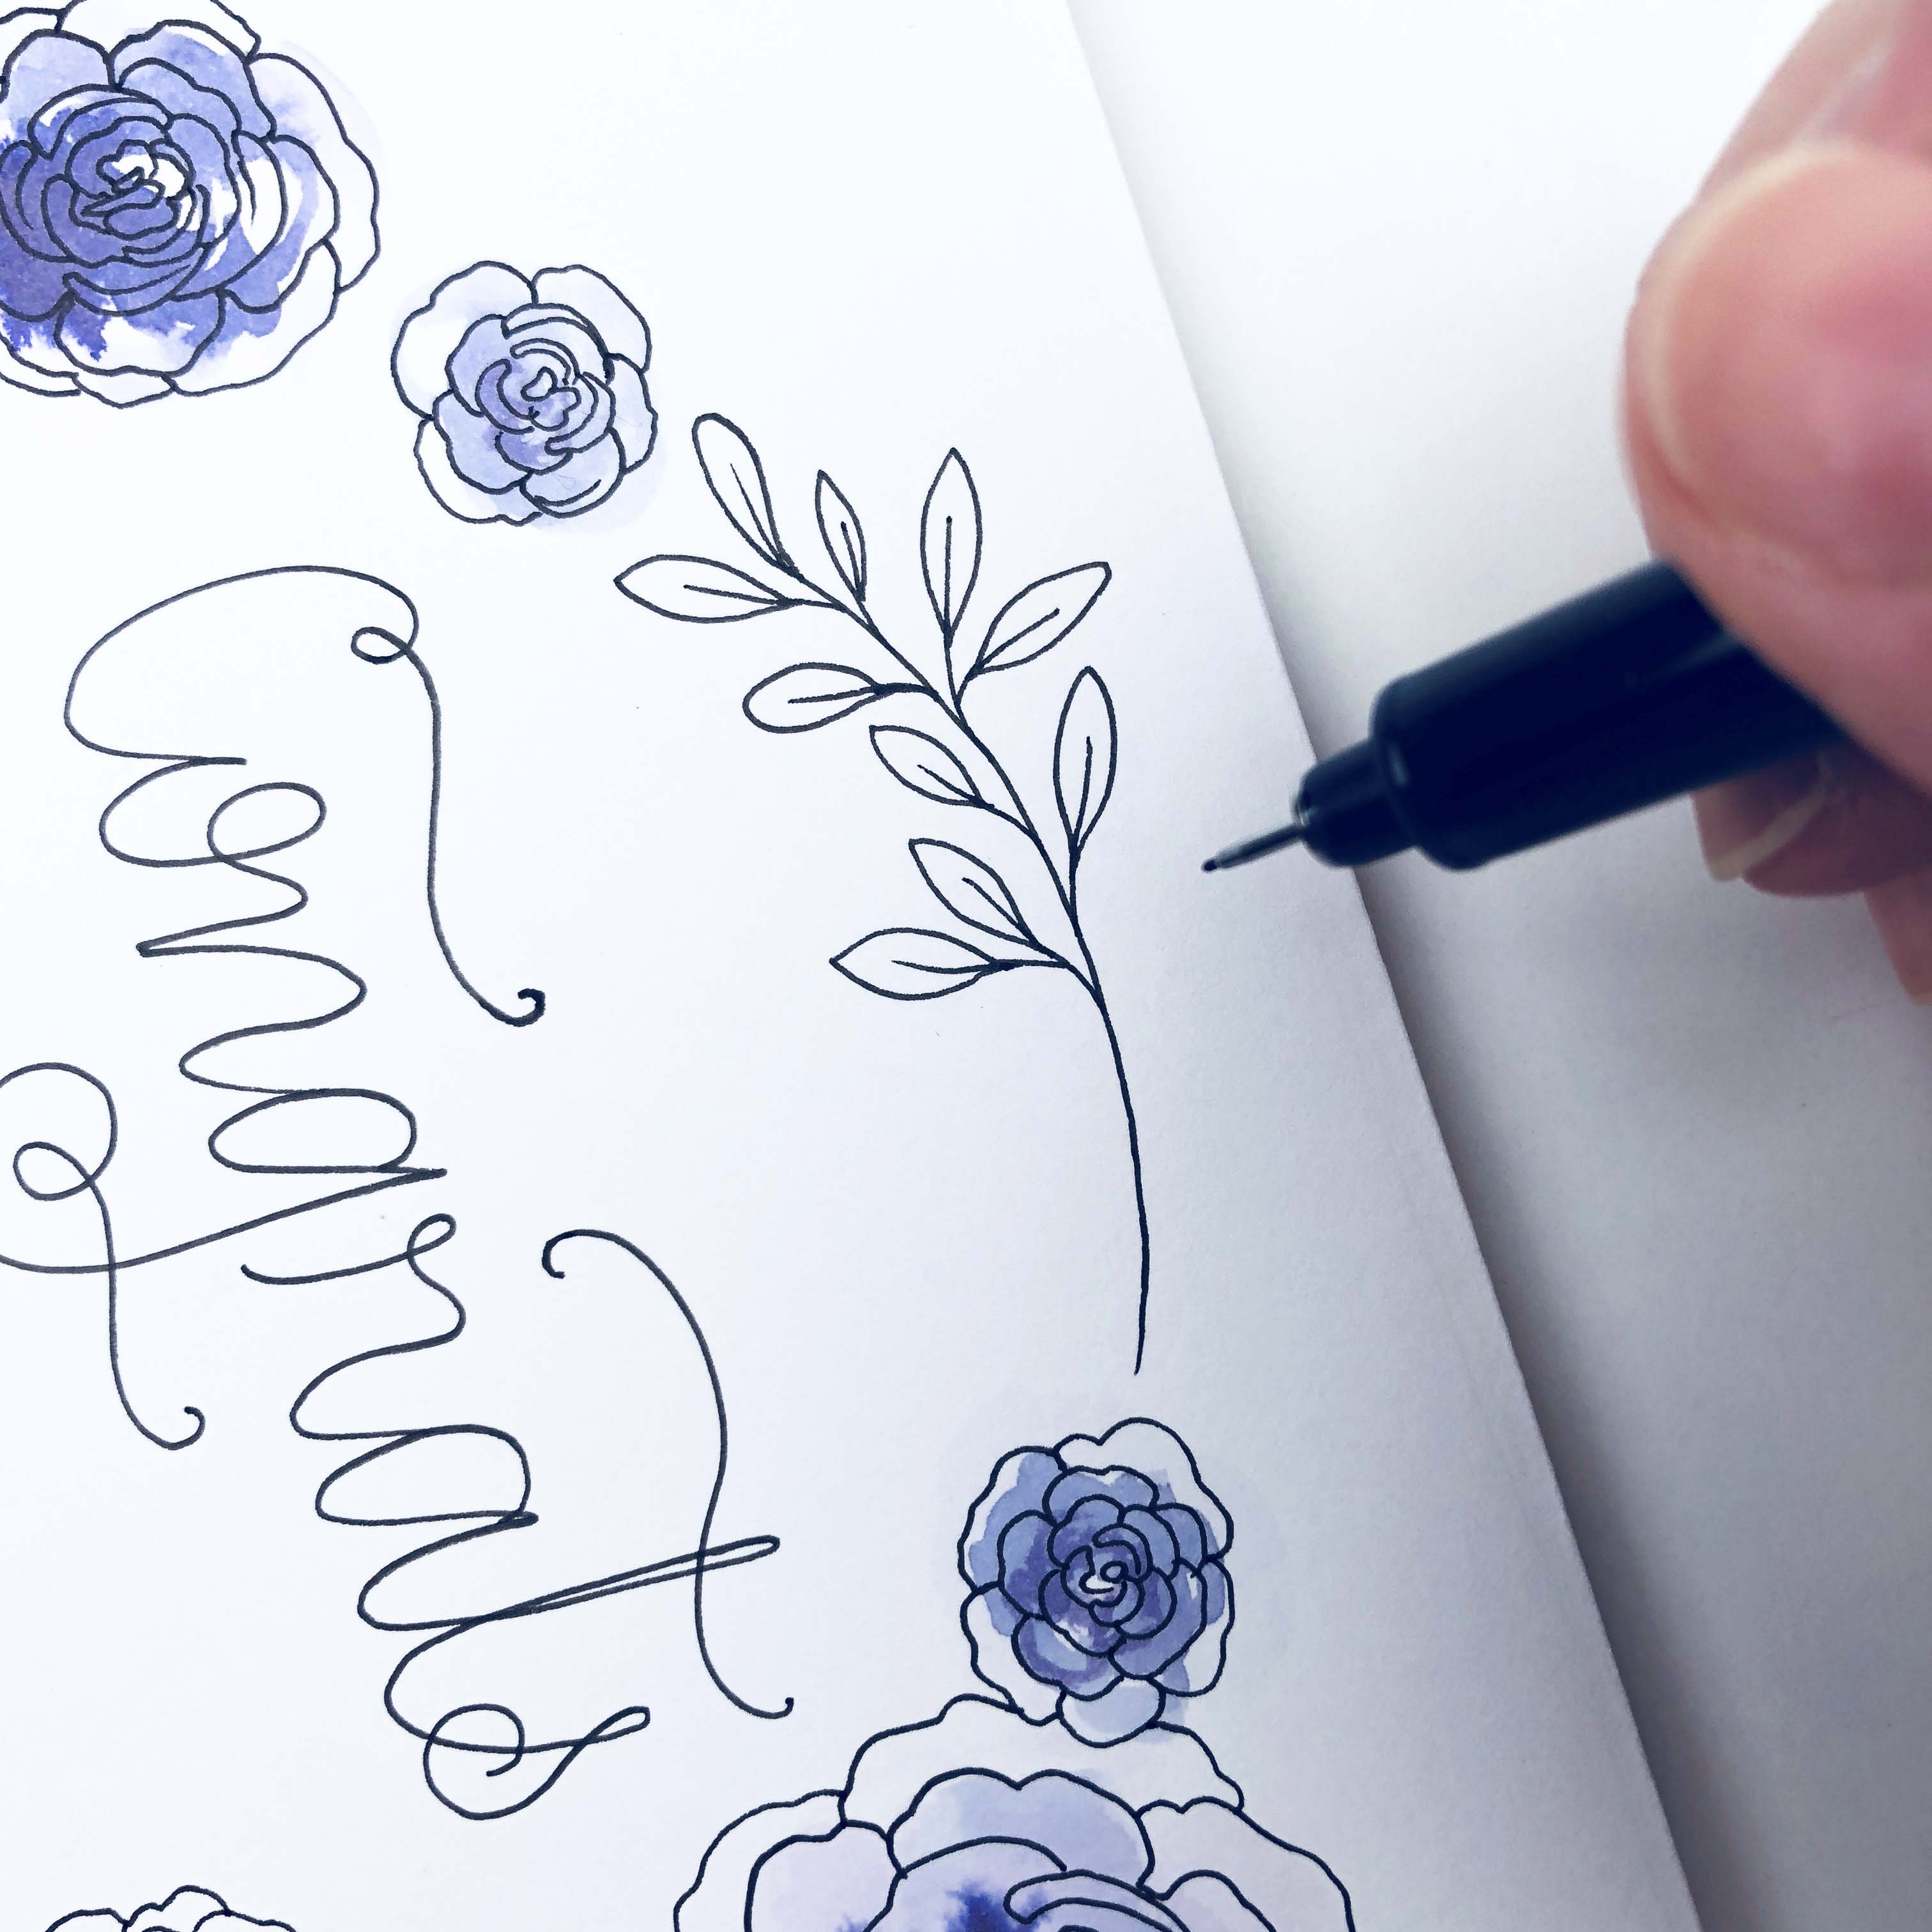
STEP FOUR:
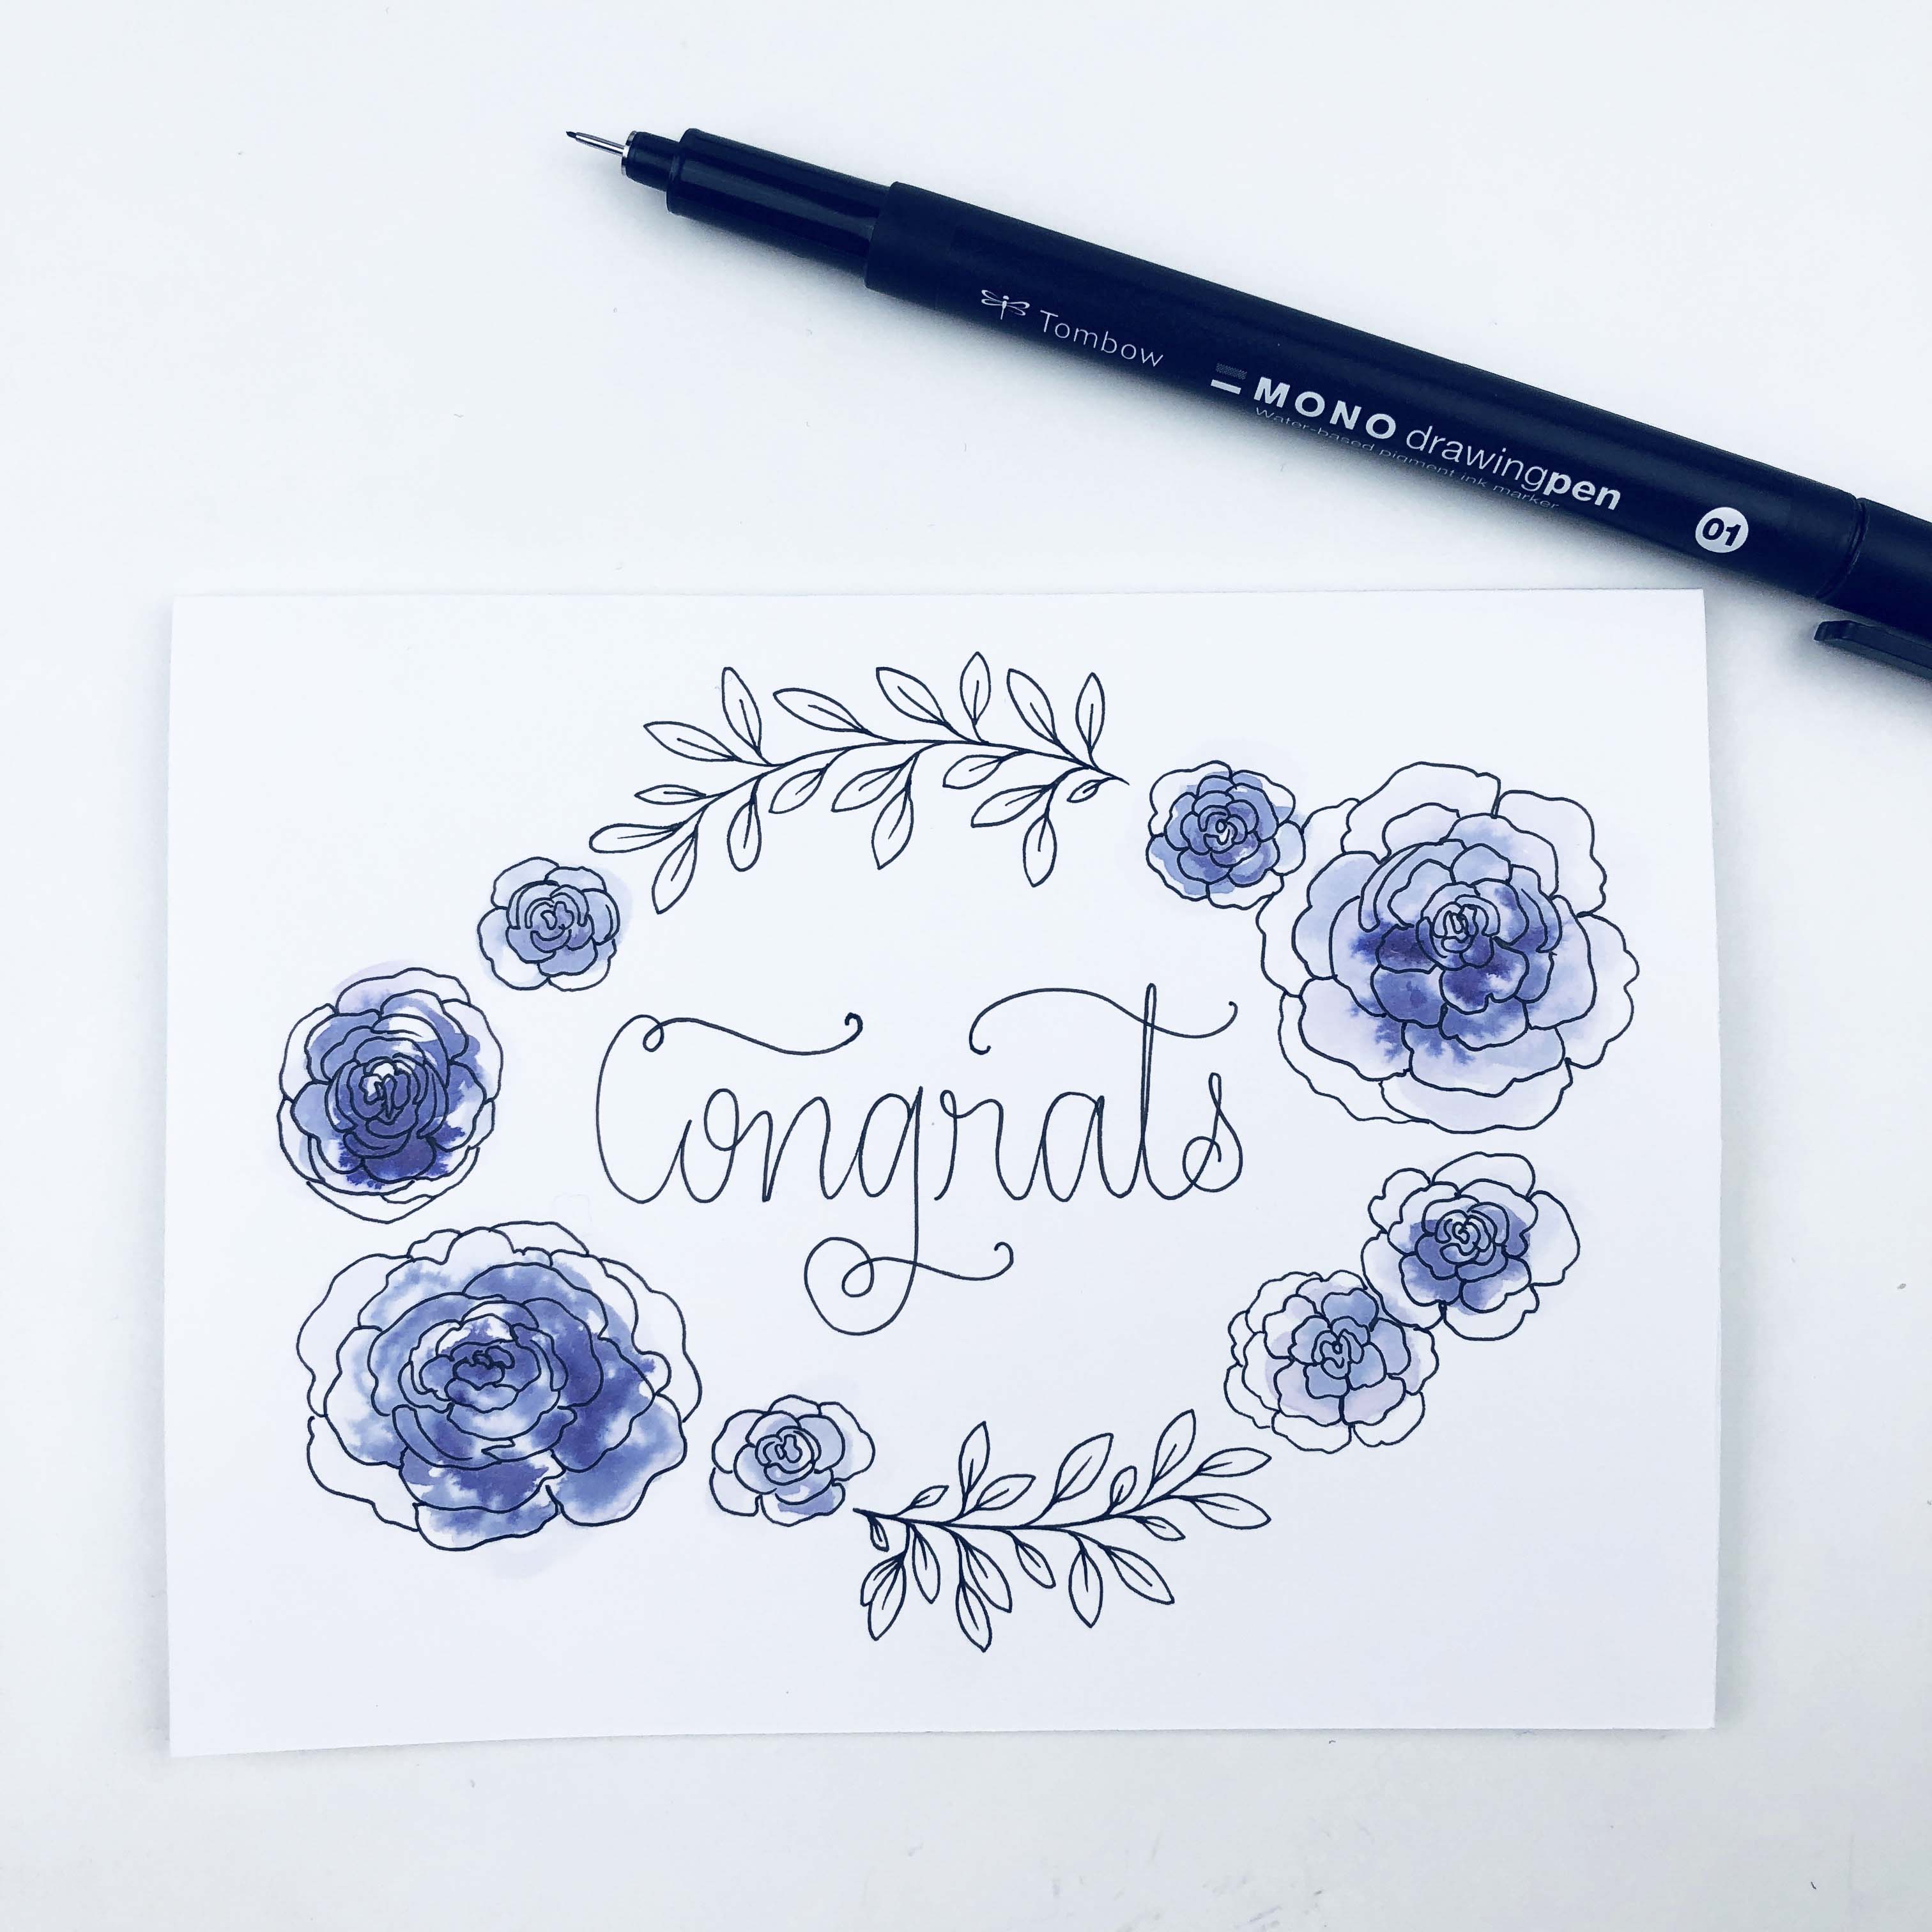
Some little leaves will finish our card off nicely! Using the MONO Drawing Pen, draw a curved line above and below “Congrats” to connect the flowers in an oval-shaped wreath.
Next, draw some simple leaves along the top line. Repeat this on the bottom as well.
Ta-da! (or should I say, Congrats!) Your card is complete and it looks lovely!
Be sure to tag us at @tombowusa and @ampersyme so we can see your beautiful work! Good luck and happy crafting!
Click the links below to connect with me on Instagram and check out my website – I’d love to hear from you!
https://www.instagram.com/ampersyme/
www.ampersyme.com