It’s that time of year! Bring on the pumpkins! Hey everyone, it’s Amanda Kammarada guest posting here today. There are so many neat ways to decorate pumpkins. They don’t have to just be carved!
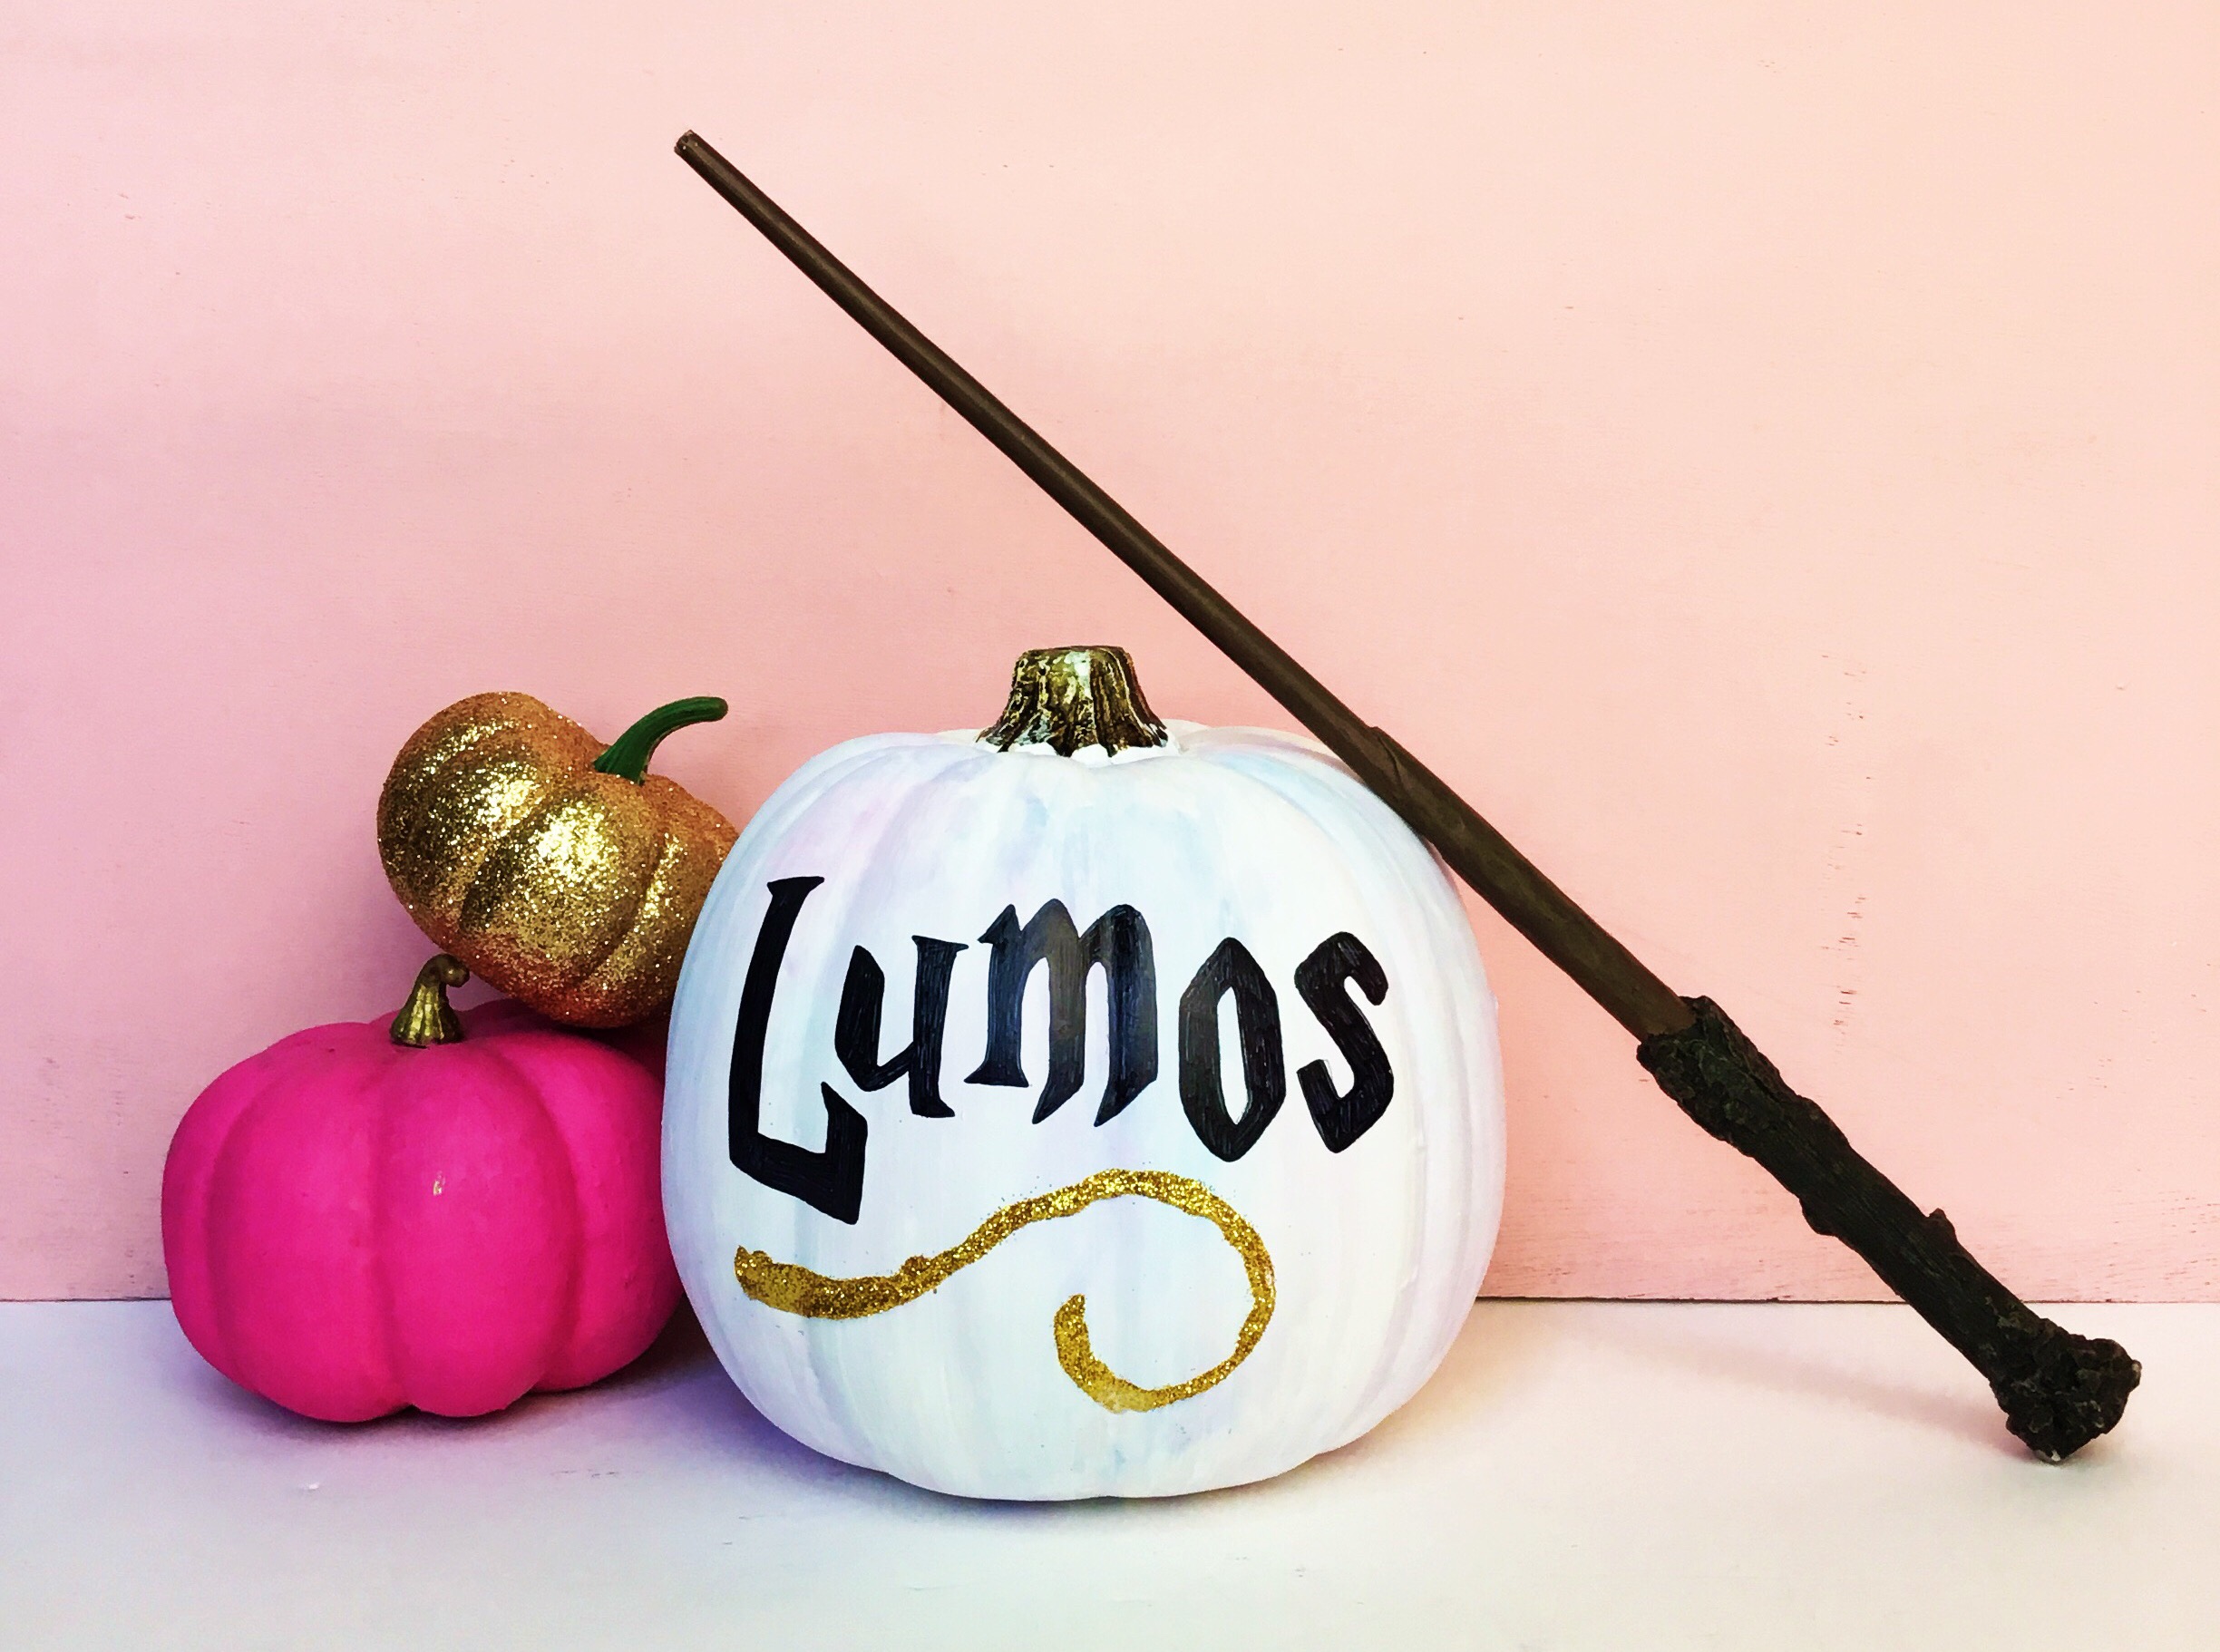
With it being magic/wizardry week here on the Tombow USA blog, Harry Potter instantly came to mind. So today, I’m going to show you how to make a magical galaxy watercolor pumpkin with my favorite Tombow supplies.
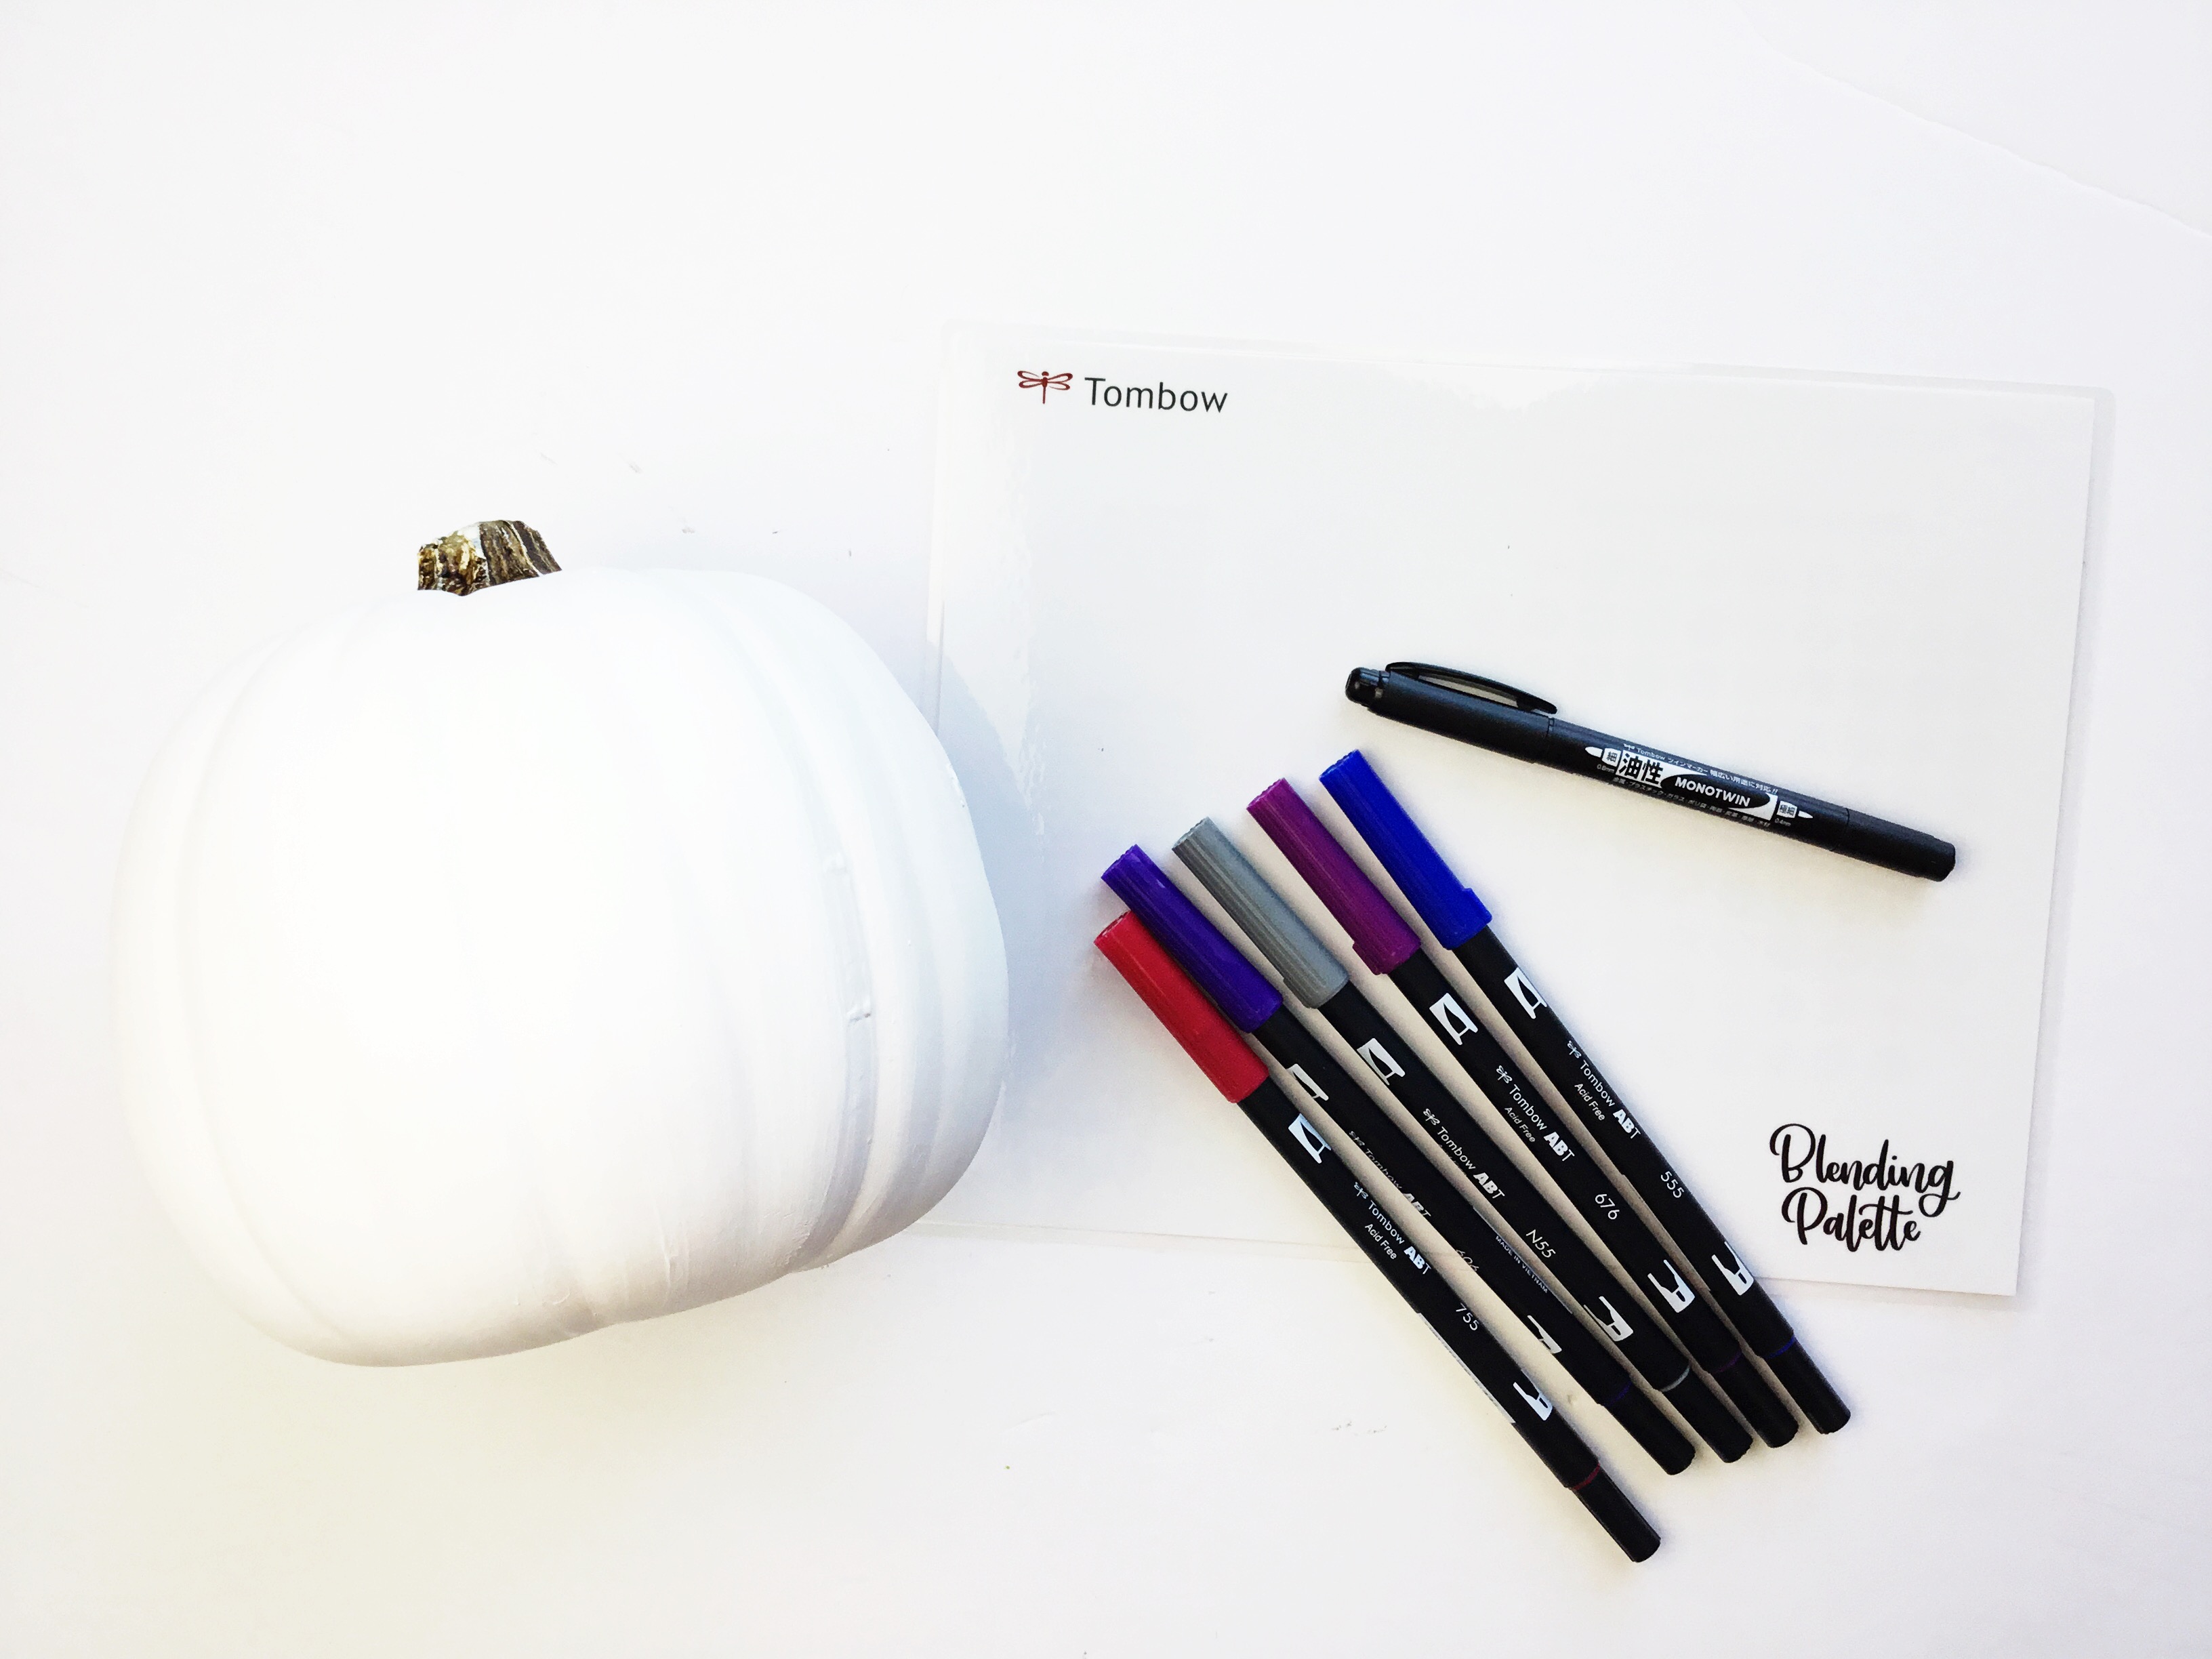
Supplies Needed:
- Craft Pumpkin (available at most art & craft stores)
- Tombow Dual Brush Pen Galaxy 10-pack
- Tombow MONO Twin Permanent Marker
- Tombow XL Blending Palette
- Tombow MONO Aqua Liquid Glue
Step 1: Create the galaxy watercolor background
You’ll want to paint the surface of the craft pumpkin first. The watercolor will not stick very well to a glossy surface, so I used white acrylic paint to create a nice, matte surface.
Tombow Dual Brush Pens are easy to turn into watercolor! Using Dual Brush Pens (I’m using pen numbers 555, 606, 676, 755 & N55), rub some color onto the XL Blending Palette. It doesn’t matter where you lay down the colors – you will be mixing them up with water to create a galaxy effect.
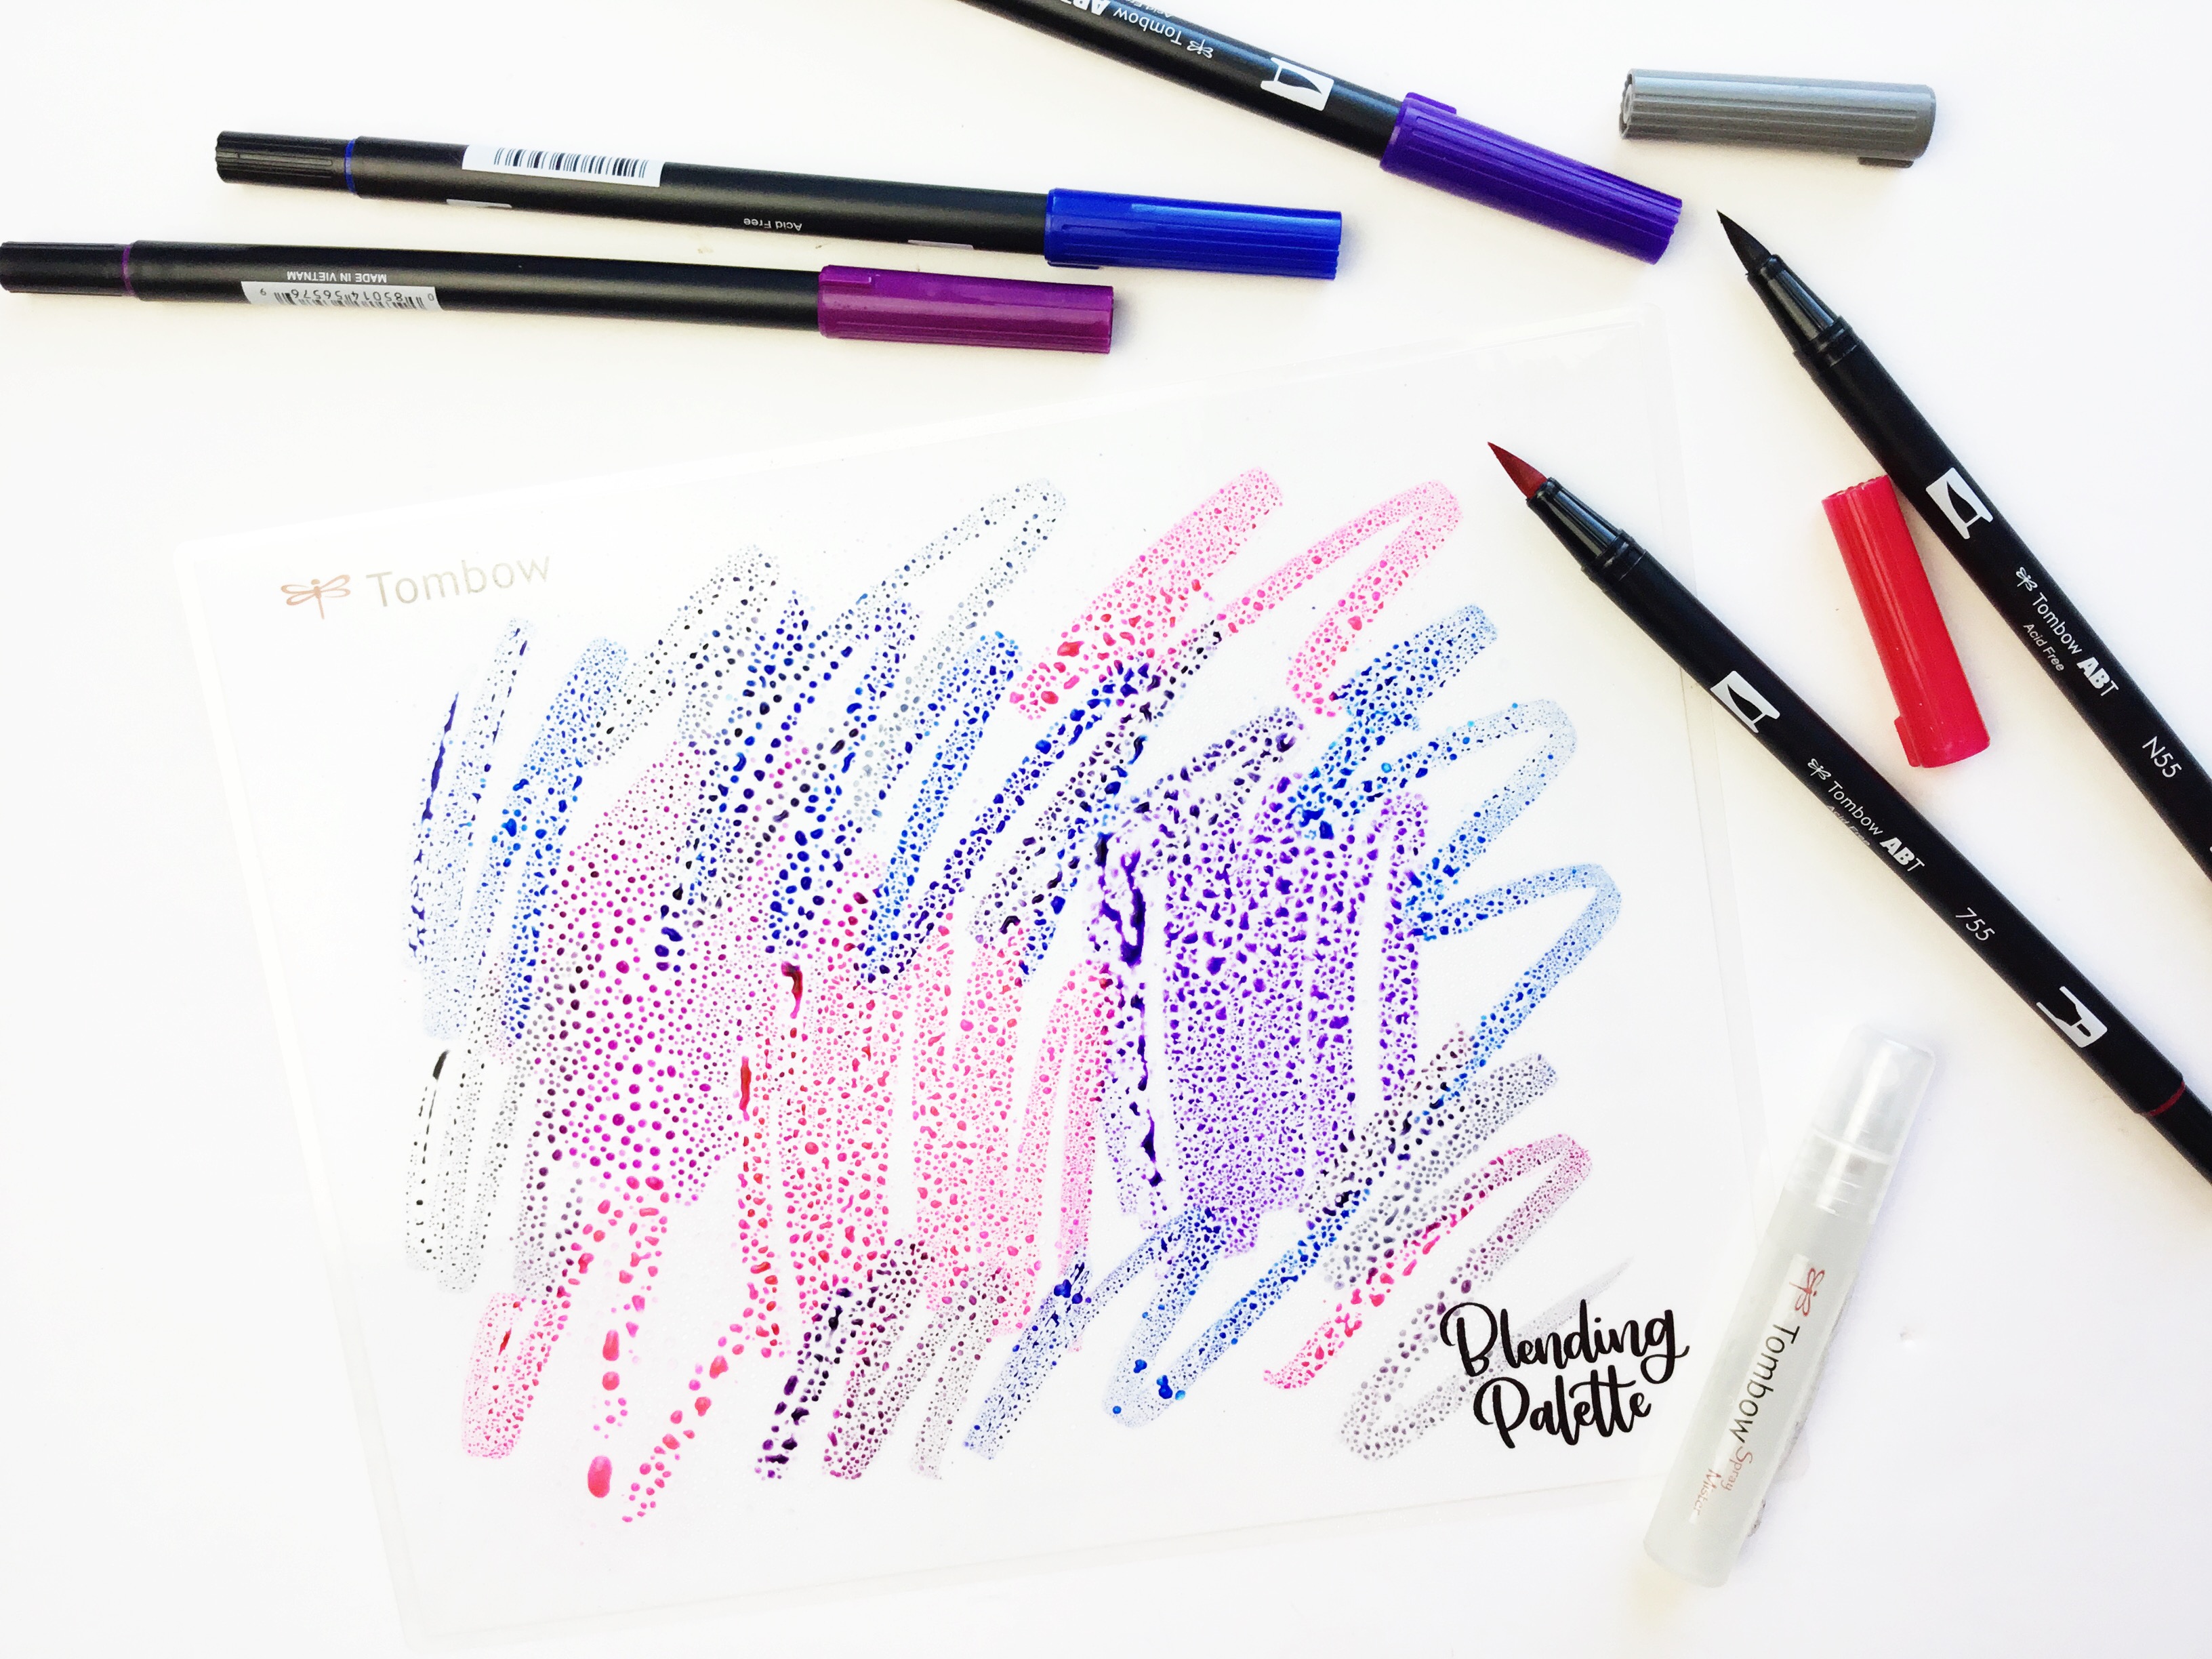
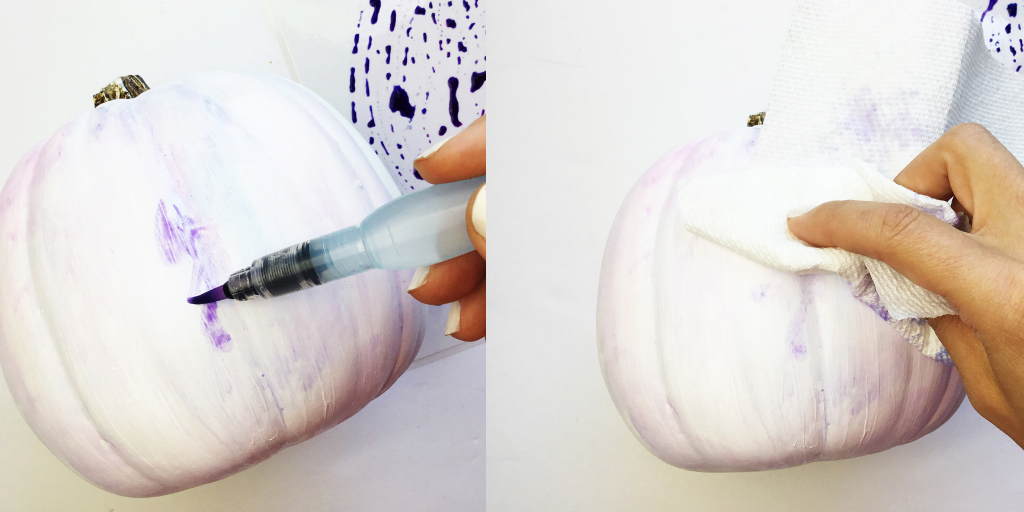
Using a water brush, swirl around the colors on the XL Blending Palette. You’ll see them mix and create beautiful colors. Apply the color onto the pumpkin with the water brush. You’ll want to mix up the colors to create the galaxy effect. It will be wet, so use a paper towel to dab off the excess water. Once dry move onto the next step.
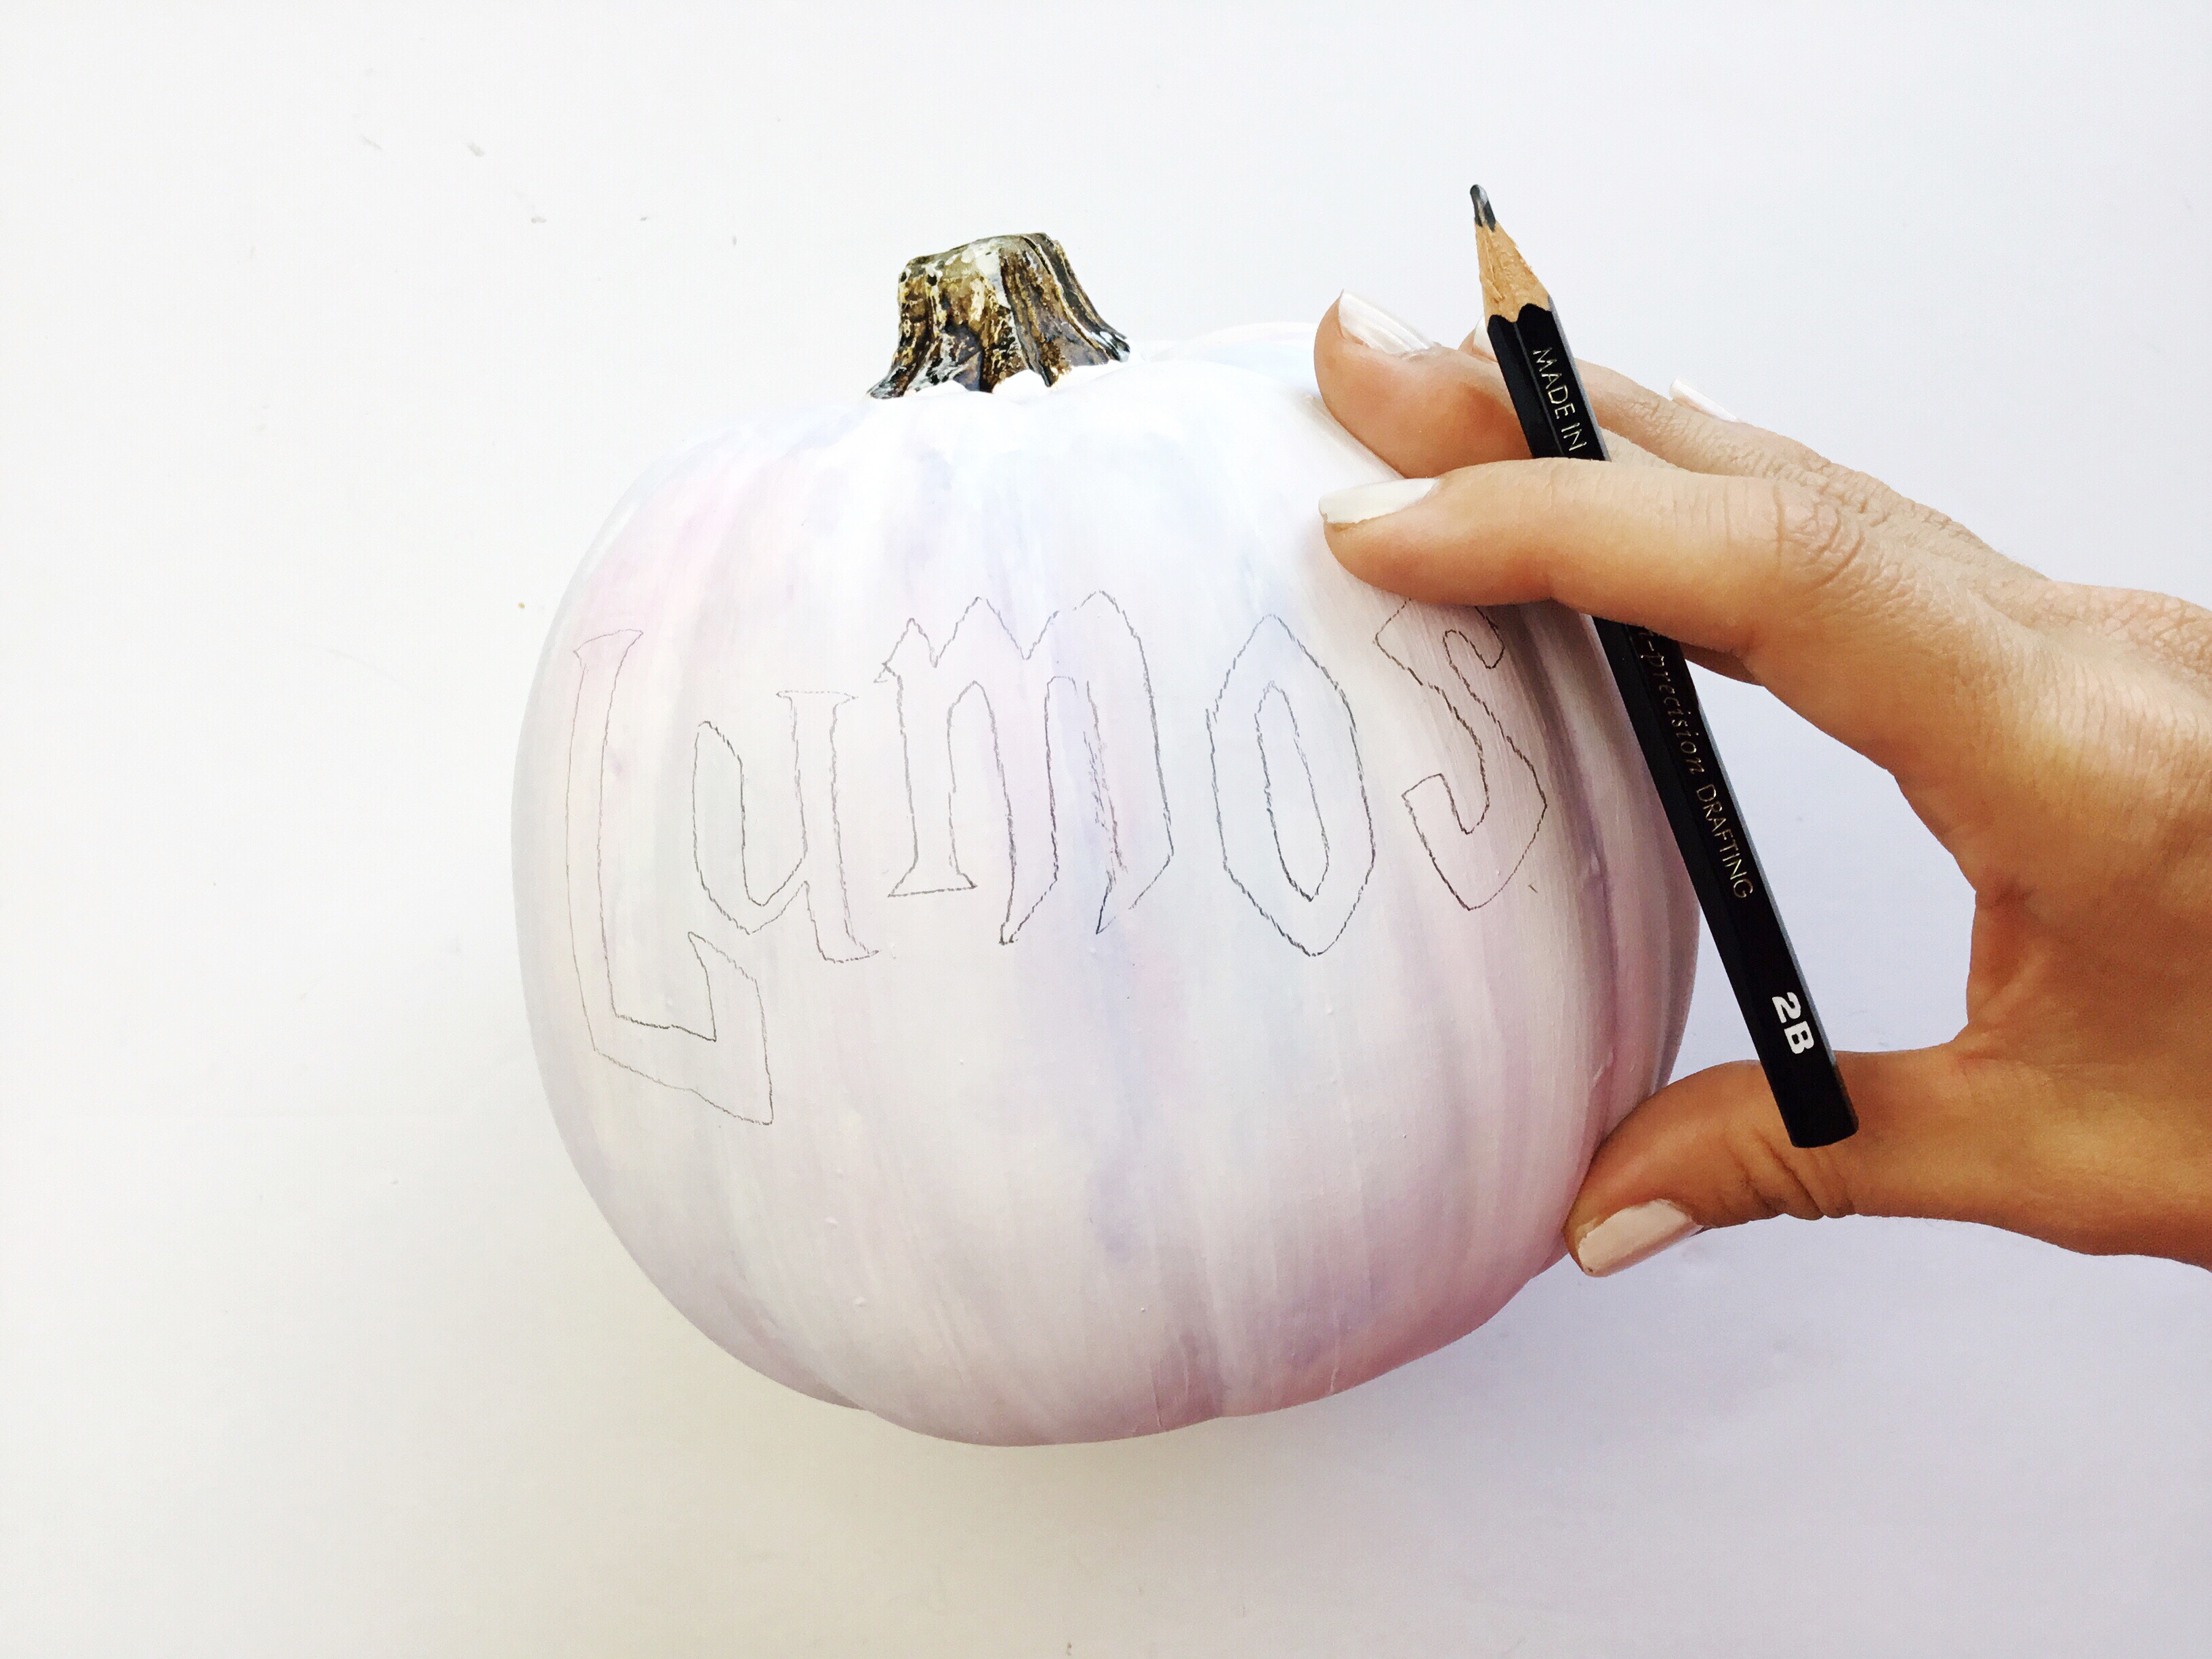
Step 2: Add the lettering
Now my favorite part – adding the lettering! What better to put on a Harry Potter pumpkin at Halloween time than a magic spell?! I choose the spell “Lumos” which is the wand-lighting charm. Using a Tombow pencil, sketch out the word in the fun Harry Potter themed style. If you need help, I’ve created a free download you can print out. Copy off of it or use it as a stencil.
[wpdm_package id=’30886′]
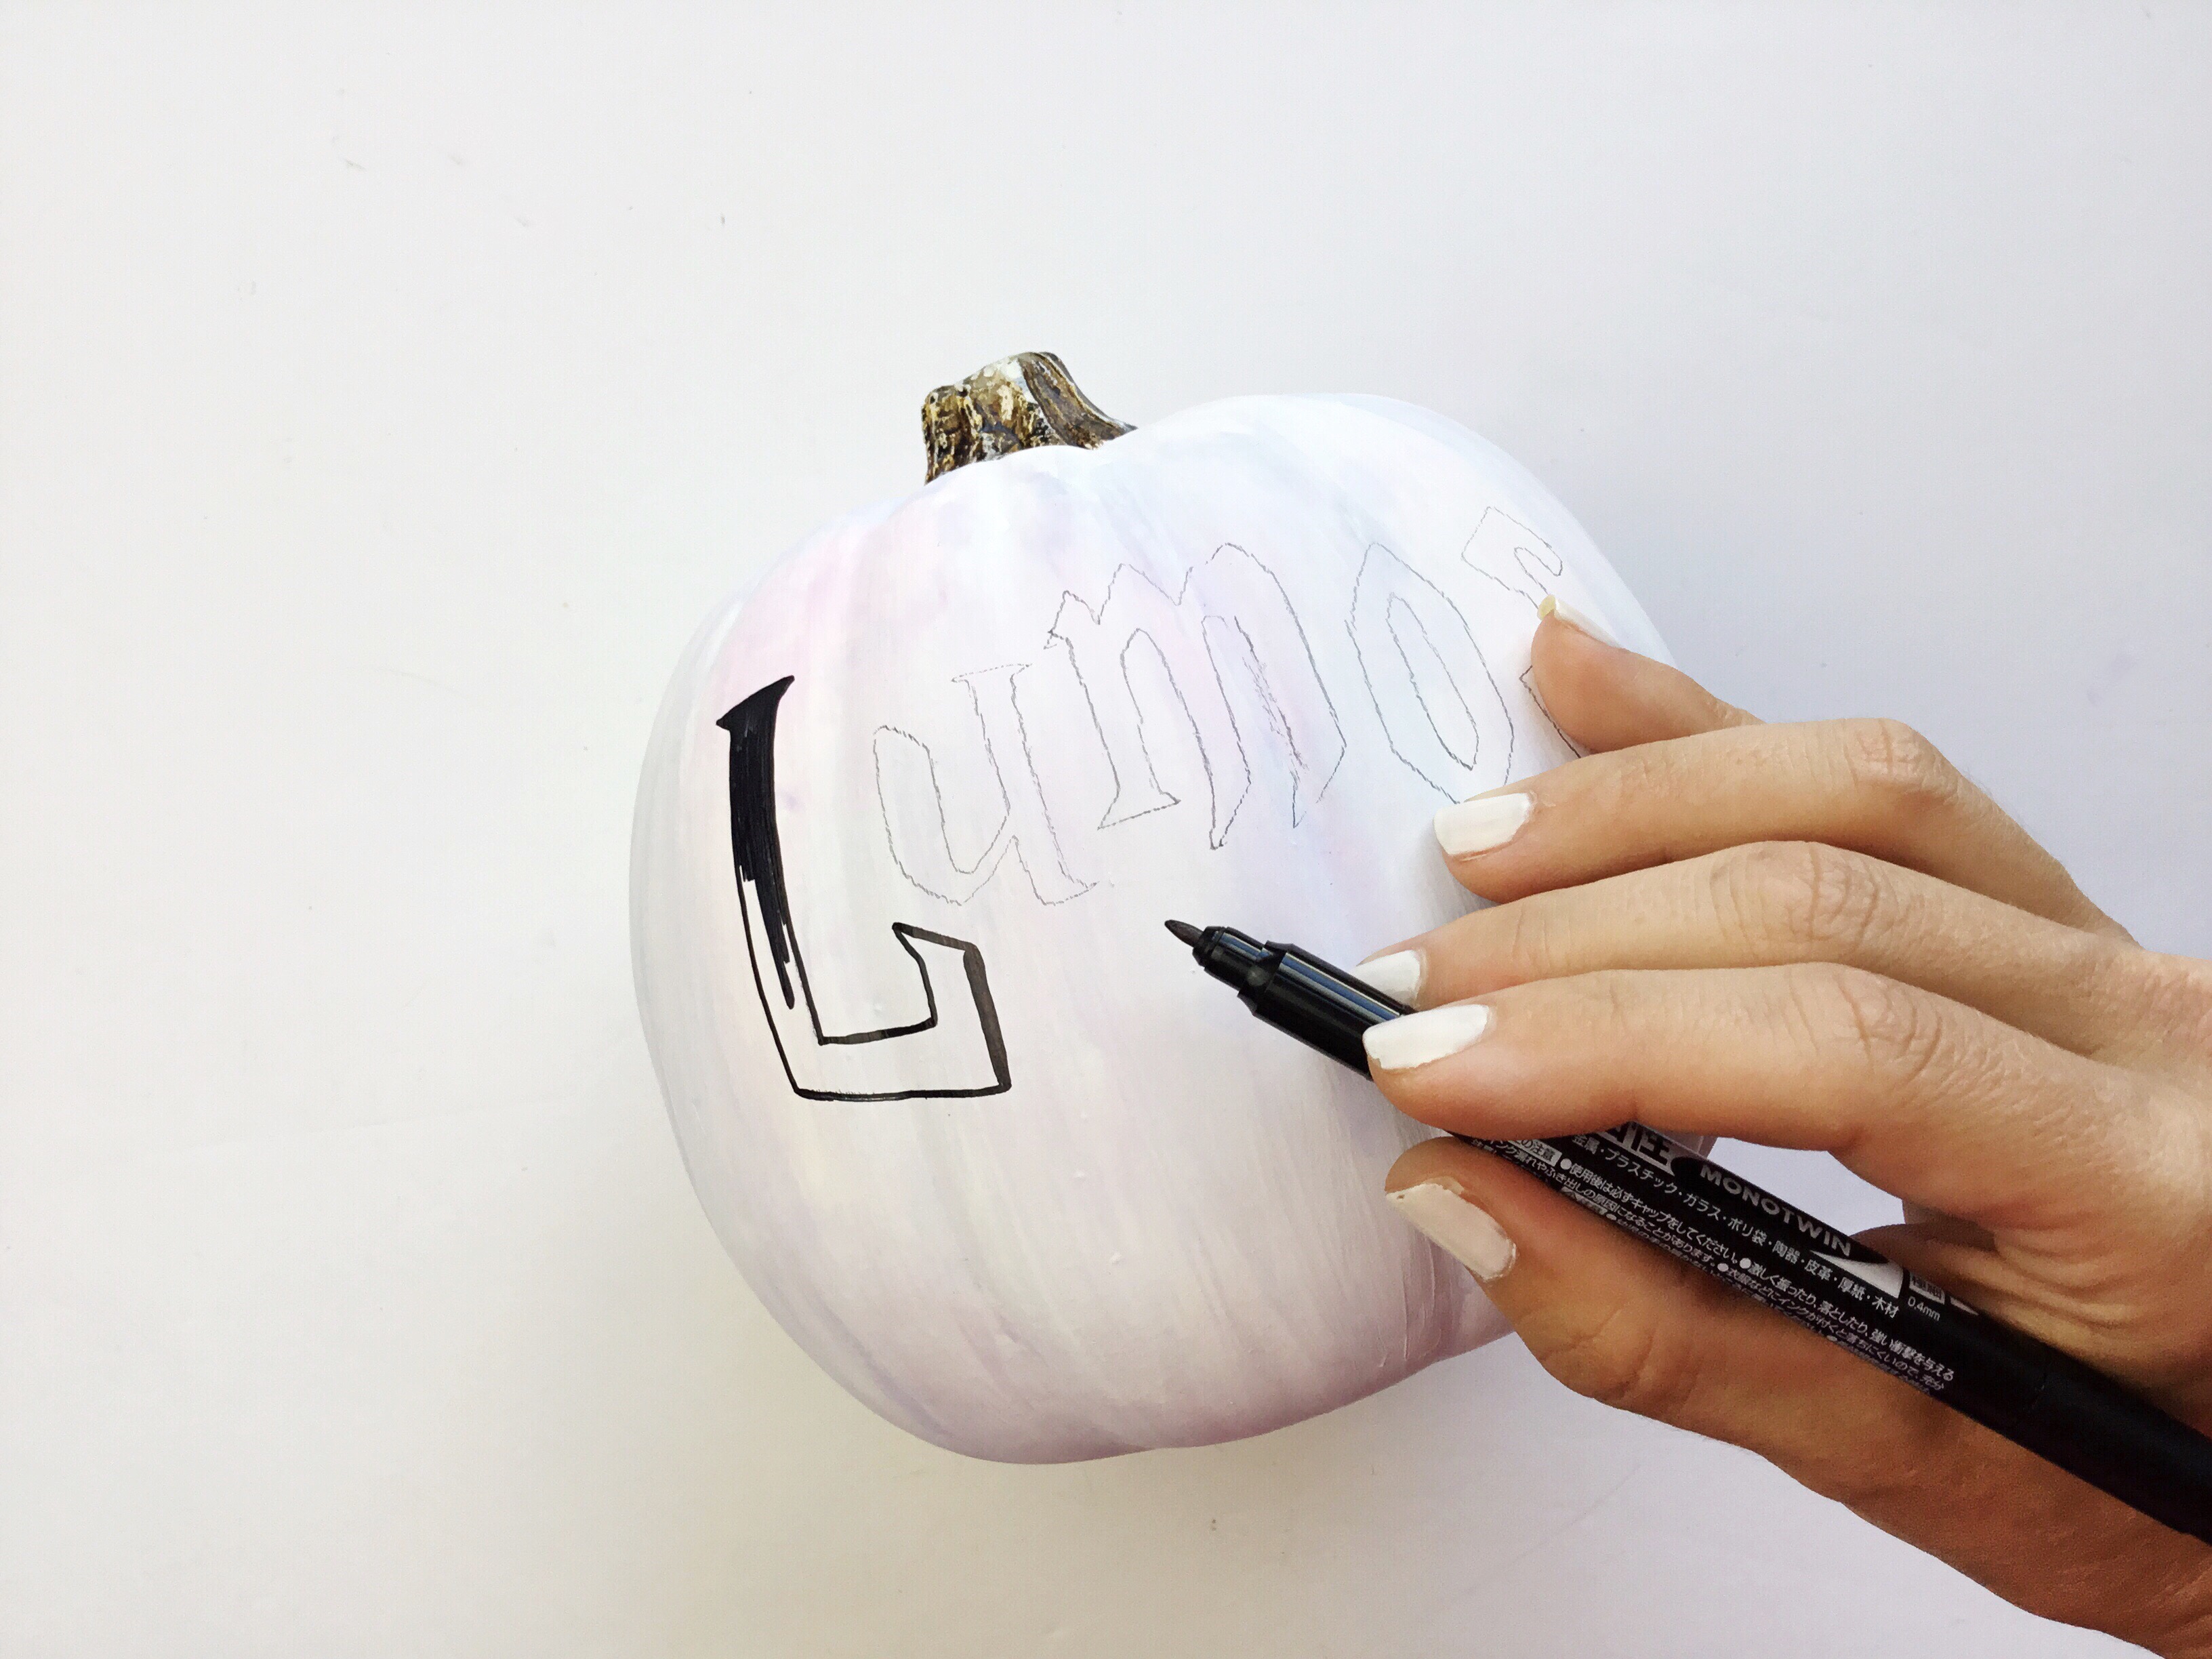
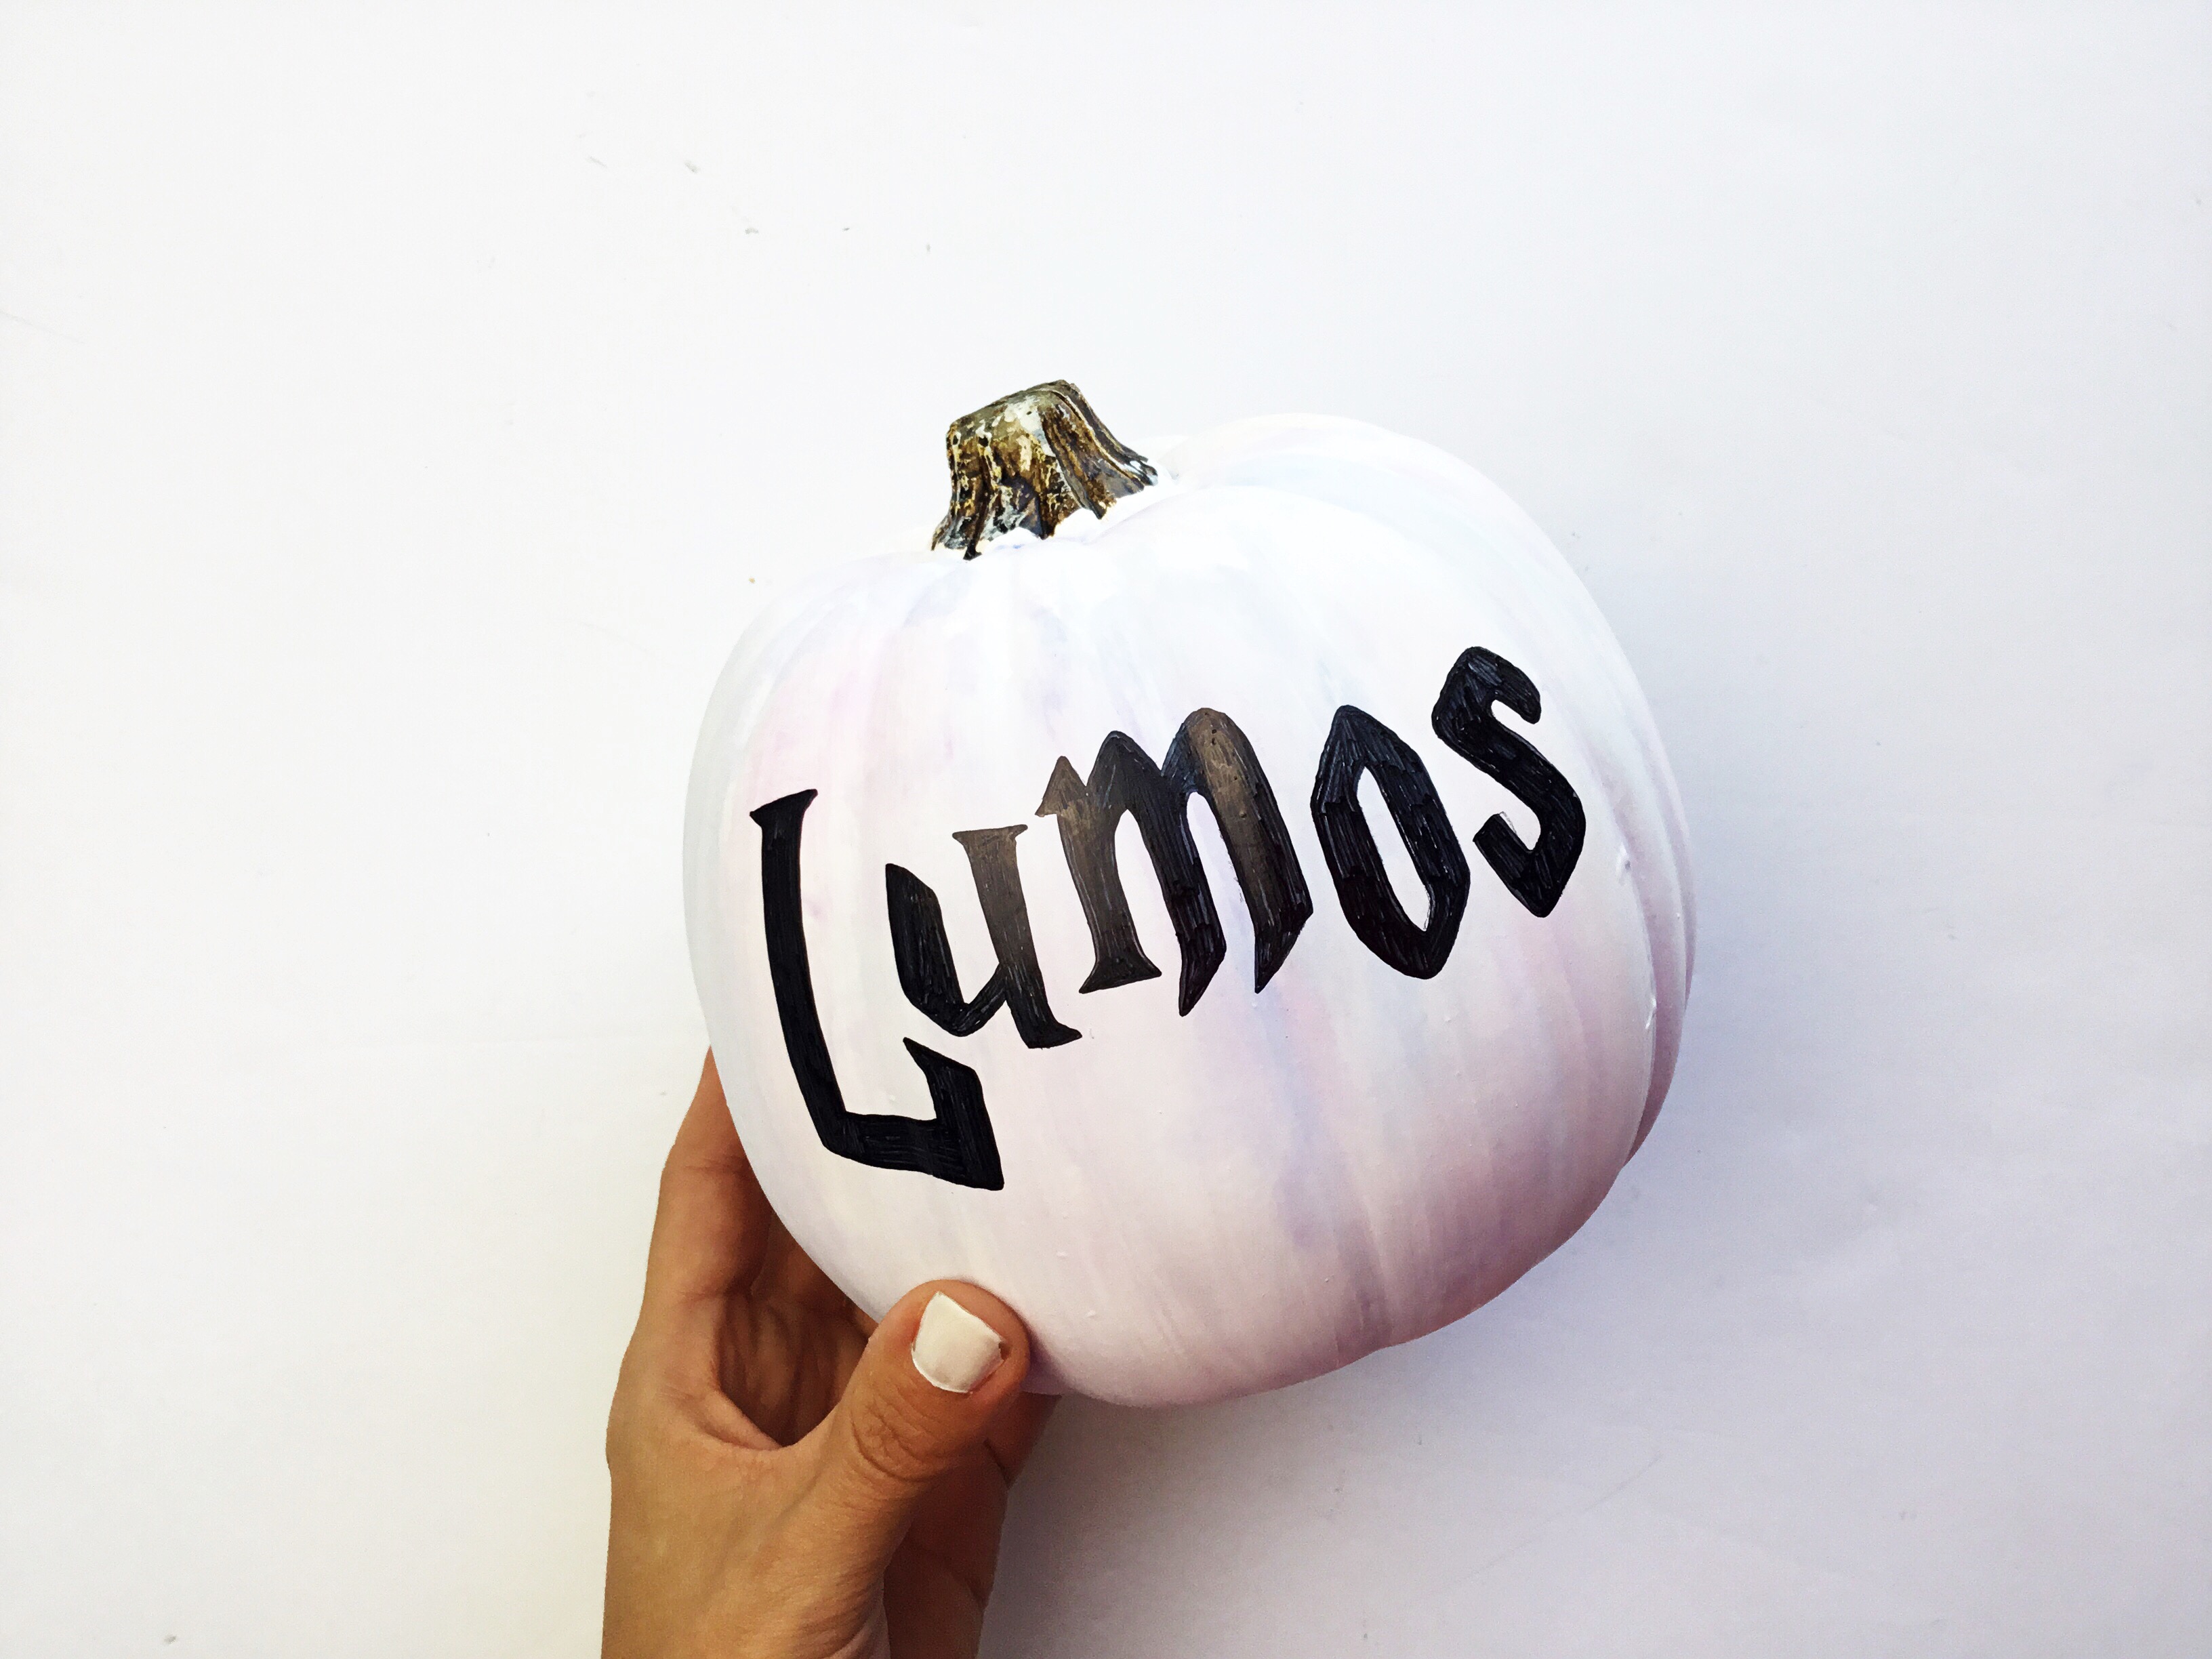
After you sketch the lettering, darken in the letters using the MONO Twin Permanent Marker. For this style of chunky lettering, outline the letter first then fill in. Erase any remaining pencil marks.
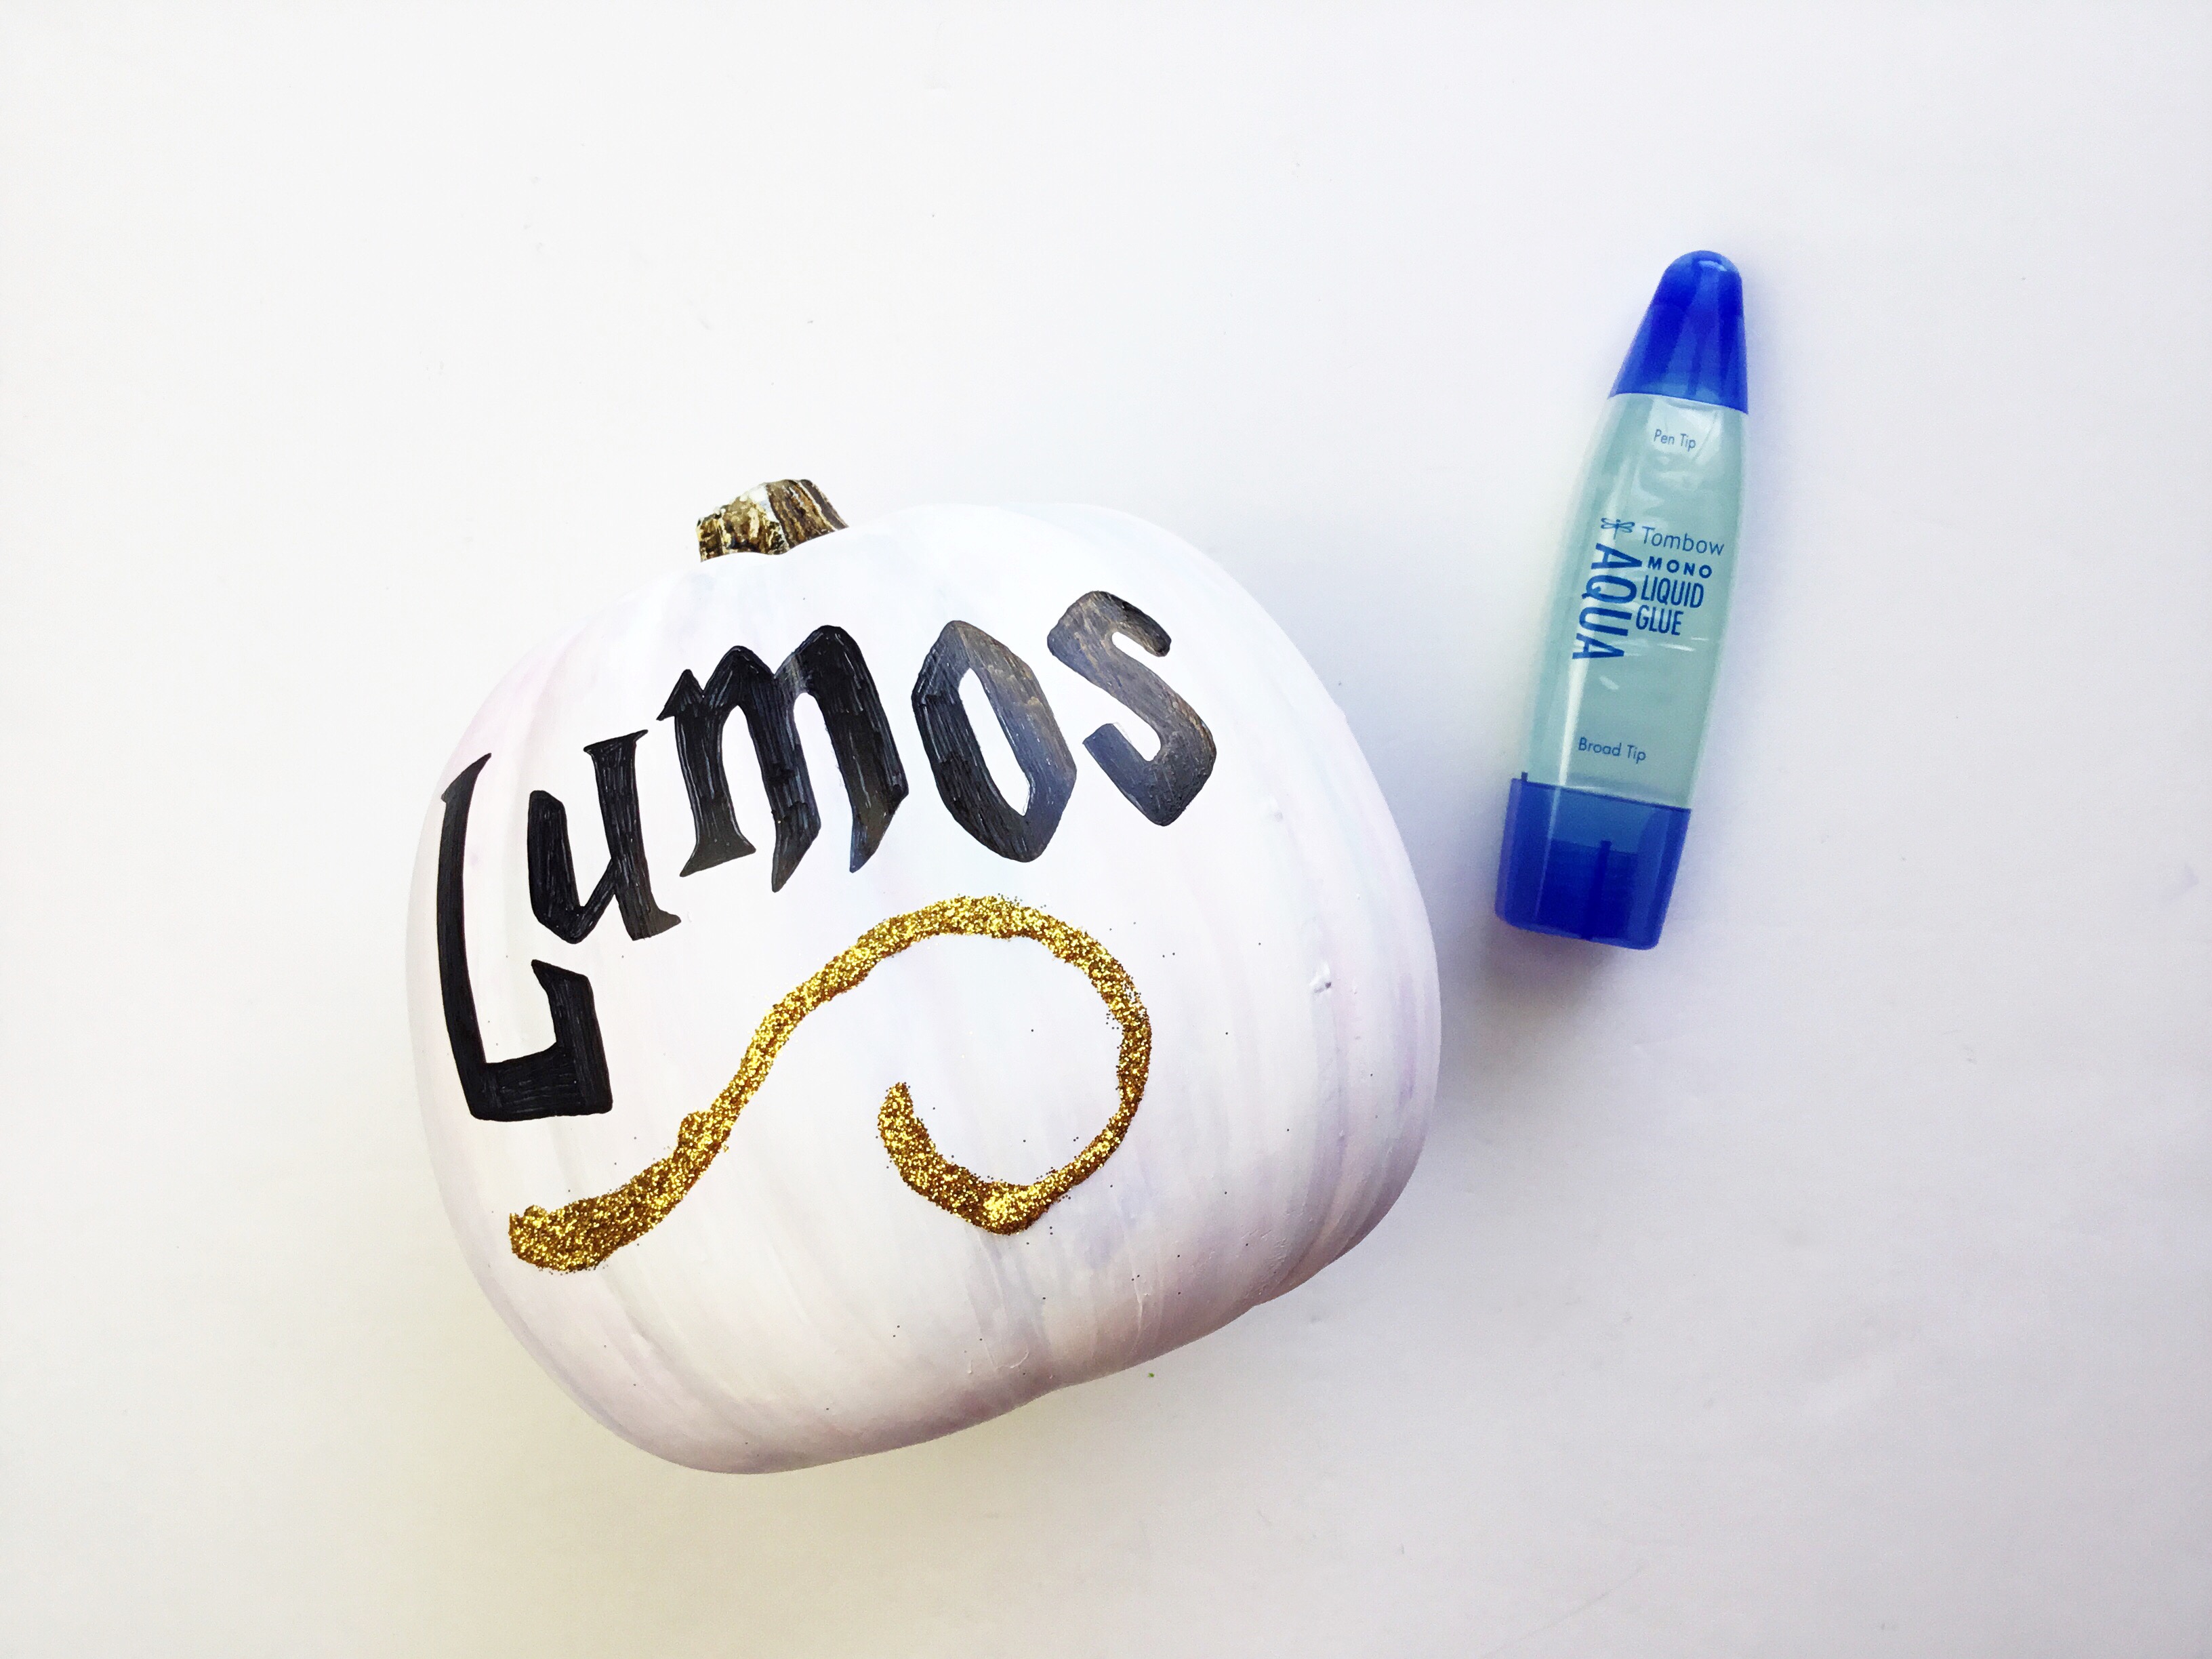
STEP 3: Add some sparkle!
This is the wand-lighting spell, so why not have some sparkle?! Using Tombow MONO Aqua Liquid Glue, lay out a pretty swirly line and dump some glitter over it. Shake off and voila! Sparkle!
Now you have the perfect magical pumpkin to display in your home or for a party! Play around with the watercolor colors to create different backgrounds. Make some pumpkins with other spells or quotes from the Harry Potter books. Have fun with it! I recommend using your pumpkin for indoor use only.

Amanda Kammarada is a hand-lettering artist with a love for bright cheerful words that spread kindness and inspiration. She is a Tombow USA Brand Ambassador, brush lettering teacher and has created card designs for Mixbook. This year, Amanda illustrated “Hand Lettering Guide: Step by Step Hand Lettering Guide for Beginners.” She loves Harry Potter, chocolate and drinks way too much coffee.
Follow her on her blog, Instagram, and Facebook
Pingback: Spiderweb Halloween Hoop Decor - Tombow USA Blog
Pingback: Simple Harry Potter Accordion Book - Tombow USA Blog