Hi crafty friends! Dani from PopFizzPaper here today sharing how to create a magical pocket letter. All this week, the Tombow Design Team has been creating projects with my Scary Harry Halloween collection! It’s perfect for this spooky season and comes with papers, diecuts, and journal cards that I watercolored myself. I’ve included a process video at the end of this post if you want to see this project being created. Let’s get started!
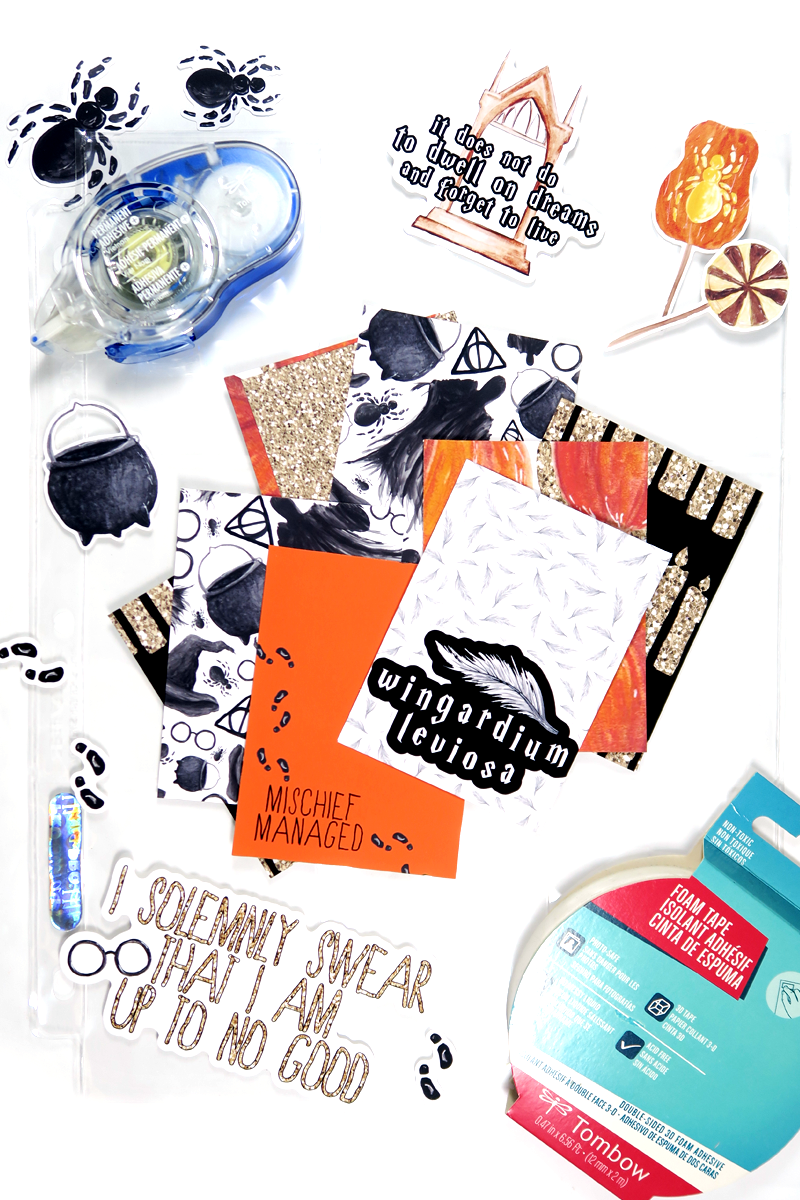
SUPPLIES:
- Scary Harry Halloween collection
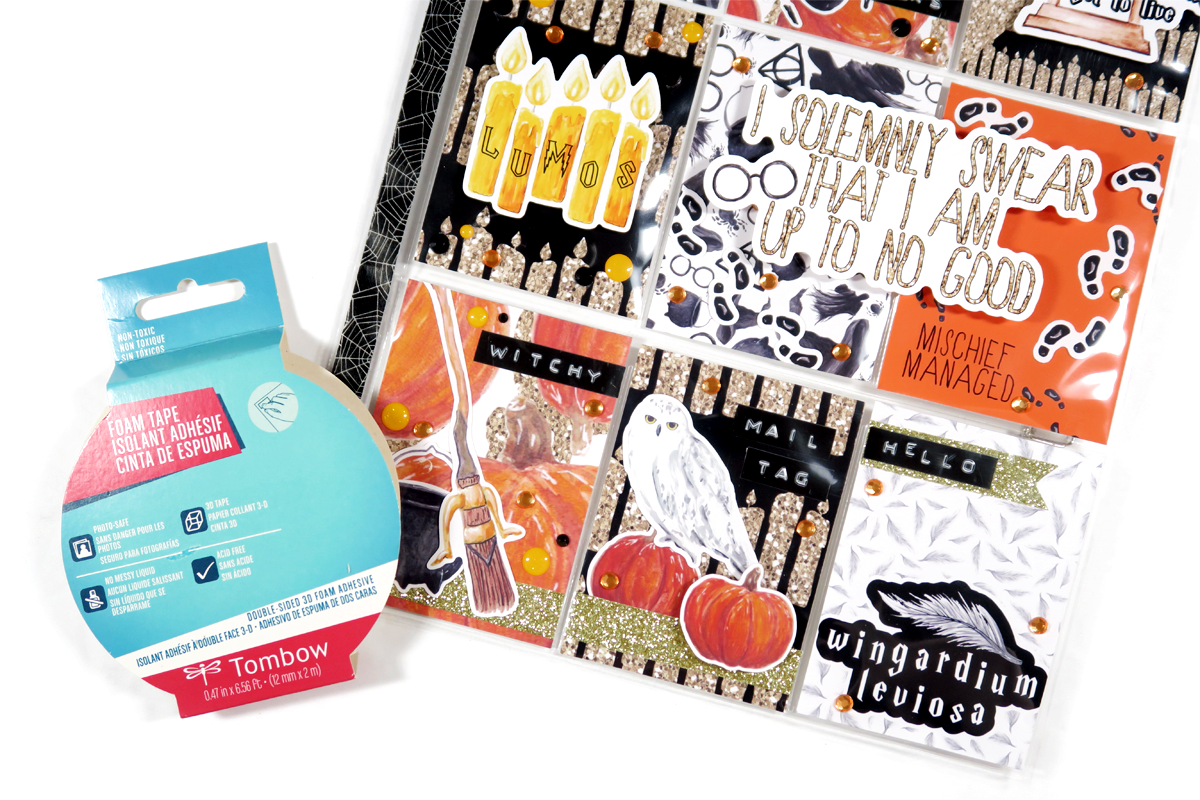
- Tombow Foam Tape
- Tombow MONO Adhesive+ Permanent
- Washi tape and enamel dots
- Label maker or word/alphabet stickers
- Pocket letter page
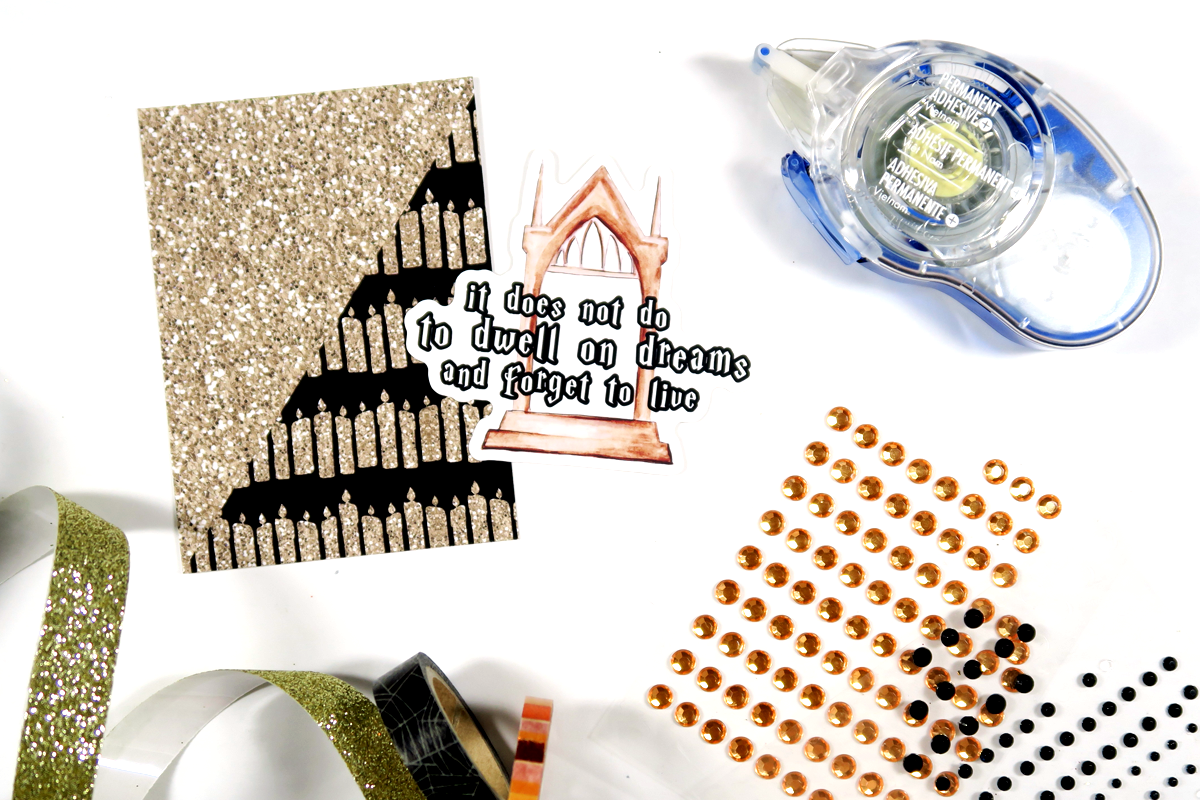
STEP ONE
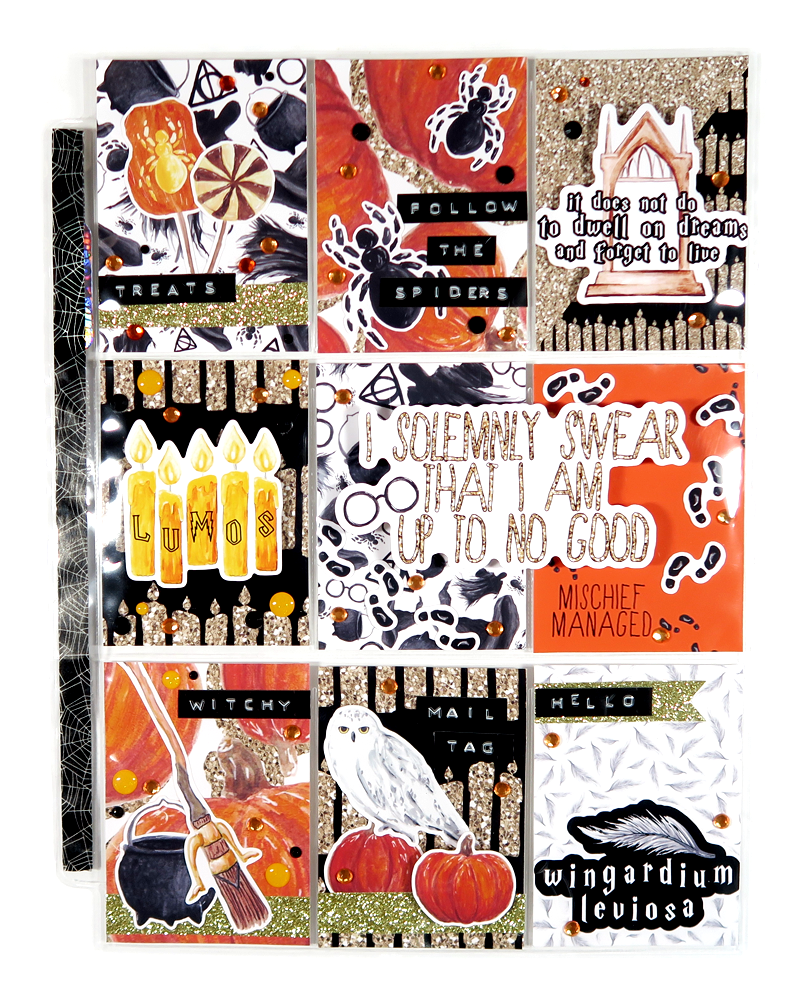
To begin, choose what patterns you want to use from the Scary Harry Halloween collection for your pocket cards. I am using a mix of papers and cards, and cut them down to 2 5/8″ x 3 5/8″. We will need 9 cards in total.
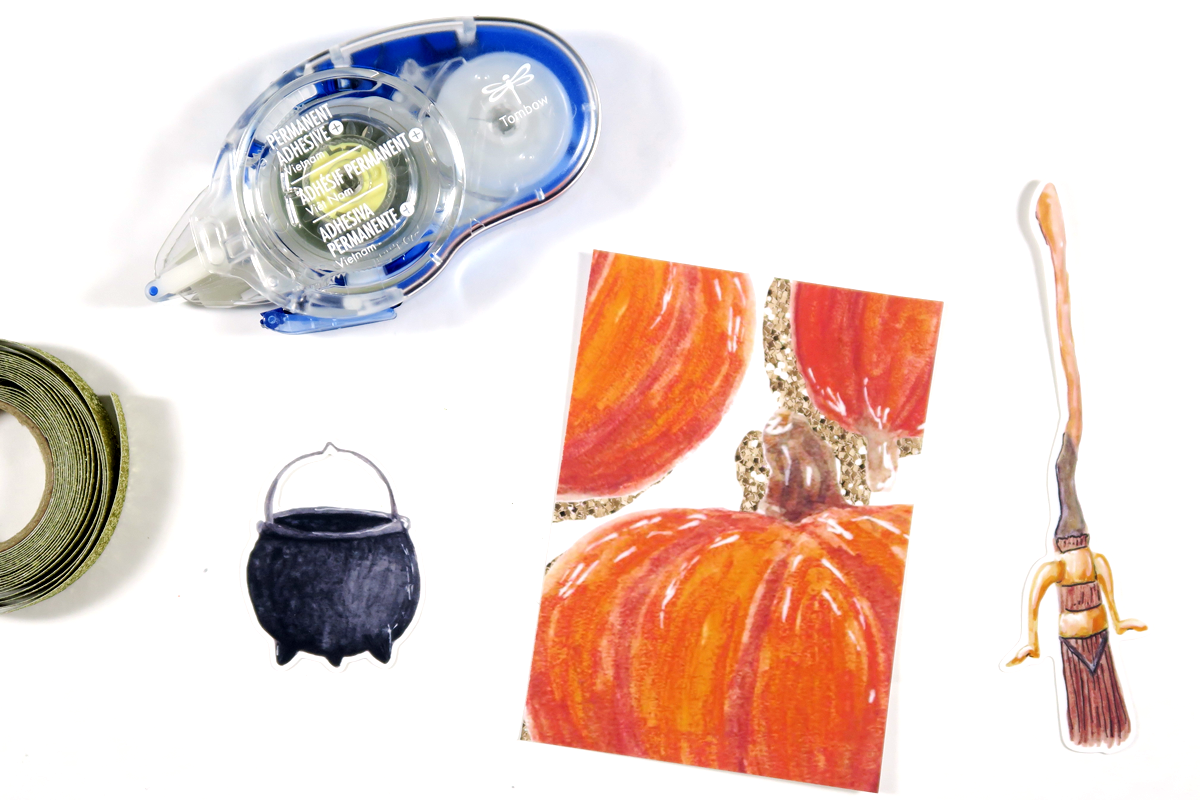
STEP TWO
Next, start decorating your cards! I like layering on a bit of washi, then a diecut or two. To decorate this pumpkin card, I’m adding the black cauldron, broomstick, and gold glitter washi tape and adhering everything down with the Tombow MONO Adhesive+ Permanent.
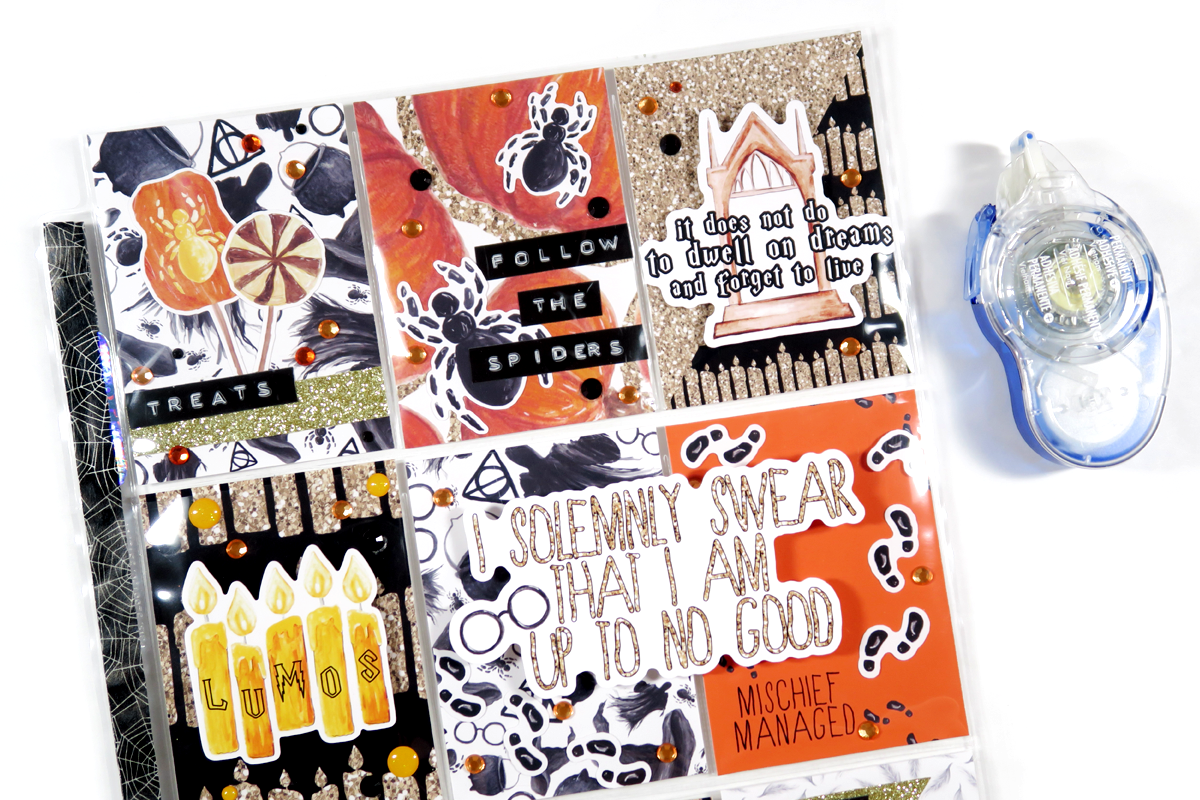
STEP THREE
It’s fun to layer some Tombow Foam Tape behind some of the diecuts to pop them up and give extra dimension to your pocket letter. I’m adding foam tape behind the candles to give the illusion that they’re floating!
STEP FOUR
Now, continue decorating your cards and adding embellishments like gems, enamel dots, and label stickers. Once you are done, it’s time to finally slip the cards into the pockets. Make sure to add some goodies to share behind them! You can watch the video below to see this pocket letter from start to finish! Which card is your favorite?
Thank you so much for following along with my Scary Harry Halloween pocket letter tutorial today! For more pocket letter inspiration, check out this Halloween one I made last year, then learn Serena’s video tips for pocket letters here. See you next time!
Pingback: 5 Tips for Fun Pocket Letters - Tombow USA Blog