Hi planner friends! Dani from PopFizzPaper here sharing how to create an easy DIY monthly calendar dashboard for your planner. Today I’m using cards by Mixbook and the new Tombow Fudenosuke Colors Brush Pens. Let’s get started!
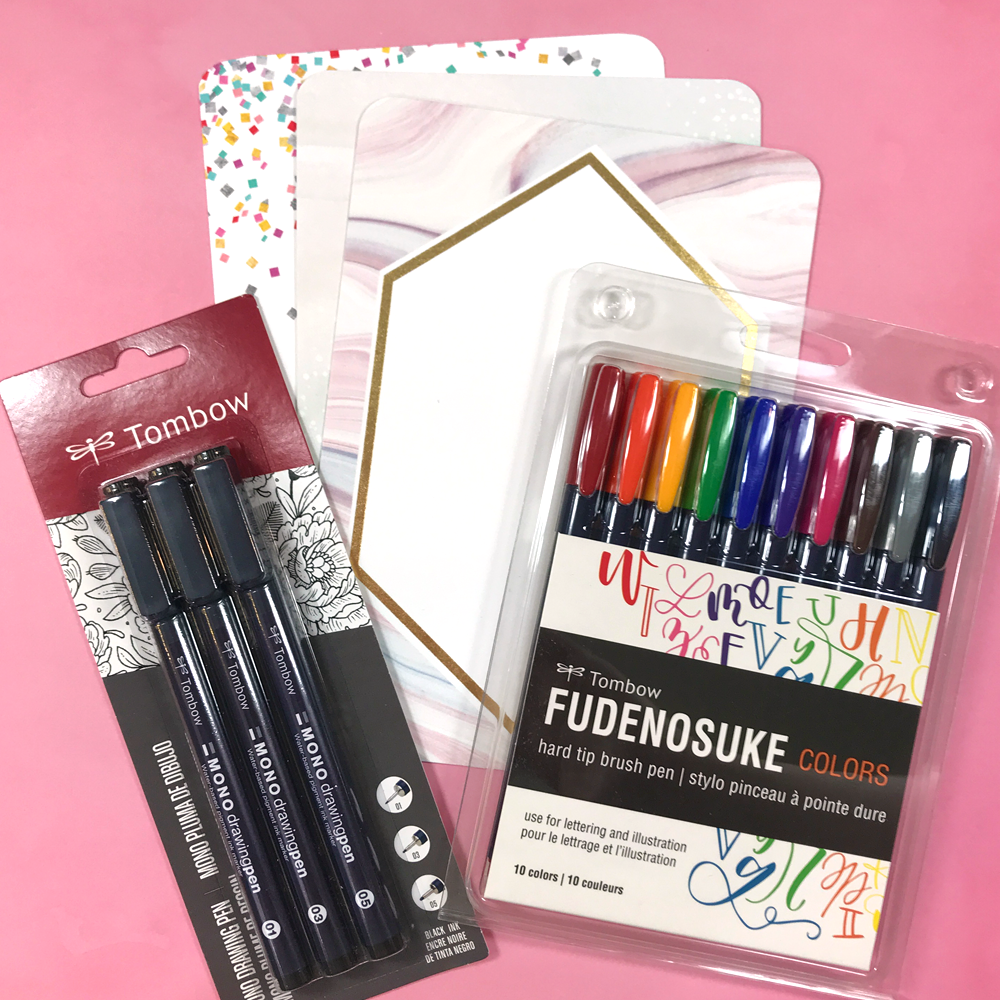
SUPPLIES:
- Tombow MONO Drawing Pencil
- Tombow MONO Light Eraser
- Ruler
- Mixbook cards
- Tombow MONO Drawing Pens
- Tombow Fudenosuke Colors Brush Pens
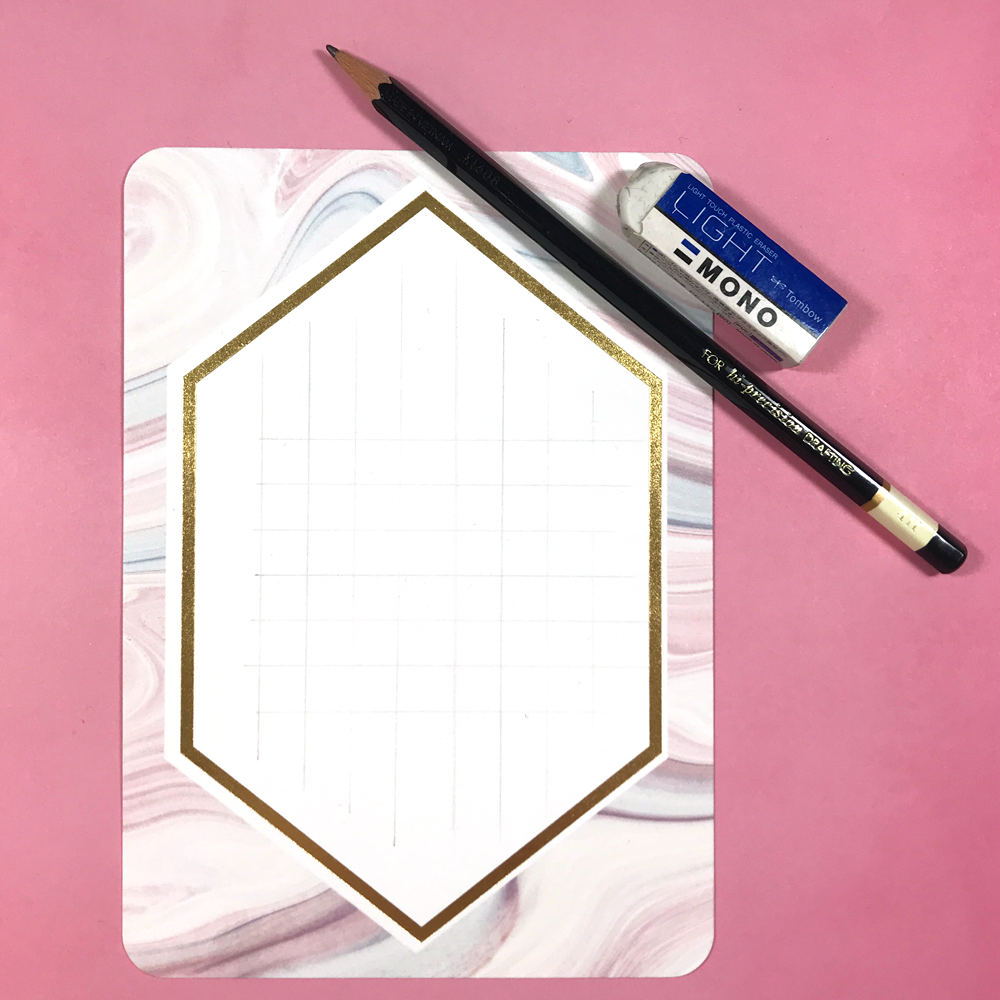
STEP ONE
To begin, choose a blank Mixbook card. Use a Tombow MONO Drawing Pencil and a ruler to draw a grid on your card. Make sure the grid is 7 boxes across. Next, count how many weeks are in the month you’re creating for, then add one. Make this number of grid boxes vertically.
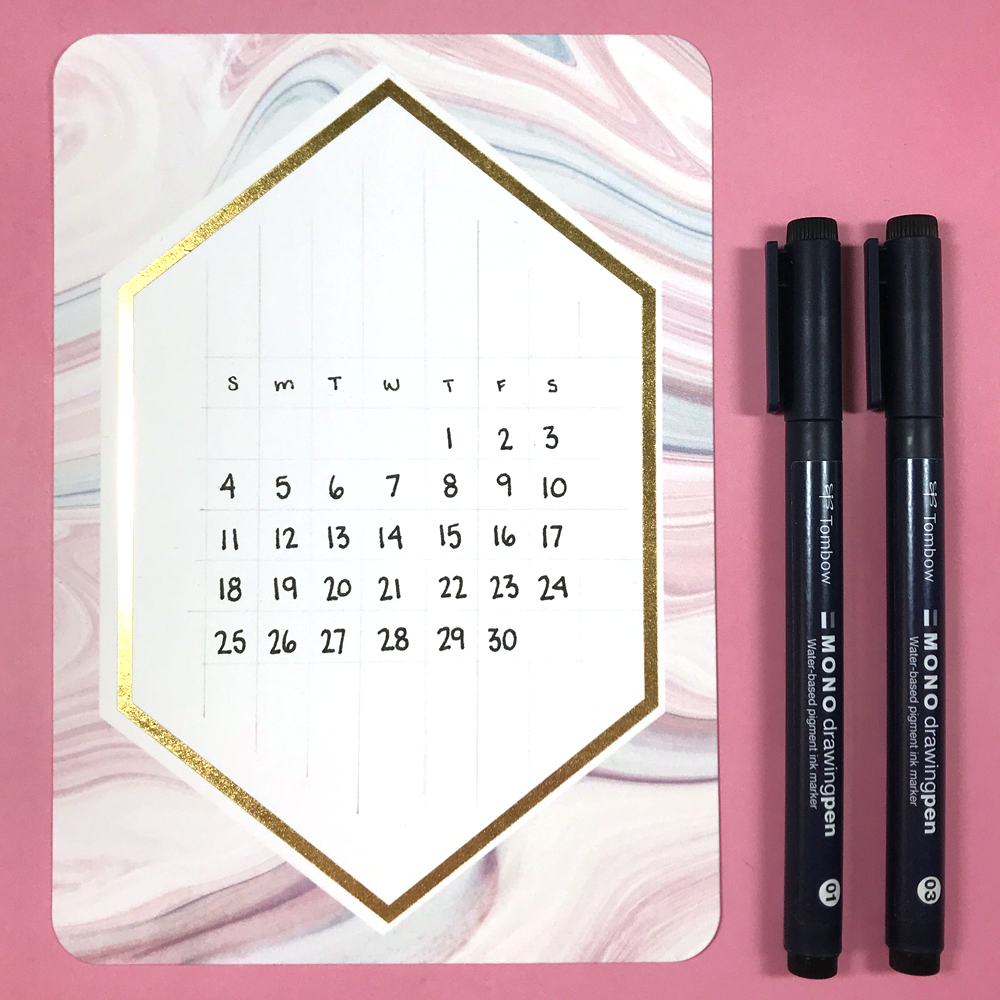
STEP TWO
Now, start filling in your calendar. For the first row, write in the days of the week using a Tombow MONO Drawing Pen in 01. With a Tombow MONO Drawing Pen in 03, write in the numbered dates.
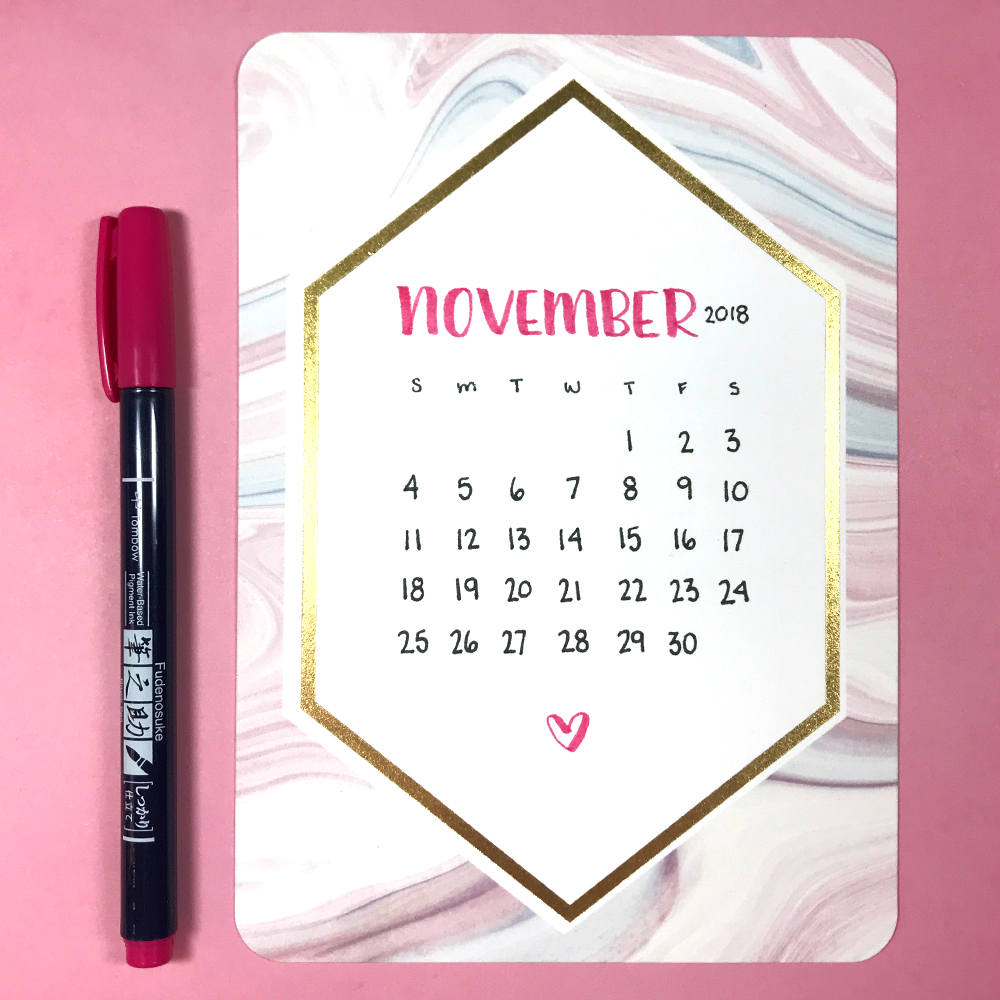
STEP THREE
To finish off the calendar, write in the month with a Tombow Fudenosuke Brush Pen in a color that coordinates with your Mixbook card. Finally, erase all of the pencil marks with a Tombow MONO Light Eraser and your monthly calendar dashboard is done! I like to pop mine into my dot grid journal in the current week’s spread, but it would also be great to slide into a spiral planner or punched to put into a ring bound planner. I really like that it’s moveable from week to week!
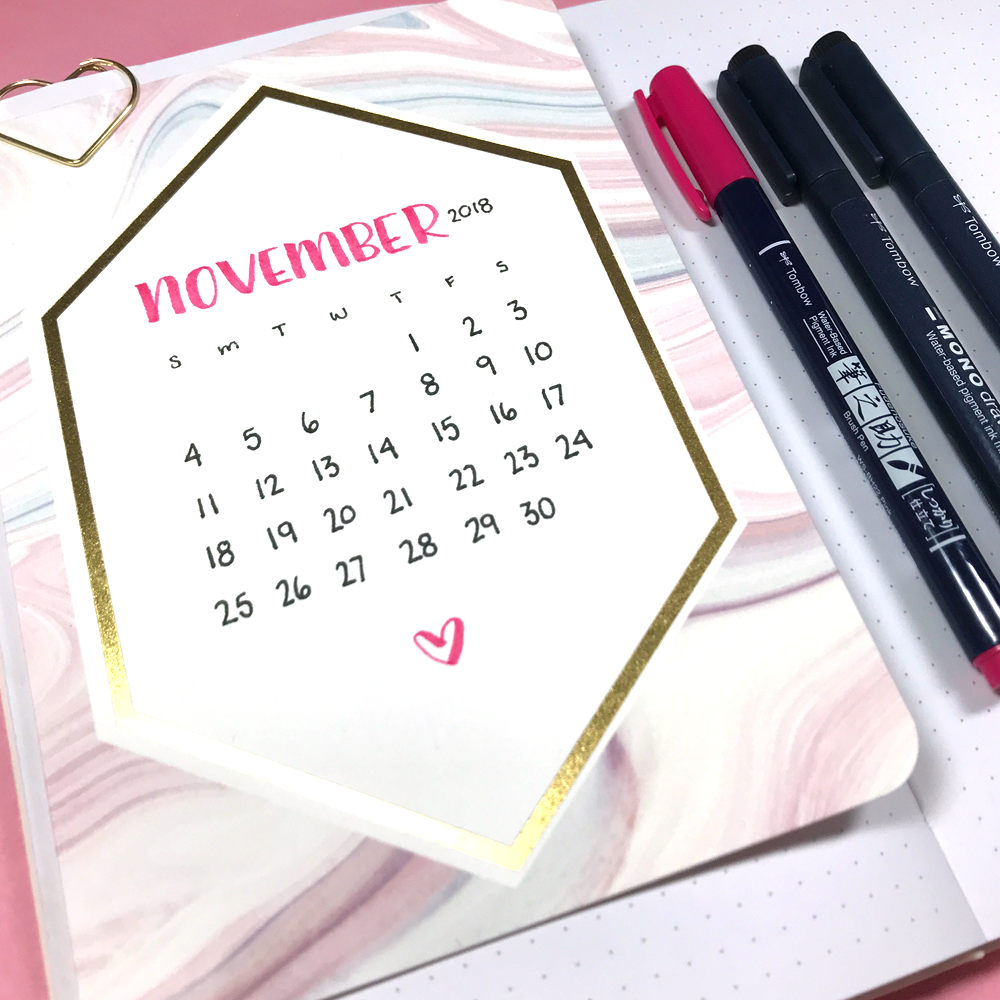
Thank you so much for following along with easy diy monthly calendar dashboard! For more planner inspo, check out this template by Bonnie and my DIY planner accessories here. See you next time!