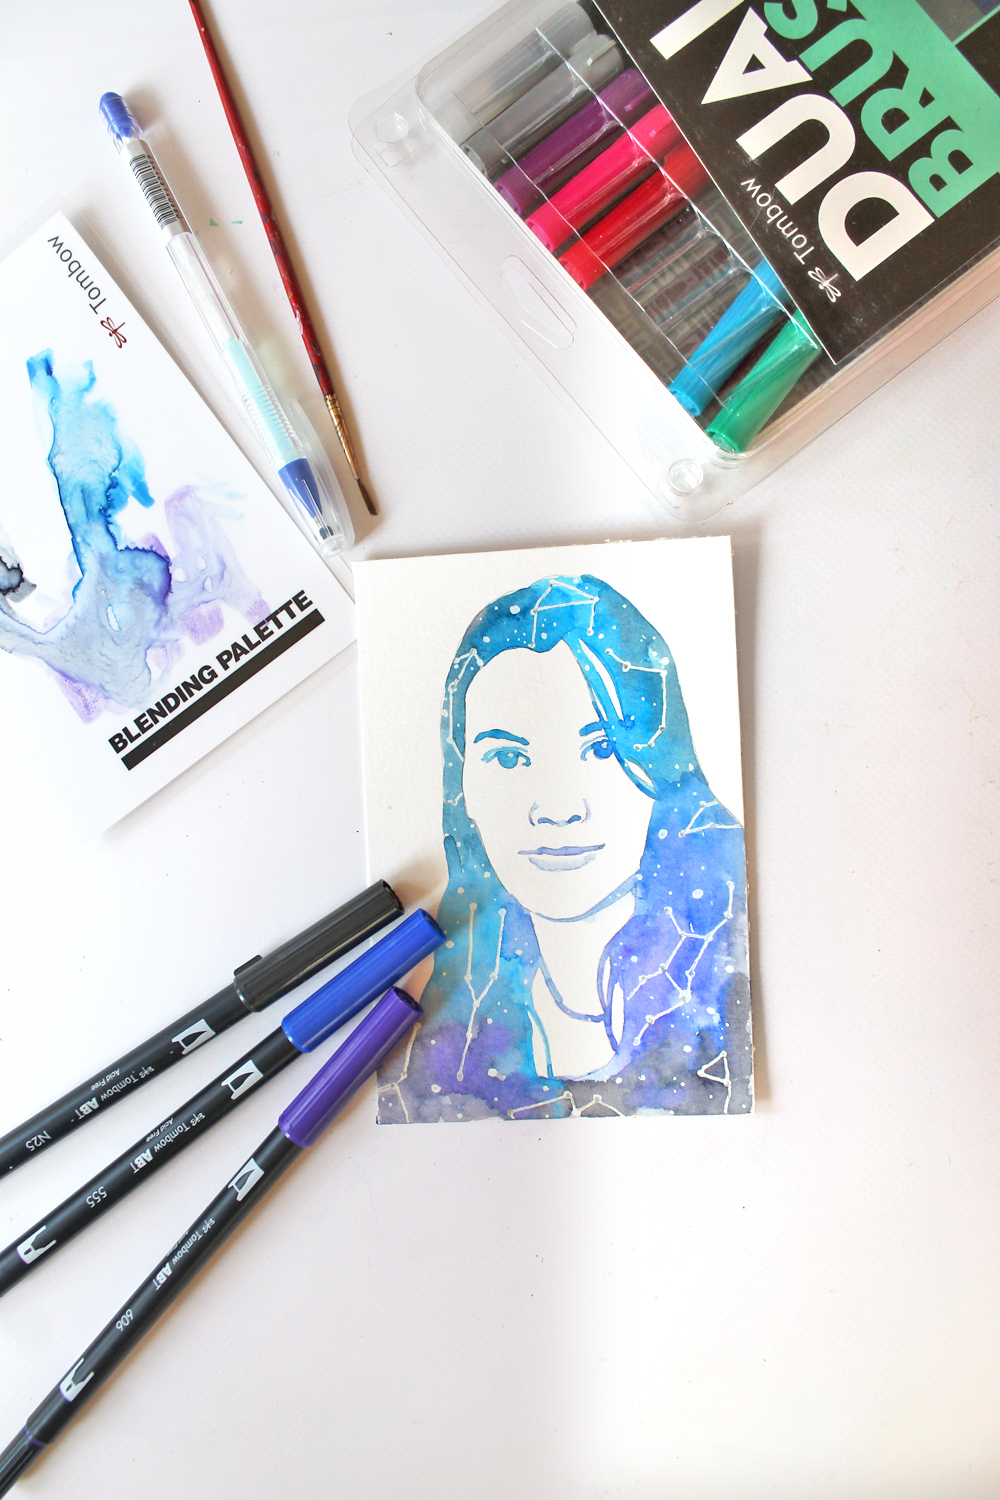
Hey everyone, it’s Katie from Studio Katie. Today’s project is one inspired by the night sky and I’ll be showing you how to paint a watercolor constellation self portrait.
Supplies you’ll need:
- Tombow Dual Brush Pen Galaxy 10-Pack
- Tombow MONO Glue Pen
- 140lb Watercolor Paper
- Tombow MONO Drawing Pencil
- Tombow Blending Kit
- Small Paintbrush
- Black and white photograph
- Lightbox (I’m using the Cricut Brightpad)
Step one:
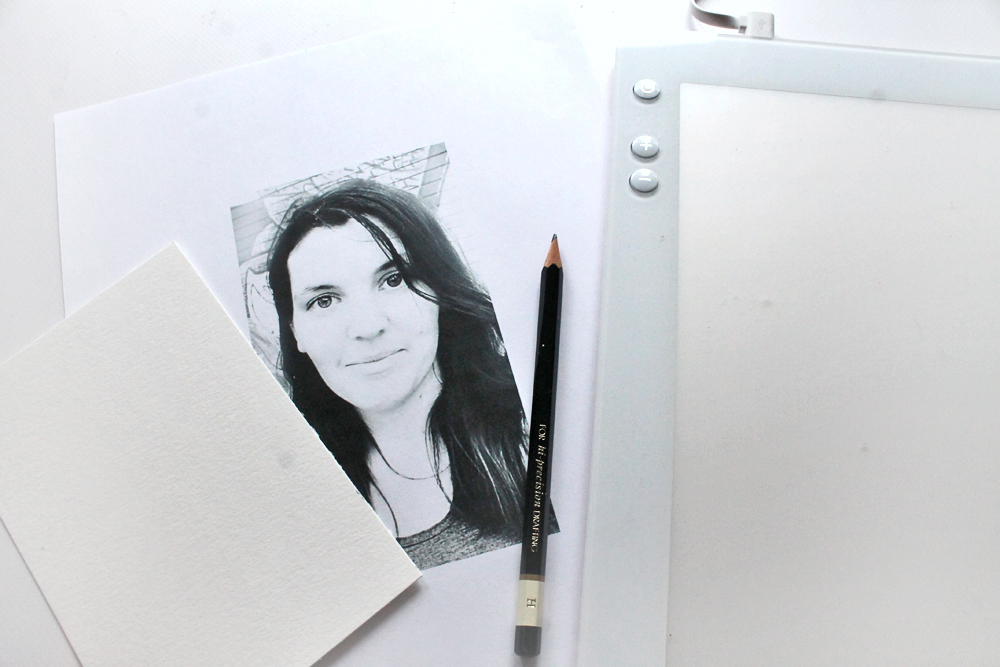
To make tracing easier, I recommend opening your photo up in an editing program first. Boost both the brightness and contrast so that your portrait is closer to a silhouette and then print it out to the size you want.
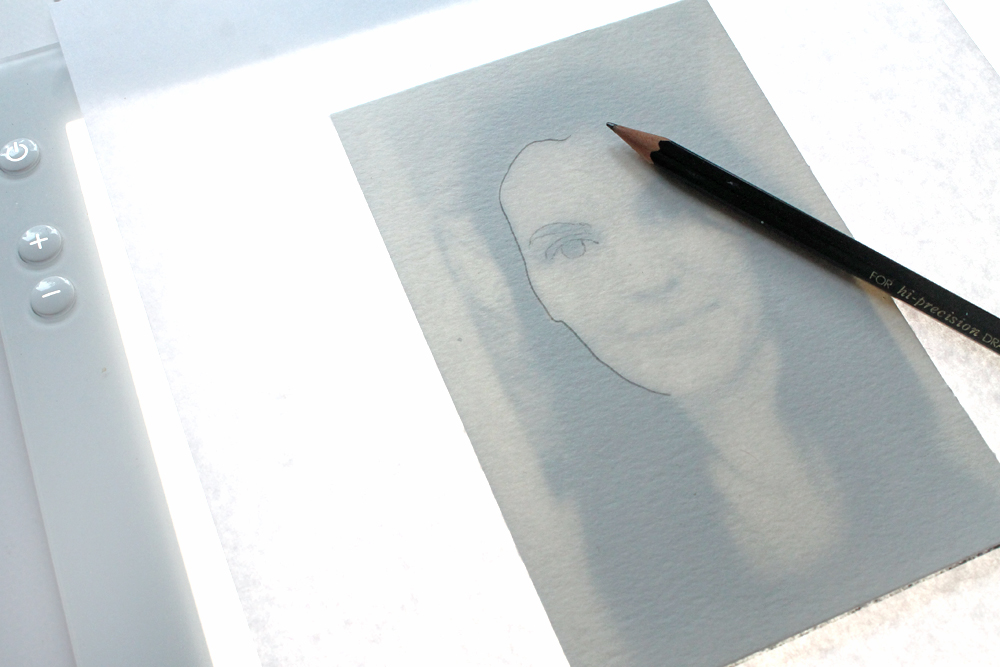
Layer your watercolor paper over your photograph and place them onto the light pad, lightly tracing the portrait with the MONO Drawing Pencil.
Step two:
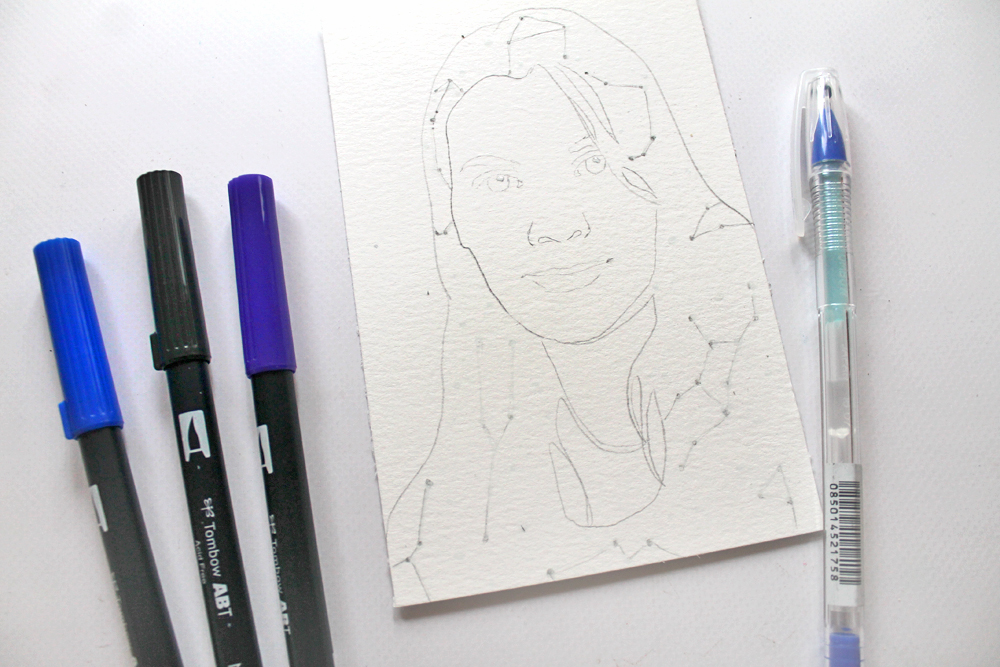
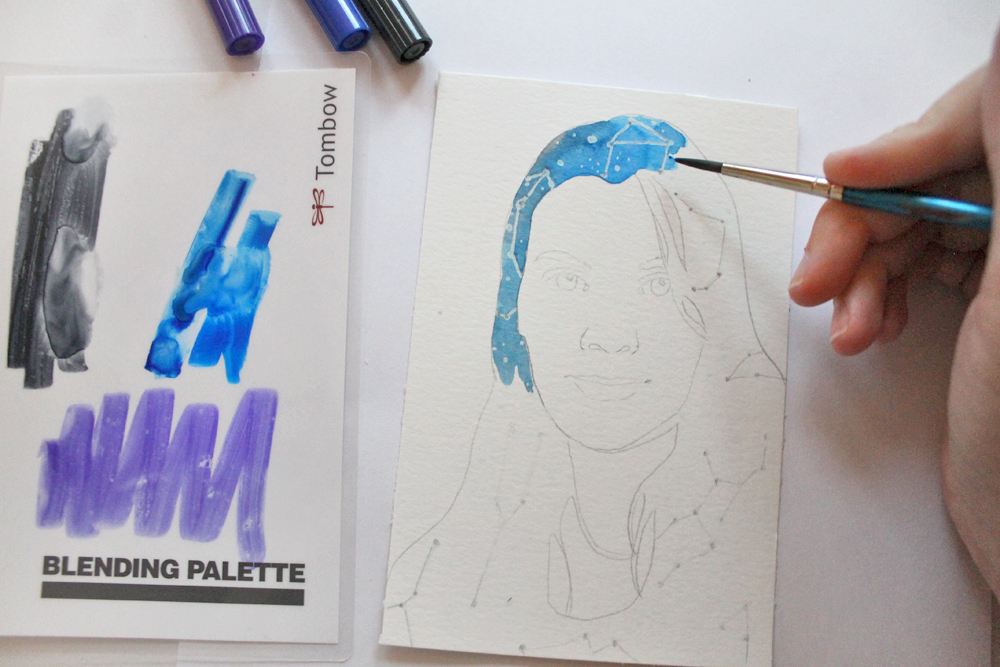
Next add a few constellations! I sketched them lightly with the H-grade MONO Drawing Pencil, and then went over them using the MONO Glue Pen, as well as adding a lot more dots for stars with the glue pen. The glue will act as a resist, which you’ll see in the next step!
Step three:
Choose a few colors of Dual Brush Pens from the Galaxy 10-Pack, and brush a bit of the ink onto the Blending Palette.
Use a wet paintbrush to pick up the ink, and paint in your portrait. As you brush over the constellations, the glue will resist the ink and stand out as white, just like magic!
Here are 10 color combinations you can make using the Galaxy Dual Brush Pen 10-pack.
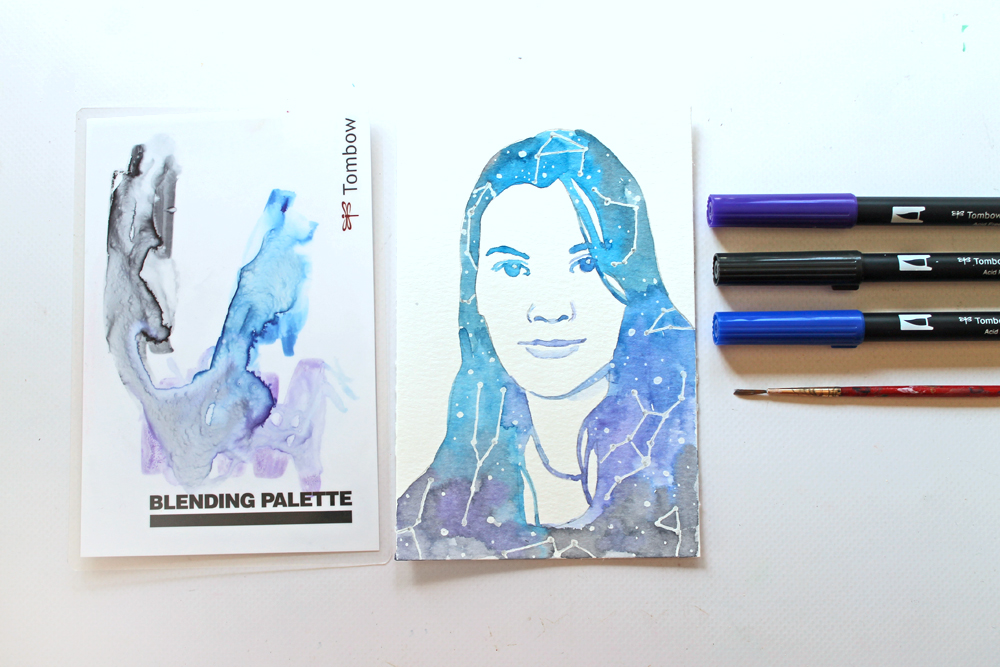
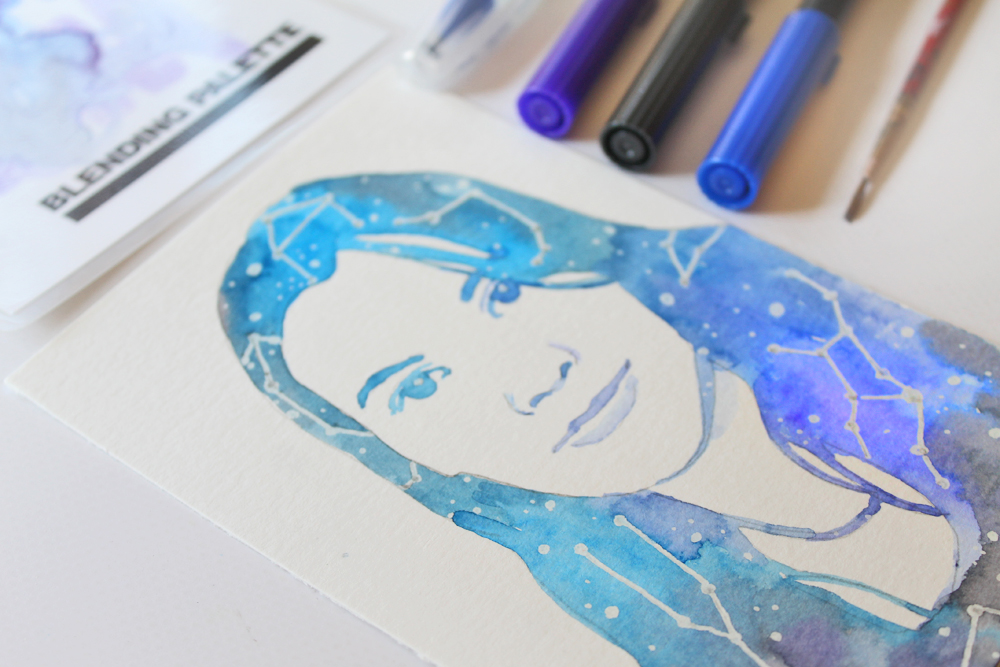
Let the ink dry and your watercolor constellation self portrait is done!
I used multiple constellations in my portrait, but I also think it would be neat to use only your zodiac sign (which for me would be Virgo!), only paint one for a friend using their sign for a fun gift!
Want another fun portrait project? Learn how to create a Floral Self Portrait!
Pingback: Easy Zodiac Masking Art Using MONO Adhesive Removable - Tombow USA Blog