Hello Tombow Friends, Adrienne here from Studio 80 Design! National Craft Month is coming up in March, so to celebrate we’re getting our craft on! I thought it would be fun to show you how to create a beautiful Dahlia Tissue Paper Flower using Dual Brush Pens! These tissue paper flowers would make cutest party decor or you could string them to make a banner!
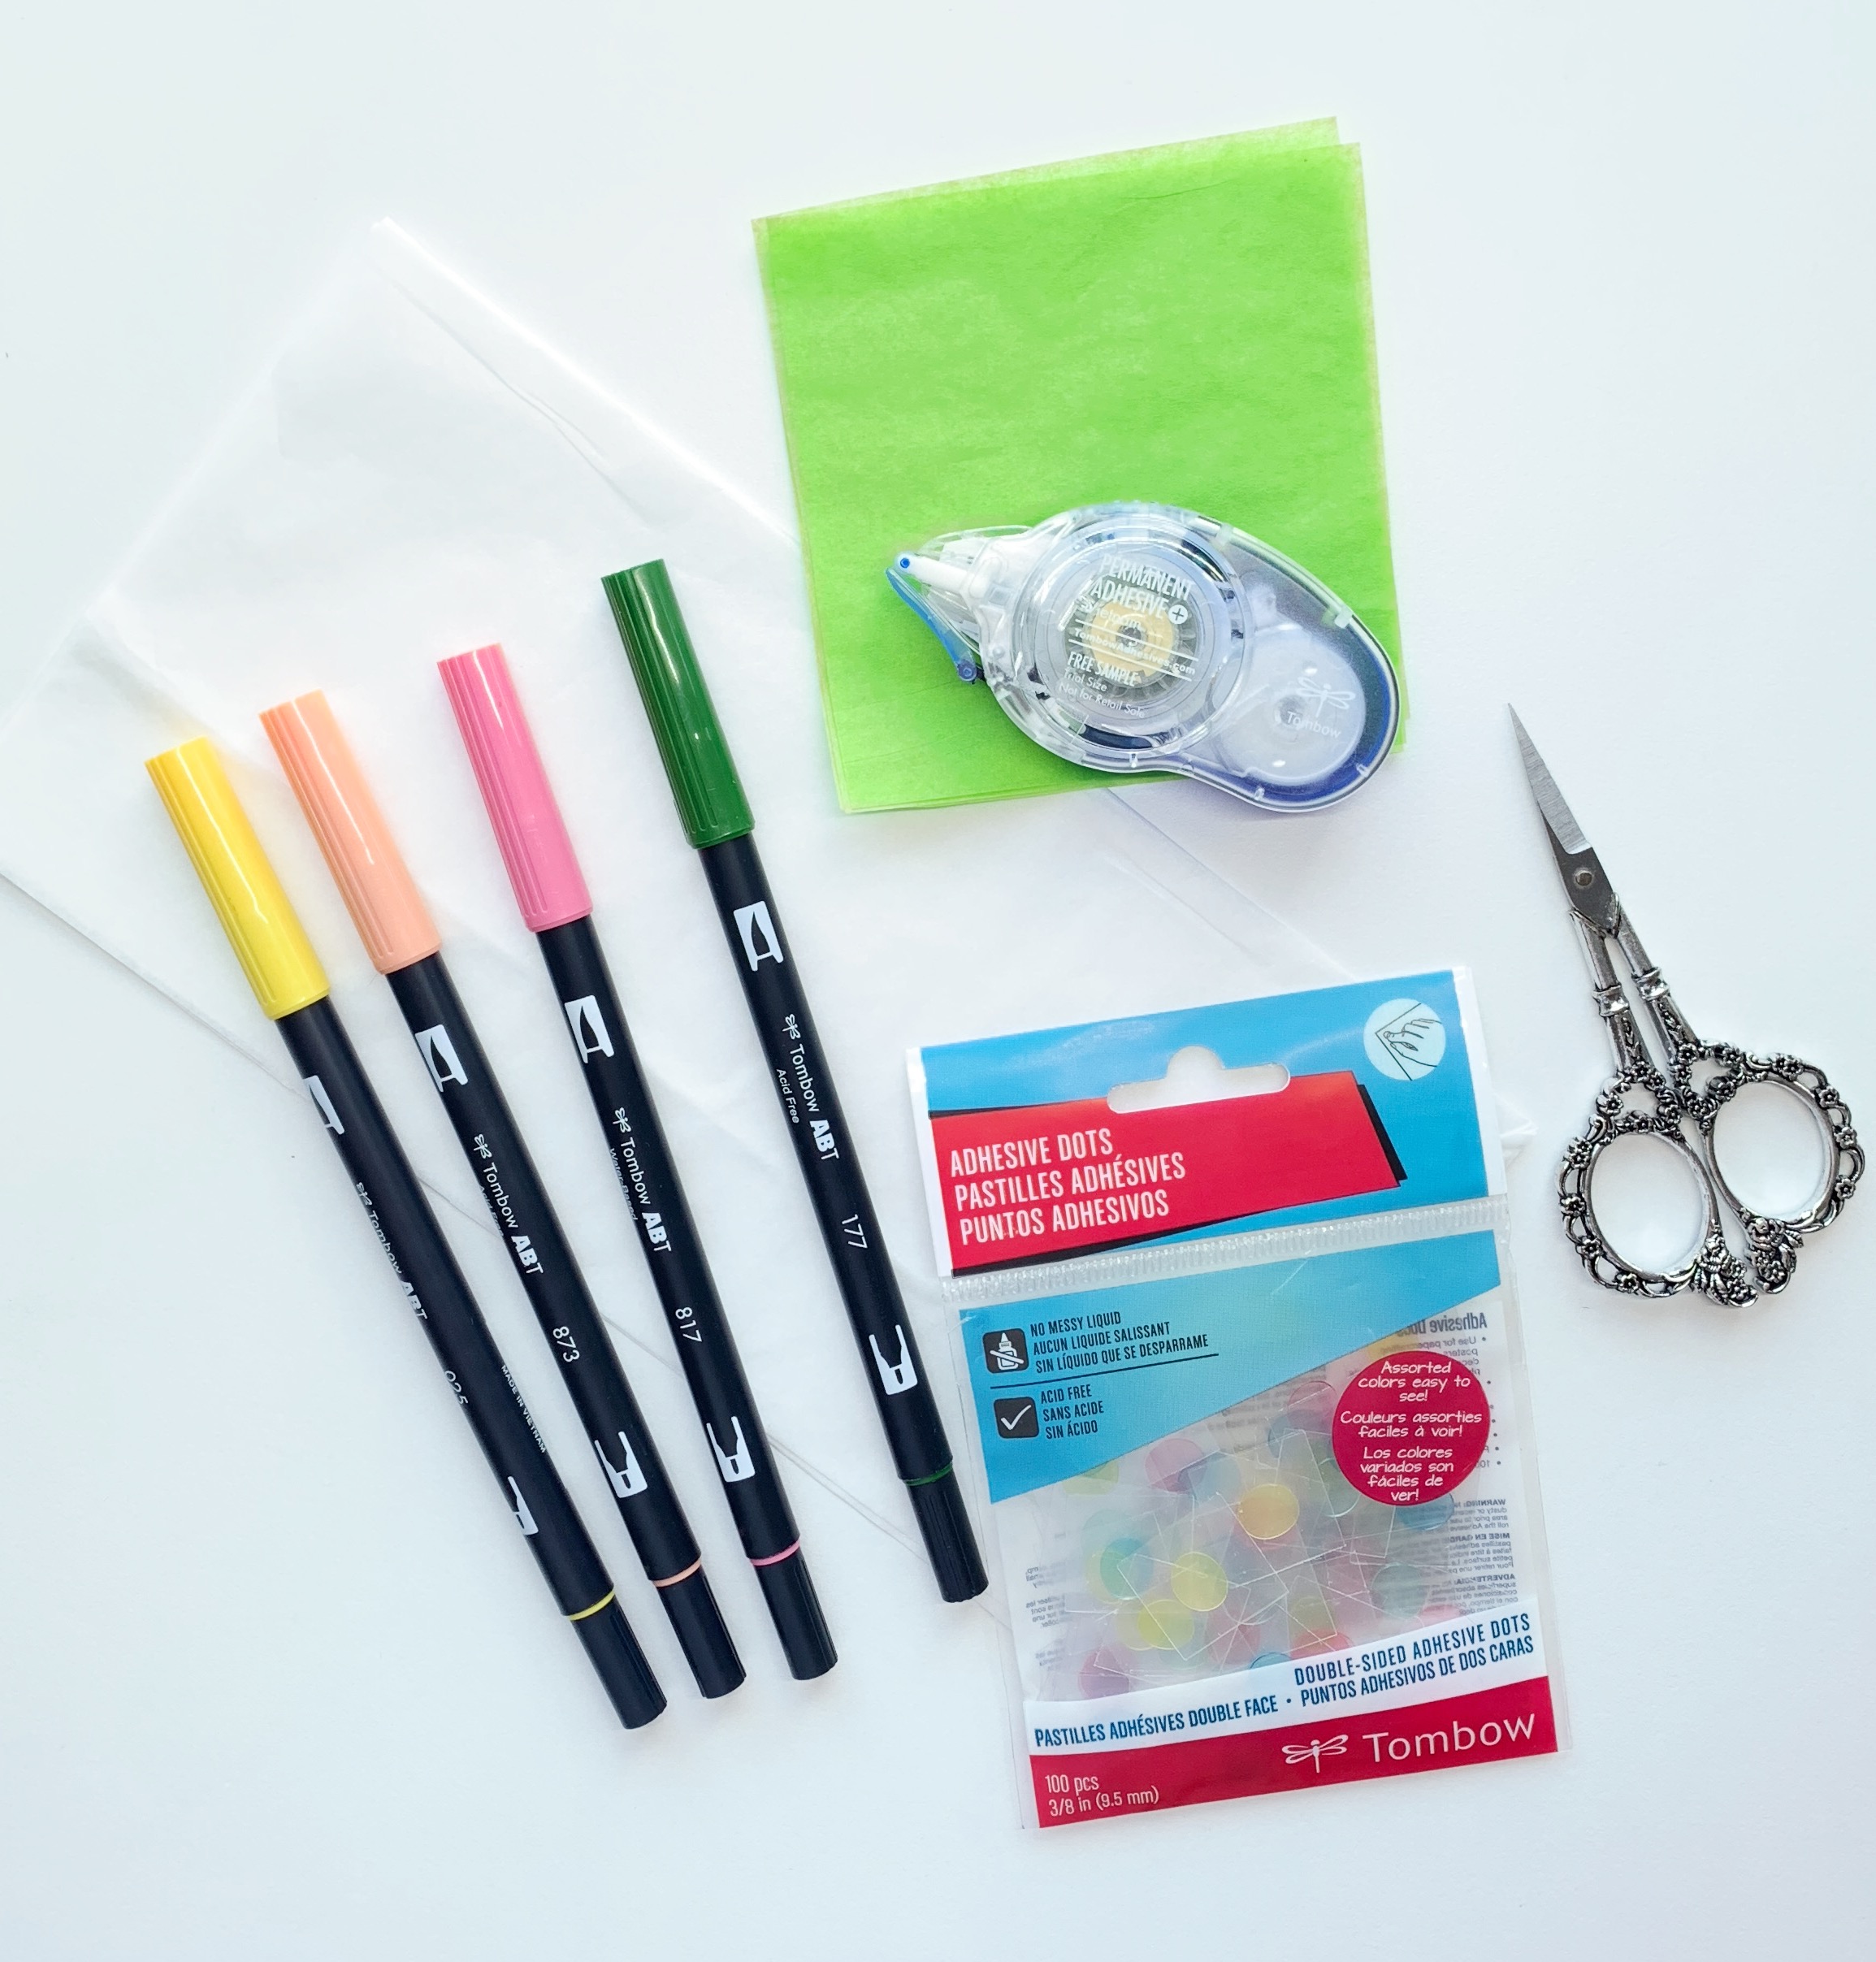
Materials you’ll need:
- White Tissue Paper, 6 pieces cut to 10in x 5in
- Green Tissue Paper, 4 pieces cut to 4in x 4in
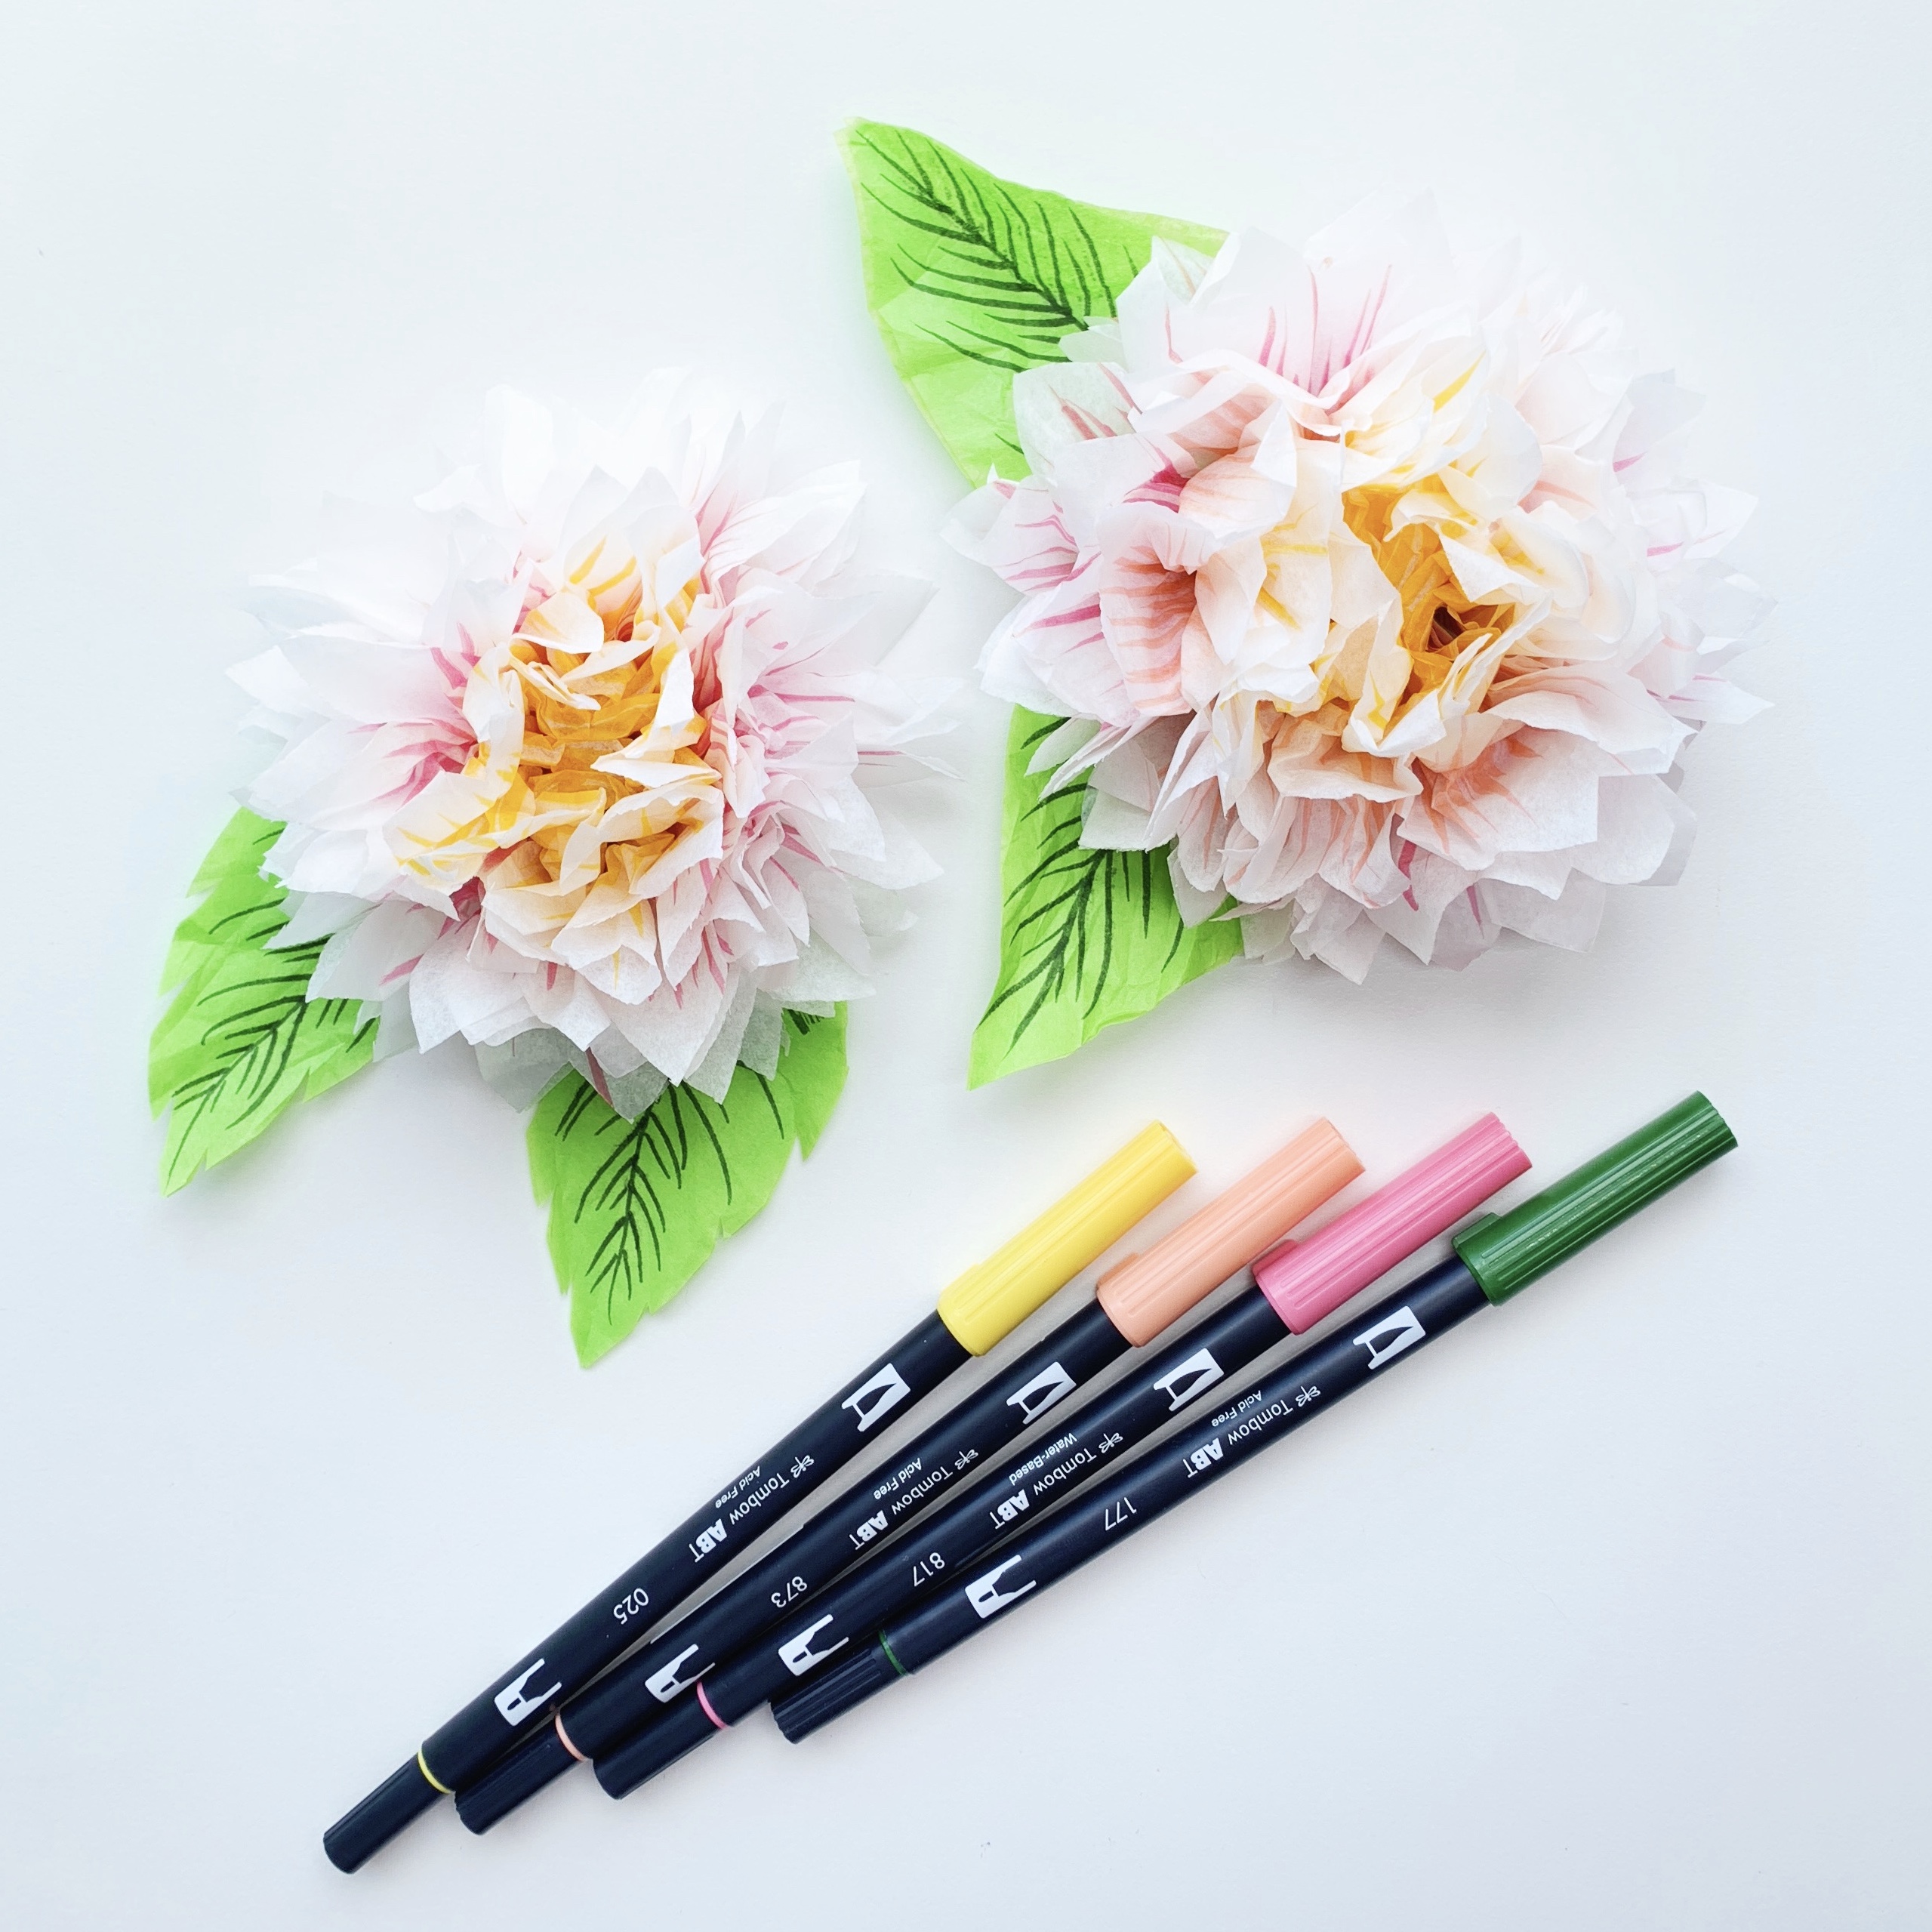
- Tombow Dual Brush Pens (I used 025 Light Orange, 873 Coral, Mauve 817, 177 Dark Jade)
- Tombow MONO Adhesive+ Permanent
- Tombow Adhesive Dots
- Scissors
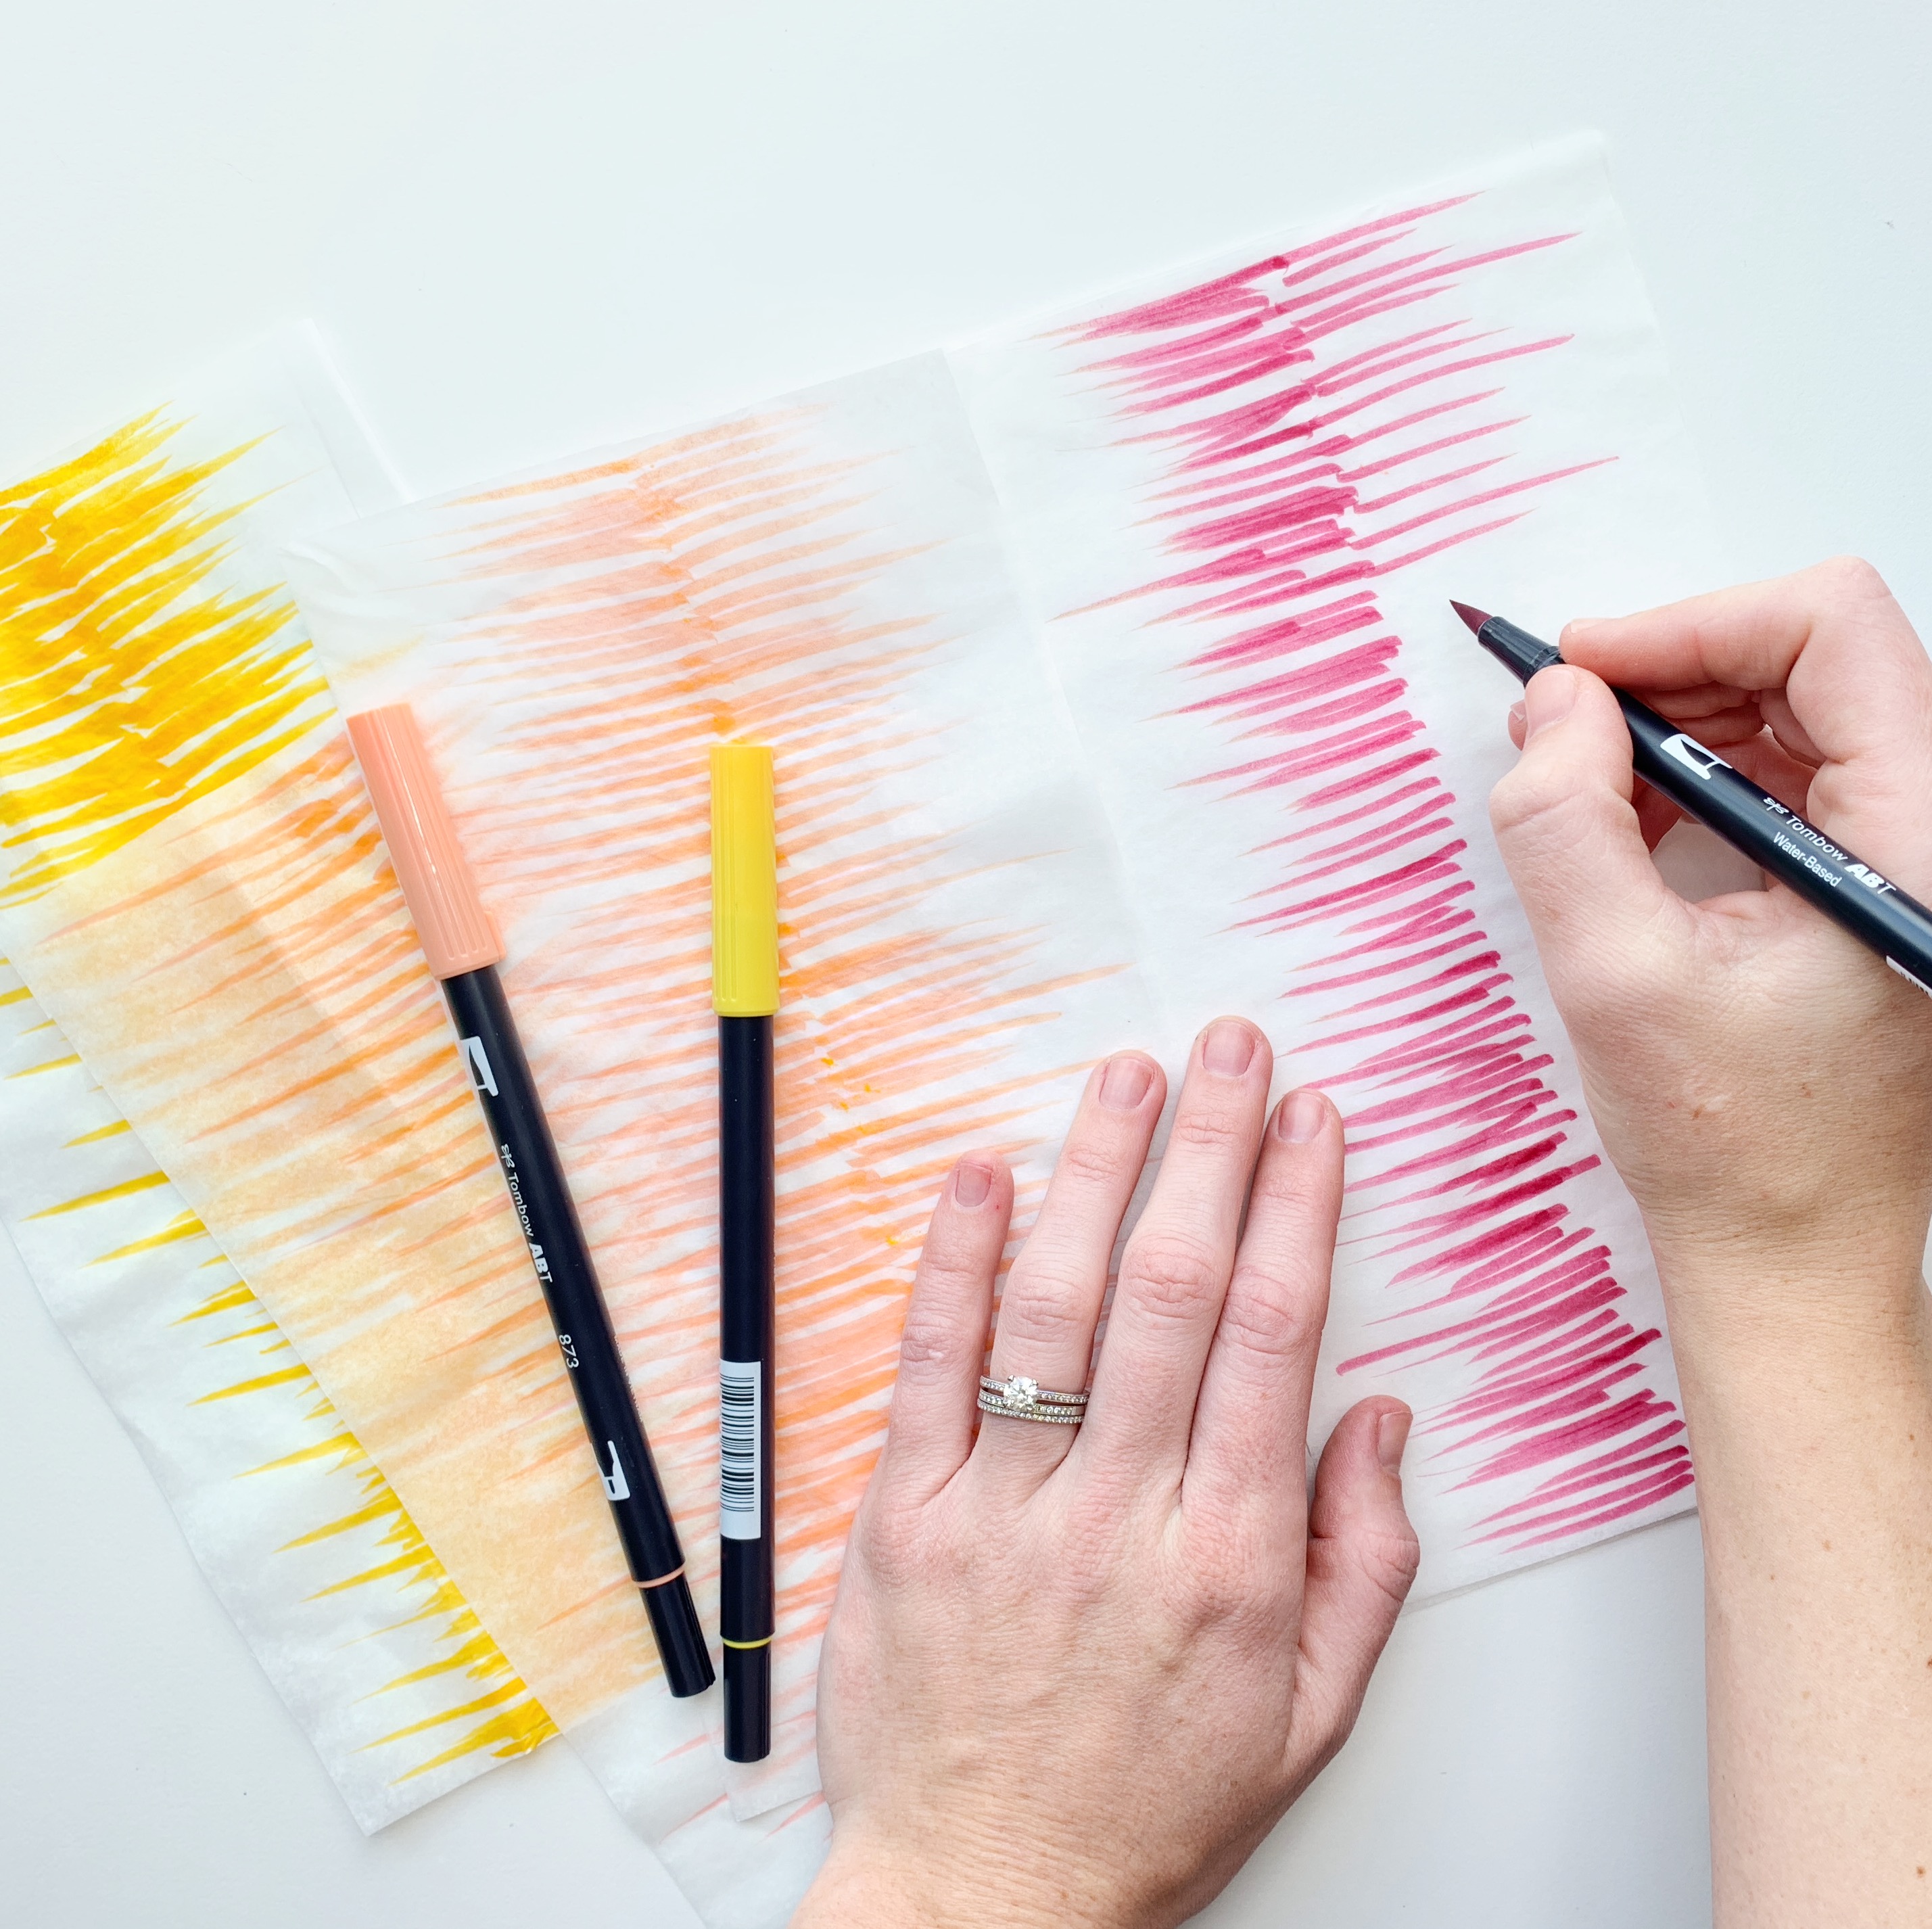
Step 1
The first thing to do is add some color to the white tissue paper using Dual Brush Pens! For the petals I used the colors 025, 873, and 817. The Dual Brush Pens are great because they come in 108 bright and beautiful colors! I used 025 Light Orange on the first sheet, 873 Coral on the next two sheets, and 817 Mauve on the remaining three sheets. This will give a beautiful gradient effect to the flower! Start from the middle and draw “flicks” out toward the edge. Add more color to the center and let the streaks fade out to the edges.
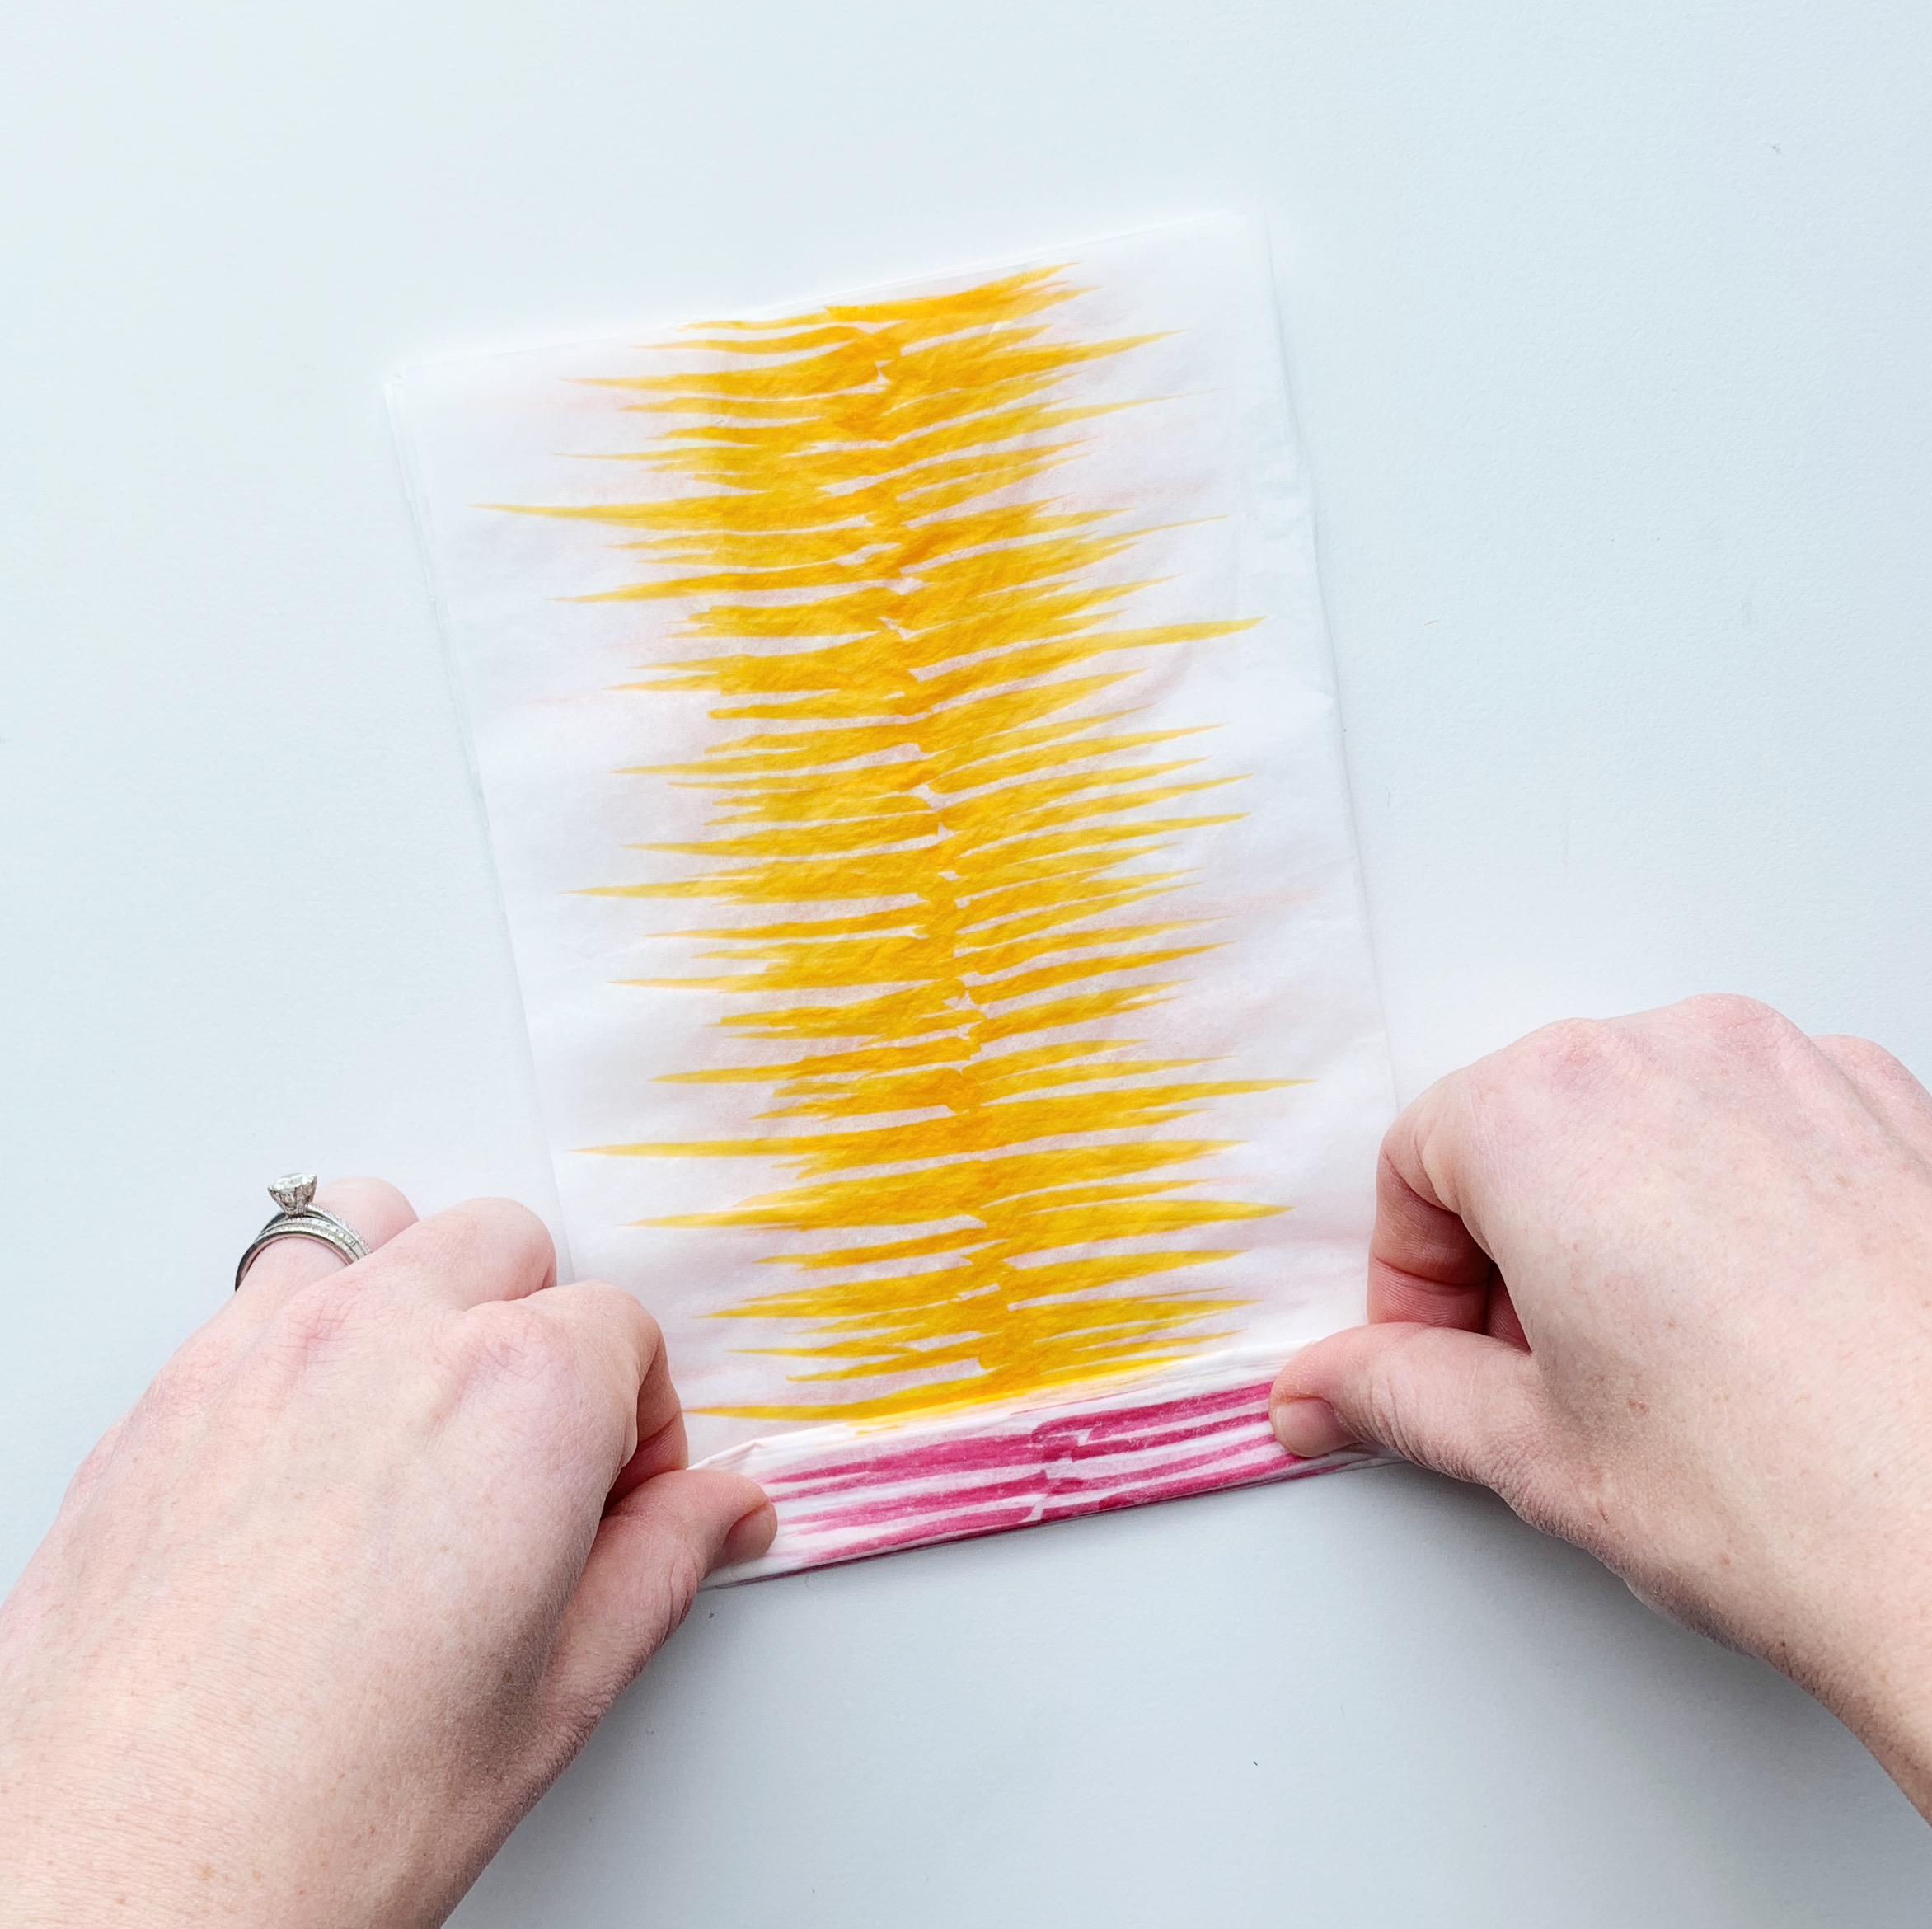
Step 2
Next, stack the tissue paper sheets on top of each other with pink on the bottom, orange, and yellow on top. While they are stacked, fold the tissue paper sheets up accordion style. Fold the bottom of the tissue paper (about half an inch) up and flip over the paper and fold up, and flip back over and fold up. This will make it so we can separate each piece of tissue paper. If you just roll up the tissue paper you won’t be able to separate it later!
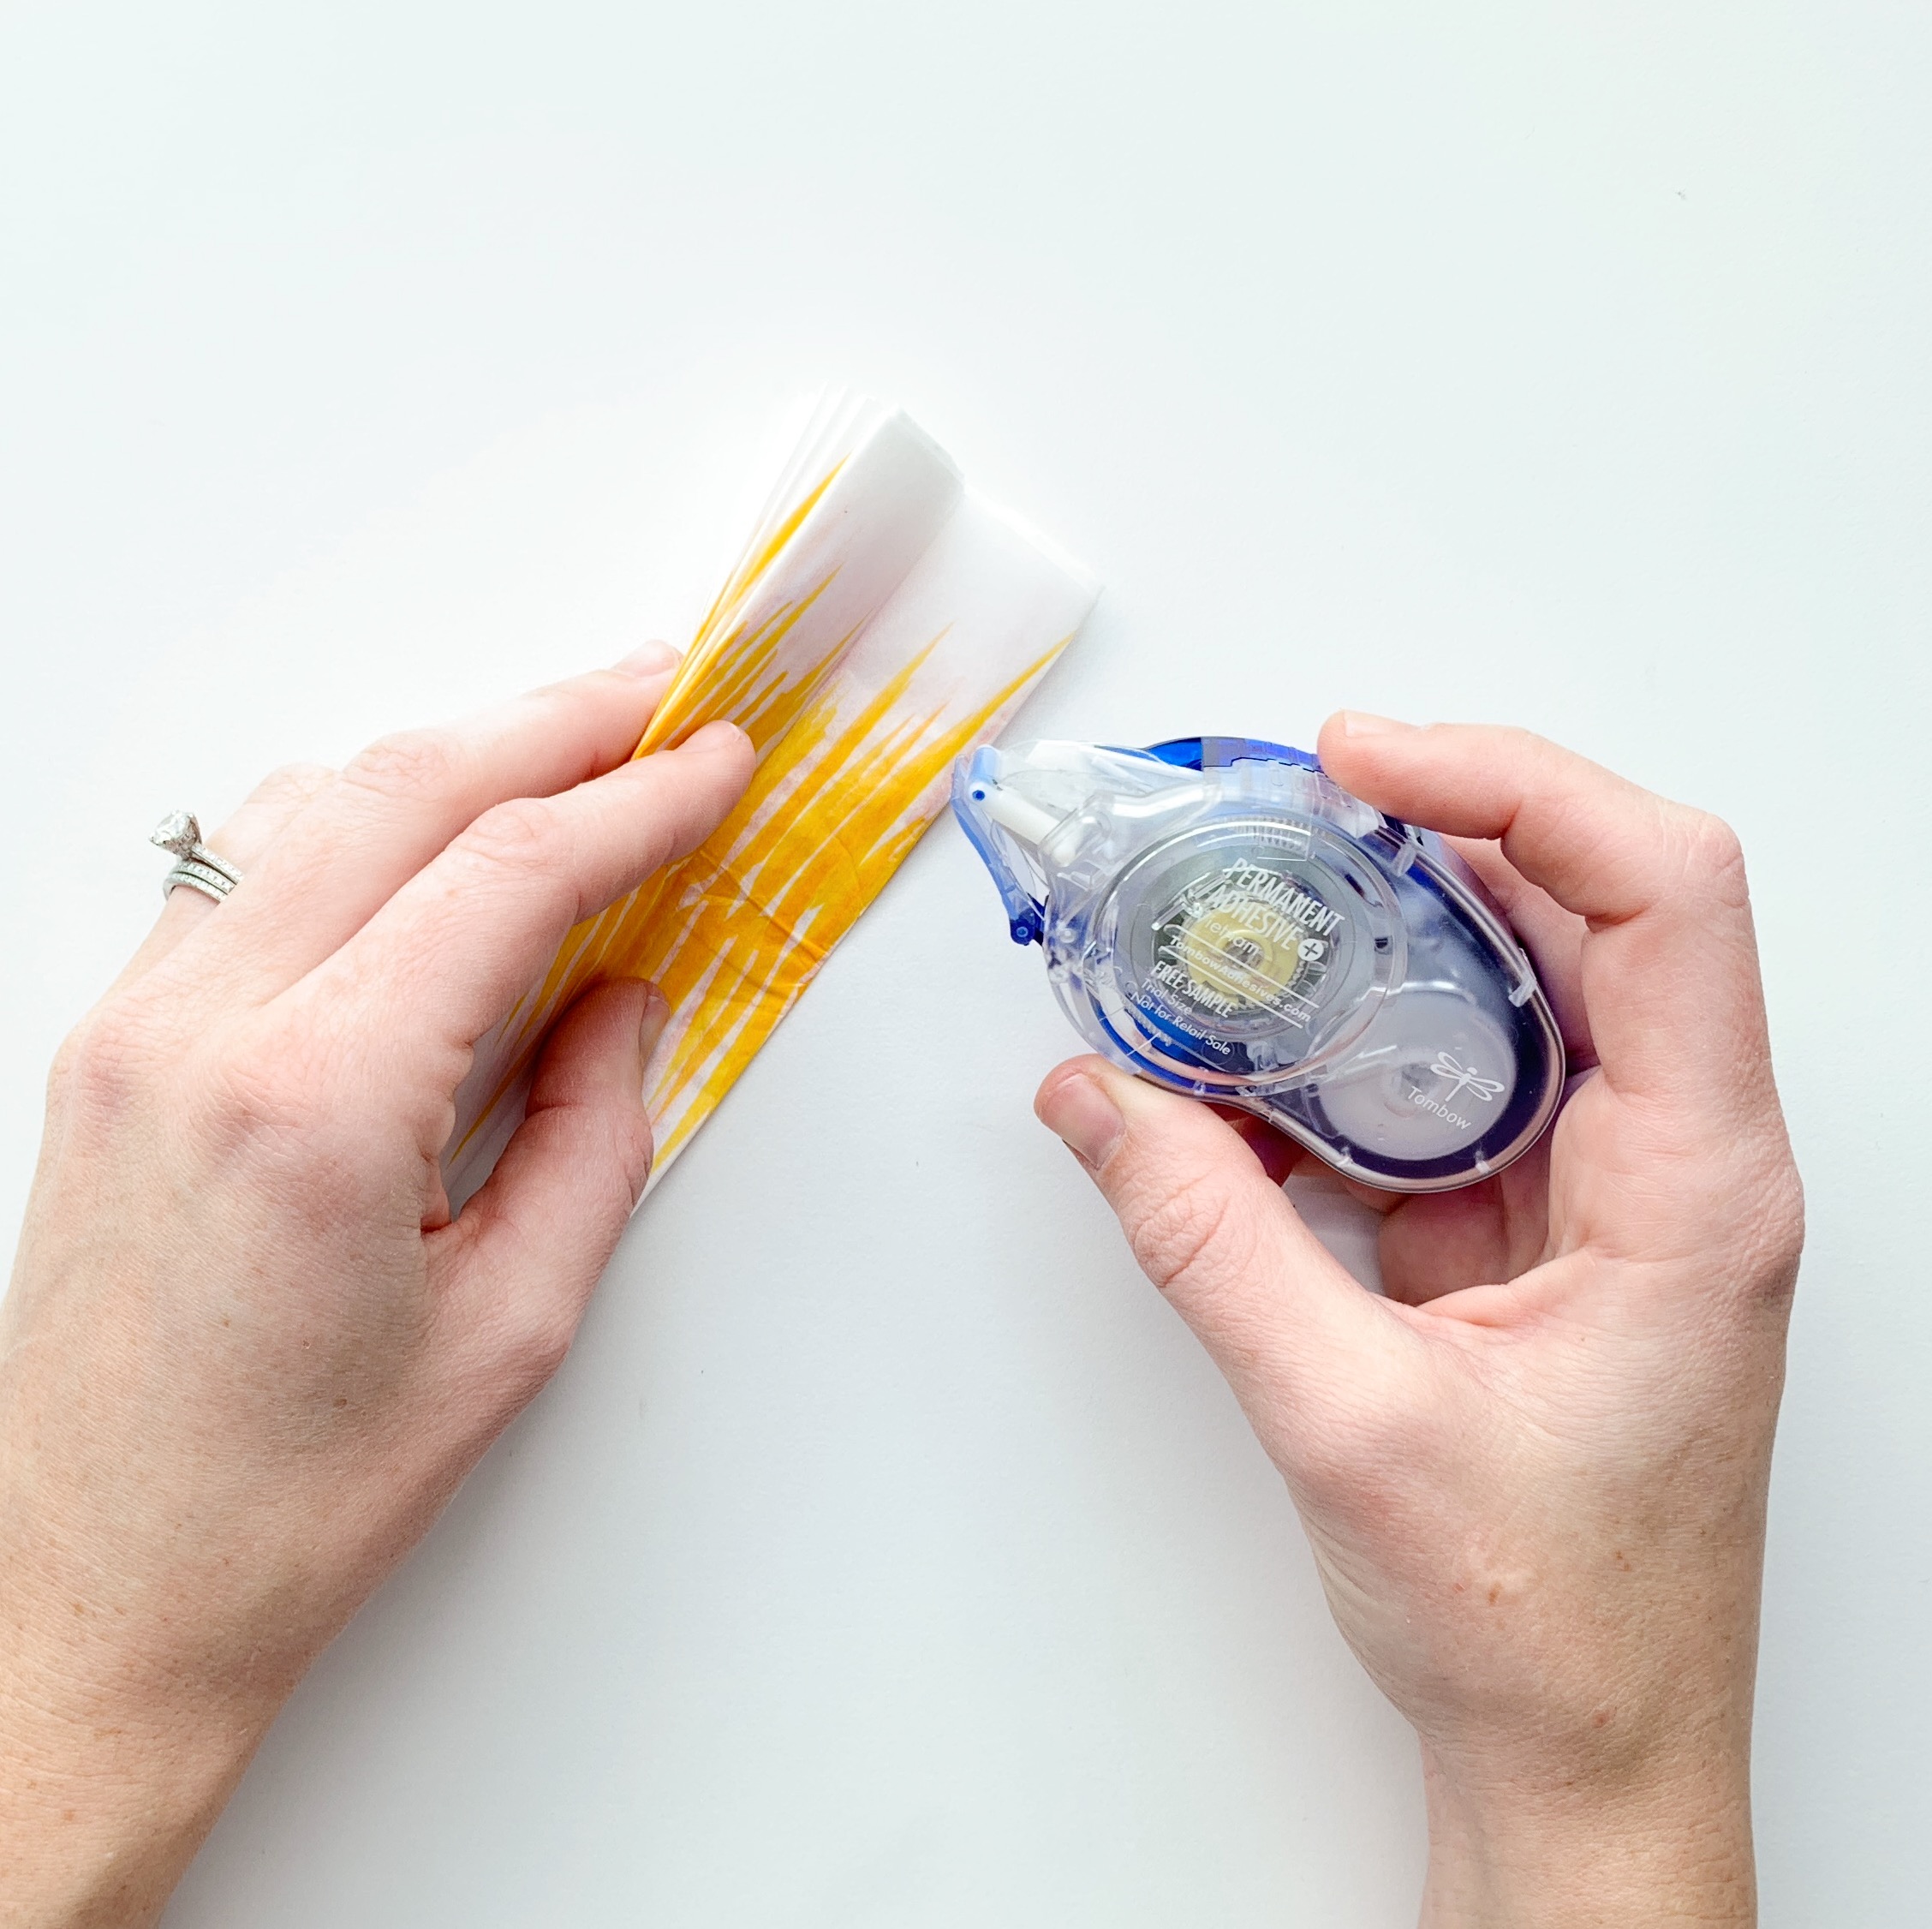
Step 3
After you’ve finished folding up the tissue paper stack accordion style, fold the paper in half, bringing the two ends together and crease in the middle to create a line right in the middle. Use the MONO Adhesive+ Permanent to glue the folds together right on that line we just made. This adhesive is great because it is so easy to use and, just like the name, it’s permanent!
Start from the inside and roll out the adhesive along that line we created with the fold. Keep adding adhesive to all the folds so it is glued in the middle. Then you’ll need to flip the tissue paper roll over and do the same thing to the other side of the folds. On both ends will be the six individual pieces of tissue paper so you’ll need to add adhesive to each one just like we did with the folds. When you’re done, it should all be glued together right in the middle!
Step 4
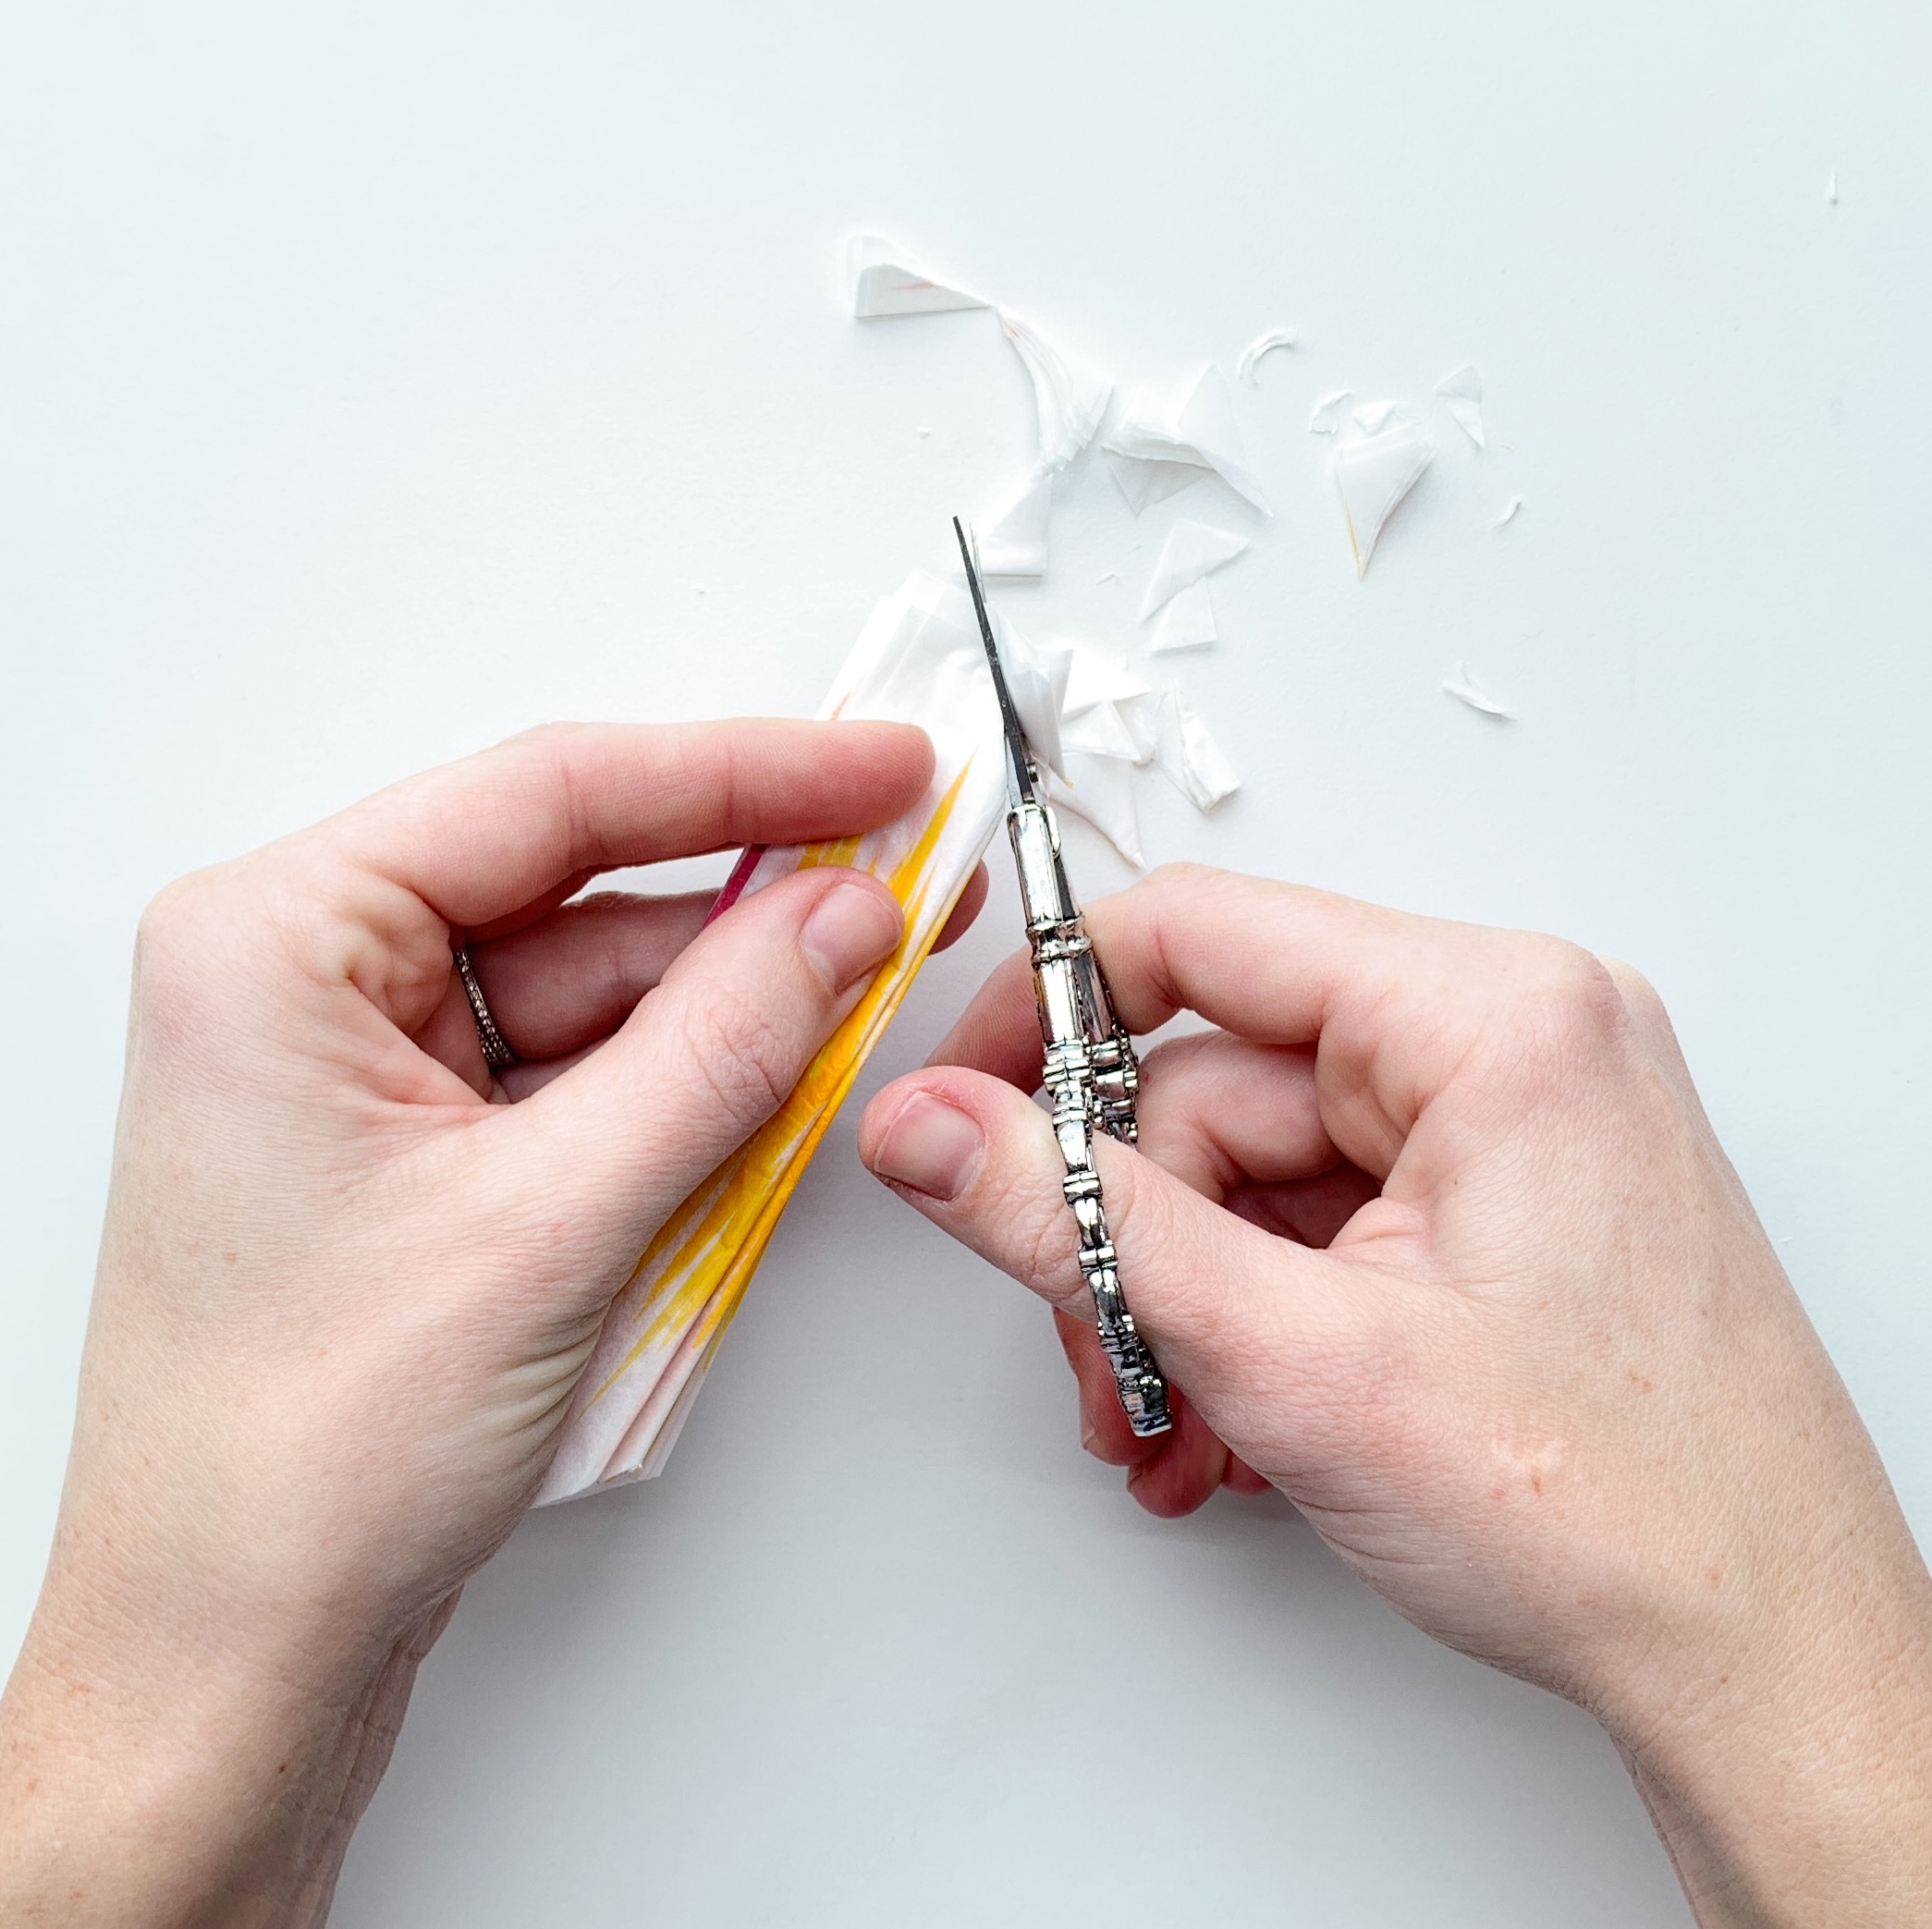
After you’ve finished gluing, use your scissors to cut a V-shape in both ends of the tissue paper. Both ends should have a point.
Step 5
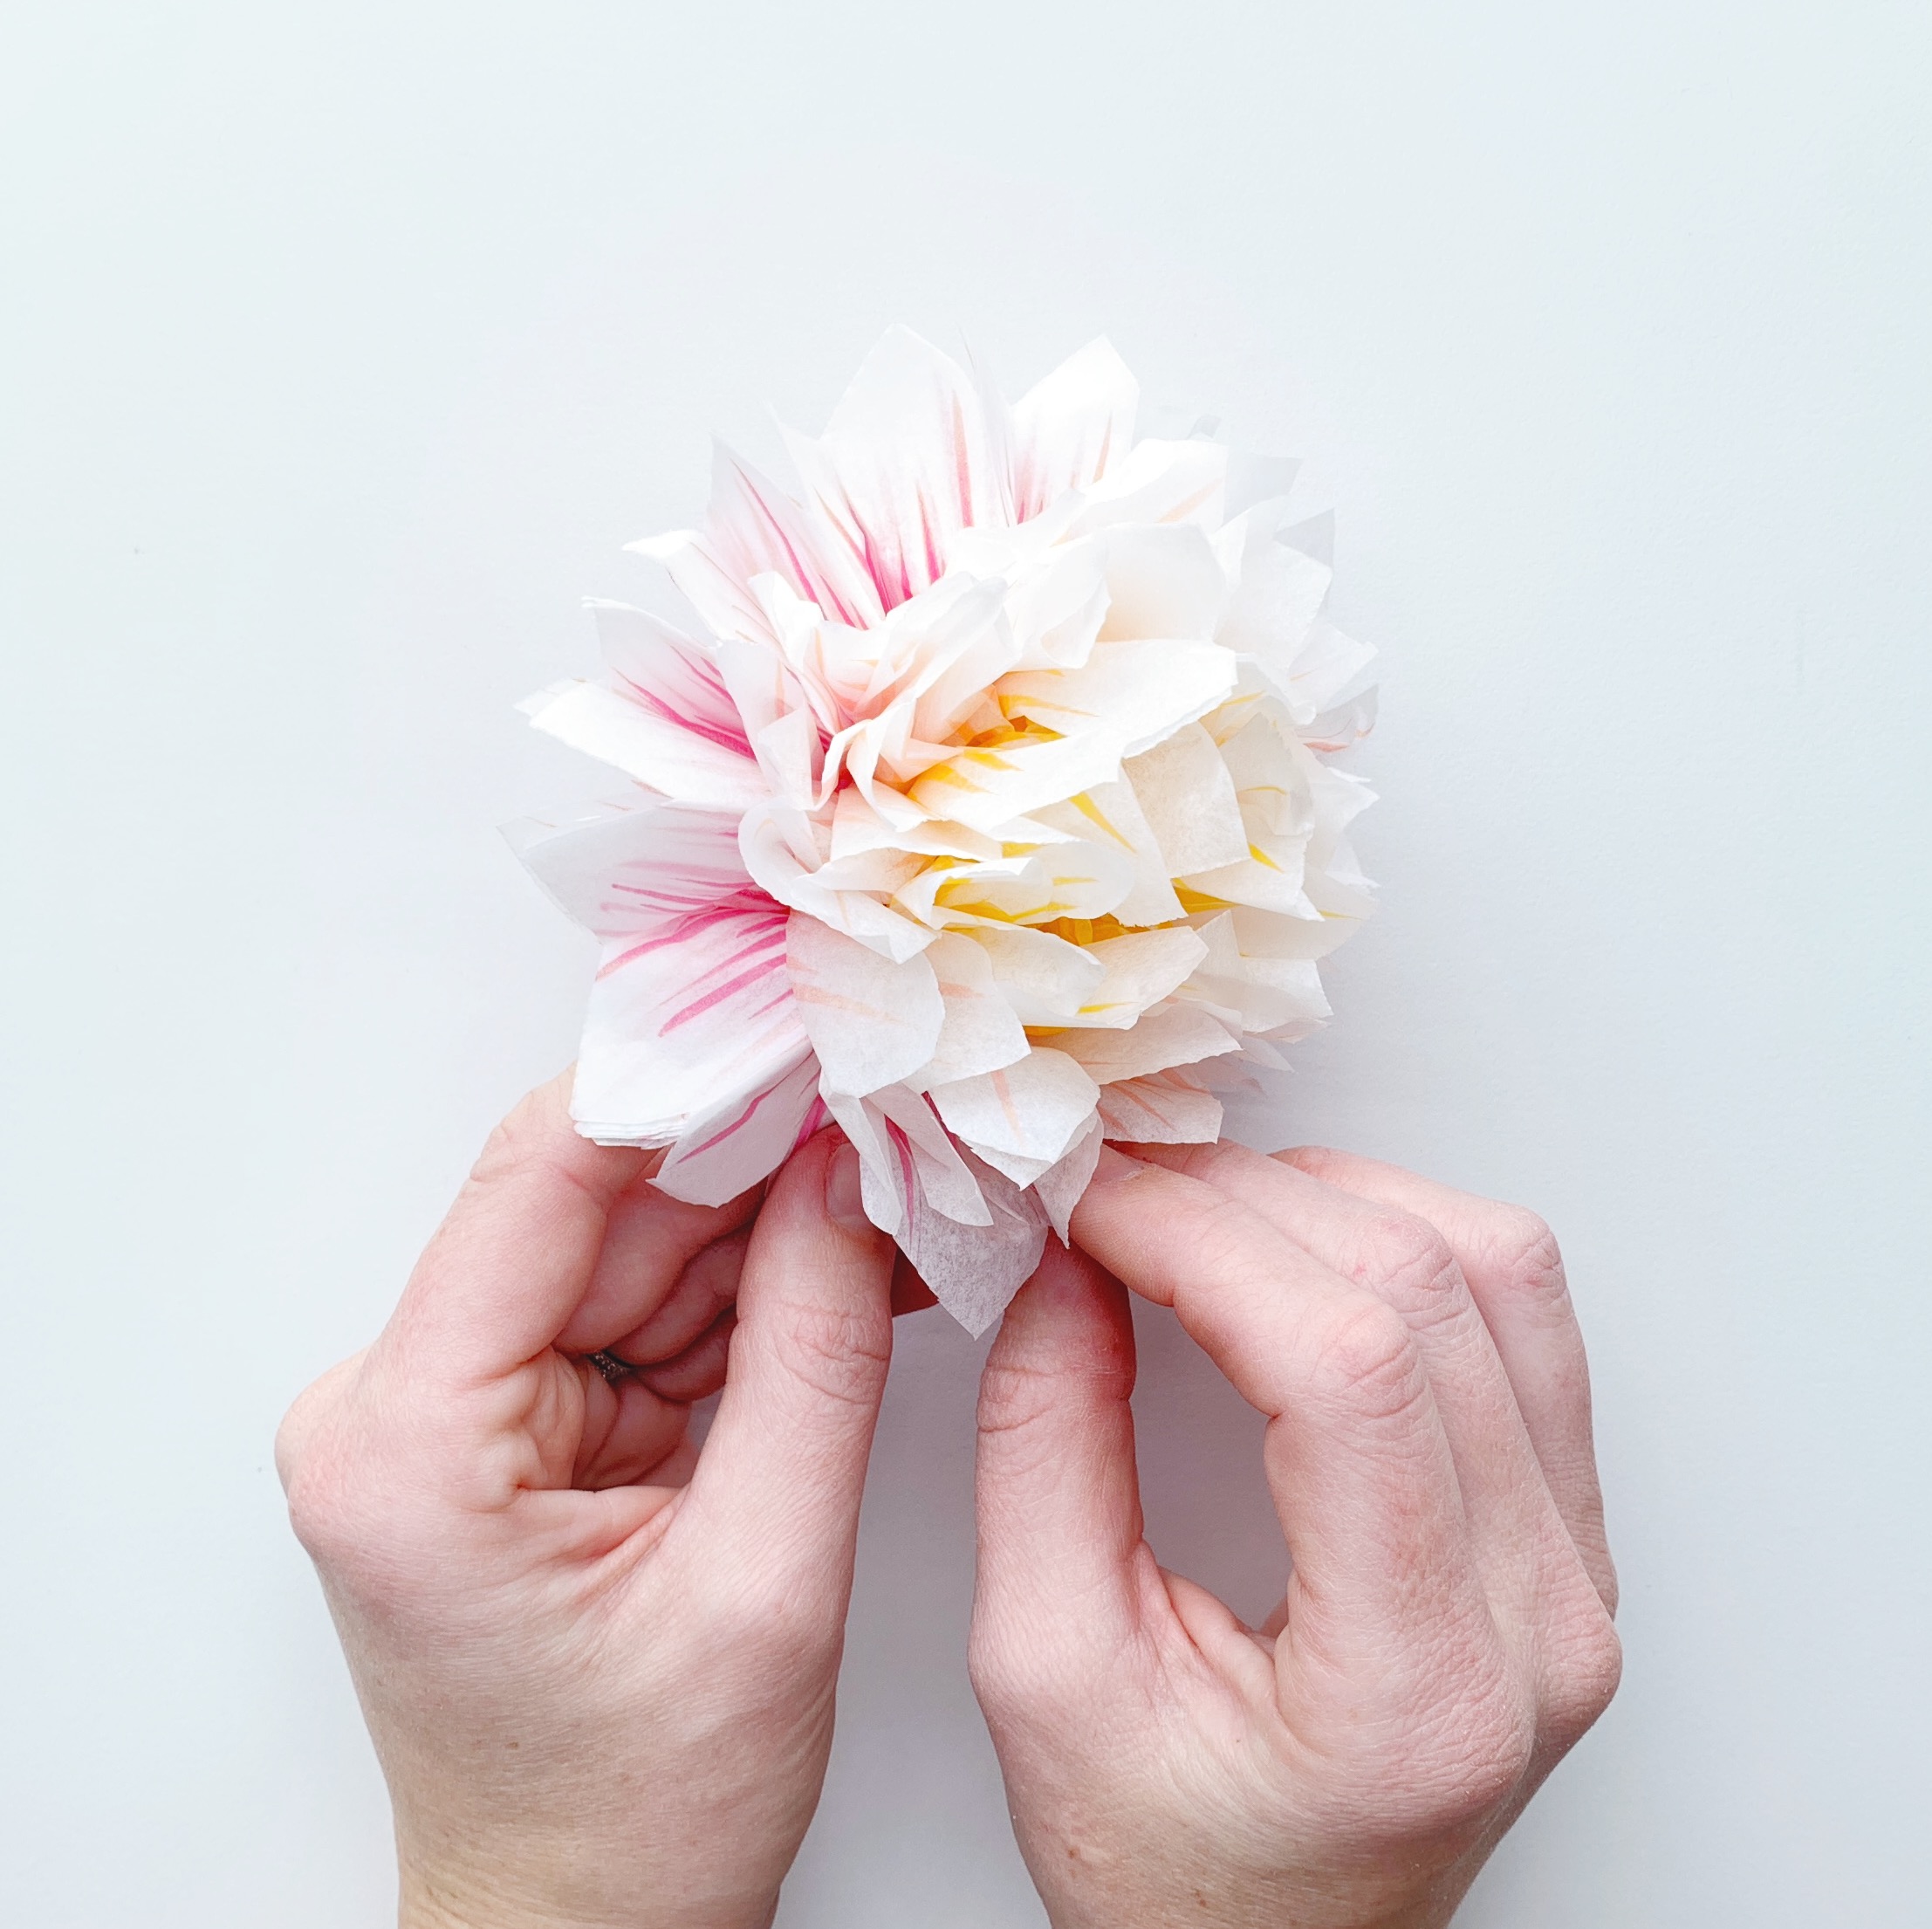
Time to start unfolding this tissue paper dahlia! Turn the roll on the side so the yellow is facing up. Slowly peel that first layer of yellow tissue paper up, being careful not to tear the paper. This will be the center of the flower. It helps to spread out the sides and open up the flower. Then slowly unfold each remaining piece of tissue paper and bend them upward.
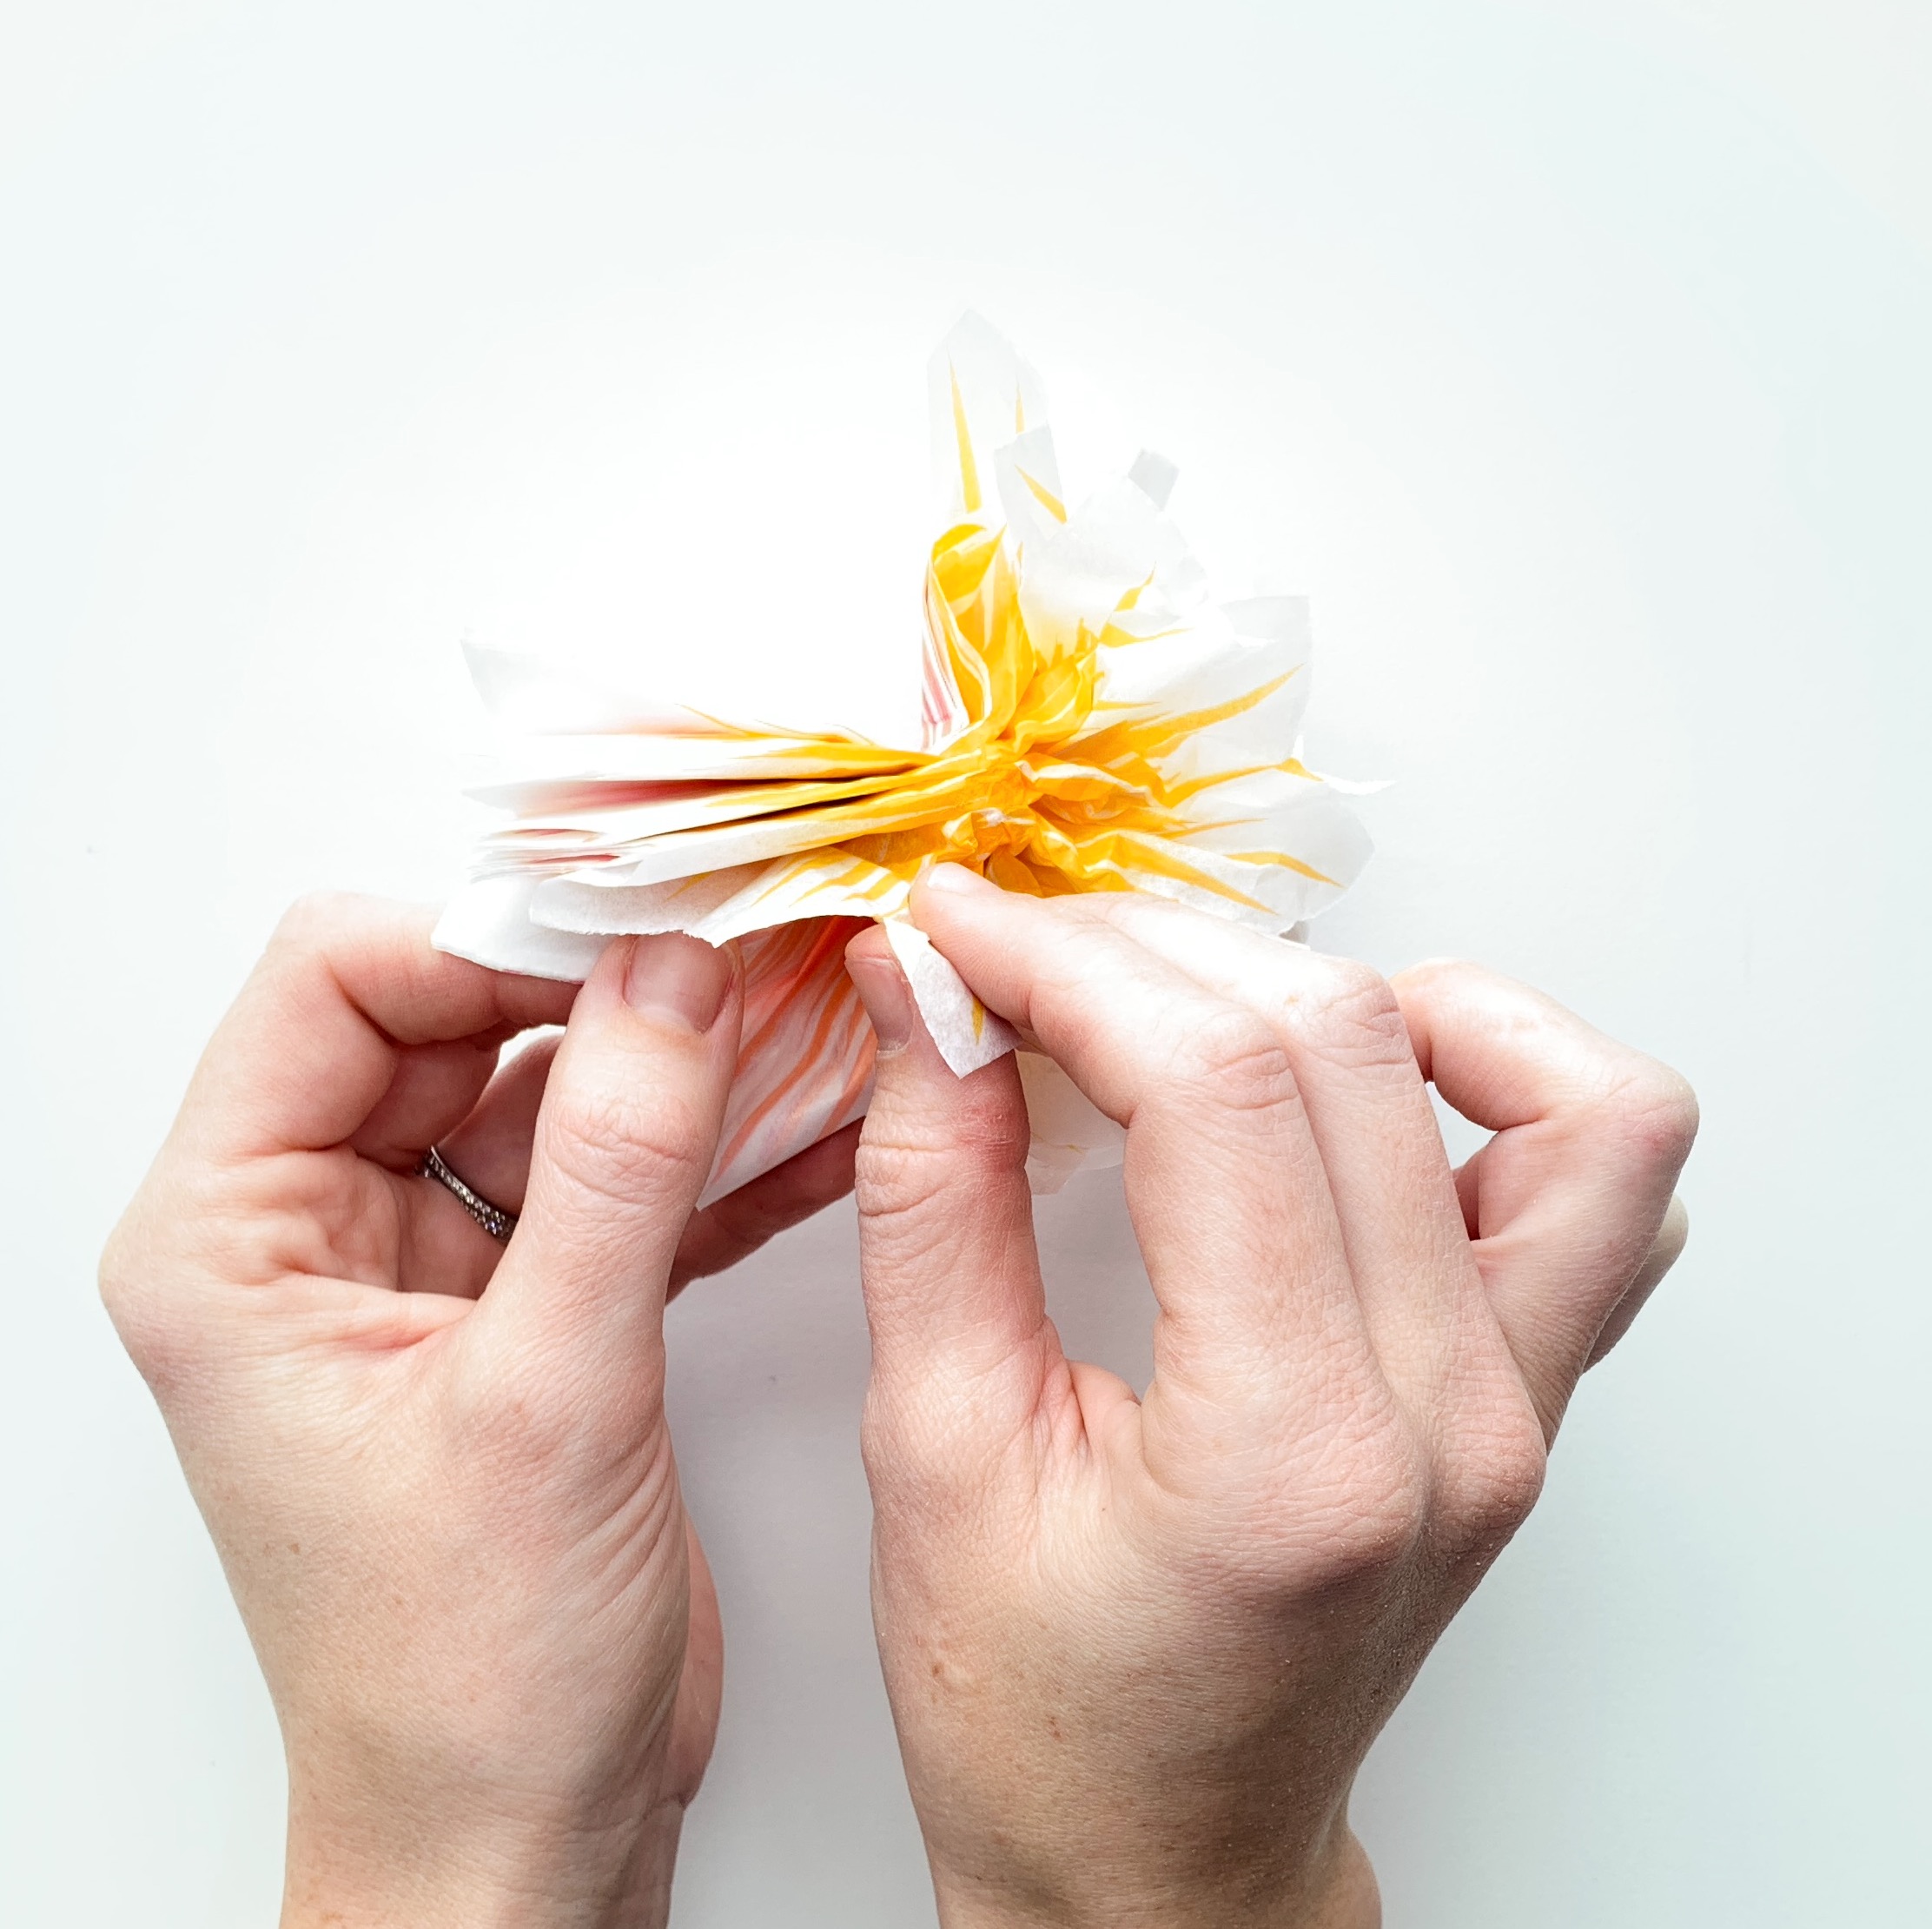
You can manipulate and place each piece of tissue paper to be where you want to make them look like the petals of the dahlia flower. If your paper does accidentally rip, don’t worry, it should blend in okay! When you’ve unfolded each tissue paper it will create a dome shape on one side and a flat side on the other.
Step 6
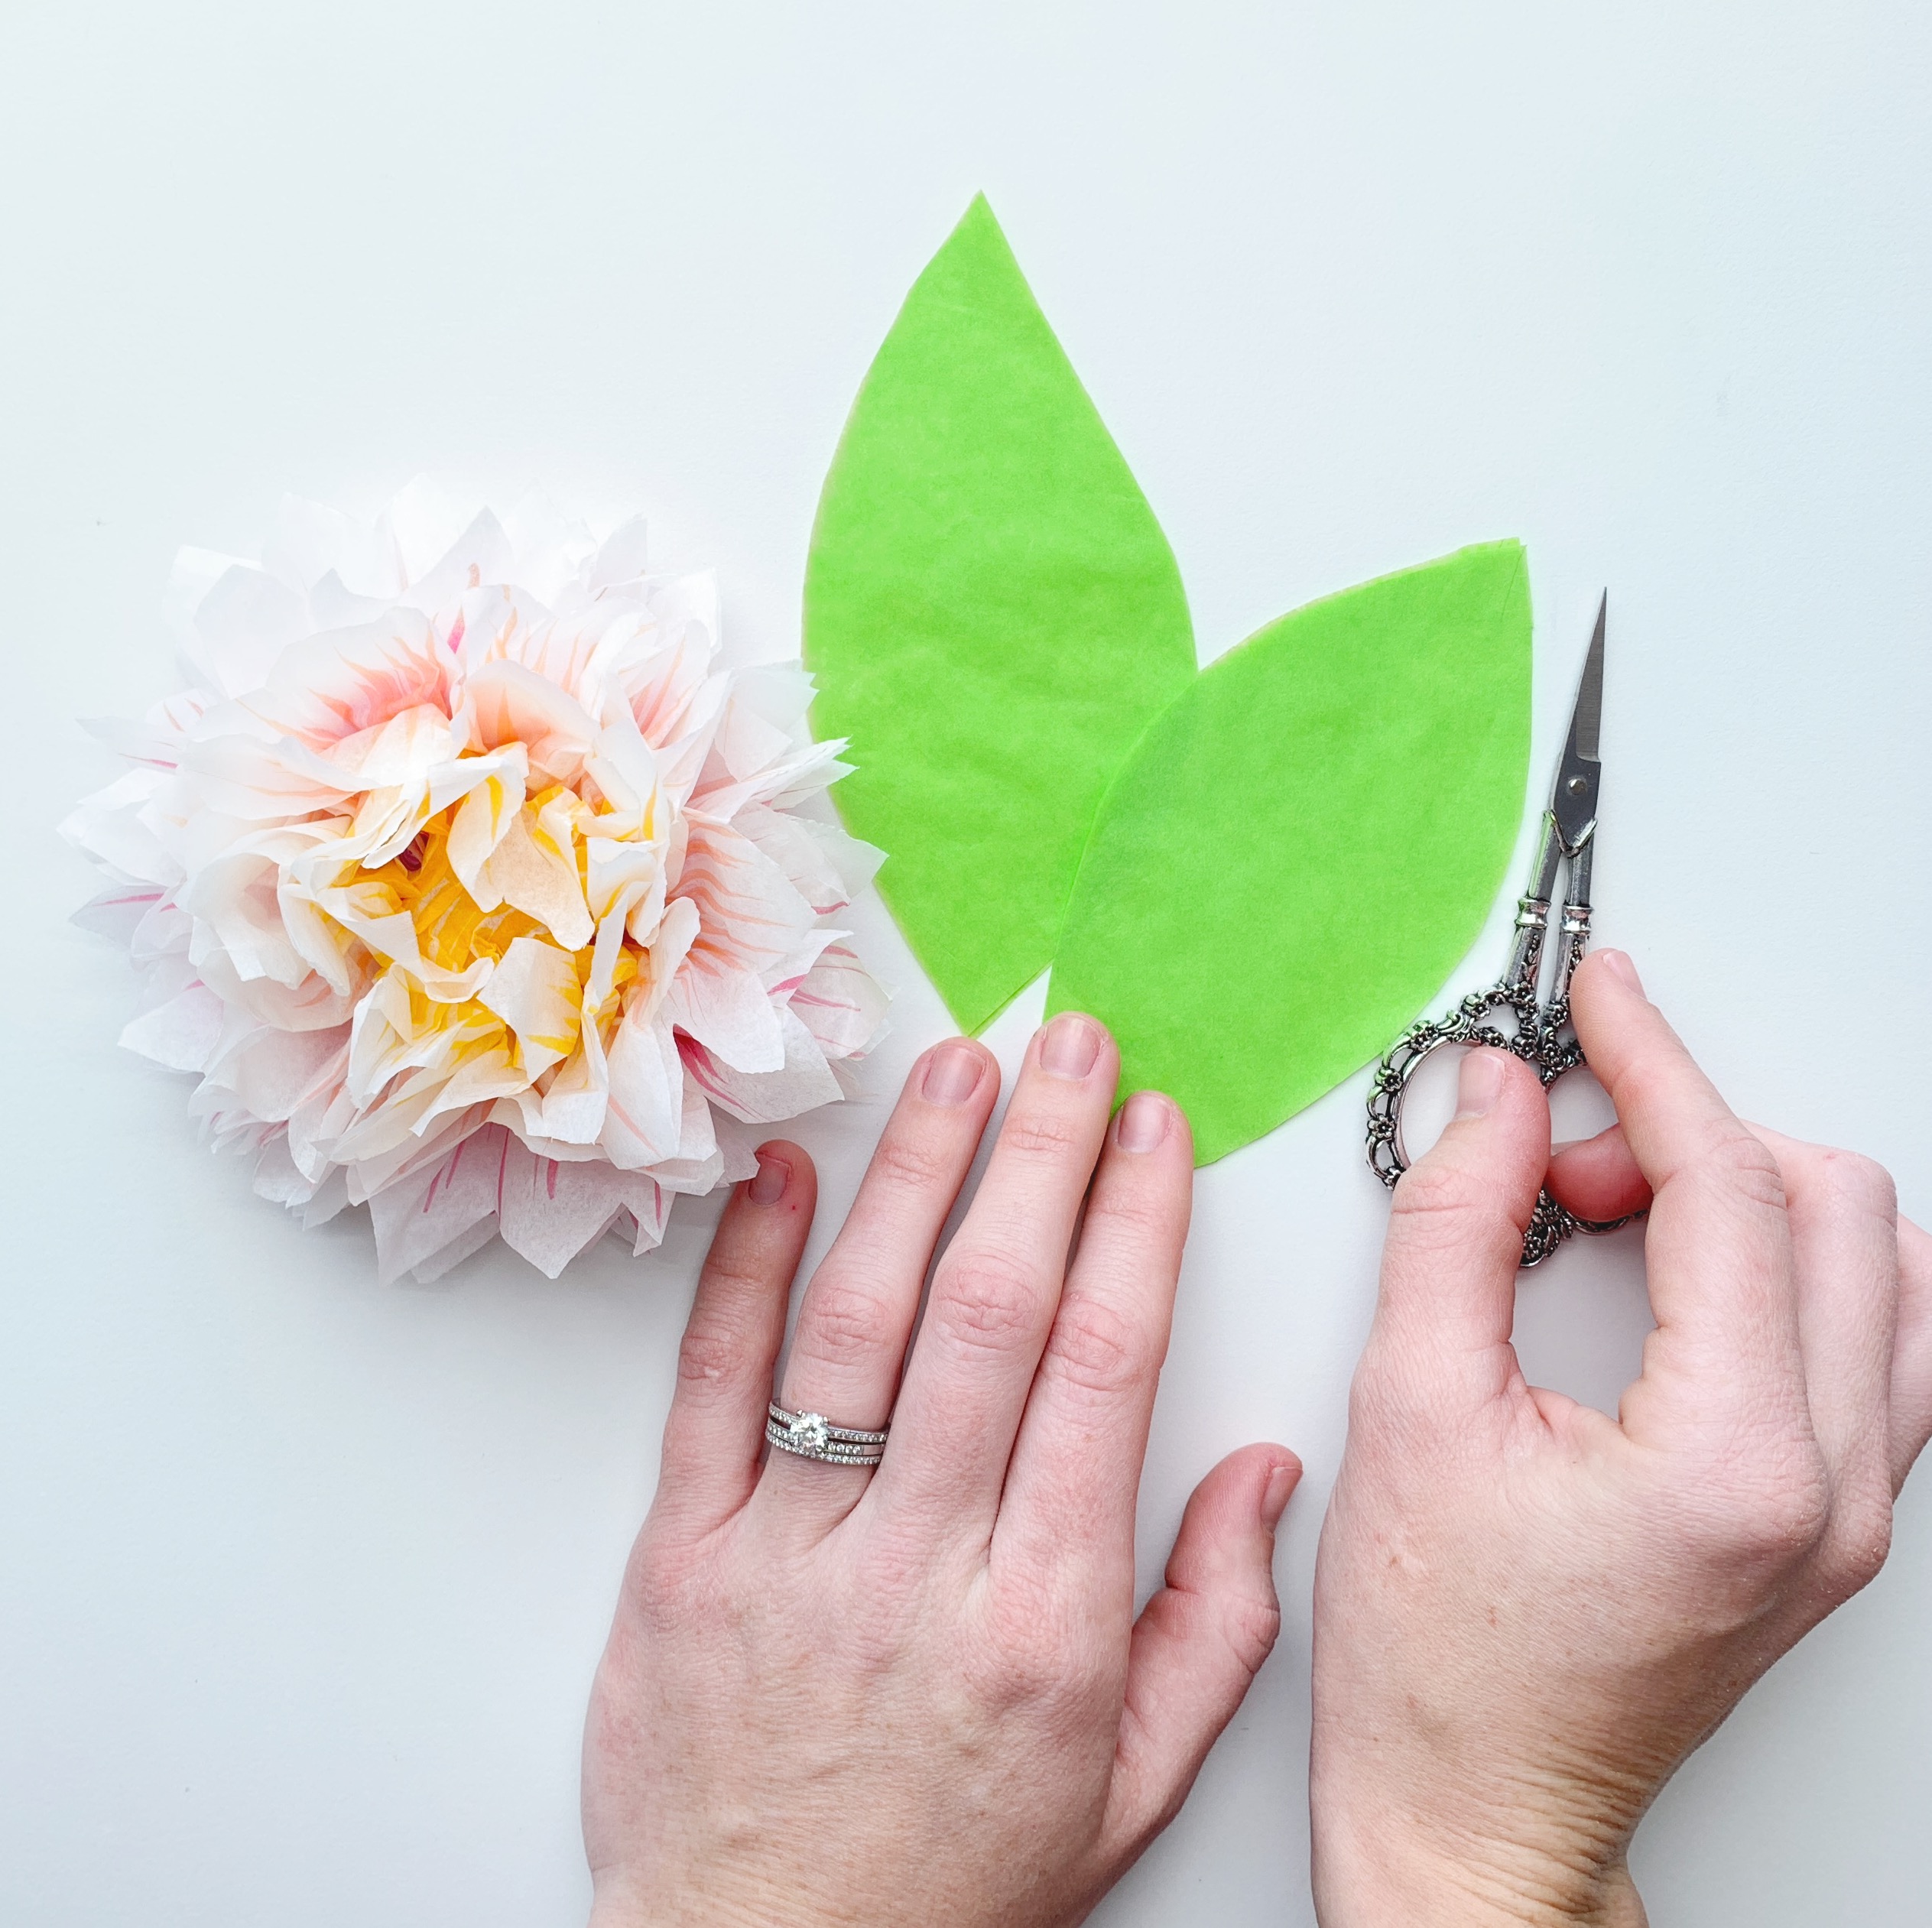
Now we’re going to create the leaves for our flower! Use scissors to cut out leaves from the two 4 in. x 4 in. green tissue paper squares. Each leaf should have two sheets of tissue paper to make it more sturdy.
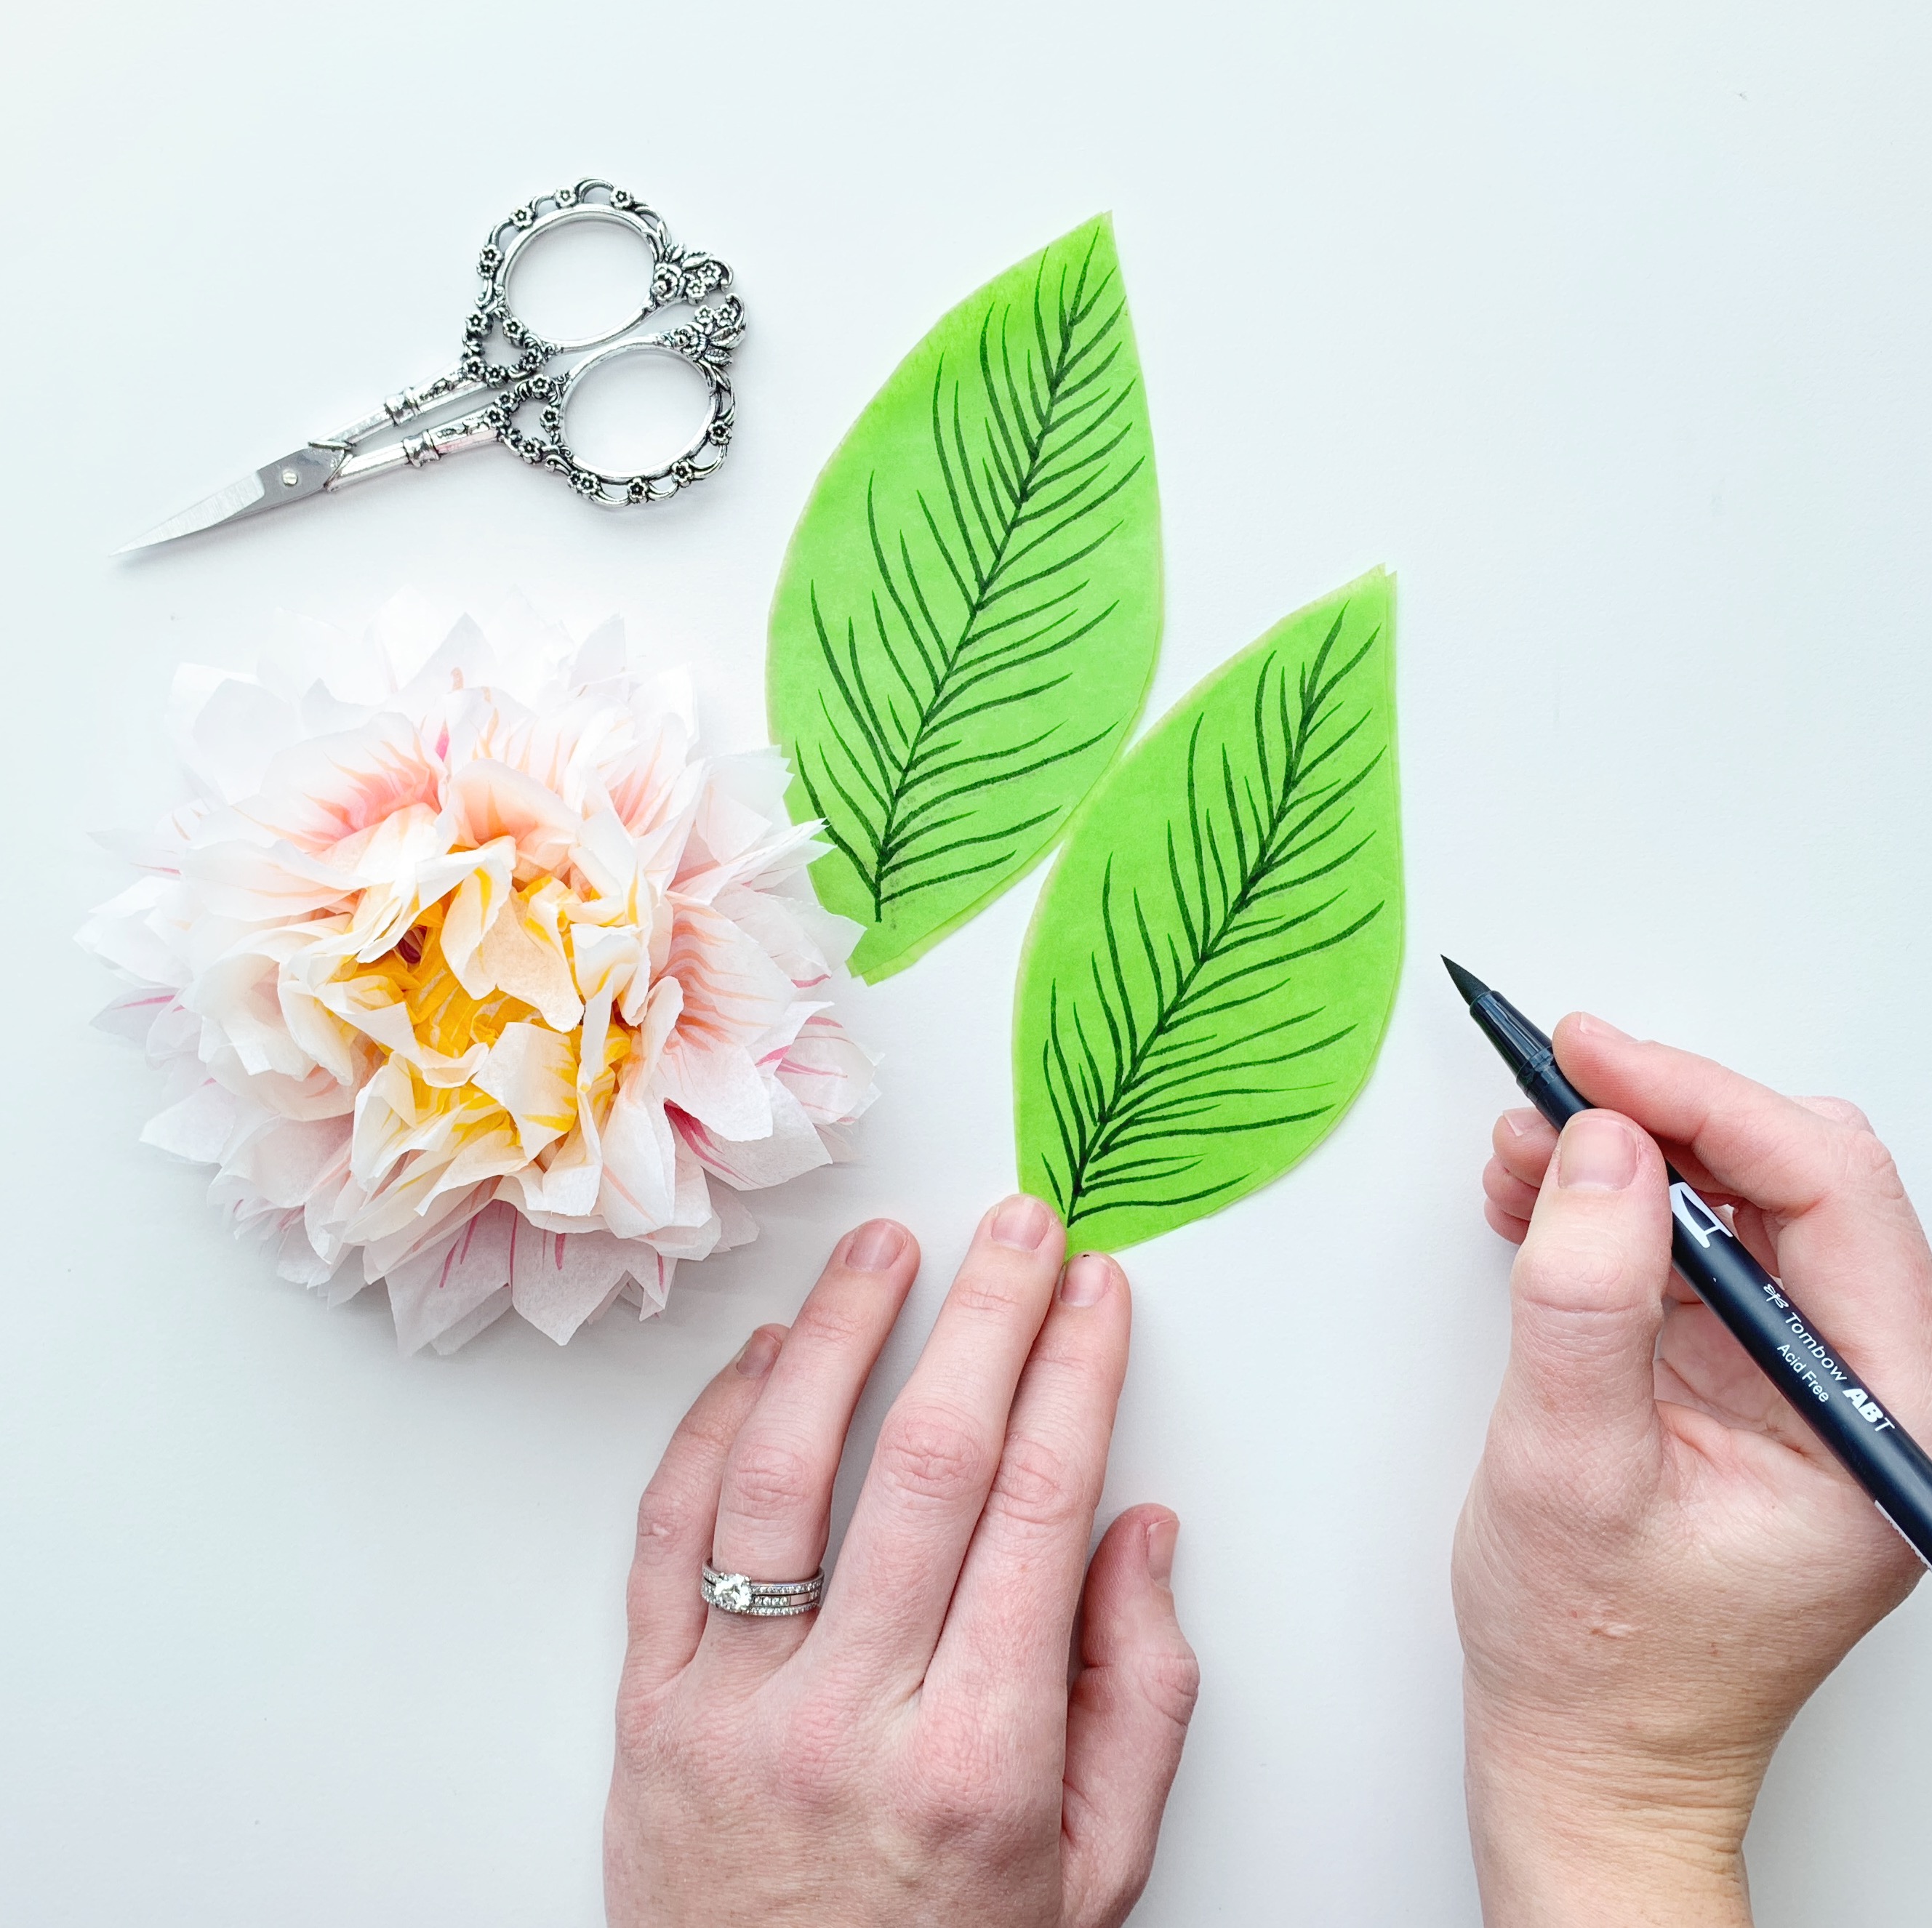
Step 7
Draw some lines to your leaves with the 177 Dark Jade Dual Brush Pen. Here’s a tip: vary the length of the lines to make it look realistic!
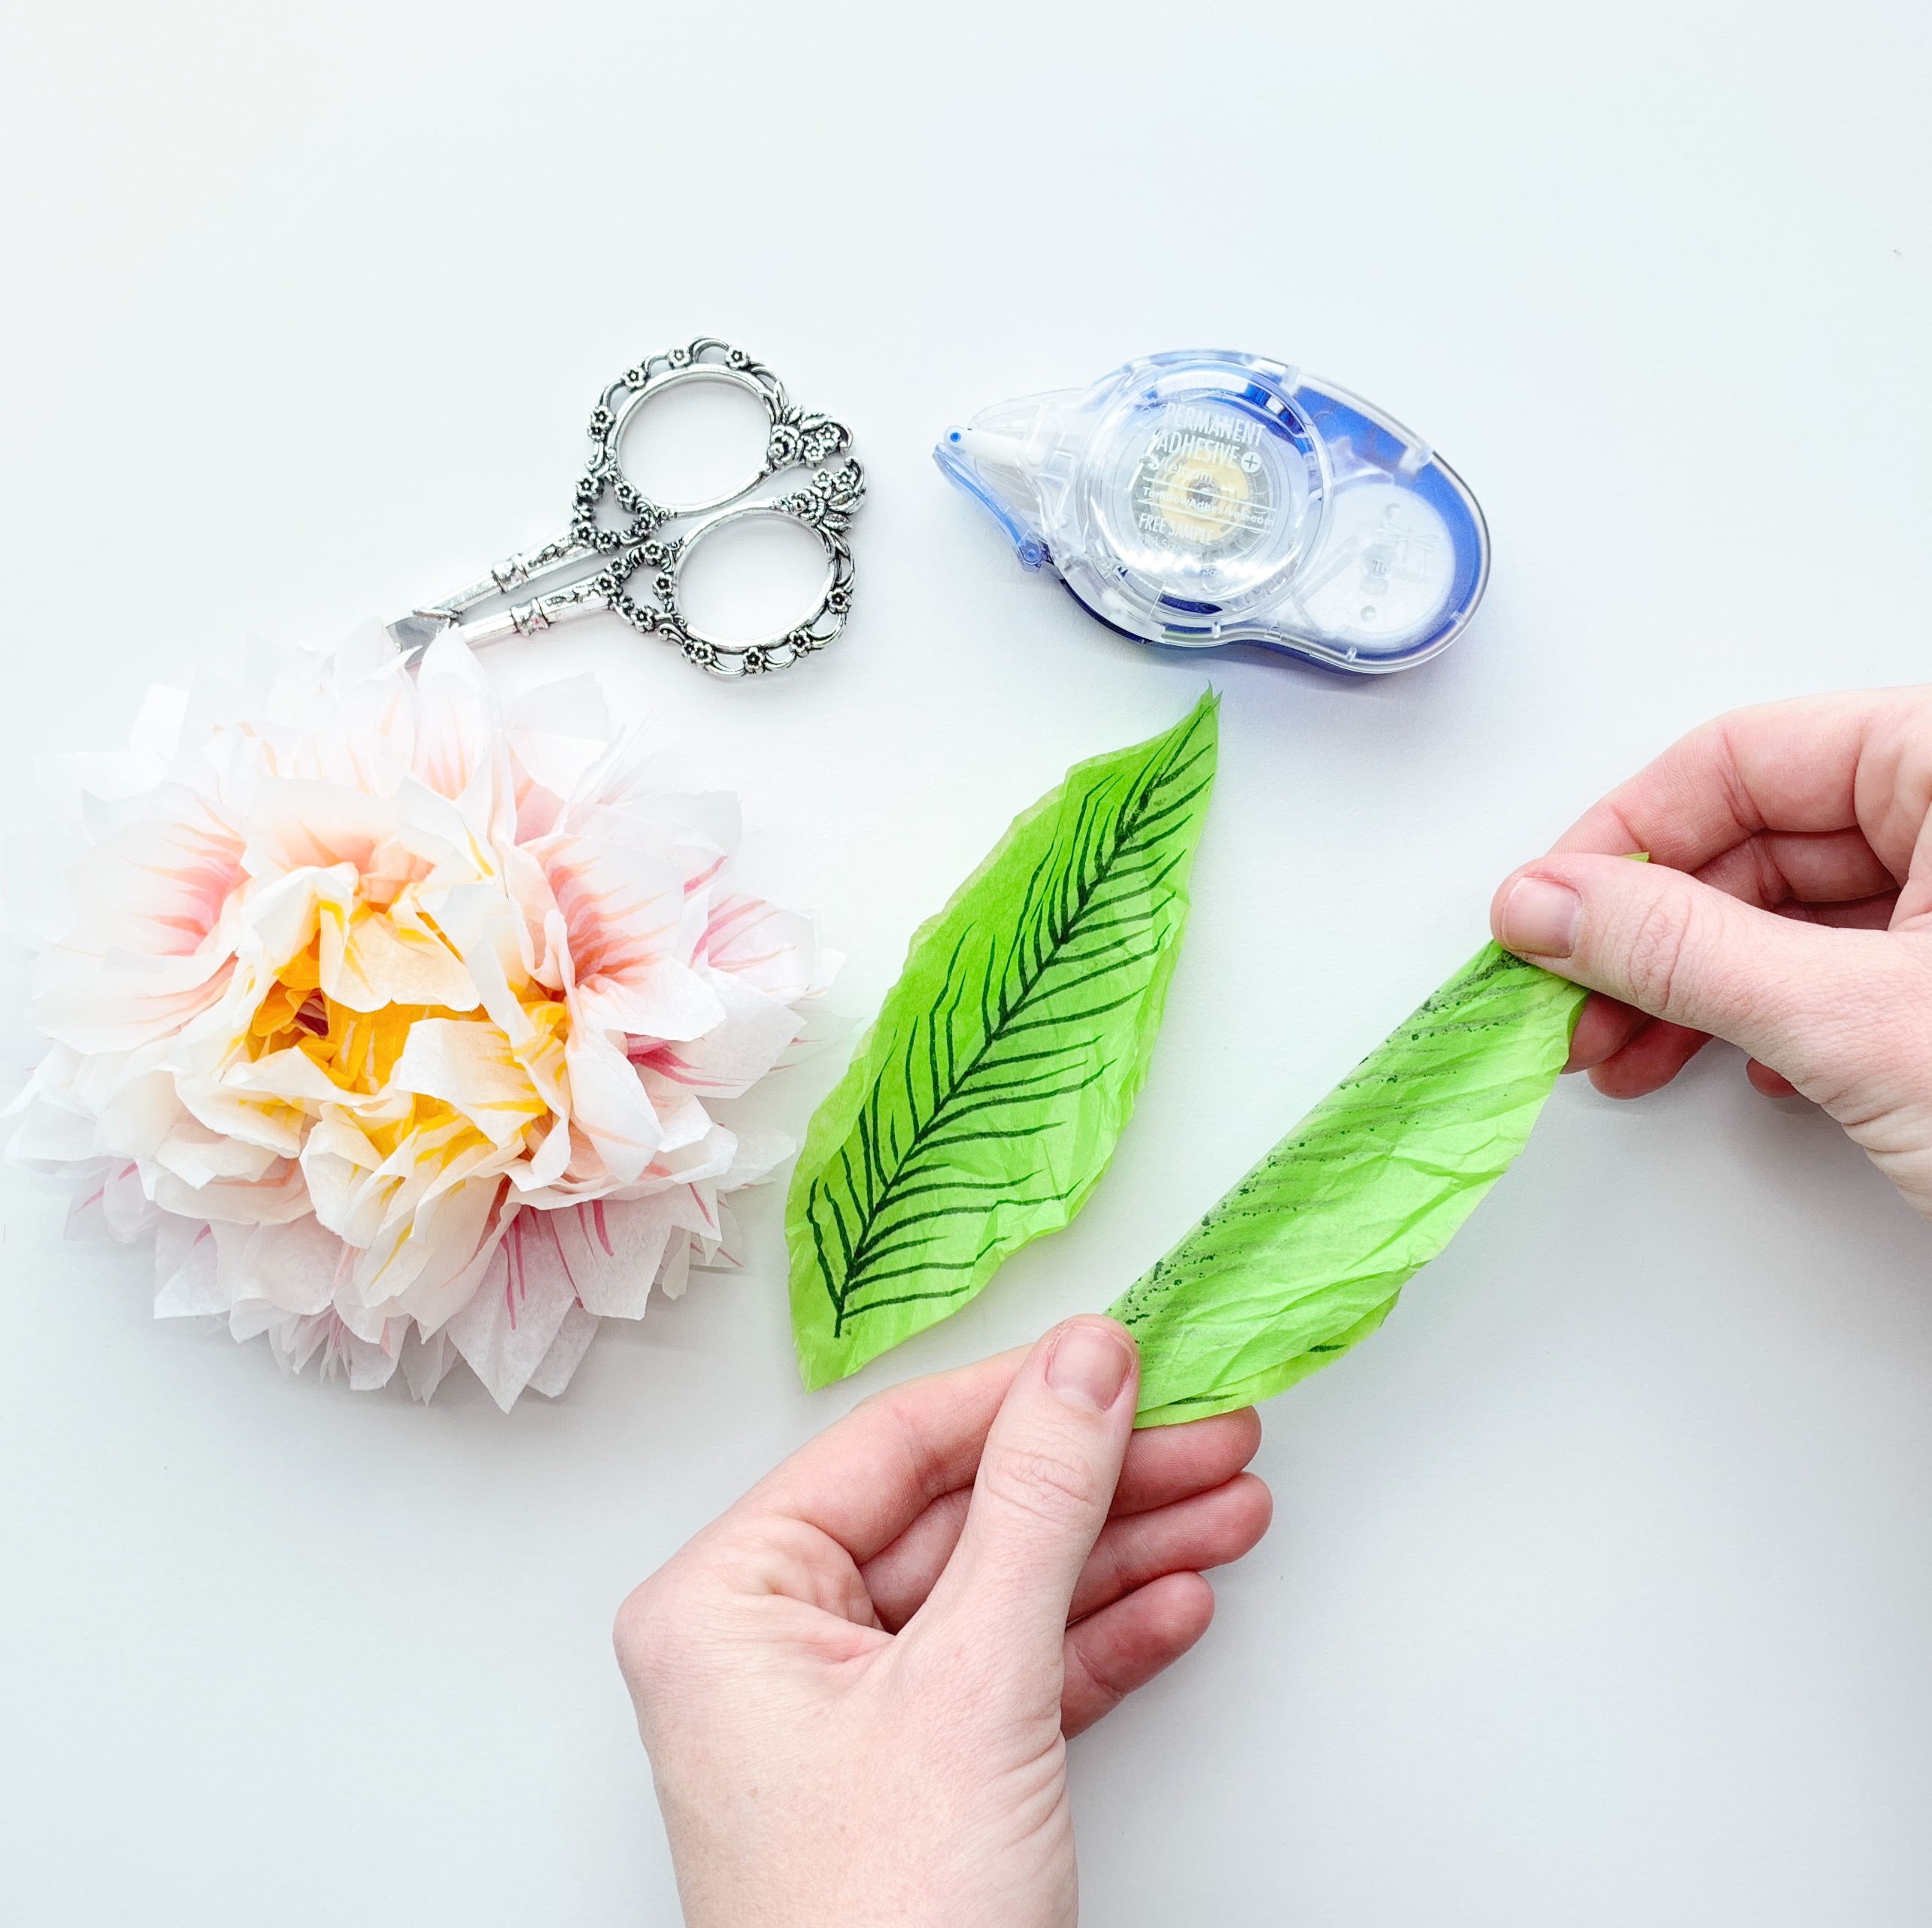
Step 8
Use the MONO Adhesive+ Permanent to glue the two sheets on each leaf together and crinkle the leaf in your hand. Open the leaf up and add a crease down the middle to give it some shape.
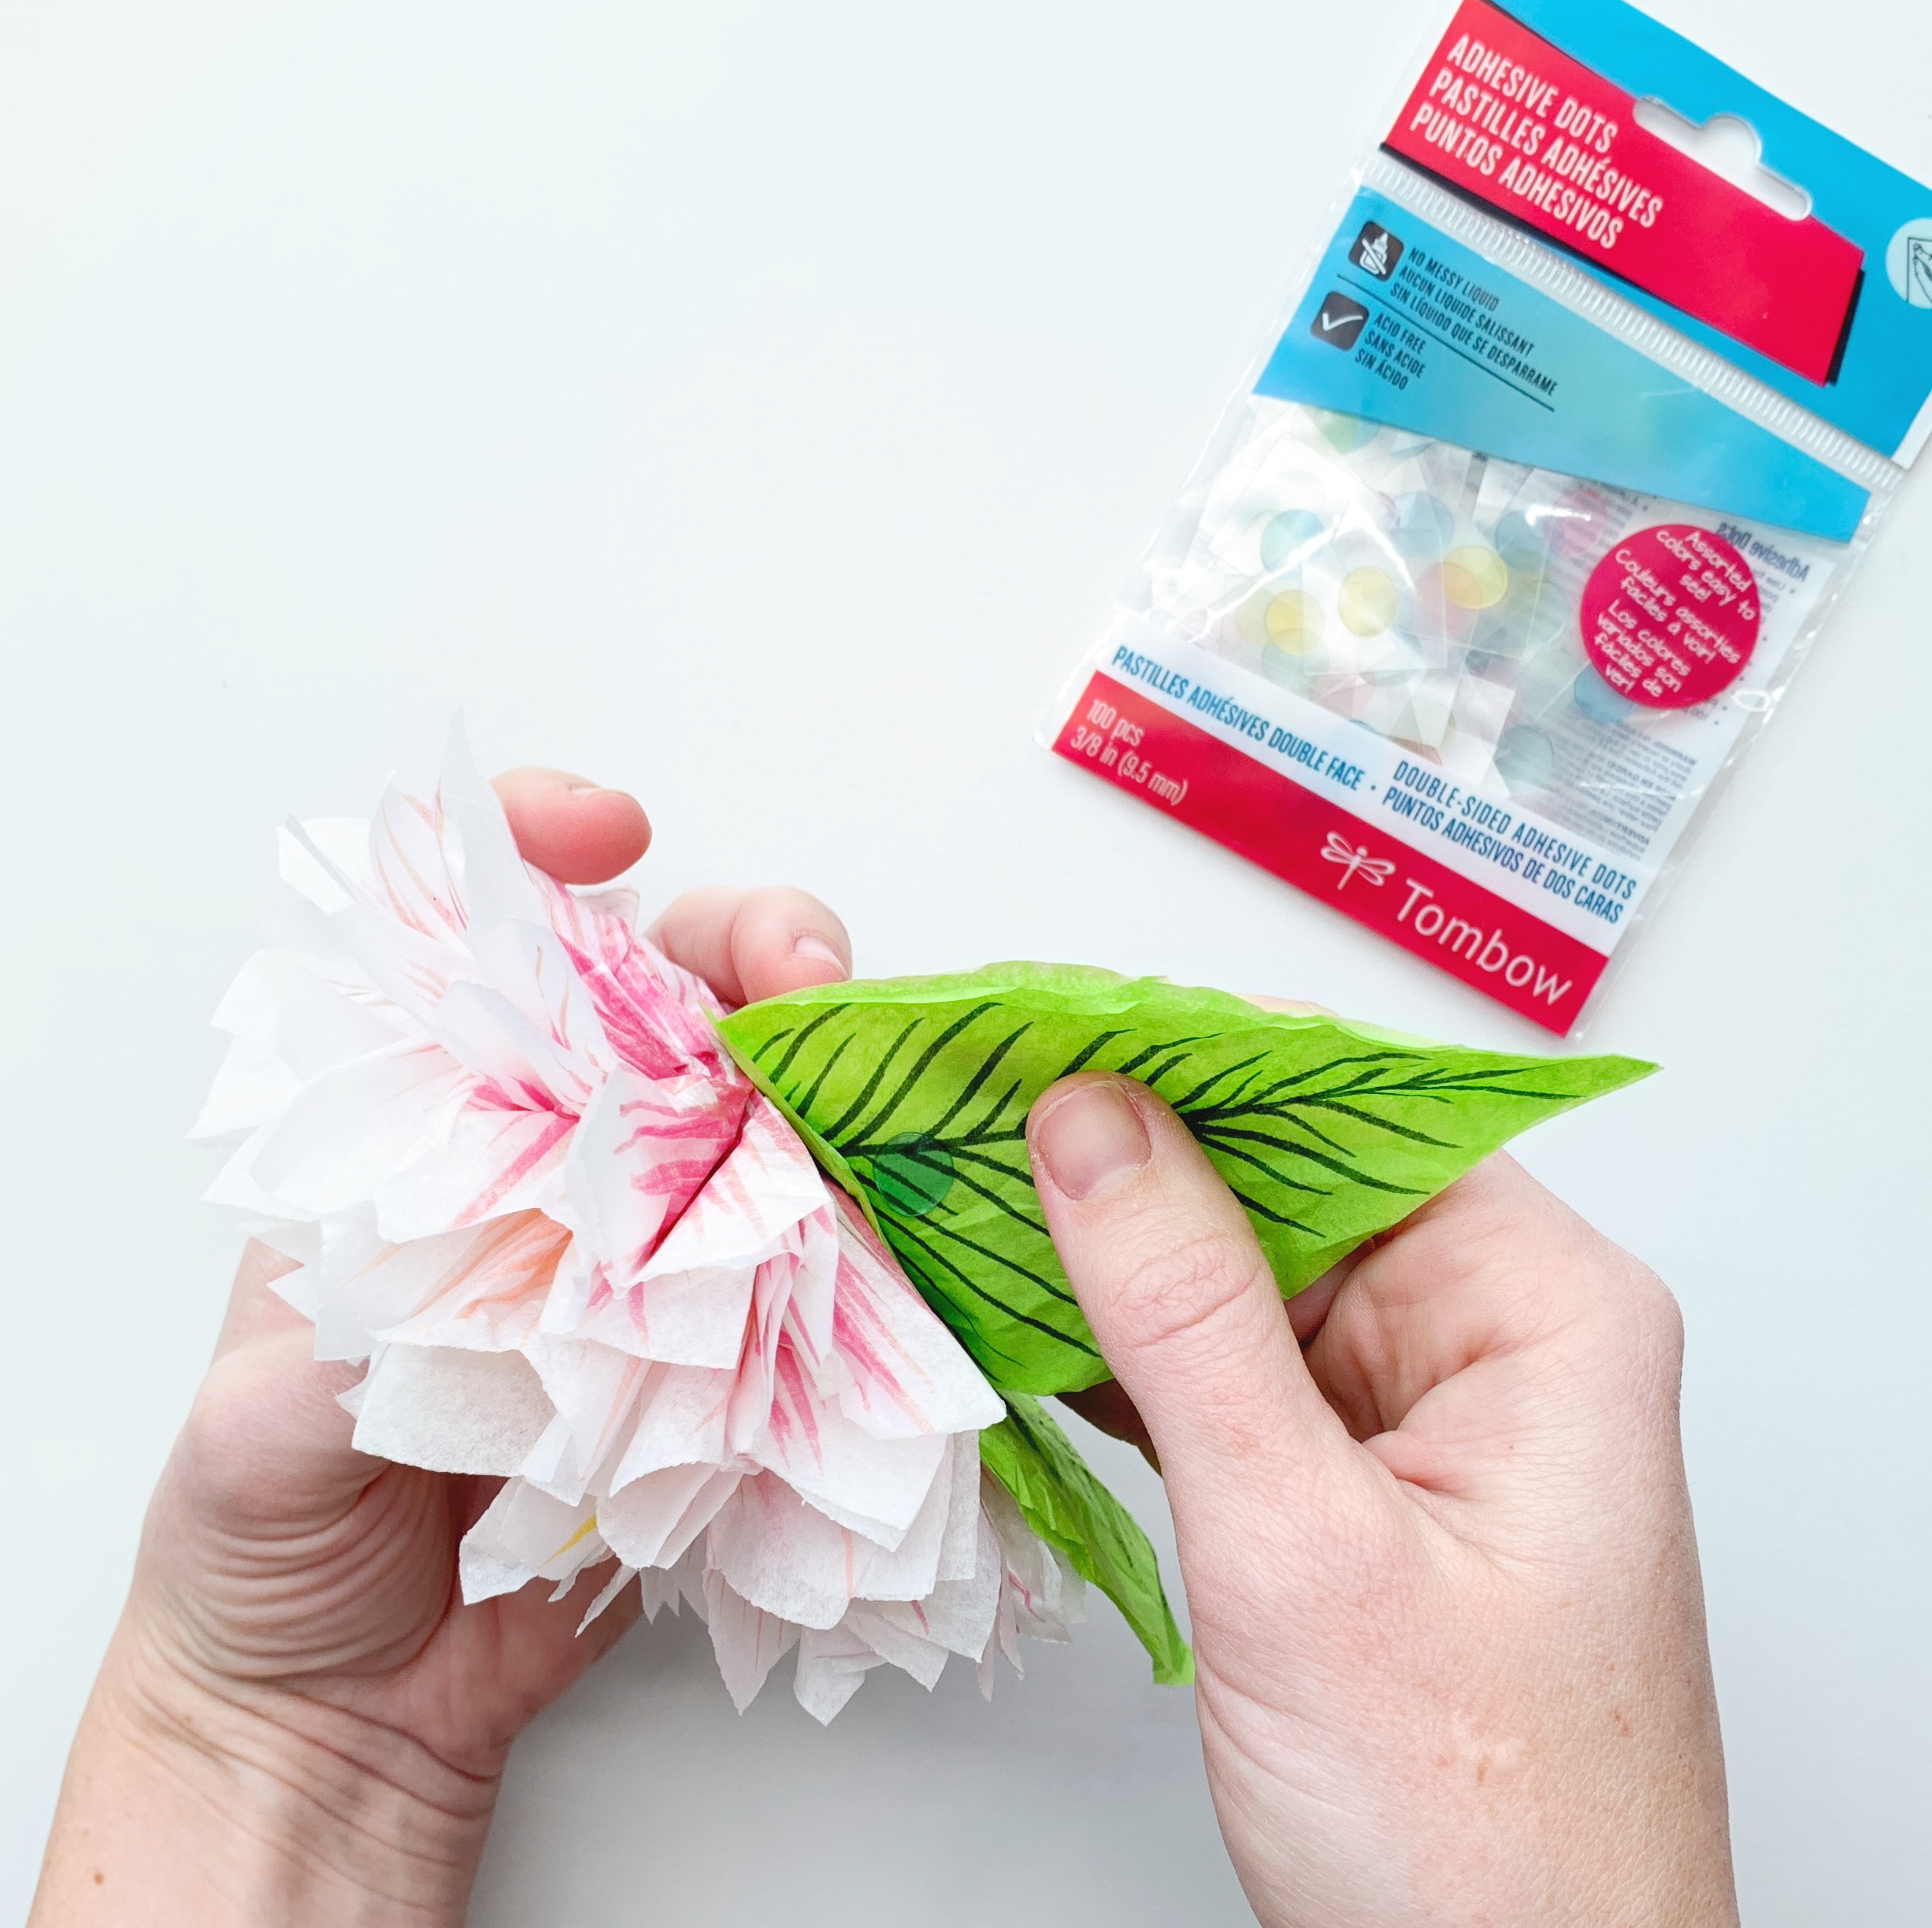
Step 9
Use the Adhesive Dots to attach each leaf to the bottom of the tissue paper dahlia. I love using these because they’re so easy to use and they’re mess free! I used two dots for each leaf about an inch apart of each other just to make sure they stick well! If you want to take it one more step you can cut small notches in the sides of your leaf!
And that’s it! Thanks for following along on this Tissue Paper Dahlia tutorial! For more inspiration like this make sure to follow me @studio80design!
For more tissue paper crafting ideas go check out these amazing tutorials!
- Tissue Paper Texture Technique For Cards
- Fruit Inspired Mason Jars for Summer Parties
- Ice Cream Piñata DIY Party Decor
- 3D Honeycomb Pineapple For Summer Parties
Pingback: Cute Pastel Easter Banner - Tombow USA Blog