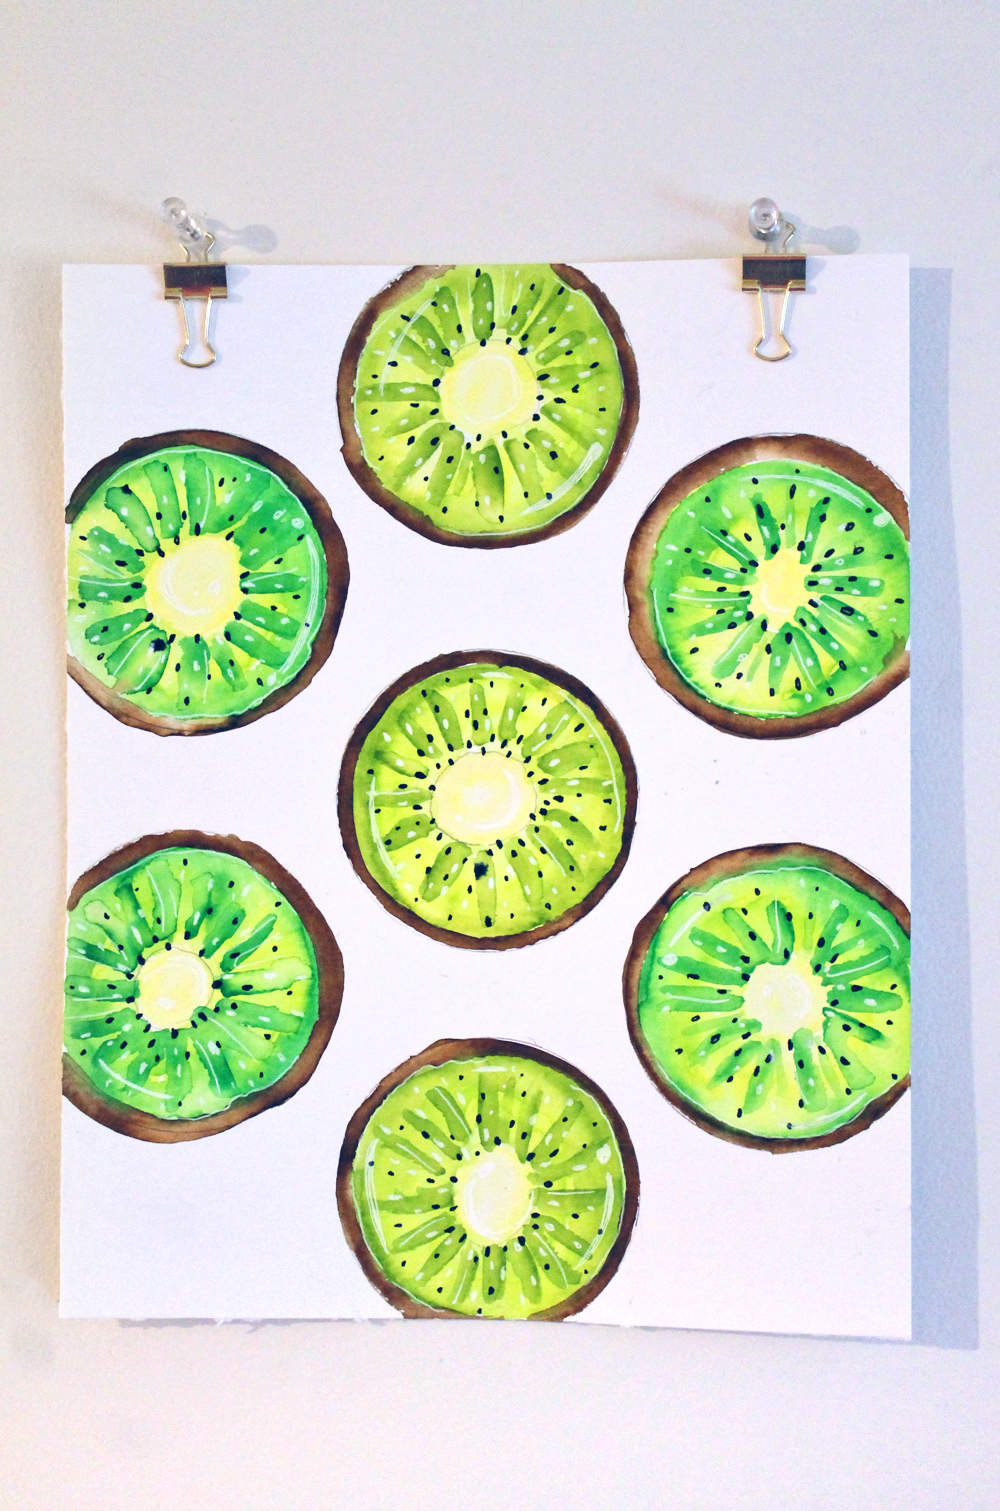
Hi everyone, it’s Katie from Studio Katie here! In honor of color week, I want to show you how to paint a watercolor kiwi art piece using green Dual Brush Pens!
Supplies:
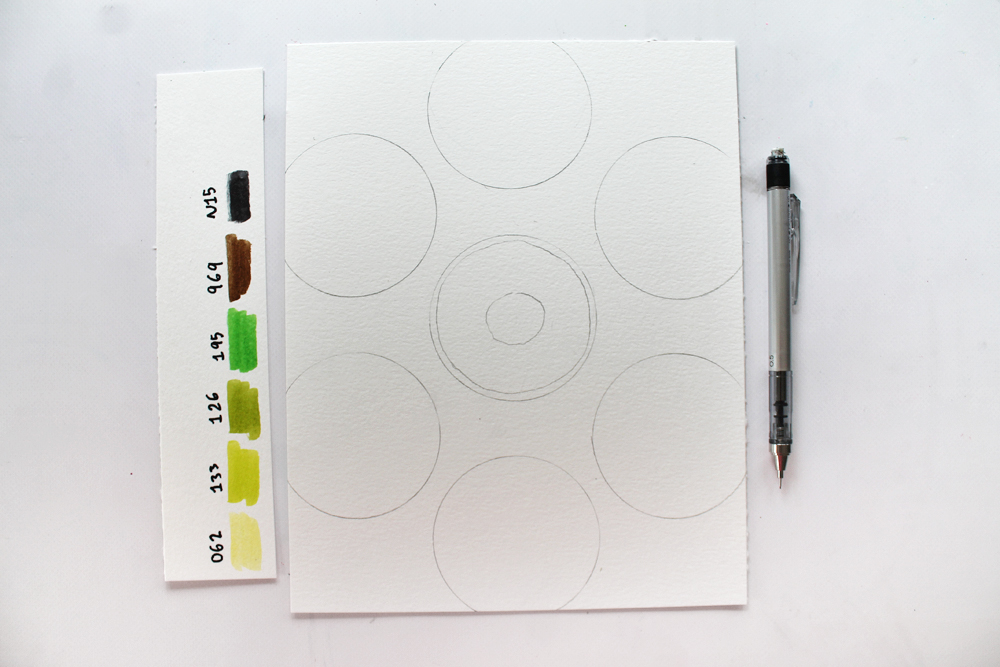
- Watercolor Paper
- Tombow MONO Graph Mechanical Pencil
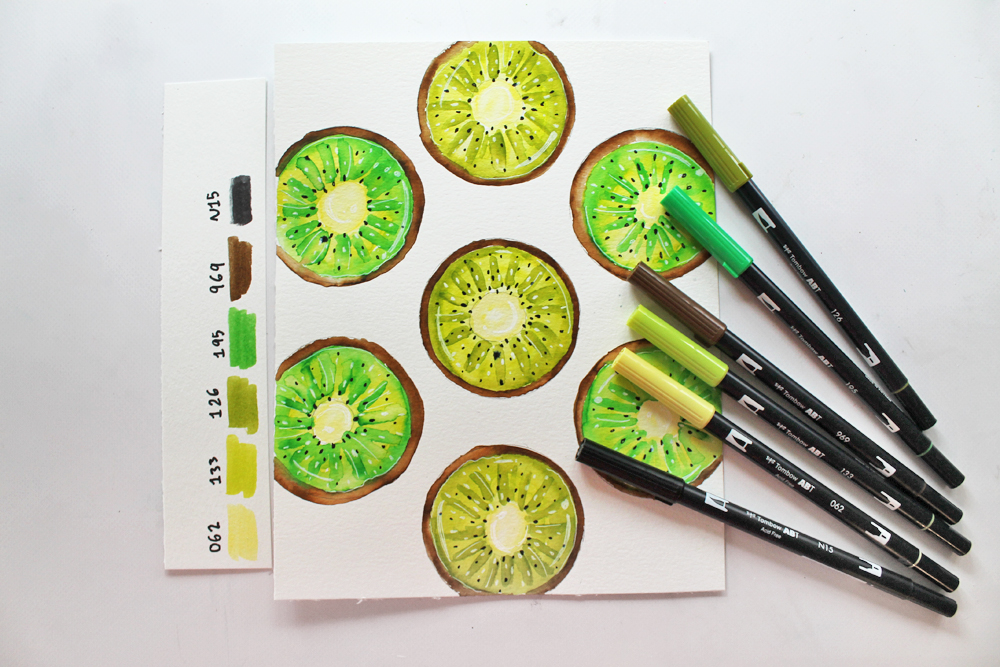
- Tombow Dual Brush Pens in these colors: 062, 133, 126, 195, 969, N15
- Water Brush (or paintbrush & water)
- White Gel Pen
Step one:
Start by sketching out your kiwi. You’ll need 2 larger circles and a smaller circle for the core.
You can paint just one kiwi or sketch out a pattern to make an art piece.
Step two:
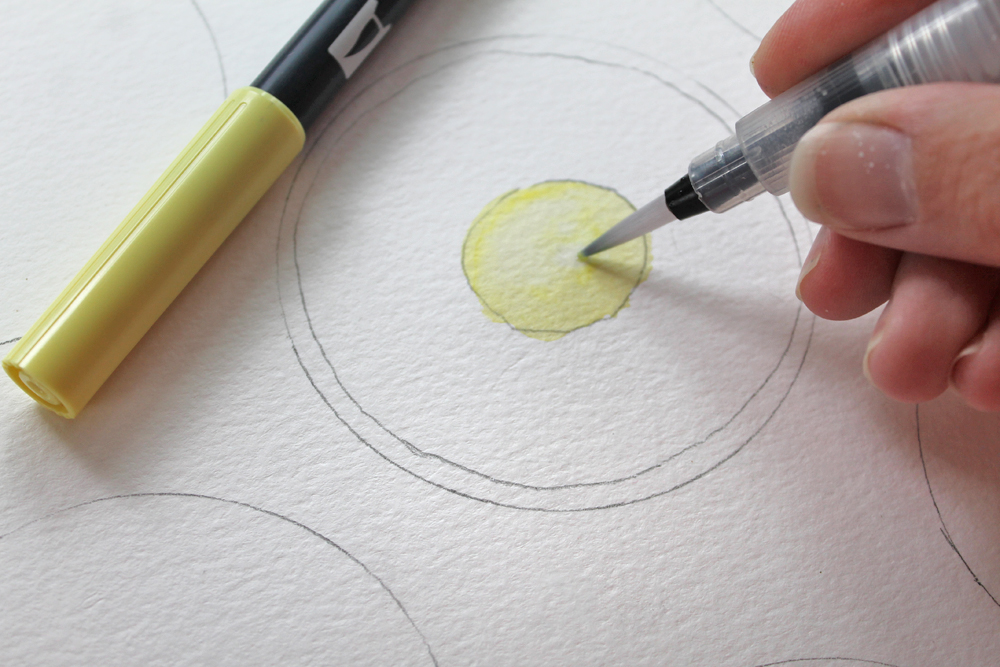
Use the lightest Dual Brush Pen (062) to color in the core. Brush over it with water. Dual Brush Pen ink acts as watercolor when you brush water over it, so we’ll be doing that with the next few steps to give this kiwi a watercolor look.
Step three:
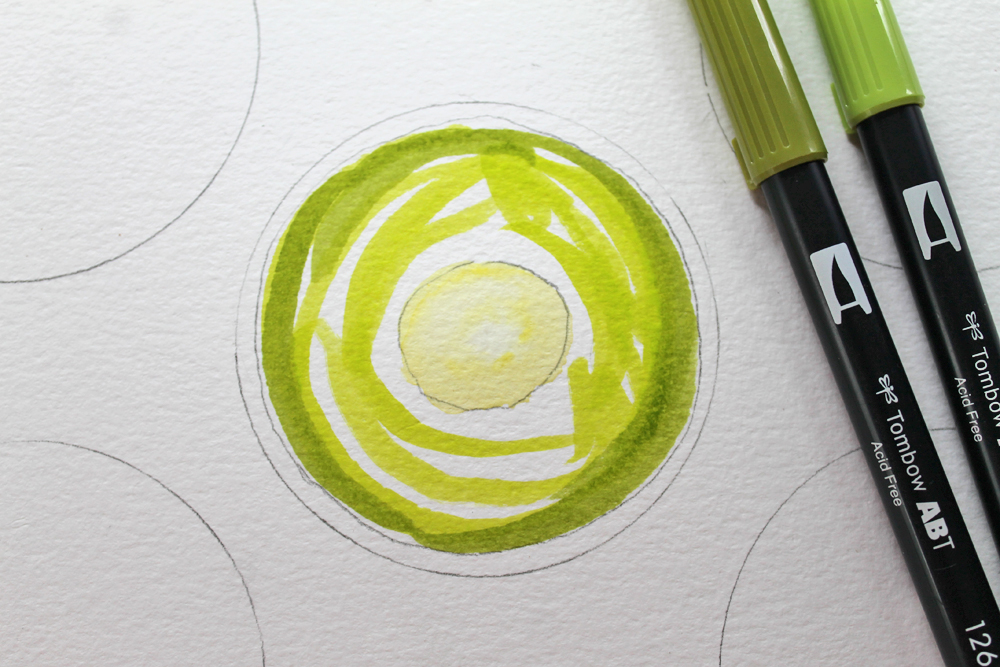
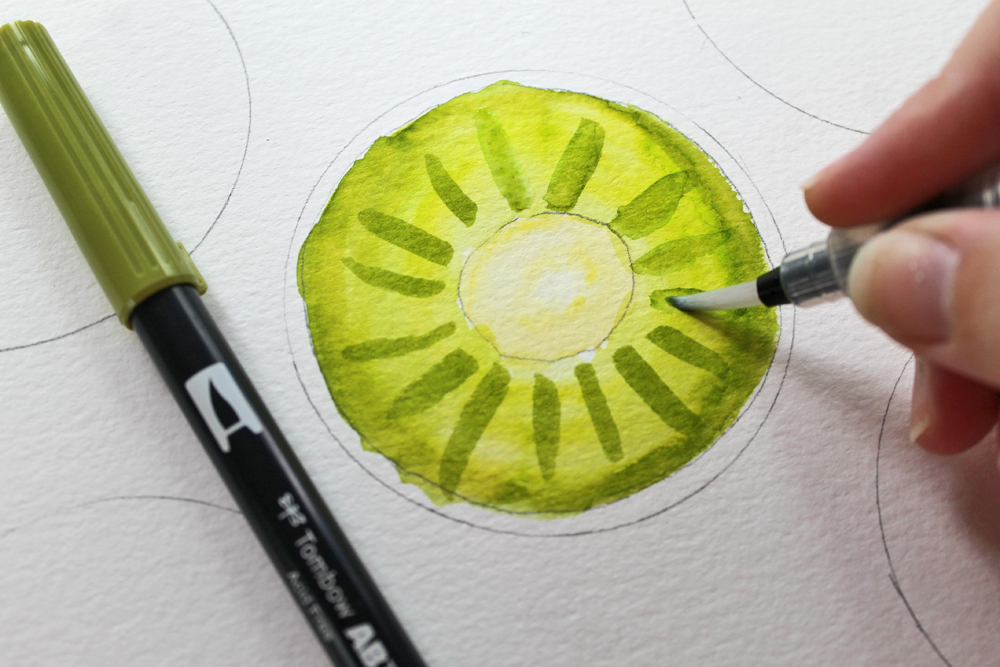
In the next circle, apply Dual Brush Pen color 133 and either 126 or 195 around the edge. Brush over it with water to blend the colors and let it dry. The ink dries fast, so you won’t have to wait too long for the next step.
Step four:
With the darker green (that you used in the last step), add lines going outward from the core. Lightly brush over them with water, just enough to blend the edges a bit.
Step five:
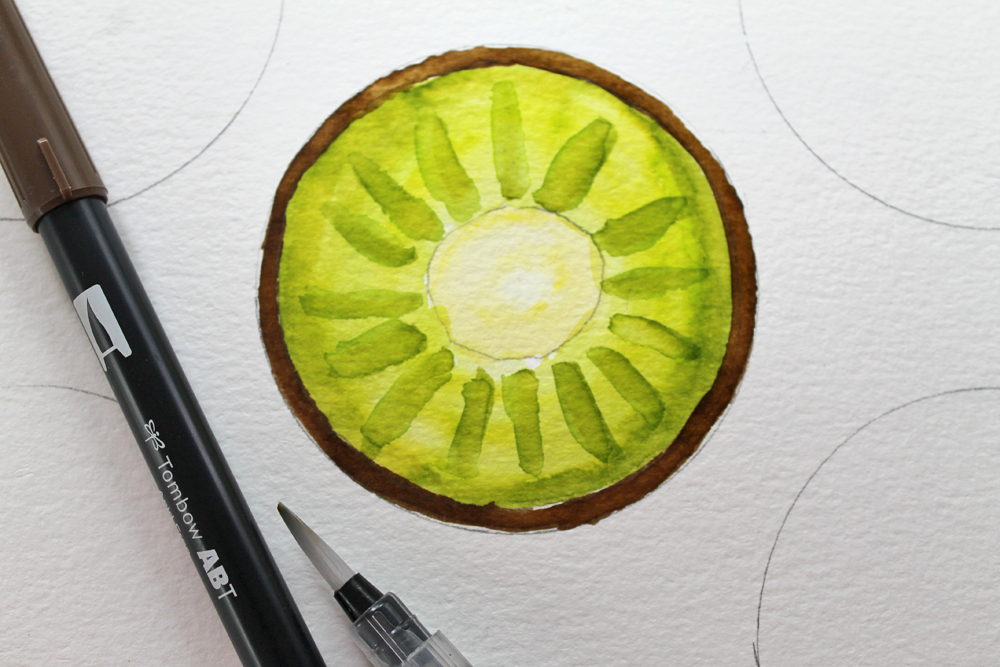
Color the outer circle with Dual Brush Pen969 and add water. This is the skin of the kiwi.
Step six:
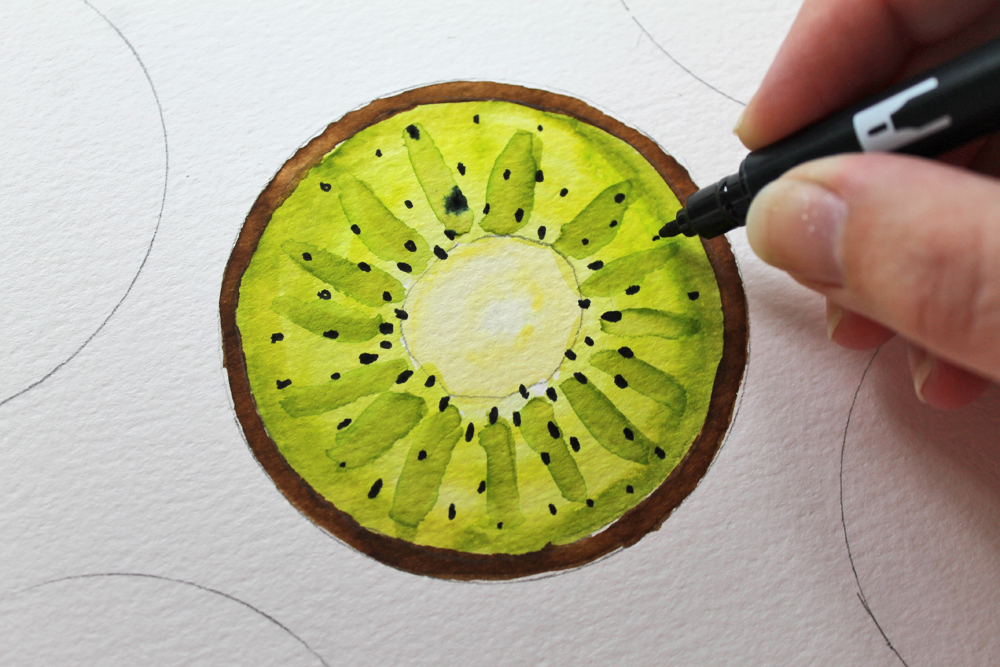
Use the bullet tip of Dual Brush Pen N15 to add small dots (seeds) around the kiwi.
Step seven:
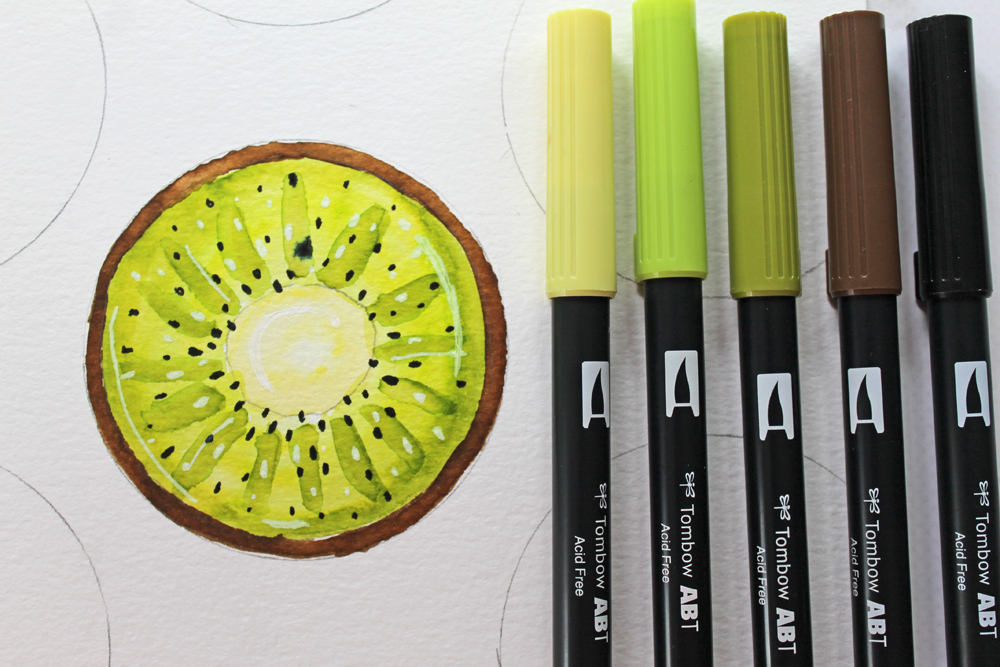
Finish your kiwi by adding highlights using a white gel pen!
Step eight:
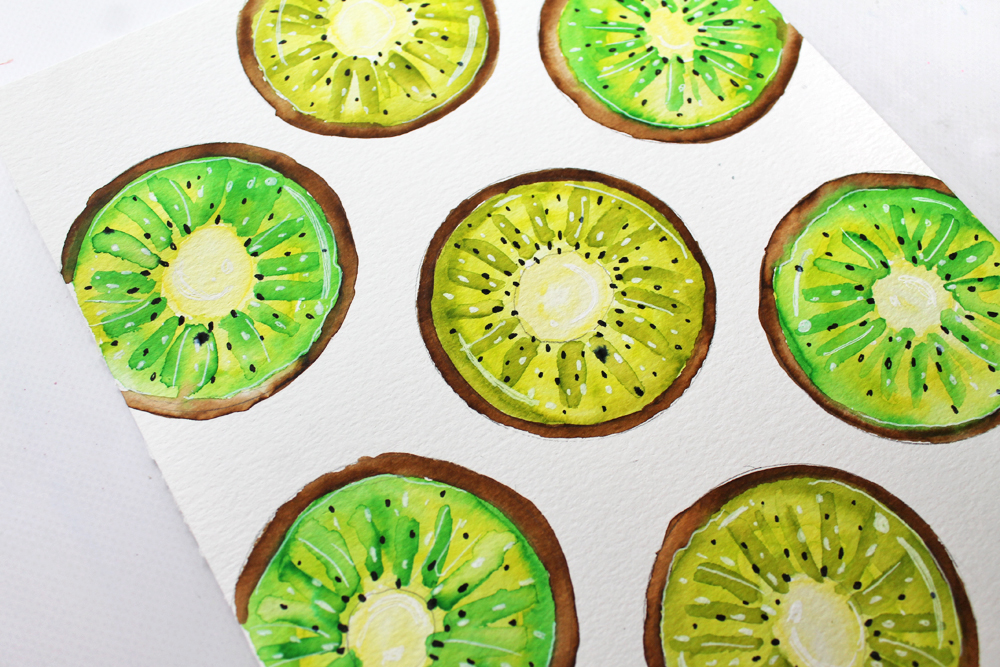
Repeat this on the other circles to make a fun kiwi pattern!
Want another watercolor project? Learn how to paint Watercolor Tropical Flowers with this tutorial by Jennie!
Could you please tell me how to blend the colors. Are you using a separate pen and dipping the brush in water to blend ?
This is such a beautiful project and so creative. Thank you for sharing this.
Rhonda