Hi friends! It’s Dani from @popfizzpaper here today rocking the retro vibes with some altered cassette cases! These make a cute little project that you can whip up for a friend. Instead of including a cassette, write your bestie a letter and tuck it inside. Bonus points if you fold it like we did back in our school days! You could also use the case to hold a mini pocket letter, small zine, or handmade embellishments! So many options, let’s get started!
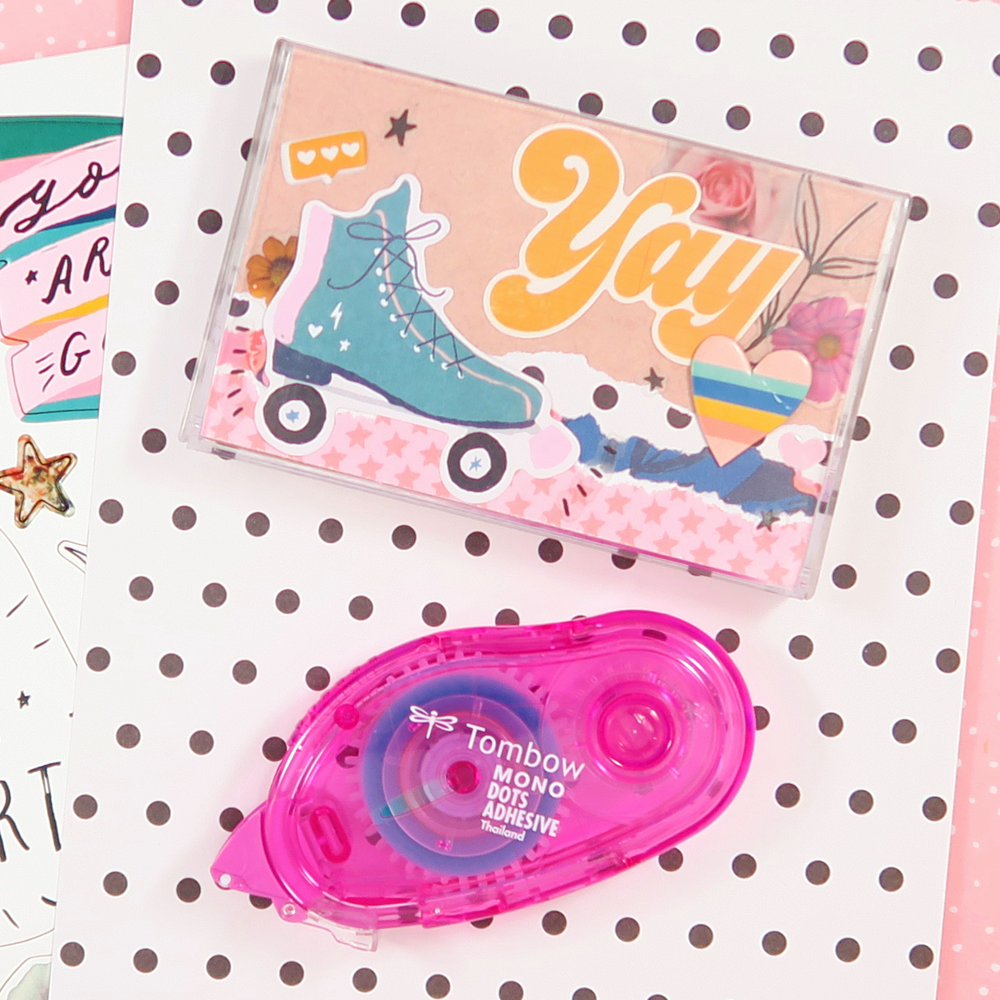
SUPPLIES:
- Clear audio cassette case (check thrift stores, garage sales, or Amazon!)
- Tombow MONO Dots Adhesive
- Scrapbook papers
- Embellishments (die cuts, washi, stickers, etc)
- Scoring board and bone folder
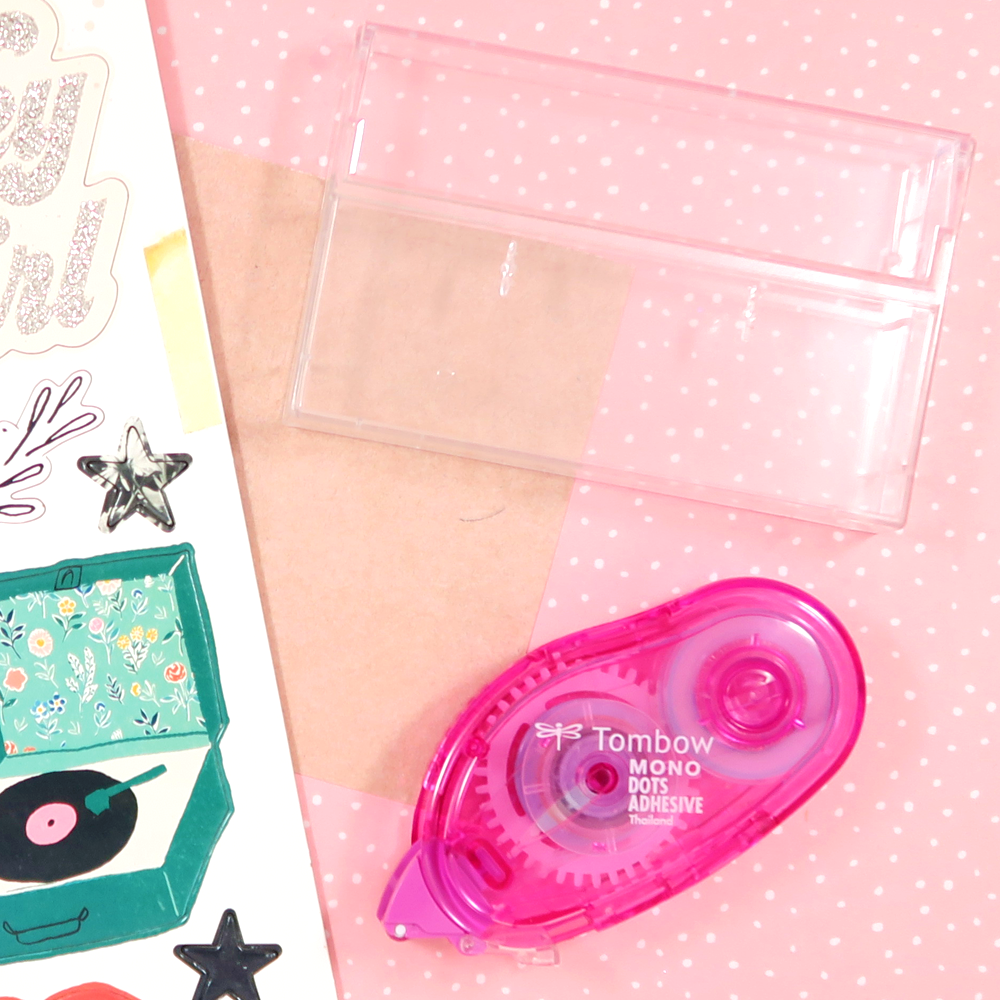
STEP 1
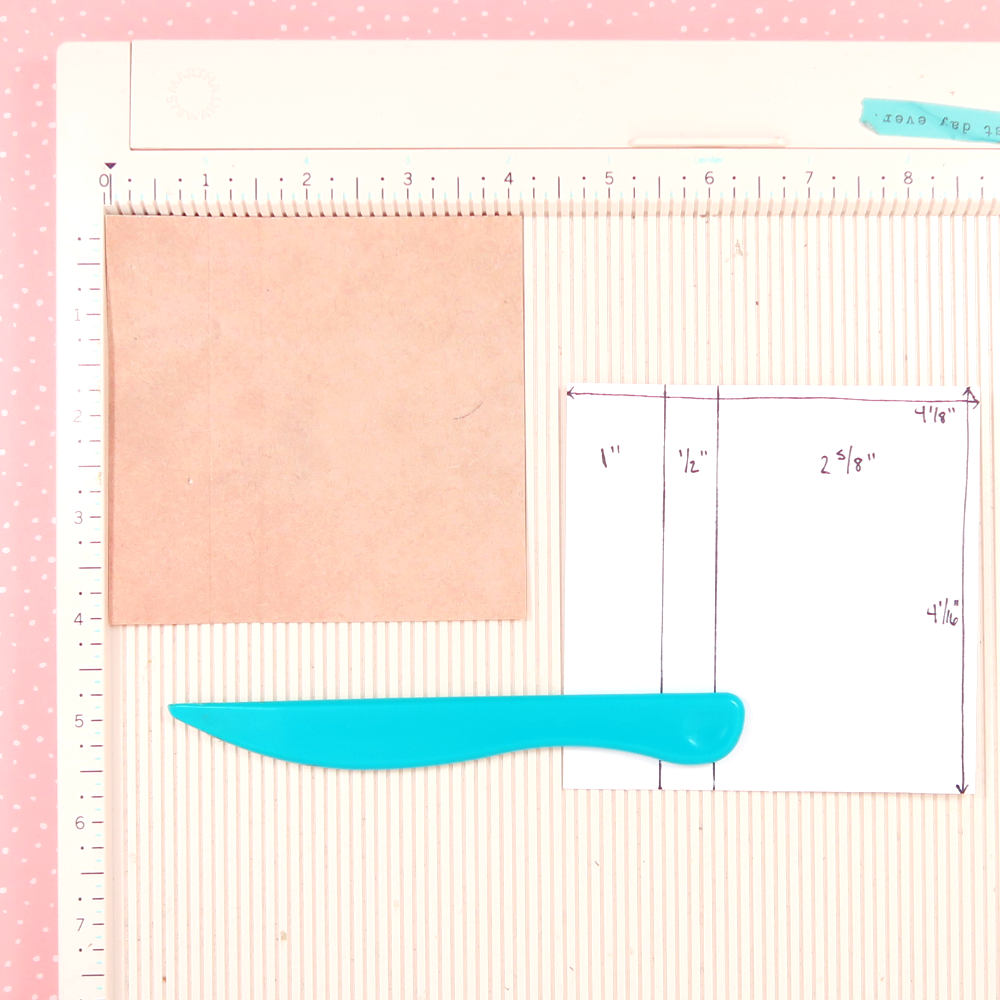
To begin, cut a piece of scrapbook paper to 4 1/8″ x 4 1/16″. Next, place it on your scoreboard, so that the 4 1/8″ side is along the top – double check because the sides will look very similar in length. Score at 1″ and again at 1 1/2″. Your finished scored piece should look the one below and will become the base of our cassette case insert.
STEP 2
Fold along the score lines. You should have 3 sections – 1″, 1/2″, and 2 5/8″. Go through your supplies and pull out coordinating scrapbook papers (I used scraps), die cuts, and stickers. I really love the retro vibes of the mustard yellow “yay” and the fun teal roller skate. Start layering the elements on the largest of the sections. Use the Tombow MONO Dots Adhesive to glue everything down. I started at the bottom (the score line between the 1/2″ and 2 5/8″ sections) with scrap strips and a skate die cut. Then, I created a layered cluster at the top.
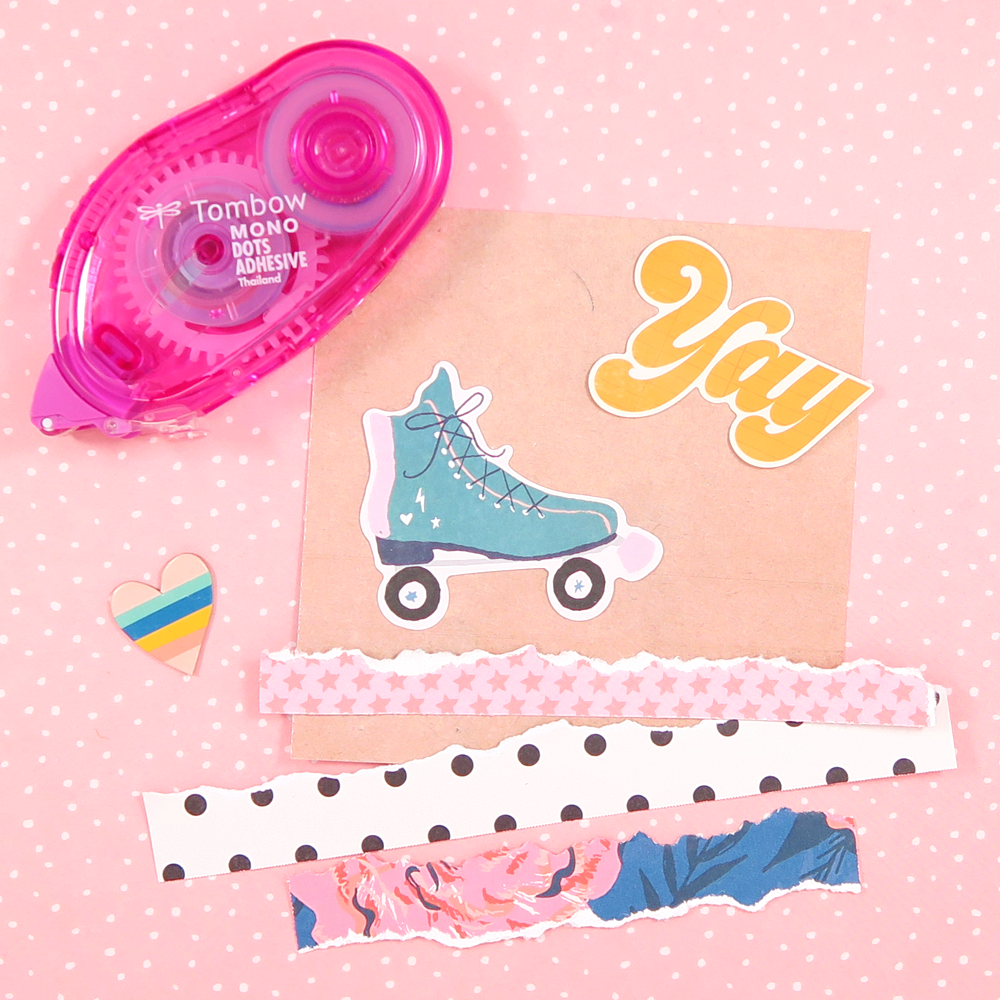
STEP 3
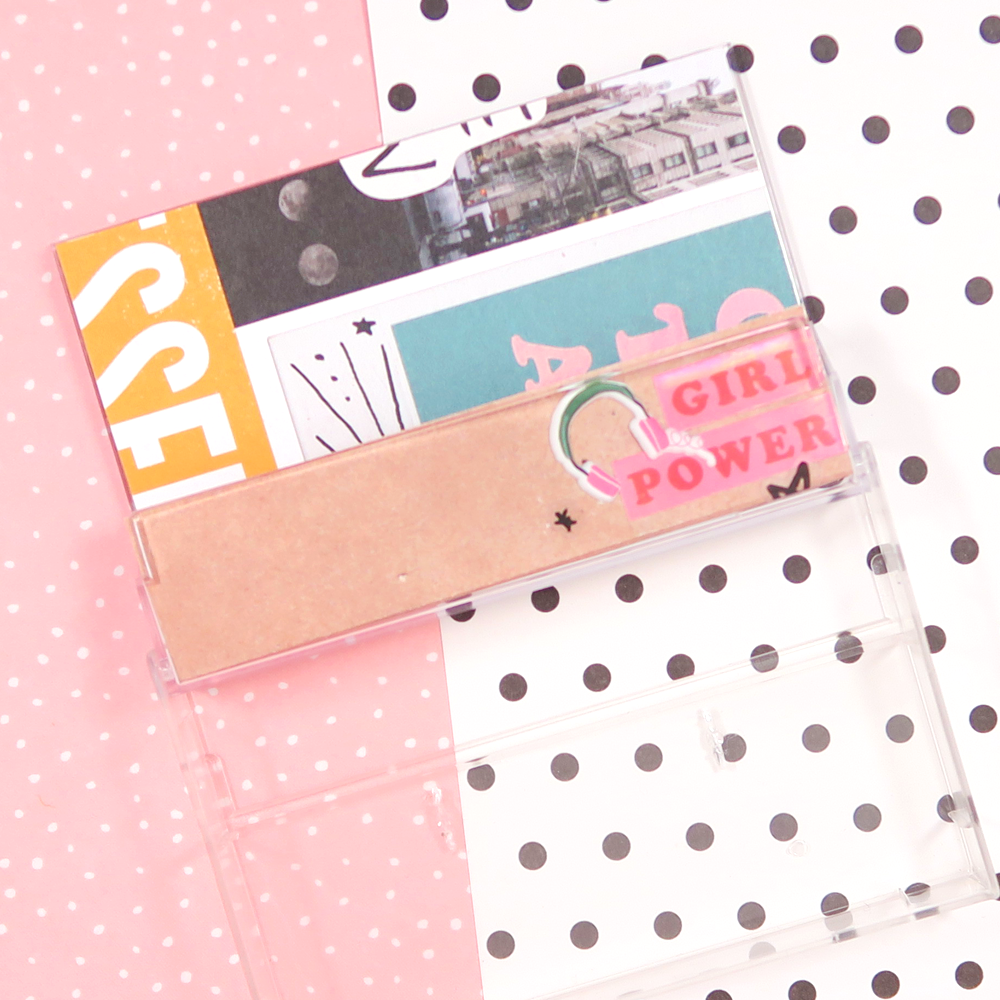
Don’t forget the folded up back side of the insert! Turn your paper 180 degrees, then decorate the 1″ section. I went for simple, since the front is very layered.
STEP 4
Finally, go ahead and slide your decorated retro insert into the cassette case. Isn’t it so pretty? Now, go tuck a bestie letter or a some tea into the case, pop it into the mail or a care package, and you’re done!
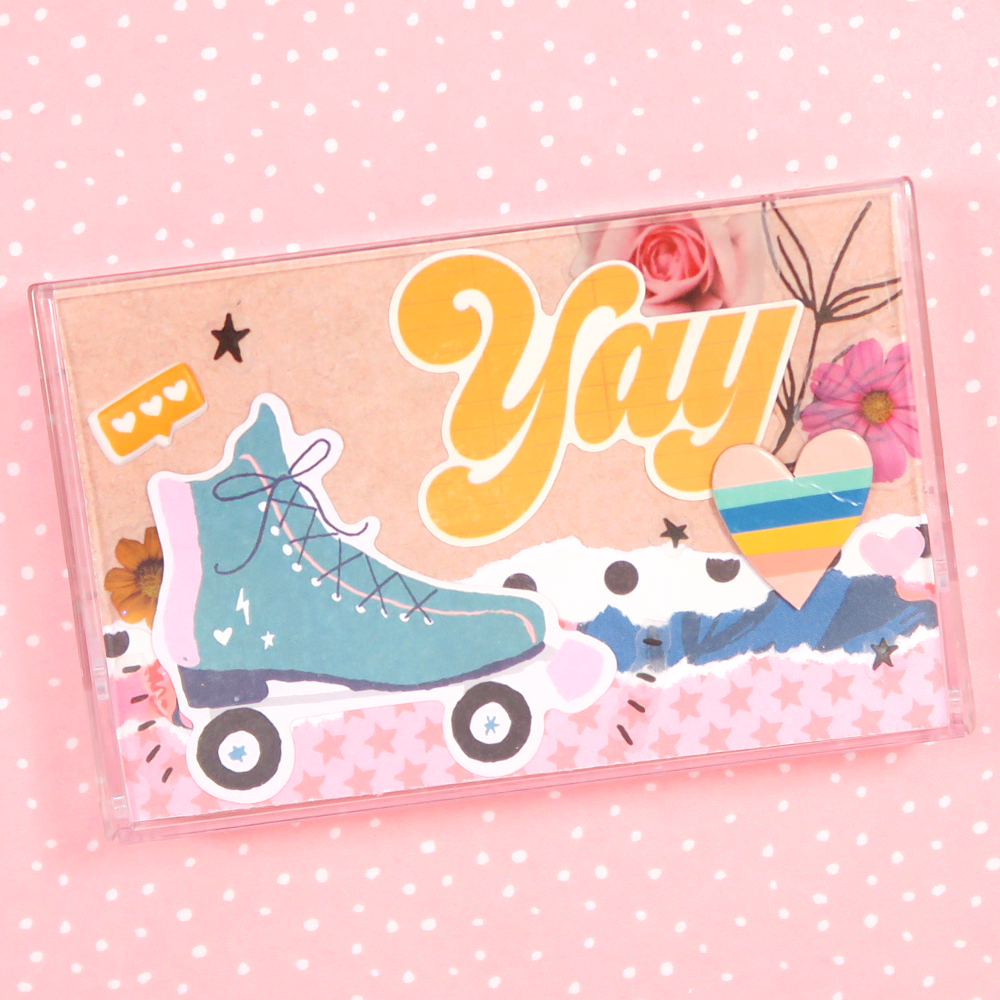
See how fun this retro cassette case is to create?! Thank you so much for following along with my tutorial today! Please tag me @popfizzpaper if you give it a try. I would love to see! If you’d like to see more tutorials like this, make sure to check out my Crafty Club for more fun ideas! And for more retro cassette inspiration, check out this this post by Jennie. I will see you next time!