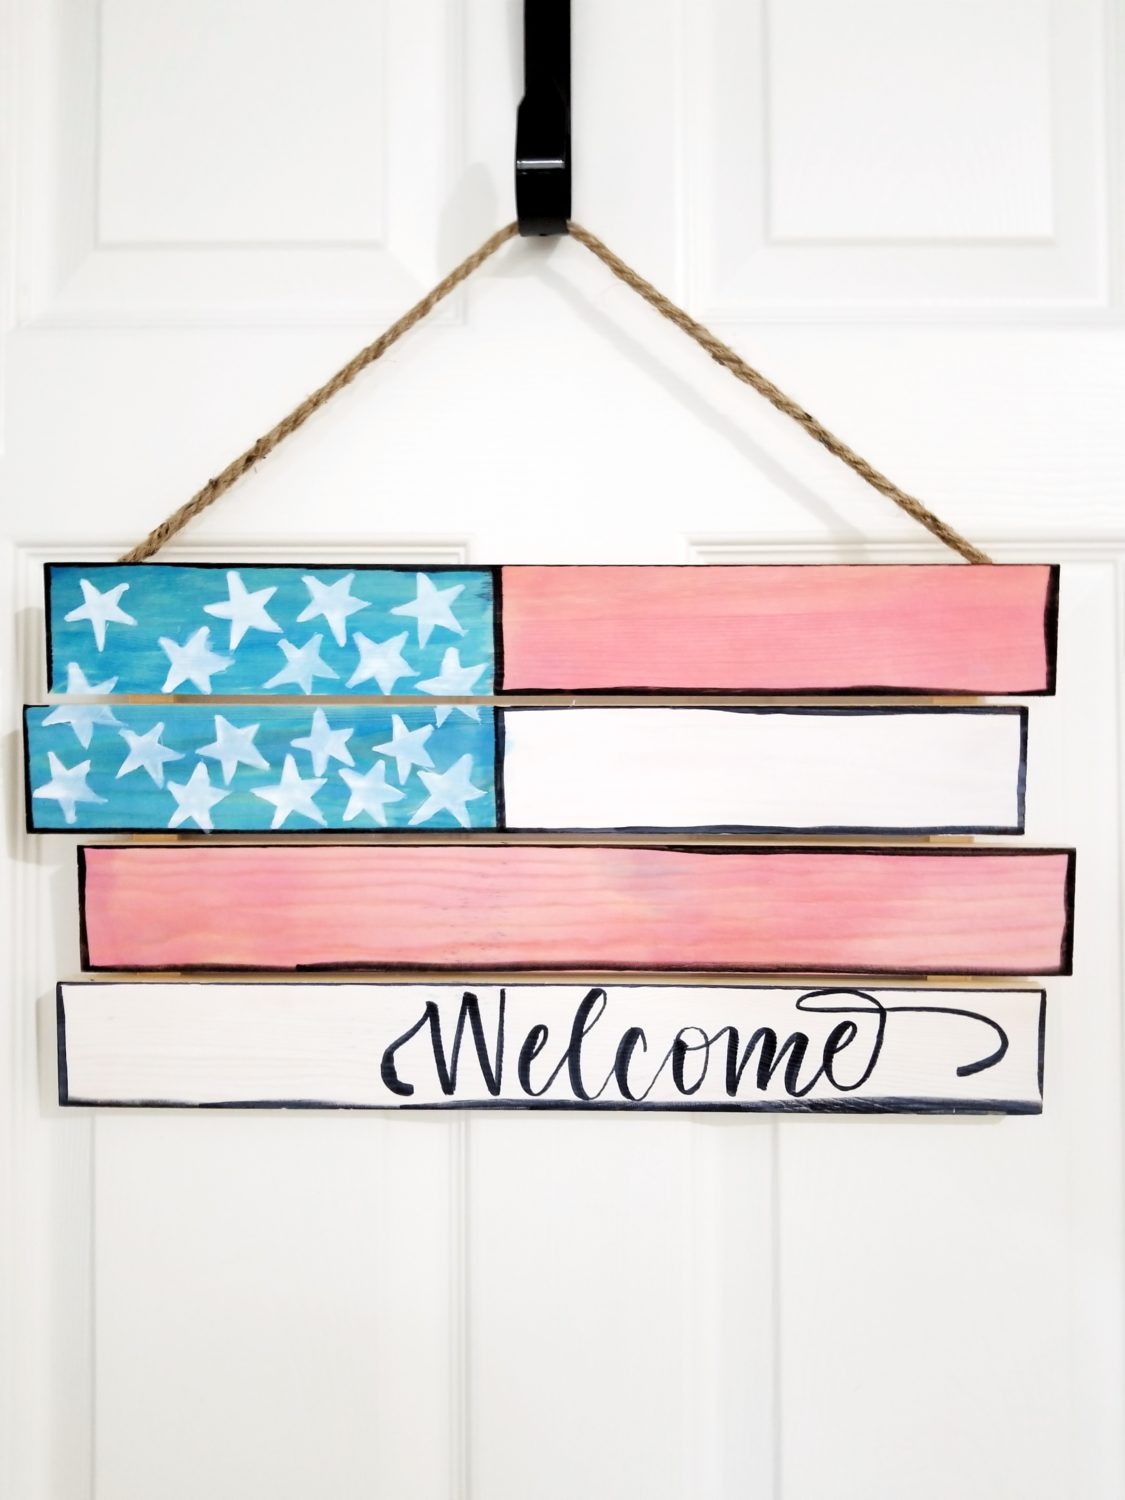
Hey there Tombow friends, it’s Grace from Grace Anne Studio. Did you know you can watercolor on WOOD using your Tombow Dual Brush Pens? I love this look because it acts like a stain and allows you to see the wood grain through the color! Today, we’re going to walk through how to do just that and make some watercolor wooden patriotic home decor!
Supplies
- Plain Wooden Sign
- Tombow Dual Brush Pens – 555, 856, N15
- Tombow Water Brushes
- Tombow Blending Palette
- Tombow 1500 Series Colored Pencil – White
- White Gel Pen
- White Acrylic Paint
- Plastic Palette
- Cup of Water
- 1 inch Flat Paintbrush
- Triangle or Ruler
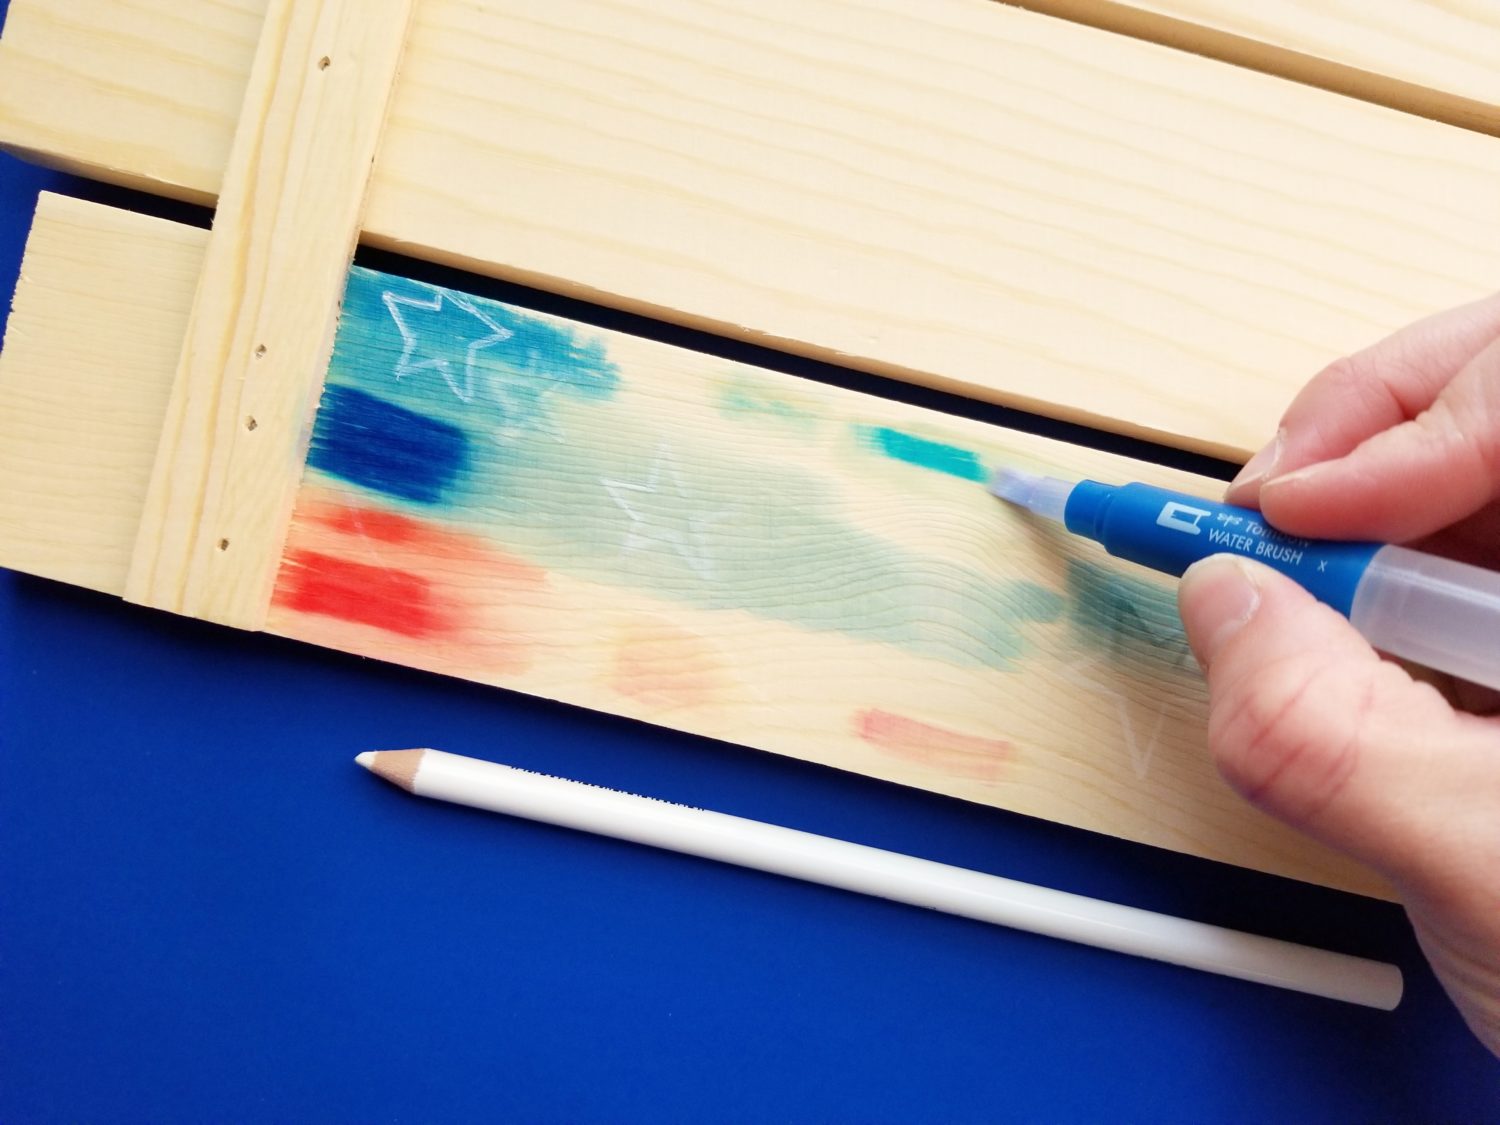
Step 1 – Test Materials
Before you start on the front of the wooden sign, it is always a good idea to test your materials. Here I tried out different layering and watercolor techniques to find the best method for this project. It’s also the perfect way to test your colors. You can see in the image below, the colors look differently depending on the application. I ended up using Dual Brush Pens 555, 856, and N15.
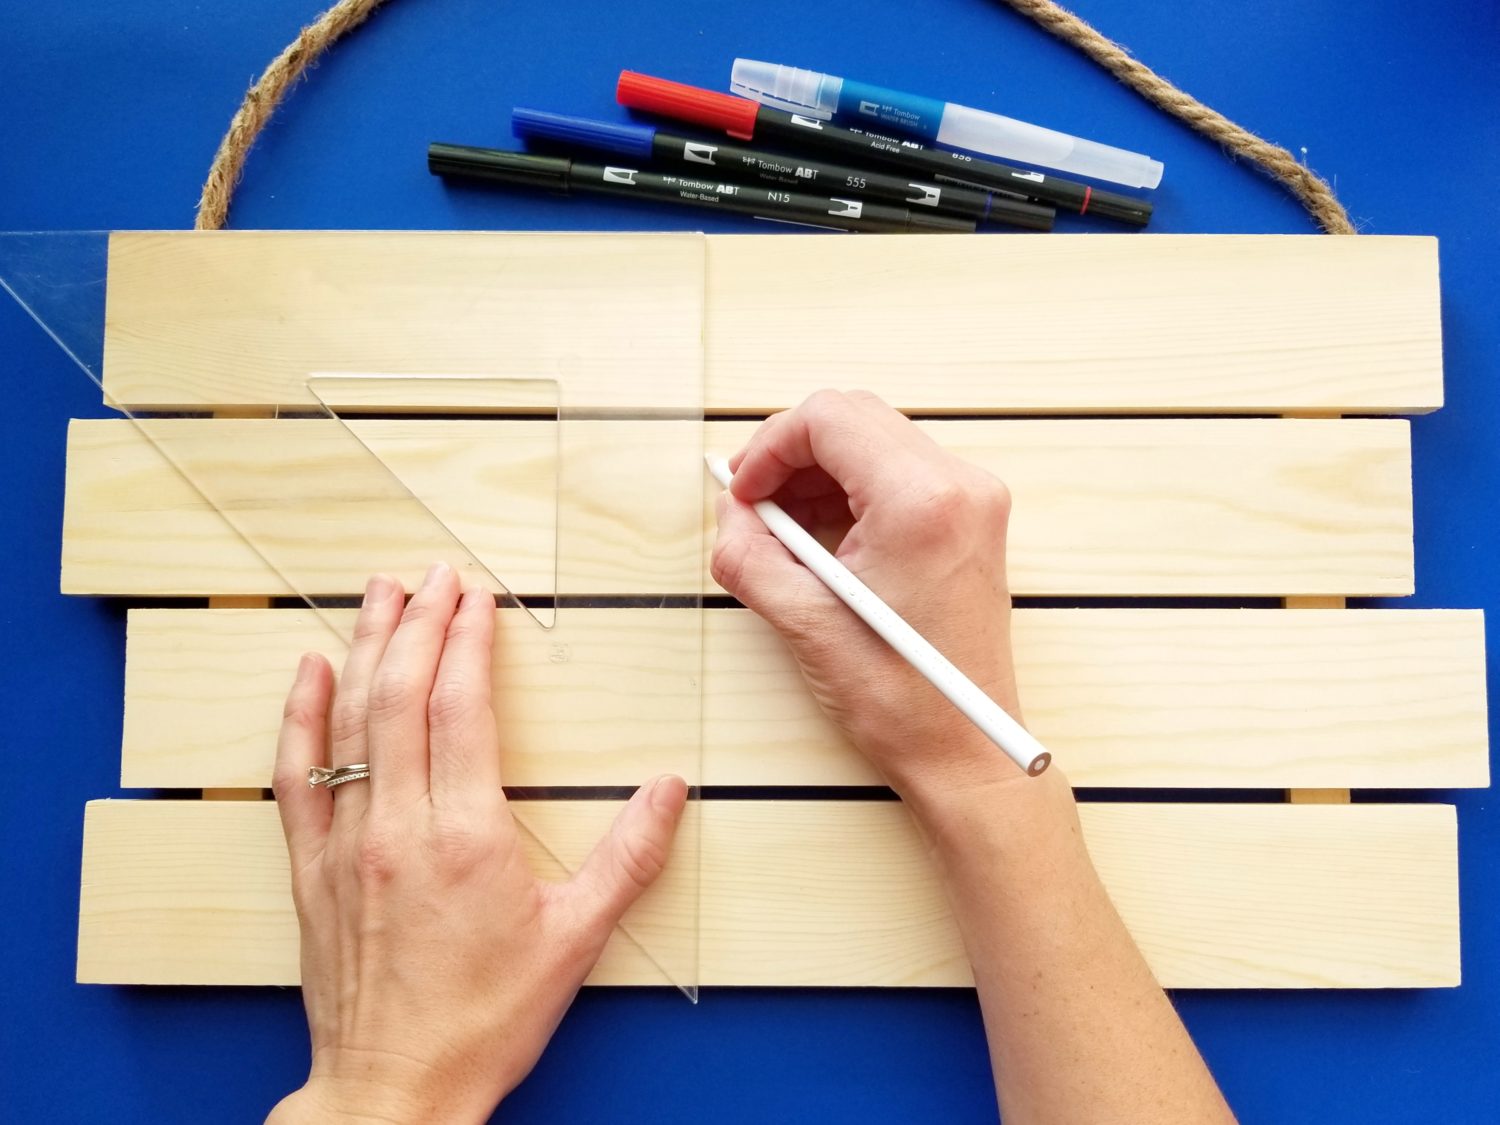
Step 2 – Mark off Flag
First, use your white colored pencil and your ruler to mark off the section of the flag that will be blue.
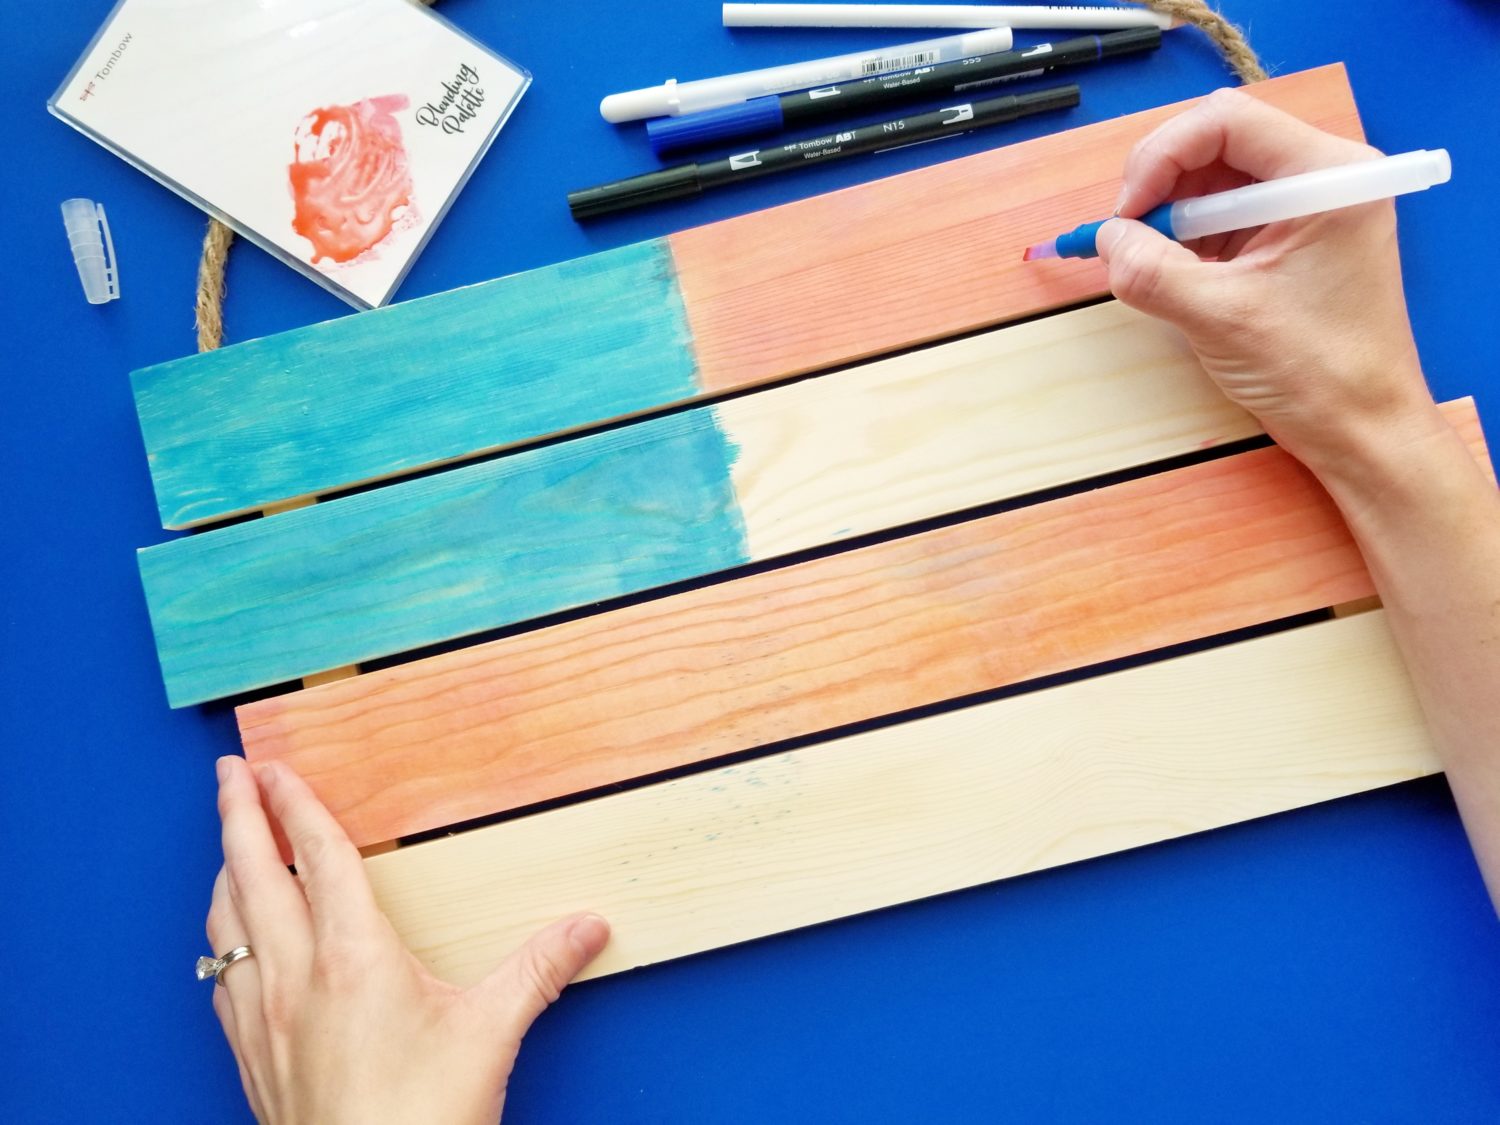
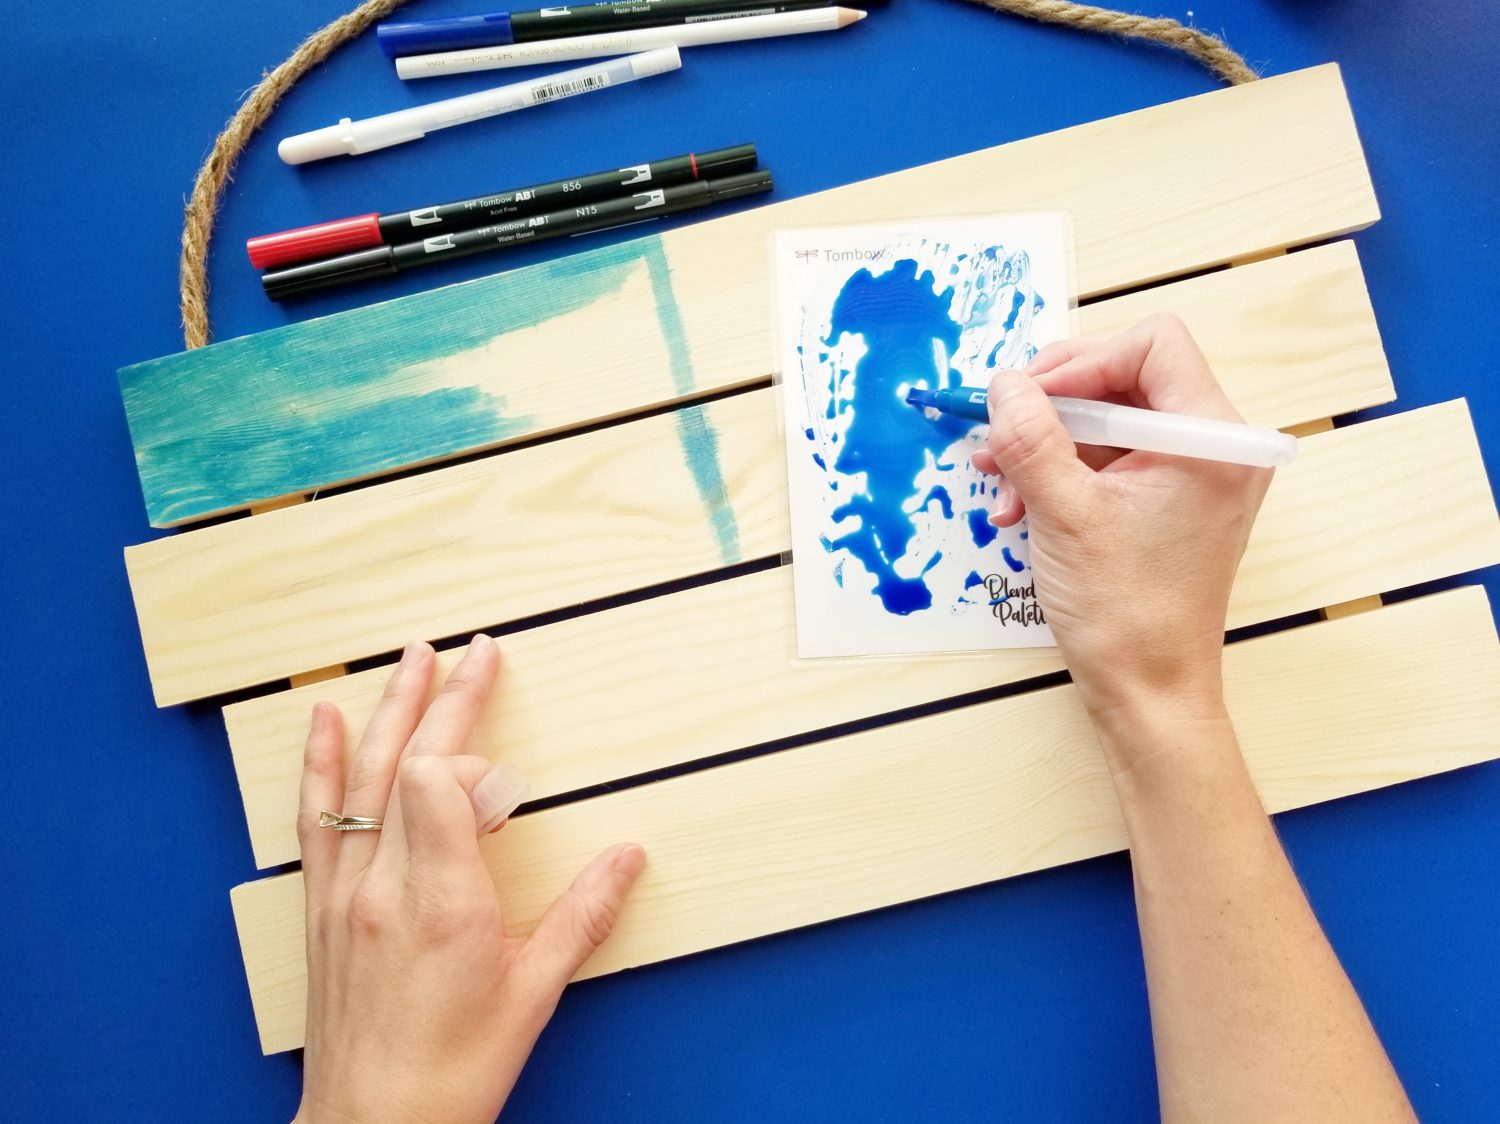
Step 3 – Watercolor
Next, you’ll use your Dual Brush Pen to scribble some color onto the Blending Palette. Then, add a few drops of water and mix until it becomes a liquid watercolor paint. Next, use your Tombow Water Brush or a large paint brush to paint the flag. The top left corner you marked off should be blue (555) and every other stripe should be red (856). Add more pigment to the blending palette as needed to finish watercoloring. Then, let the paint dry.
Step 4 – Whitewash
Once the watercolor is dry to the touch, it’s time to whitewash! Acrylic paint is water-based and can be thinned out with water to make a white wash. Add some white acrylic paint to the plastic palette and add a few drops of water. Mix the paint until it has a watery consistency. Using your large paint brush, spread the paint over the remaining stripes. It should go on smoothly and be translucent. If it is too thick, add more water until it is just a wash of color. Then, let the paint dry.
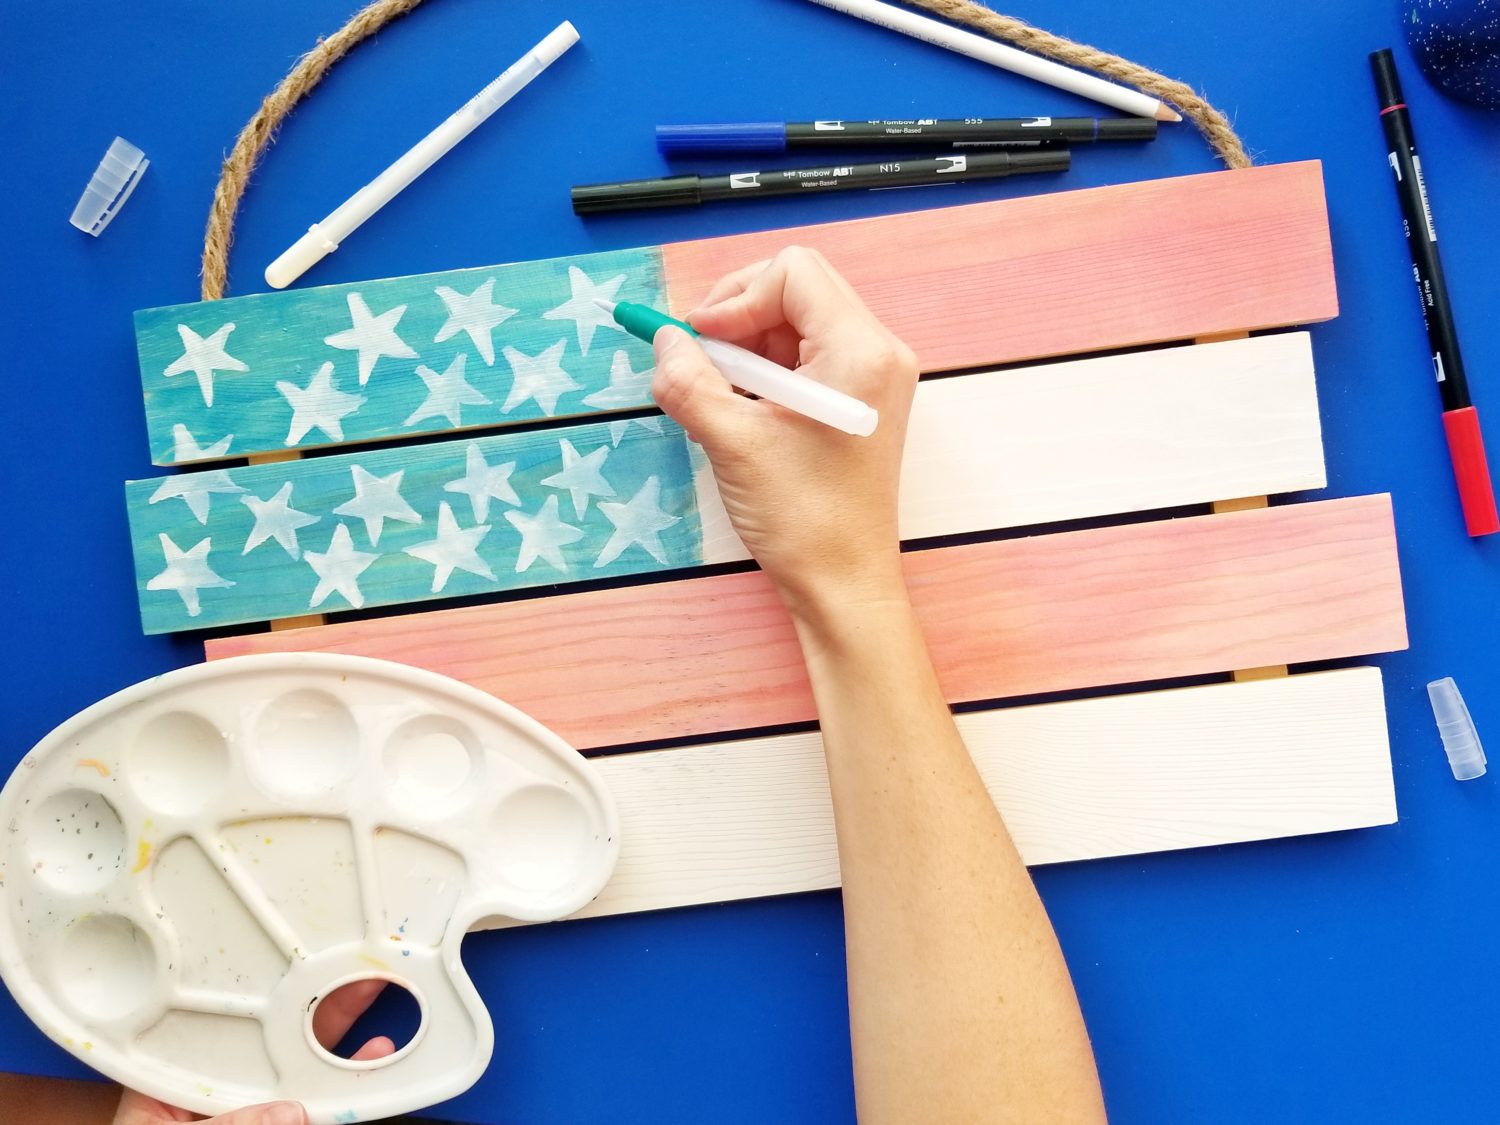
Step 5 – Add Stars
Next, use your white gel pen to draw stars on the blue section of the flag. This does not need to be perfect! Then, use the watered down white acrylic paint and a Tombow Water Brush to paint the stars. Because the wood was not sealed, the paint will soak in and result in a semi-transparent or faded look. I love how that looks. If you’d rather the stars be opaque, just use acrylic paint without watering it down or add a few more coats.
NOTE: Be sure to clean your brushes’ bristles (including the Tombow Water Brushes) with a good brush cleaner. To fully clean the Water Brush, I suggest squeezing water from the barrel until the water runs clear. This will clean out any paint that may have soaked back into the brush and keep them in great condition.
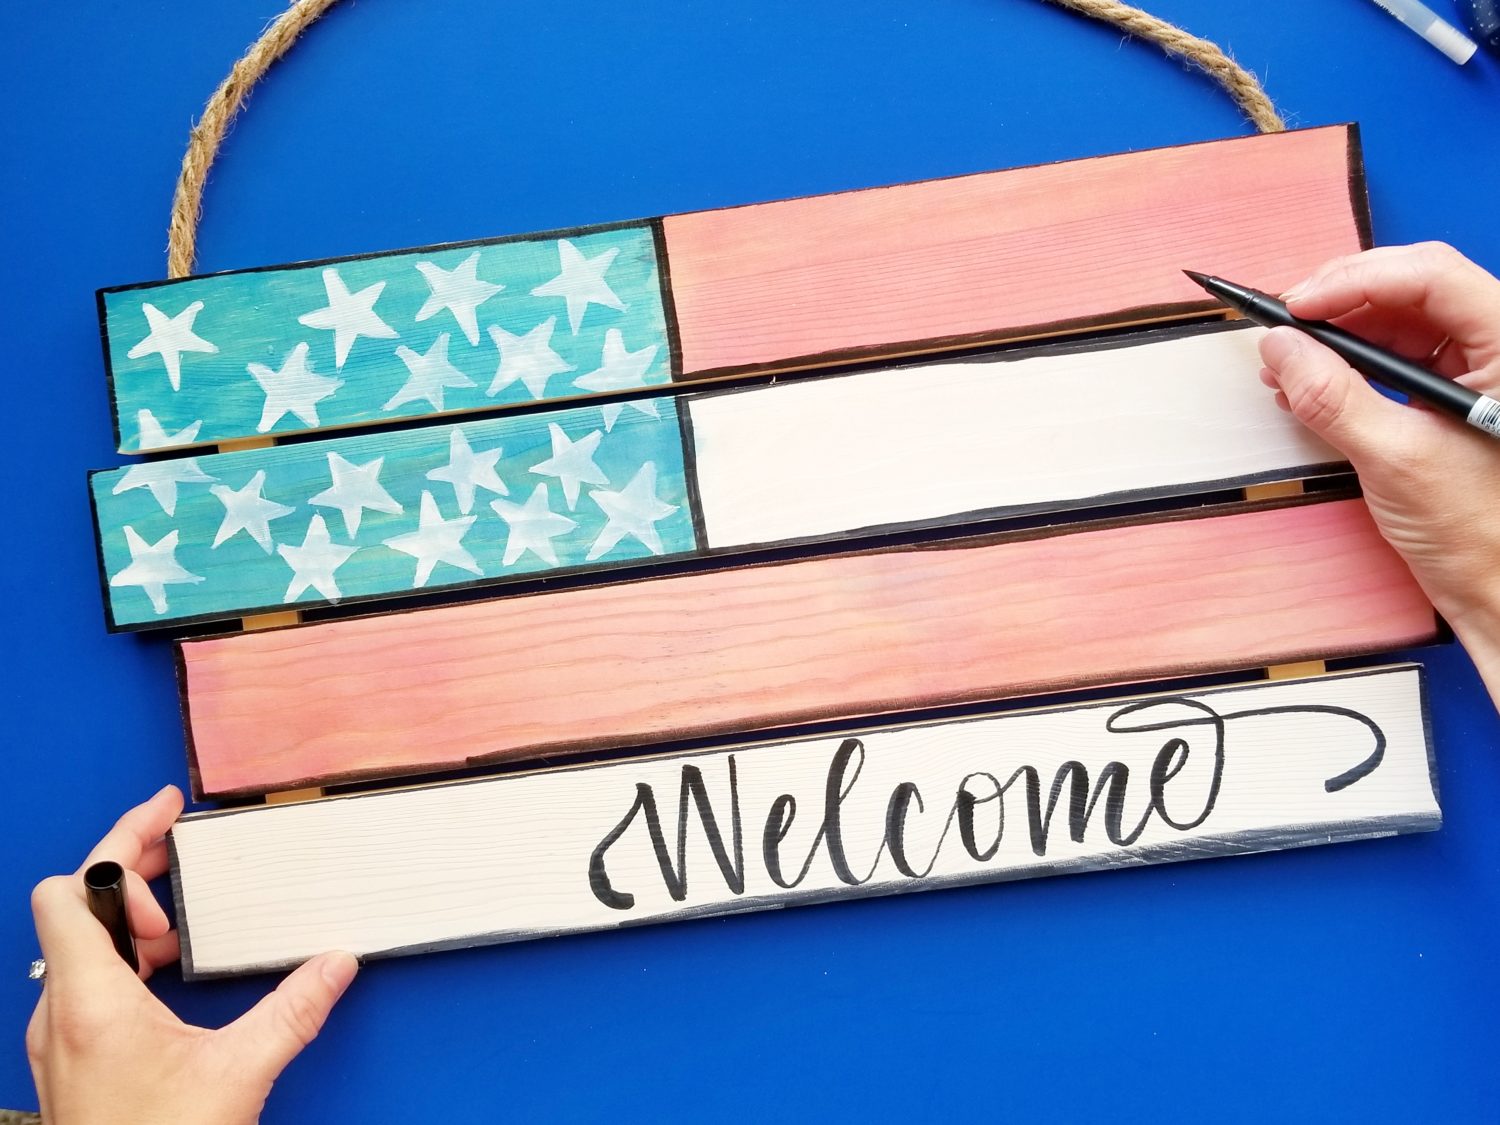
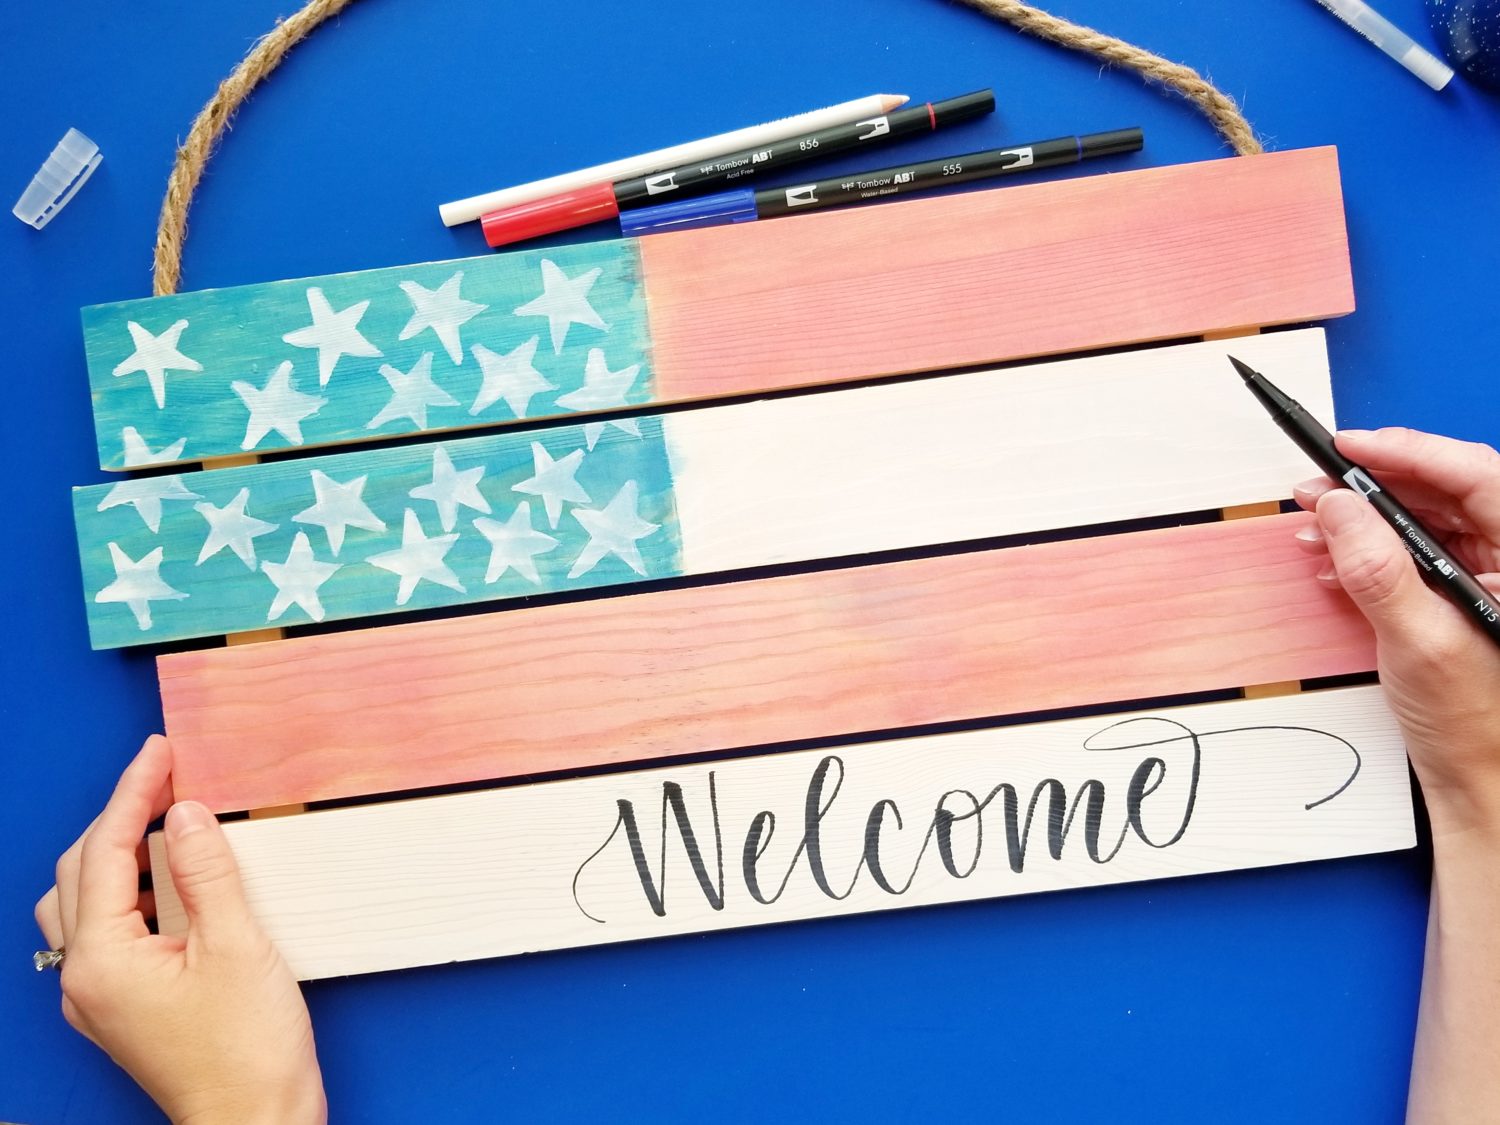
Step 6 – Lettering
Next, use Tombow Dual Brush Pen N15 to letter a patriotic or welcoming quote. I plan to use this on my door, so I went with welcome!
PLEASE NOTE: Using your Dual Brush Pens directly on wood WILL fray them. I suggest using an old Dual Brush Pen that is already frayed for this step. It’s a great way to get some use out of older pens!
Step 7 – Outline and Seal (Optional)
I had some of my watercolor seep and bleed on the wood. If you are satisfied with that look, you’re all done! Go hang it up! However, if you’d like to cover some of the bleeds, use Dual Brush Pen N15 and outline the flag. I found that adding an outline makes the project pop more from far away.
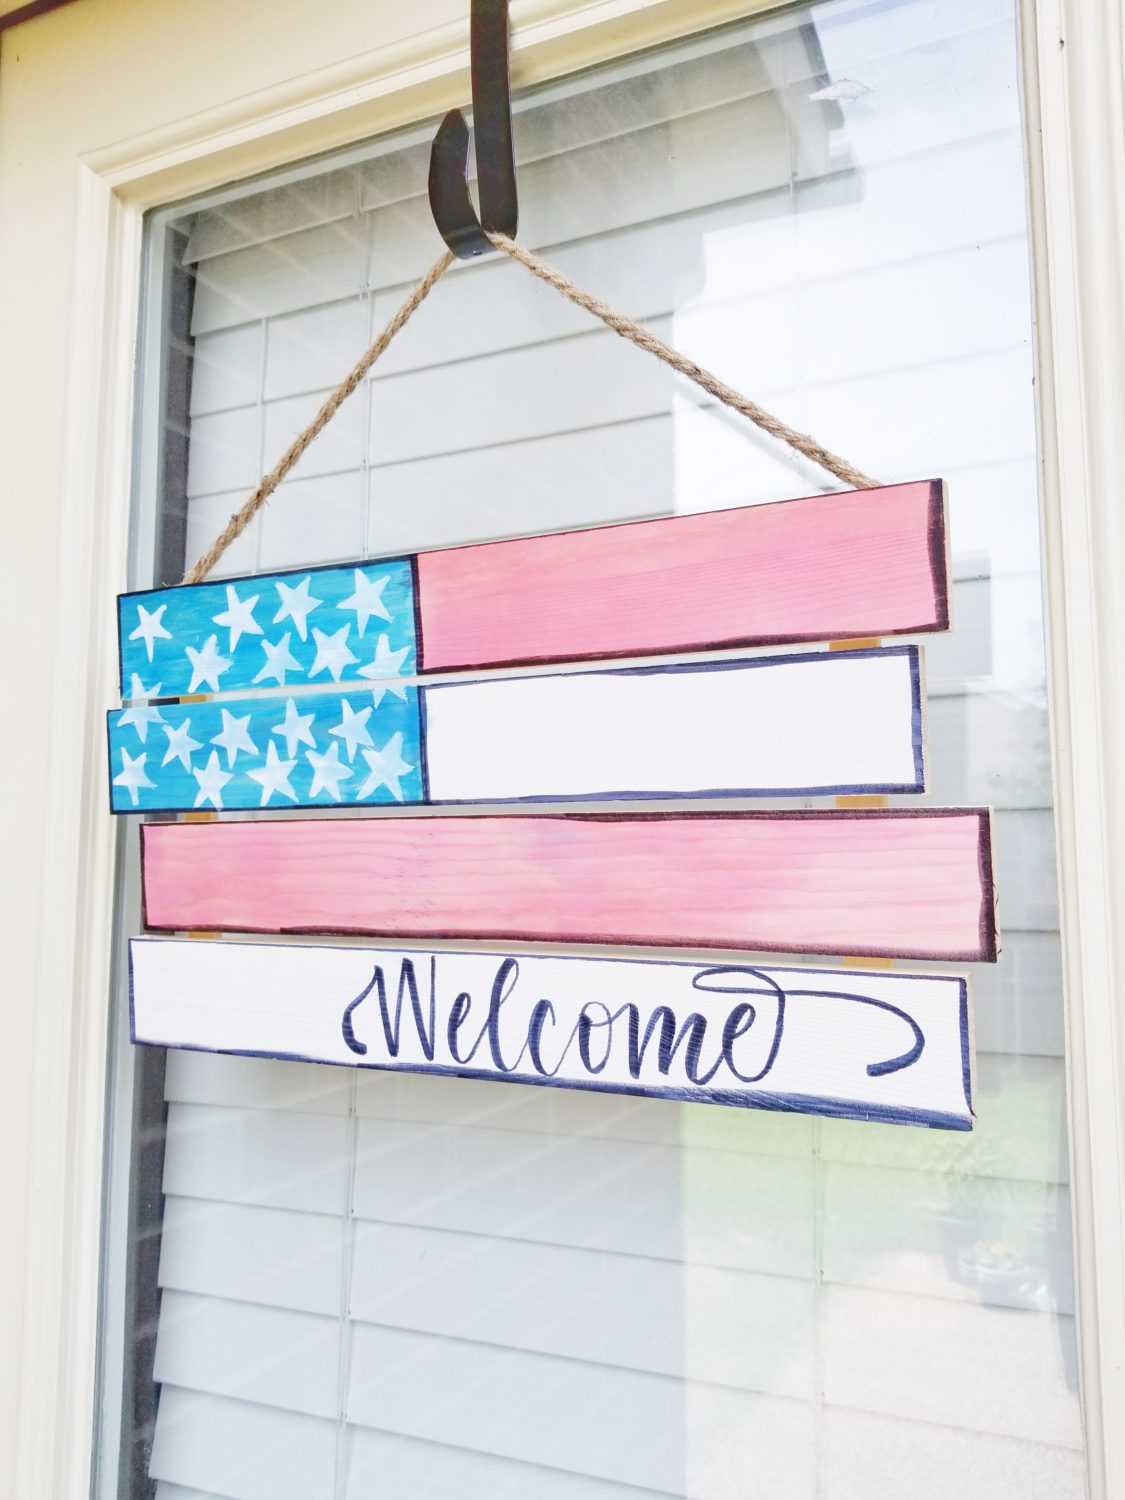
After you’re done with the outline, all that’s left is to decide where to hang it! If you plan on using this for outdoor use, I would seal it for outdoor use. If you use this tutorial to watercolor some patriotic wooden decor be sure to tag @tombowusa and @graceannestudio so we can cheer you on! For more ways to use Tombow products on wood, check out Beth’s post How to Color Wood or Marie’s post Lettering on Wood.
Happy Crafting! Grace