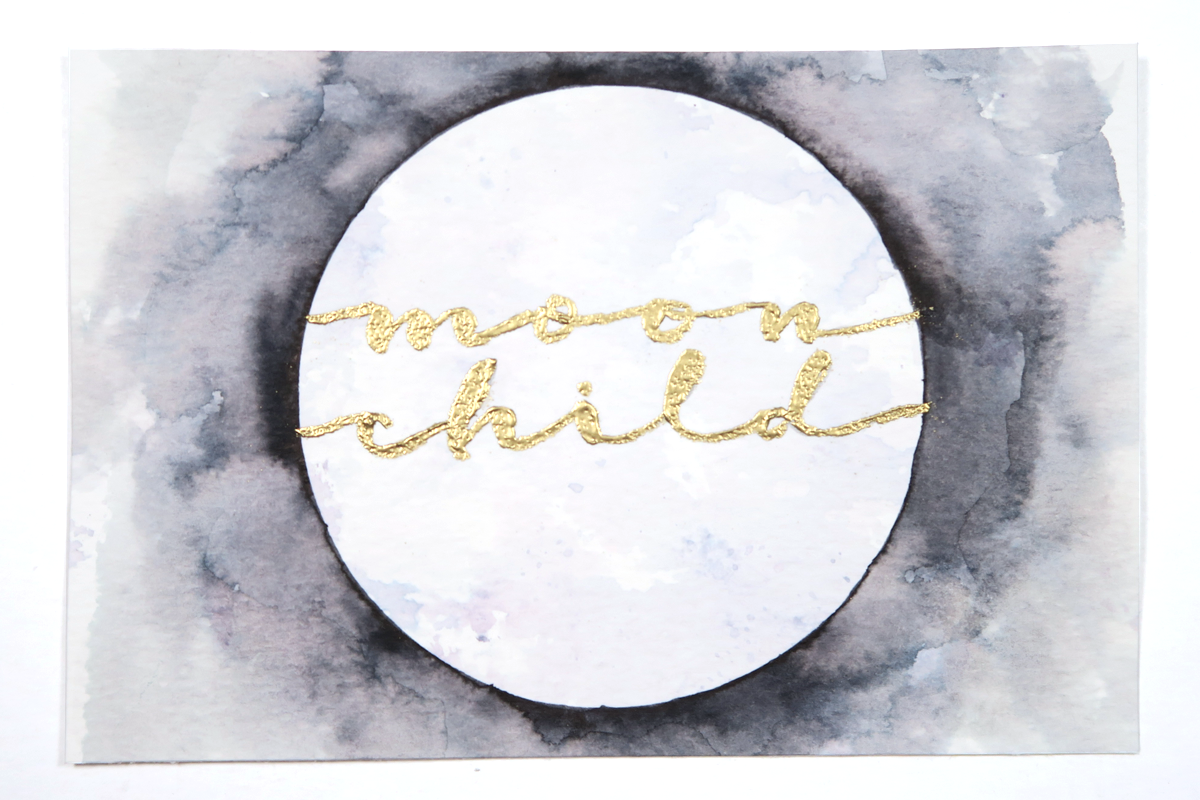
Hi friends! Dani from @popfizzpaper here sharing how to create a foiled watercolor art print featuring my favorite celestial body, the moon! Did you know the moon rules my sign of Cancer? It’s one of my favorite things to paint, so let’s get started!
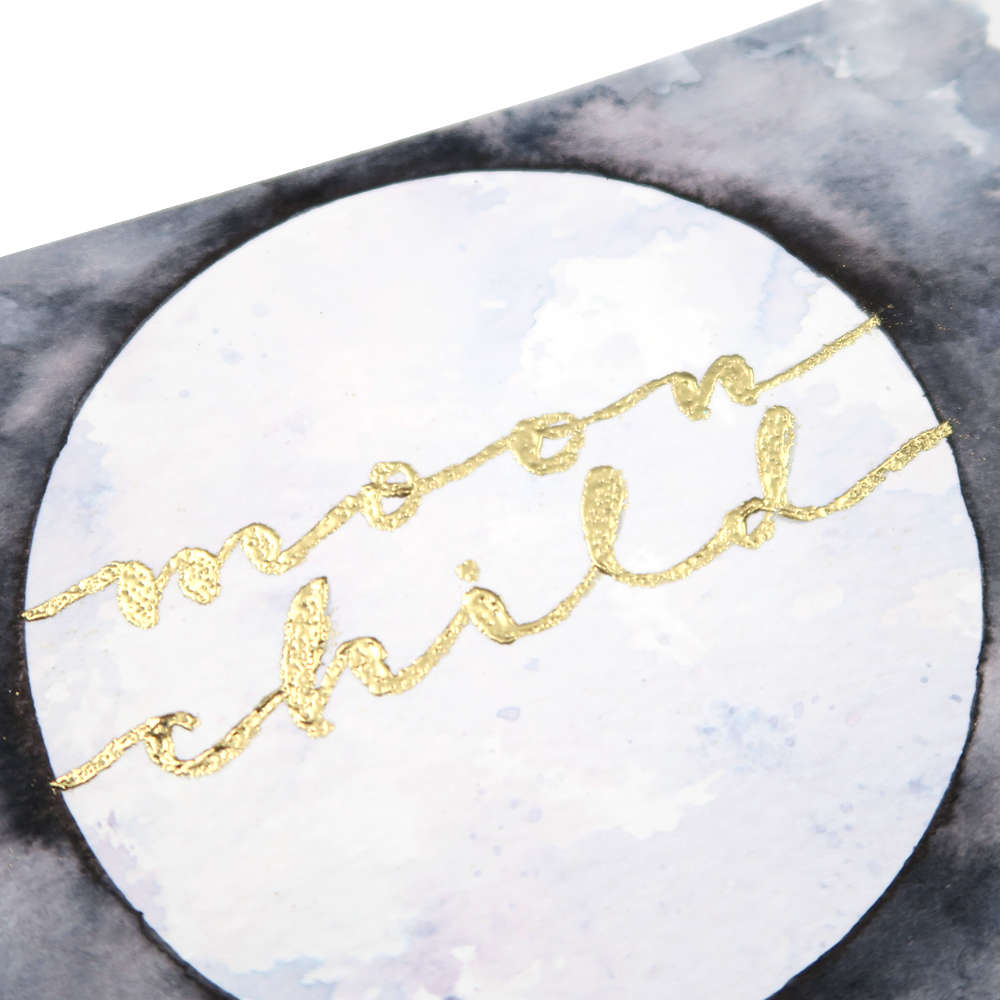
SUPPLIES:
- Tombow Dual Brush Pens (N60, N25)
- Tombow Colorless Blender (preferably an old/dried out one)
- Watercolor paper
- Plastic bag or Blending Palette
- Spray bottle
- Tombow MONO Multi XL Liquid Glue
- Tombow Water Brush – Flat
STEP 1
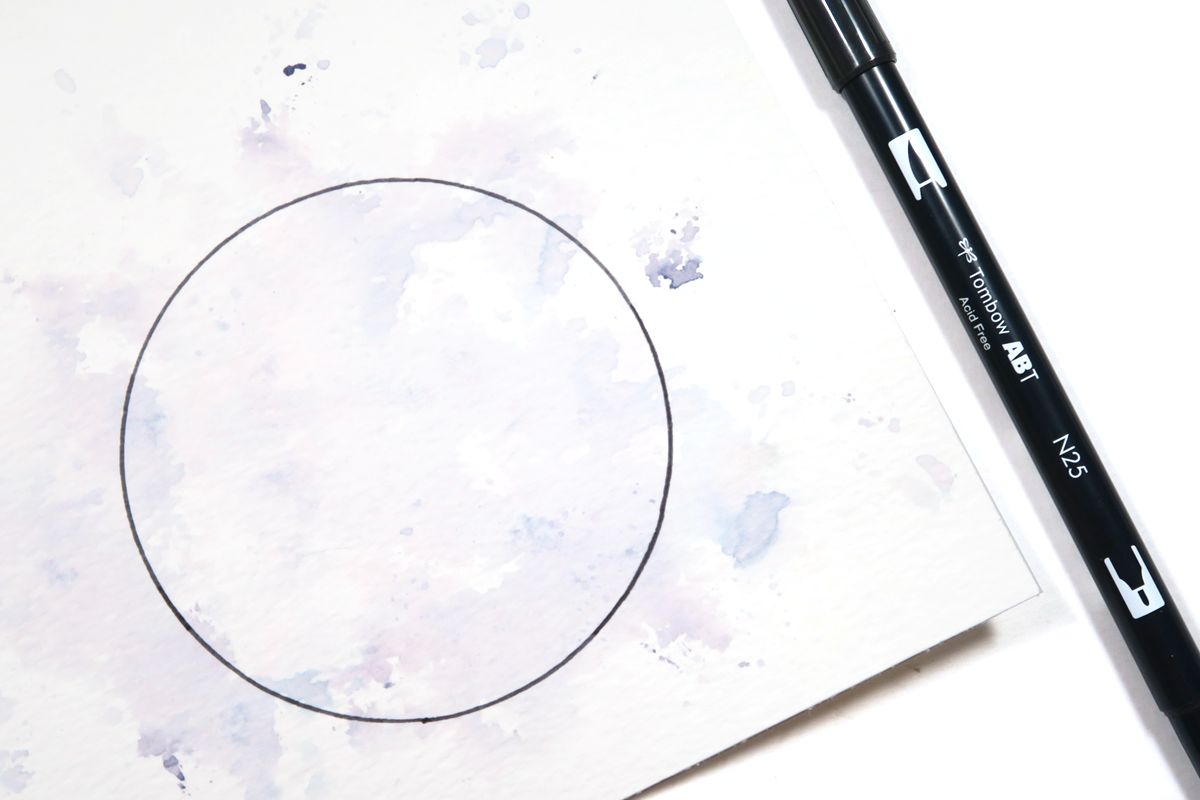
To begin, add ink from Tombow Dual Brush Pen in N60 onto your Blending Palette. Spritz the ink with water and flip over onto your watercolor paper. Smoosh the ink around, peel up the bag, and let the watercolor paper dry (or use a heat gun for a quicker dry time). Next, trace around a circle with the fine tip of the N25 Dual Brush Pen to create our moon outline.
STEP 2
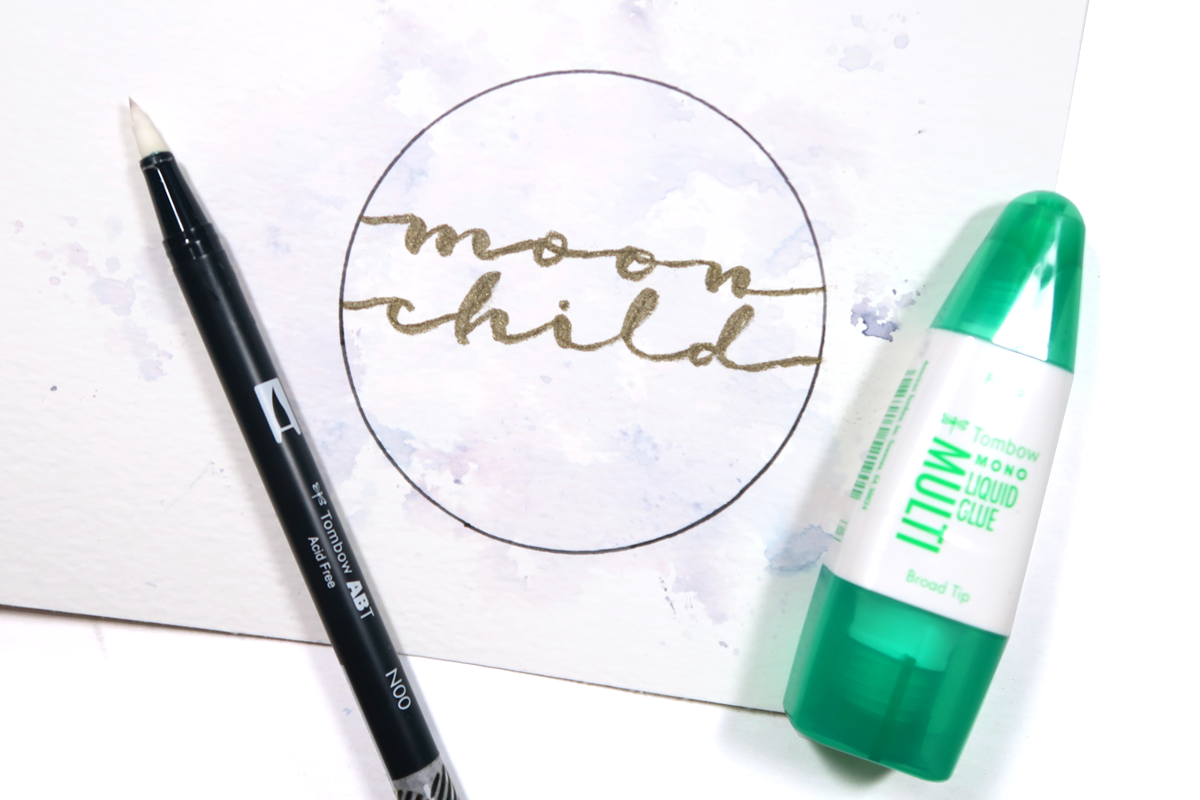
Add a bit of Tombow MONO Multi XL Liquid Glue to a scrap piece of paper. Then, dip the brush tip of the Colorless Blender into the glue and thoroughly coat it. Make sure you’re done using the Colorless Blender as intended, as it can only be used for foiling now. With the brush tip coated, start lettering. You should recoat the brush tip often, ideally every stroke or so. Once your lettering is complete, add embossing powder on top of where the glue is and shake off the excess. Then, heat set.
STEP 3
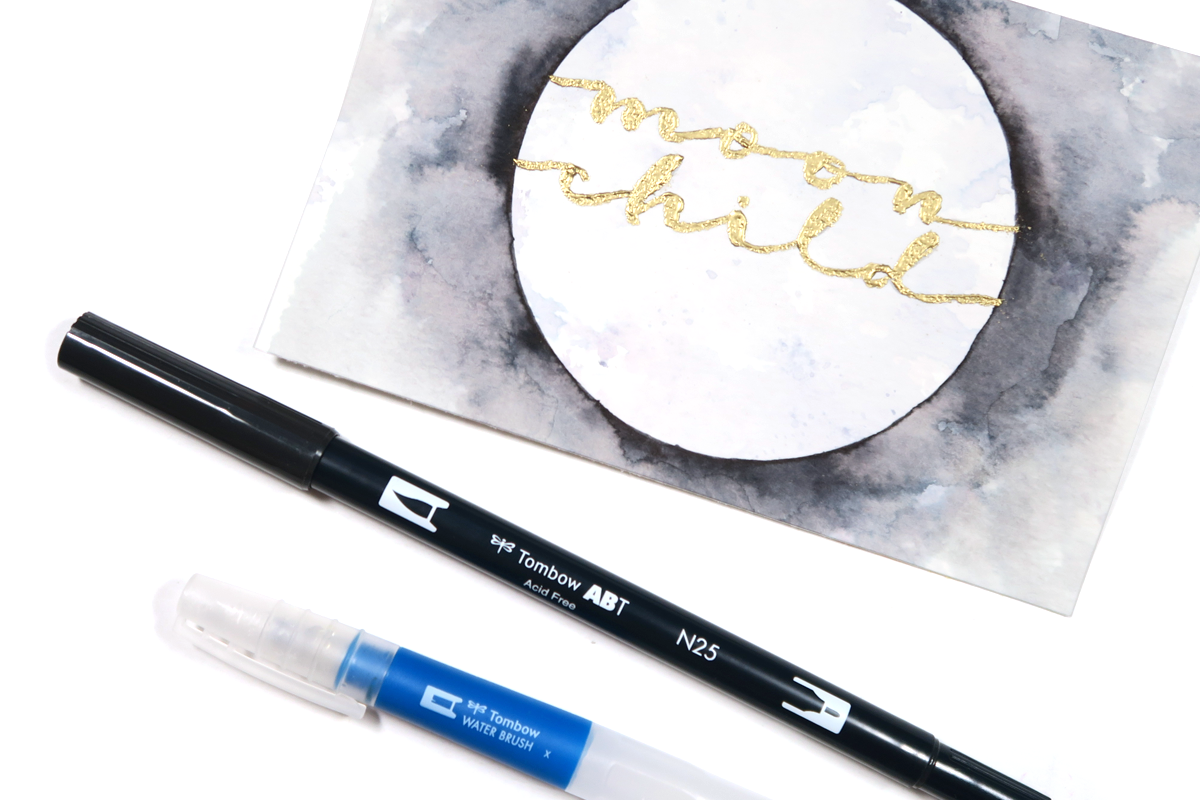
To finish the print, color small sections around the perimeter of your moon with more of the N25 Dual Brush Pen. Use the Tombow Water Brush to blend out into a pretty wash of color. The darkness around the moon will help it pop and show off all the watercolor texture we’ve created.
I hope you enjoyed this quick tutorial today! Thank you so much for following along! Please tag @popfizzpaper if you try creating your own foiled watercolor print using my tips – I would love to see! For more projects like this, make sure to check out my community of creators over in the Crafty Club!! See you next time!