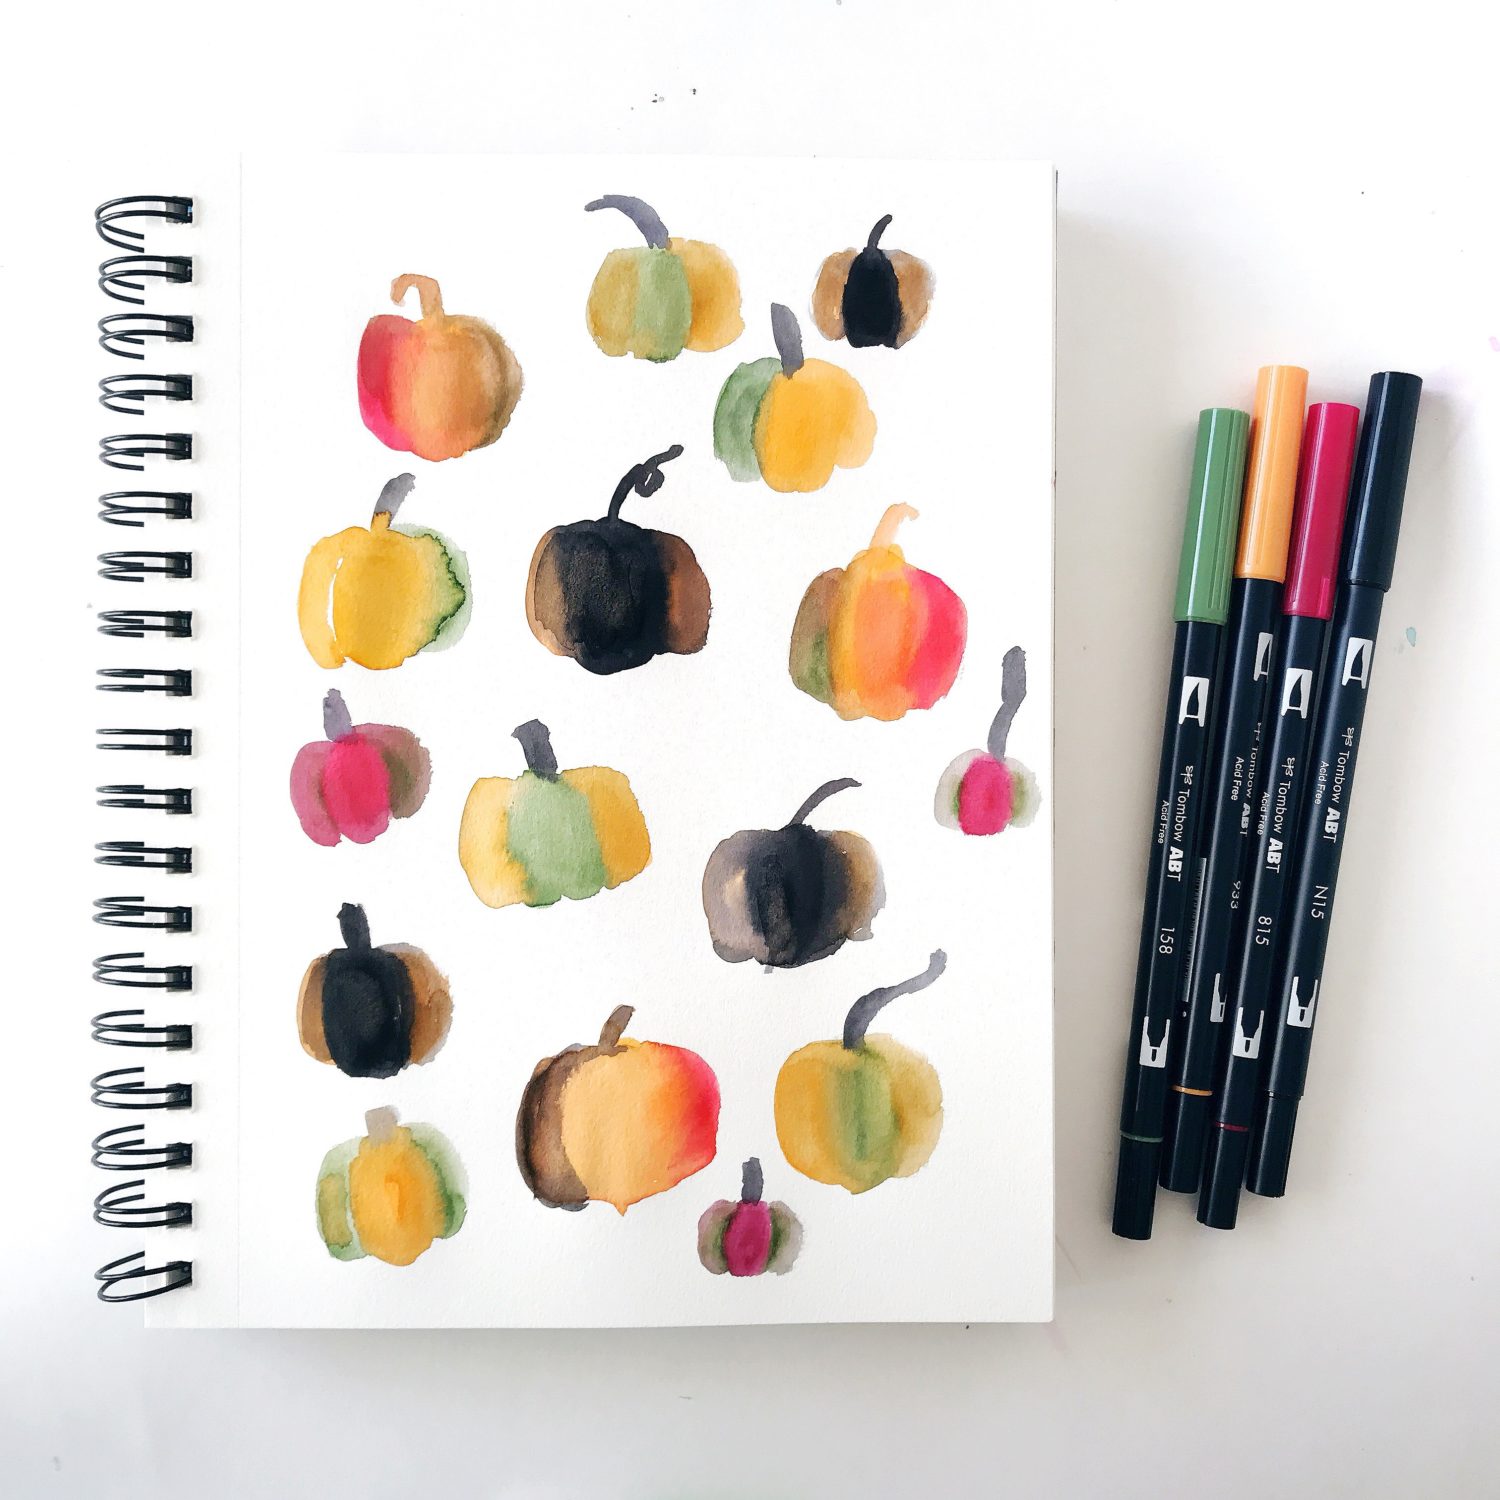
Hello friends, this is Smitha! Today, I am painting pumpkins! I love using the Dual Brush Pens for watercoloring! I am going to share my simple four-step tutorial for filling a sketchbook page with a pumpkin pattern.
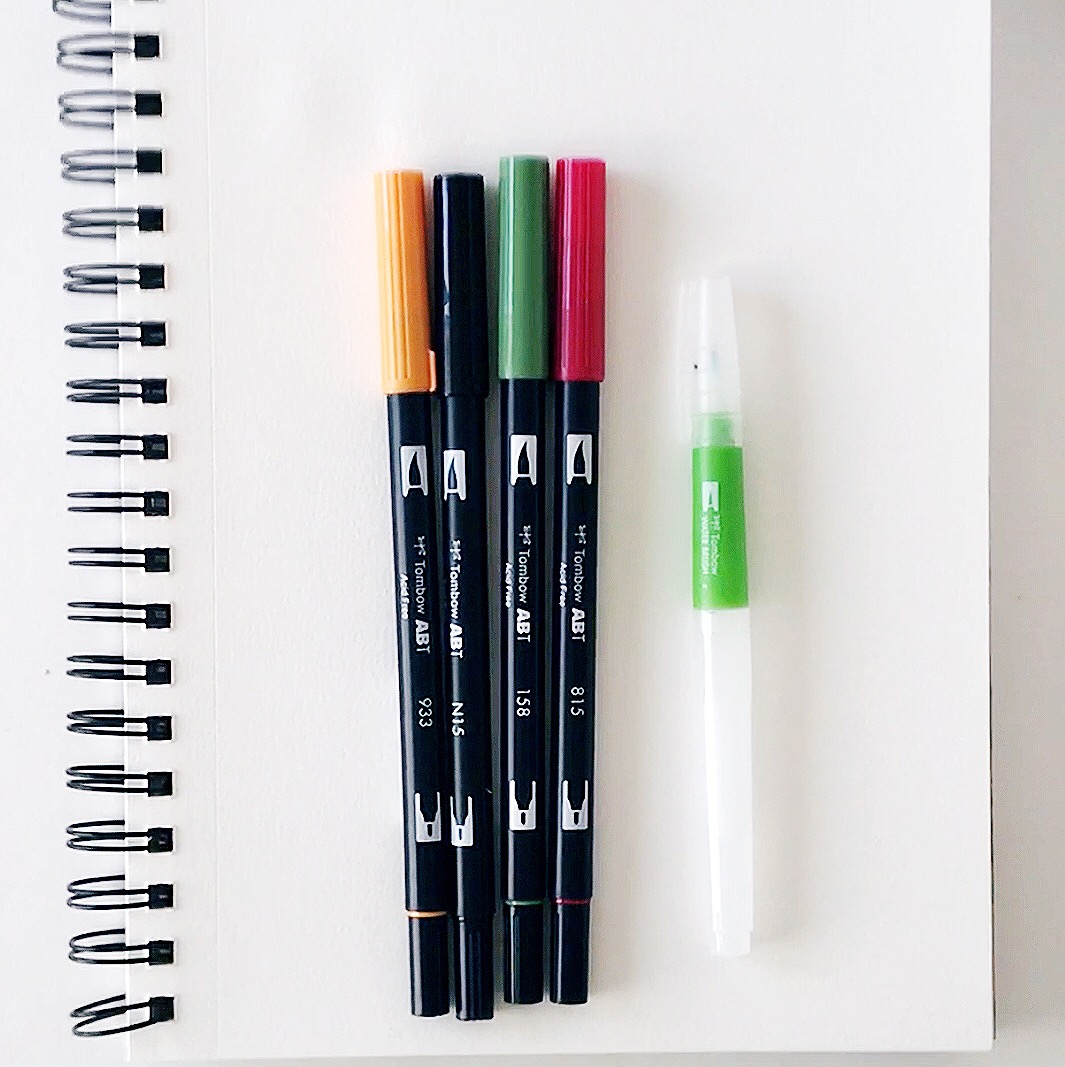
Material list:
- Tombow Dual Brush Pens (choose a fall themed color scheme)
- Watercolor or mixed media sketchbook
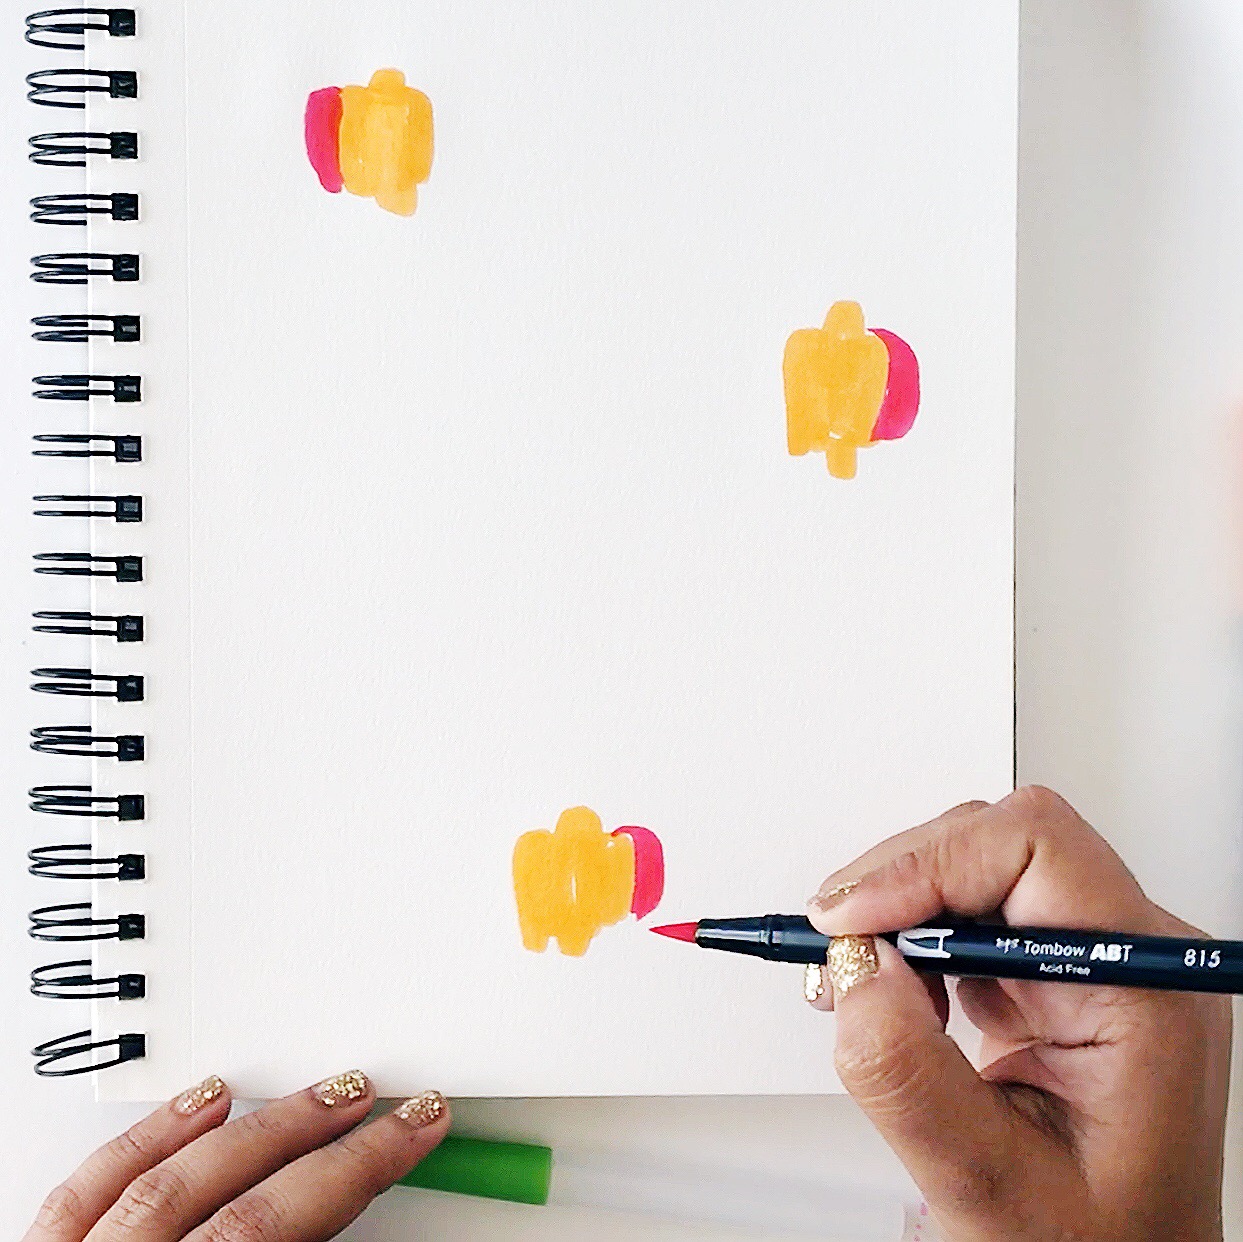
Step 1:
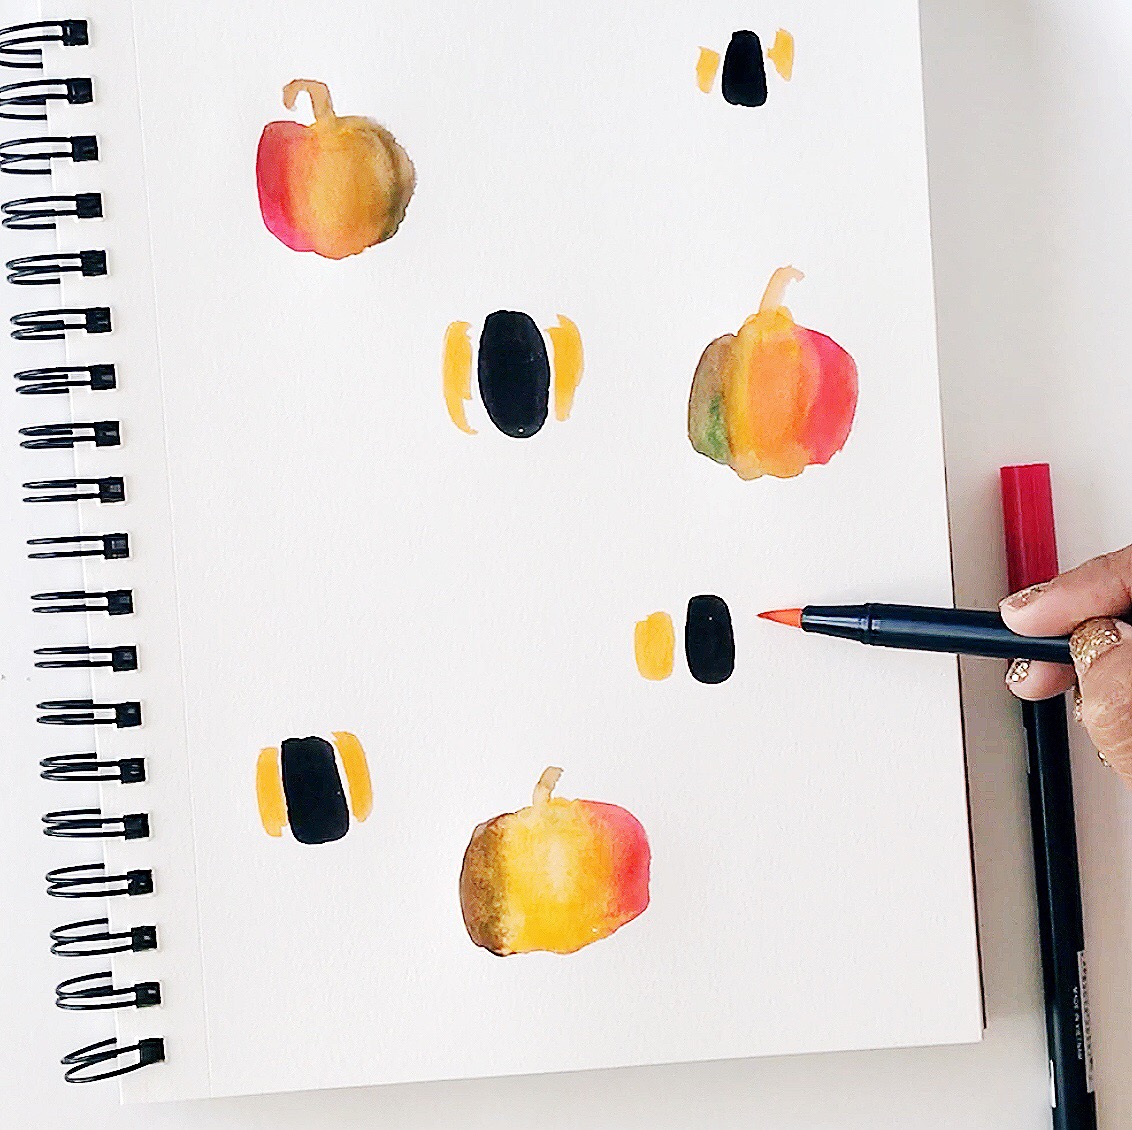
Start by applying two colors of Dual Brush Pen ink per pumpkin. The color you add does not have to be in a perfect pumpkin shape. Just add blobs of color to look pumpkinish. I like adding three pumpkins at a time and scattering them around the page.
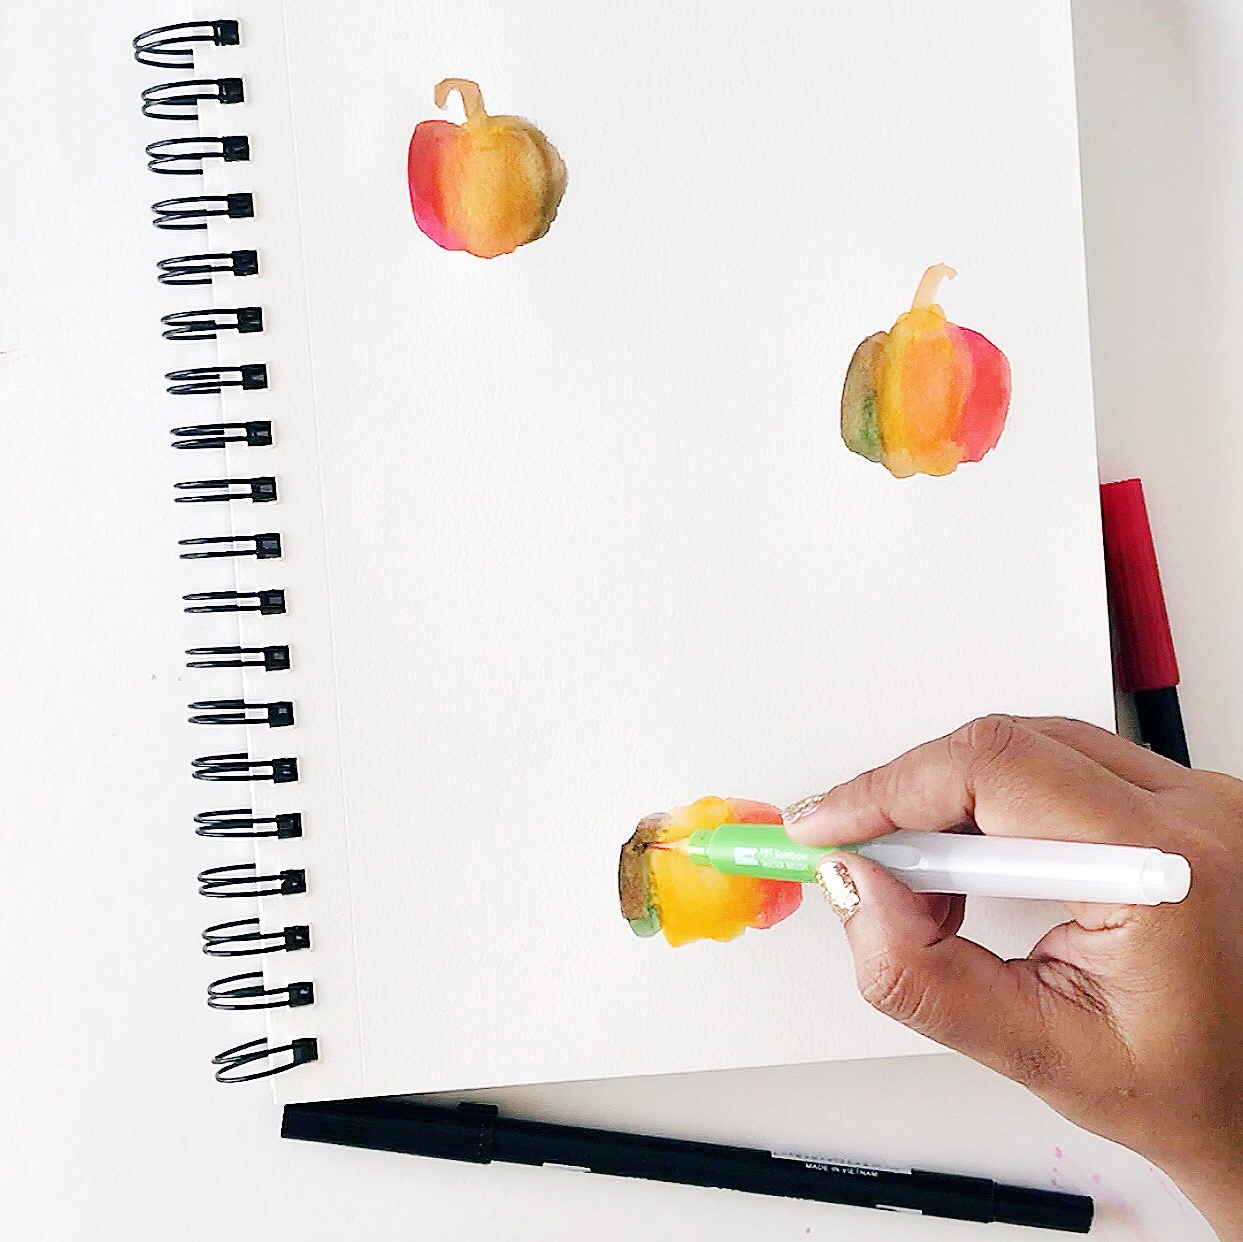
Step 2:
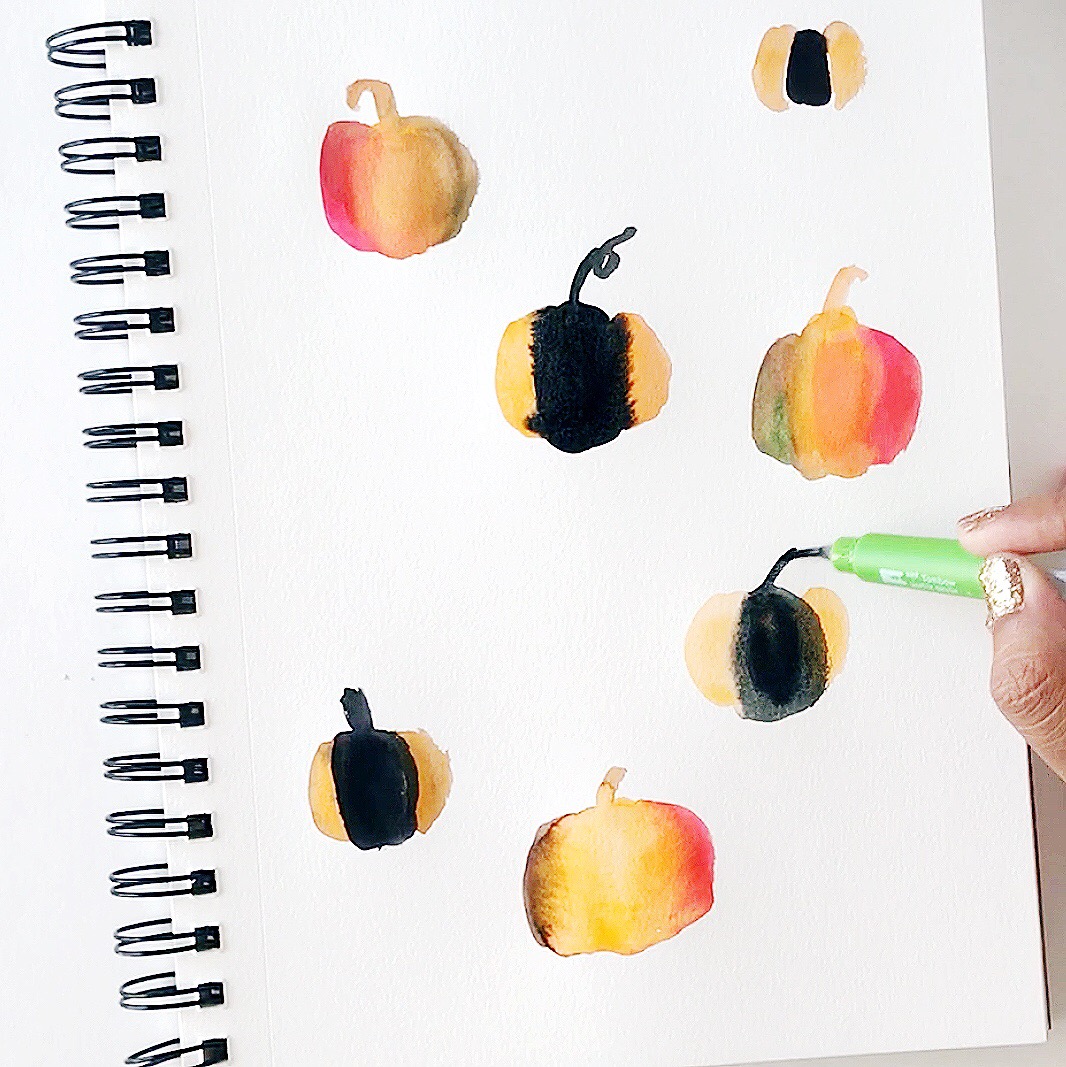
Slowly spread the color using the Water Brush. To form the pumpkin stalk, drag the color using the Water Brush tip.
Since Dual Brush Pens are water-based, this technique works beautifully and it’s so easy to do. I like to add a decent amount of water to create a watery look. Depending on which area of the pumpkin you paint first, the color from your Water Brush will mix with the ink color on the paper and create new hues. Let your work dry naturally.
Step 3:
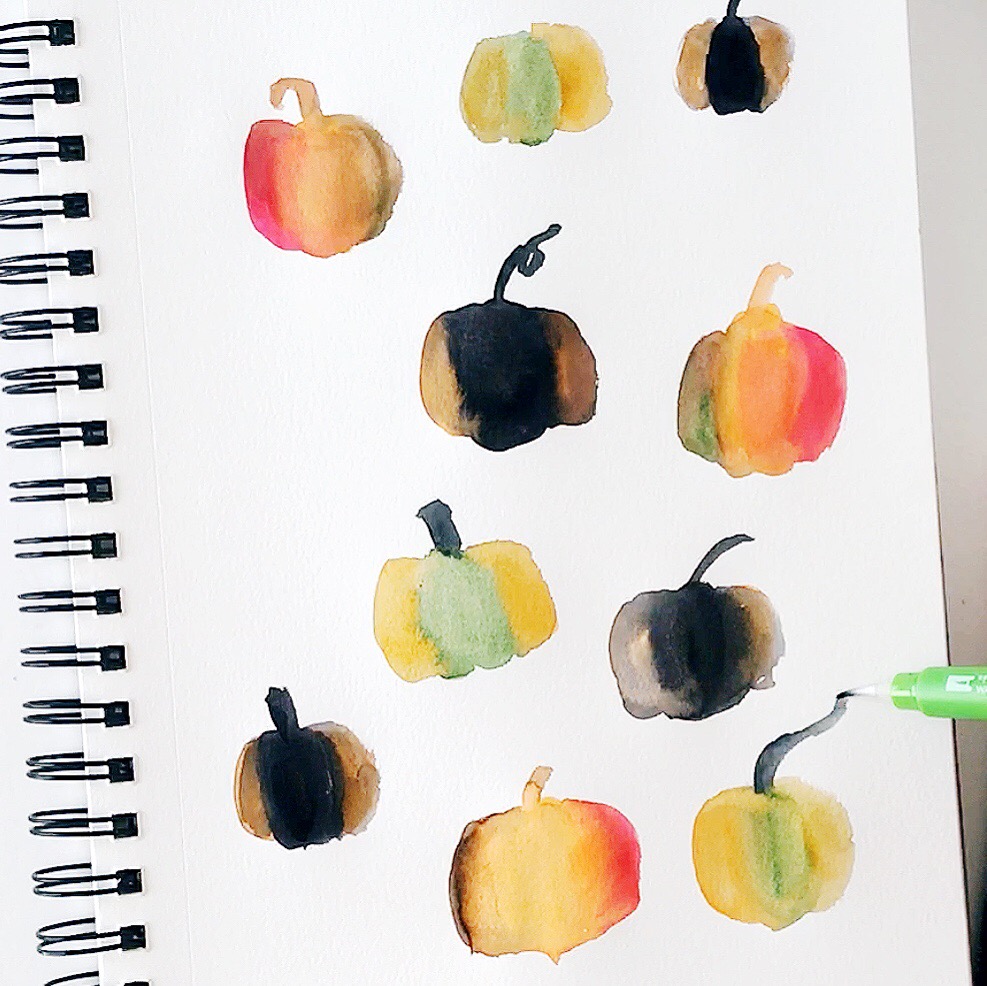
Simply repeat the process from step 2. Add the Dual Brush Pen ink onto the paper and paint over it with water. Mix and match your colors to create different colored pumpkins.
Step 4:
Give each pumpkin its own quirkly little stalk/stem. This tiny detail will add a lot of interest to your sketch.
Step 5:
While you add more pumpkins, think about varying the sizes of the pumpkins. Make a few pumpkins smaller and some gnarly and quirky.
That’s it! Before you know it, you will have filled out an entire page of fall pumpkins!
I hope you enjoyed this tutorial friend! Happy crafting!
Smitha
Find me on Instagram: @theshinynest
Find more of my tutorials on my blog www.smilingcolors.com
Pingback: Easy DIY Bling Pumpkins - Tombow USA Blog