It’s pumpkin season! Hey everyone! It’s Mandy from @a_heartened_calling here to show you how to create floating pumpkins using Tombow’s magical Foam Tape! You can add floating pumpkins to your lettering simply by using the Foam Tape on the back of cut out shapes! Let’s gather our materials and get started!
MATERIALS
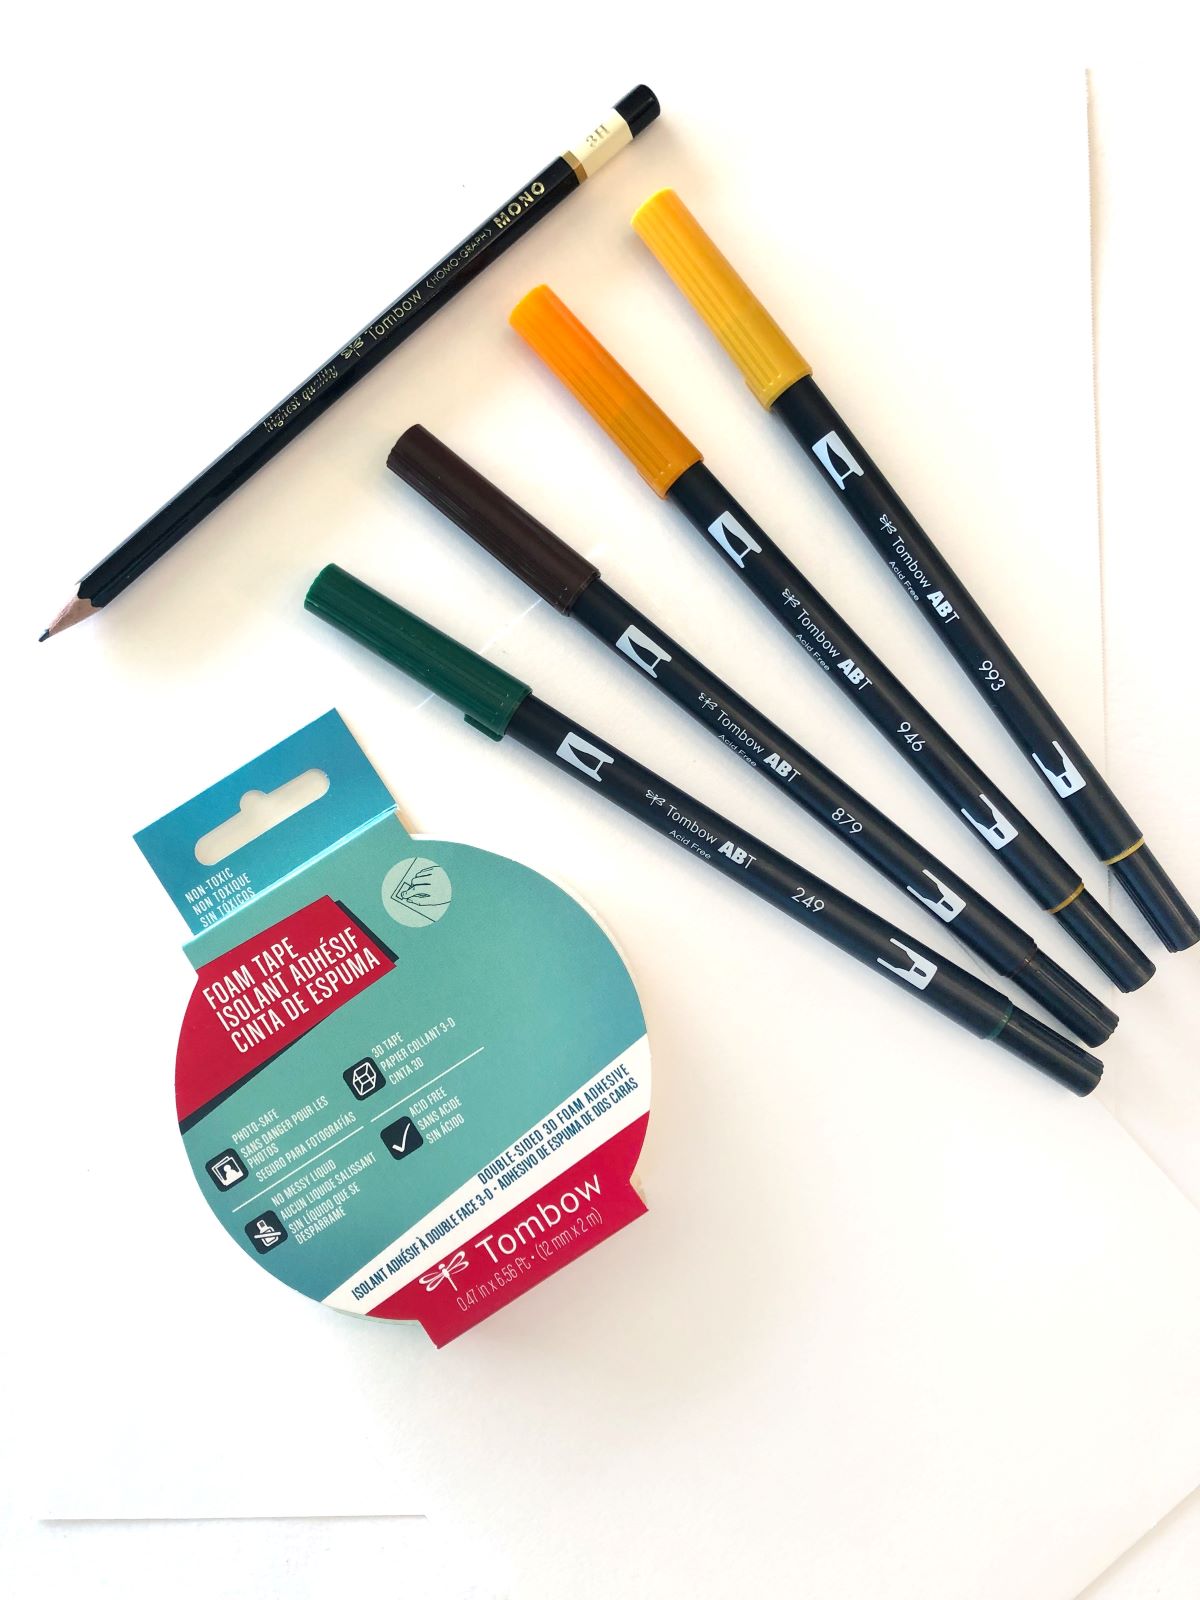
- Tombow Dual Brush Pens 249, 879, 946 and 993
- Tombow MONO Drawing Pencil 3H
- 2 pieces of mixed media paper
- Tombow Foam Tape
STEP 1 – Sketch
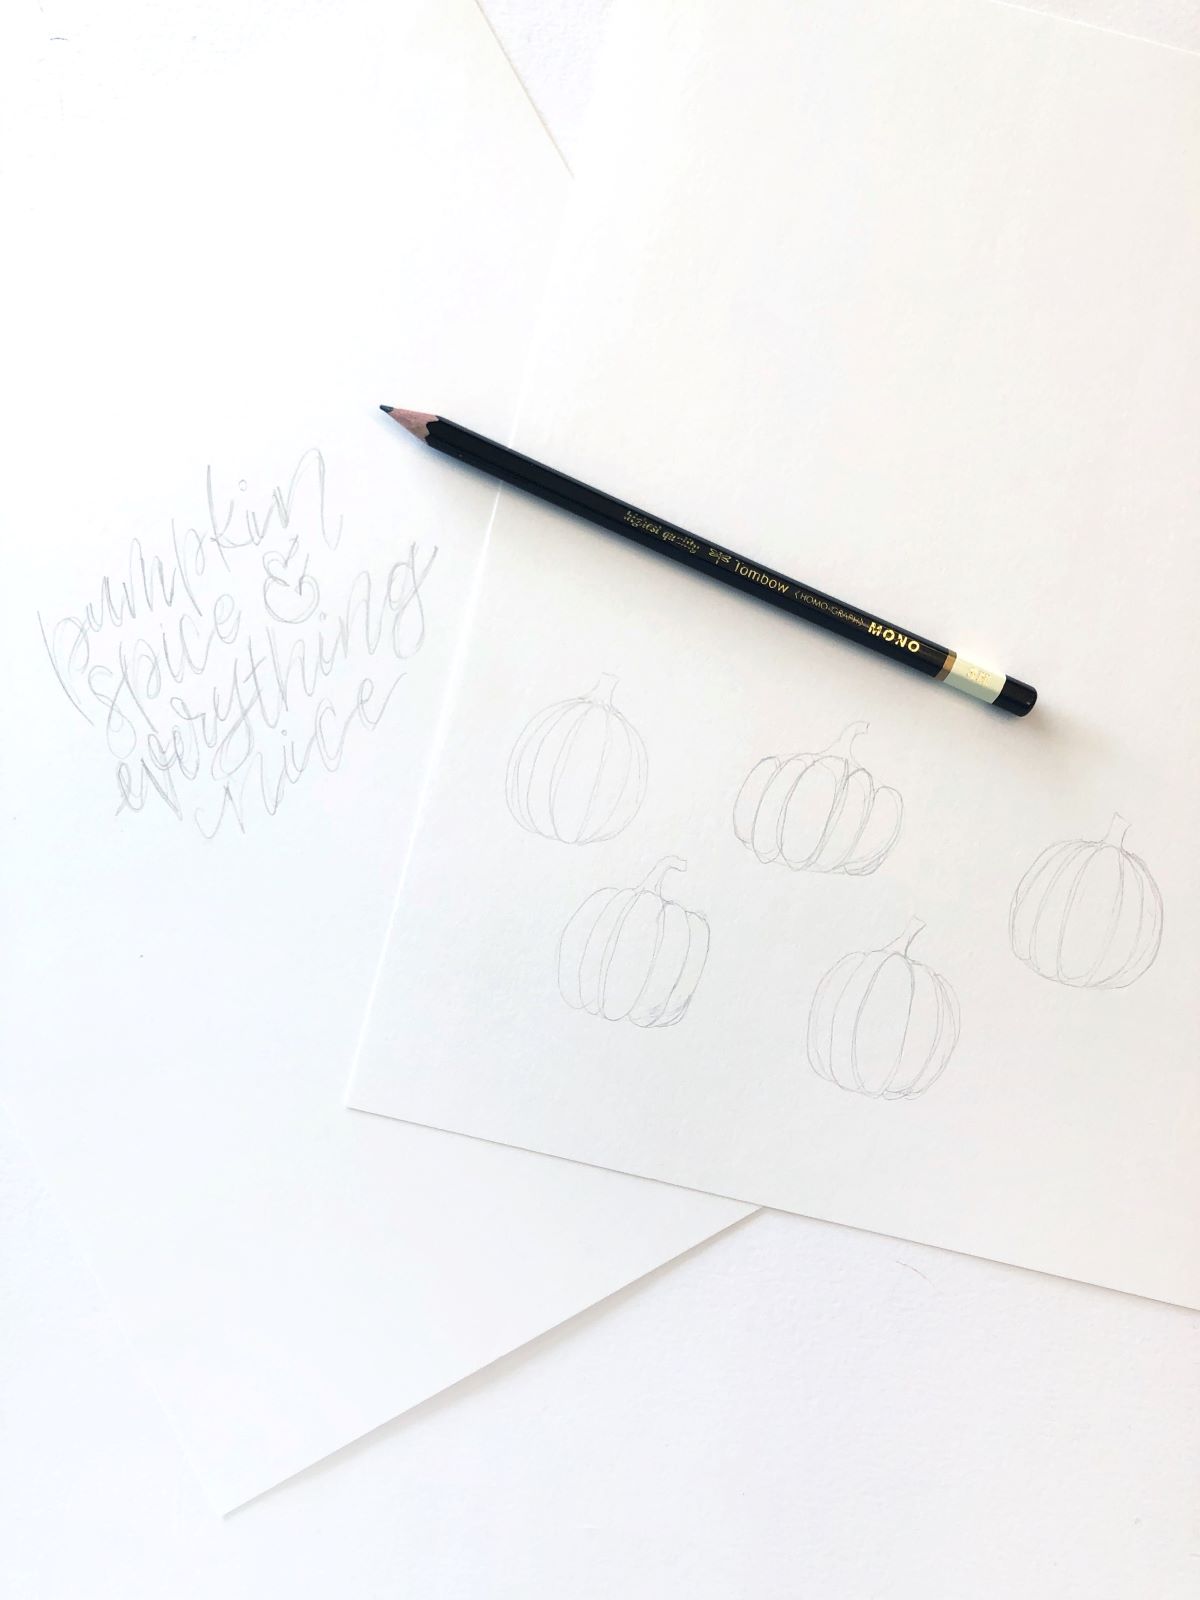
Using the MONO Drawing Pencil 3H, lightly sketch out “Pumpkin Spice & Everything Nice” on one piece of mixed media paper. On the other piece of the mixed media paper, sketch out five pumpkins.
STEP 2 – Ink It!
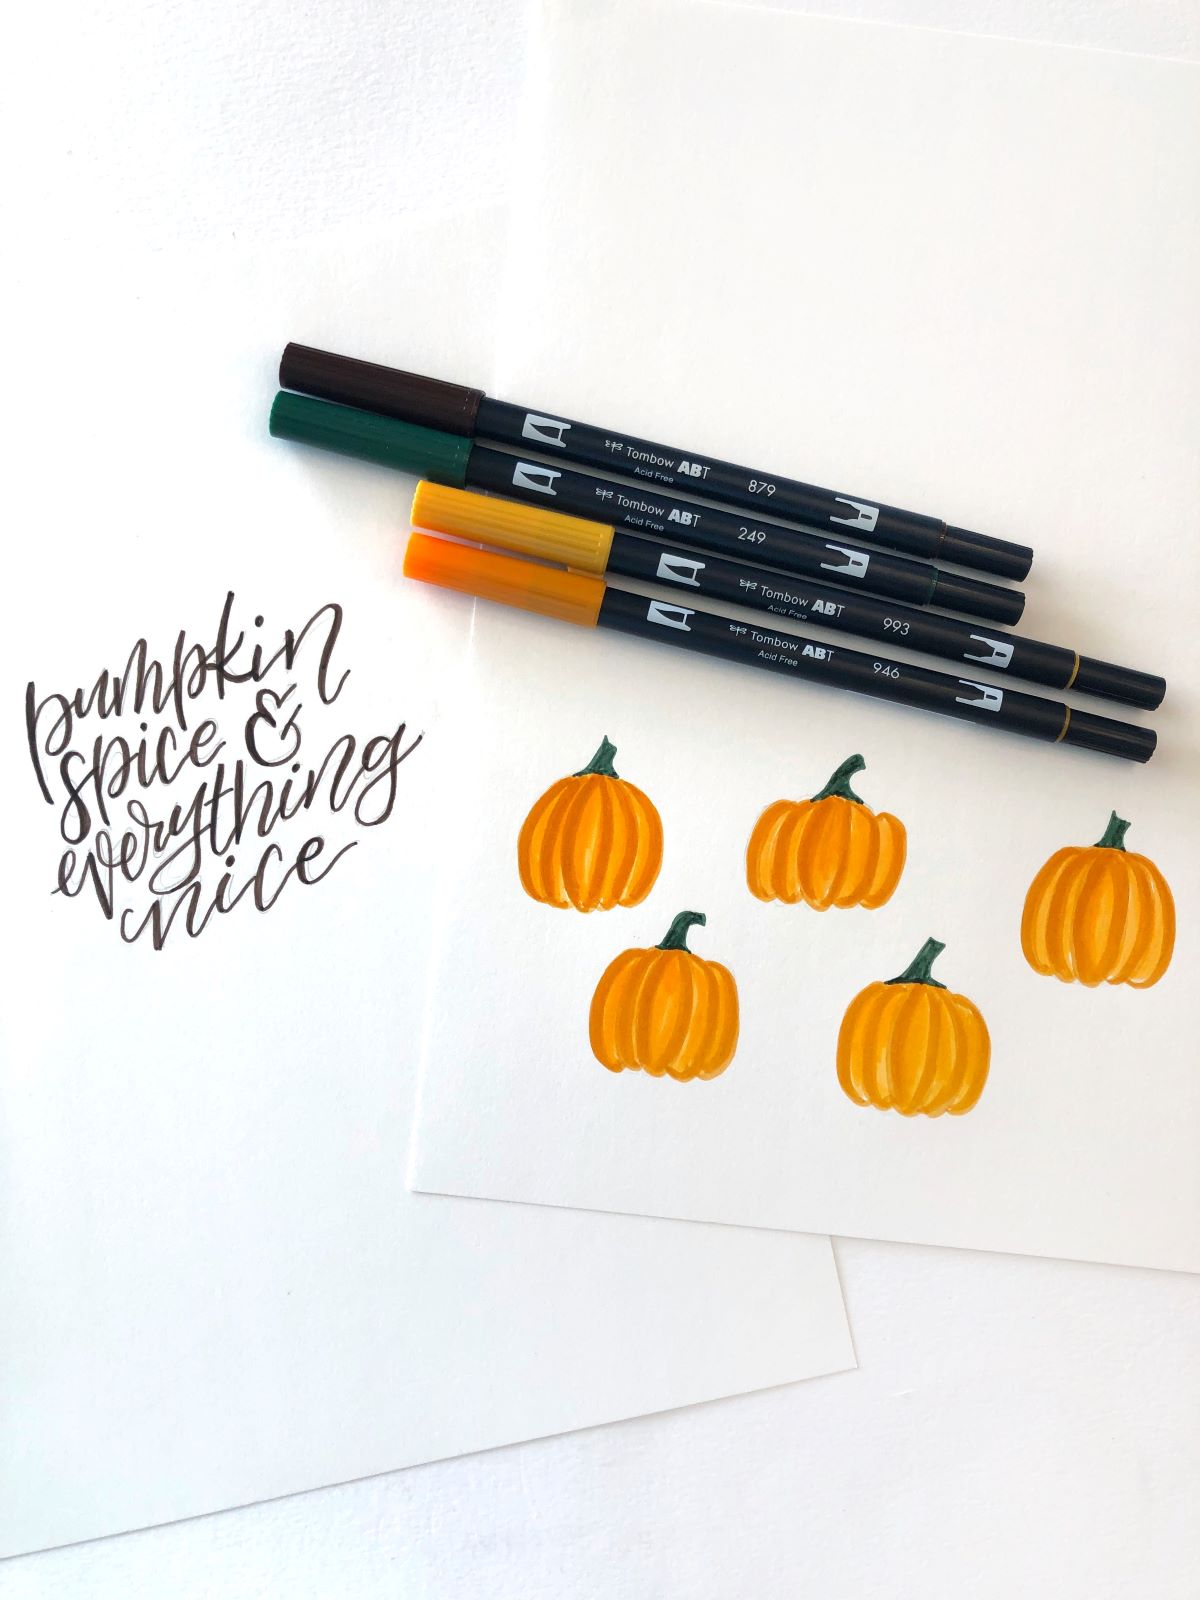
Using the bullet end of Dual Brush Pen 879, trace over your lettering. Then use faux calligraphy to thicken your down strokes. Using Dual Brush Pen 993, color in your pumpkins. Then, use Dual Brush Pen 946 to create sections in your pumpkins. Use 993 to lightly blend it into the rest of the pumpkin. Then, use Dual Brush Pen 249 to color in your stems.
STEP 3 – Assemble
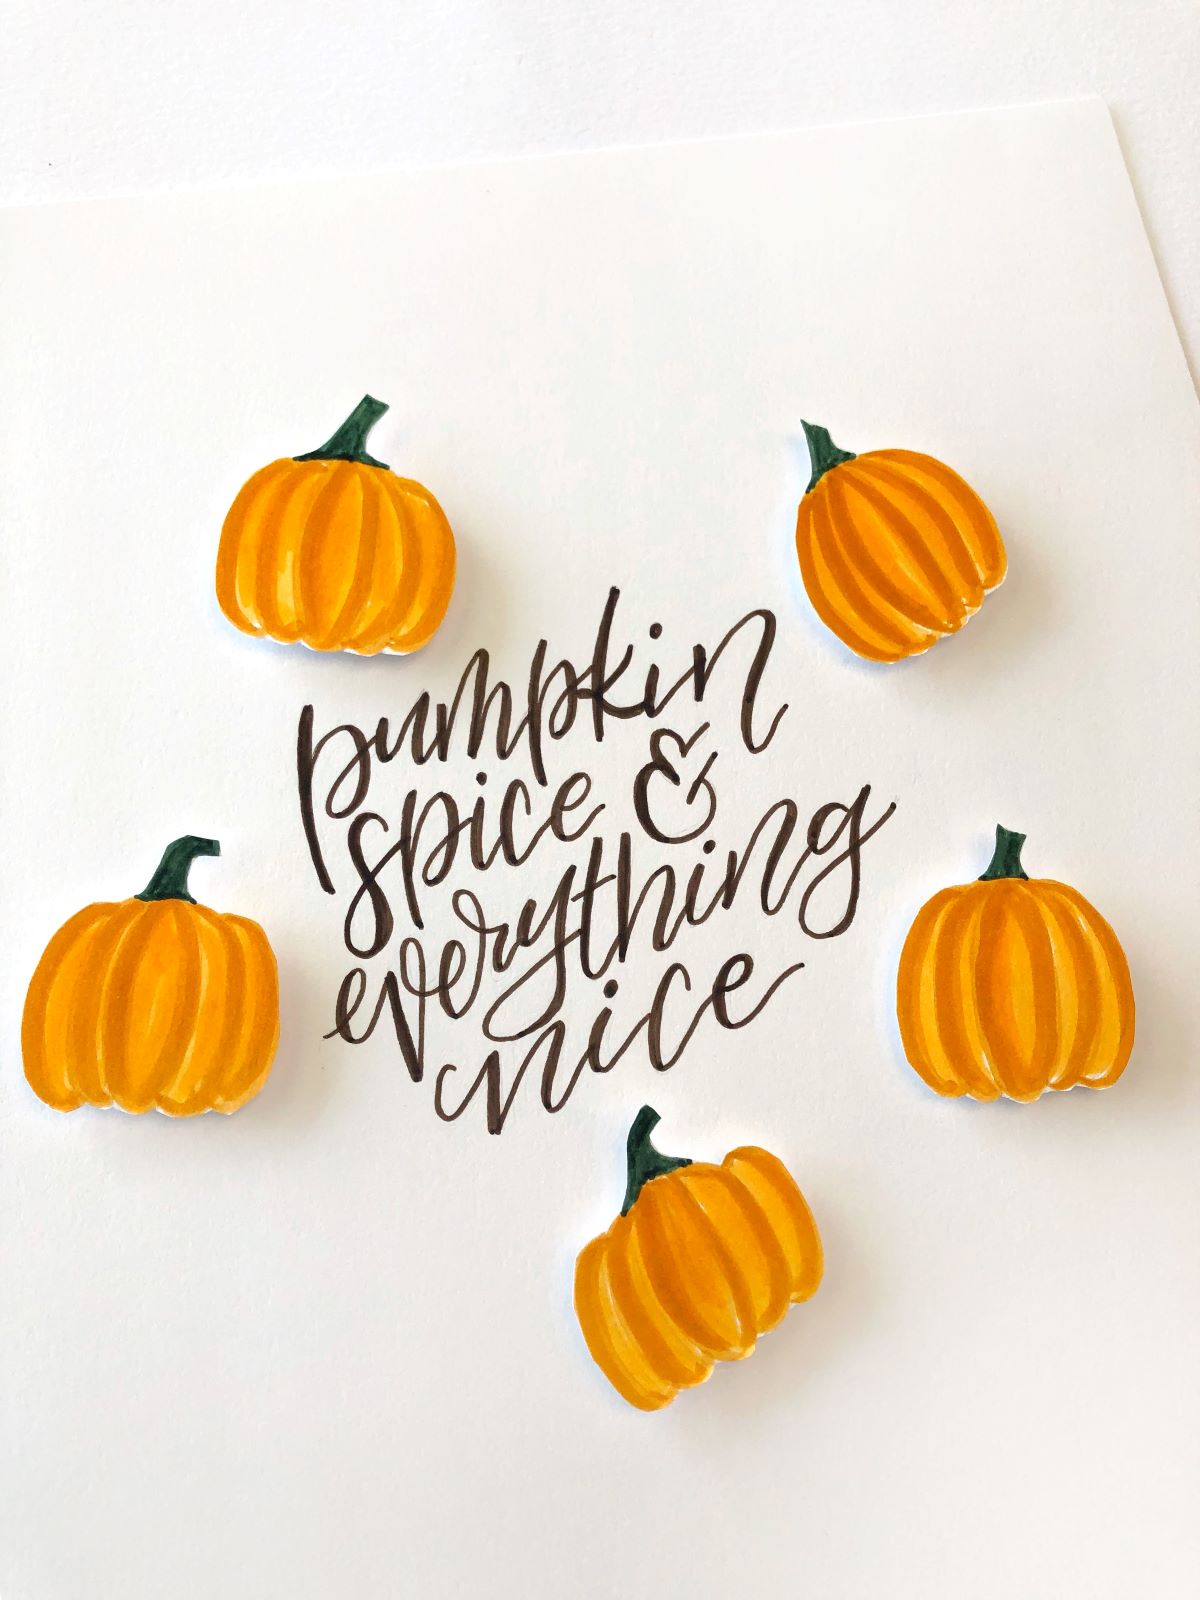
Cut out all five pumpkins. Then cut five small little squares off the roll of Foam Tape. Attach each square of foam tape to the back of each pumpkin. Then, arrange the pumpkins around your lettering by attaching them to the paper. The Foam Tape makes them look like they are floating! Erase any left behind sketch marks if necessary.
STEP 4 – Add Detail
Lastly, use the bullet end of Dual Brush Pen 249 to create fun little vines coming off the stems of each pumpkin to help frame your lettering. Then use the bullet end of Dual Brush Pen 879 to add little dots around the tops of each pumpkin.
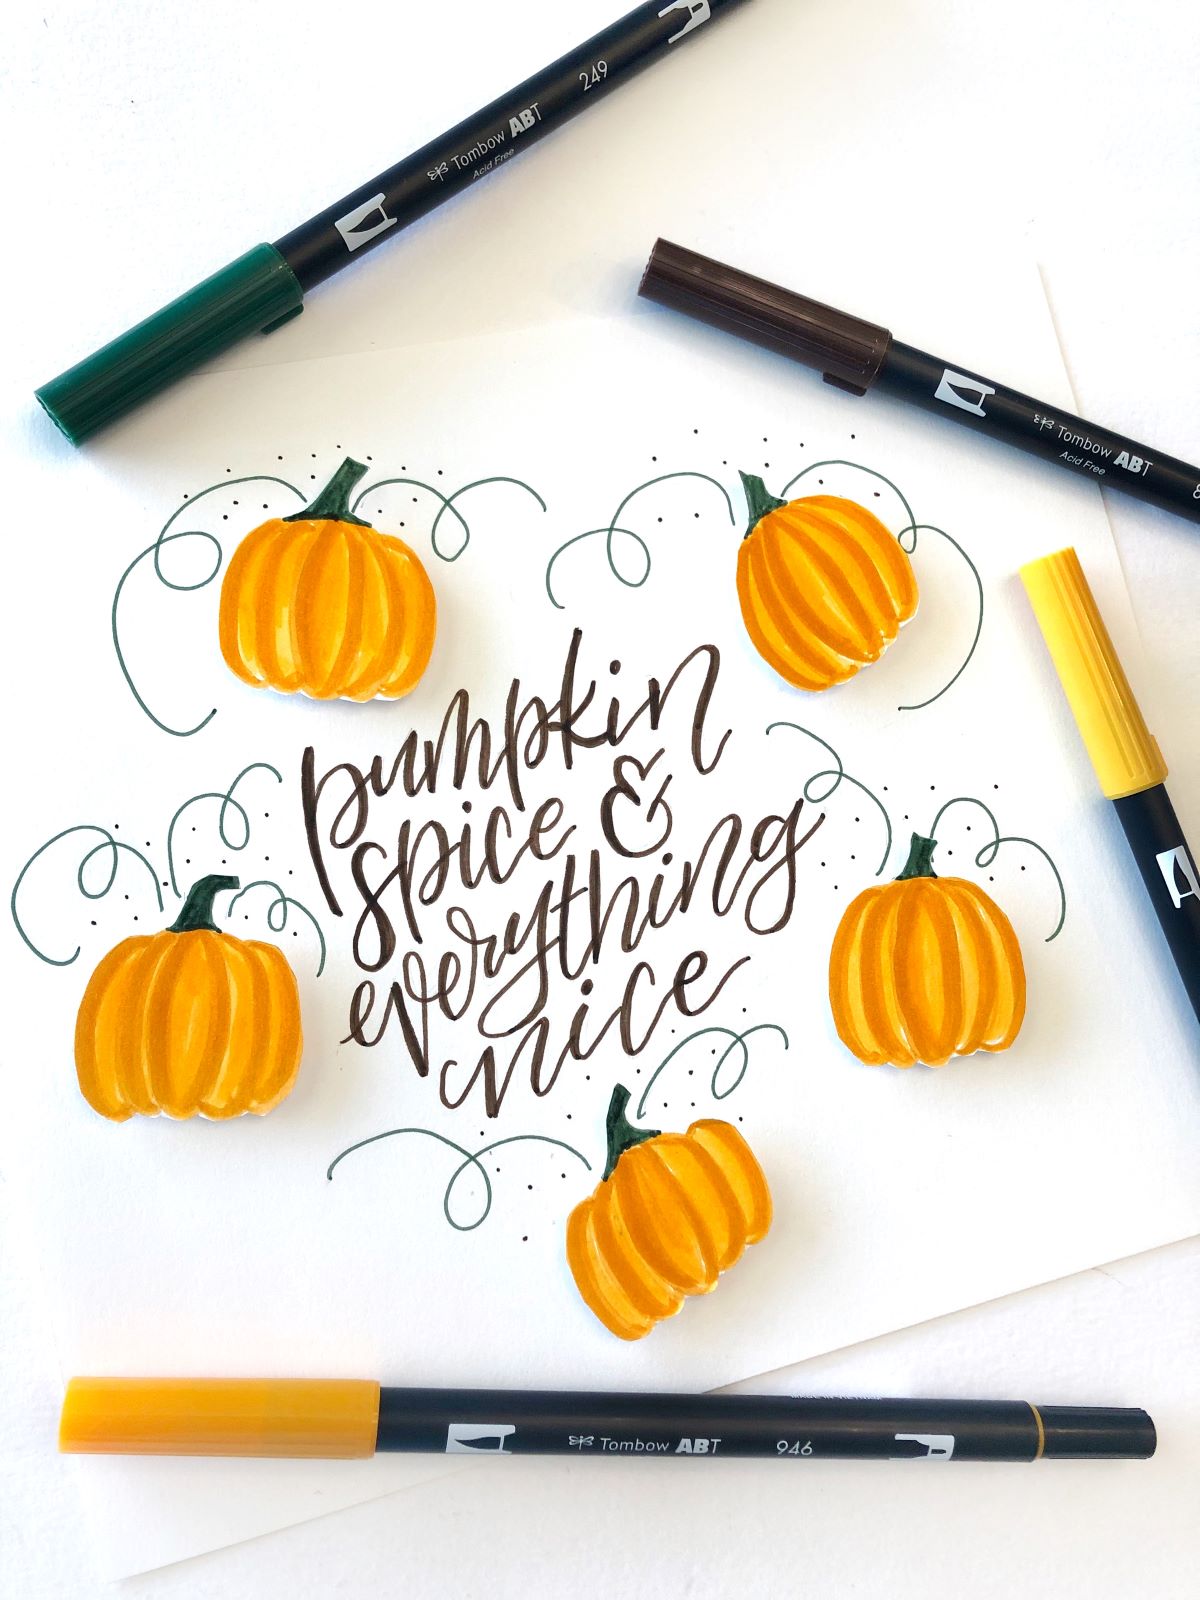
Your floating pumpkin art is done! Thanks for following along! If you give this project a try, be sure to tag us at @tombowusa and @a_heartened_calling. We would LOVE to see your gorgeous work!
For more project inspiration using Tombow’s Foam Tape, check out these posts:
- How to Make a Floral Shadow Box with Jessica
- Pretty Fall Colors Pocket Letter with Dani
- Simple Cardmaking Tips For Beginners with Jennie
Have fun creating and see you next time!
Mandy