Hi friends, I’m Katie from Studio Katie! Today, I want to show you how to create some easy Zentangle-Inspired Hand Lettered Cards using Tombow’s Advanced Lettering Kit. The Advaced and Beginner Lettering Sets are awesome for creatives using Tombow products for the first time. They come with all the basics you would need to do a variety of art: hand lettering, doodling, watercolor inspired art, and even zentangles!
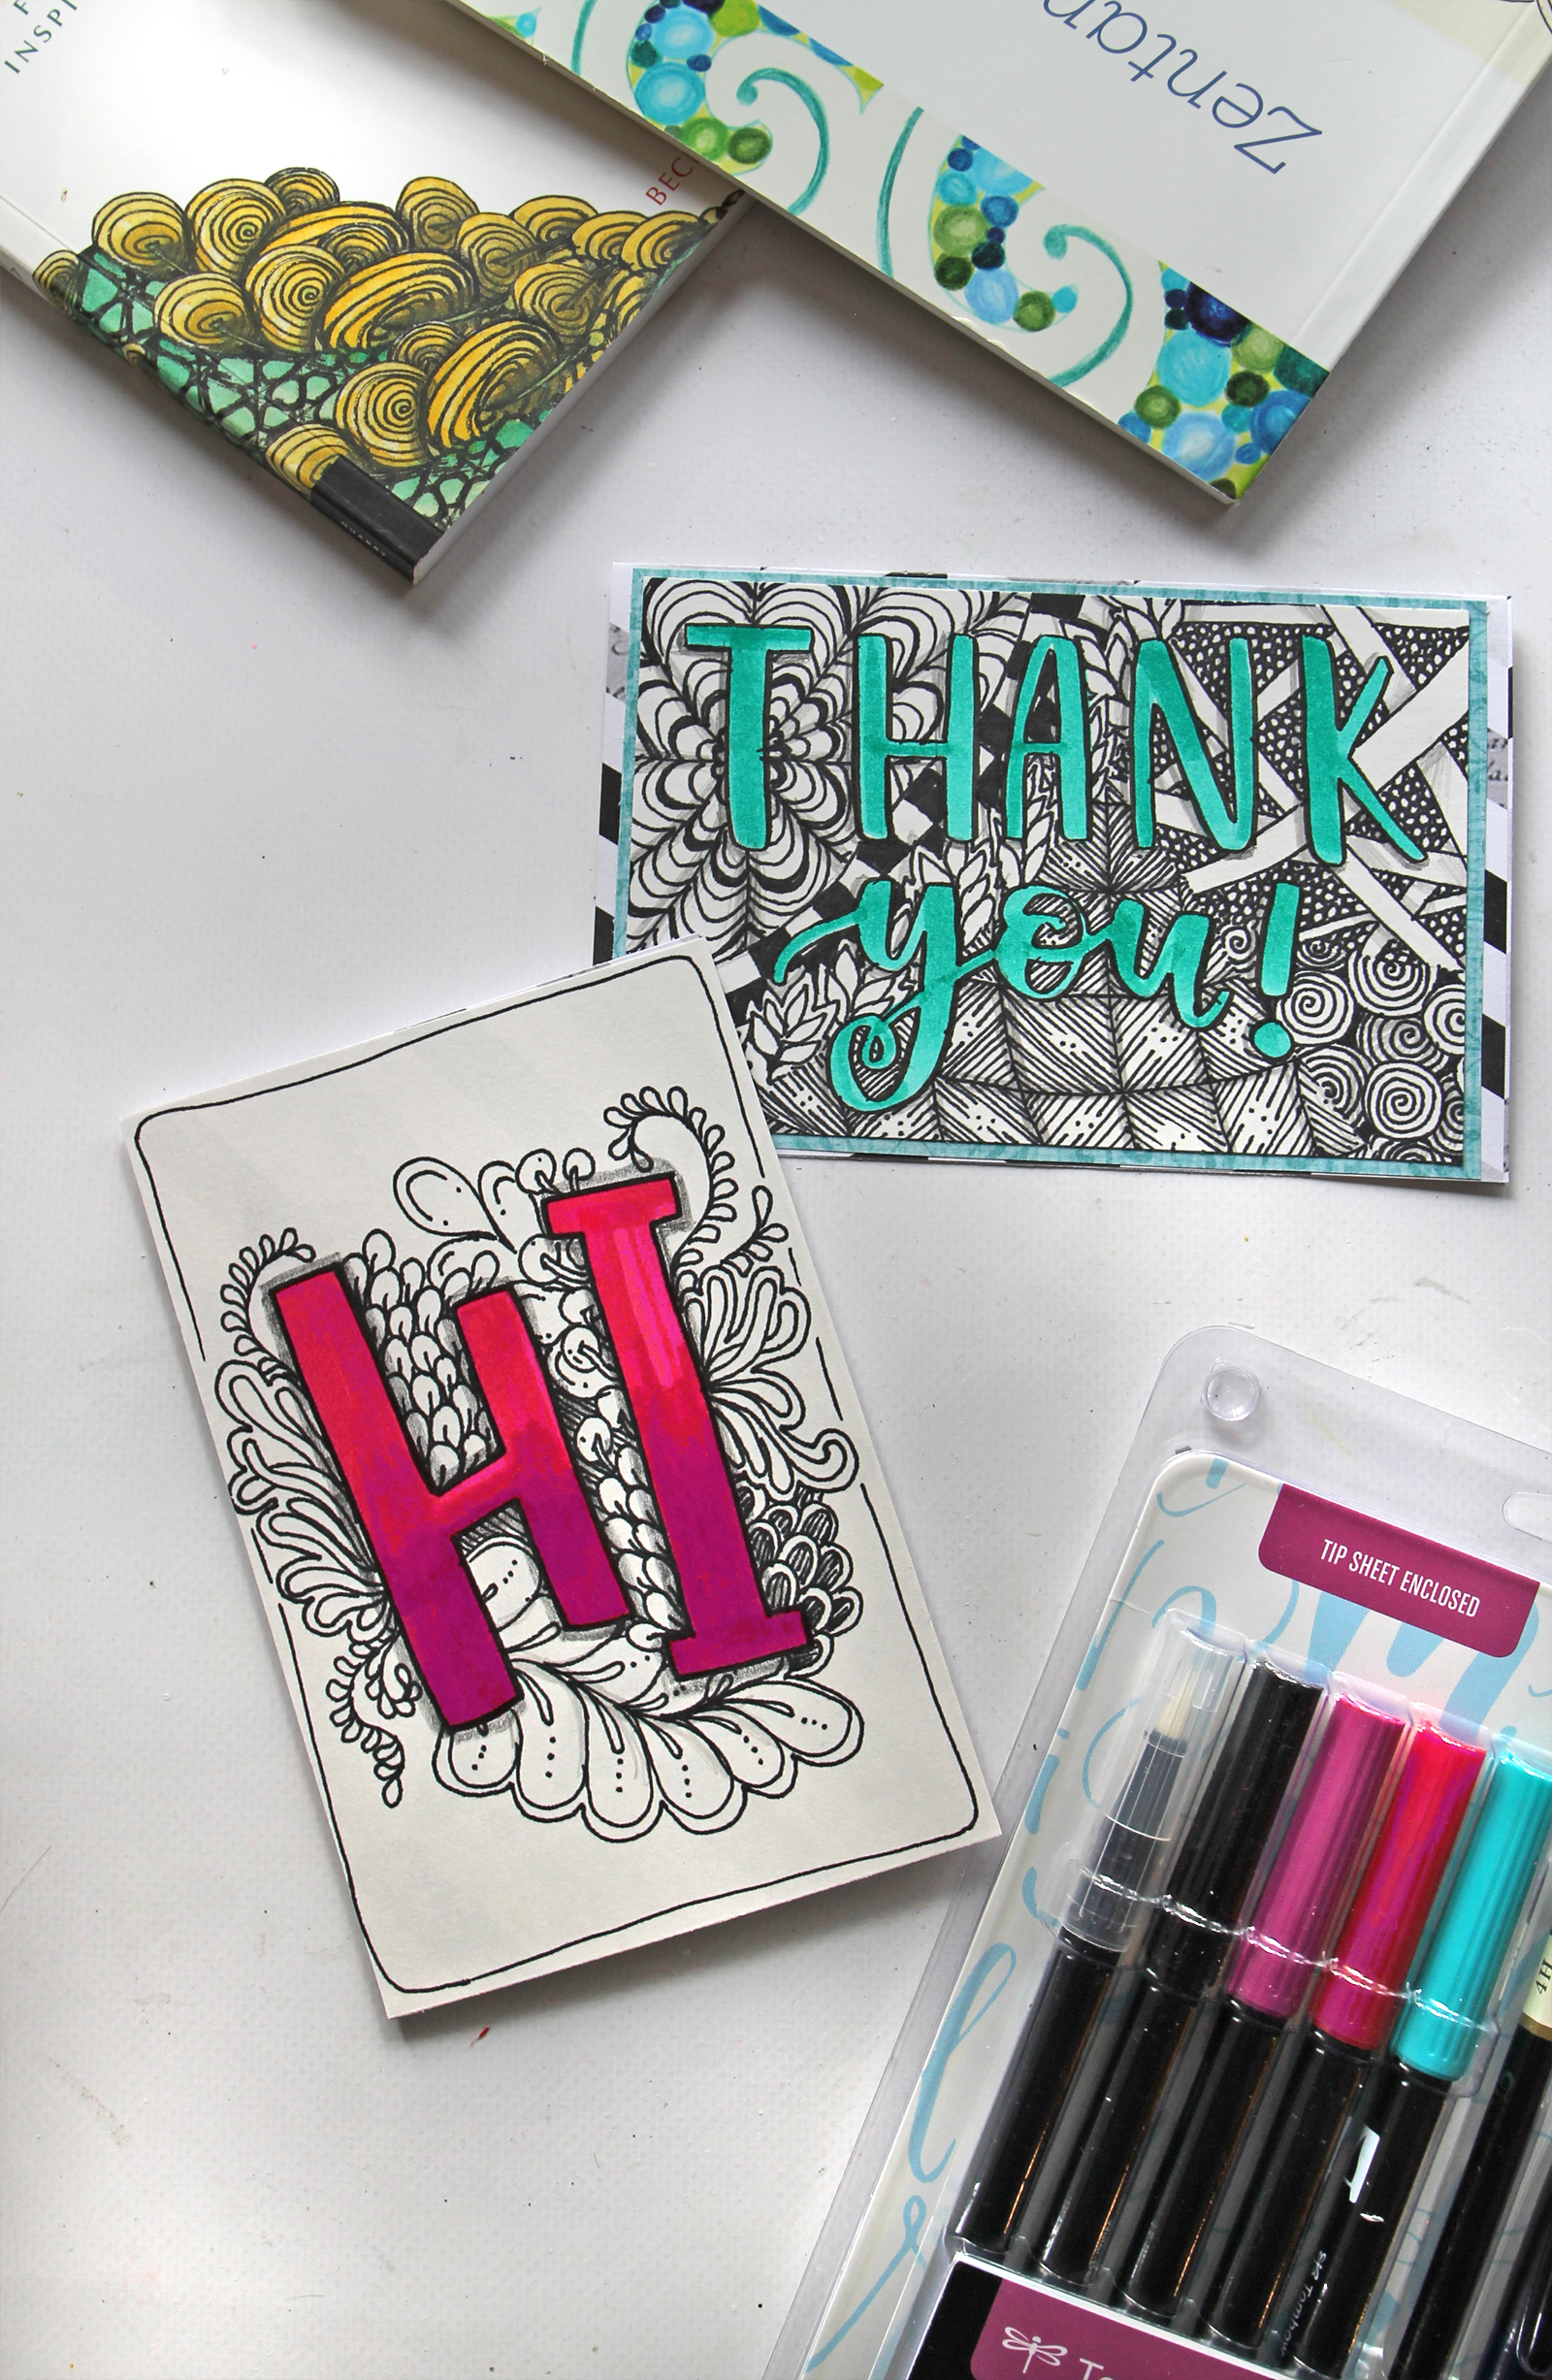
Today, I’ll be combining zentangle-inspired doodles with hand lettering to create some unique greeting cards!
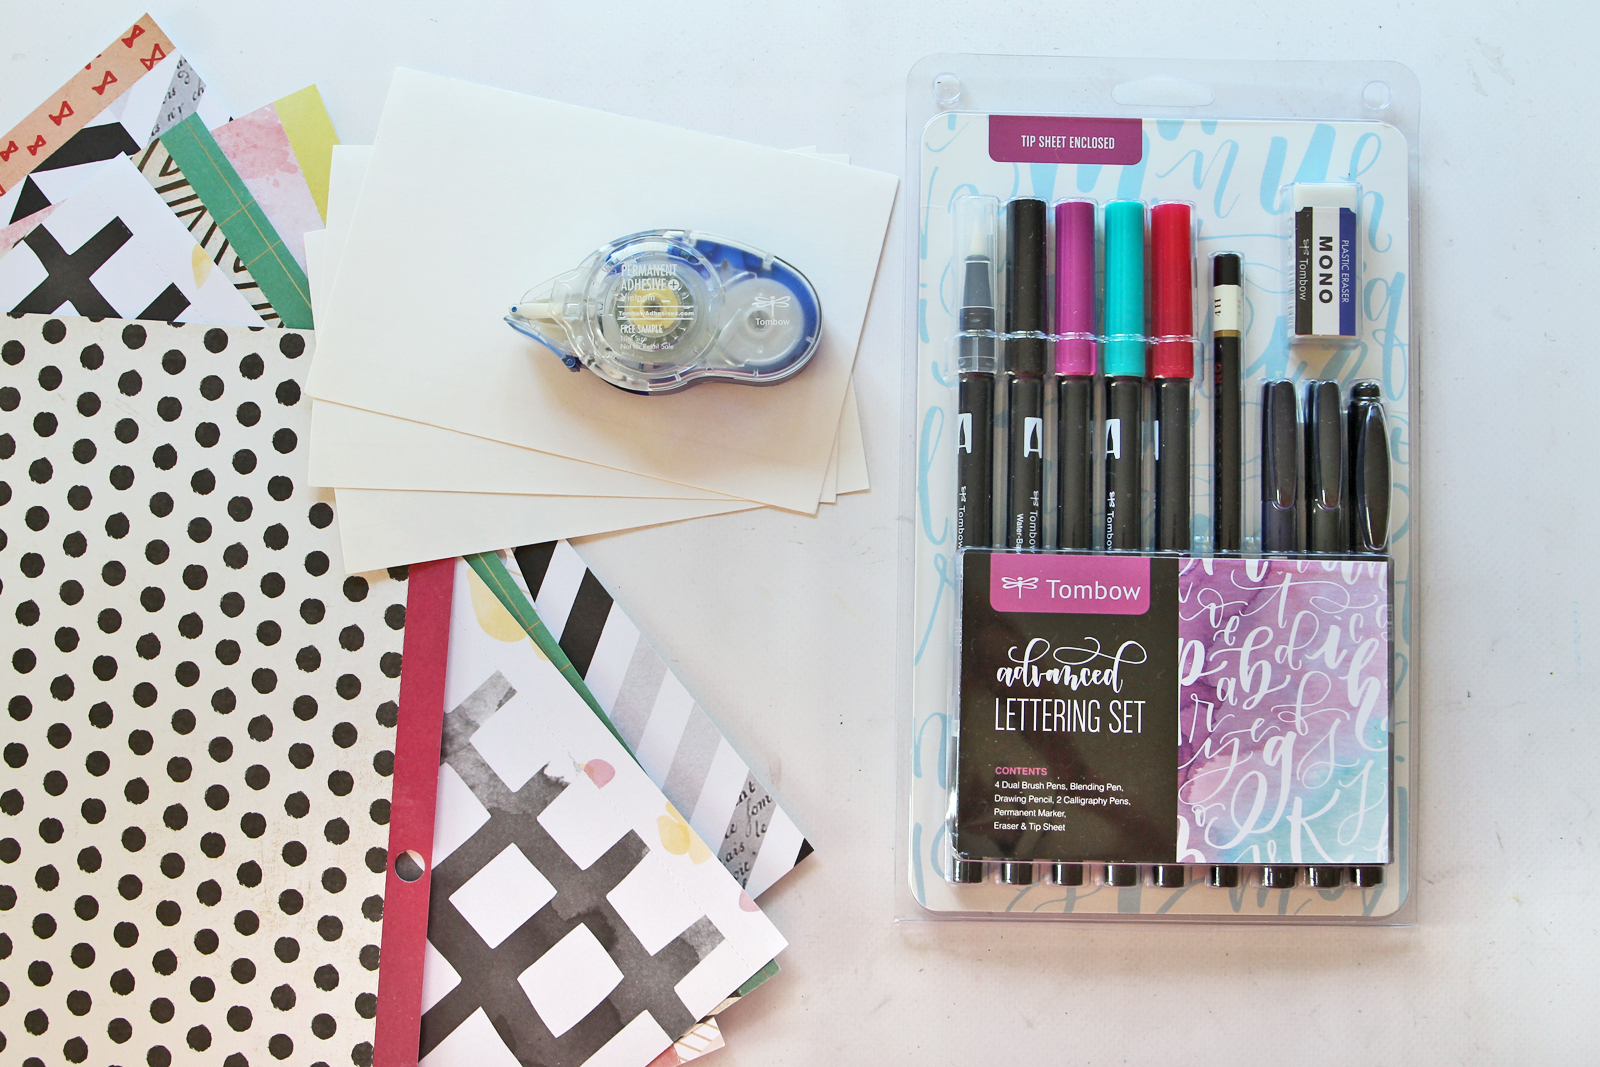
Supplies:
- Tombow Advanced Lettering Set
- White cardstock (any smooth white paper, HP Premium Choice Laserjet Paper is great for lettering.)
- Patterned paper
- Tombow MONO Adhesive + Permanent
Step one:
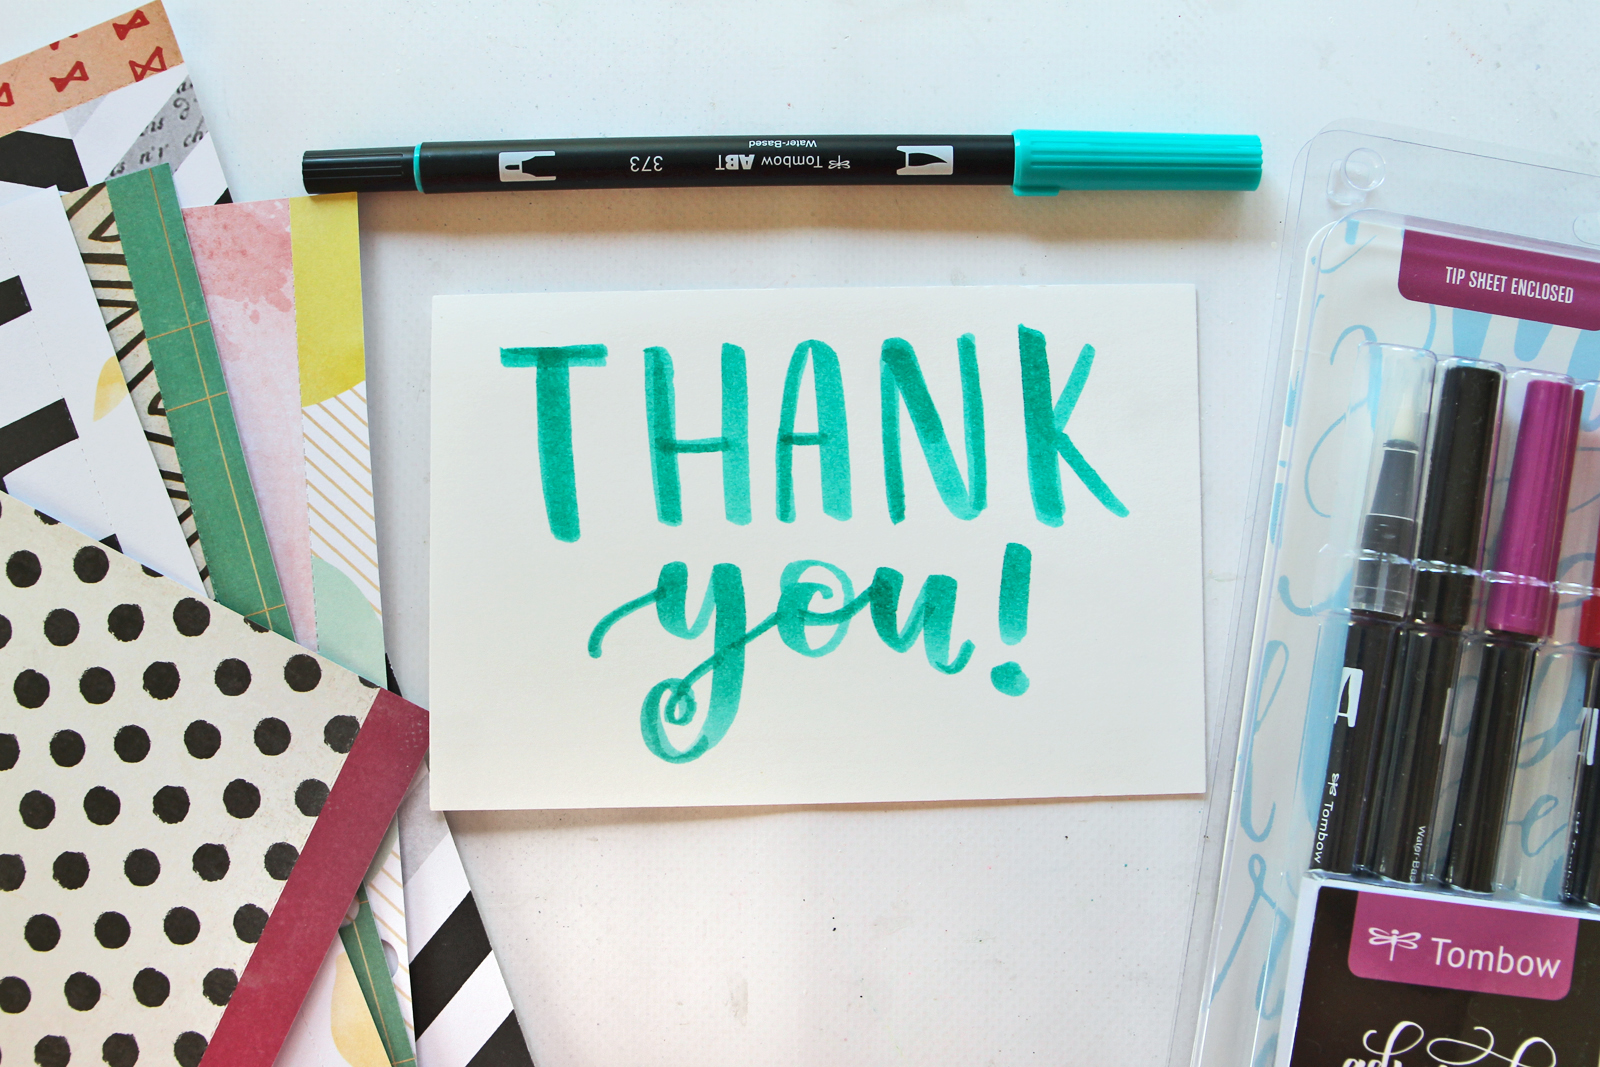
Cut your paper down to 3.5×5.5″. Hand letter on your greeting card sentiment using one of the Dual Brush Pens. I’ve found that bolder lines work best for this technique in order for them to really stand out from the zen-doodled background.
New to hand lettering? This set comes with a helpful little pamphlet to get you started! Want more help? Here are 5 Tips to Lettering with Tombow Dual Brush Pens.
Step two:
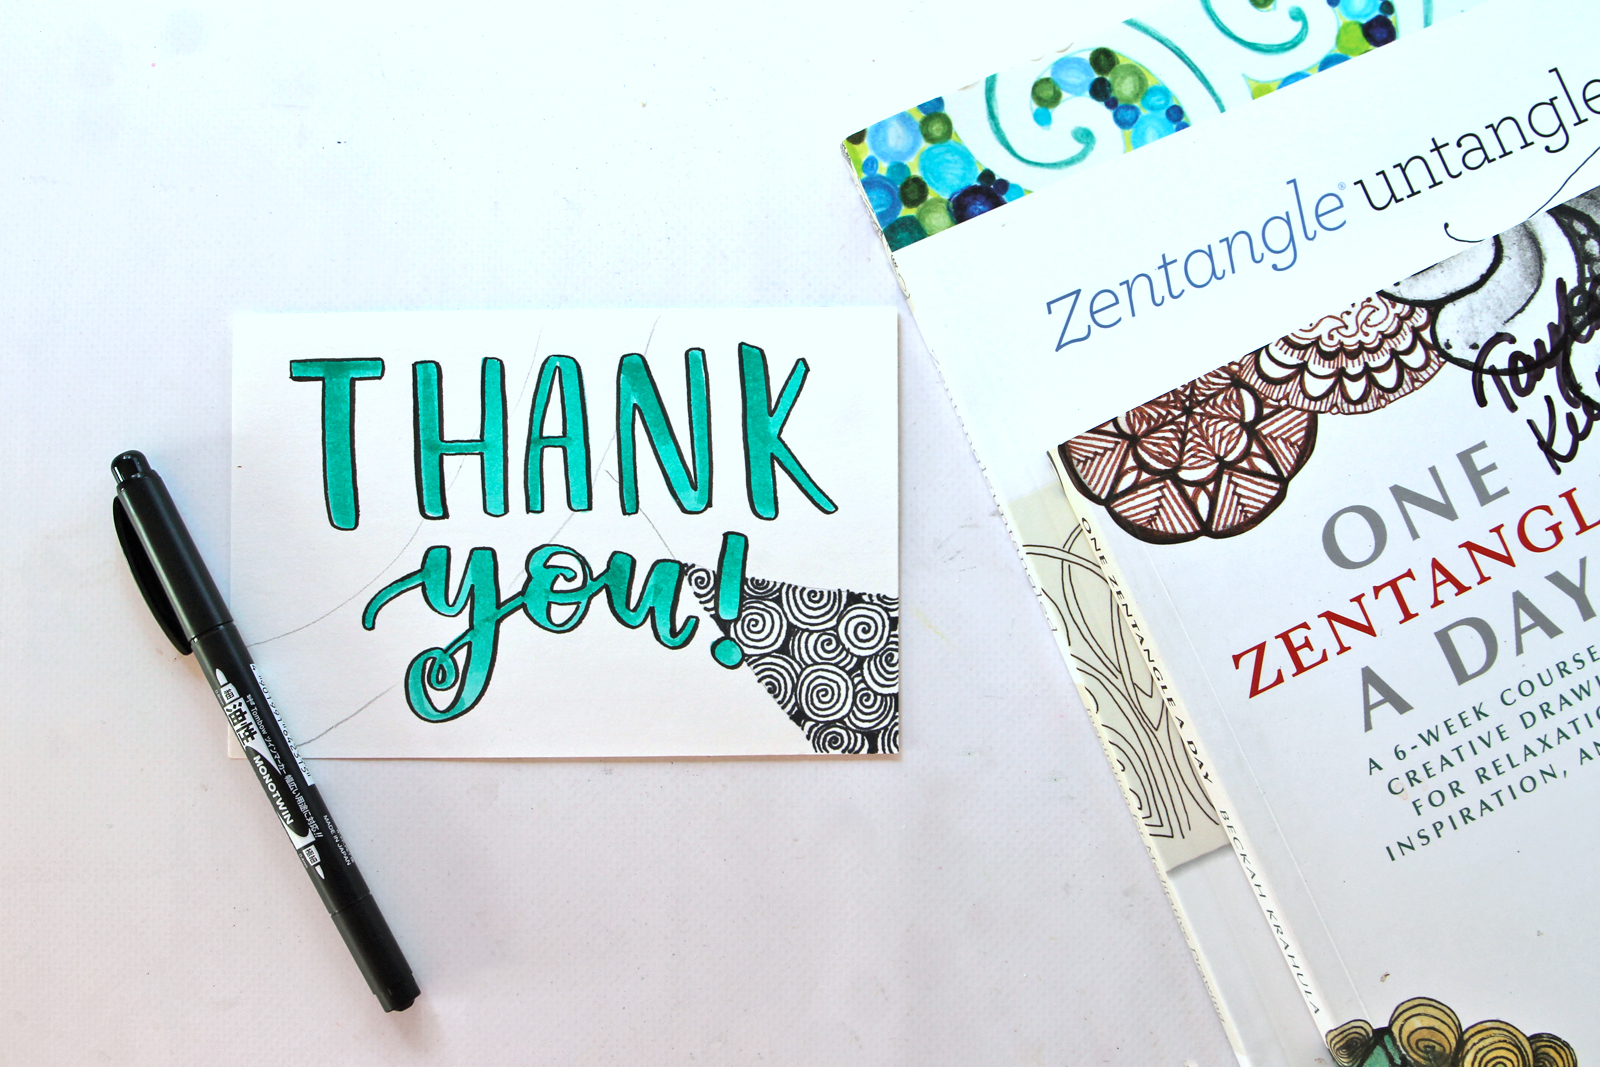
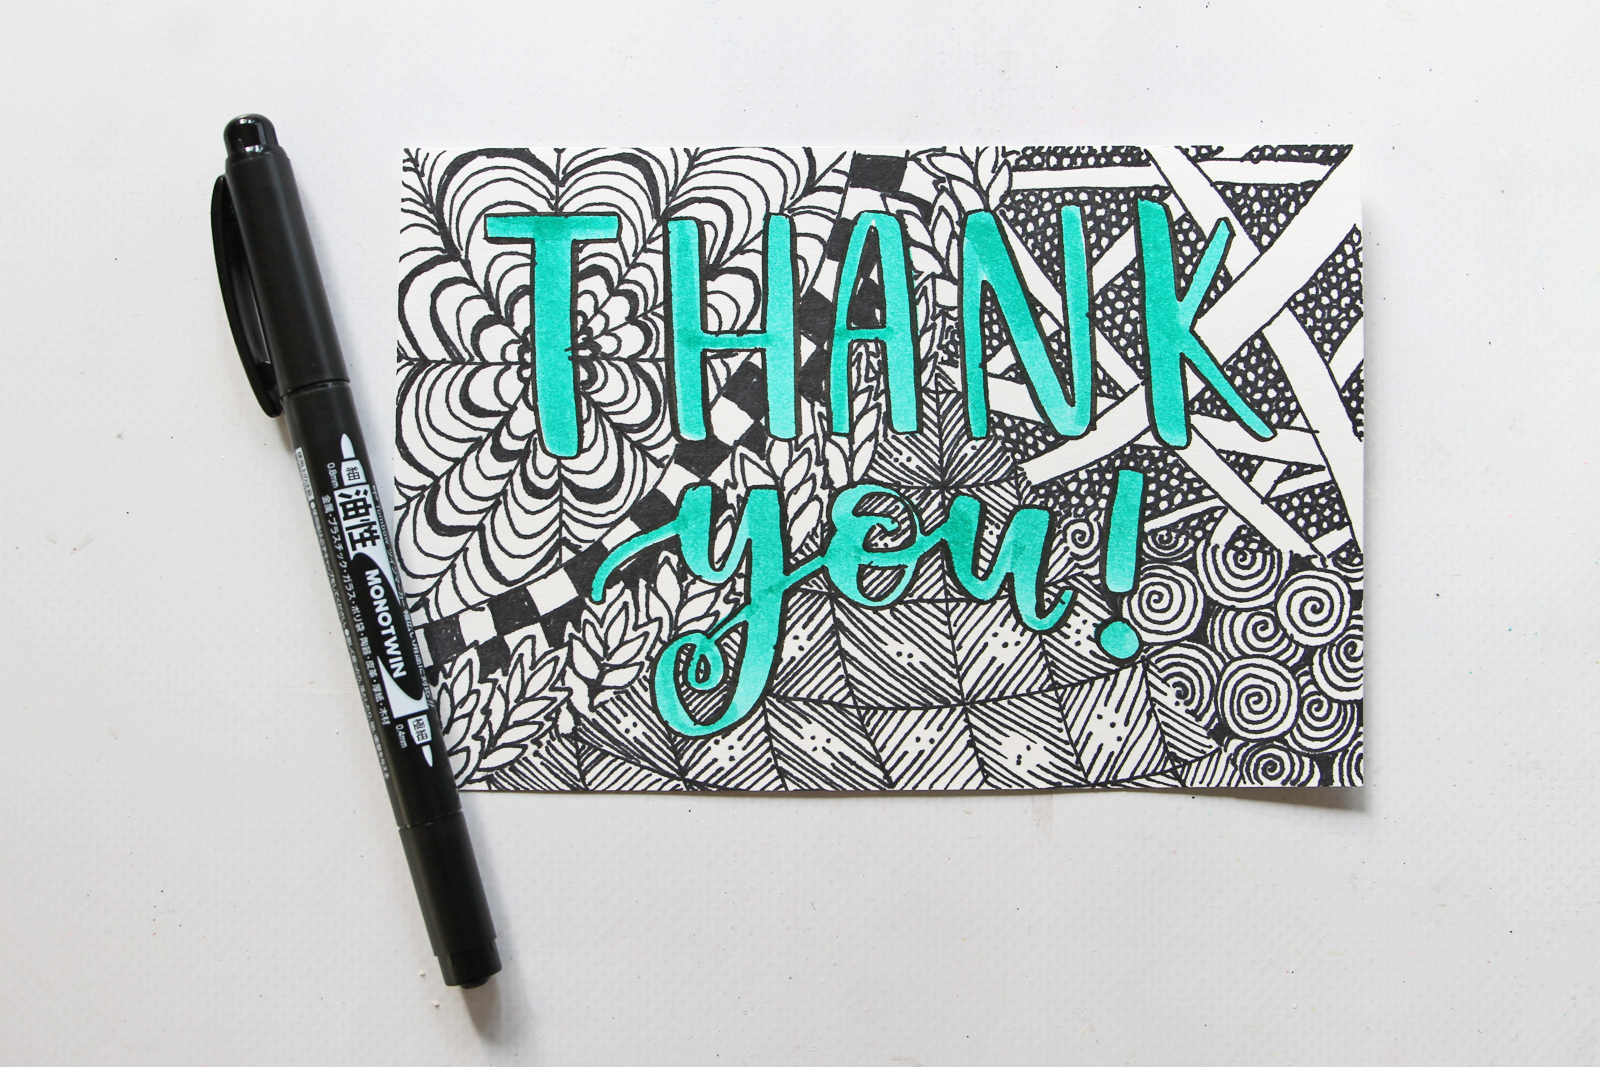
Outline your letters. You can use whichever black marker you’re most comfortable with for this. The Advanced Lettering Set comes with both the soft tip and hard tip Fudenosuke Brush Pens, as well as the MONO Twin Permanent Marker. I used the Hard Tip Fudenosuke Brush pen because I like the varied line width.
Step three:
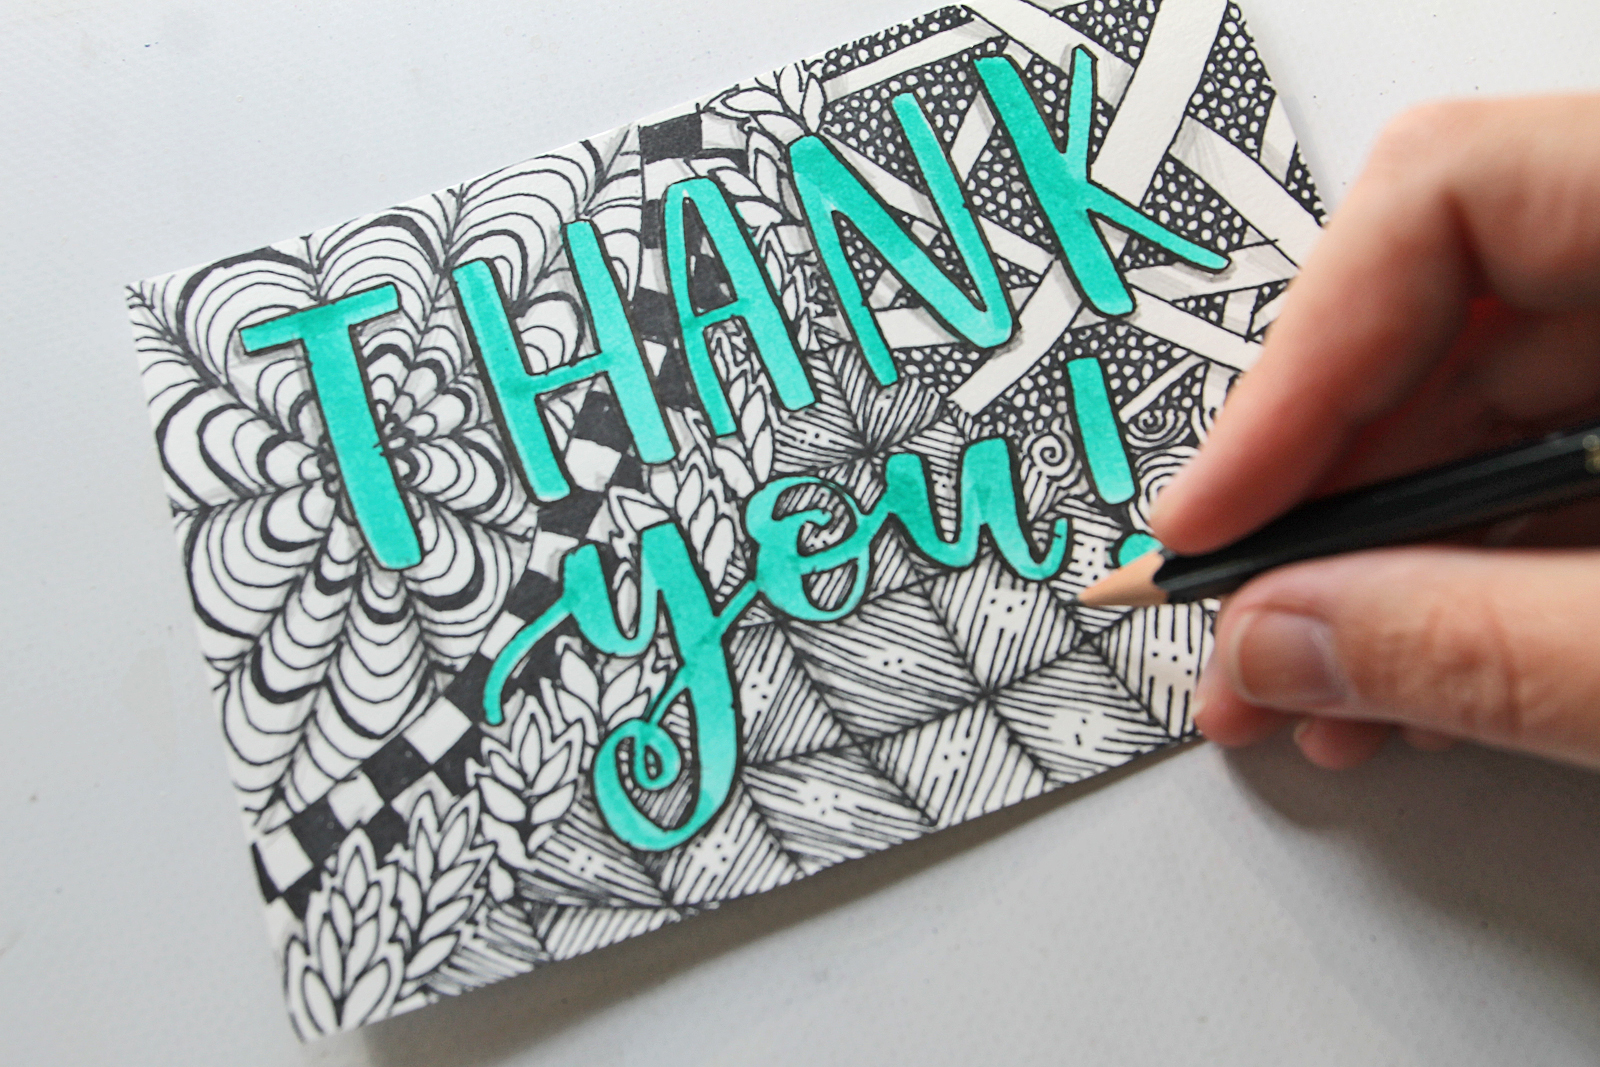
Now it’s time to tangle! Use the MONO Drawing Pencil to lightly draw lines across your card to separate your paper into sections. Next, use the fine tip of the MONO Twin Permanent Marker to doodle zentangle-inspired designs into each section.
I like to refer back to zentangle books that I have to reference different pattern designs. I would also recommend Tanglepatterns.com to find great pattern ideas!
Step four:
Once your zen-doodles are done, use the MONO Drawing Pen to add shadows beneath your letters to make them stand out even more. You can also add some shading to your zentangle designs.
Step five:
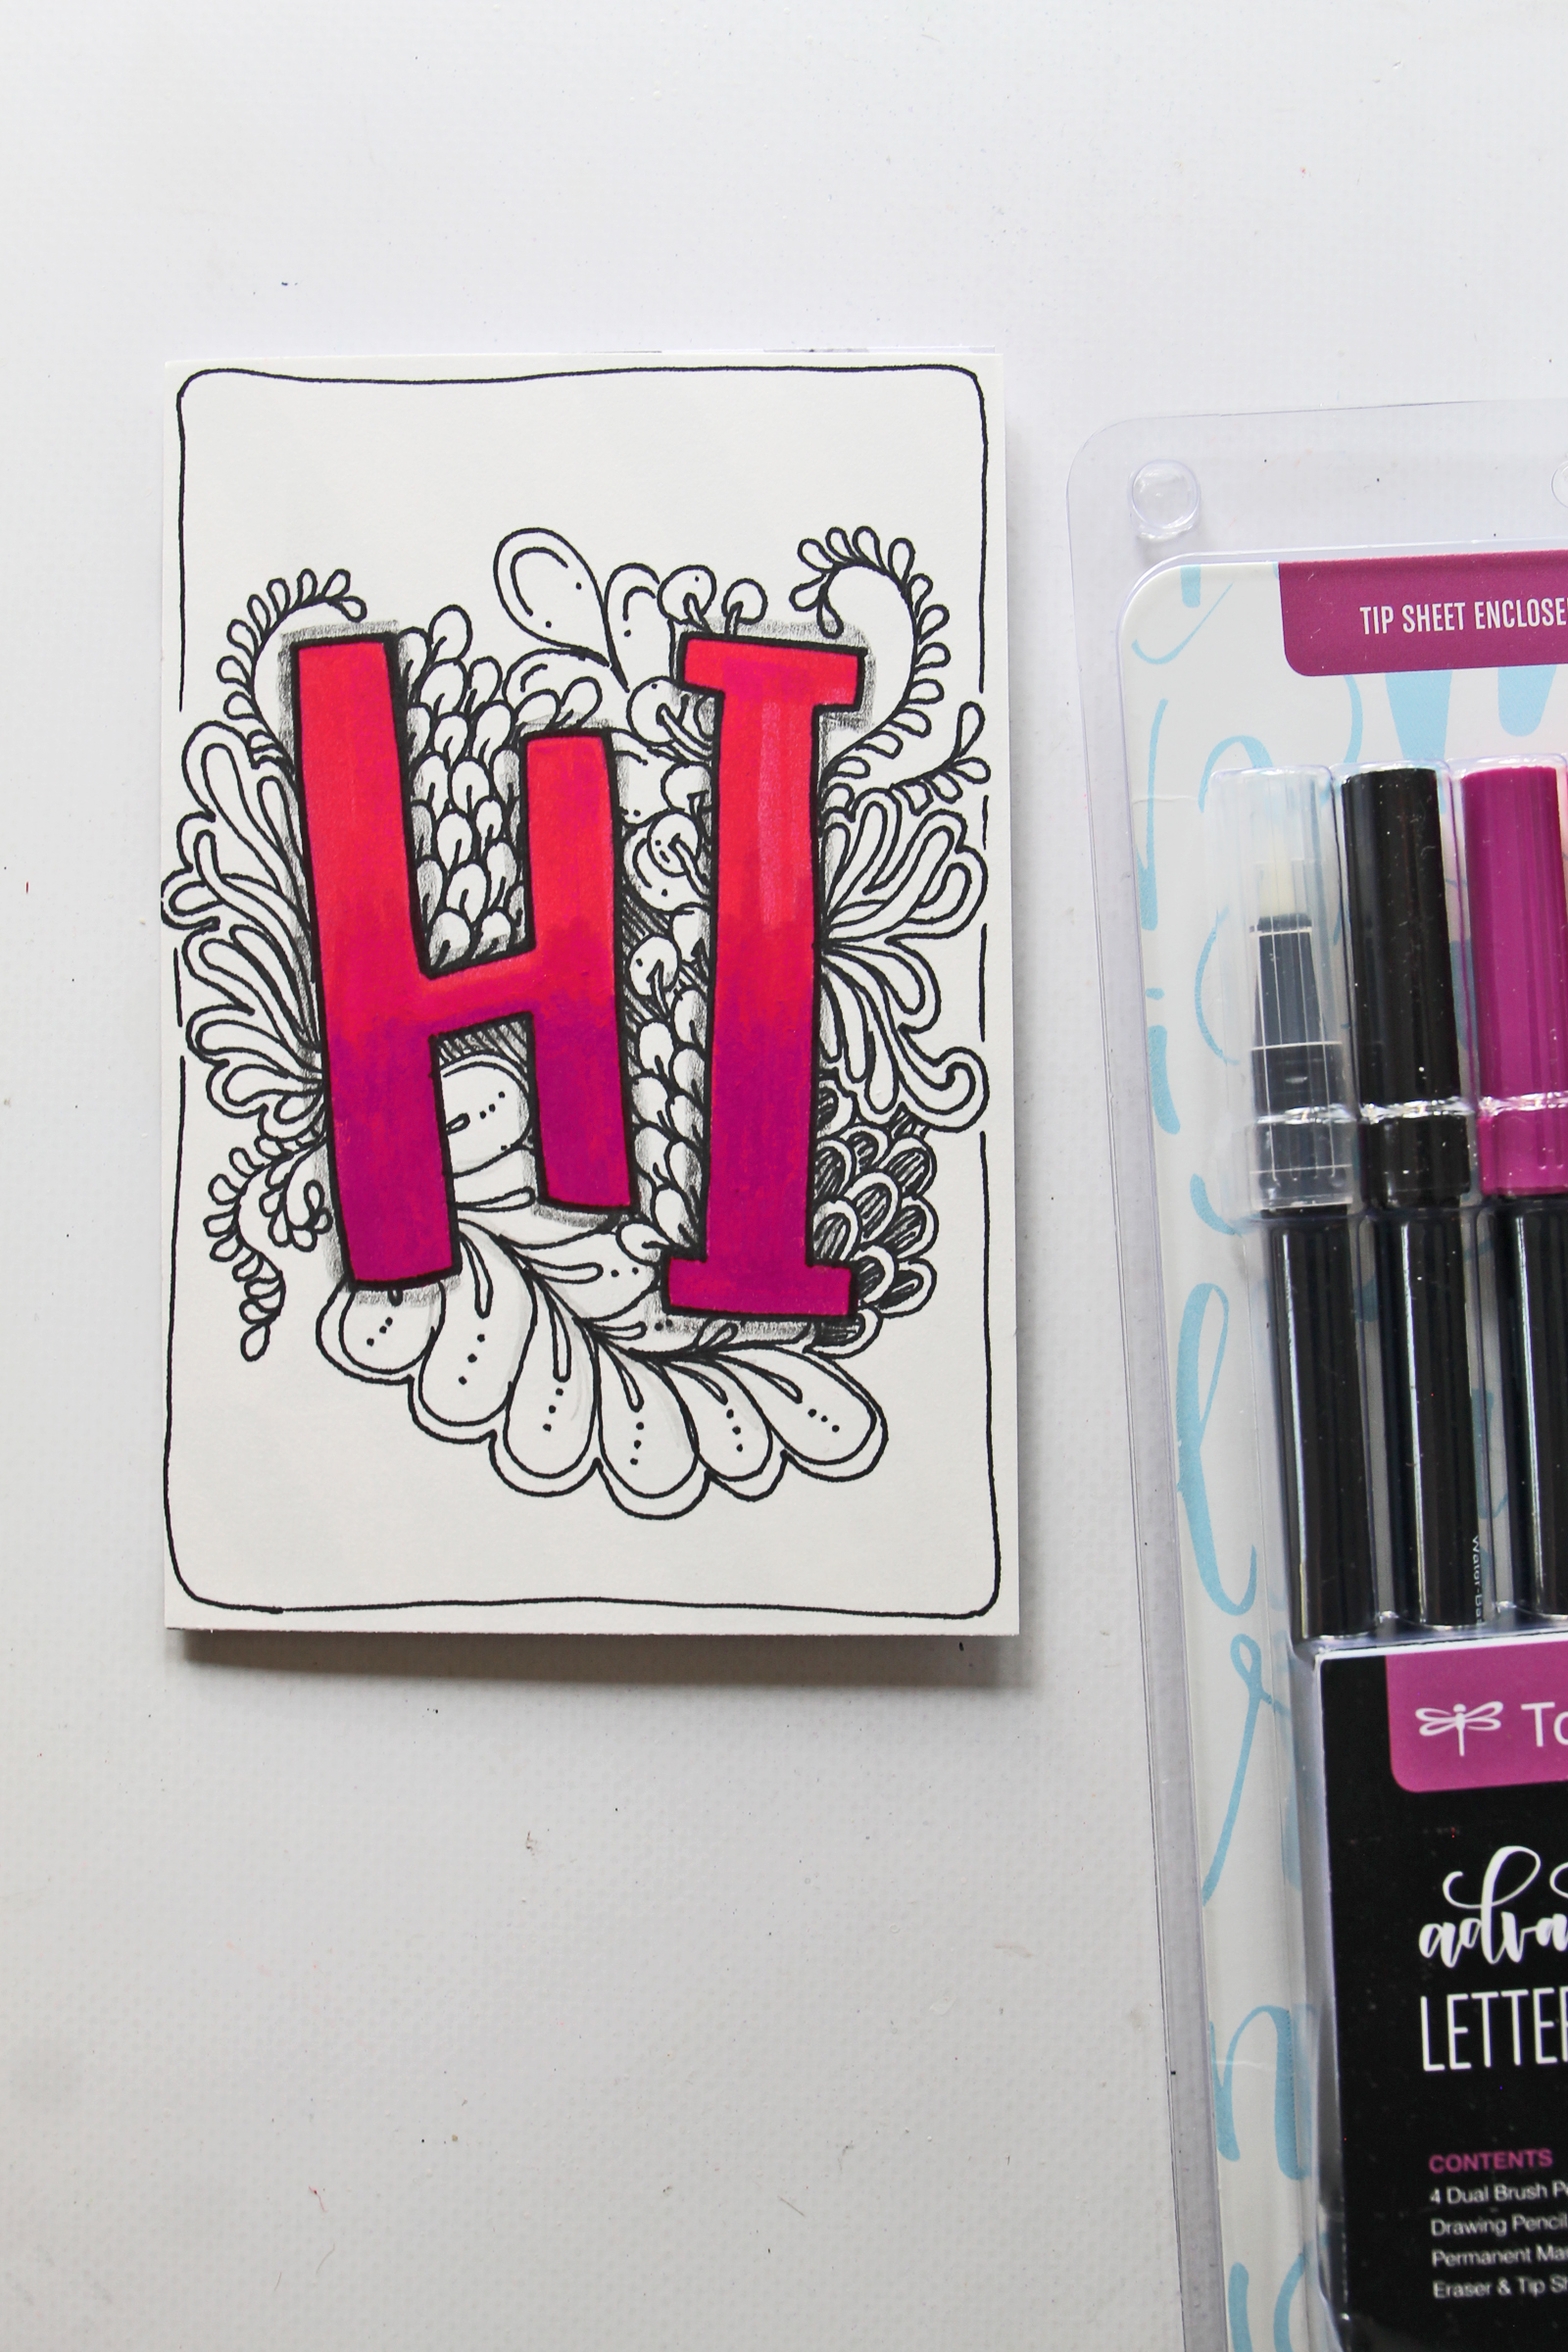
Want another card idea? Instead of tangling the entire background, as I showed above, try just adding fun patterns coming out from behind your lettering!
Step six:
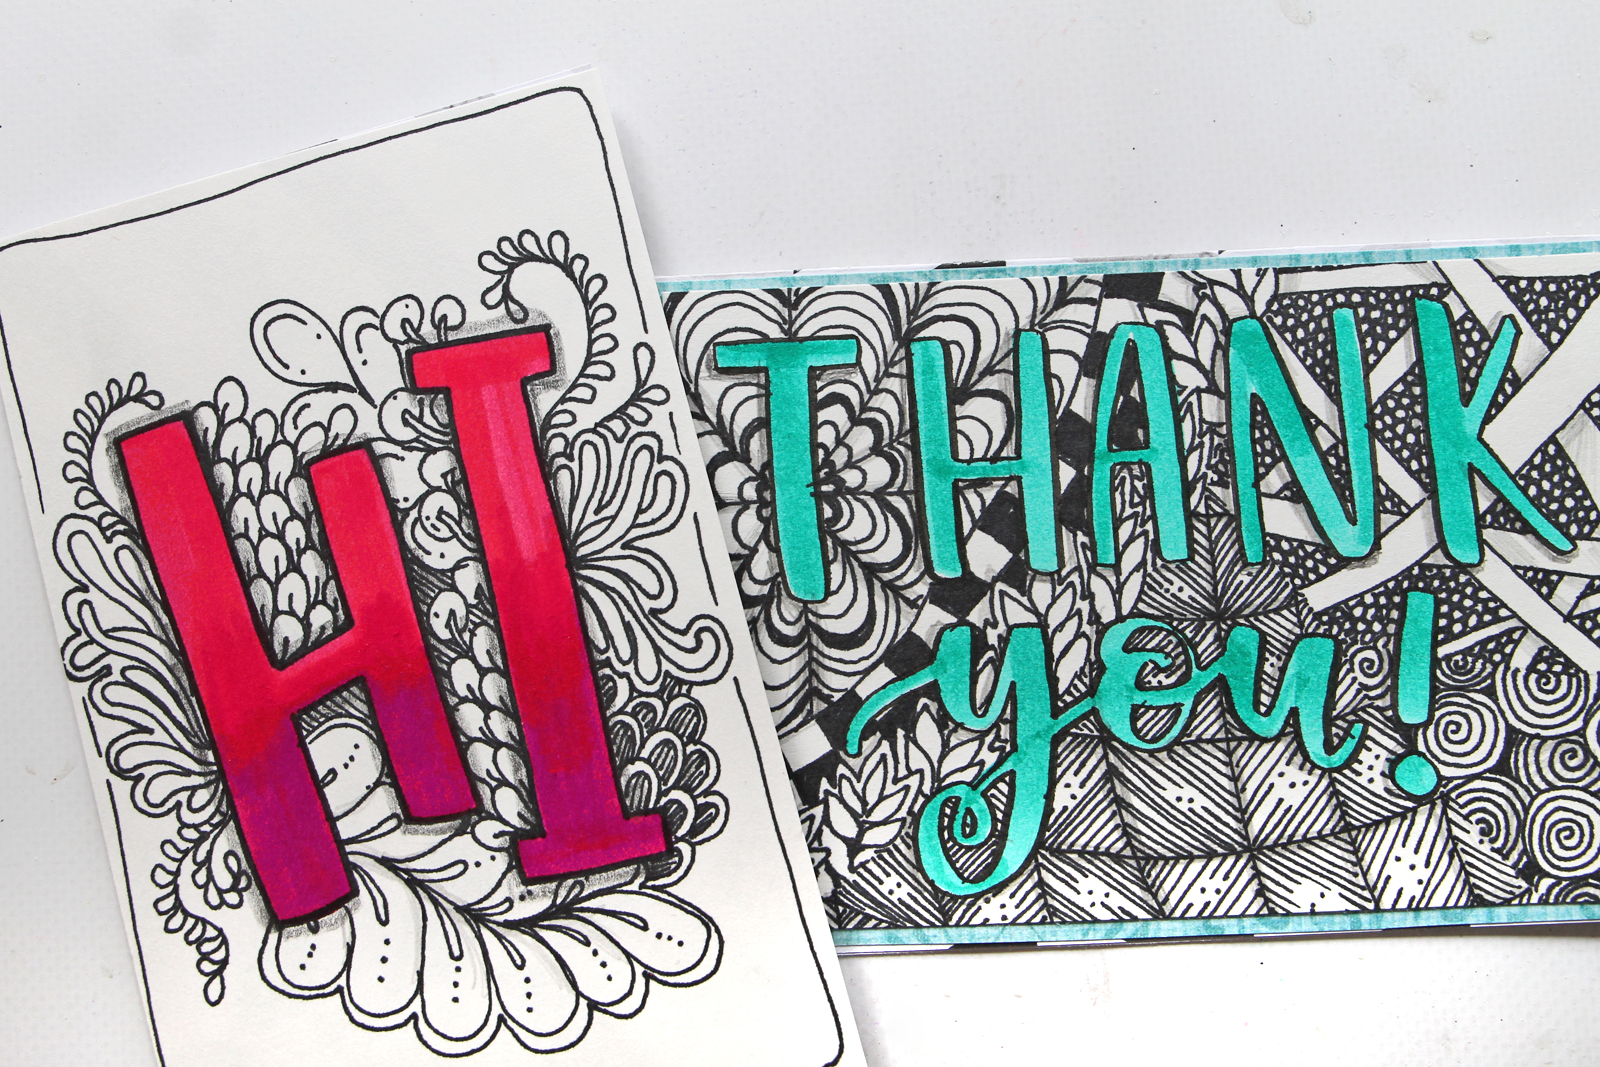
To finish off your cards, adhere your new zentangled pieces onto a 4×6″ card base using the MONO Adhesive+ Permanent Tape Runner.
Want even more zentangle inspired projects? Check these out from the blog archives:
5 Reasons to Discover Zentangle This Year.
Easy Zentangle Portrait Drawing.
I hope y’all enjoyed this tutorial today. If you make any zentangle-inspired cards using Tombow products, be sure to tag us on social media: @tombowusa and @studio.katie!

I love it!
One question, what is the patterned paper for? It’s included in the list of items needed. Is it just for a pattern reference?
Pingback: How to Start Making Handmade Cards - Tombow USA Blog