Hi, Jessica from BrownPaperBunny here to show you how to make an easy pop-up birthday card for Tombow’s birthday!! I always like the extra little surprise of opening a card and having something move. This style of pop-up will take you no time at all. Here’s what you’ll need to get started.
Supplies:
- Tombow Dual Brush Pens
- Colored card
- White copy paper
- Tombow MONO Adhesive Permanent
- Craft Knife and cutting mat
- Tombow MONO Graph Mechanical Pencil
- Ruler

Step 1: Draw a Cake
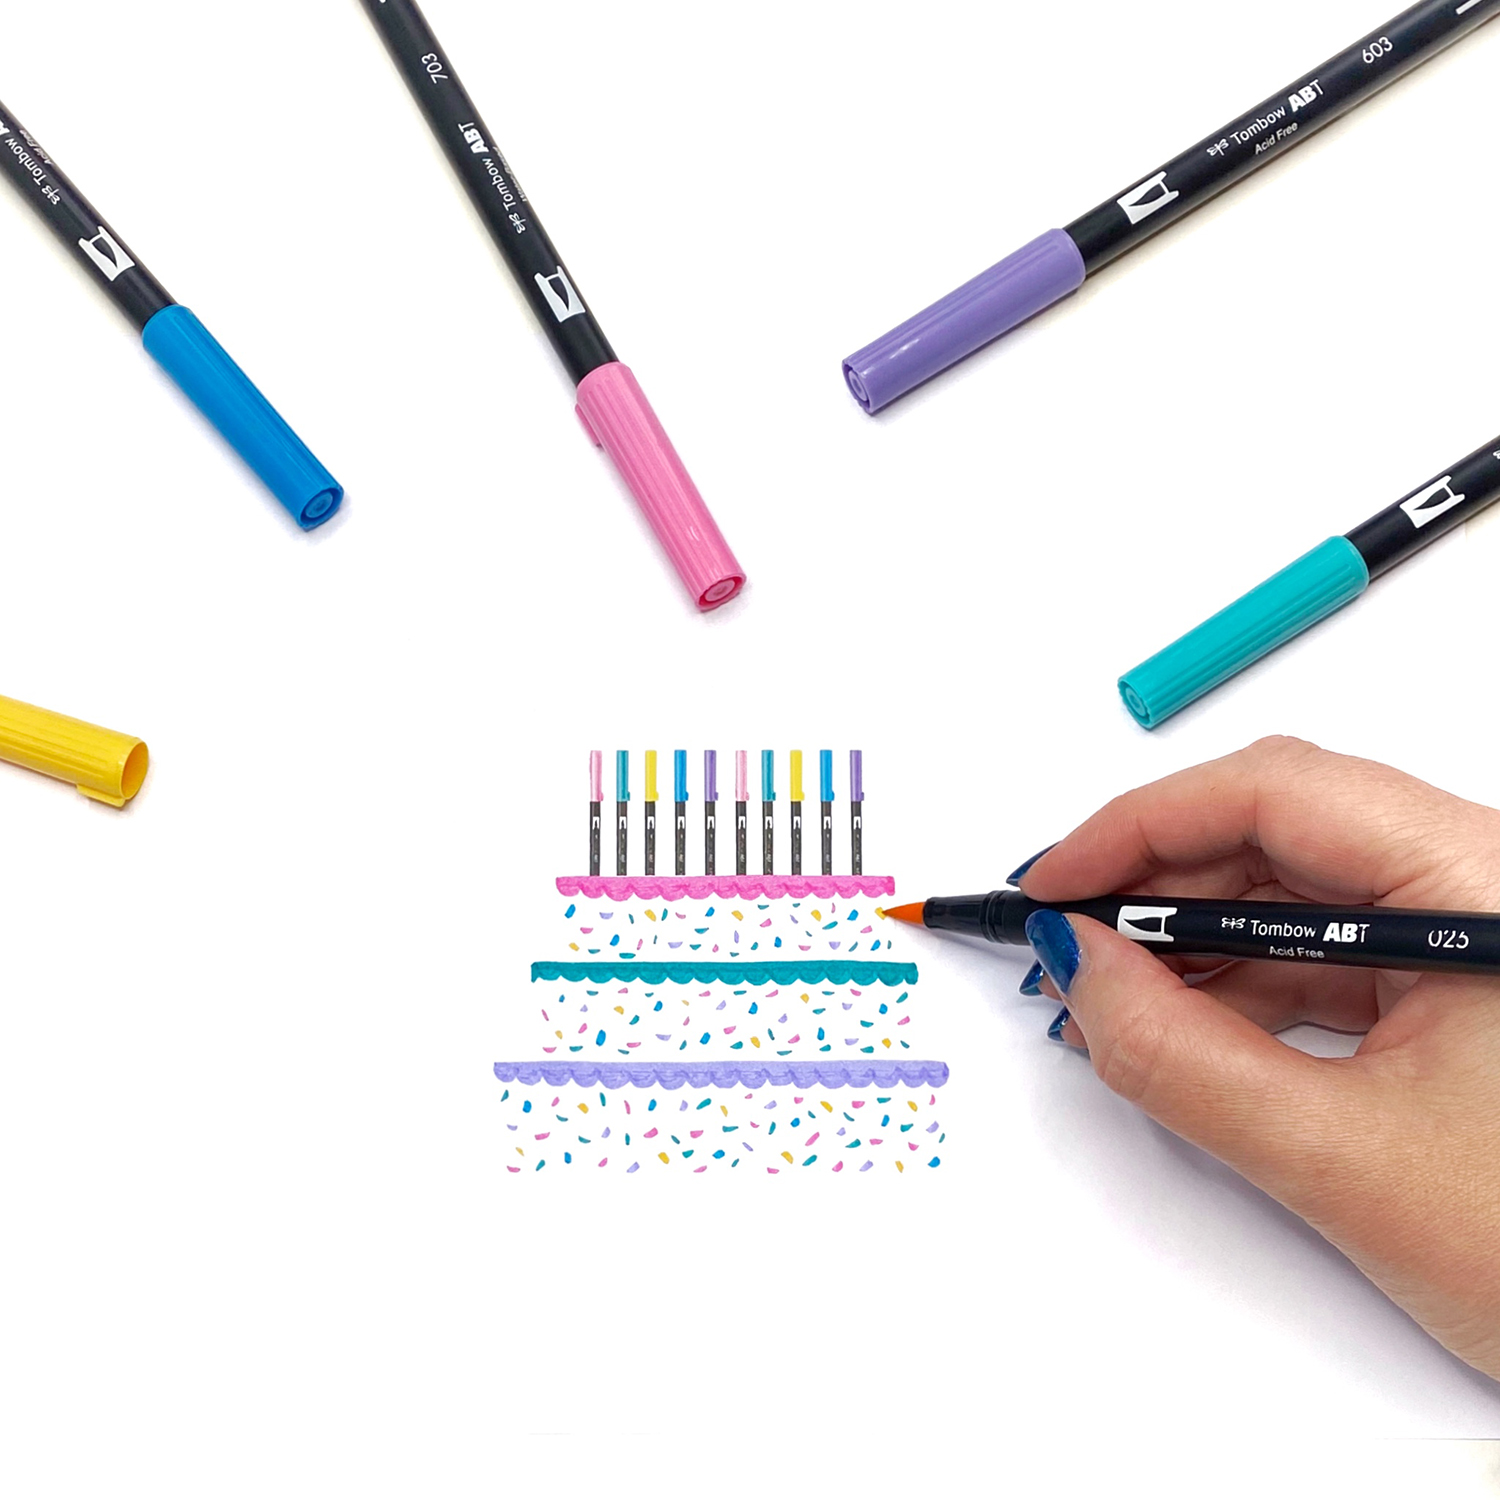
The first step is to draw a cake that will ‘pop up’ inside your birthday card. You can draw as many layers as you like, as long as there are at least two. Keep the edges straight too. You’re going to cut along them later. I thought it would be fun to draw Dual Brush Pens because it’s Tombow’s birthday. However, you can draw regular candles. 😉
Step 2: Slice Your Cake
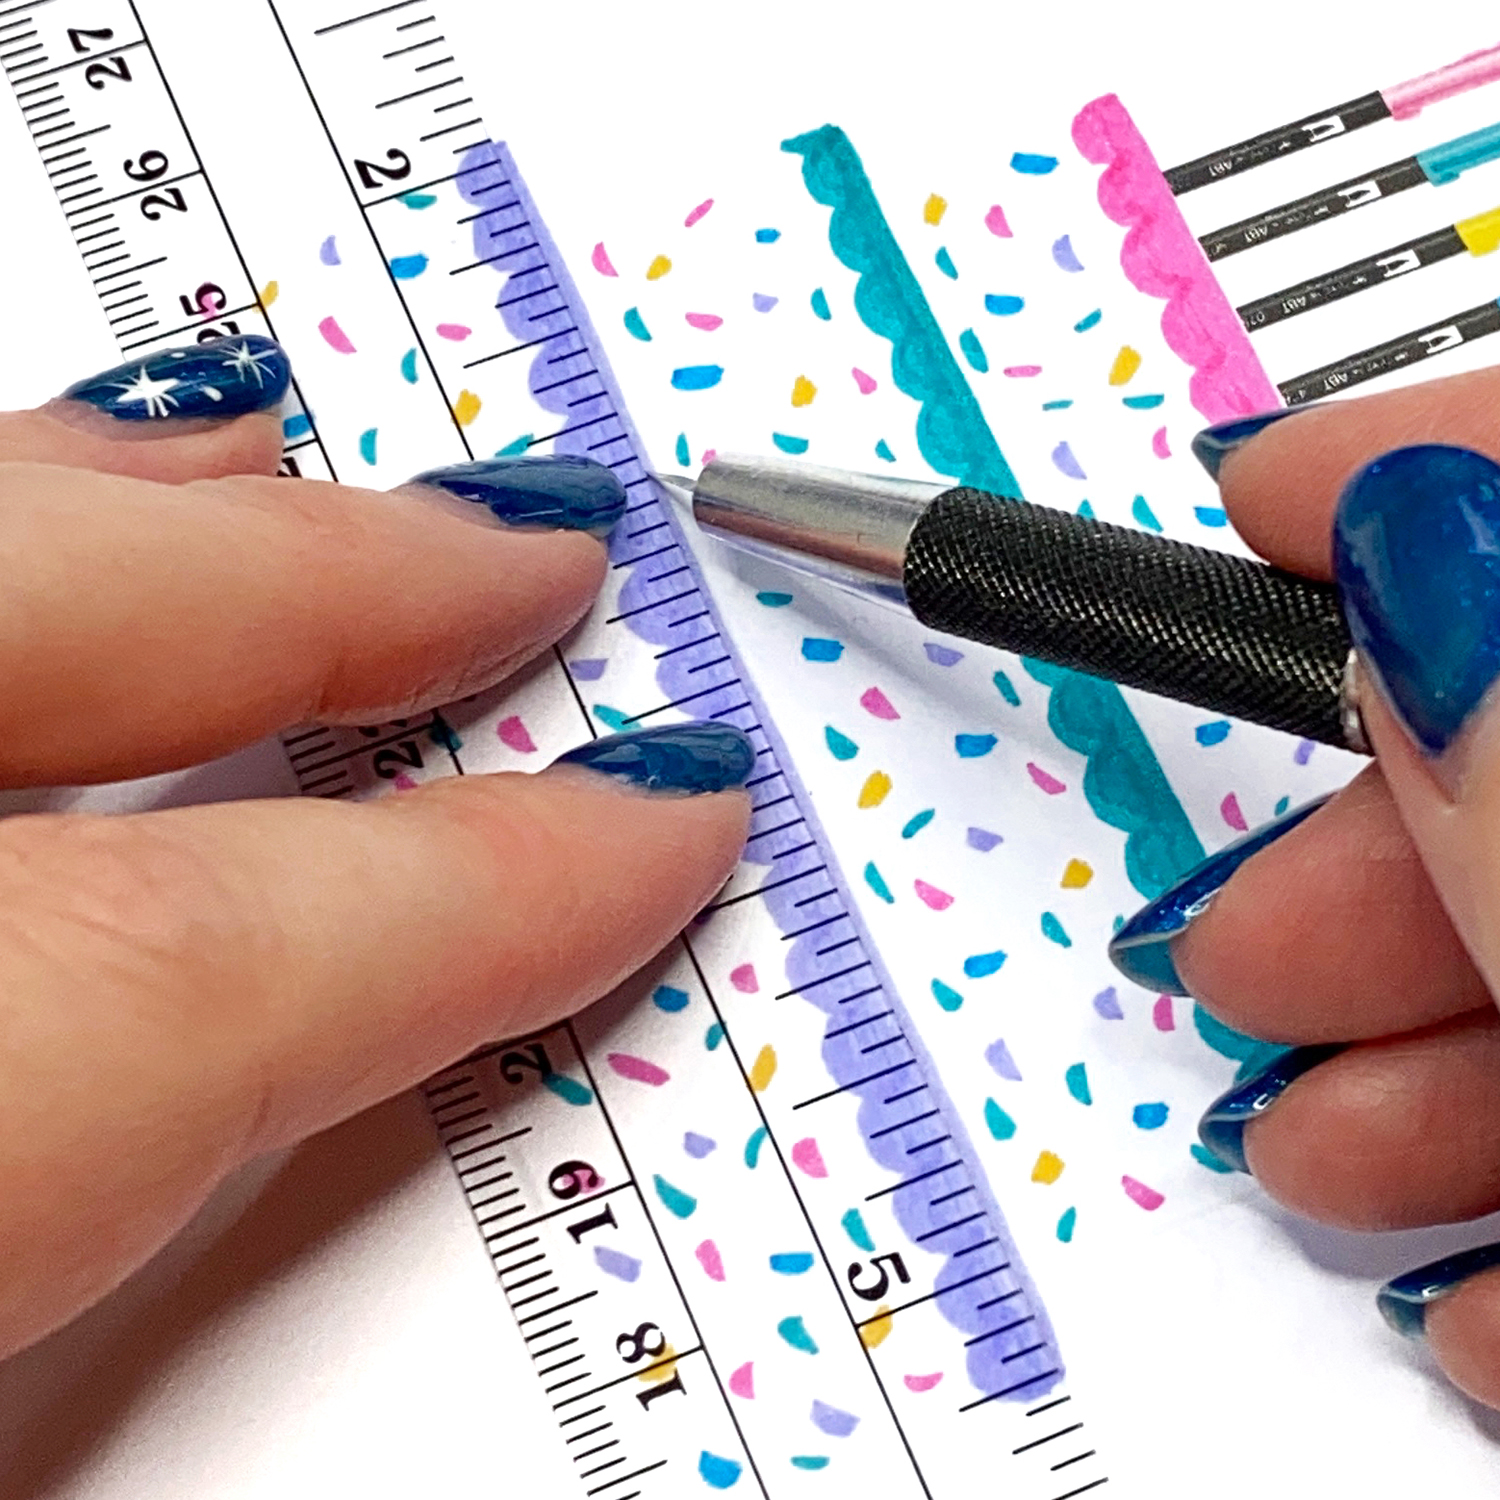
Now it’s time to carefully cut along the top and bottom lines of each cake layer and around your candles. Be sure to leave the sides of each layer attached. Do not cut the candles off completely. You want them to stay attached to your top cake layer. If you’re unsure, skip ahead a step and take a look at the cut-out image.
Step 3: Fold Your Cake
Carefully fold the paper with your cut-out cake image in half to create a crease.
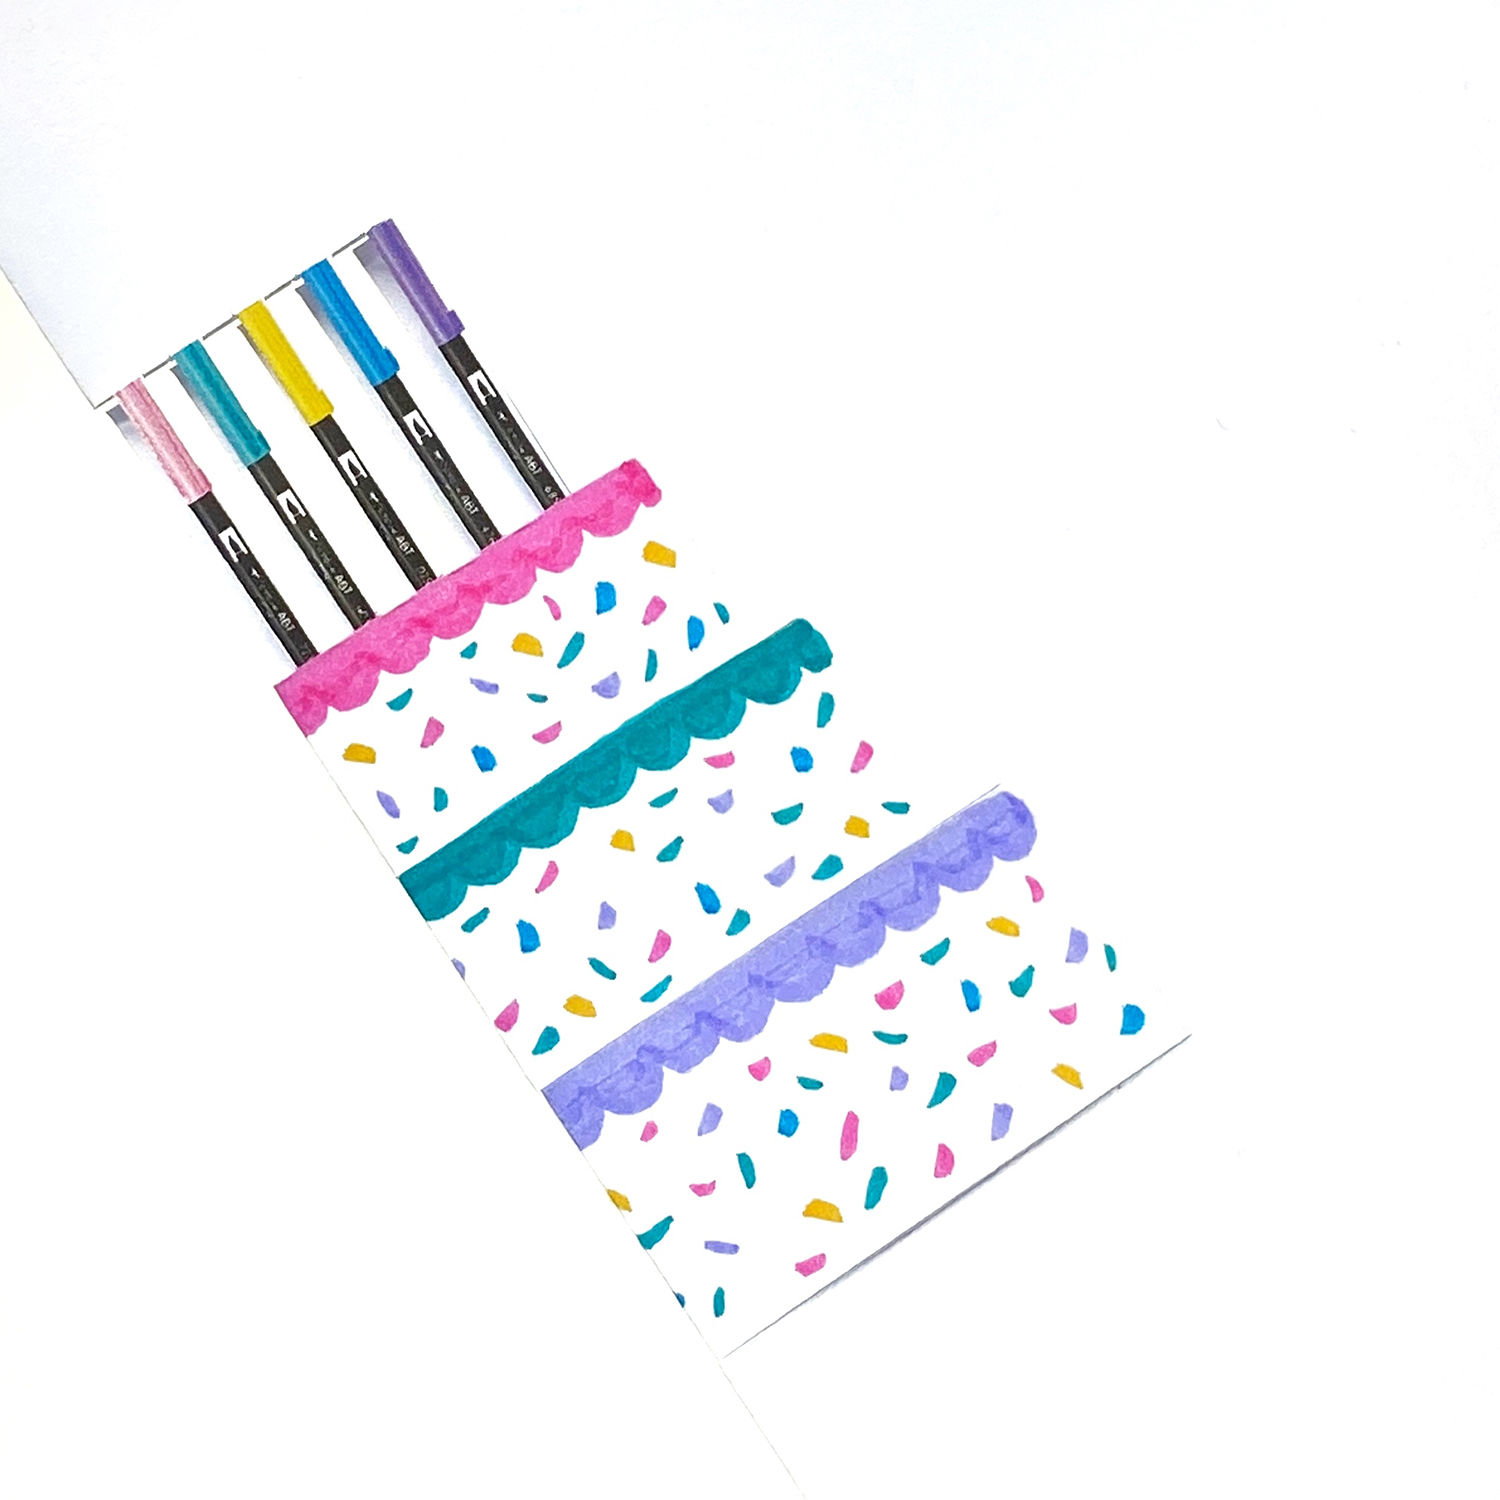
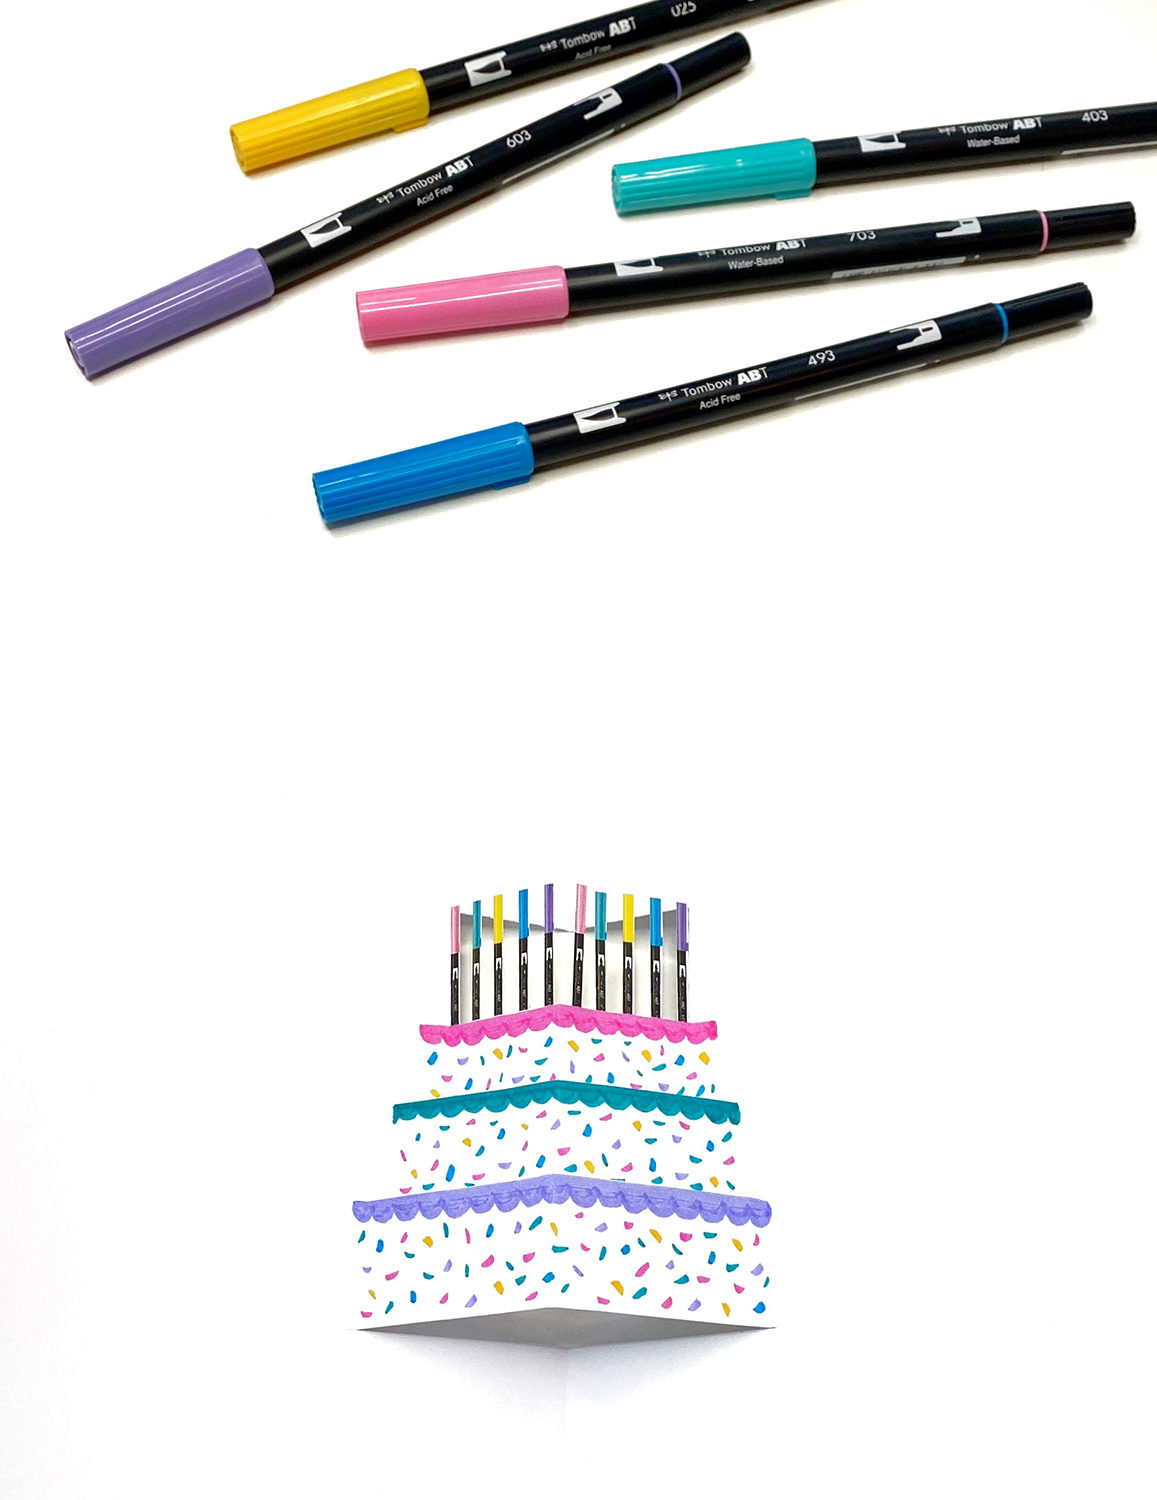
Keeping your cake portion of the paper held forward, fold the rest of the paper backwards so the cake pops out. See the image below.
Step 4: Stick It All Together
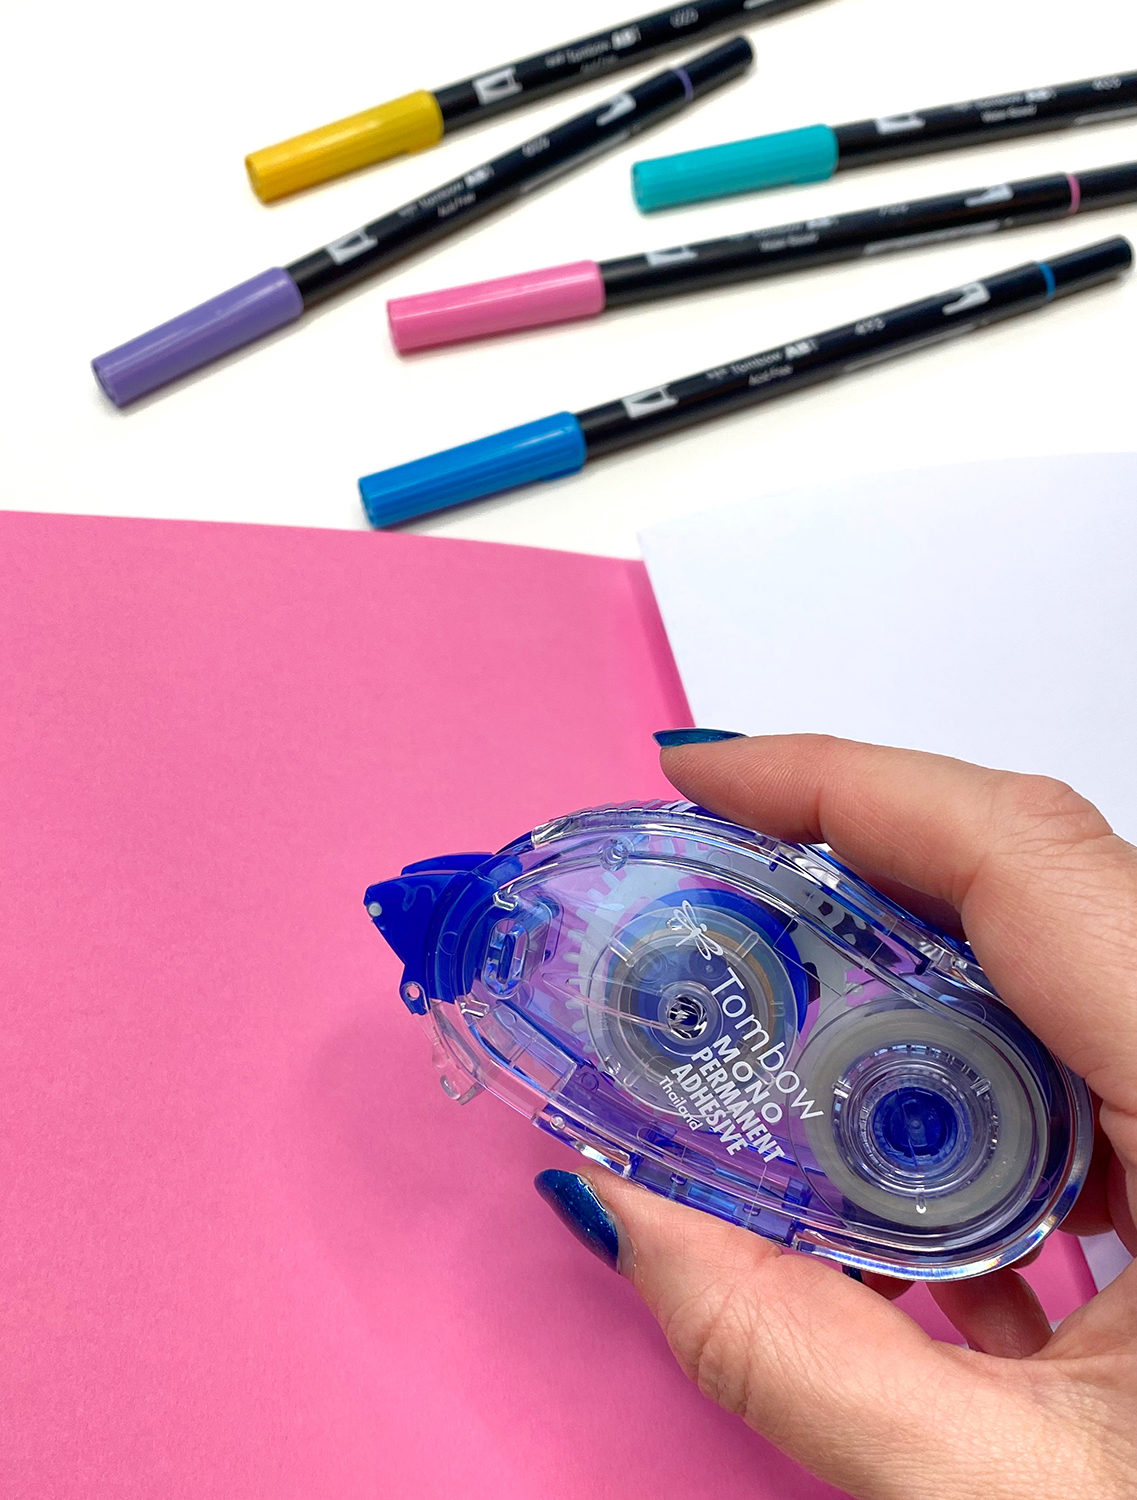
Fold your piece of colored card in half. Then, use your MONO Adhesive Permanent to stick the paper with your cake design onto the inside of the card.
Step 5: Decorate That Cake Card!
Trim the edges if you need to. Then, it’s time to decorate the inside and outside of your card before sending it off!
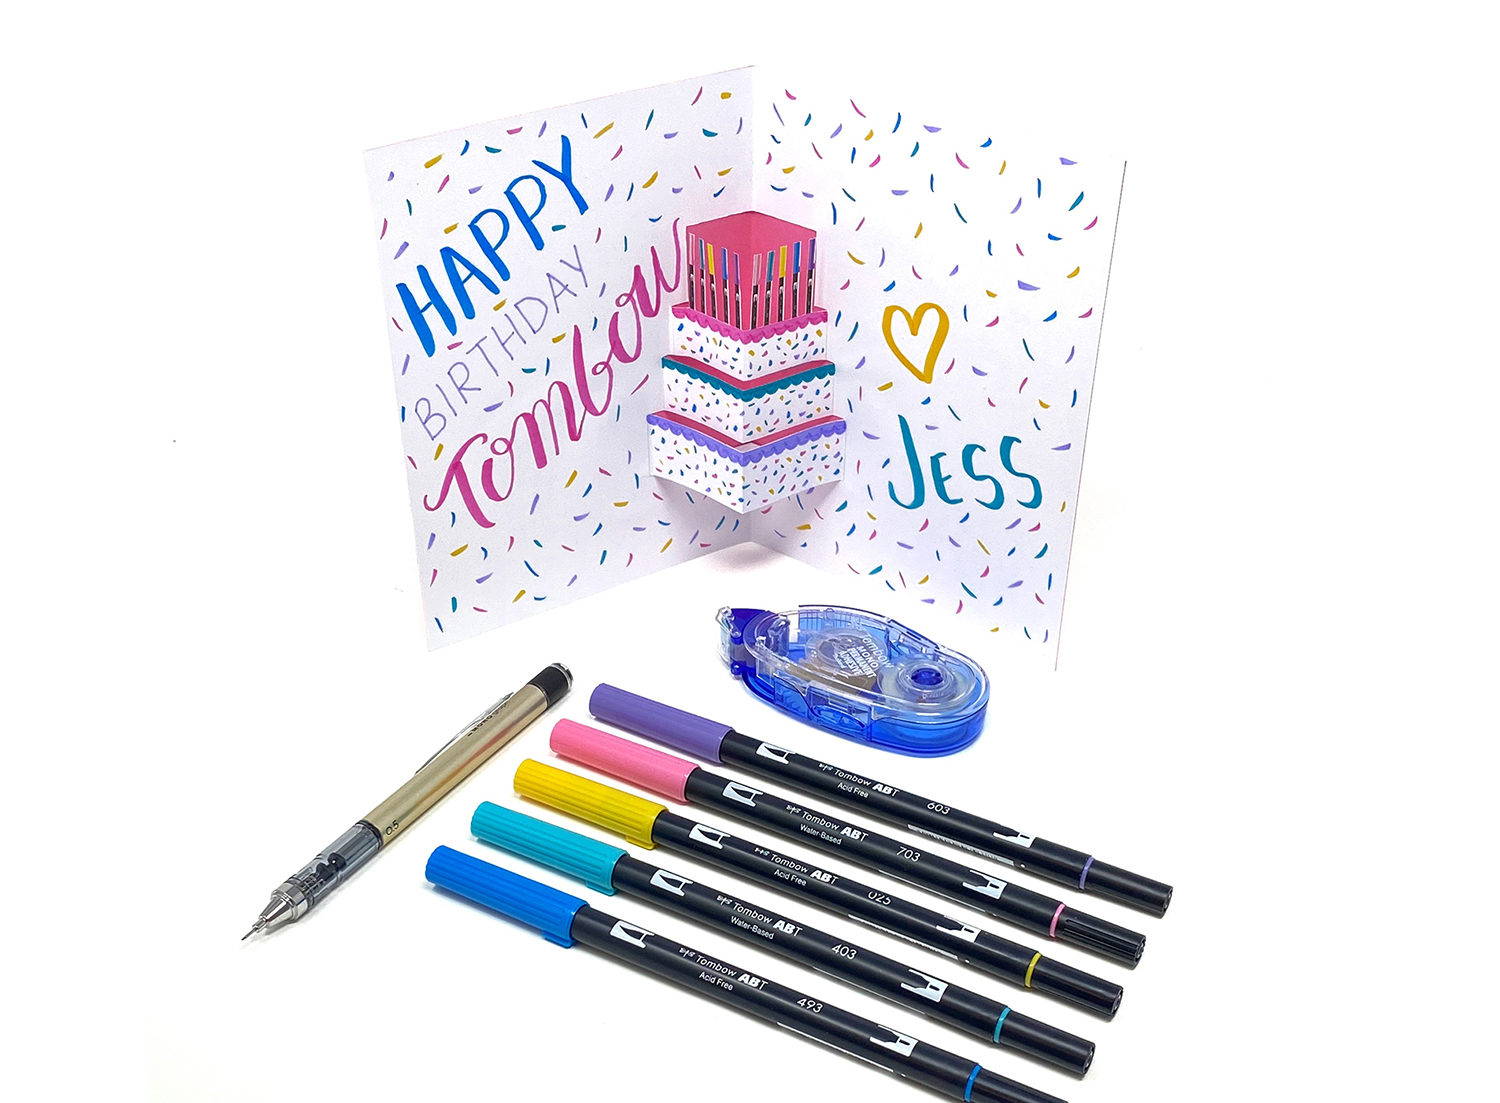
We’d love to see your pop-up cards, so tag @TombowUSA and @BrownPaperBunny on social media! If you’re looking for more birthday card designs, take a look at this Easy Rainbow Birthday Card with Rainbow TwinTones.
Awesome blog! Thank you to sharing very important information with us.