Spring Banner with Rolled Flowers and Tombow Adhesive
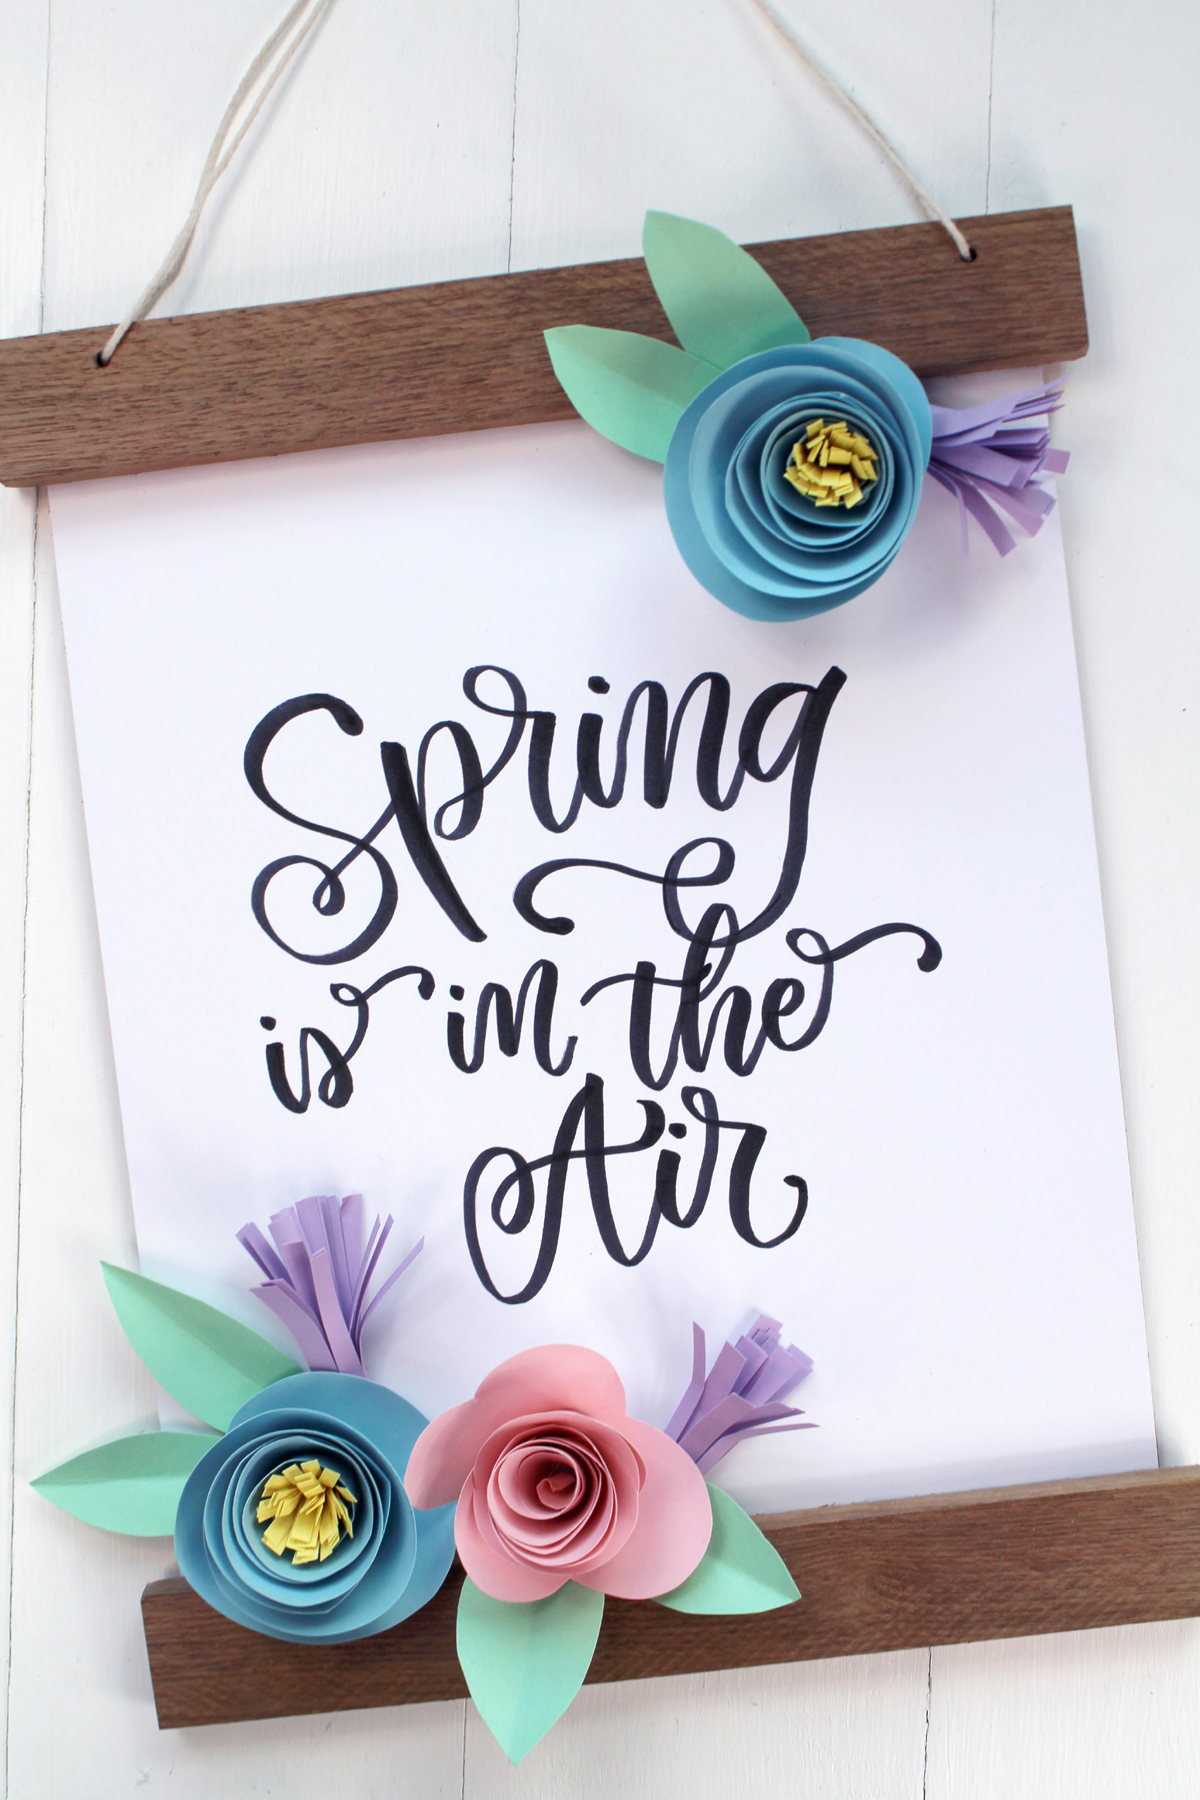
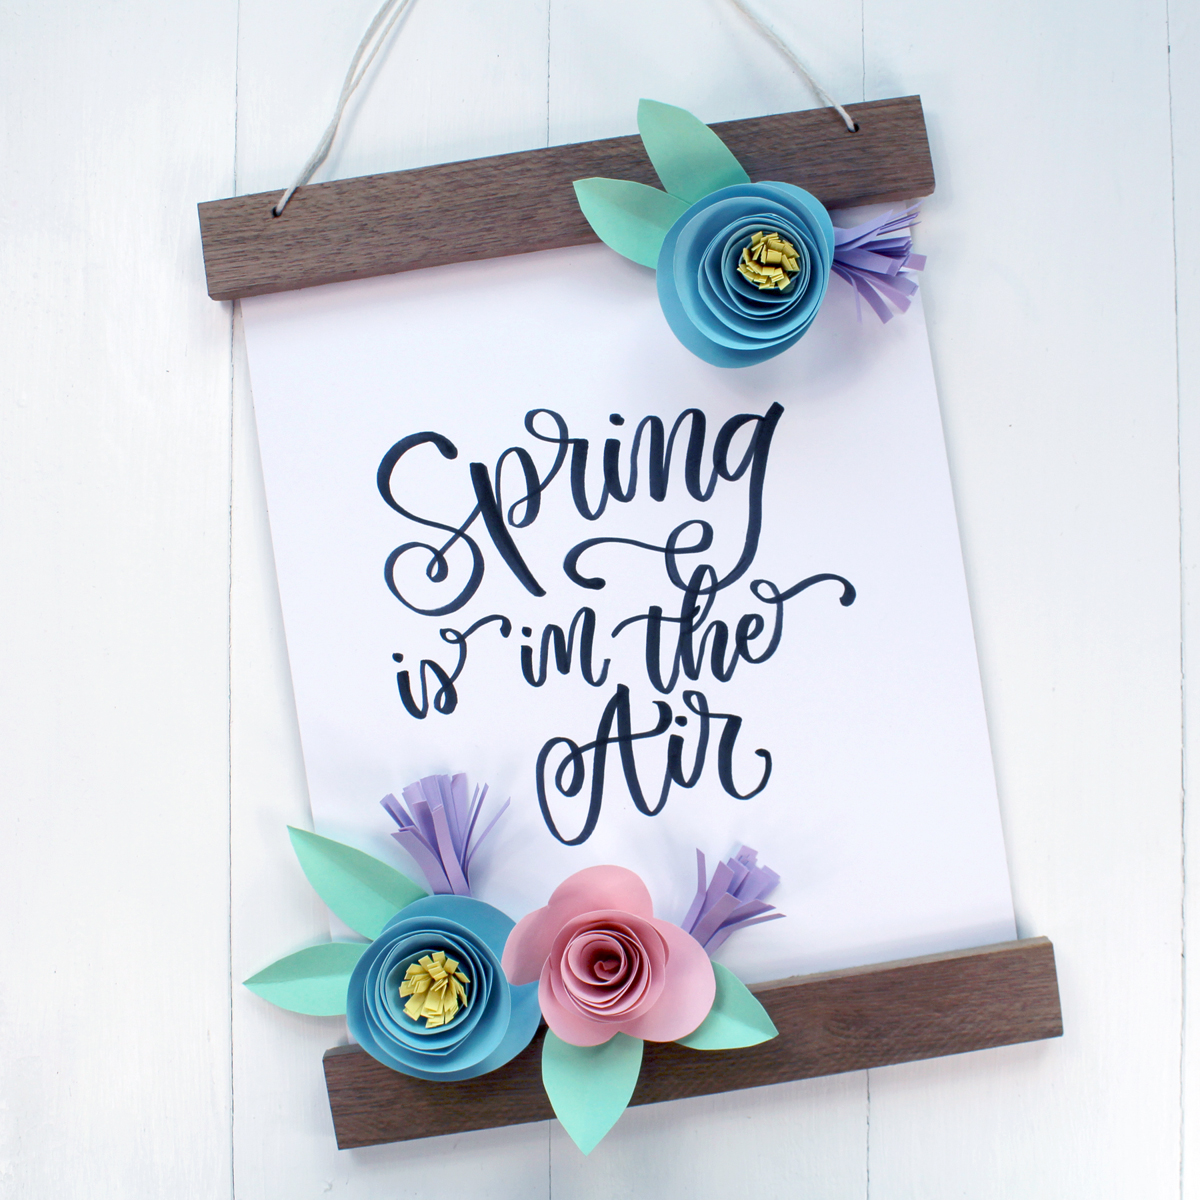
Make the perfect spring banner using Tombow Adhesives. Hi friends, it’s Natalie from Doodlecraft sharing a simple paper craft that is perfect for an afternoon inside. Hang it on the front door or in the window for your neighbors to see and brighten their day.
What is your life like right now? Things have not changed much for me…I homeschool my three kids and my husband is retired. I work from home, so it’s life as usual. We spent the last couple of weeks with upper respiratory infections and pneumonia, so our isolation began much sooner than others. I’ve had much more time for crafting.
When I start a new project, I like to look around my house and see what I can use that I already have. These rolled flowers could be made from a magazine or old book. The wooden slats could be made from wooden rulers or layers of thick cardboard. Get creative and make a spring banner to brighten the day of all who see it.
Learn more about Tombow Adhesives in this Youtube video
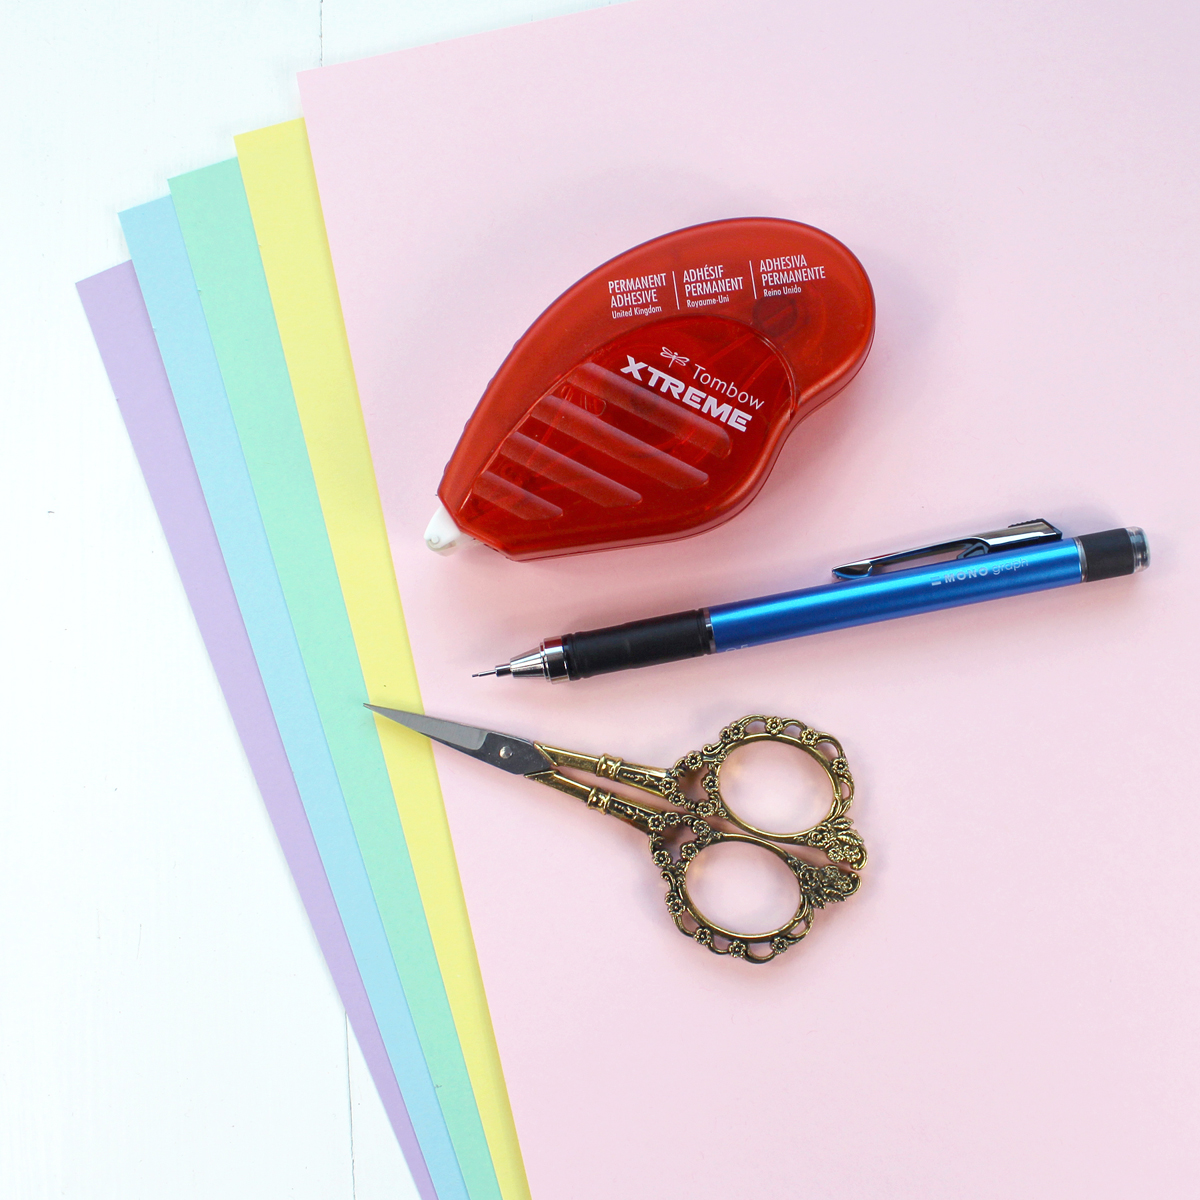
Supplies Needed for Spring Banner:
- Tombow Adhesive Dots
- Chipboard (or some thick cardboard)
- White cardstock
- Tombow MONO Multi XL Liquid Glue
- Colored cardstock
- Tombow Xtreme Adhesive Roller
- Bakers twine
- Wood molding strips
- Tombow Dual Brush Pen (in black)
- Tombow Mechanical Pencil
- Scissors
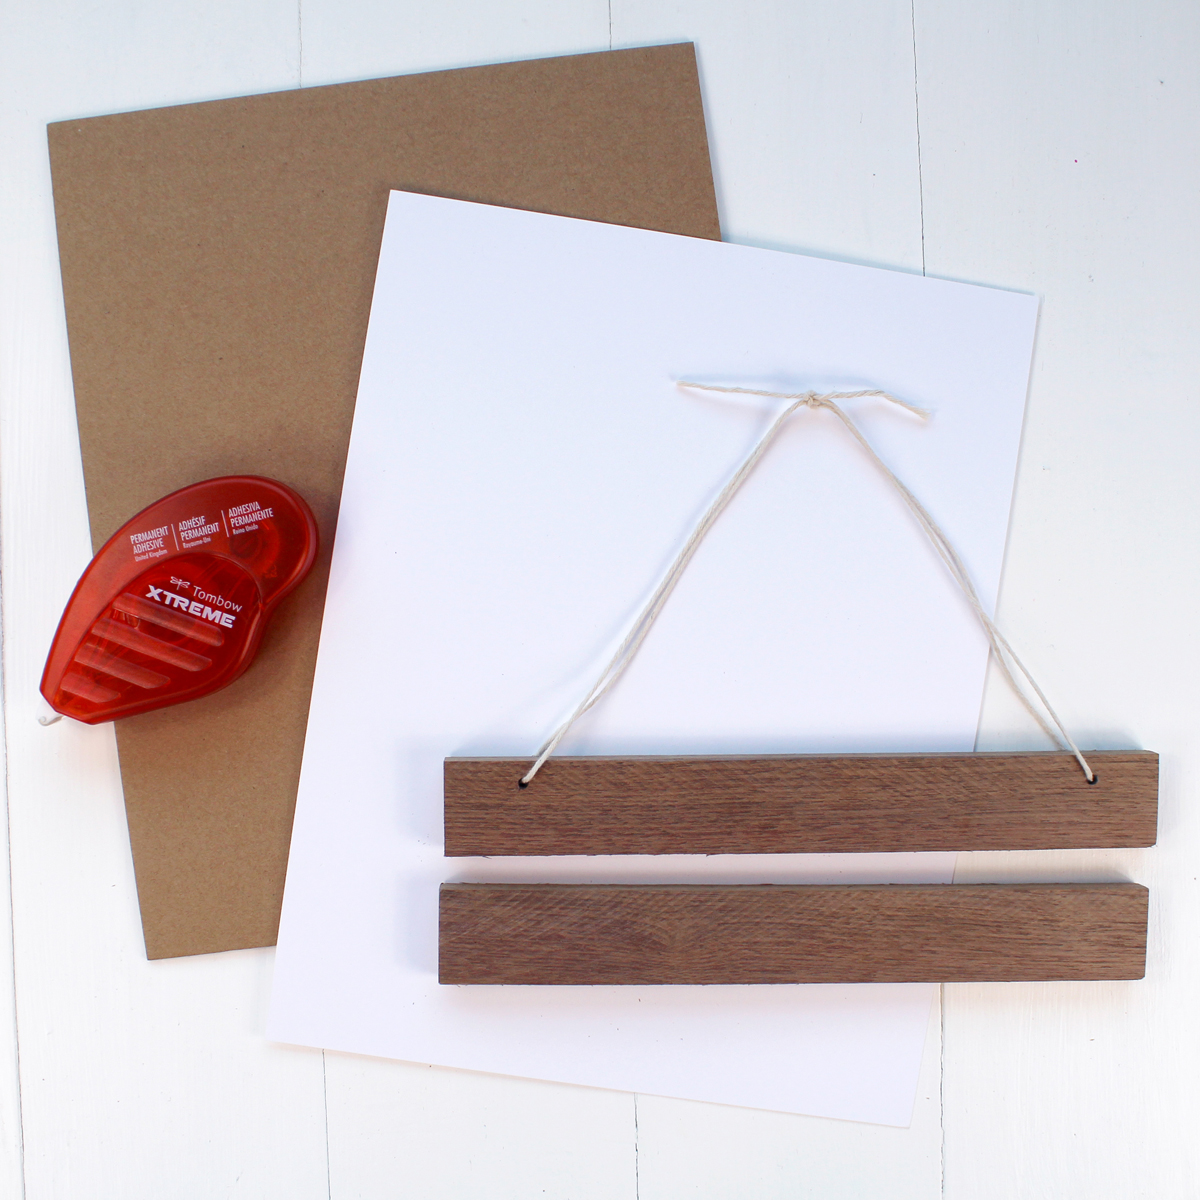
Step 1: Make the Banner
Begin by rolling the Tombow Xtreme Adhesive around the edge of the chipboard. Look around your house and see what you have that you can use…maybe a cereal box.
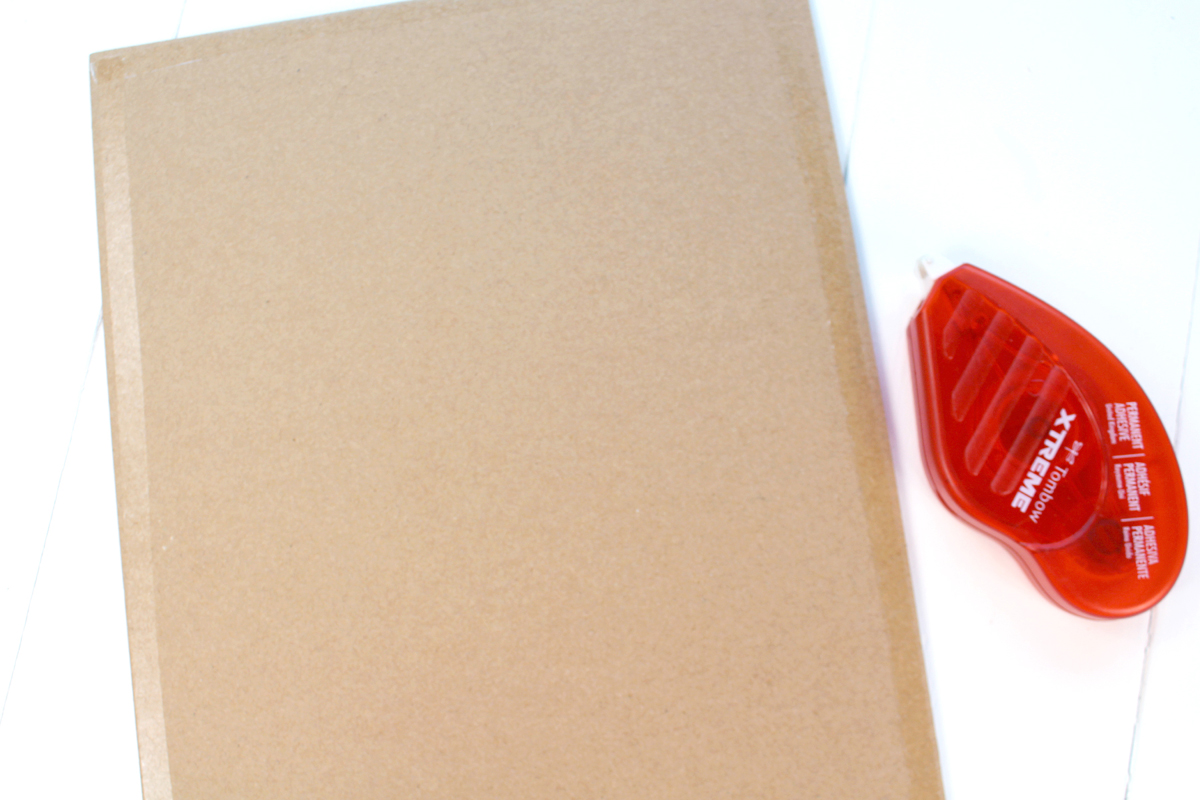
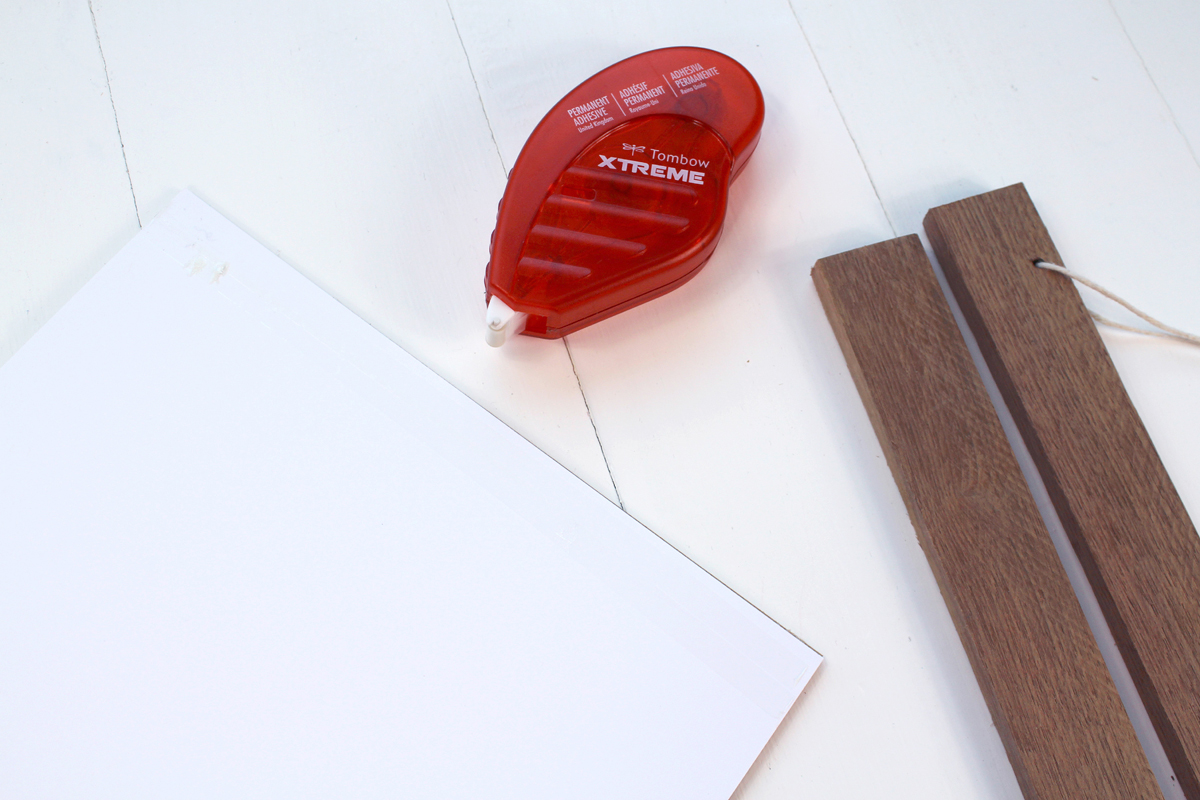
Then, place the white cardstock on the chipboard. Next run some adhesive across the top and the bottom edge of the cardstock and press the wood strips onto the tape. I had this wood in my scrap pile, so I didn’t even need to leave my house for this project. Look around and see what you have to work with…maybe some old wooden rulers.
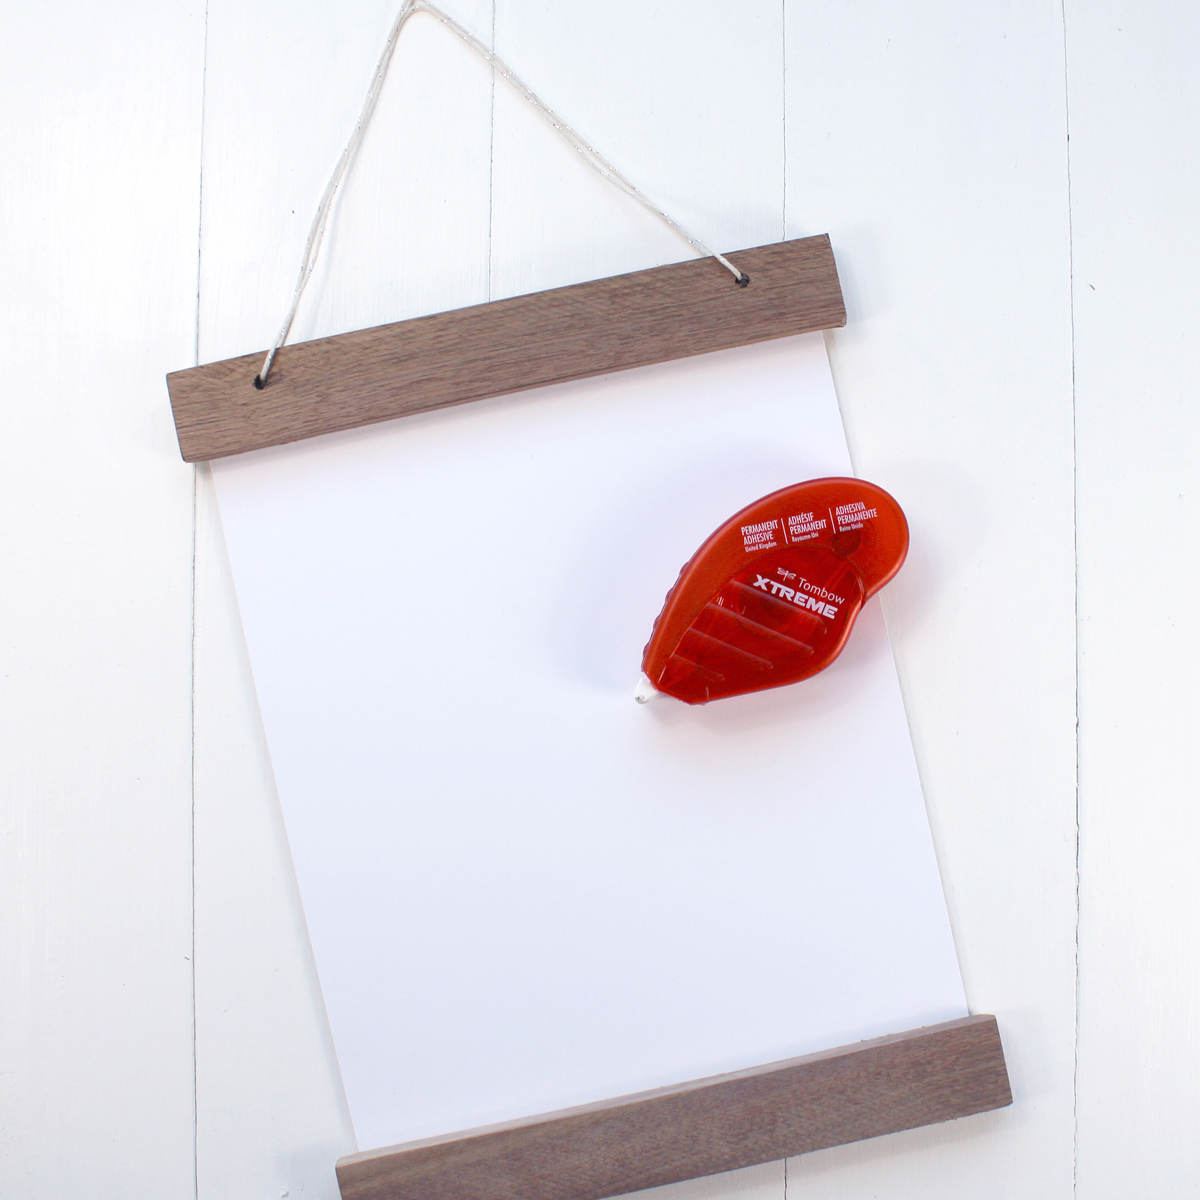
Now the banner is made. The Tombow Xtreme Adhesive is phenomenal for its sticking power. Add some hand lettering to the banner. I added, “Spring is in the Air.” If you want to improve your hand lettering, Tombow has an excellent workshop to take. You can get some Hand Lettering tips from this post too.
Step 2: Rolled Paper Flowers
Use the MONO Graph Mechanical Pencil to draw a spiral shape on the pastel cardstock. Make it about six inches in width. This design is for a scalloped edge flower.
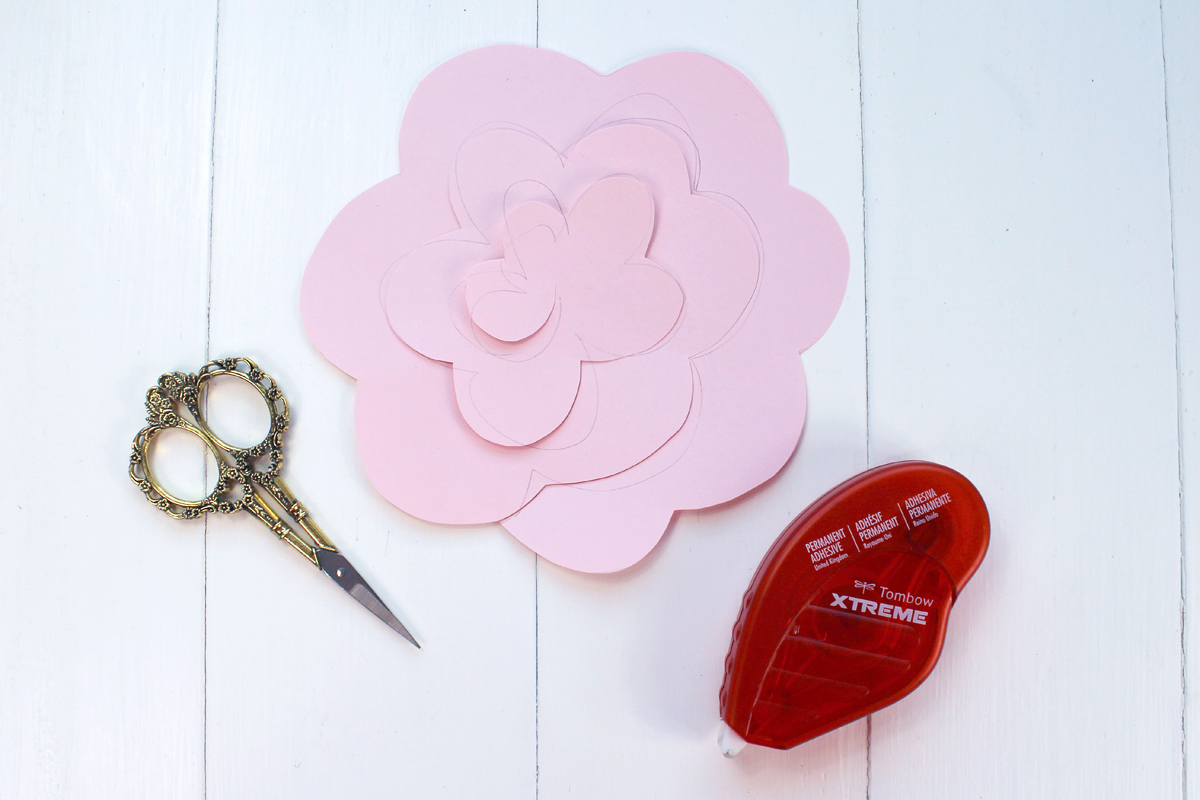
Then, tape the edge and begin rolling from the outside into the center.
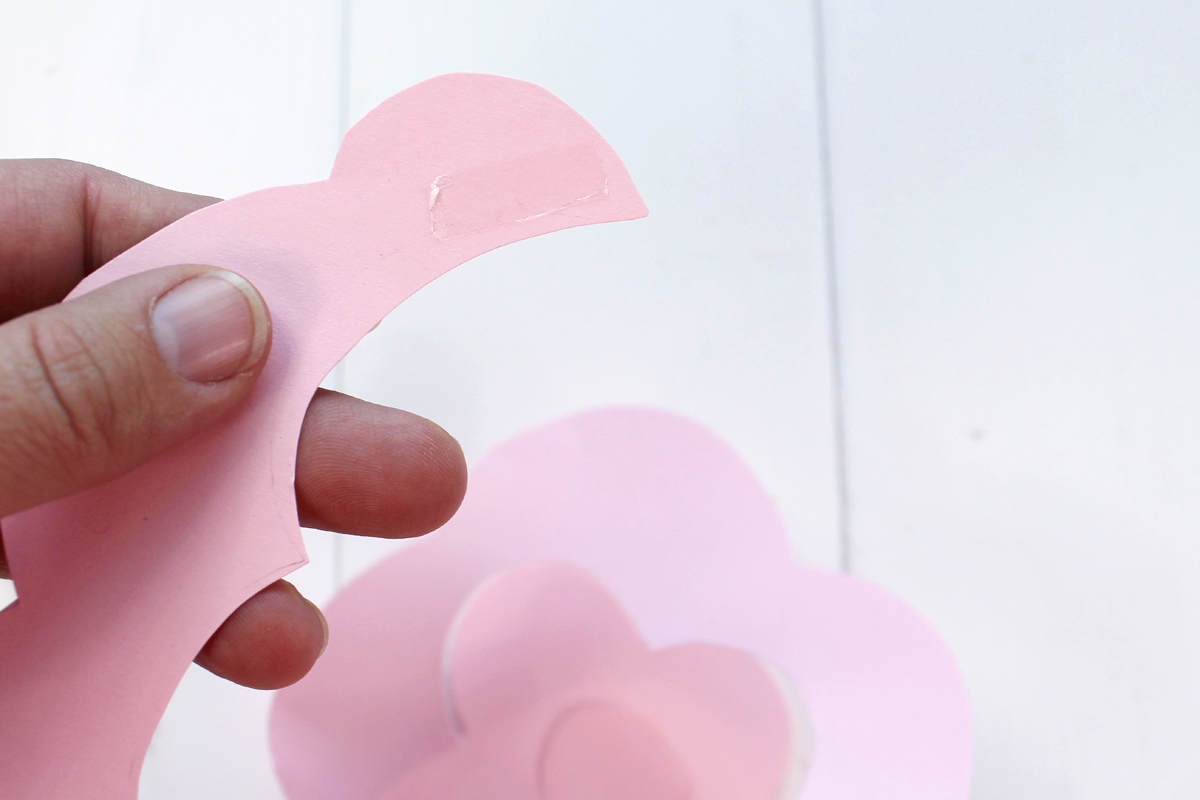
Once at the center, apply more Tombow Xtreme Adhesive or Tombow Adhesive Dots and press the flower down onto the adhesive.
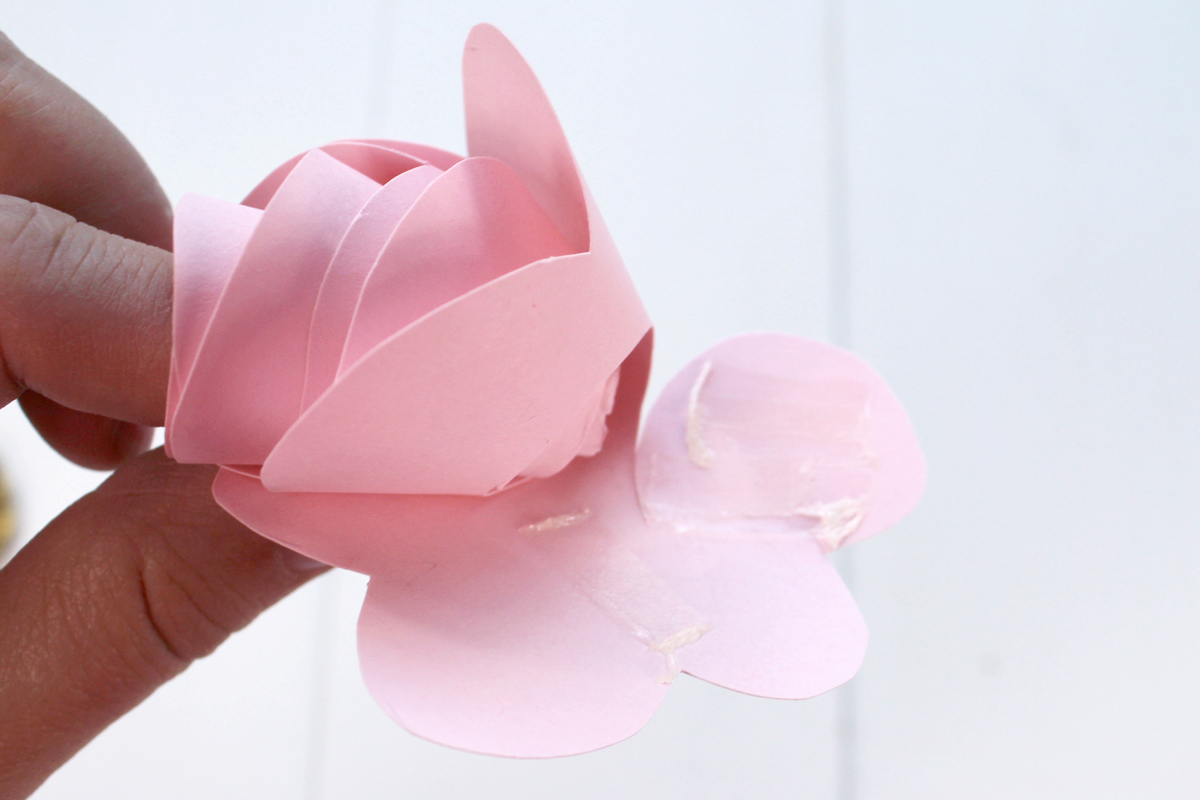
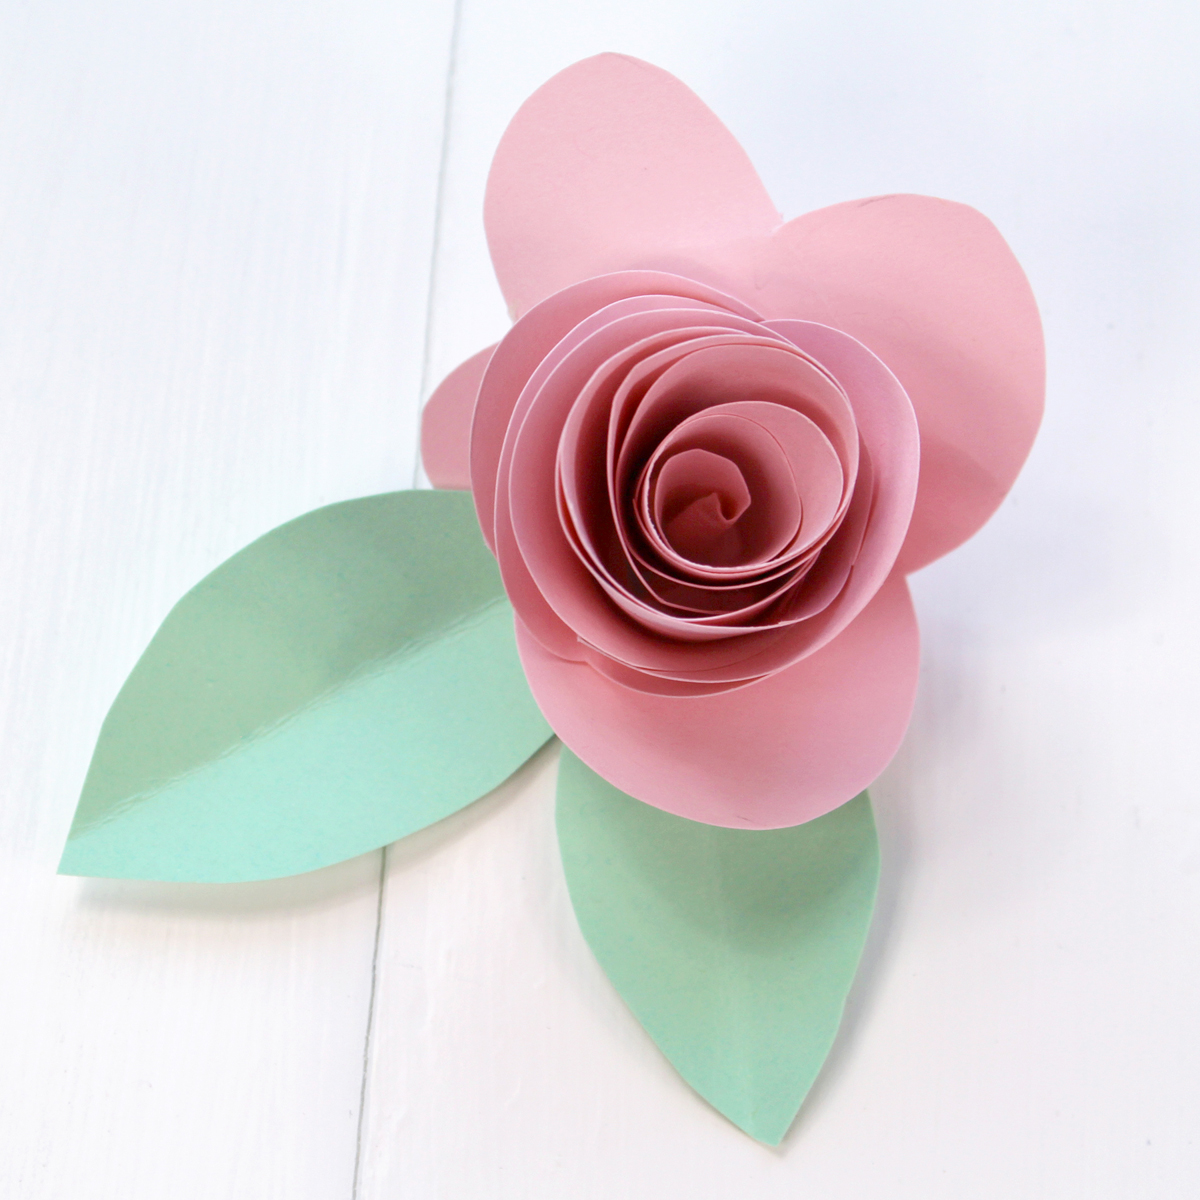
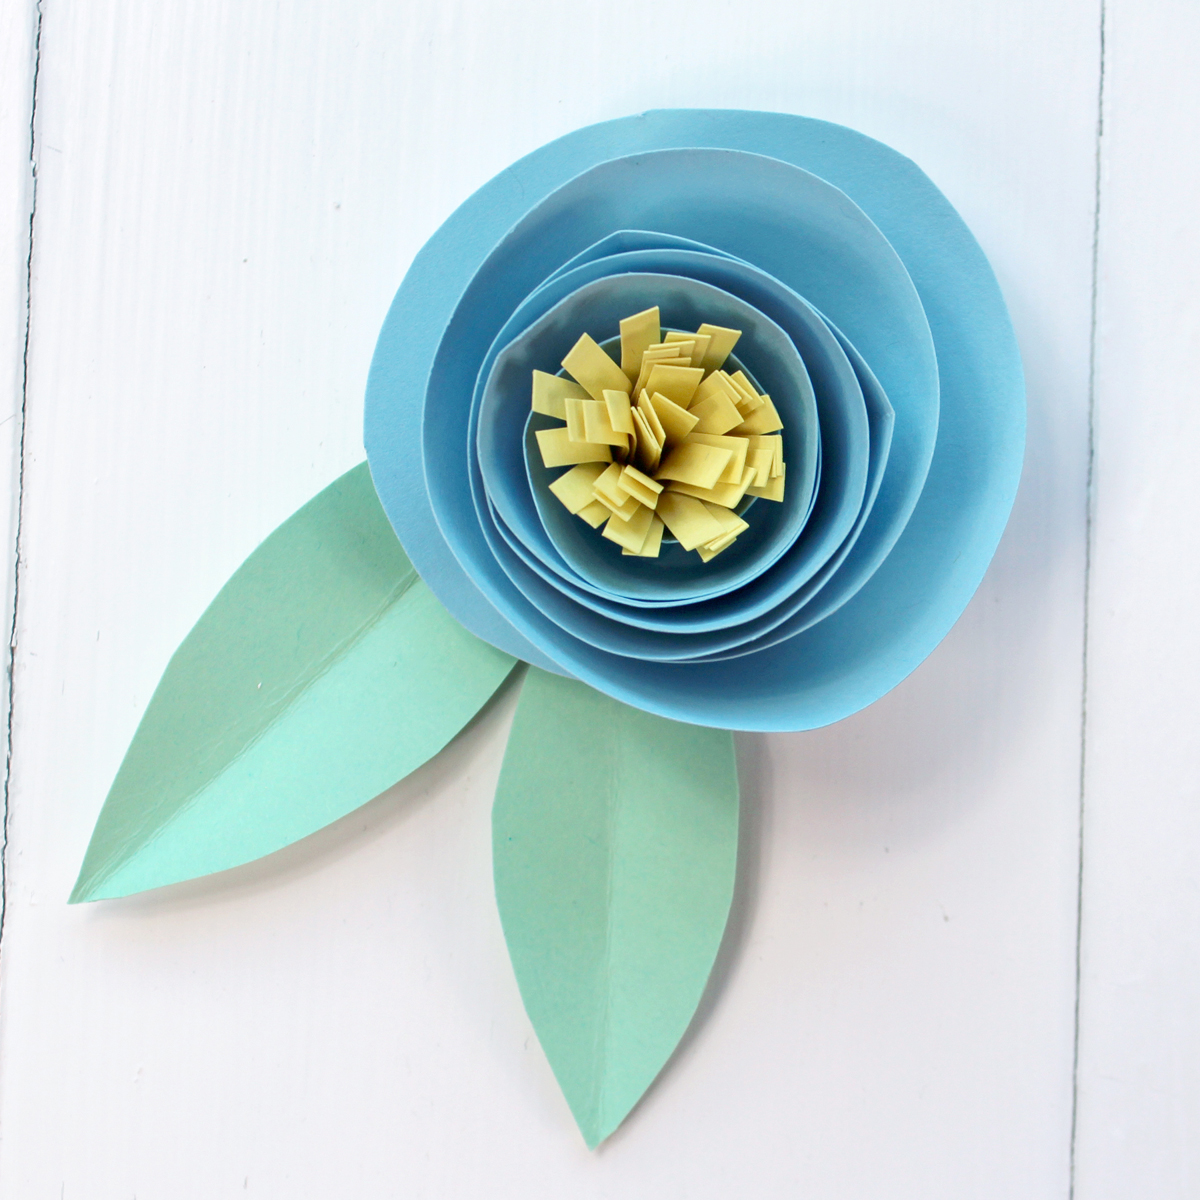
Add some leaves with a simple fold down the center and tape them to the flower.
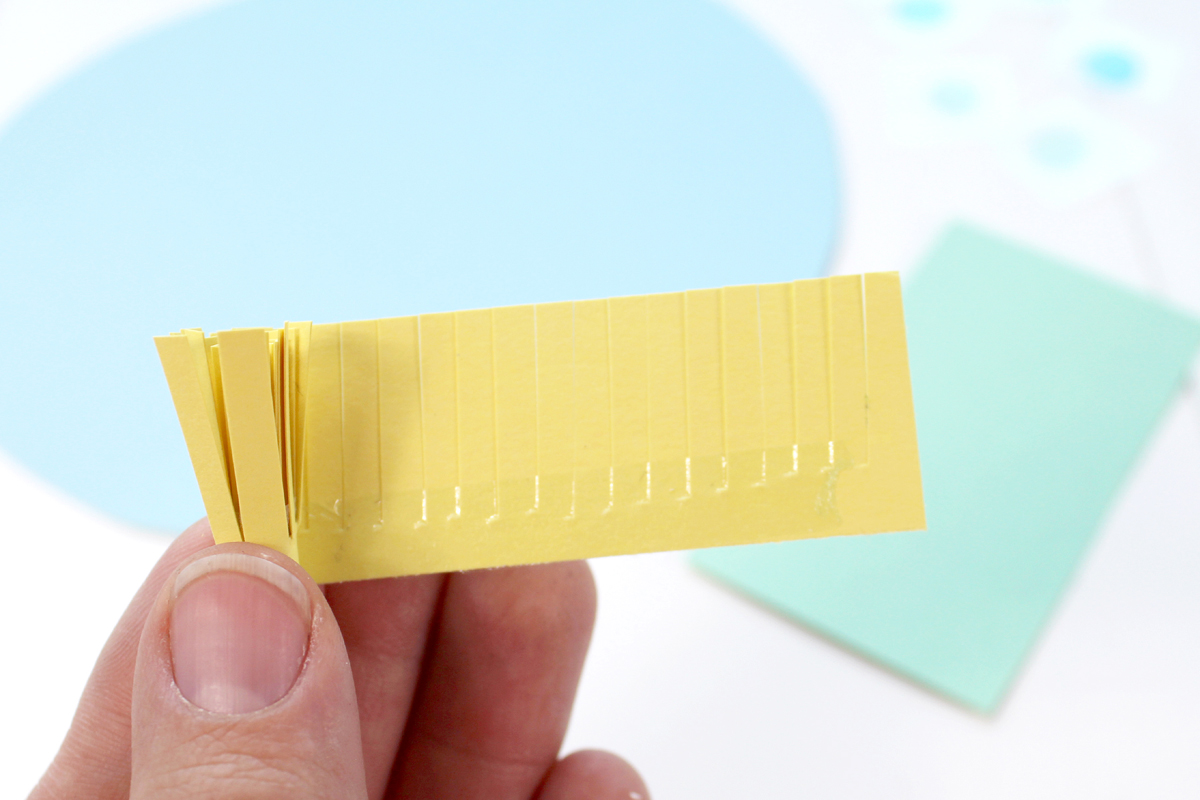
Make another flower using a strip of yellow paper with a fringe cut edge. Apply adhesive to the bottom edge and roll up the fringe.
Cut a spiral out of another color of paper.
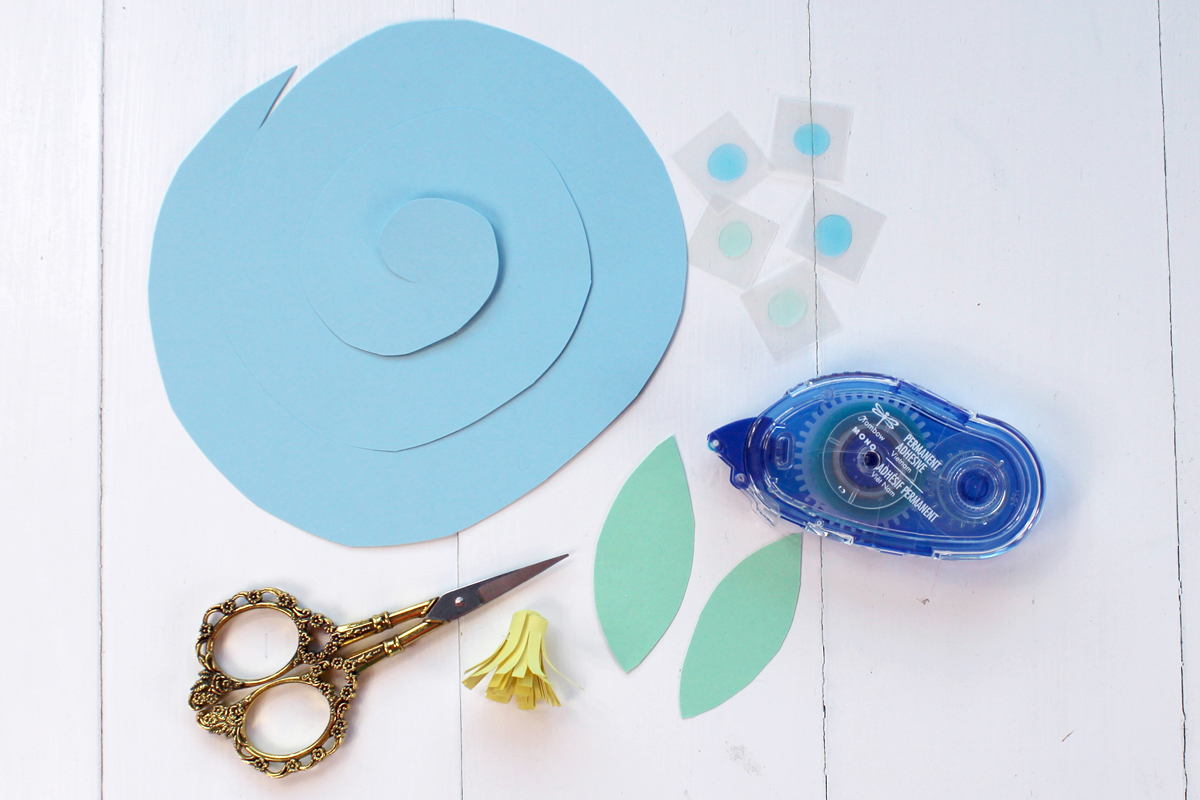
Repeat the rolling process by starting on the outside edge and working your way to the center of the flower. Press the flower down onto the Adhesive Dots.
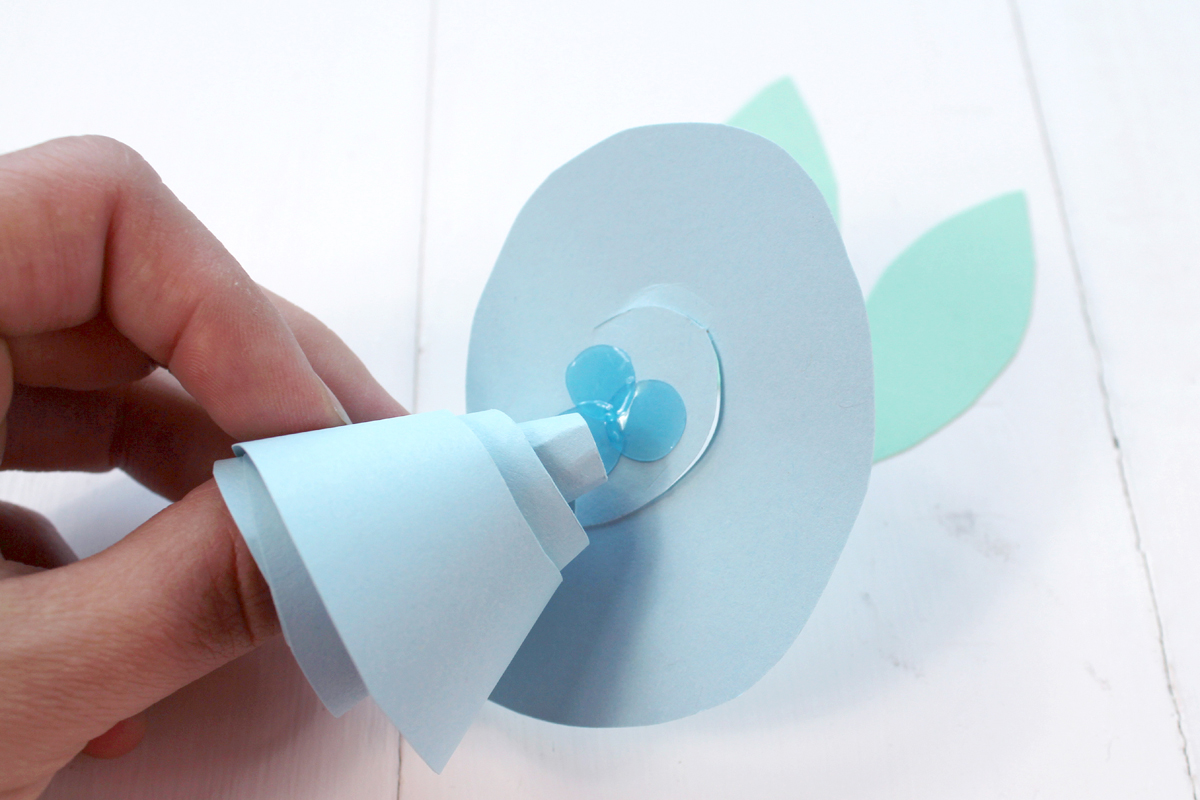
Again, add leaves to the flower.
To keep the flowers secure, drip some Tombow MONO Liquid Glue down inside the flower. The Tombow Xtreme Adhesive and Adhesive Dots will keep the flowers together in the short term, but the MONO Liquid Glue will ensure that they stay together in the long run.
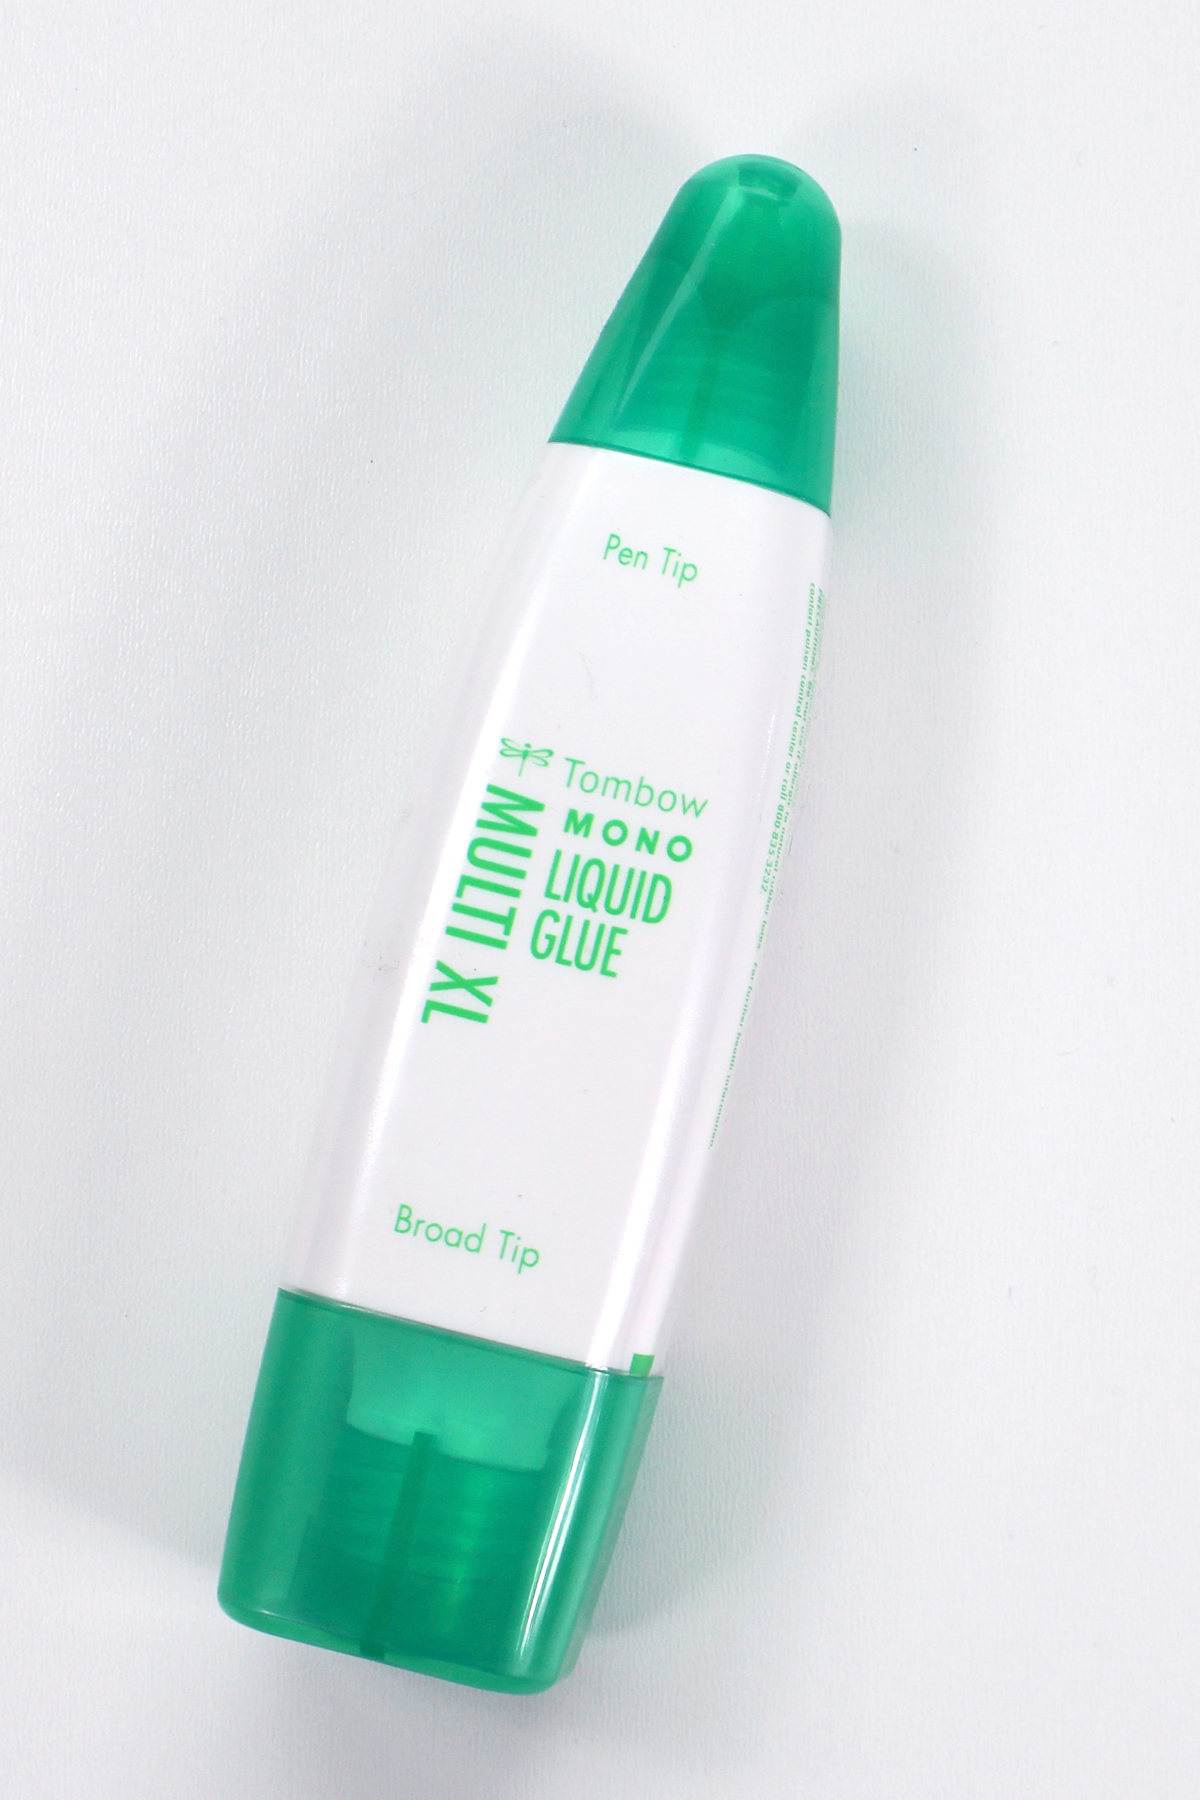
Let the glue dry completely. It may drip out of the bottom, so place the flowers on wax paper or a non stick surface while it dries.
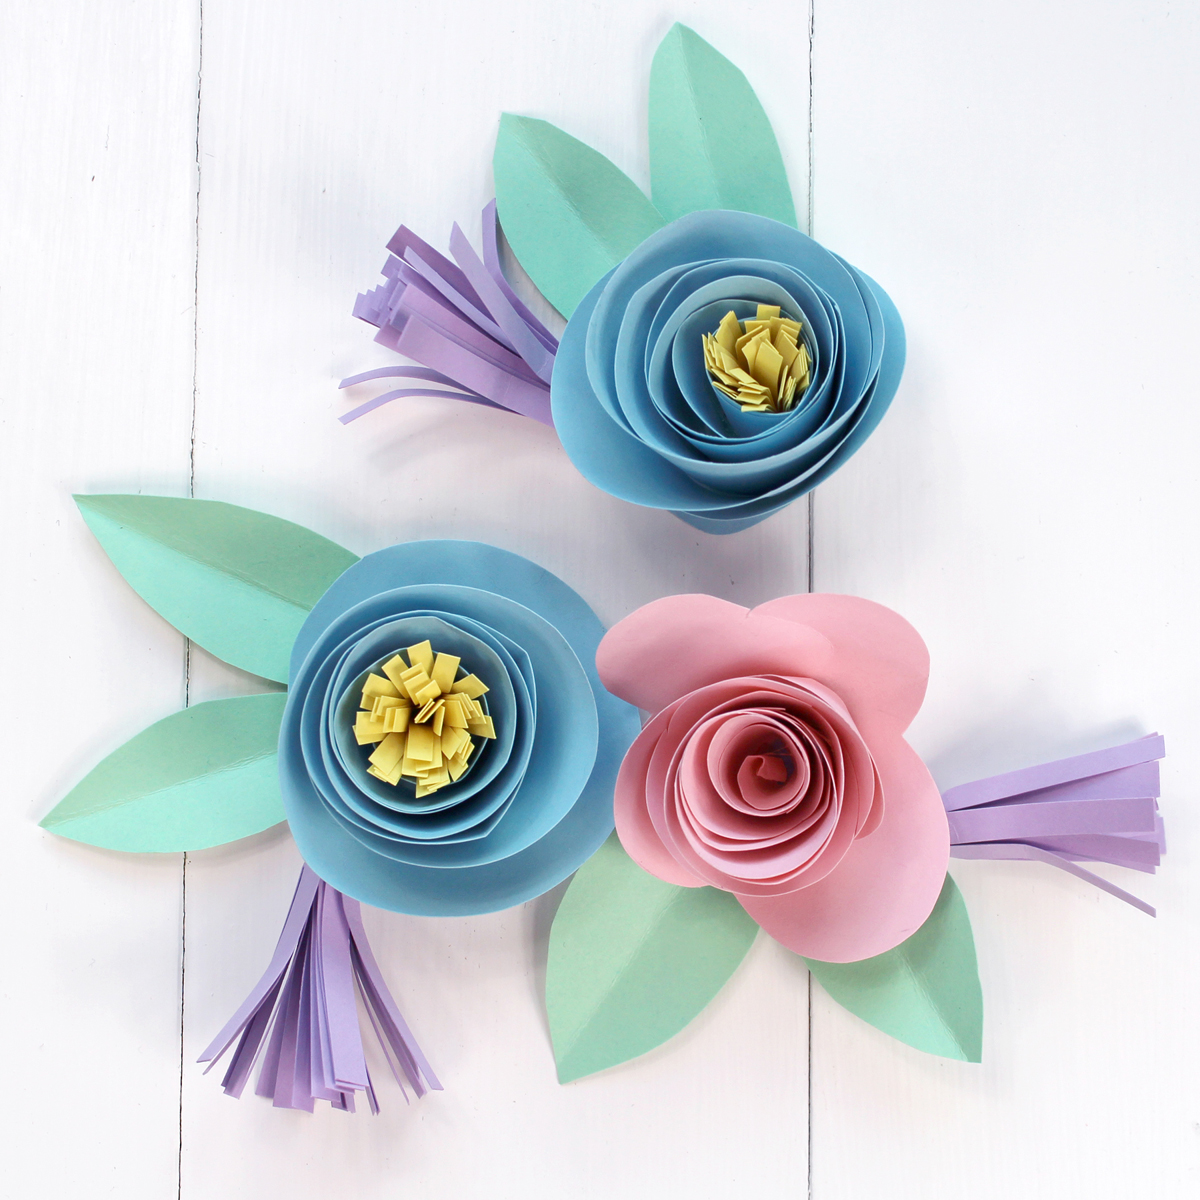
Now use the pencil to sketch the lettering on the banner and go over it with the black Dual Brush Pen. Let the ink dry and then erase the pencil lines. At last, use the MONO Liquid Glue to adhere the flowers on the spring banner. Let the adhesive dry and hang it up to brighten things for spring.
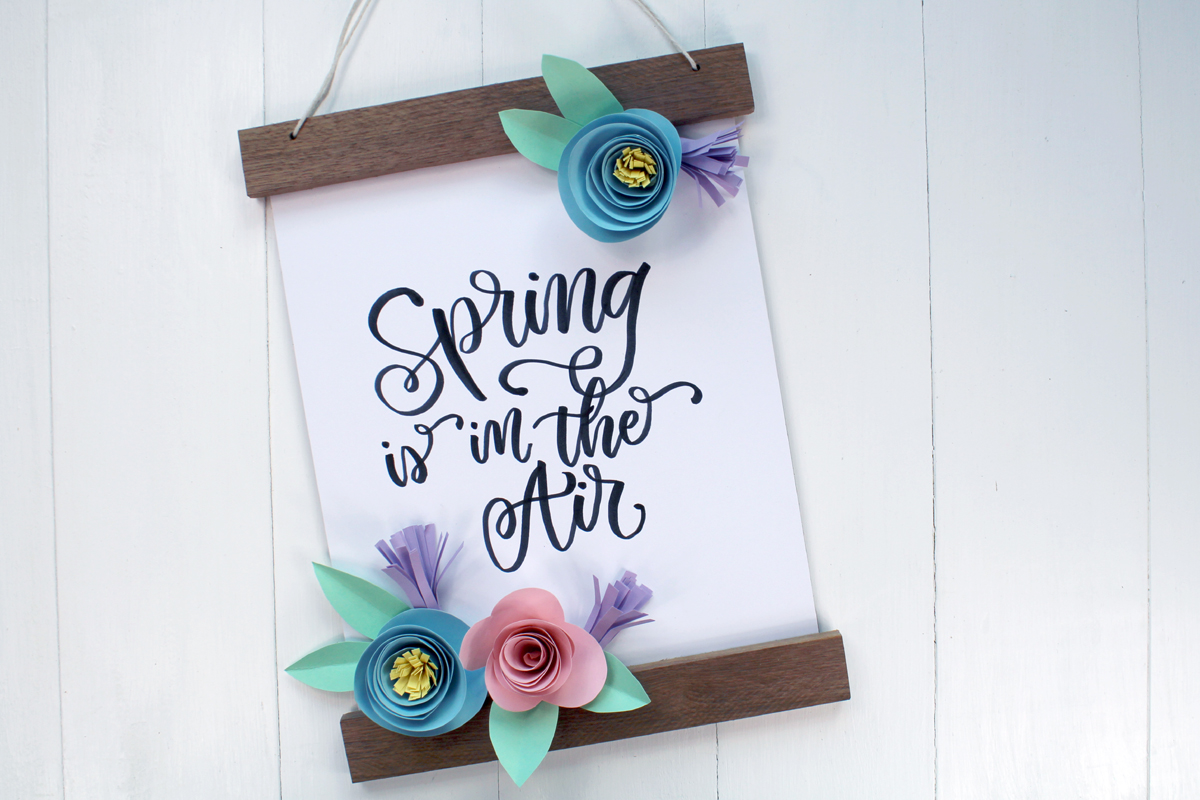
Spring is in the air!
Make a banner and share it on social media! Tag @doodlecraft, so I can see it and cheer you on!
