Hi everyone, it’s Mandy from @a_heartened_calling! Today, I’m showing you a fun craft project to do with your kids. It’s a cupcake liner caterpillar! This craft is so easy! Plus, it’s mess free thanks to Tombow’s Permanent Adhesive! Let’s gather our supplies and get started!
MATERIALS
- Tombow MONO Adhesive Permanent
- Tombow MONO Twin Permanent Marker
- Craft paper (I used Echo Park)
- Piece of cardstock
- Cupcake liners
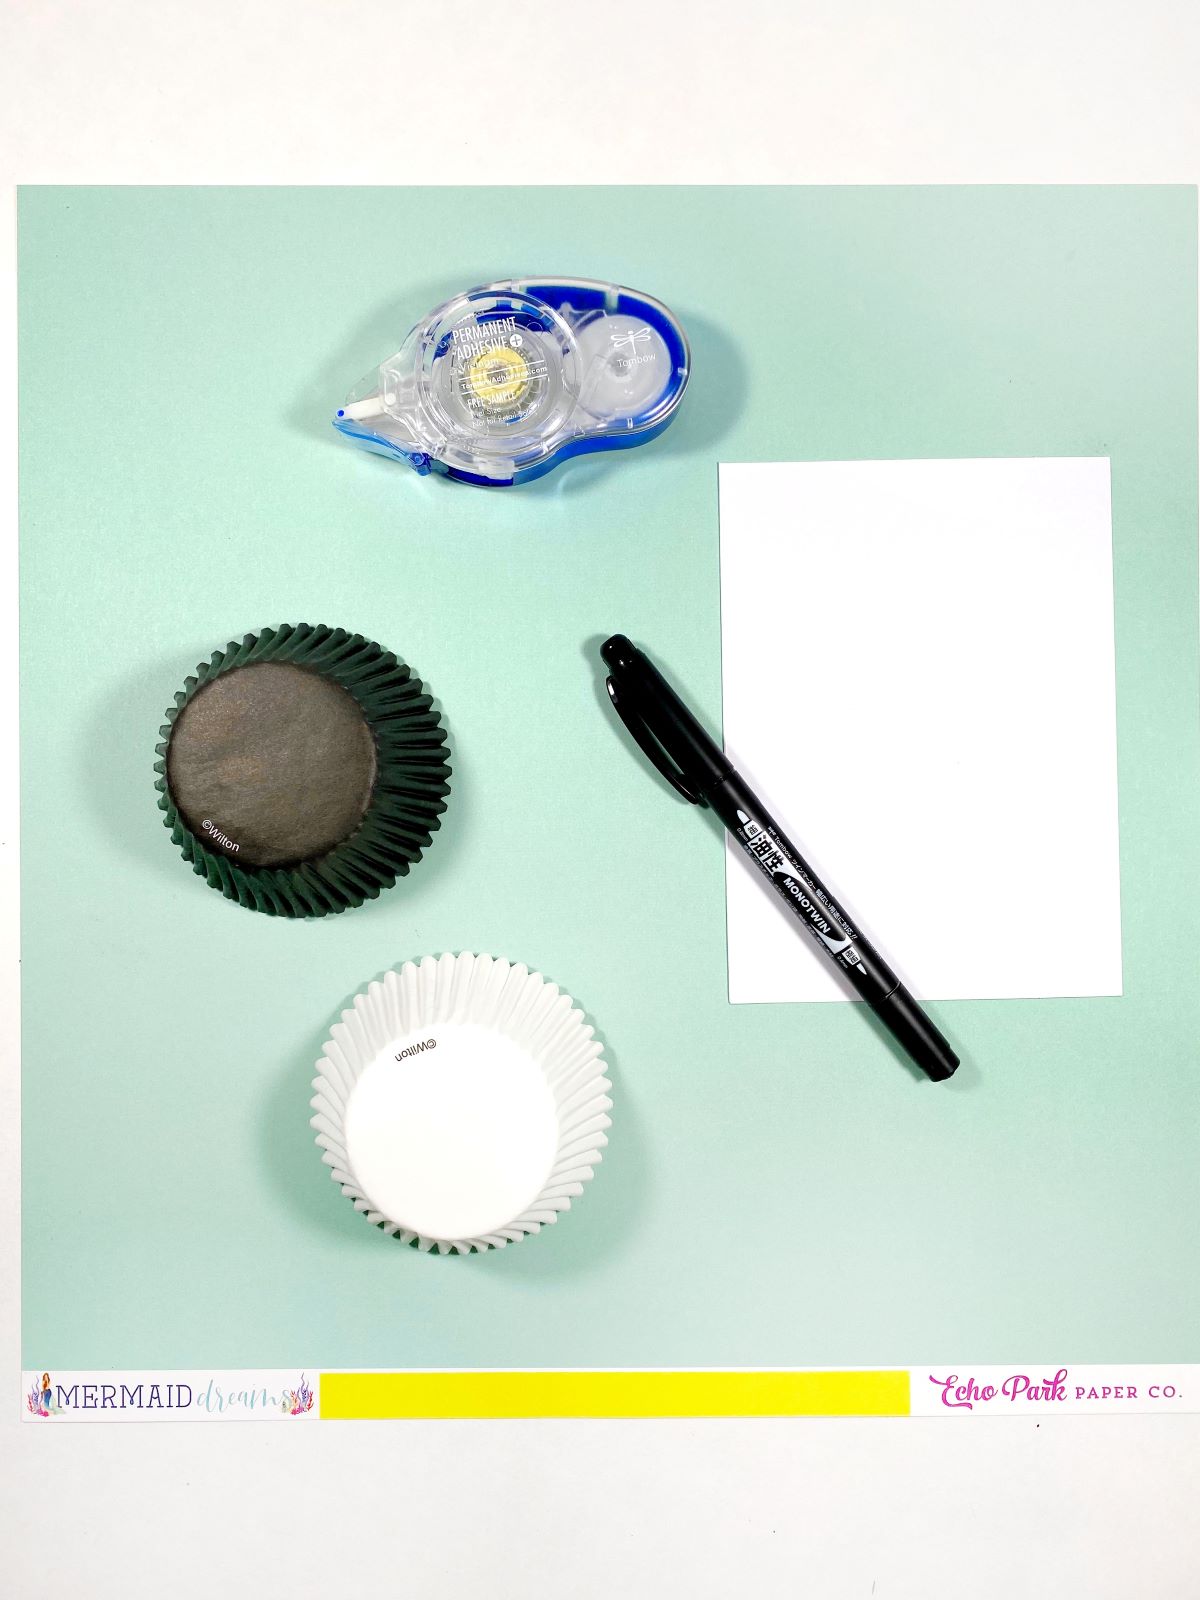
STEP 1 – Arrange Liners
Start by picking out a piece of craft paper for your background. I used a piece from Echo Park Paper that I thought would contrast well with the cupcake liners. Use whatever fun paper you have. If you don’t have any craft paper, just use a piece of printer paper! Next, start folding the cupcake liners in half and start arranging them on the paper in a caterpillar form. This gives you an idea of how many liners to fold.
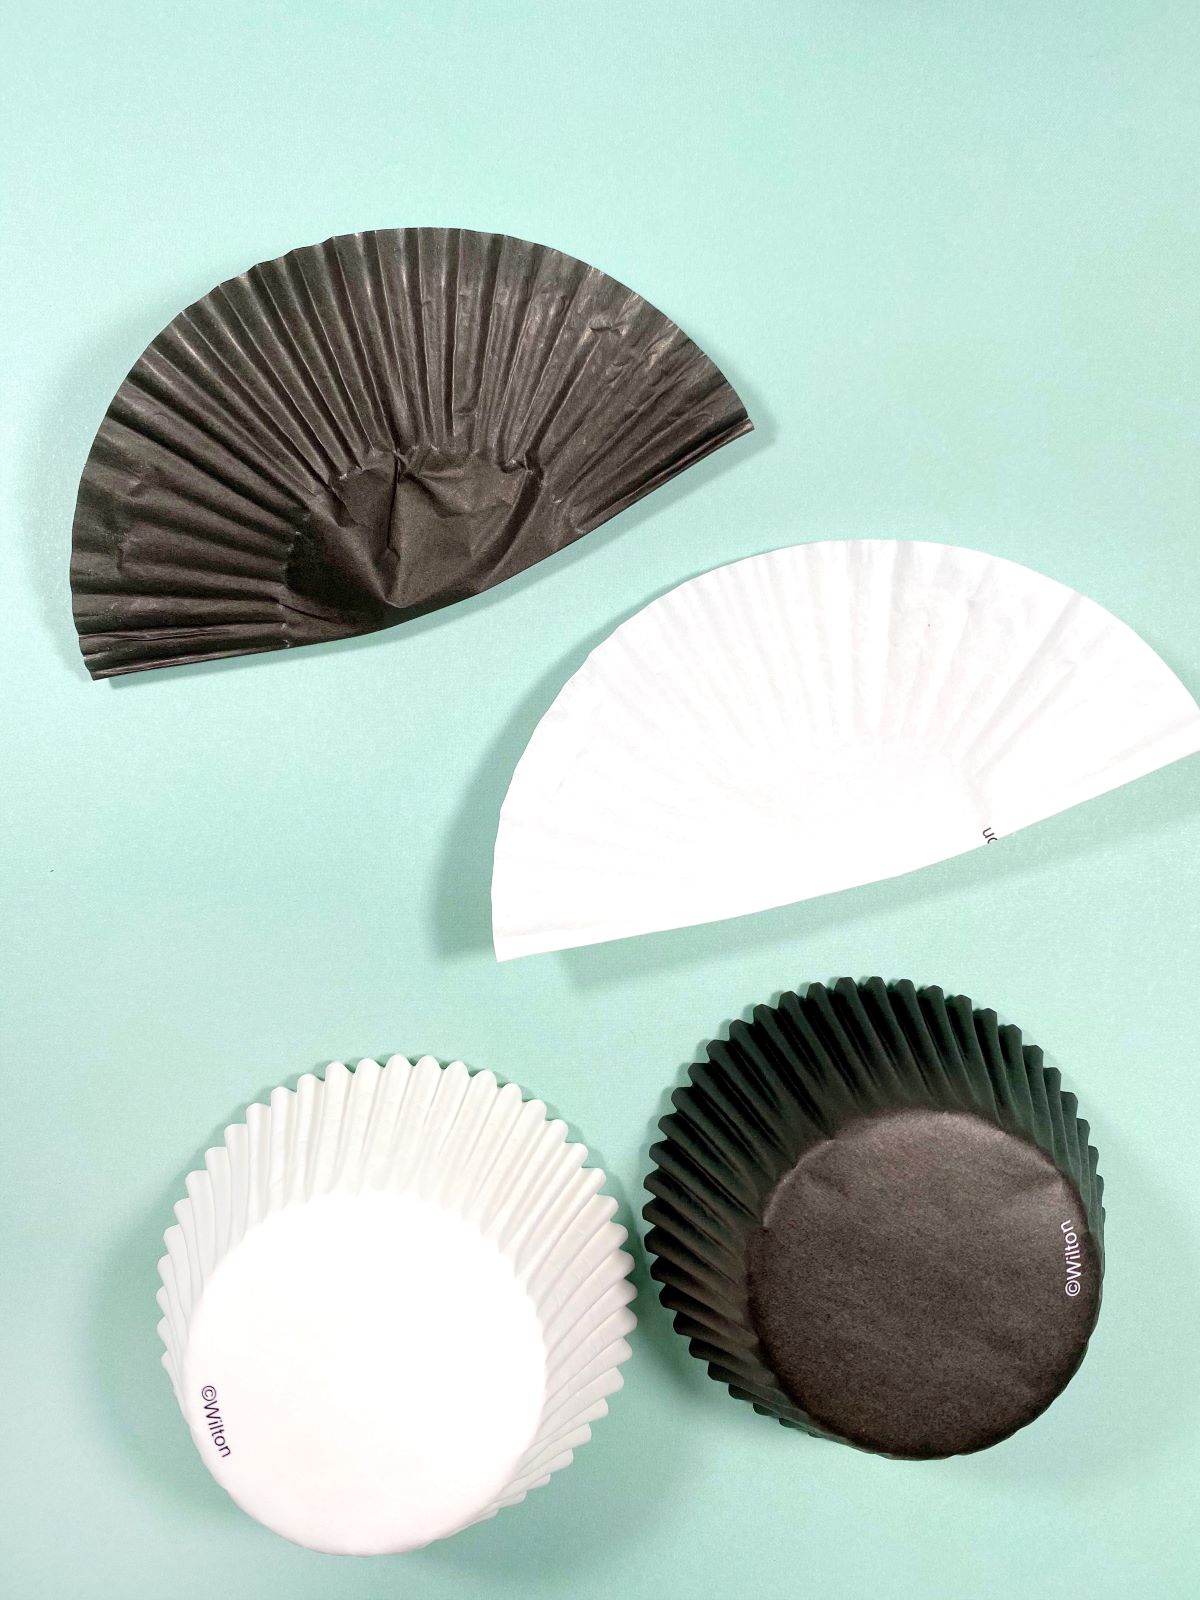
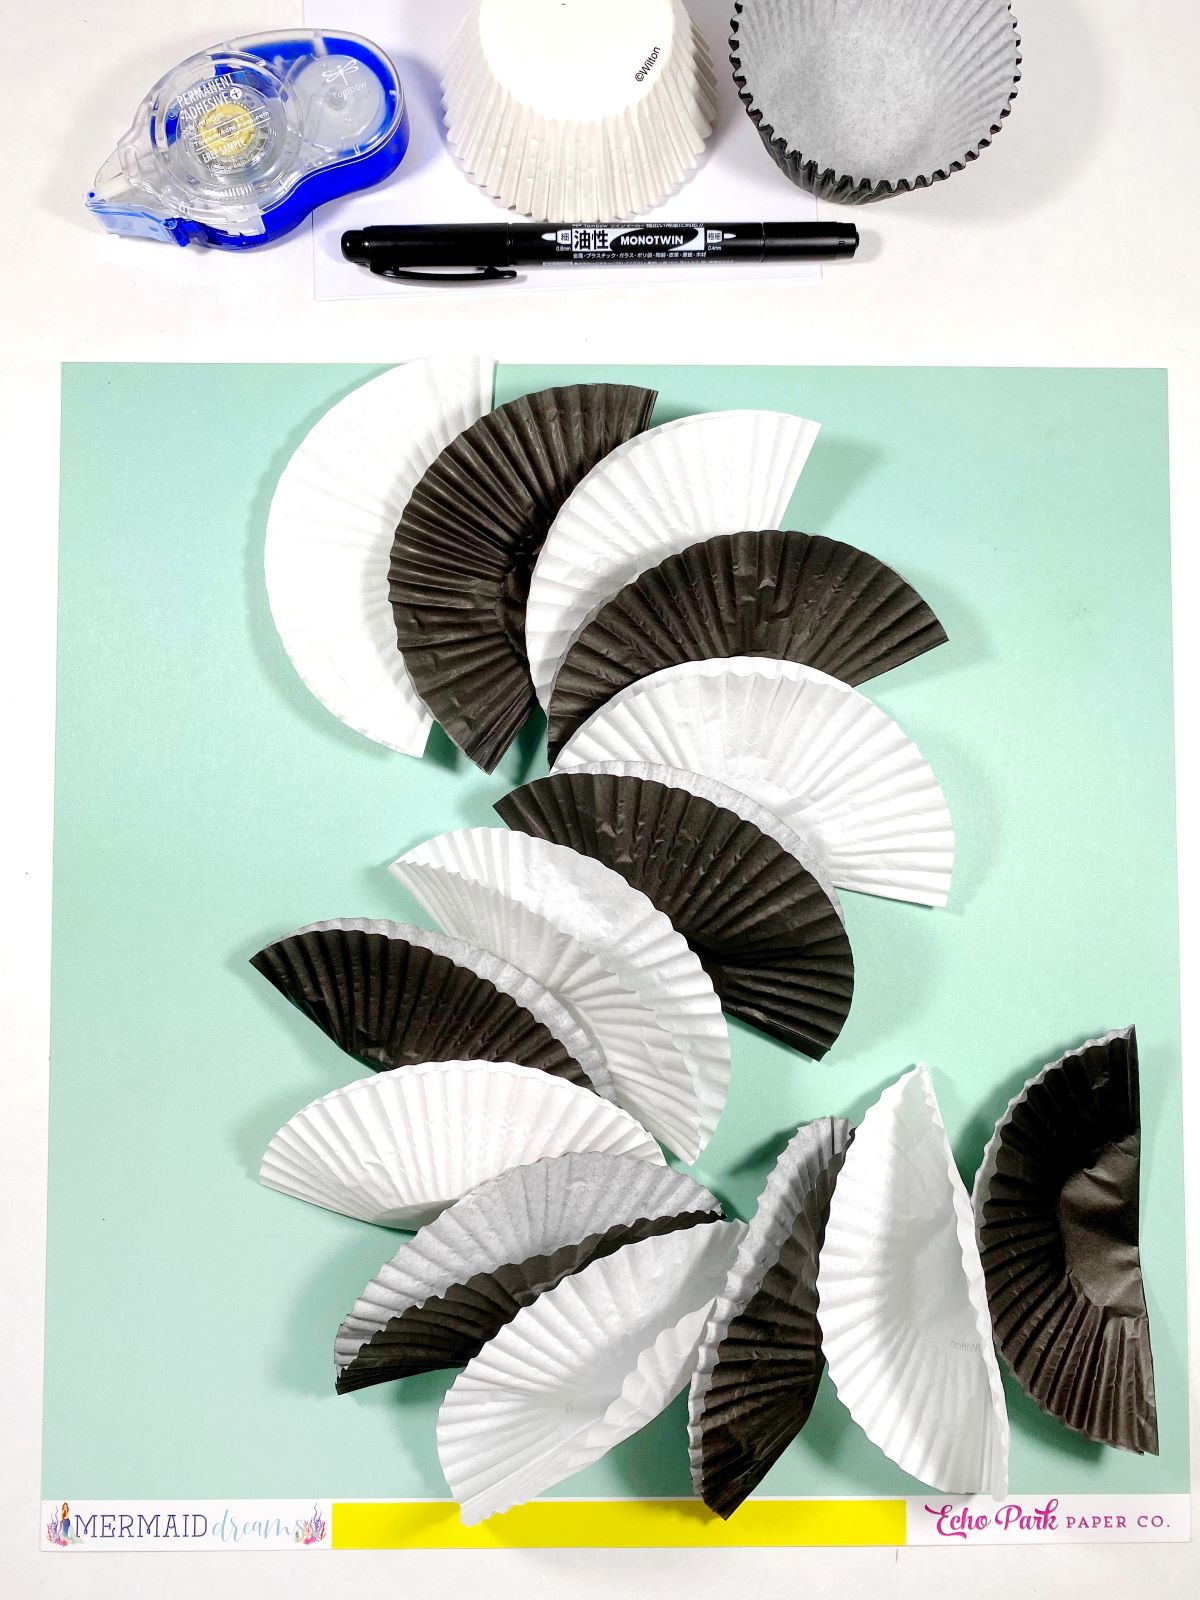
STEP 2 – Glue Liners
Using the MONO Adhesive Permanent, run a strip of glue inside the folded area to secure it shut.
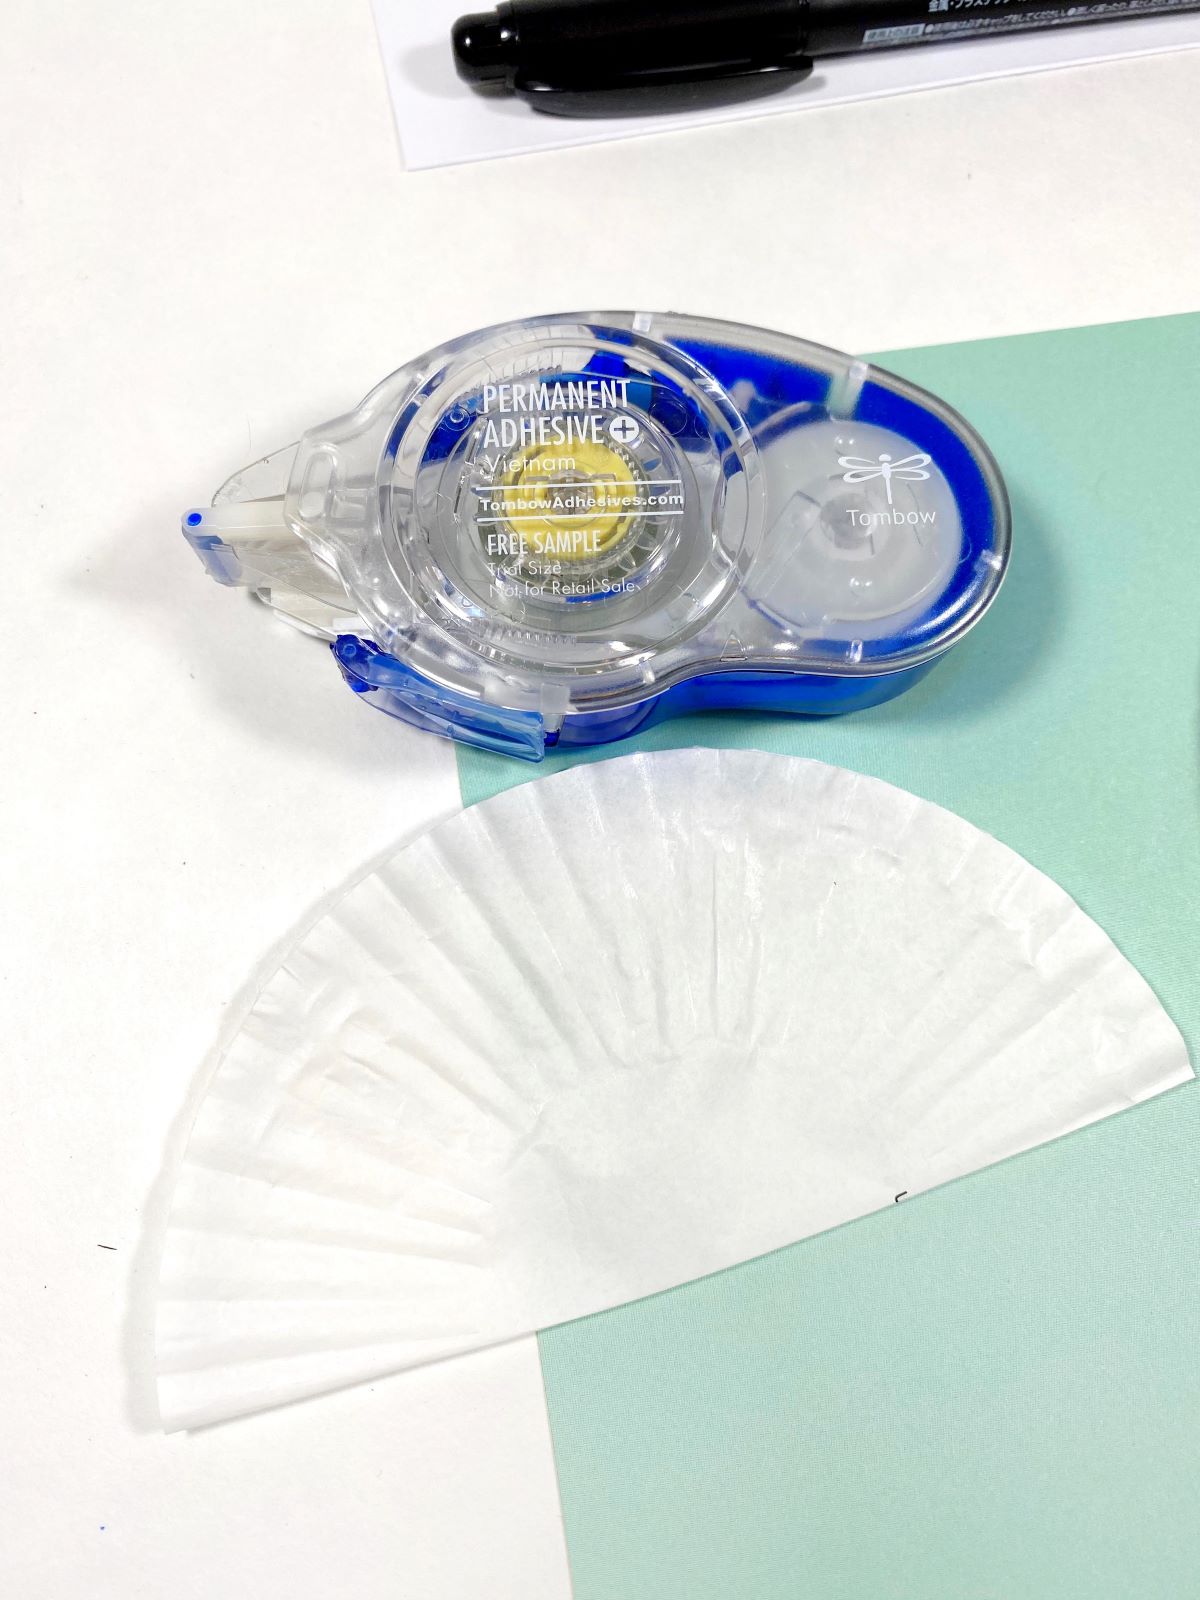
Then, run a strip of glue on the backside of the liner and adhere it to the paper starting at the top of the caterpillar’s head first.
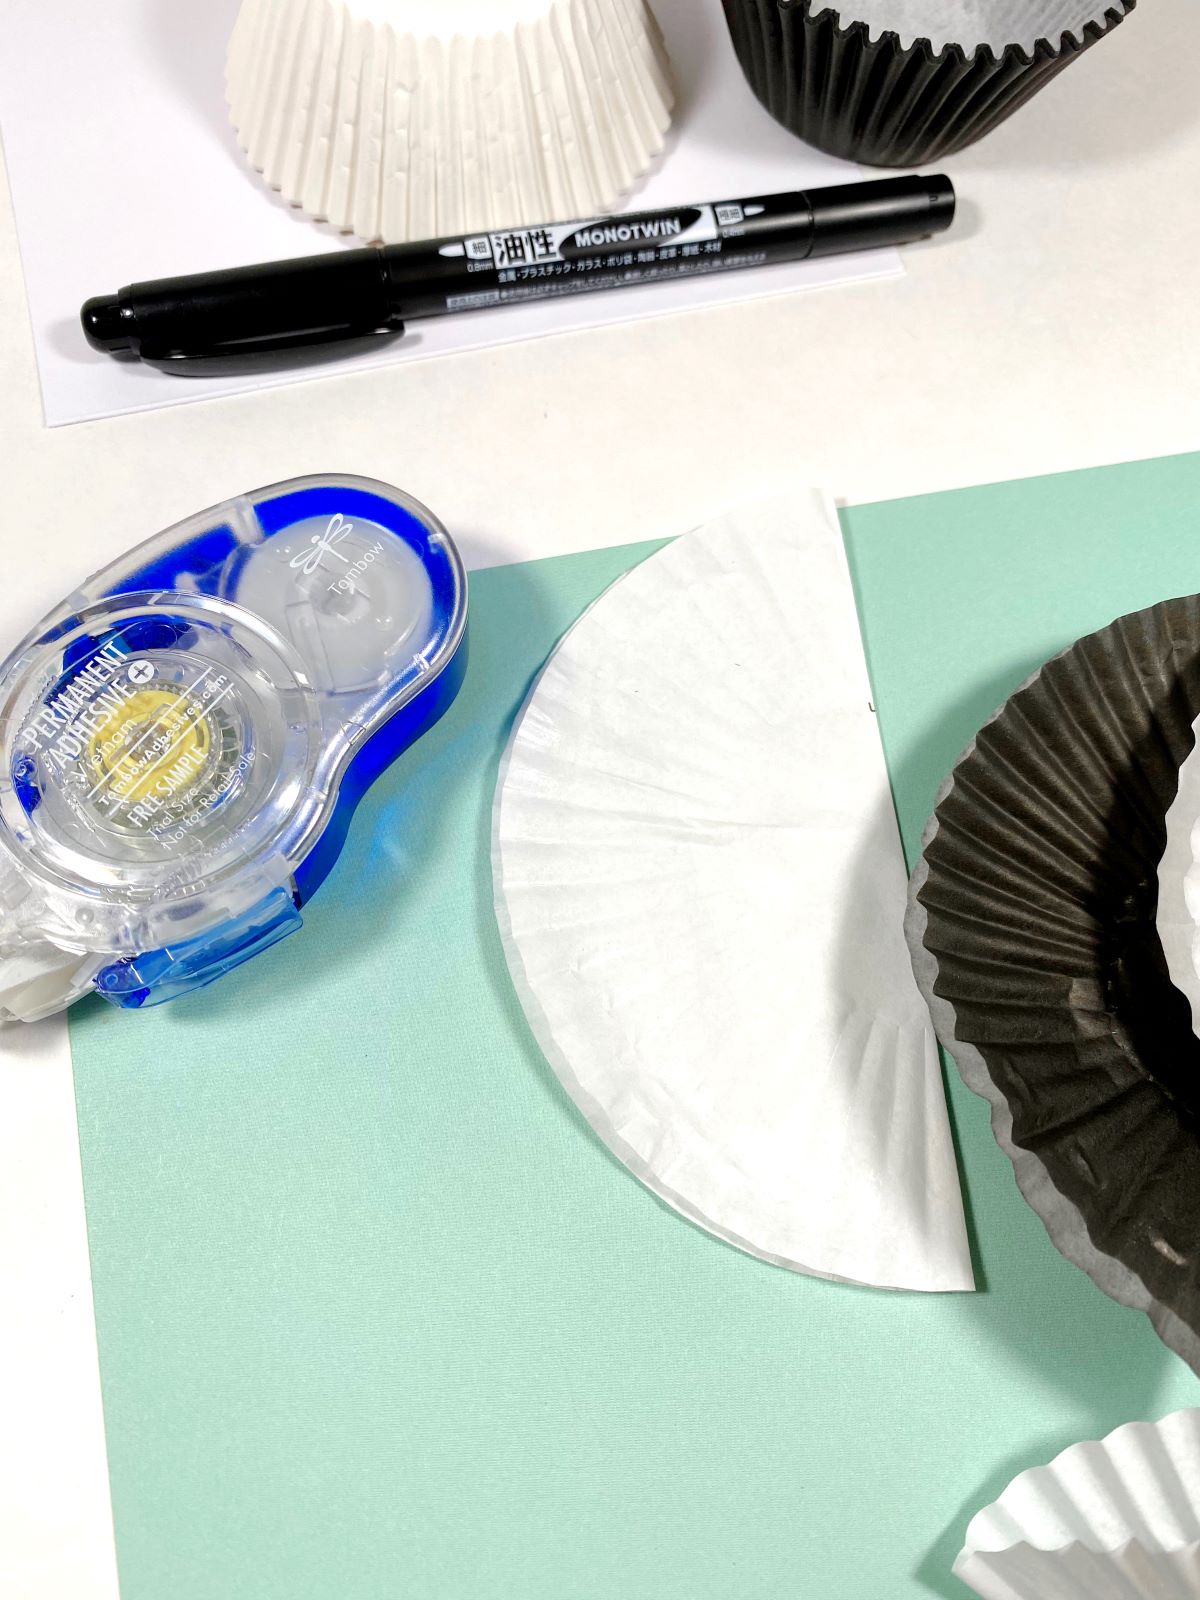
Repeat until the whole caterpillar is glued to the paper. If you need to add more liners to make it look longer, feel free!
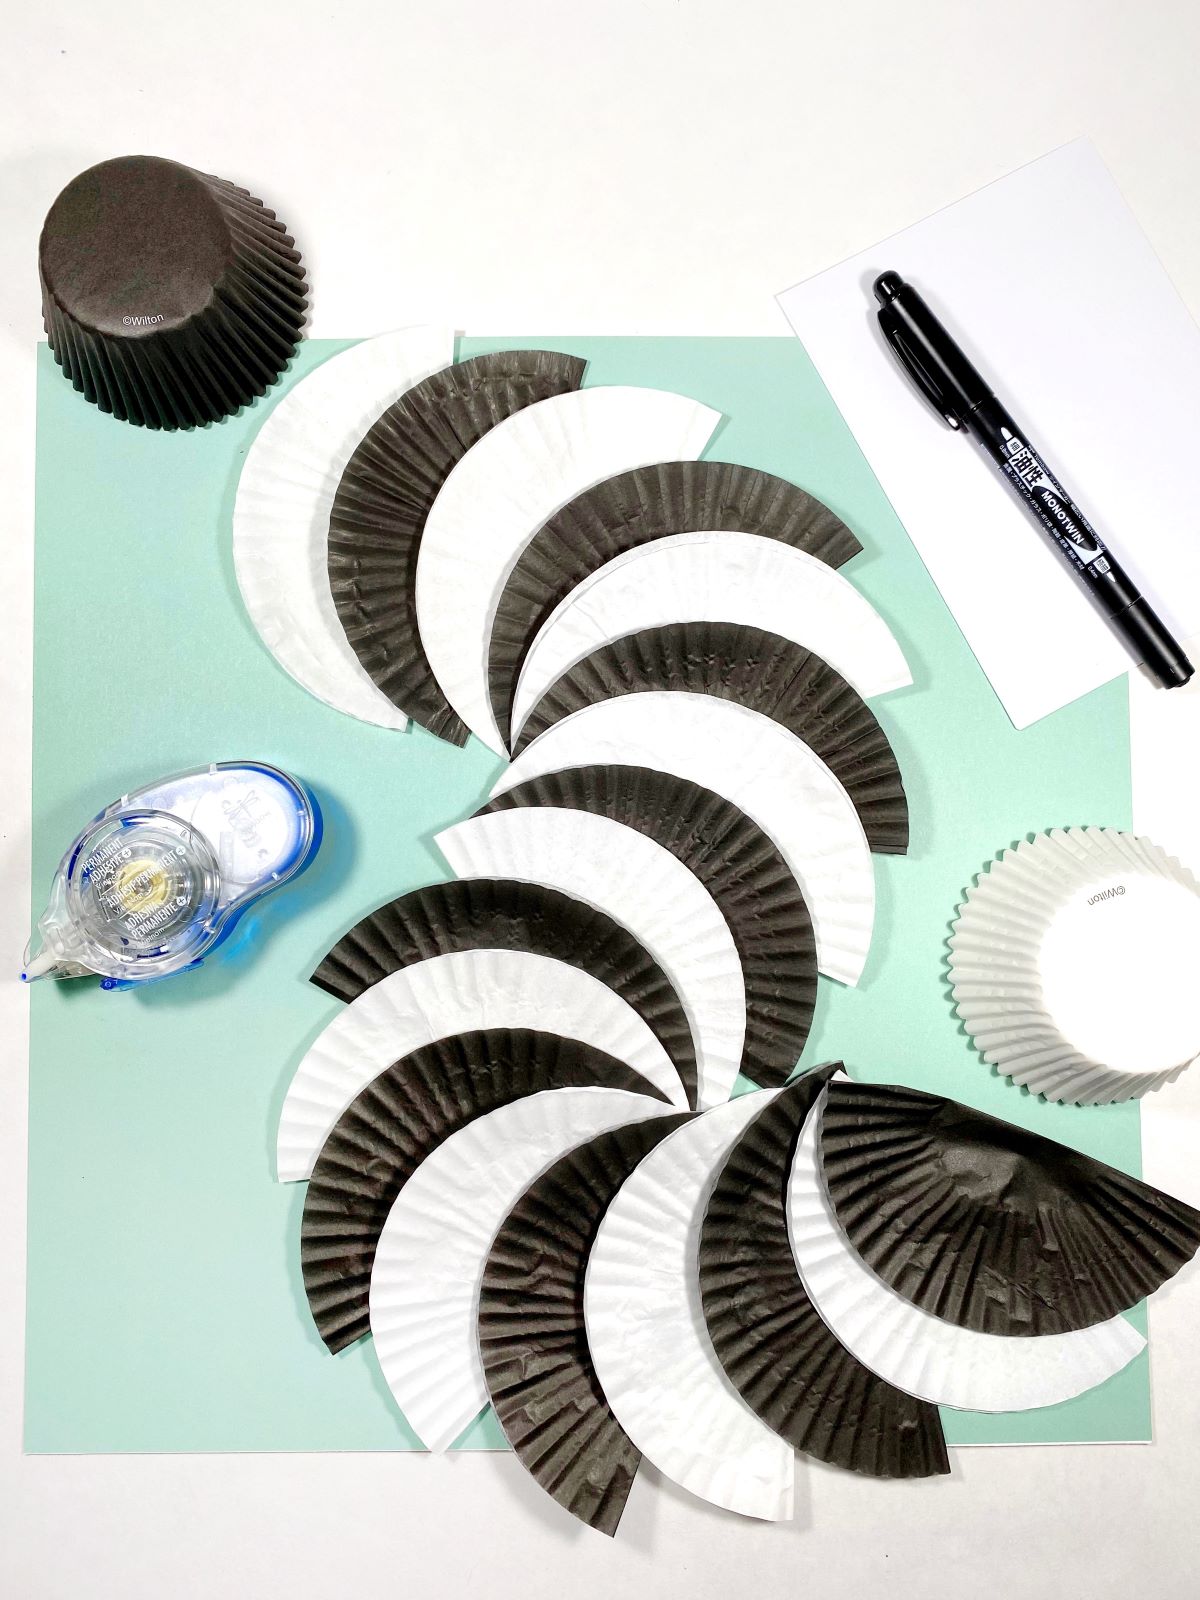
STEP 3 – Final Details
To finish off the caterpillar, trace two small circles onto a piece of card stock with the MONO Twin Permanent Marker. Then cut them out leaving the traced line visible so it looks like an eyeball. Then color in one big circle on each eyeball with the MONO Twin Permanent Marker to make it look like the caterpillar has googly eyes. Glue to the head using the MONO Adhesive Permanent.
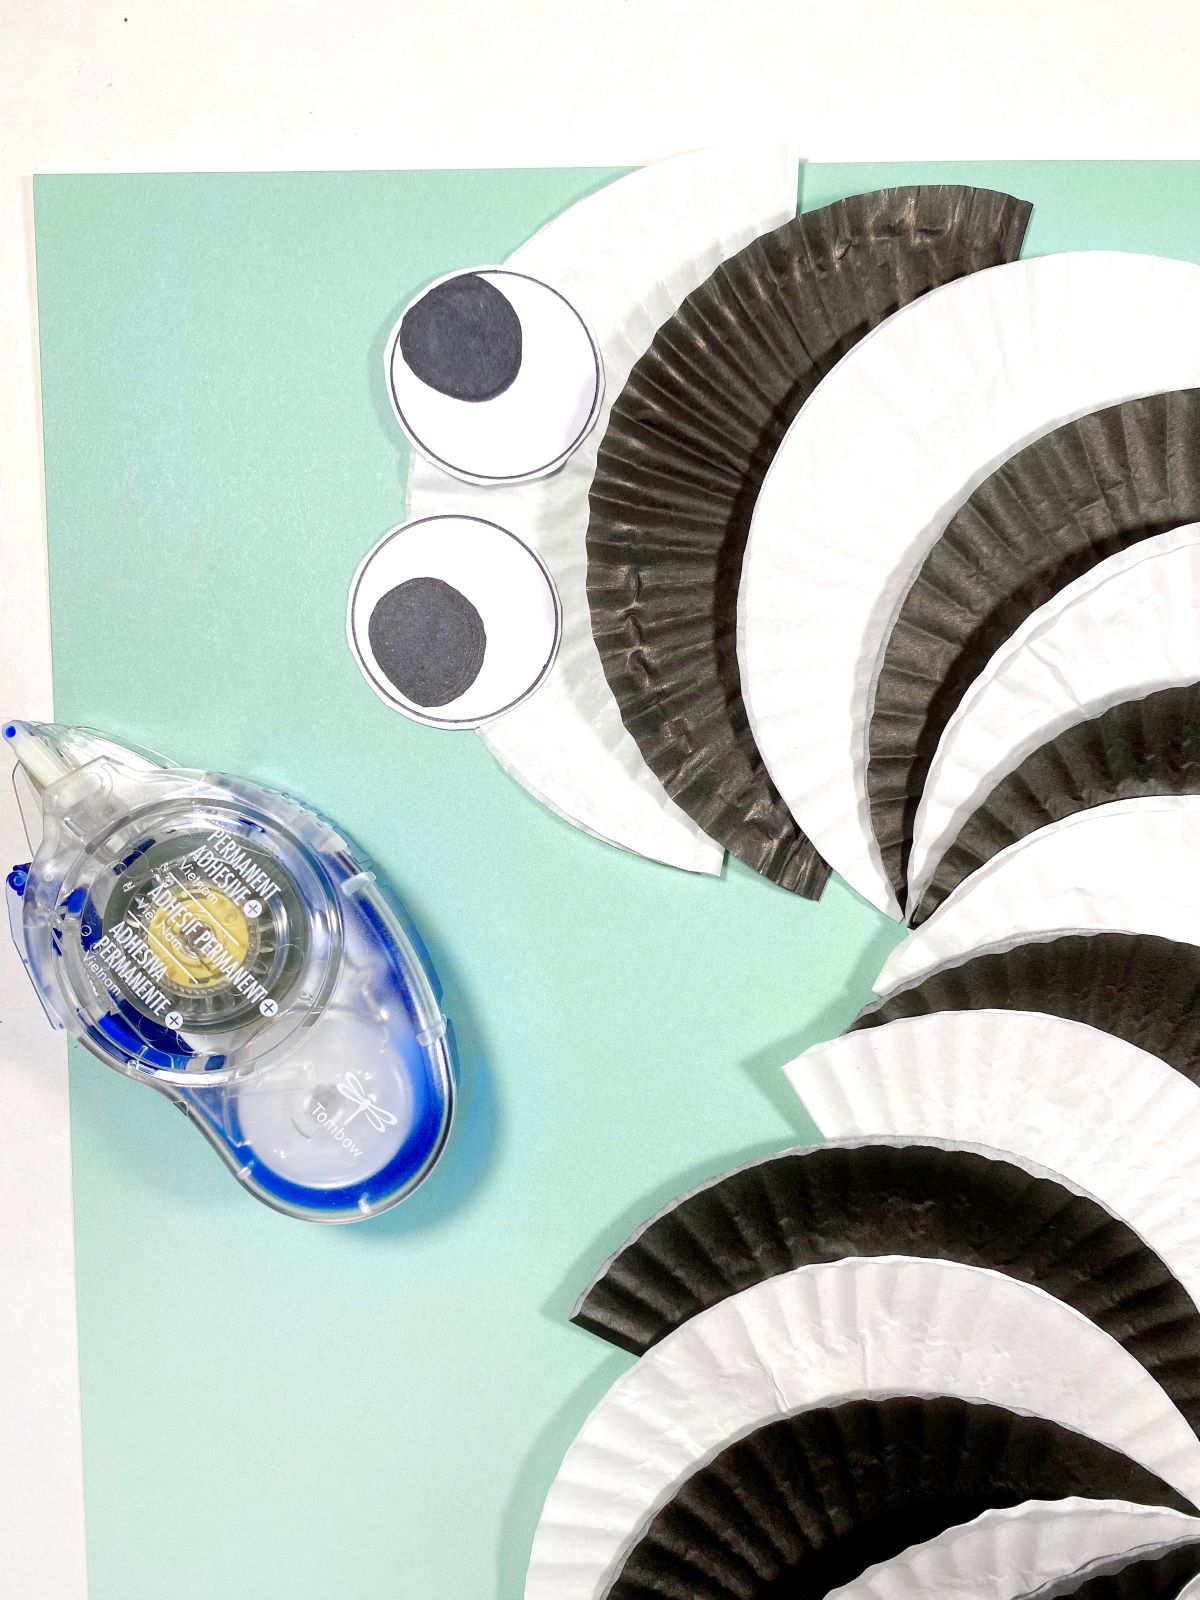
Lastly, fold a cupcake liner in half and cut the edges off. Use the MONO Permanent Adhesive to glue the cut pieces shut. Then, fold in half and glue them shut again. Glue them to the caterpillars head for antennae.
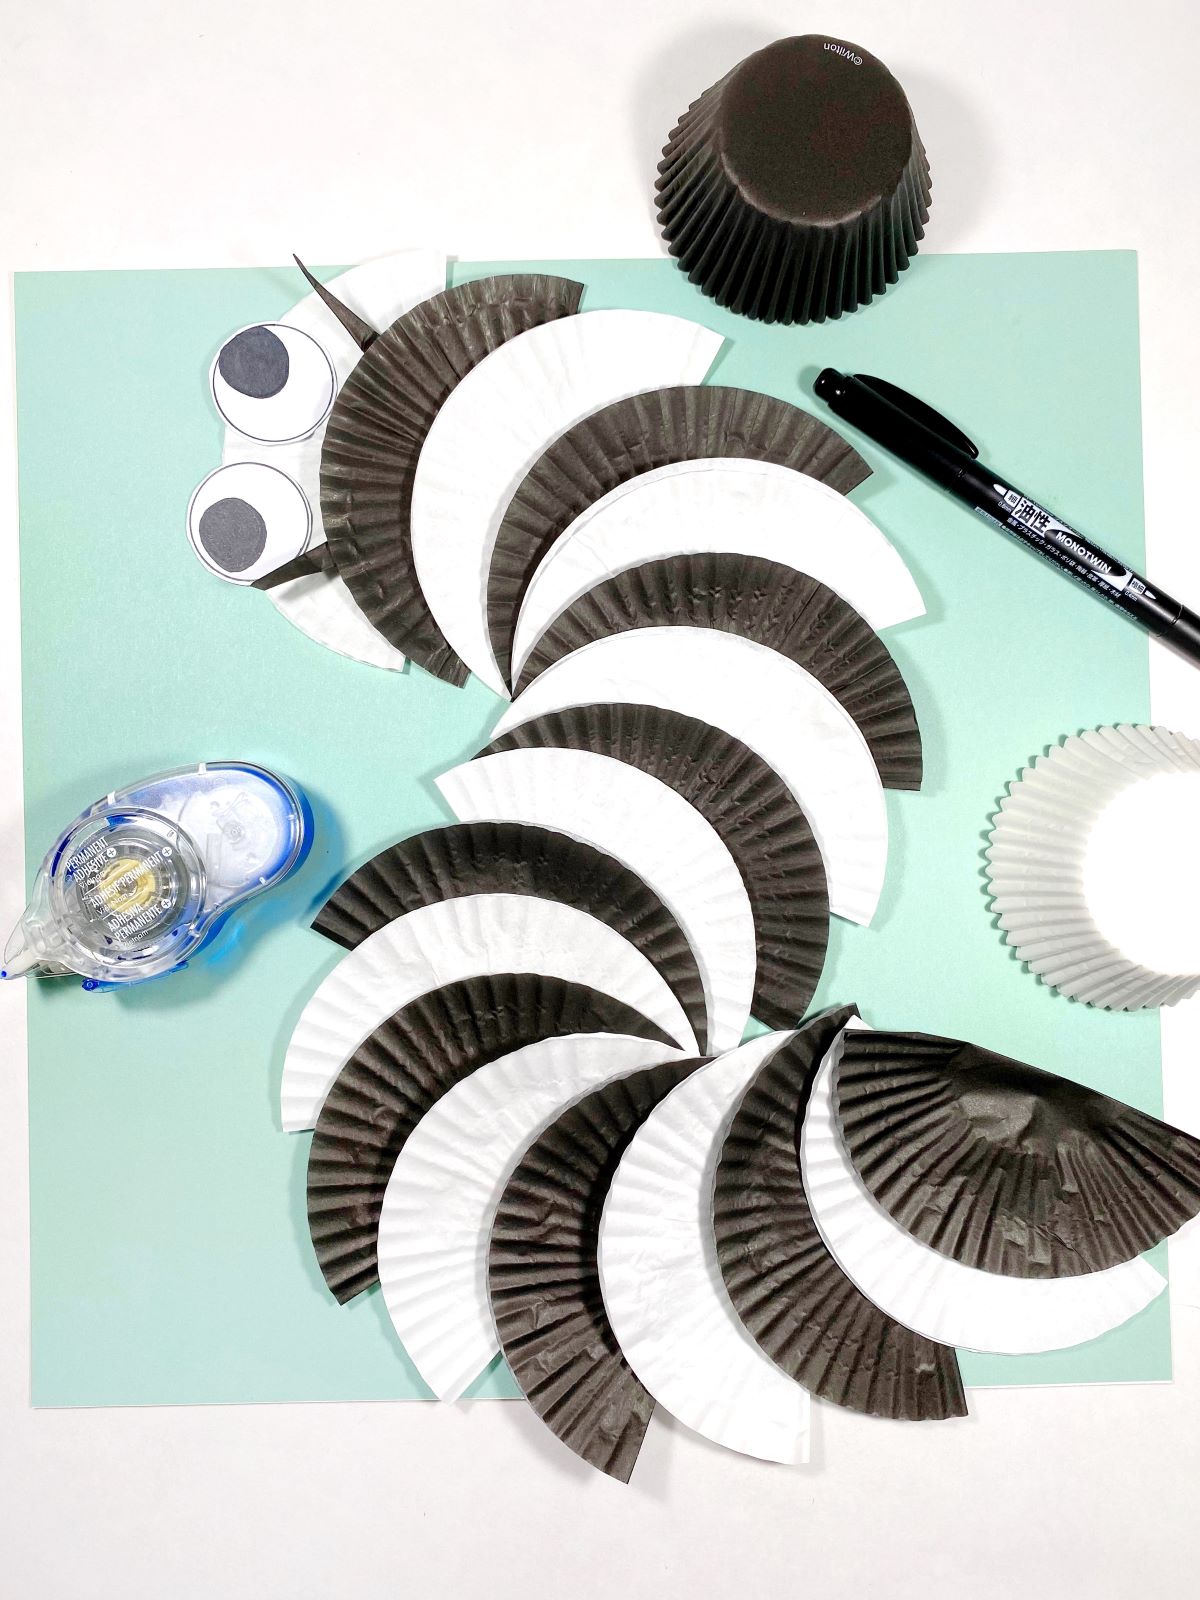
Your cupcake liner caterpillar is done! This is a great project to help keep your kids busy at home! Challenge them to see how long they can make the caterpillar and use poster board, long rolls of paper or even use painters tape to hold them to your wood or tiled floors.
If you give this project a try, be sure to take a picture and tag us at @tombowusa and @a_heartened_calling so we can see all the fun you had!
For more easy project ideas, check out these posts!
- How To Create Easy Watercolor Flowers with Serena
- Easy Pop-Up Birthday Card with Jessica
- 3 Easy Wreaths to Draw in Your Journal with Jennie
Have fun creating and see you next time!
Mandy