 Hello, Tombow fans, Serena from @SerenaBeeCreative here! I am sharing a project inspired by my favorite dessert! It was a little tricky for me to pick just one because I LOVE desserts and have a pretty big sweet tooth. I decided to alter cookie/candy jars.
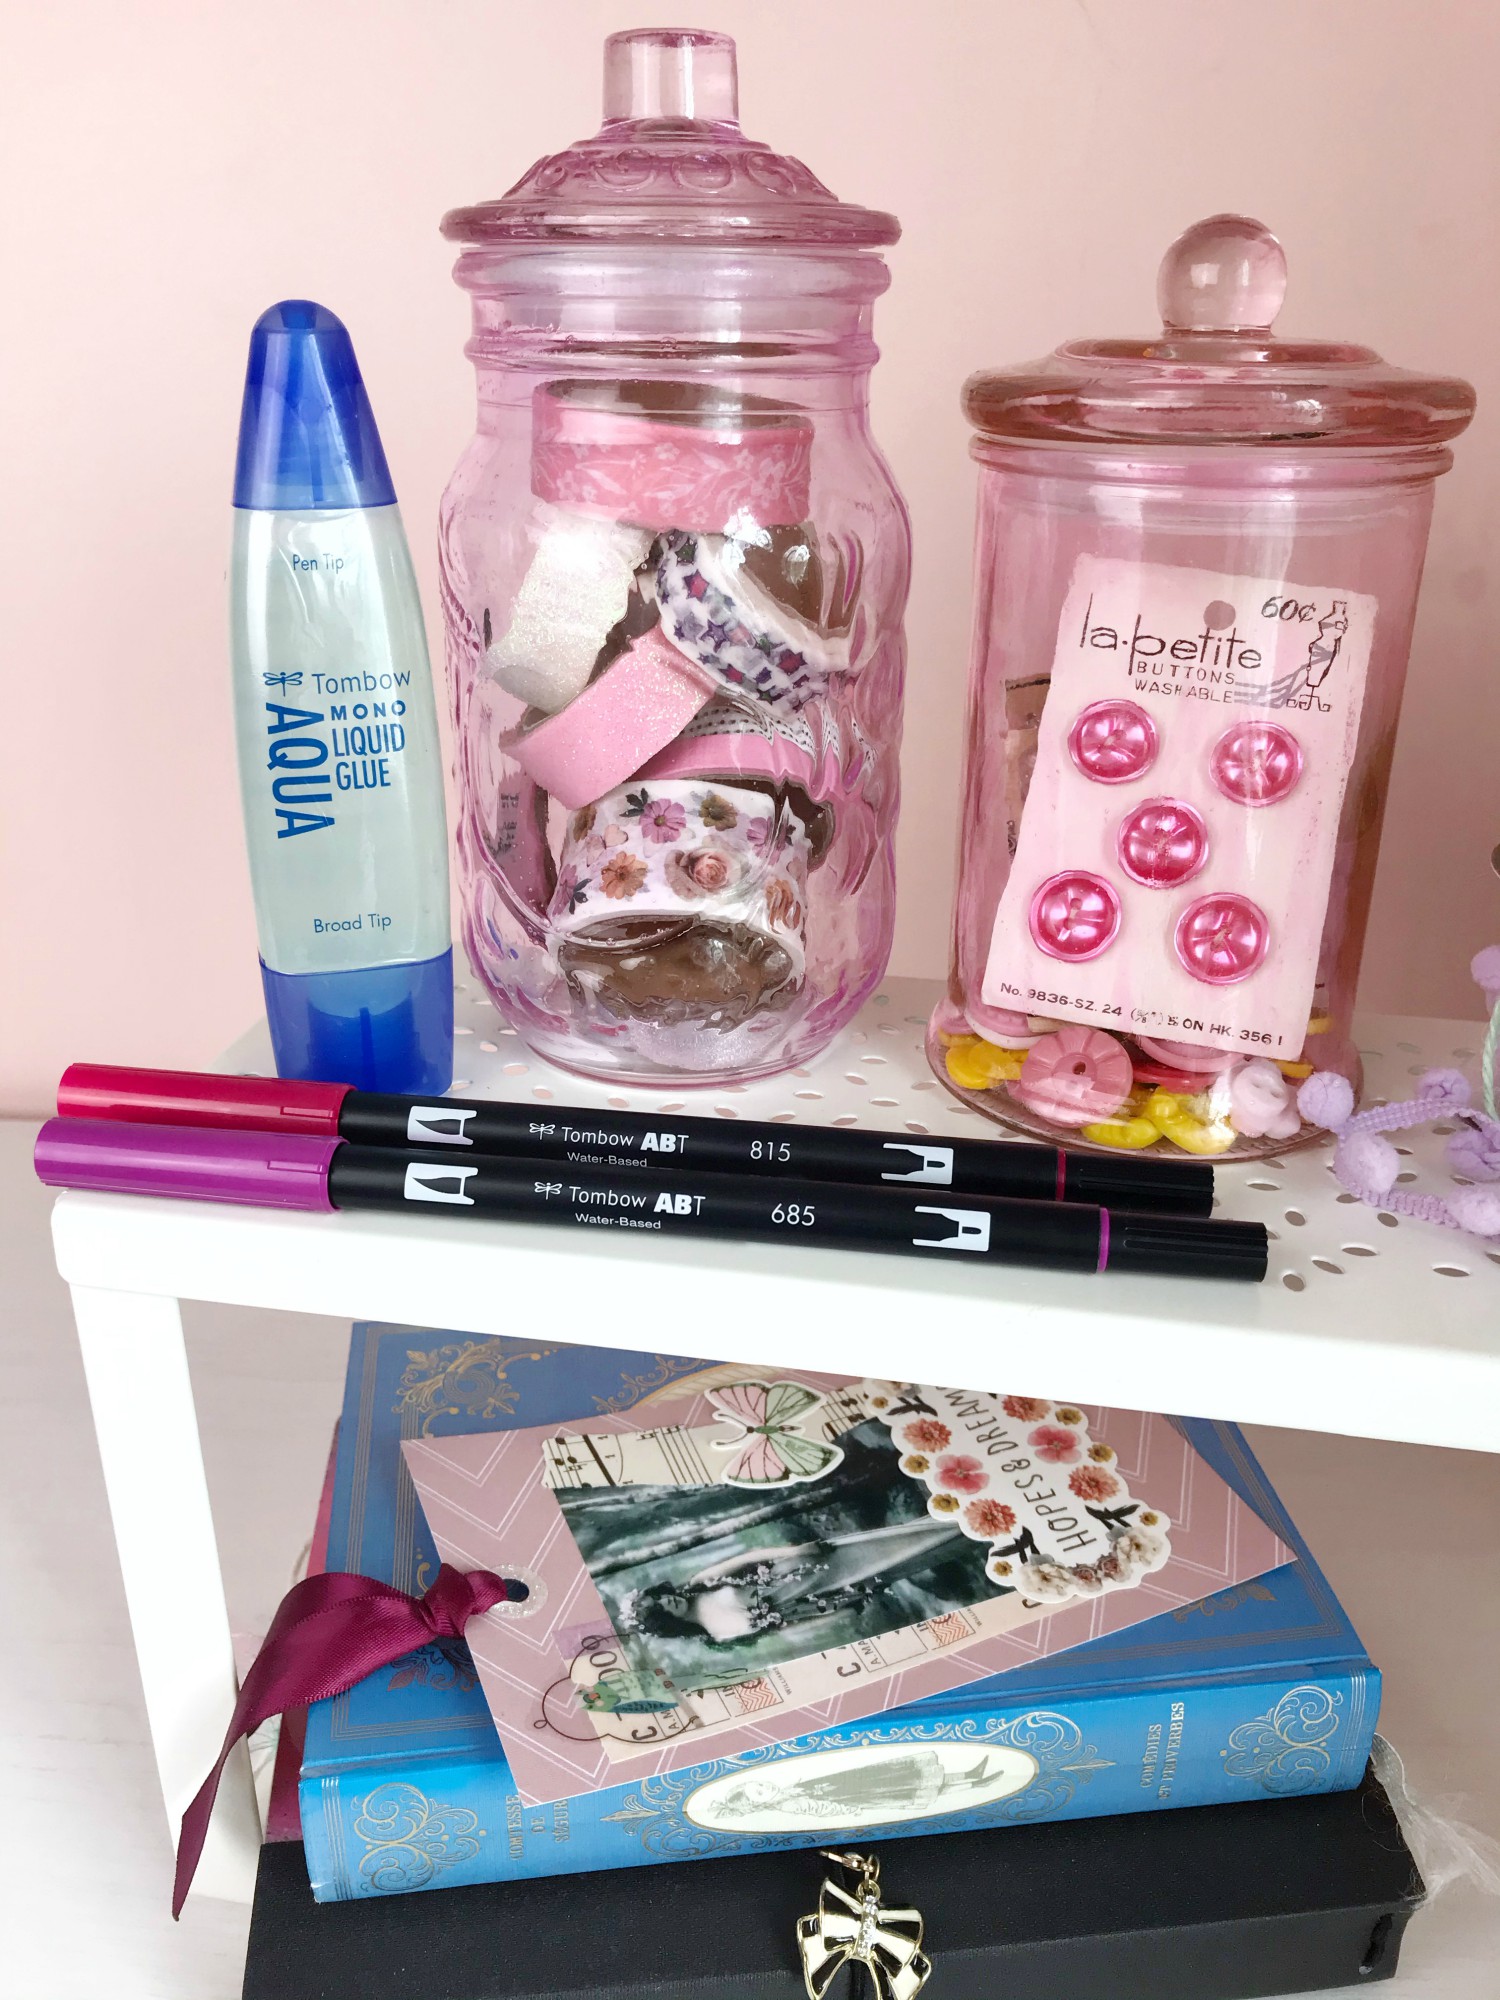
Let’s take a look at what you will need to alter your own cookie/candy jars!
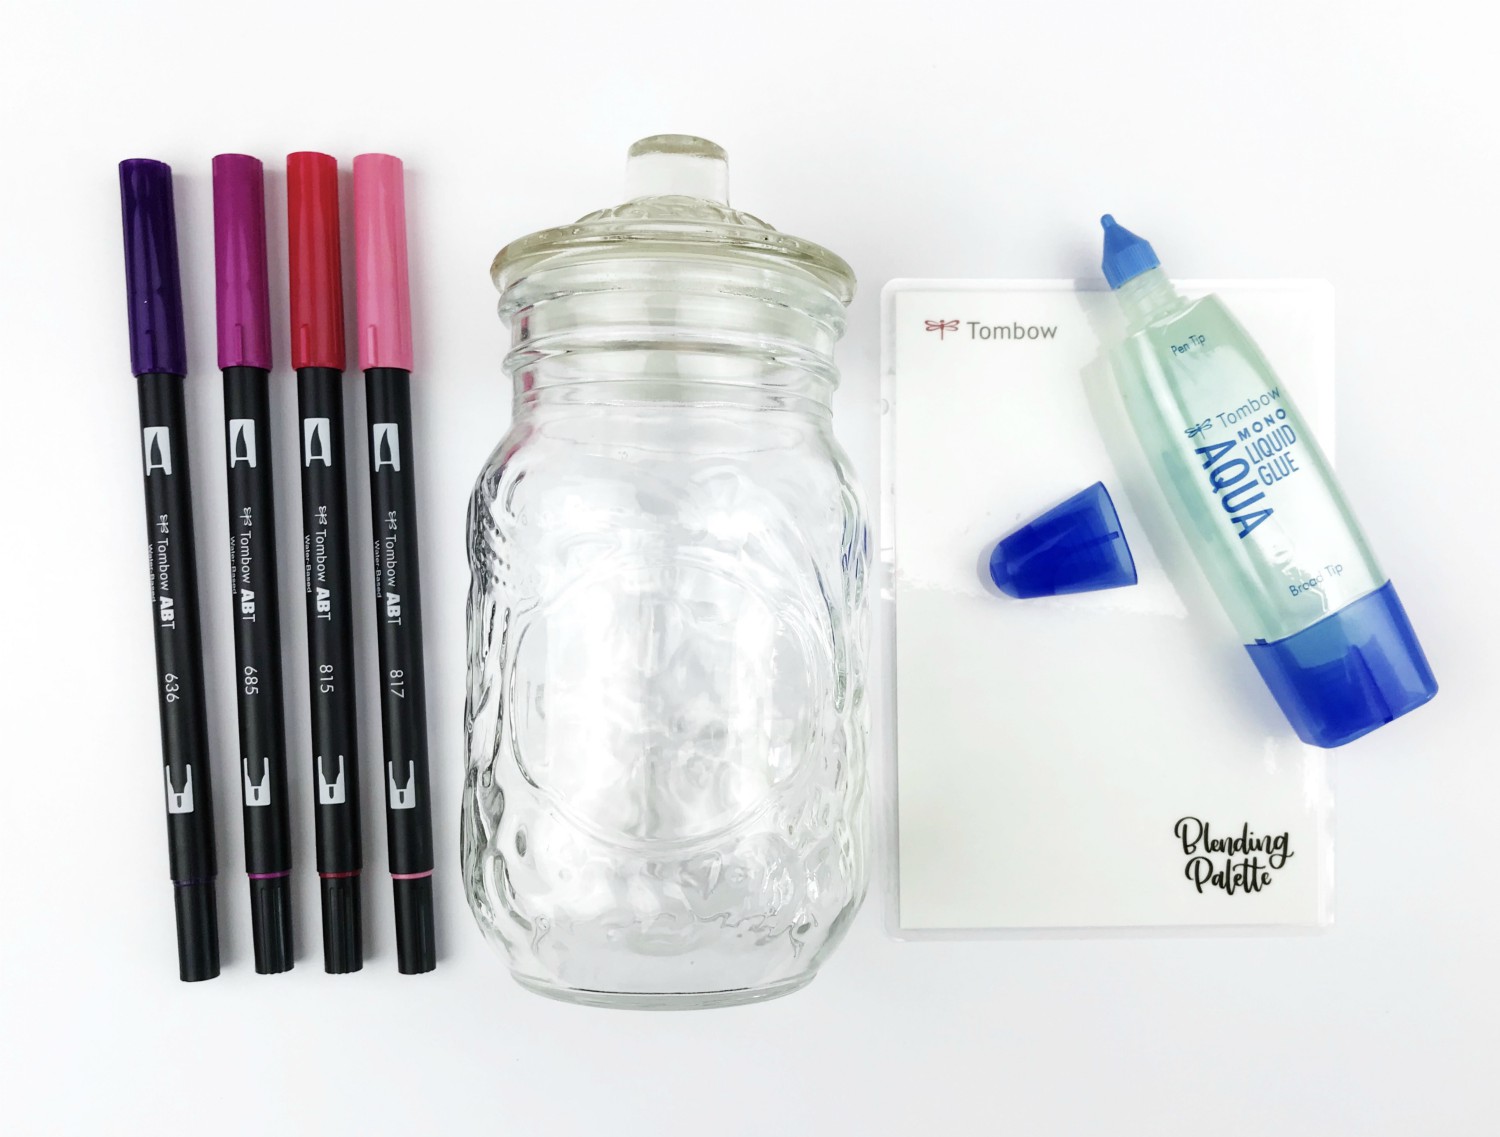
Supplies:
- Dual Brush Pens
- MONO Aqua Liquid Glue
- Tombow Blending Palette
- Paintbrush
- Cookie/candy jars
To begin, clean off your cookie/candy jars with water and soap and let them dry.
Select a Dual Brush Pen color that you would like to use to tint your jars. Darker colors work best for this project. I’m using Dual Brush Pen colors 636 (purple) and 815 (pink).
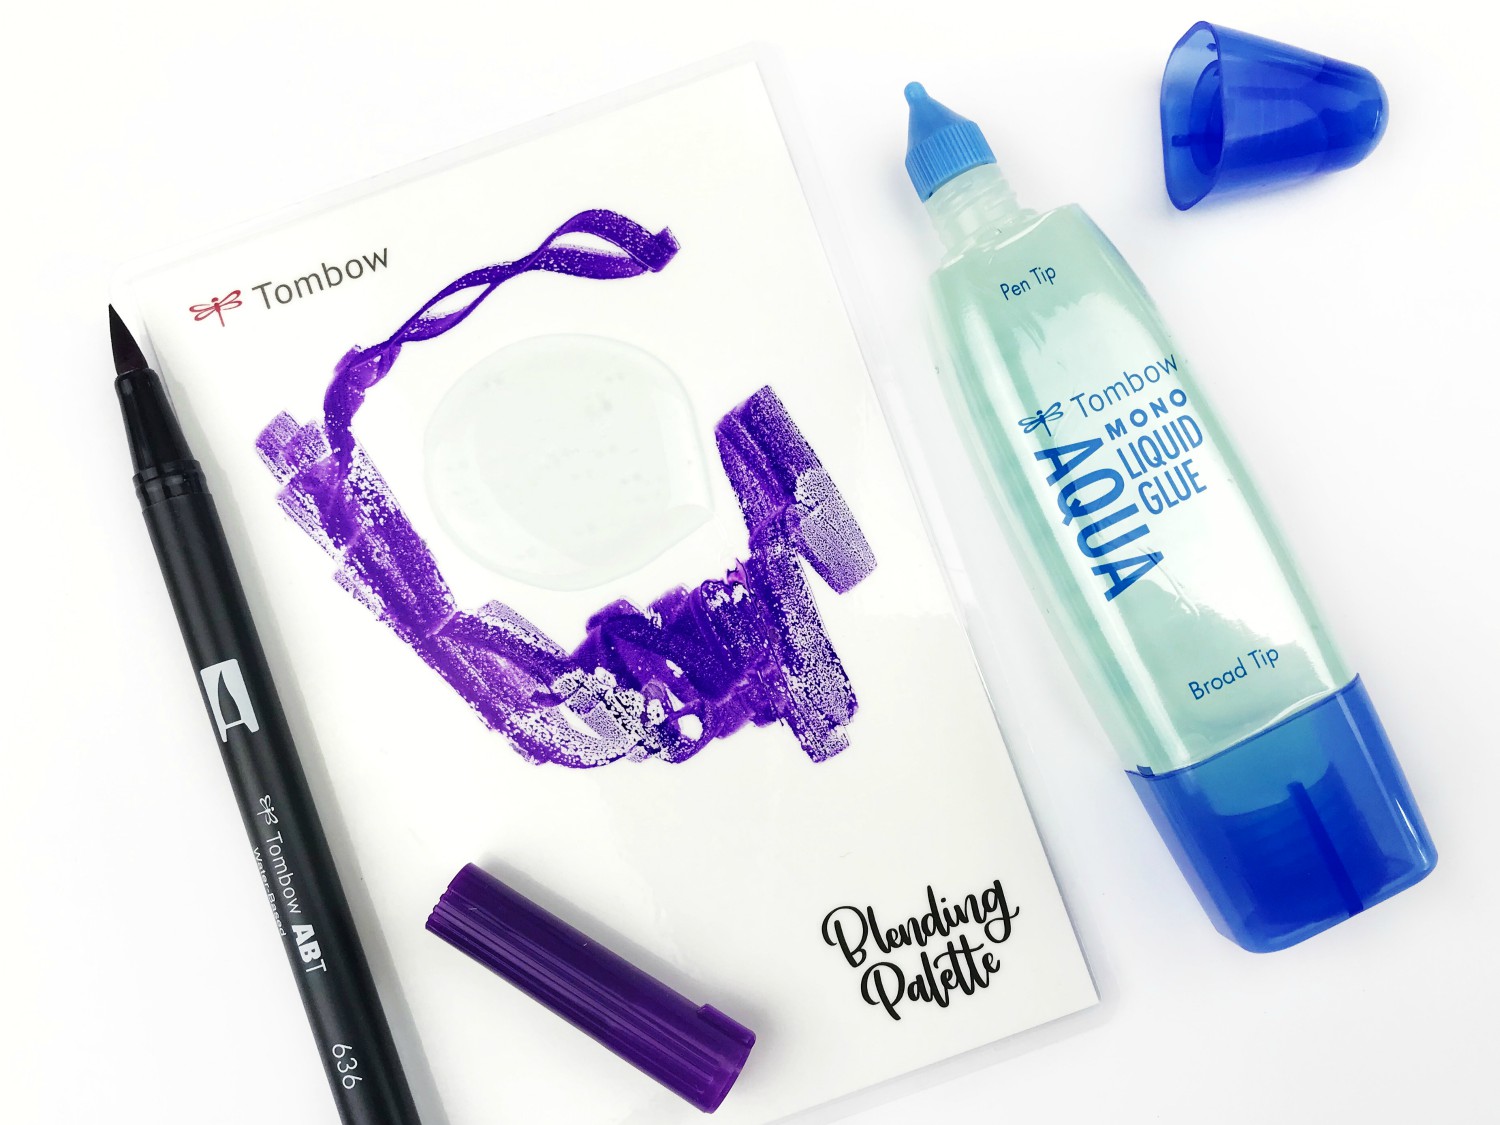
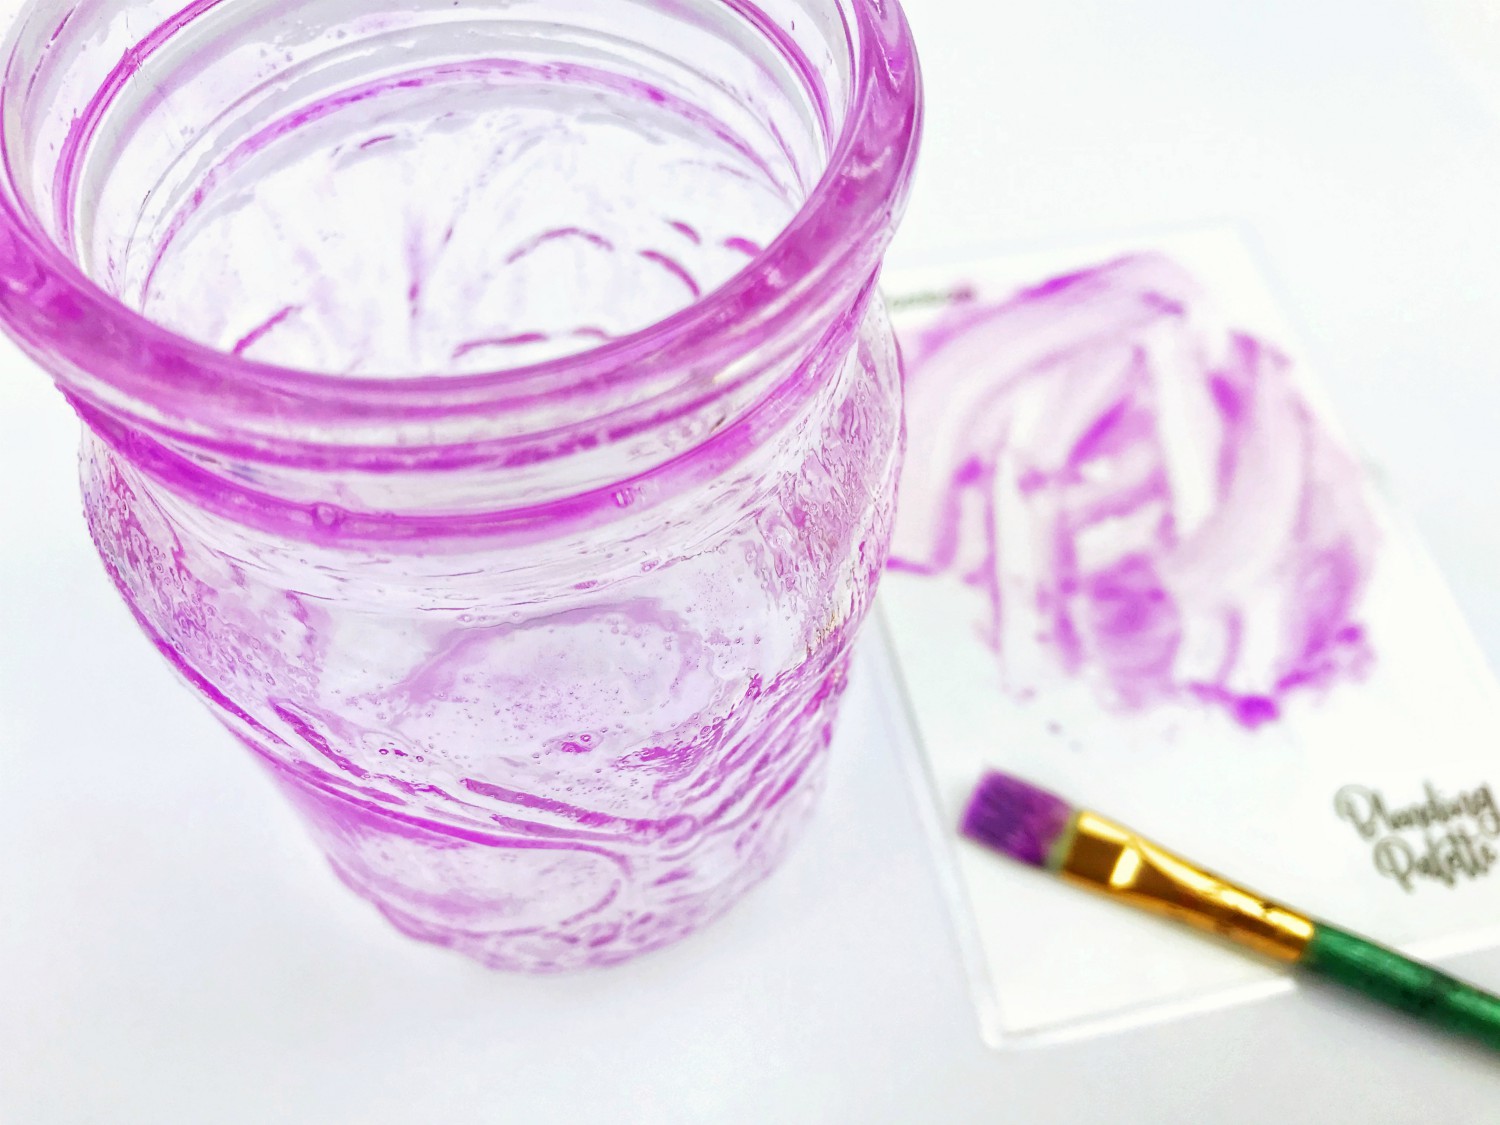
Using the Blending Palette, scribble your Dual Brush Pen color on the palette and pour out a generous amount of MONO Aqua Liquid Glue.
Using a paintbrush, mix your MONO Aqua Liquid Glue and Dual Brush Pen colors together.
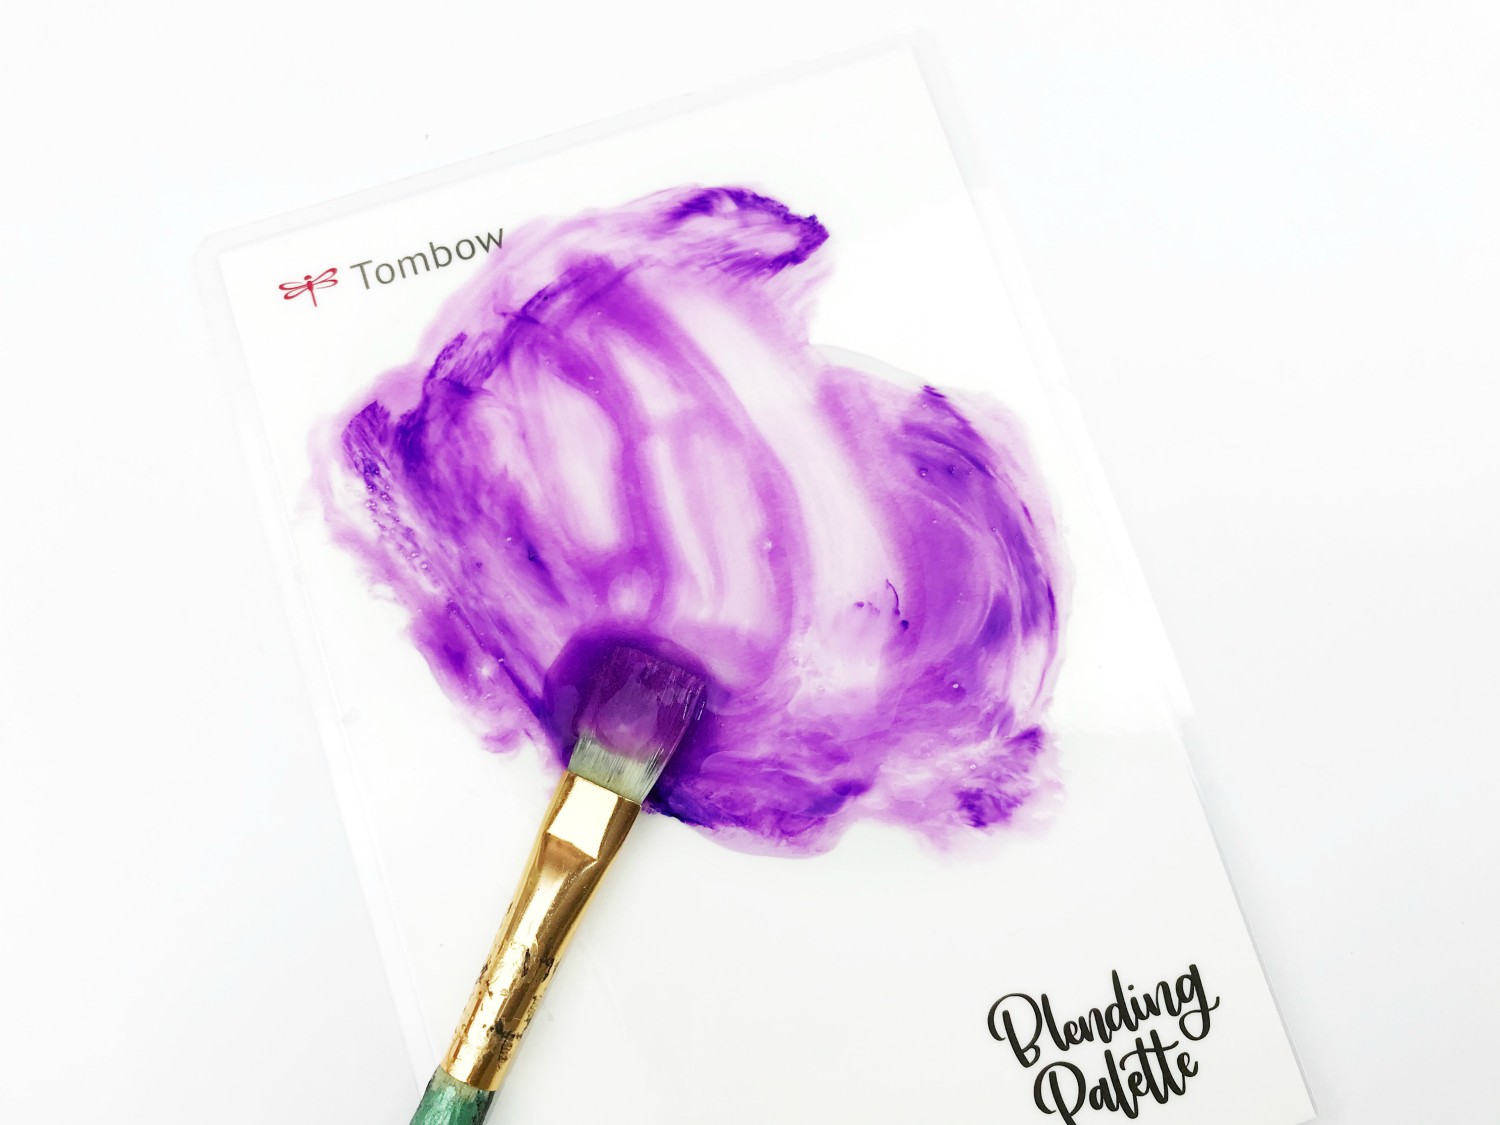
Once your color is evenly blended, it’s time to apply the color mix to your jar. Make sure you apply an even coat all around your jar in the same direction to avoid streaky lines.
Once your jar is fully covered, set it aside to dry.
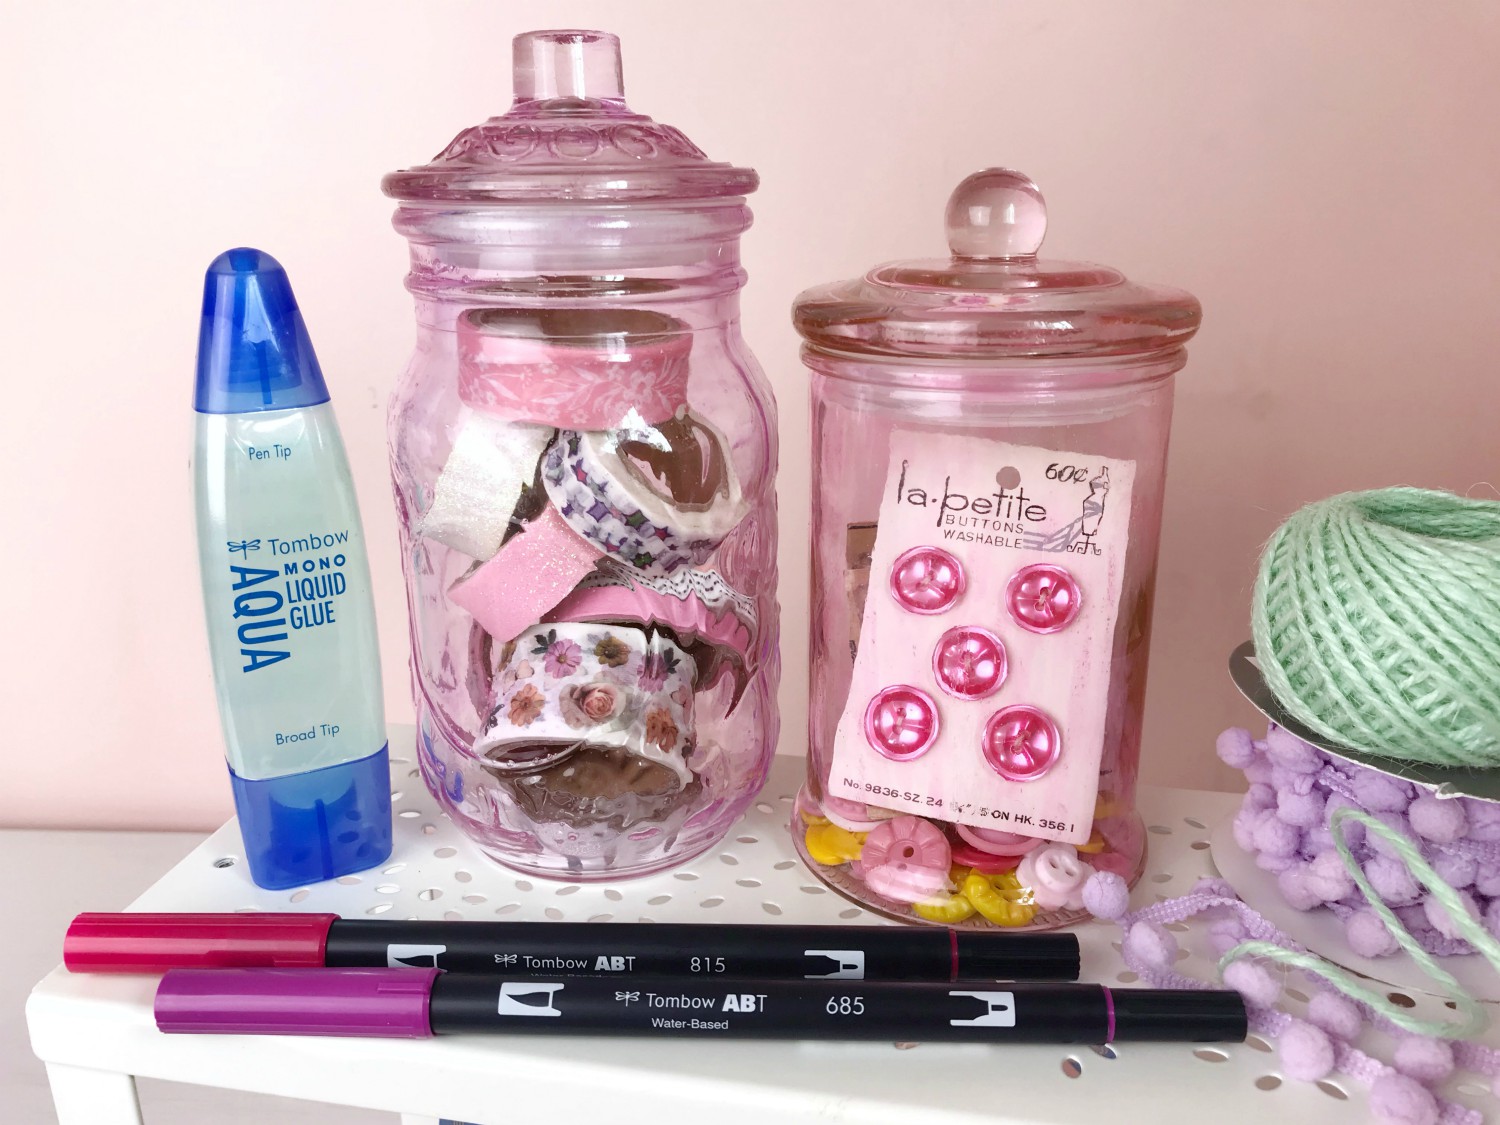
You’re all done! This is such a fun way to give new life to old cookie/candy jars you might have lying around.
I’m using my jars to store vintage buttons and some of my favorite washi tapes! Don’t forget to tag @serenabeecreative and @tombowusa.
If you’d like to see more from me, check out my Youtube Channel!
Much love,
Serena Bee