Are you a Harry Potter fan? Hey everyone, it’s Mandy from @a_heartened_calling and this week is all about creating book inspired projects! I’m a Harry Potter fan and one of the best known quotes from the Harry Potter series is “I solemnly swear that I am up to no good.” It is the key phrase to unlocking the Marauder’s Map. So for today’s project, I thought it would be fun to hand letter this quote in a vintage looking banner. Let’s gather our supplies and get started!
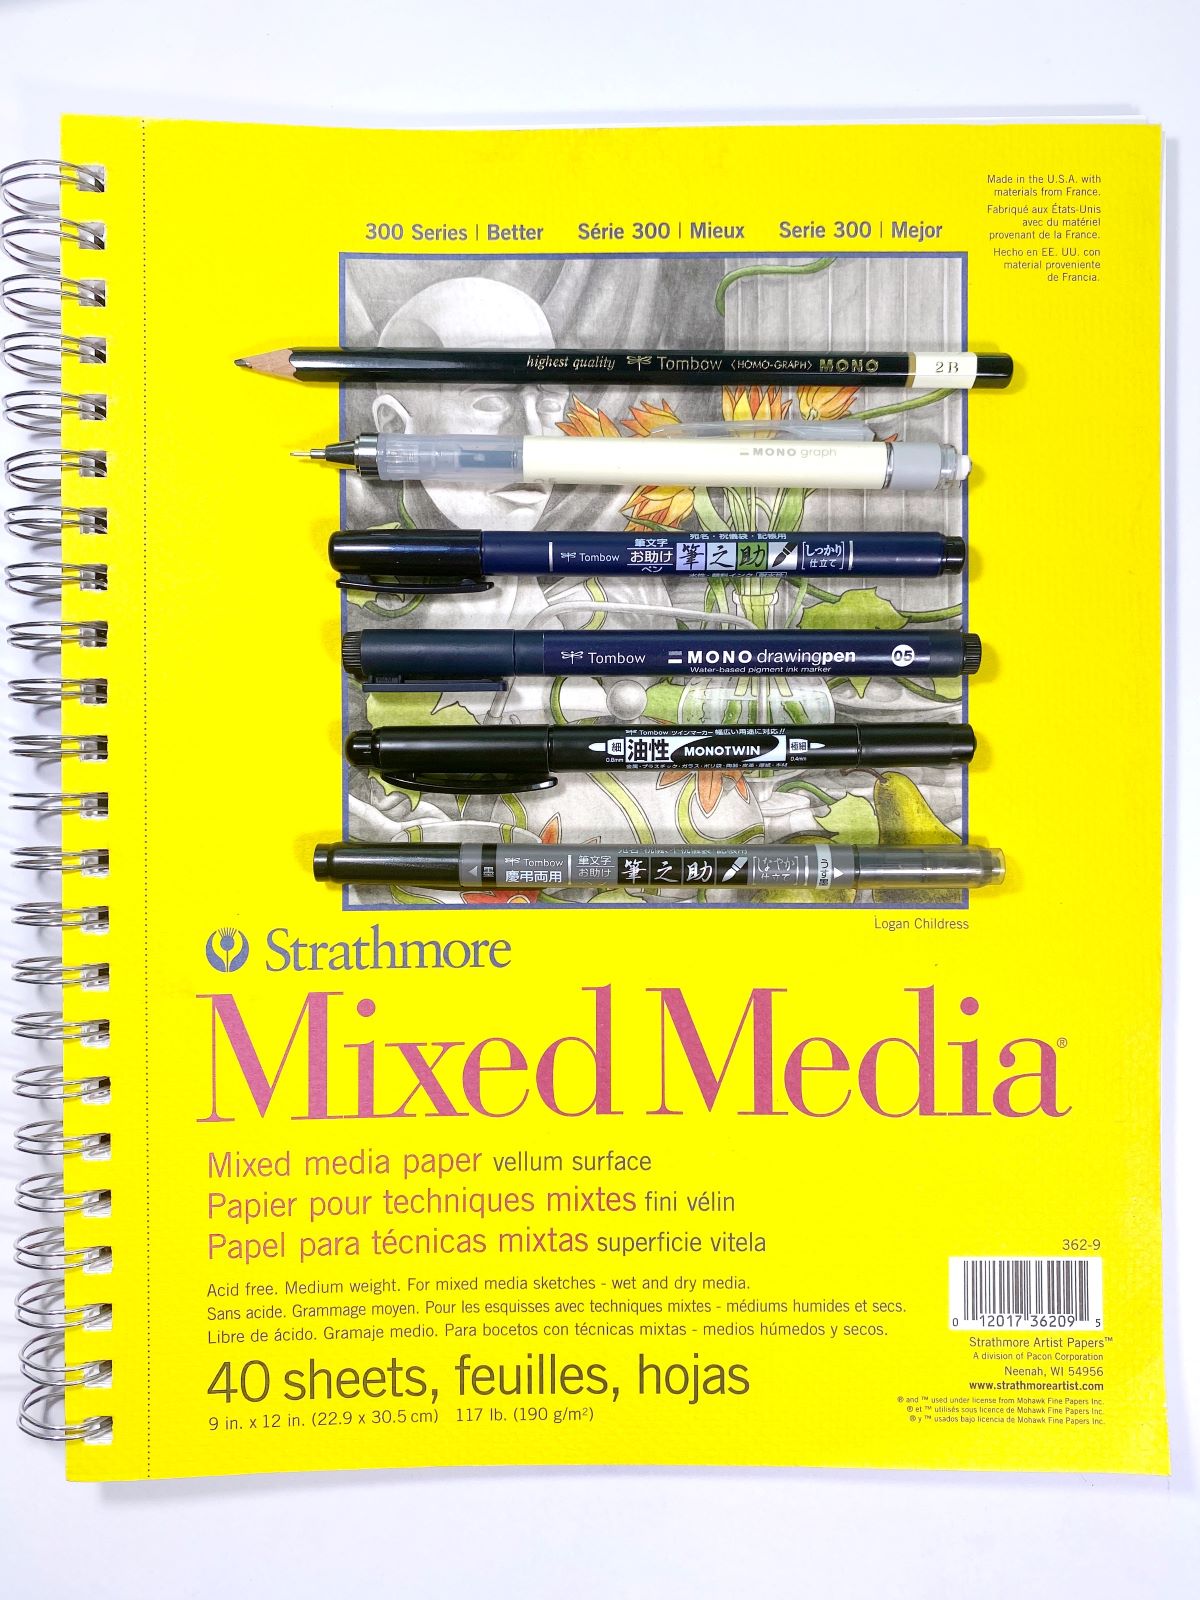
MATERIALS
- Tombow MONO Graph Mechanical Pencil
- Tombow MONO Drawing Pencil 2B
- Tombow Hard Tip Fudenosuke Pen
- Tombow Twin Tip Fudenosuke Pen
- Tombow MONO Drawing Pen 05
- Tombow MONO Twin Permanent Marker
- Mixed media paper
STEP 1 – Sketching
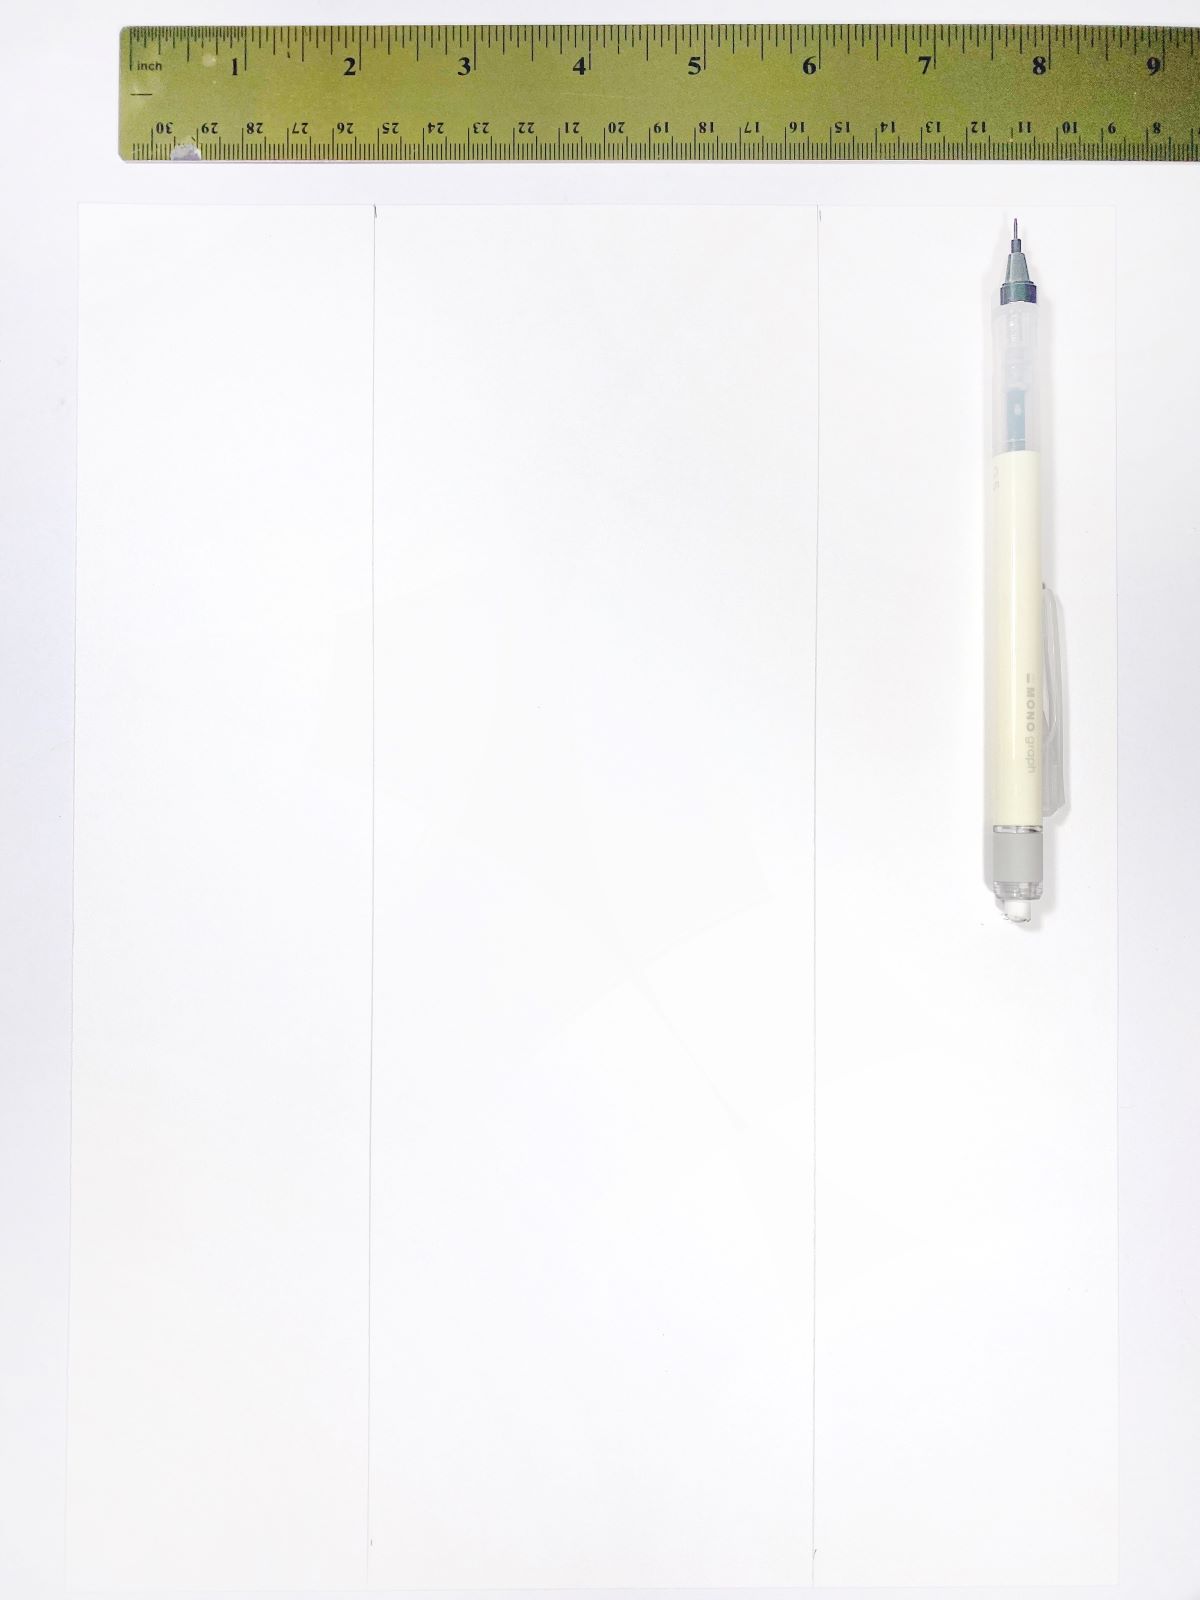
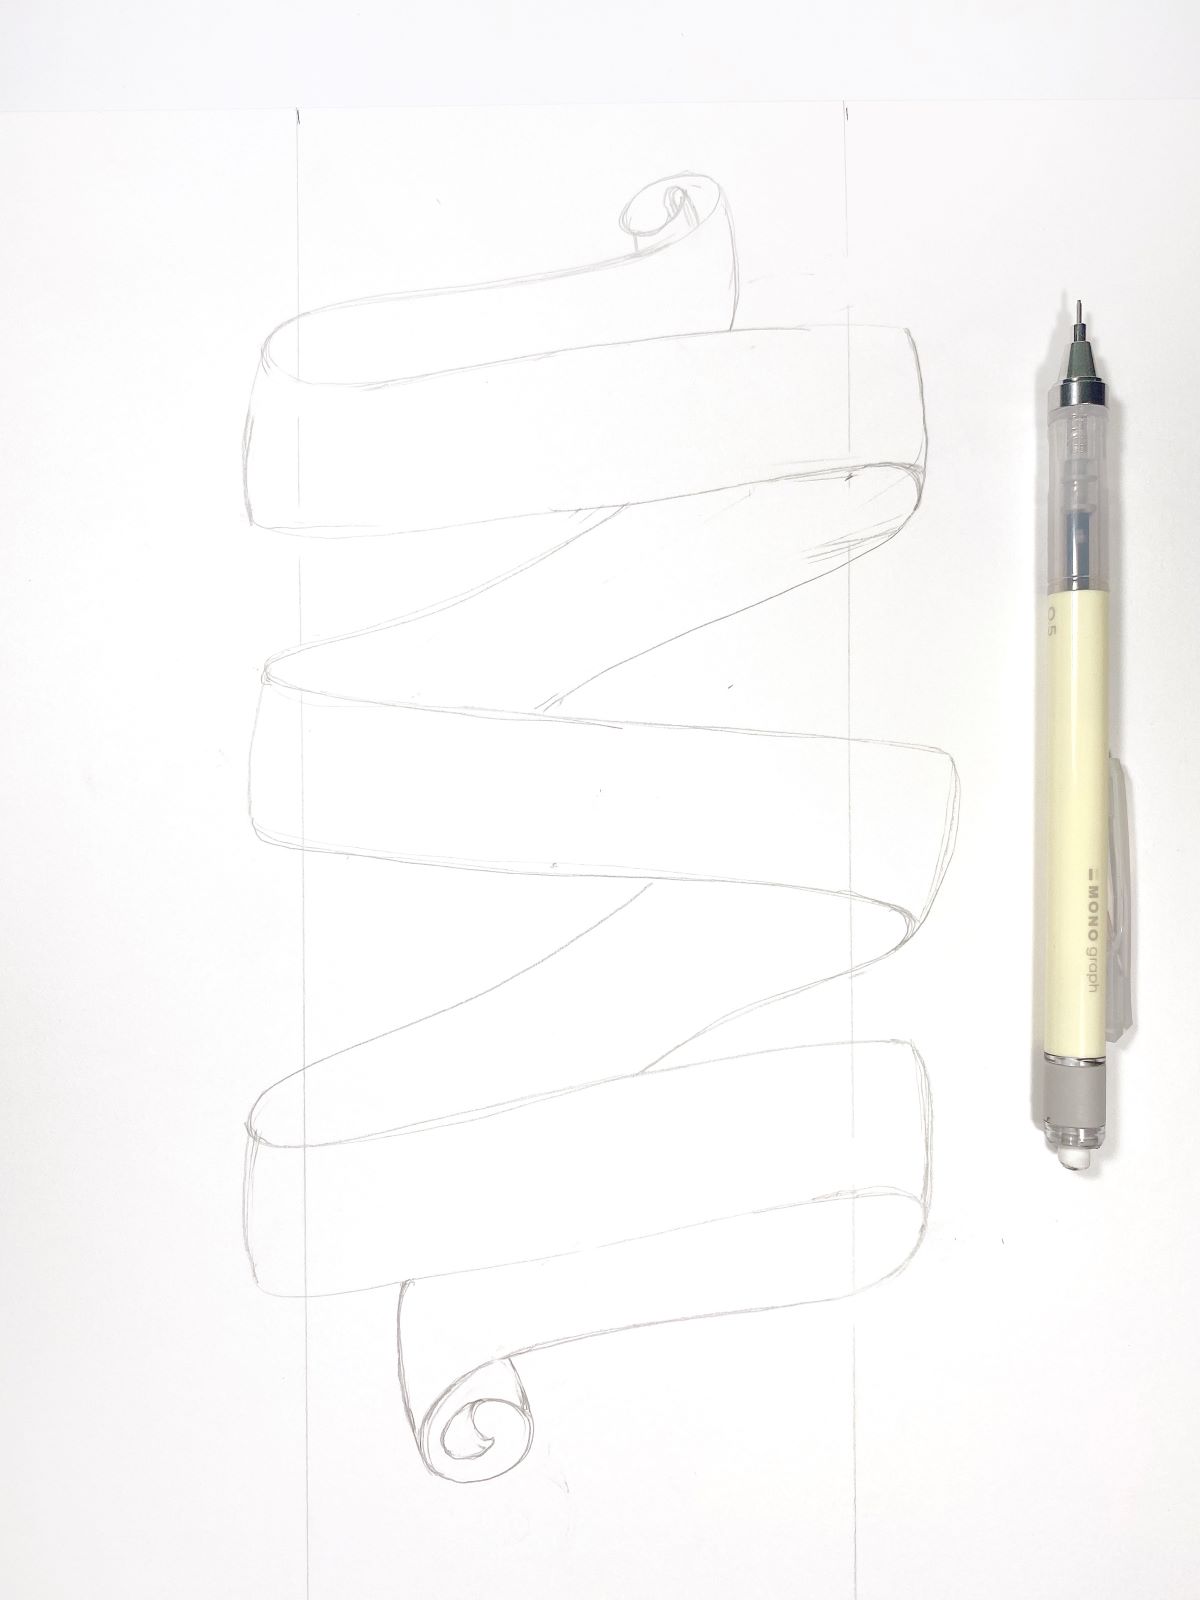
On your piece of mixed media paper, use a ruler and the MONO Graph Mechanical Pencil to draw two straight vertical lines. I drew these lines 2.5″ from each side. These will act as guidelines for how wide your banners will be and will help you visualize how the banner can wrap around these two lines (think of it as a post). It’s my own little trick for helping my brain visualize it!
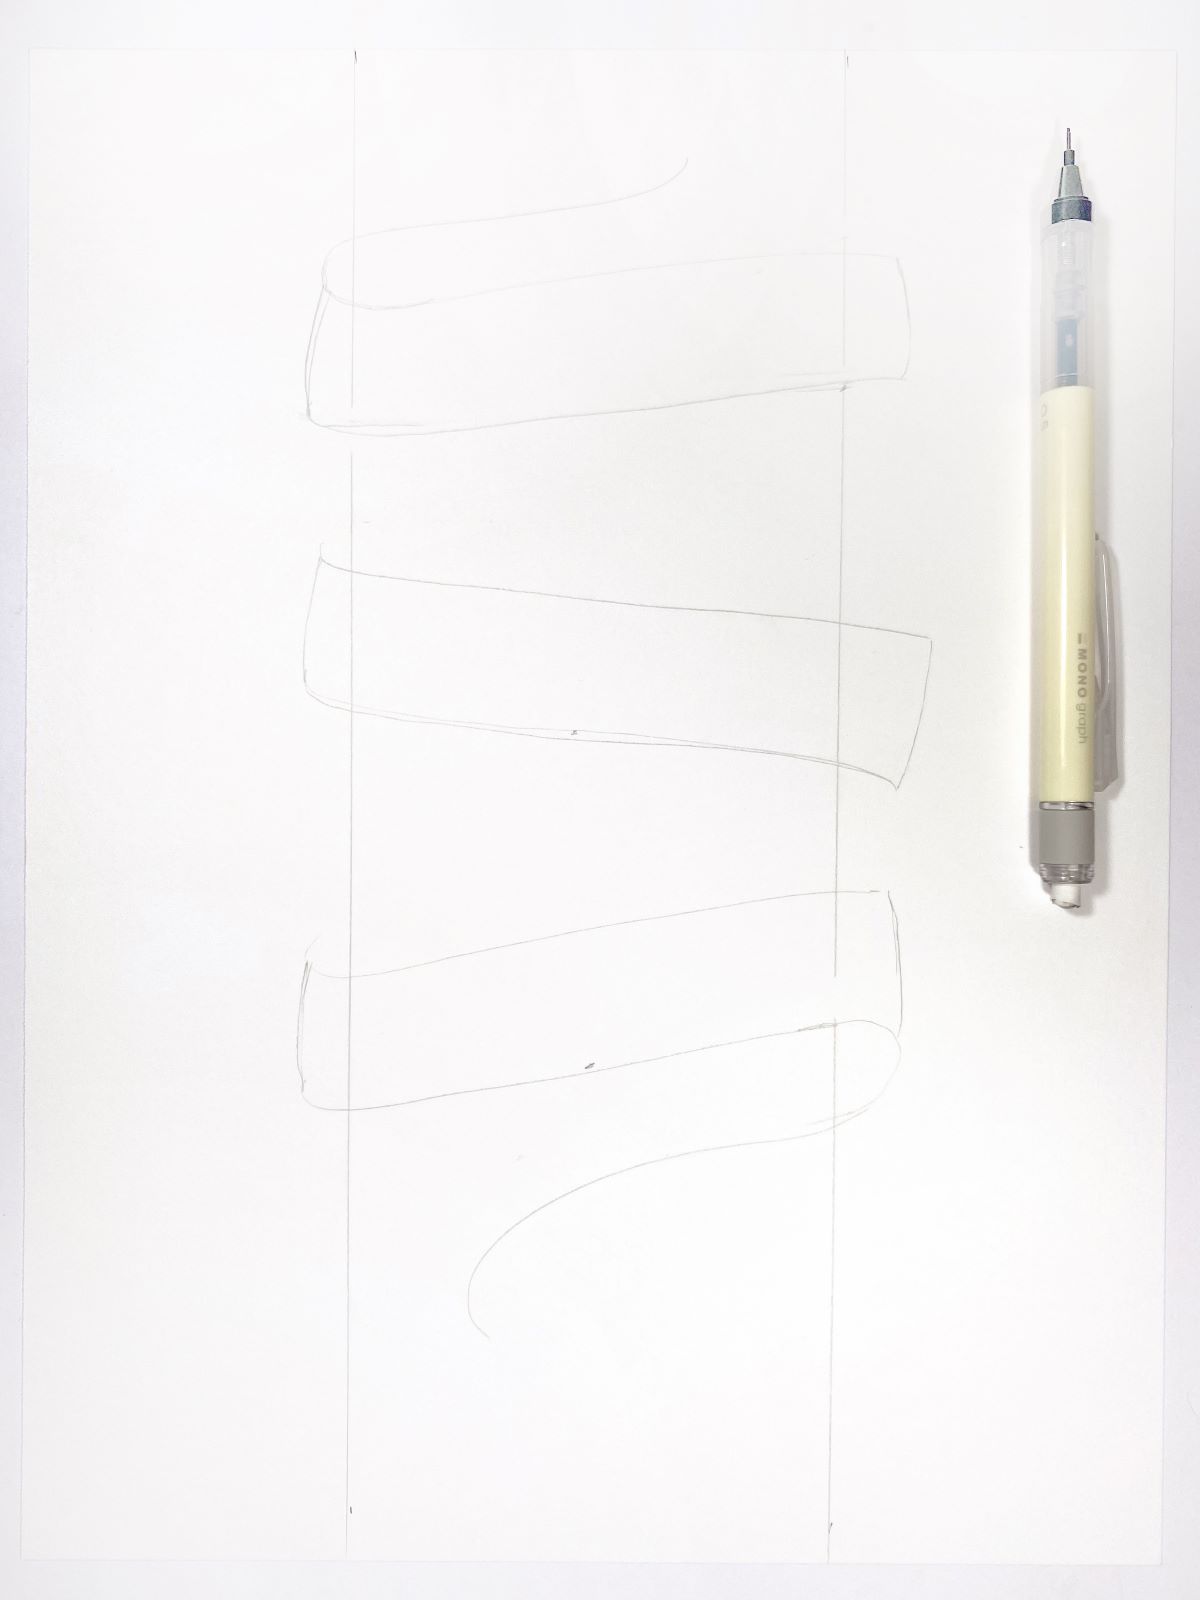
For me, it’s easier to first draw out the actual banner fronts first before connecting them. There is no rule that says they have to be straight and lined up. I actually like my banners to be a little wonky looking. It adds character to it! Using the pencil, sketch out how you want your banner fronts to be placed. This is where those two vertical lines come in handy!
Next, connect the inside of the banner to the banner fronts. Keep about the same width as the banner fronts for the inside part.
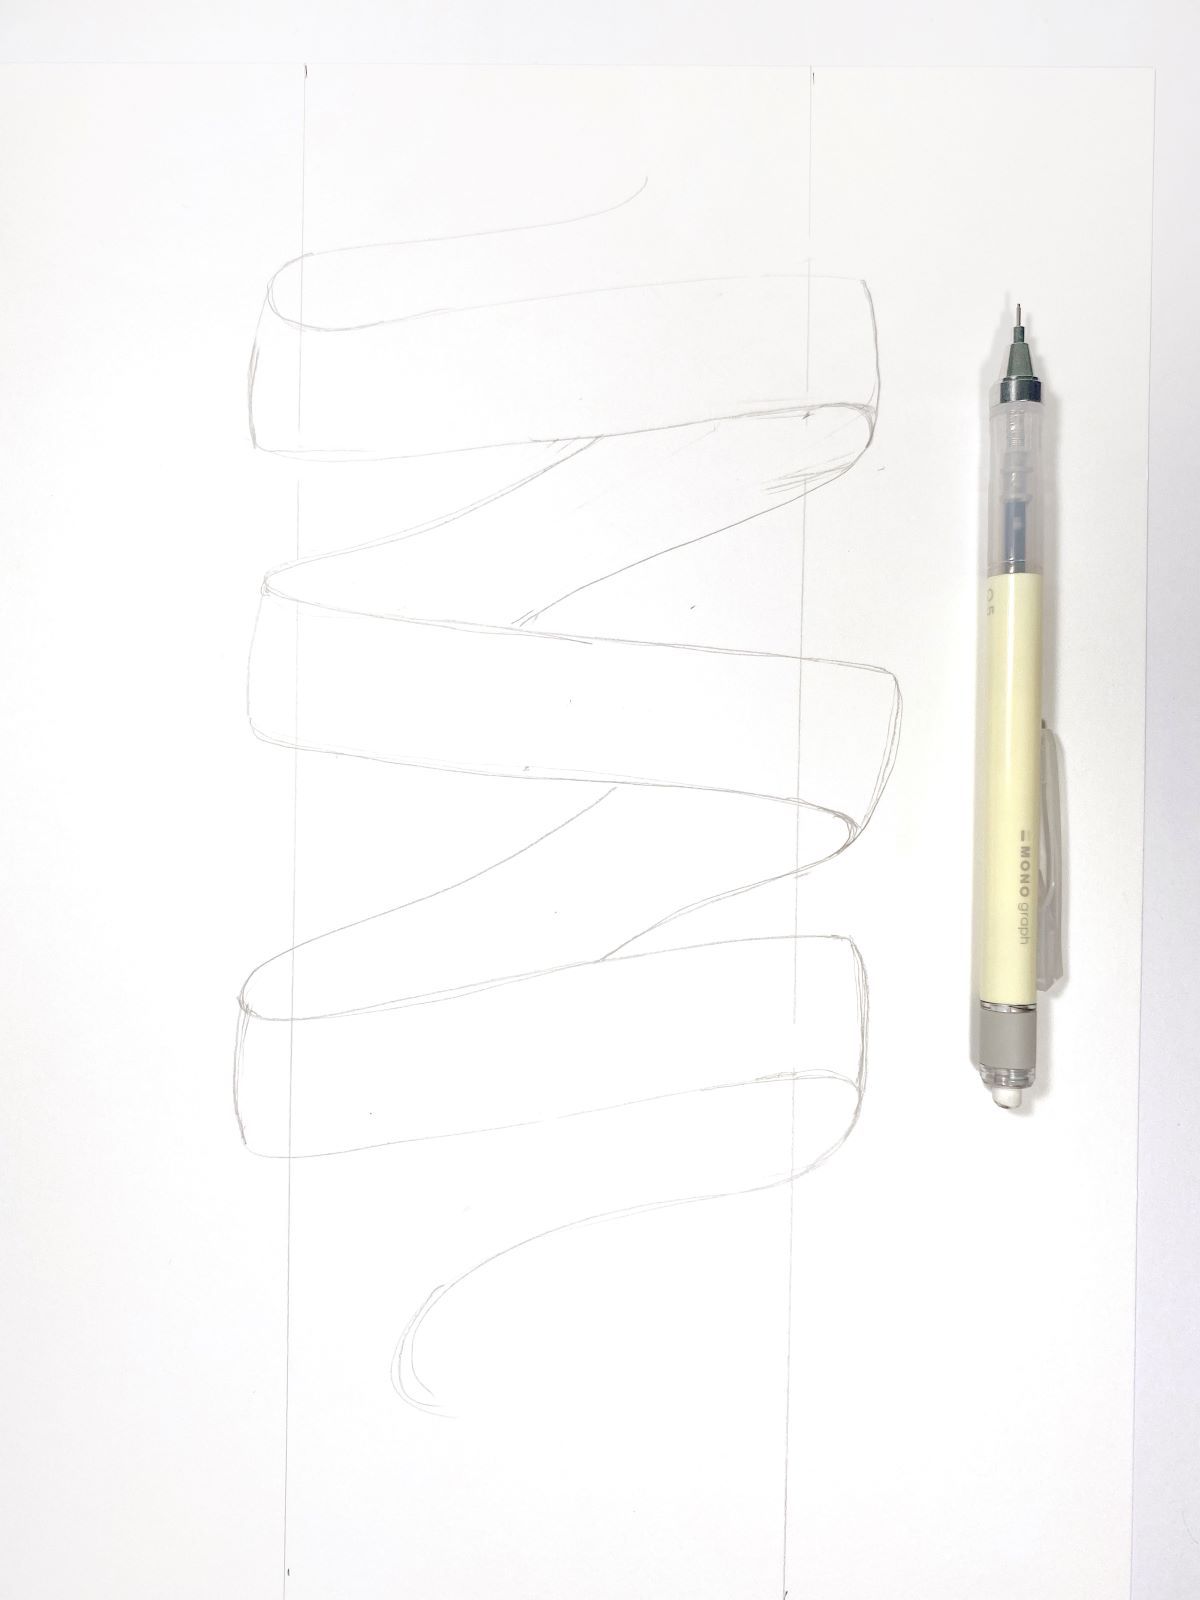
Then finish off the ends of the banner by curling them inwards.
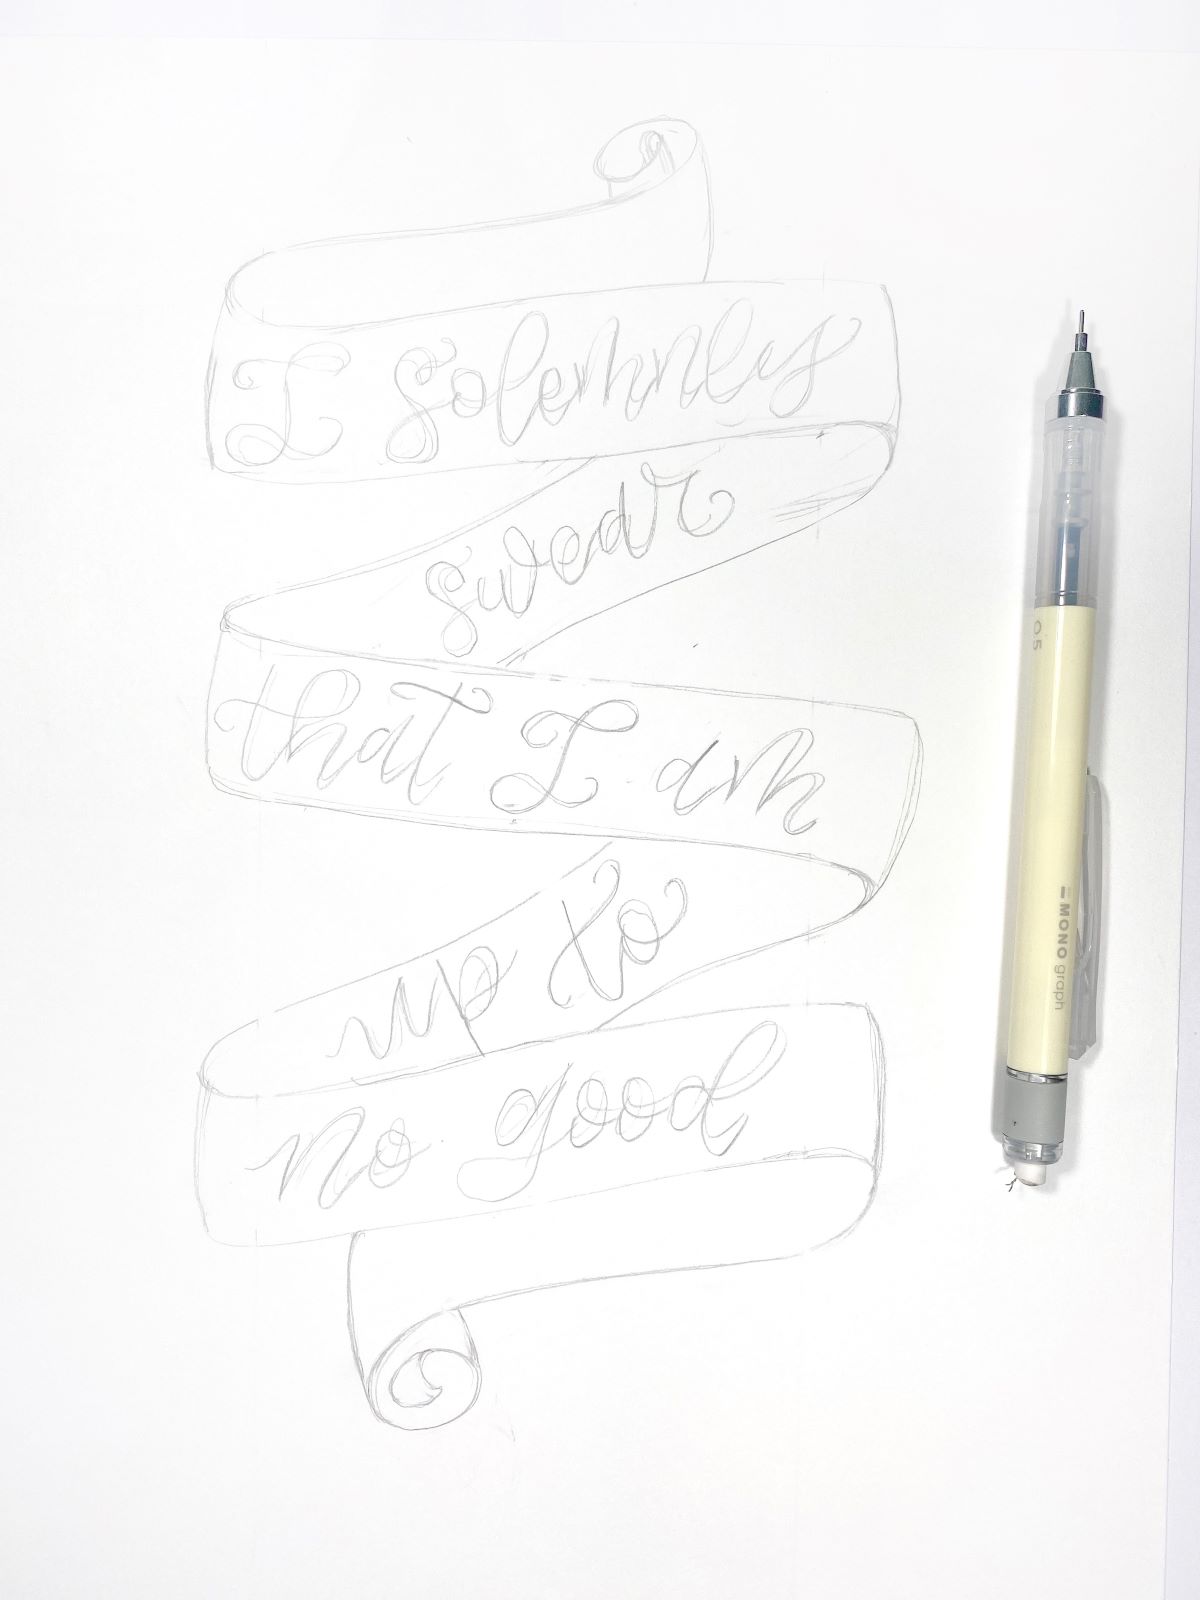
Now it’s time to sketch out the lettering. I wanted to do something different then just lettering on the banner fronts only, so I placed the words “swear” and “up to” on the inside of the banner.
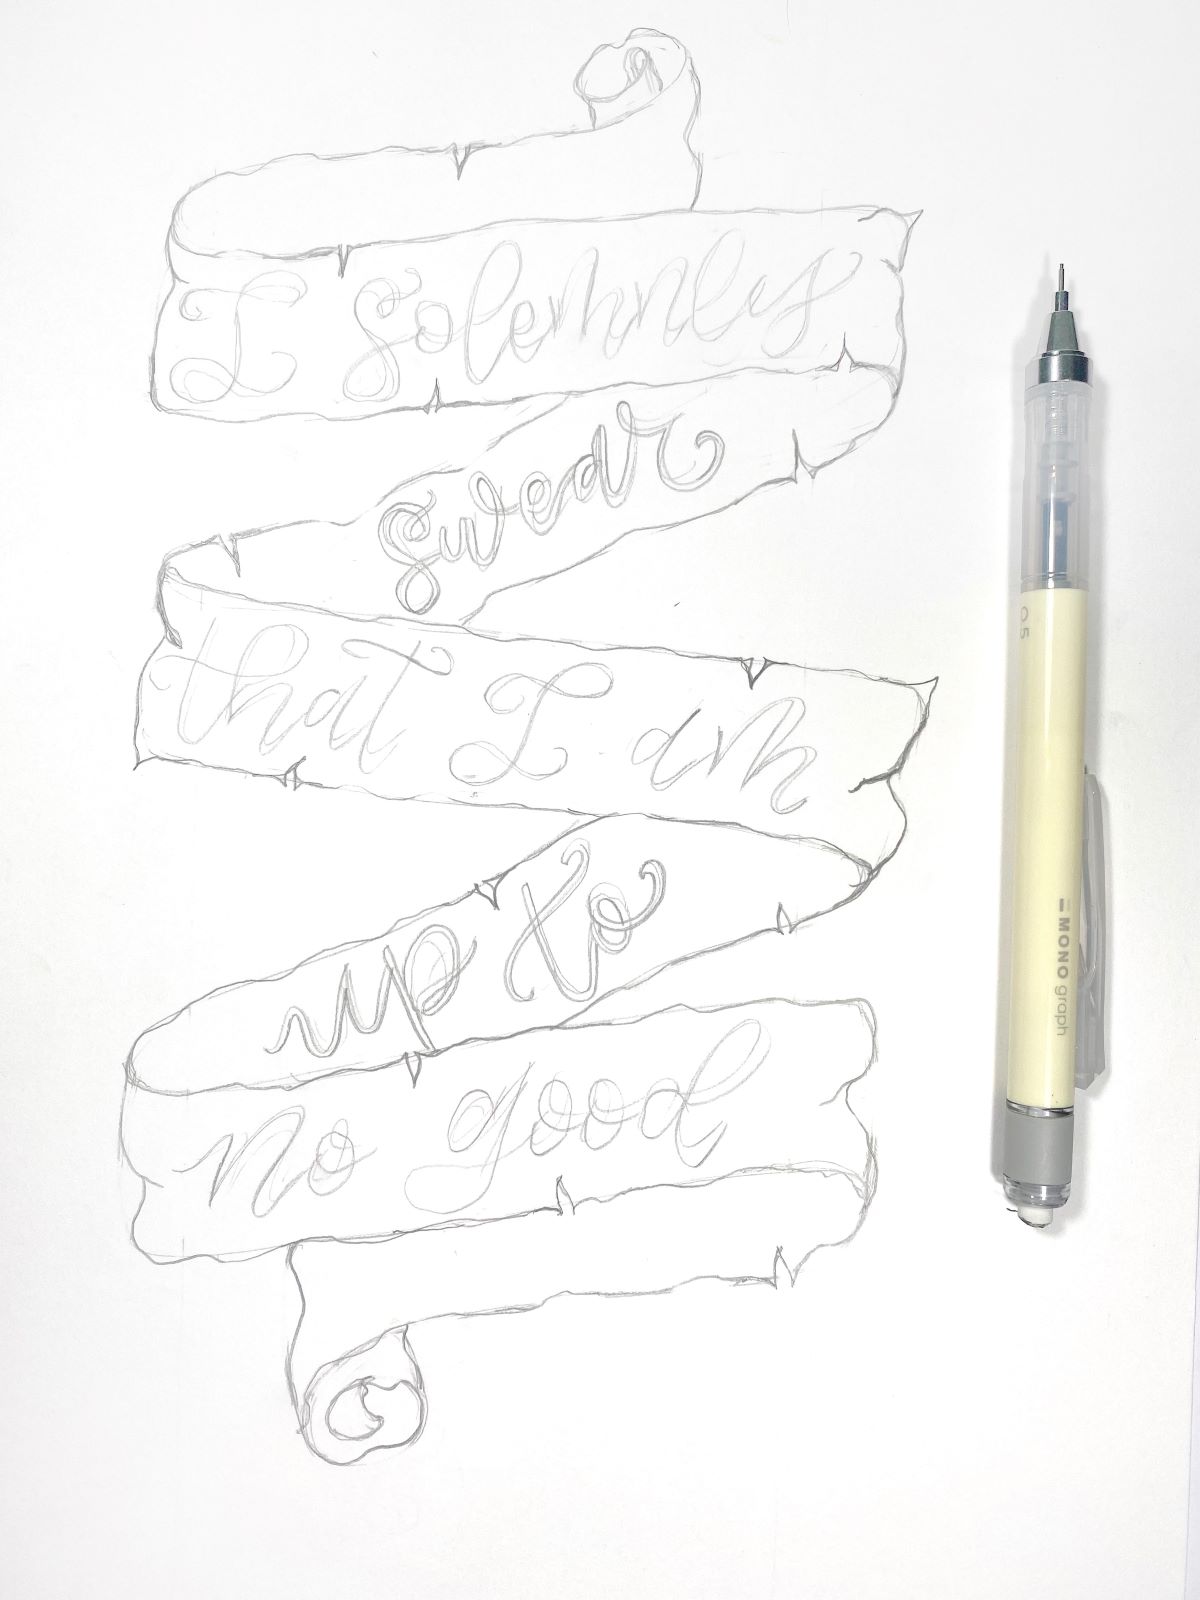
Time for the fun to begin! Now that the foundation of our banner is laid out, it’s time to make the banner look vintage. To achieve this, re-sketch out the edges of the banner to make them look wobbly and uneven. Add little slits to the edges of the banner to make it look ripped. Lastly, trace around the lettering for “swear” and “up to” to create kind of a bubble look. Since this will be negative space lettering, we will be filling in the banner around these letters.
STEP 2 – Inking
Using the Fudenosuke Hard Tip Brush Pen, trace over your lettering on the banner fronts. Next, use the MONO Twin Permanent Marker to color in the inside part of the banner and to color around the words.
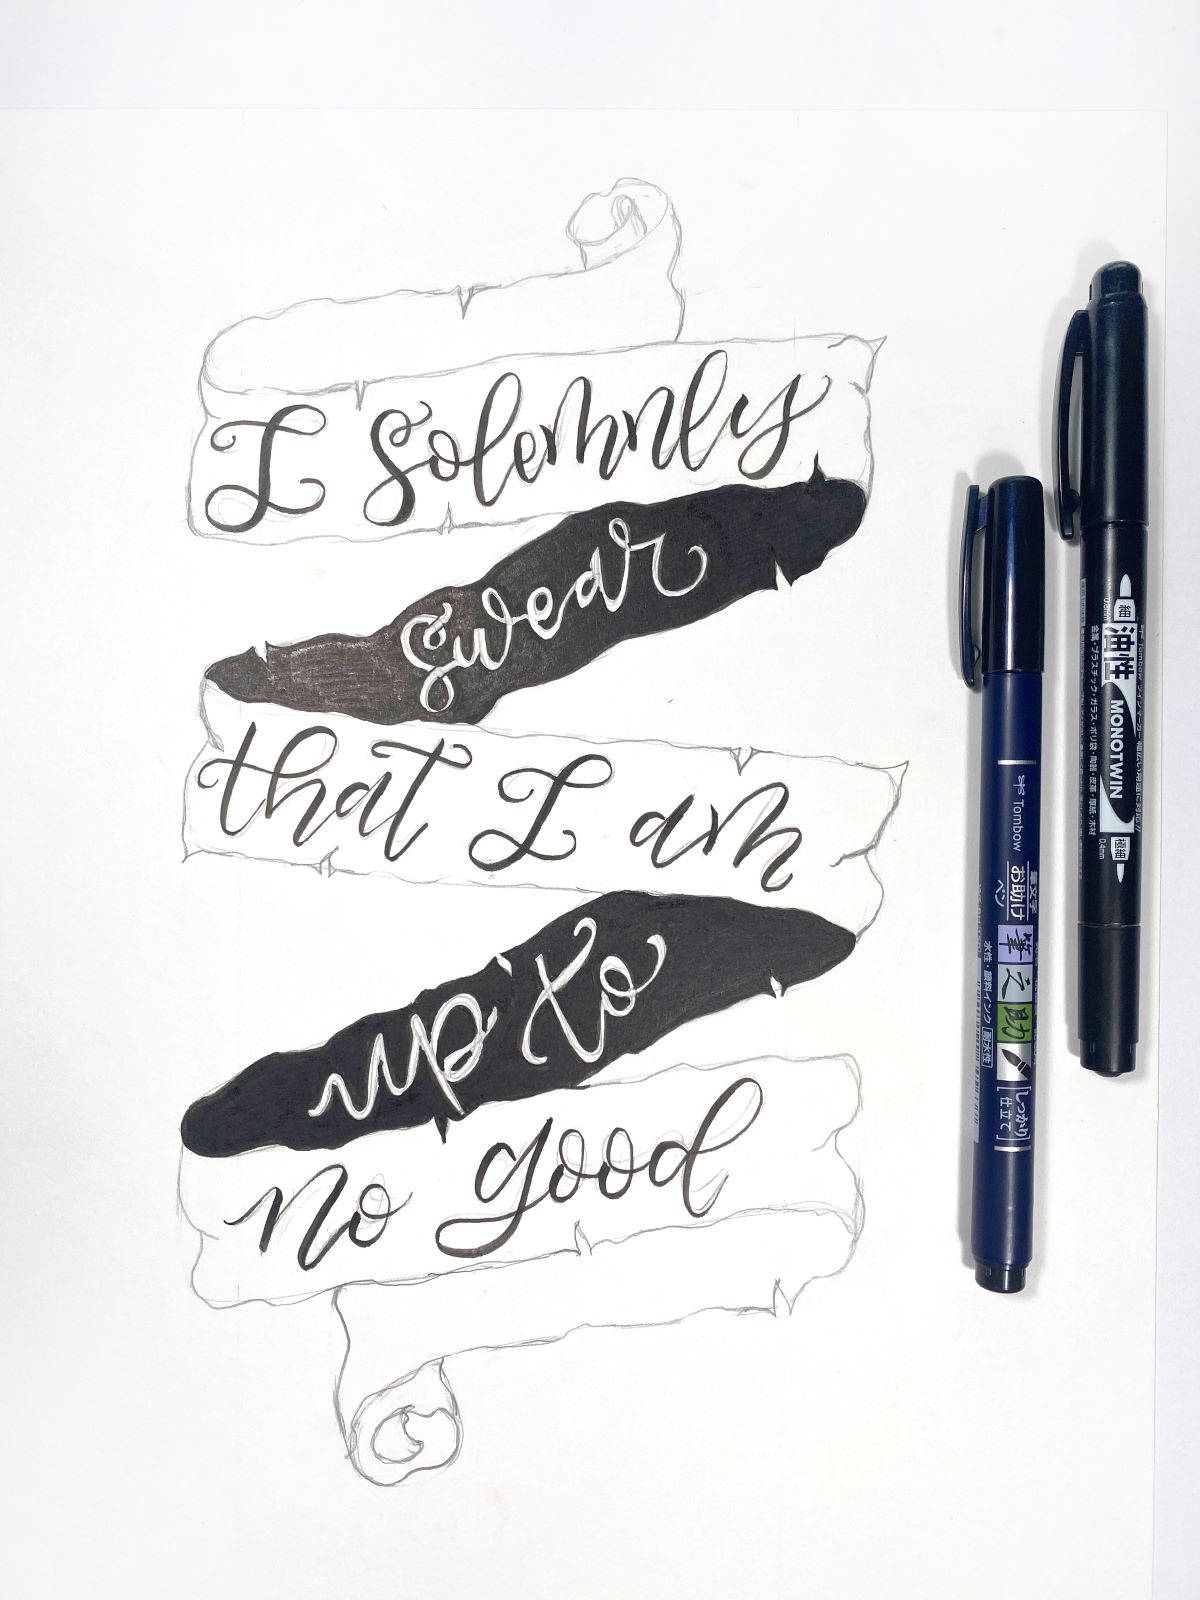
Next, use MONO Drawing Pen 05 to trace the edges of the entire banner.
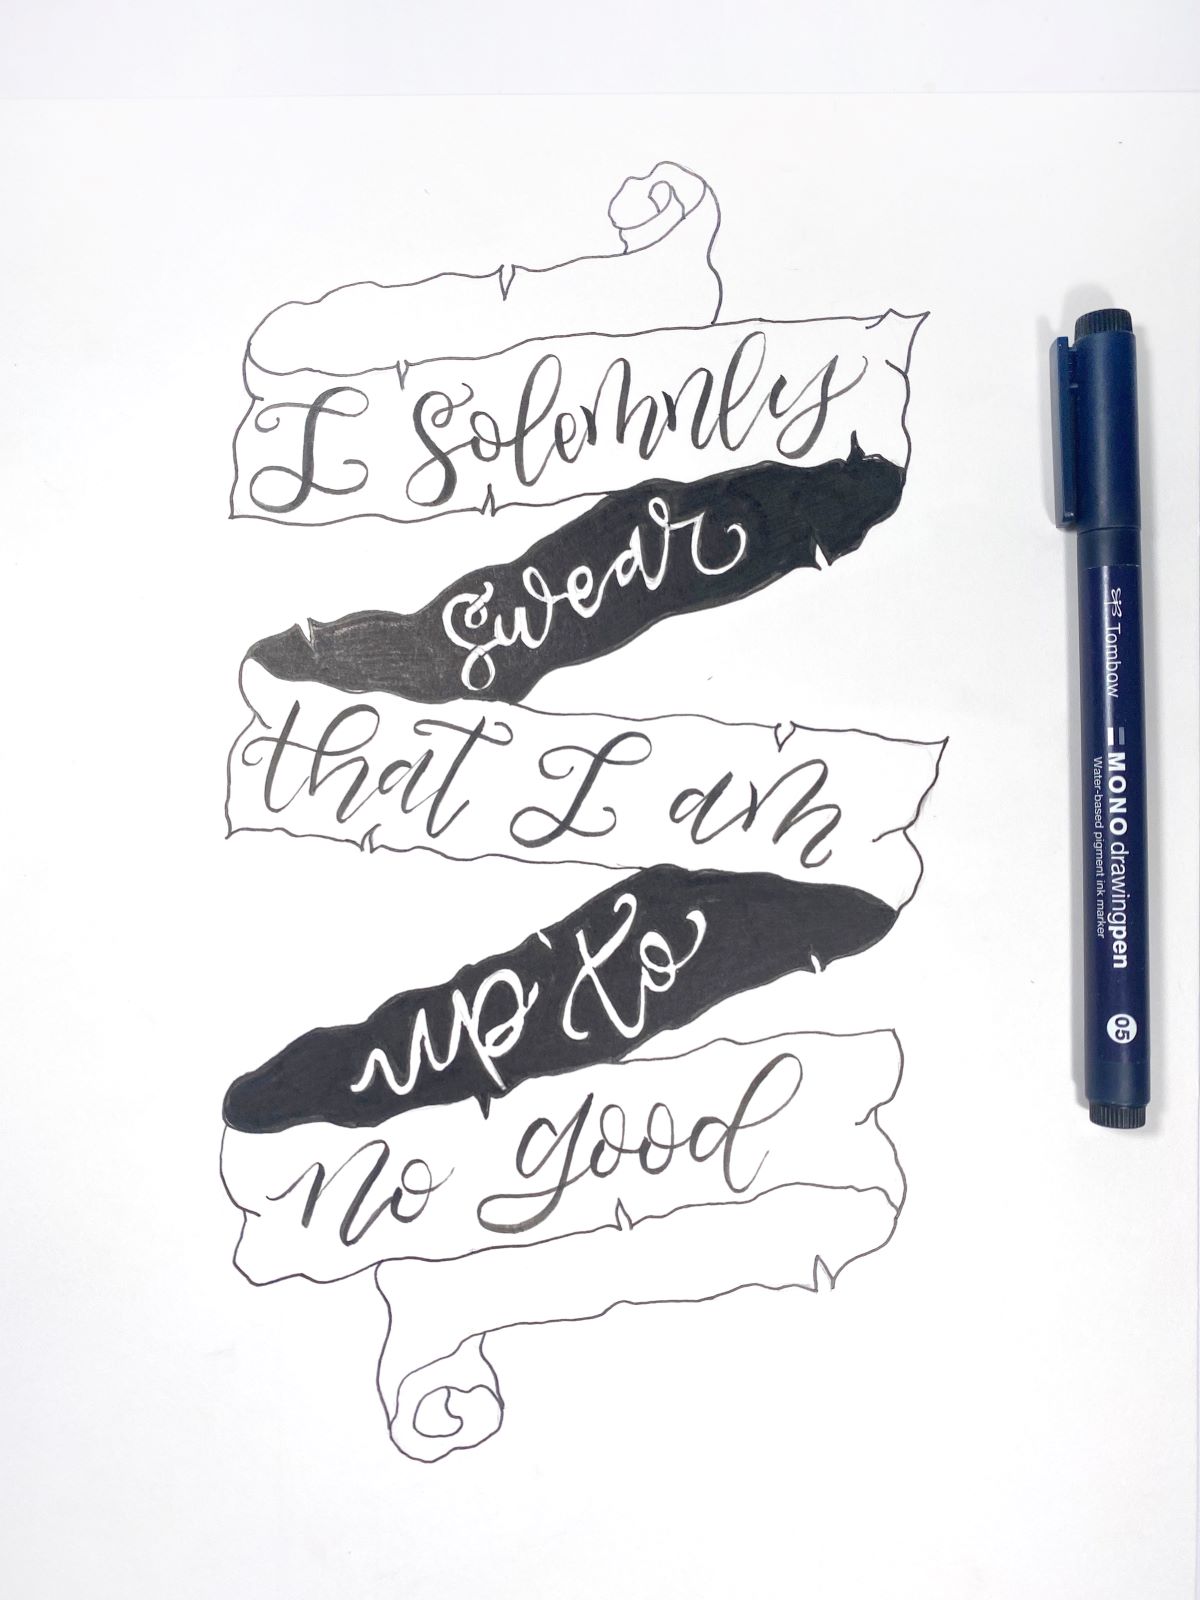
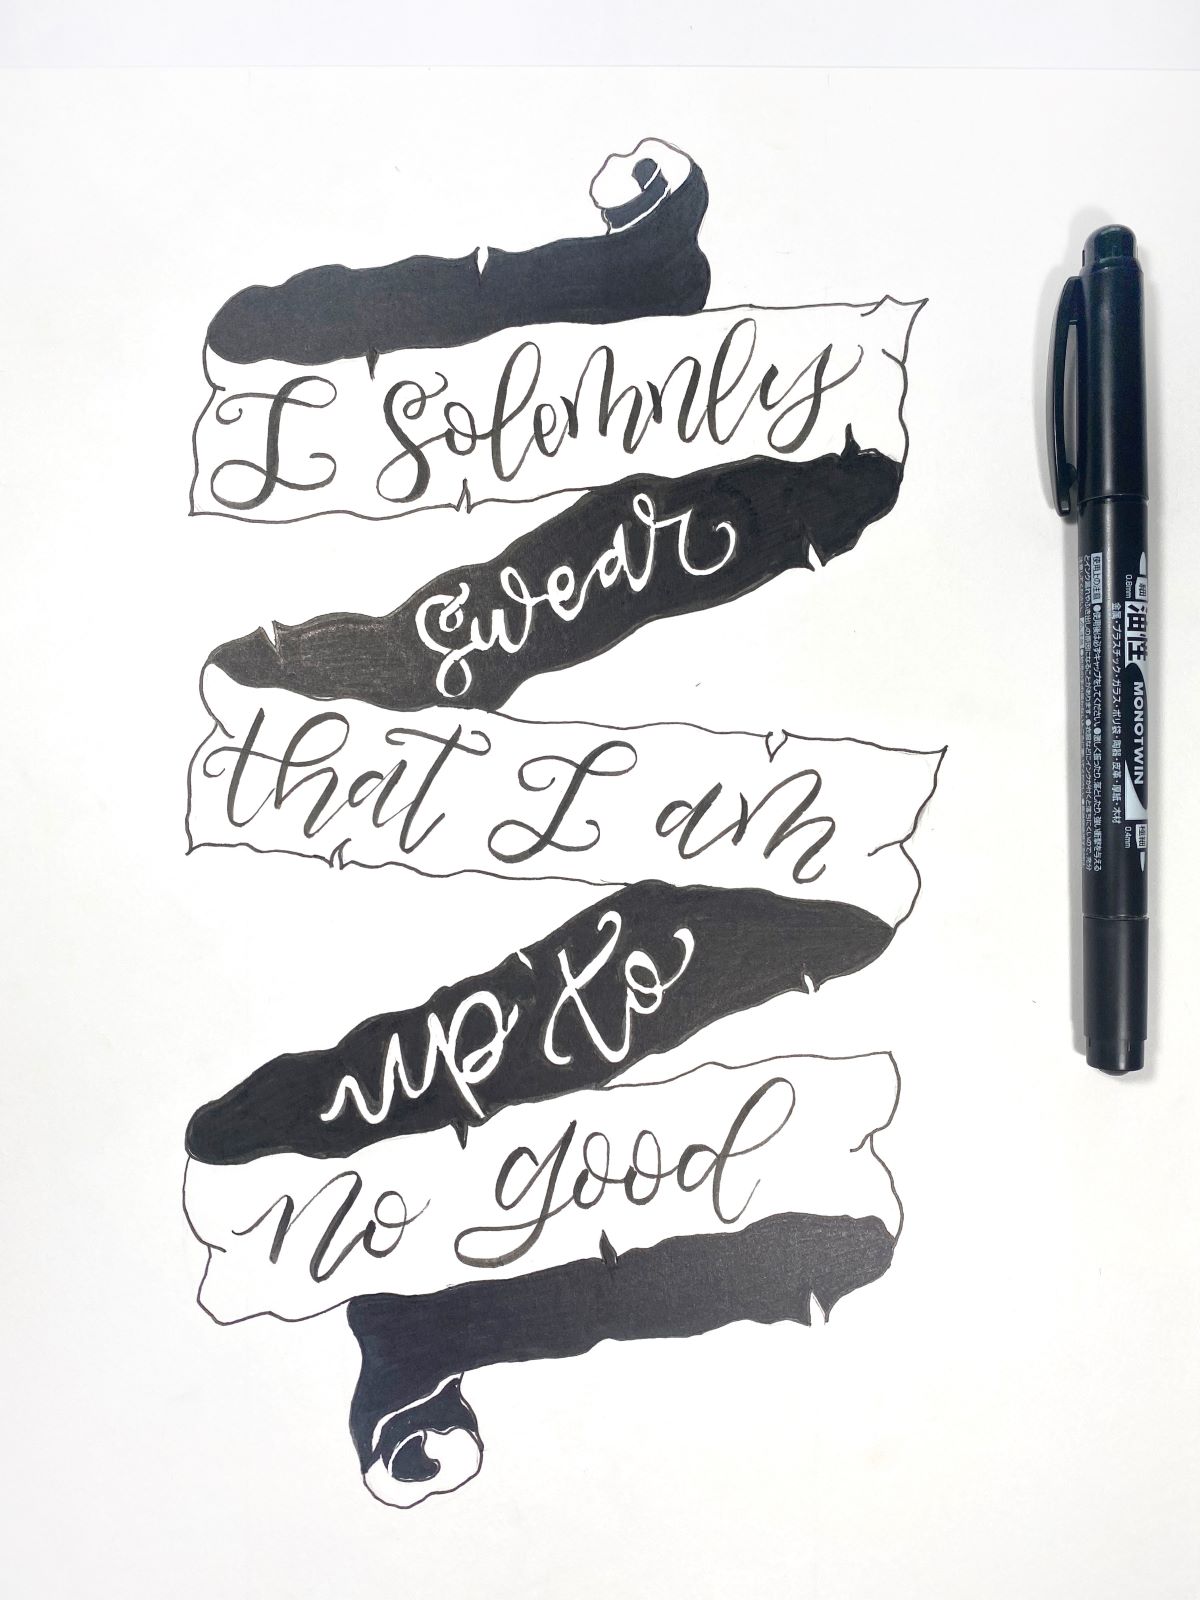
Using the MONO Twin Permanent Marker, finish filling in the top and bottom inside part of the banner.
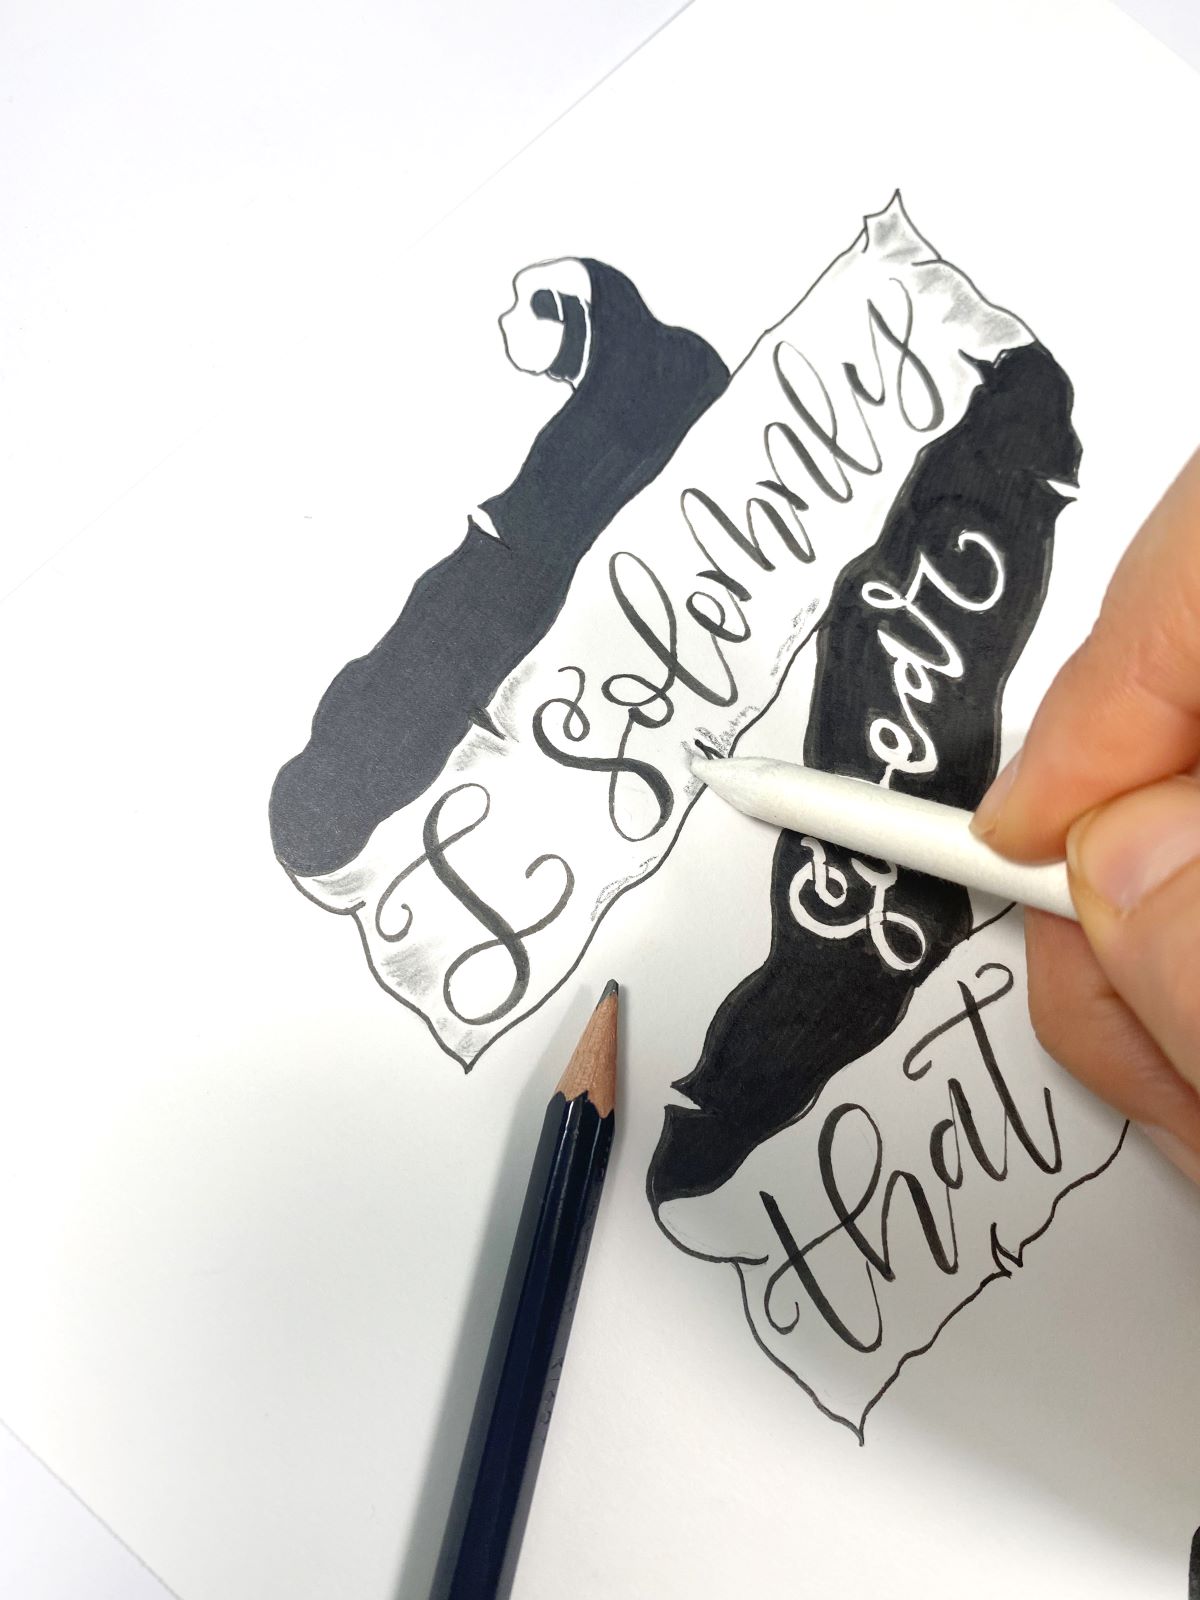
To add shadow and depth to the banner, use MONO Drawing Pencil 2B to add a little bit of lead to the edges and rips of the banner. Then, use a blending stump or a Q-Tip to smudge the lead.
Next, use the Twin Tip Fudenosuke Brush Pen to add a shadow to your lettering. Then, erase all remaining pencil lines.
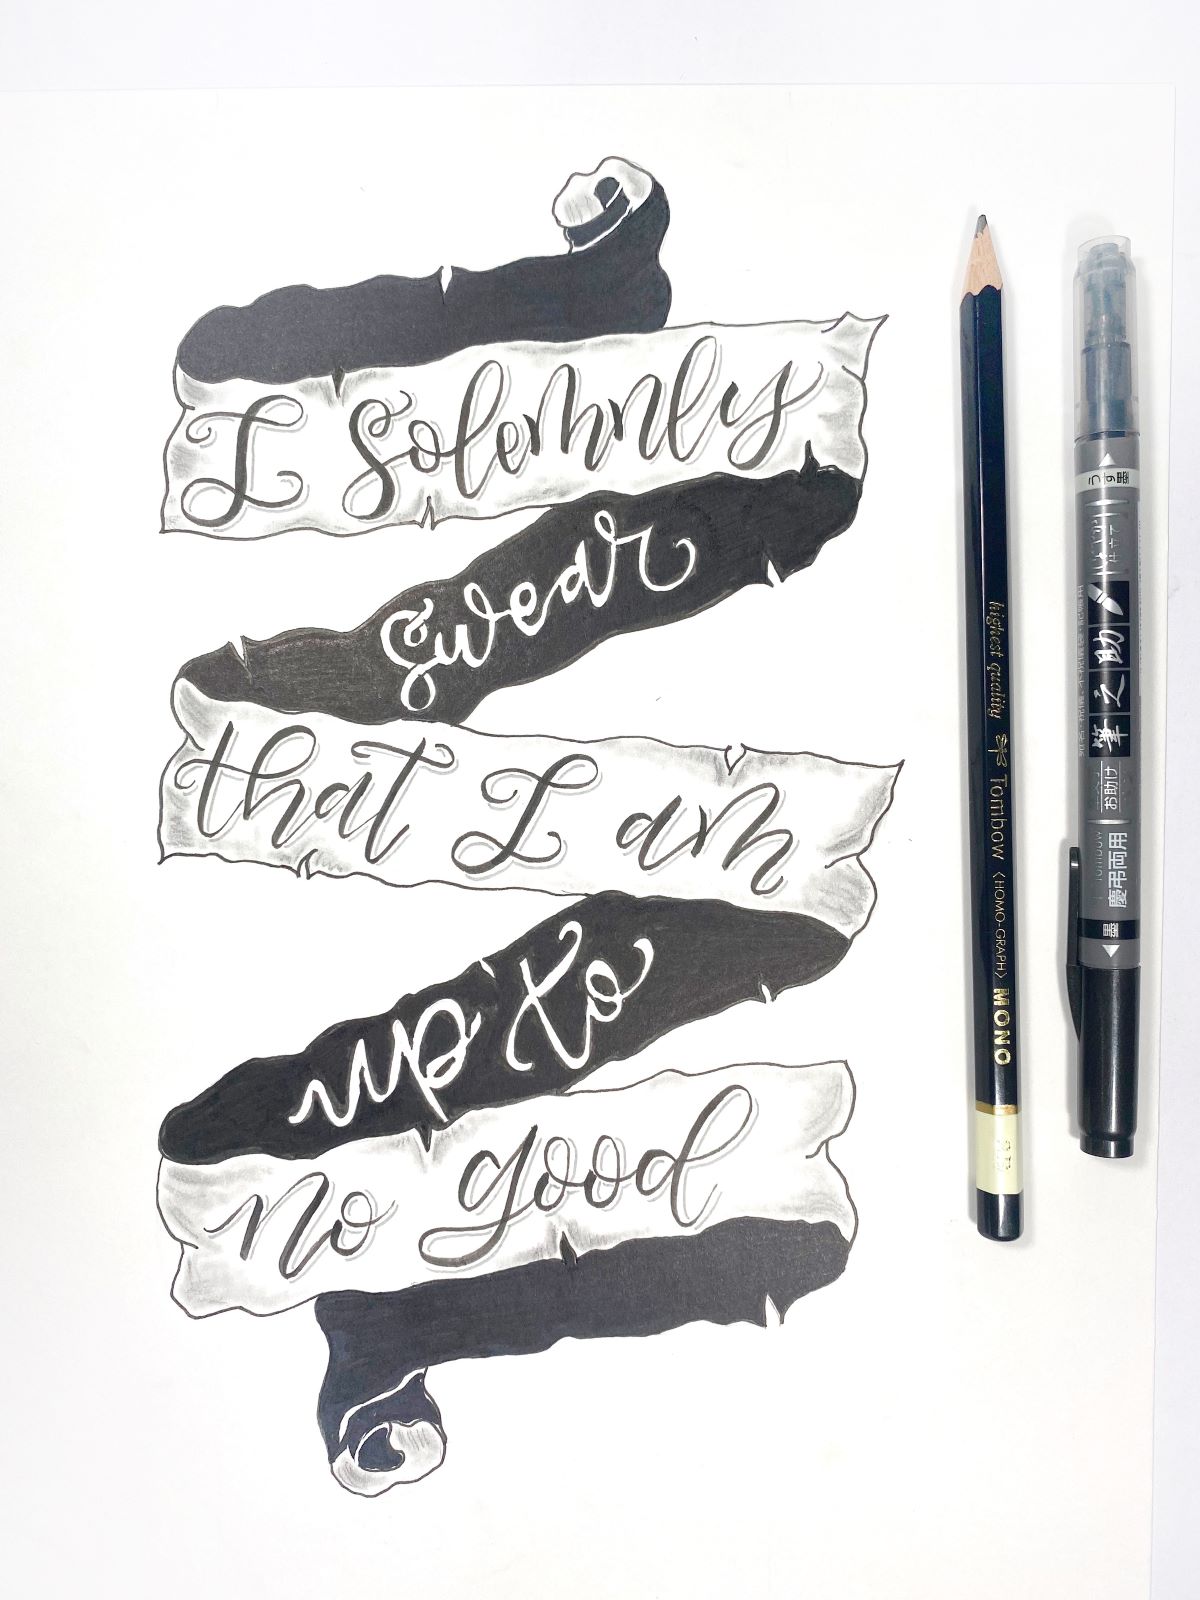
The last step is to add footprints around your banner using the MONO Twin Permanent Marker.
Your Harry Potter banner quote is done!
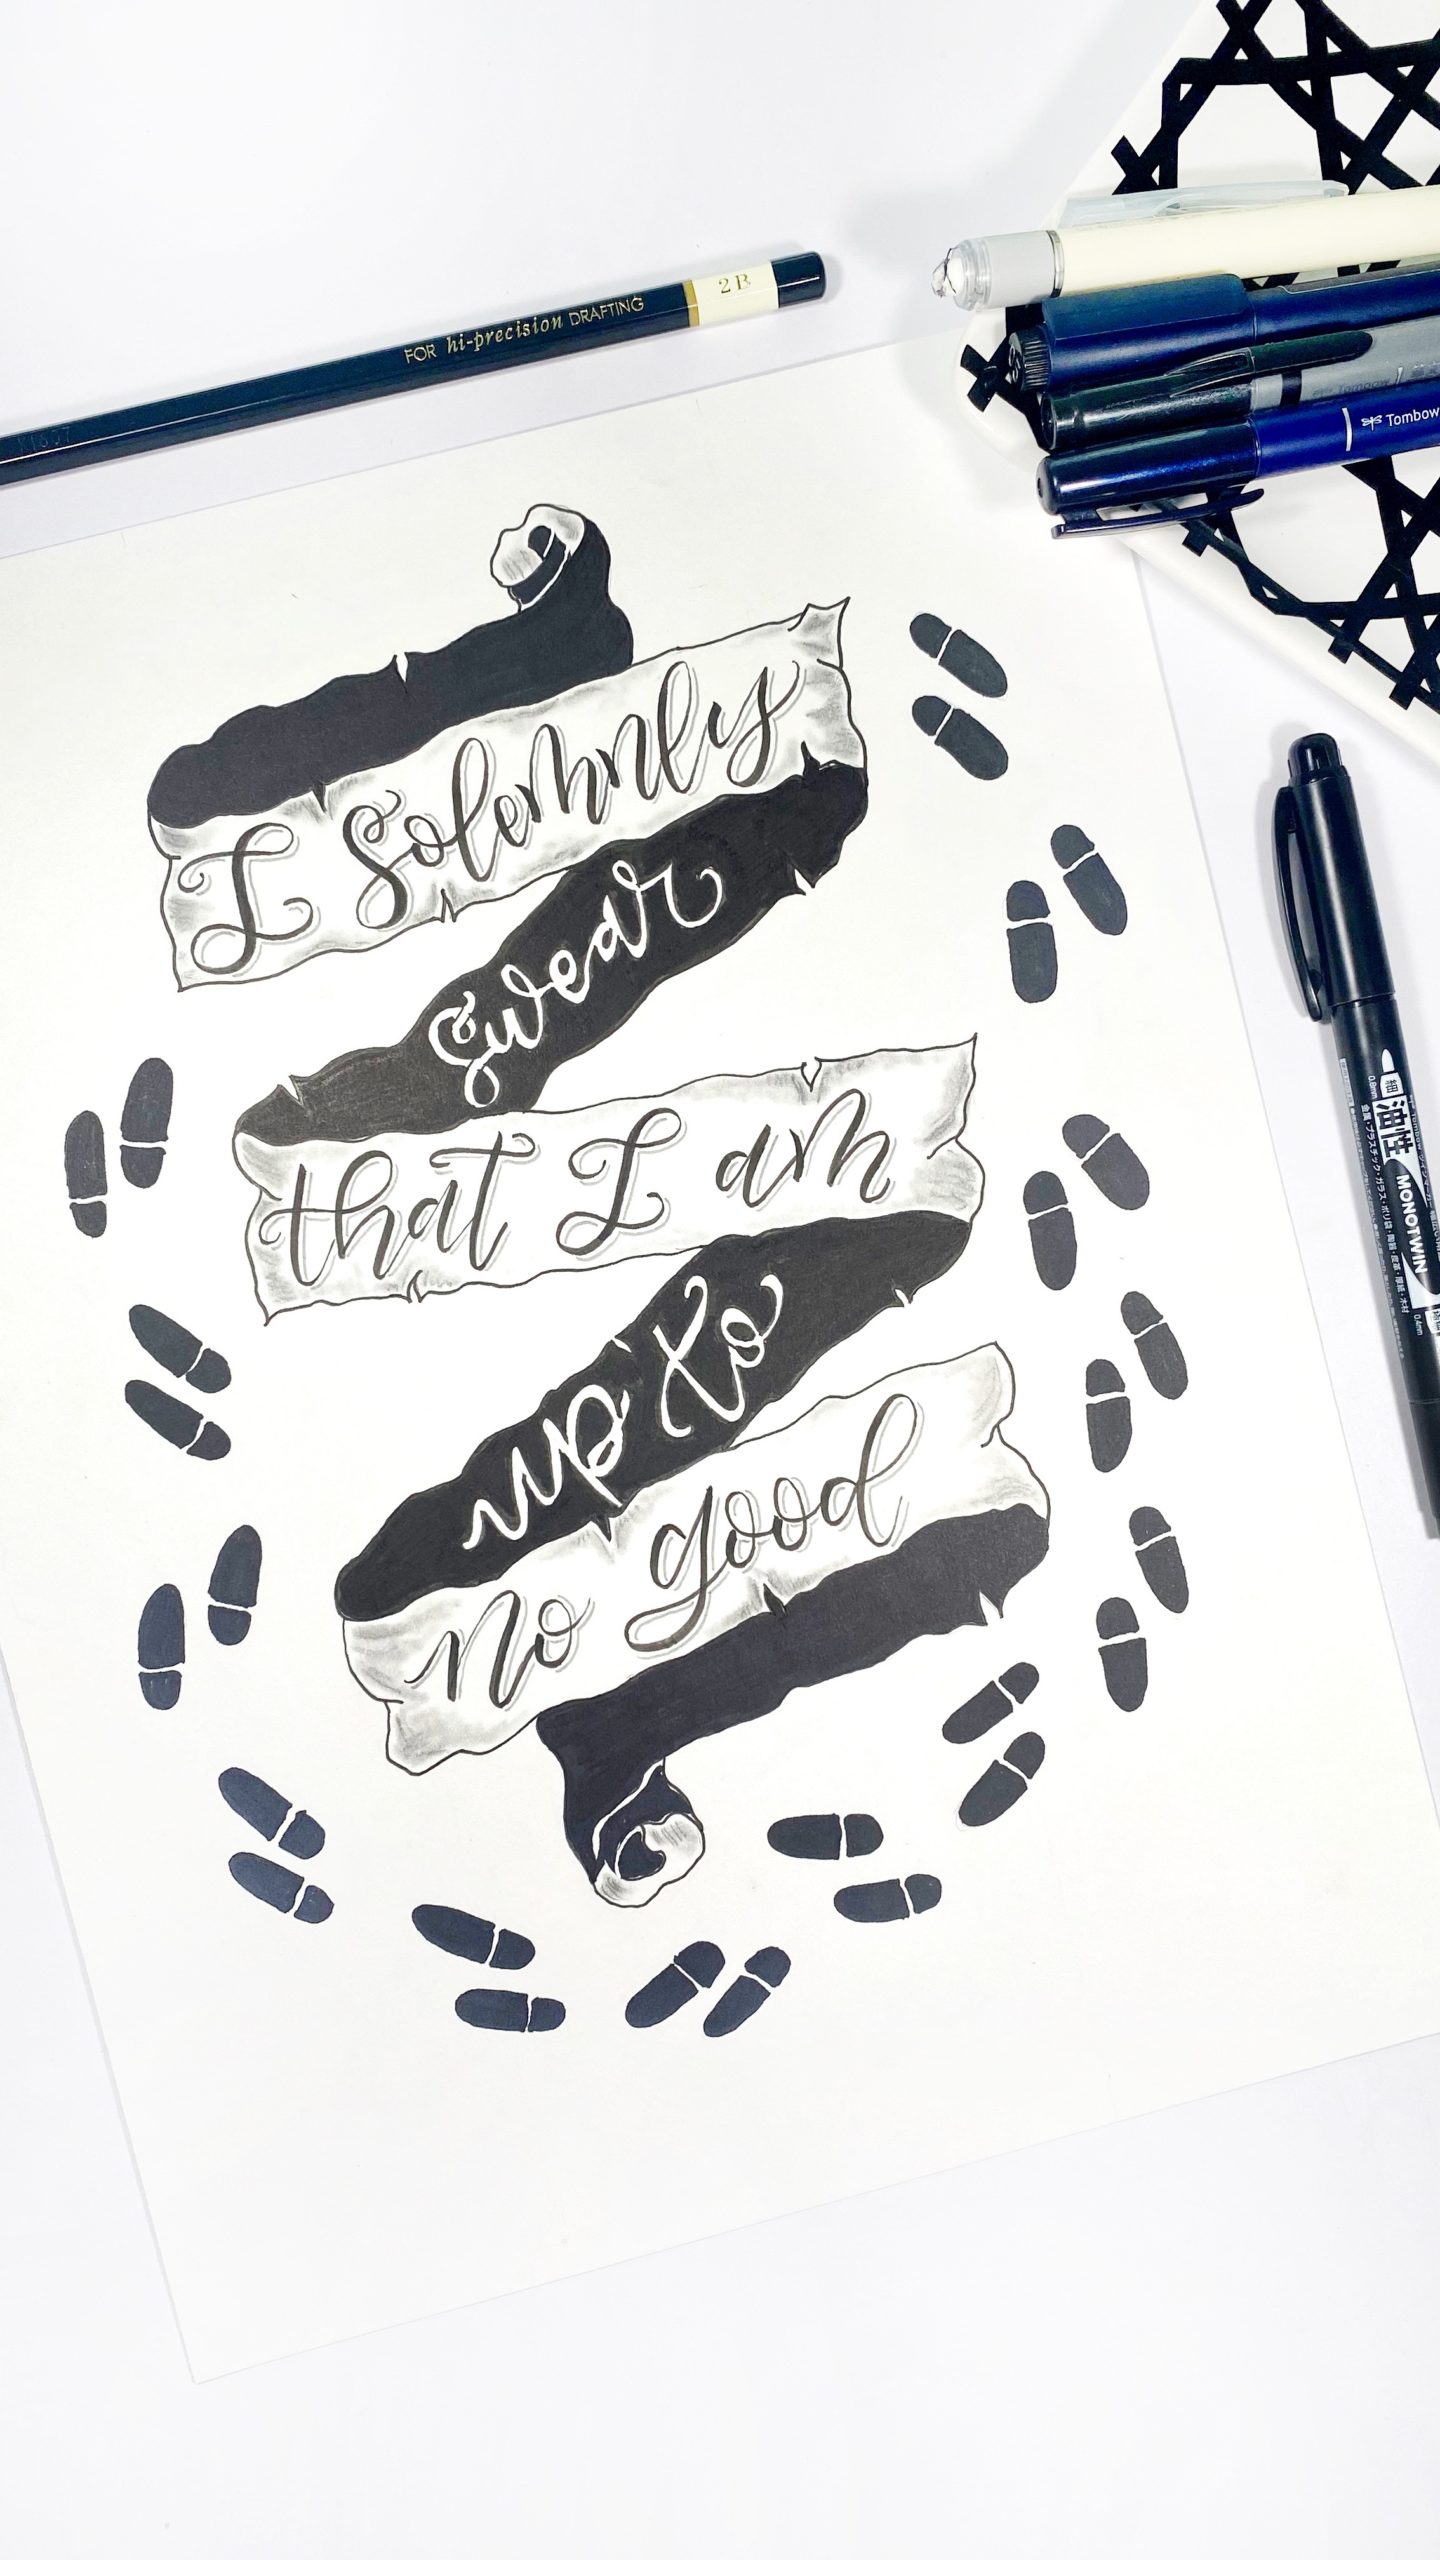
Thanks for following along today! If you give this a try be sure to tag us at @tombowusa and @a_heartened_calling so we can see your amazing work!
For more book inspired projects, check out these posts!
- Create A Book Tracker with Jessica
- Create a Fantasy Book Illustration with Katie
- DIY Book Shelf Bullet Journal Spread with Adrienne
See you next time!
Mandy