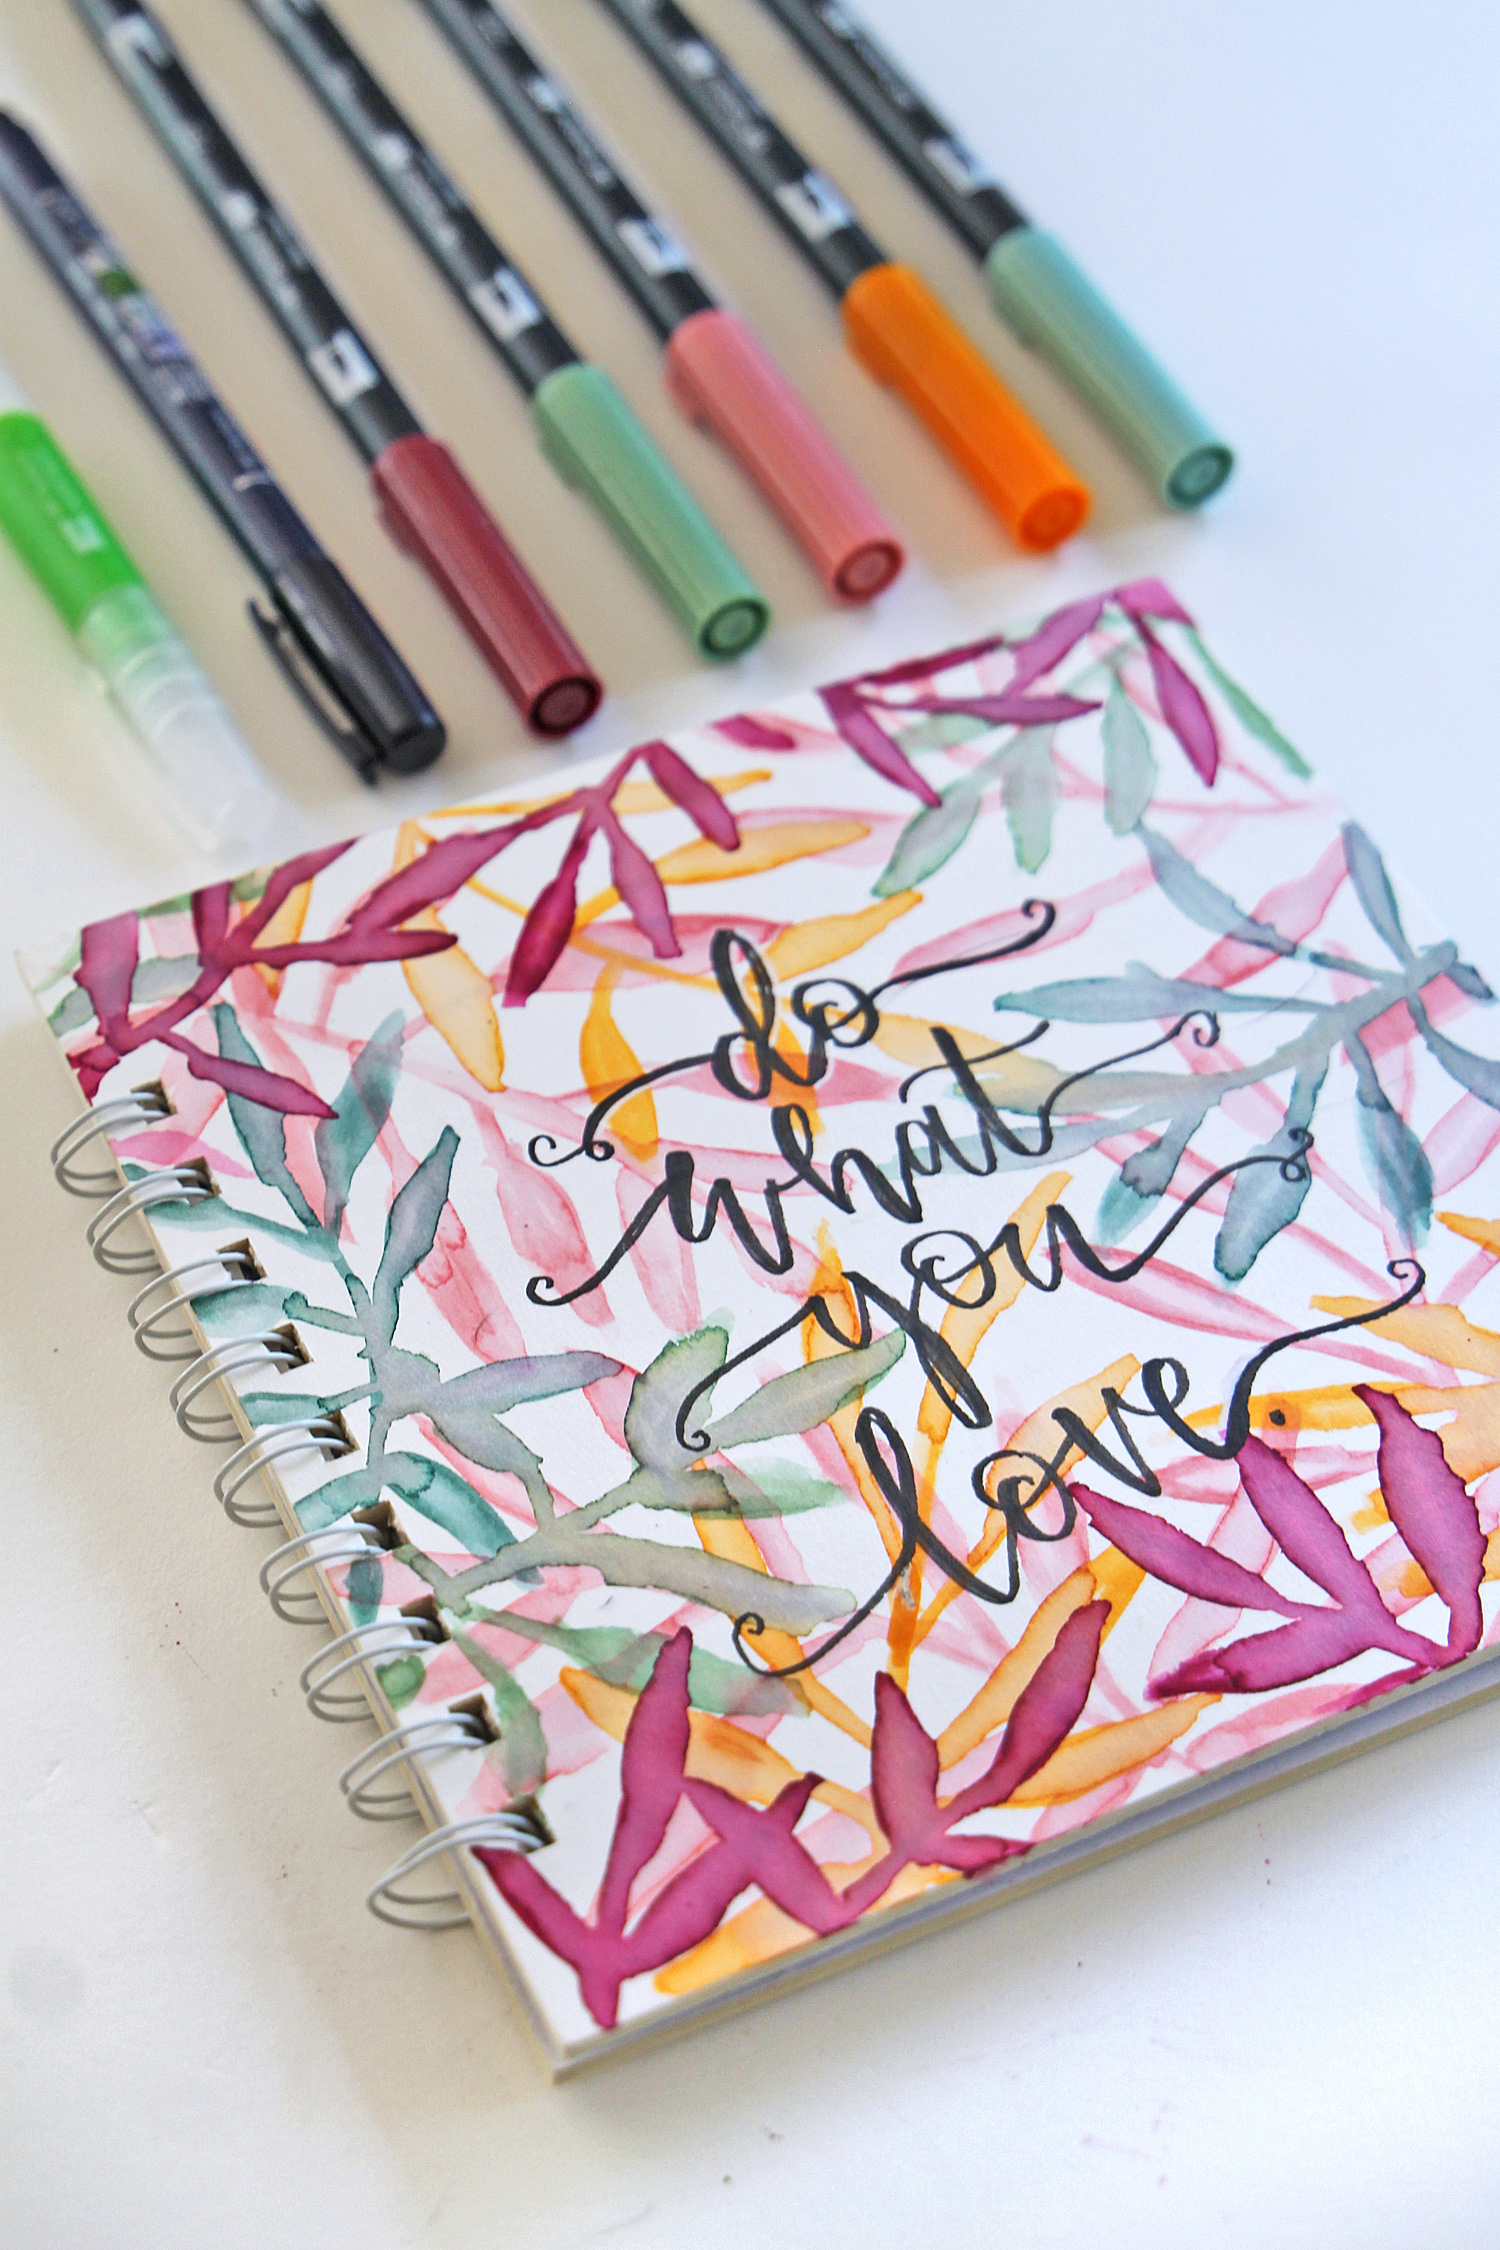
Hey everyone, Katie here! Today, I want to show you how to decorate your journal cover with some tropical vibes and a hand lettered quote!
Hand lettering is a beautiful way to add a favorite saying or quote to embellish your work.
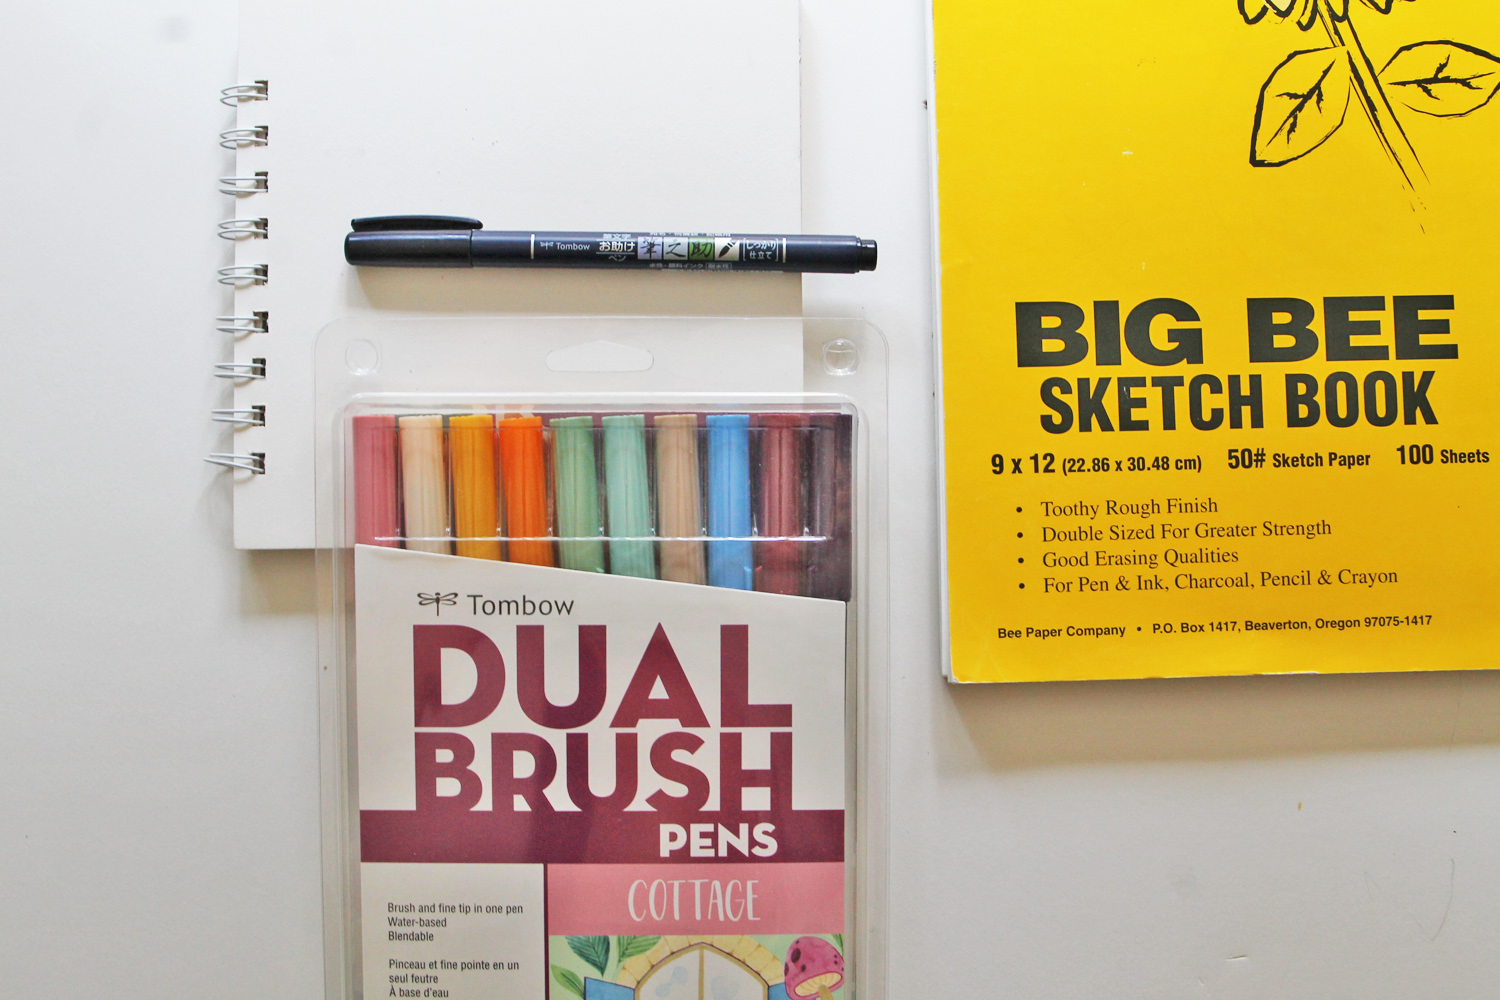
Supplies:
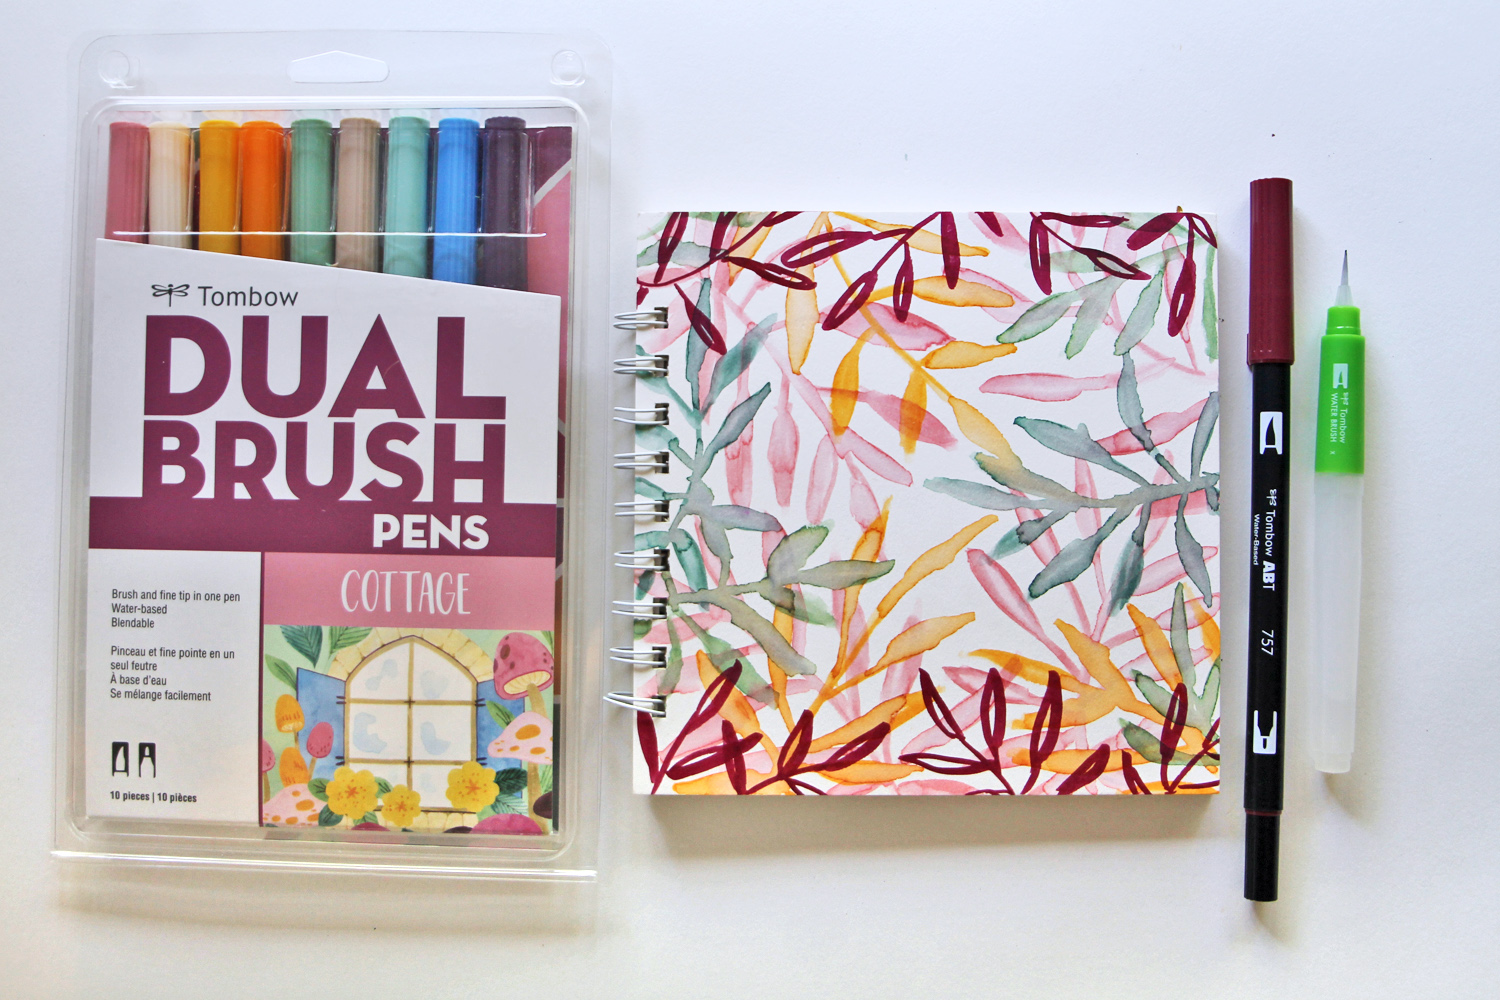
- Tombow Dual Brush Pens Cottage 10-Pack
- Blank journal/notebook (one with a white cardstock/watercolor paper cover works best)
- Tombow Water Brush, Small
- Tombow Hard Tip Fudenosuke Brush Pen
Step one:
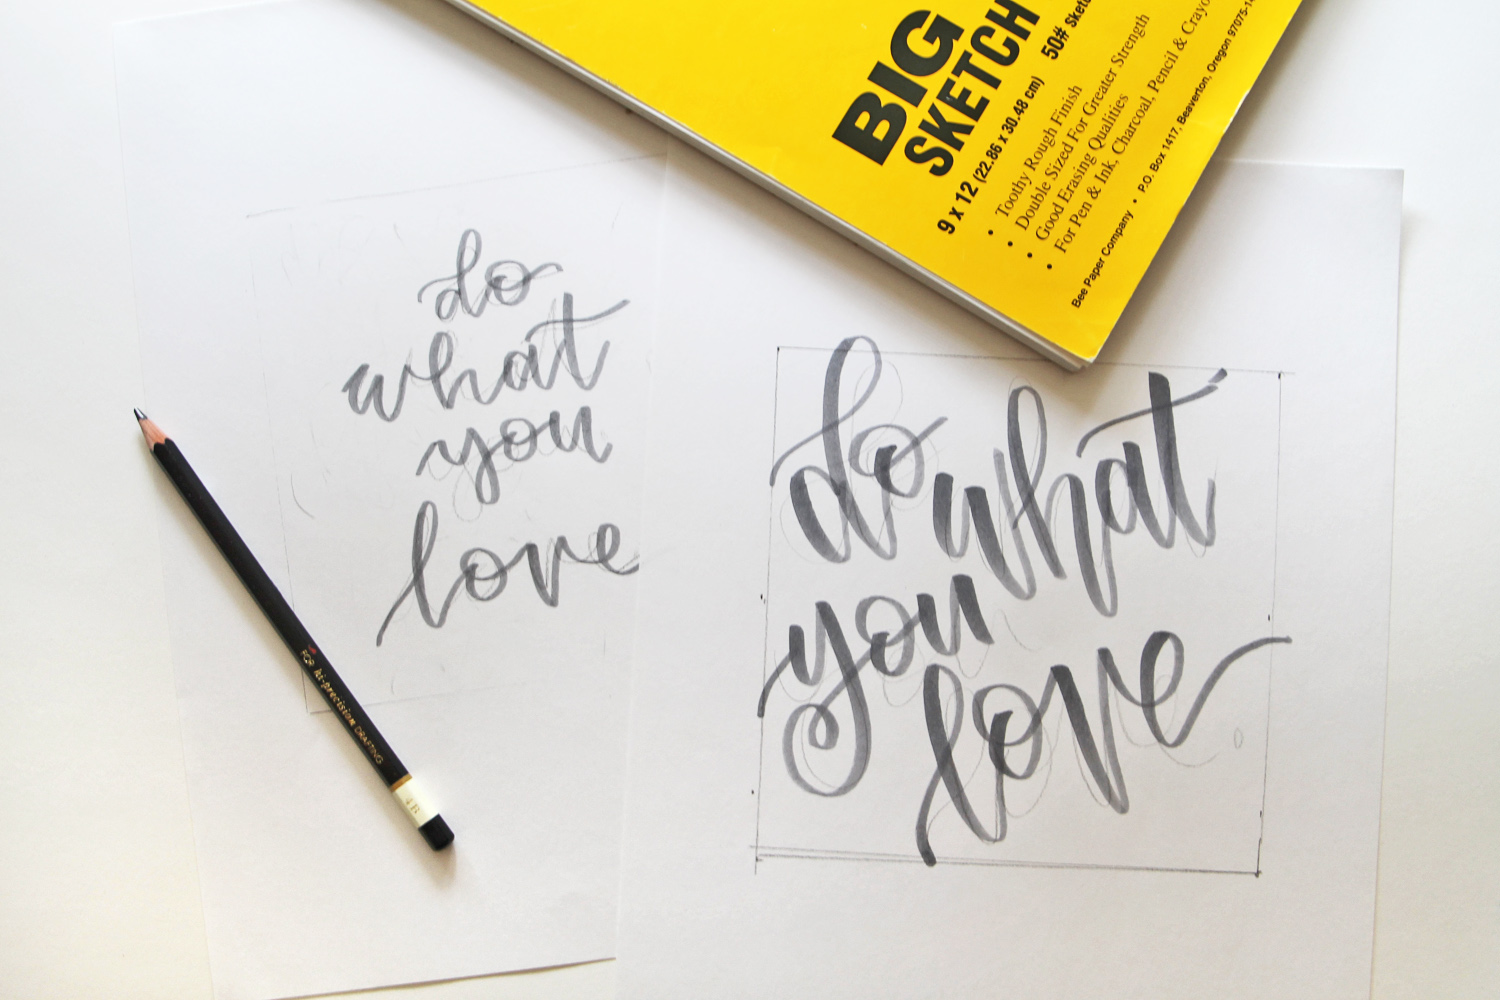
I like to start by sketching ideas onto a piece of blank paper. By sketching ahead of time, you can work out any spelling mistakes (it happens to all of us) and decide on the style of hand lettering and word placement.
Step two:
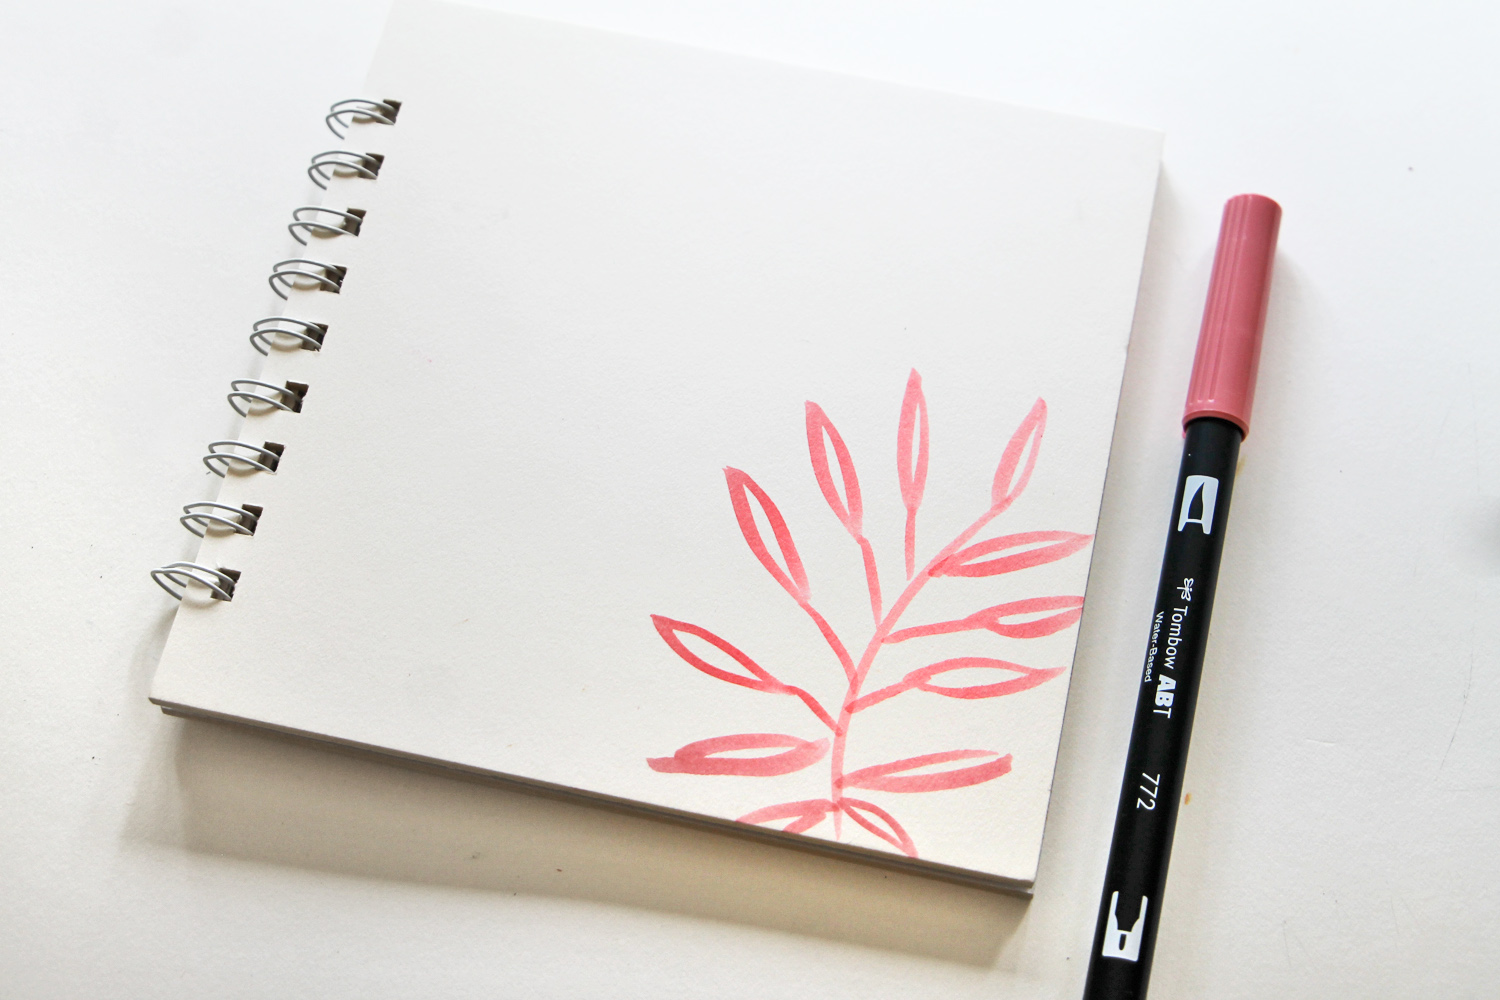
Let me show you how to create the tropical leaf background for your quote!
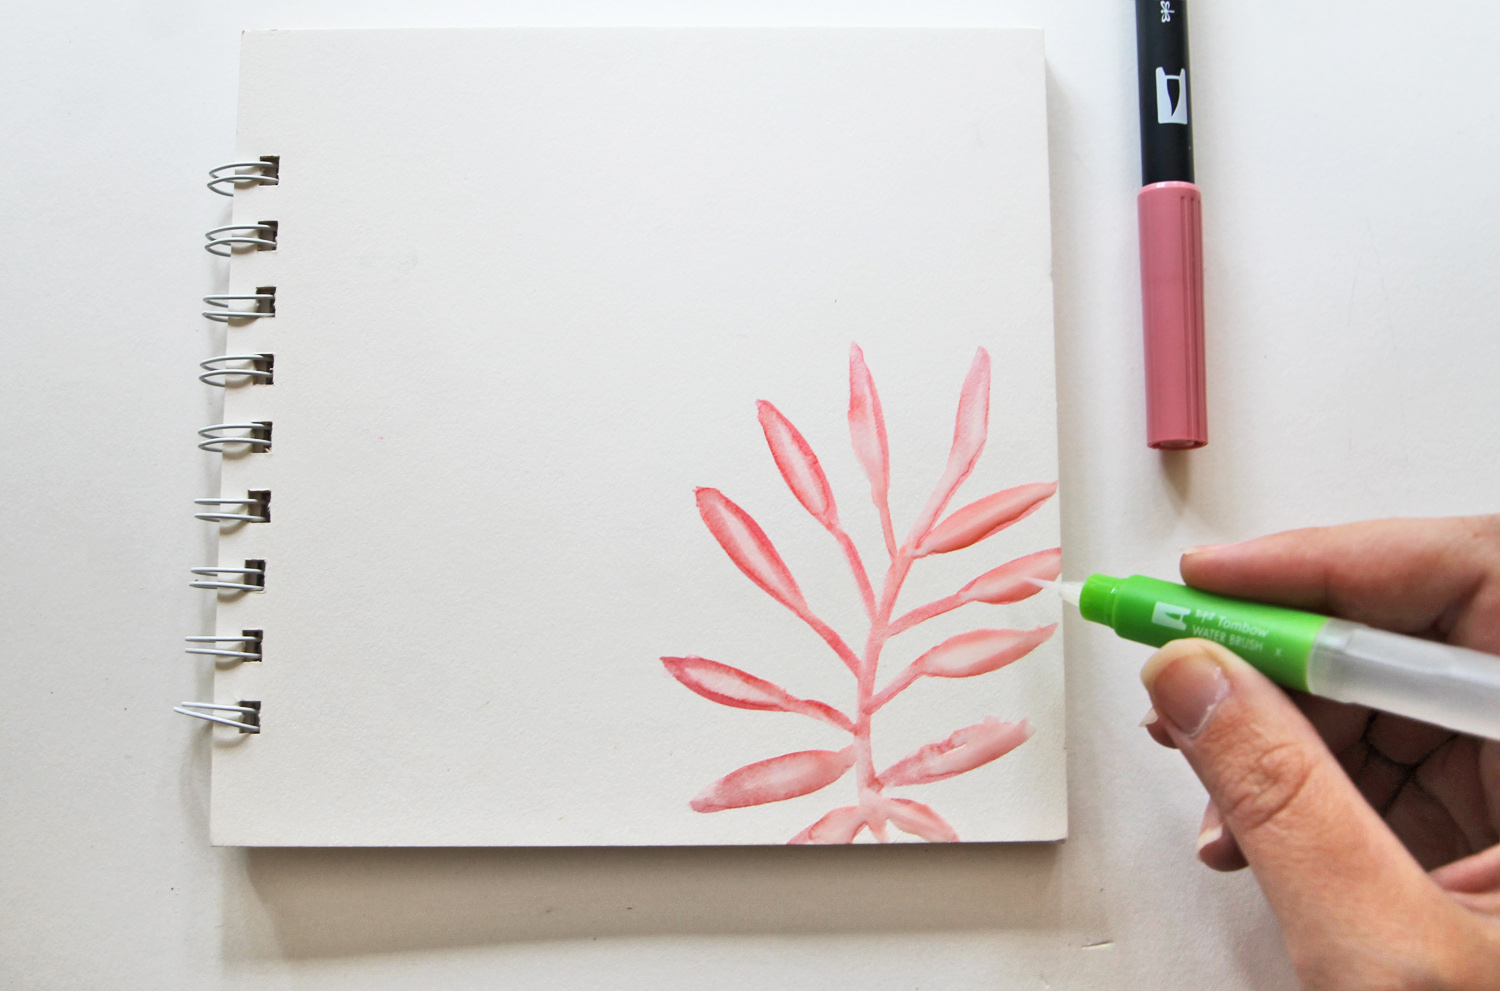
Use the brush tip of a Dual Brush Pen to draw a quick leaf shape onto the cover. If you’re new to drawing tropical plants, start with the curved middle line and add a tear-drop shaped leaf to the top end. Add more leafs going off of the sides all of the way down.
(Note, if your journal doesn’t already have a white cover, you can work on watercolor paper and then adhere it to the cover at the end!)
Step three:
Use the Small Water Brush to go over the ink and blend the color. Let dry.
Learn 4 Tips for Using Water Brushes here.
Step four:
Use more Dual Brush Pen colors to layer the leaves around the cover and leave the center more open.
You do want to make sure that you let the ink dry between colors, so that they don’t mix and make a muddy color.
Step five:
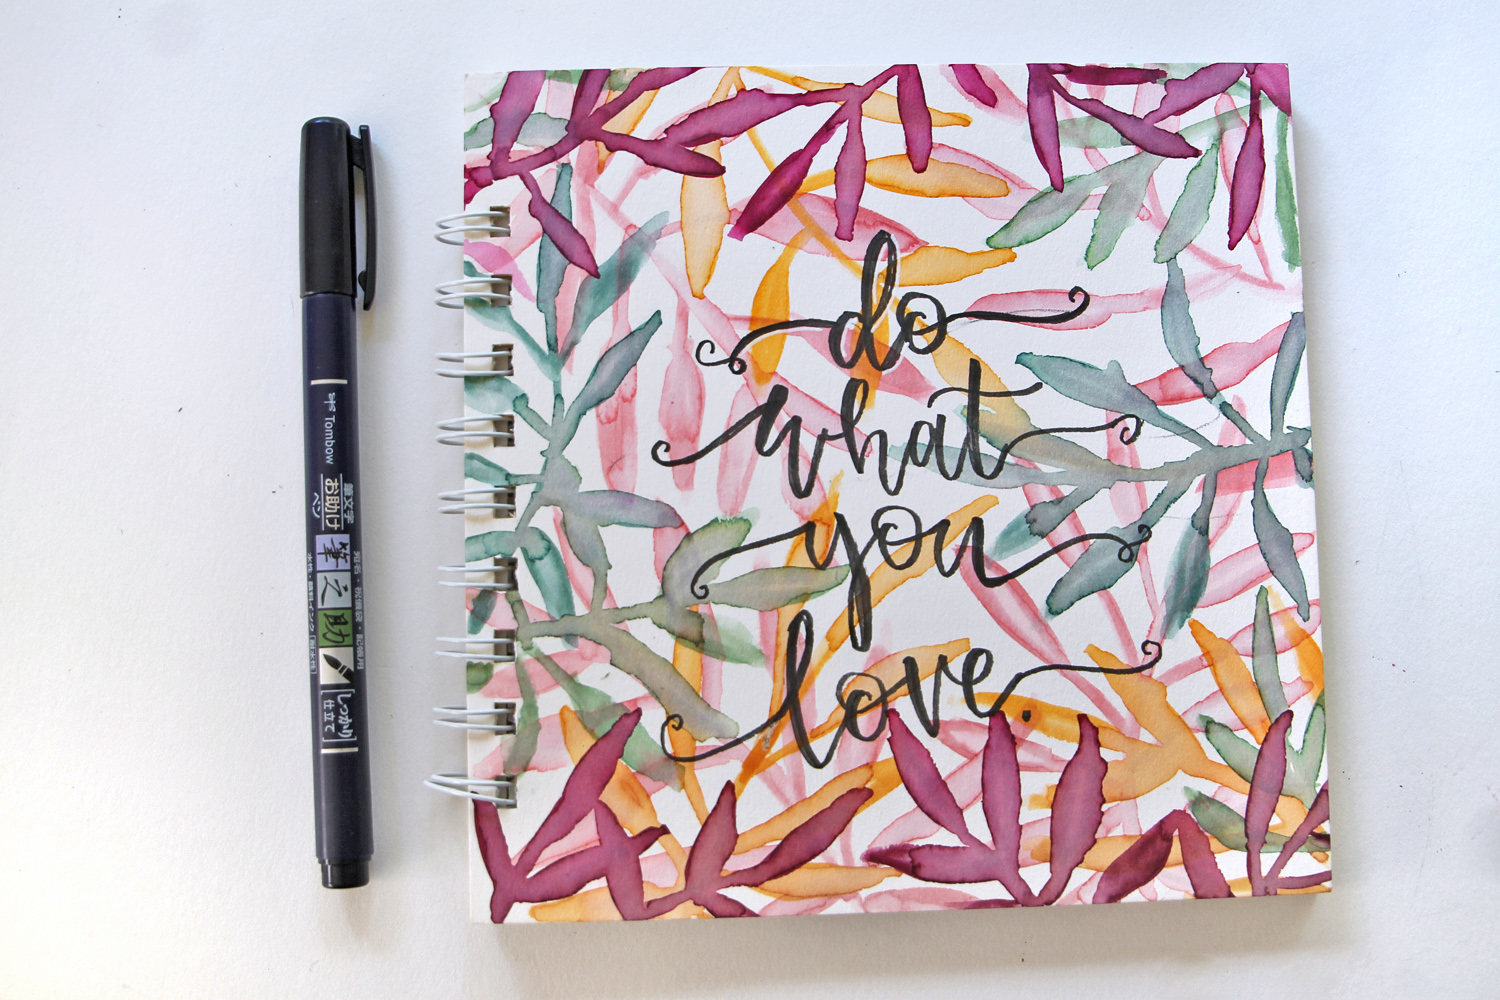
Add your hand lettered quote on top! The Hard Tip Fudenosuke Brush Pen is my favorite marker for hand lettering. It is very beginner-friendly and permanent.
I hope you enjoyed this tutorial! If you recreate this in your work, be sure to tag @tombowusa and @studio.katie!
If you’re looking for more hand lettering tutorials, check out this great post from Smitha: Quote Lettering in Under Five Minutes.