Hey friends, Ali LePere here! I want to talk to you about memory journaling!
The key to keeping a memory journal is to start simply. Adding a new diary or journal to your life in order to keep track of your memories can be daunting. Having to reach for a separate notebook can make the process feel like a chore. That’s why I’m going to show you how I incorporate simple memory journaling into my planner. It’s a simple and stress-free way to start recording more of your daily memories.
Let’s get started
Materials
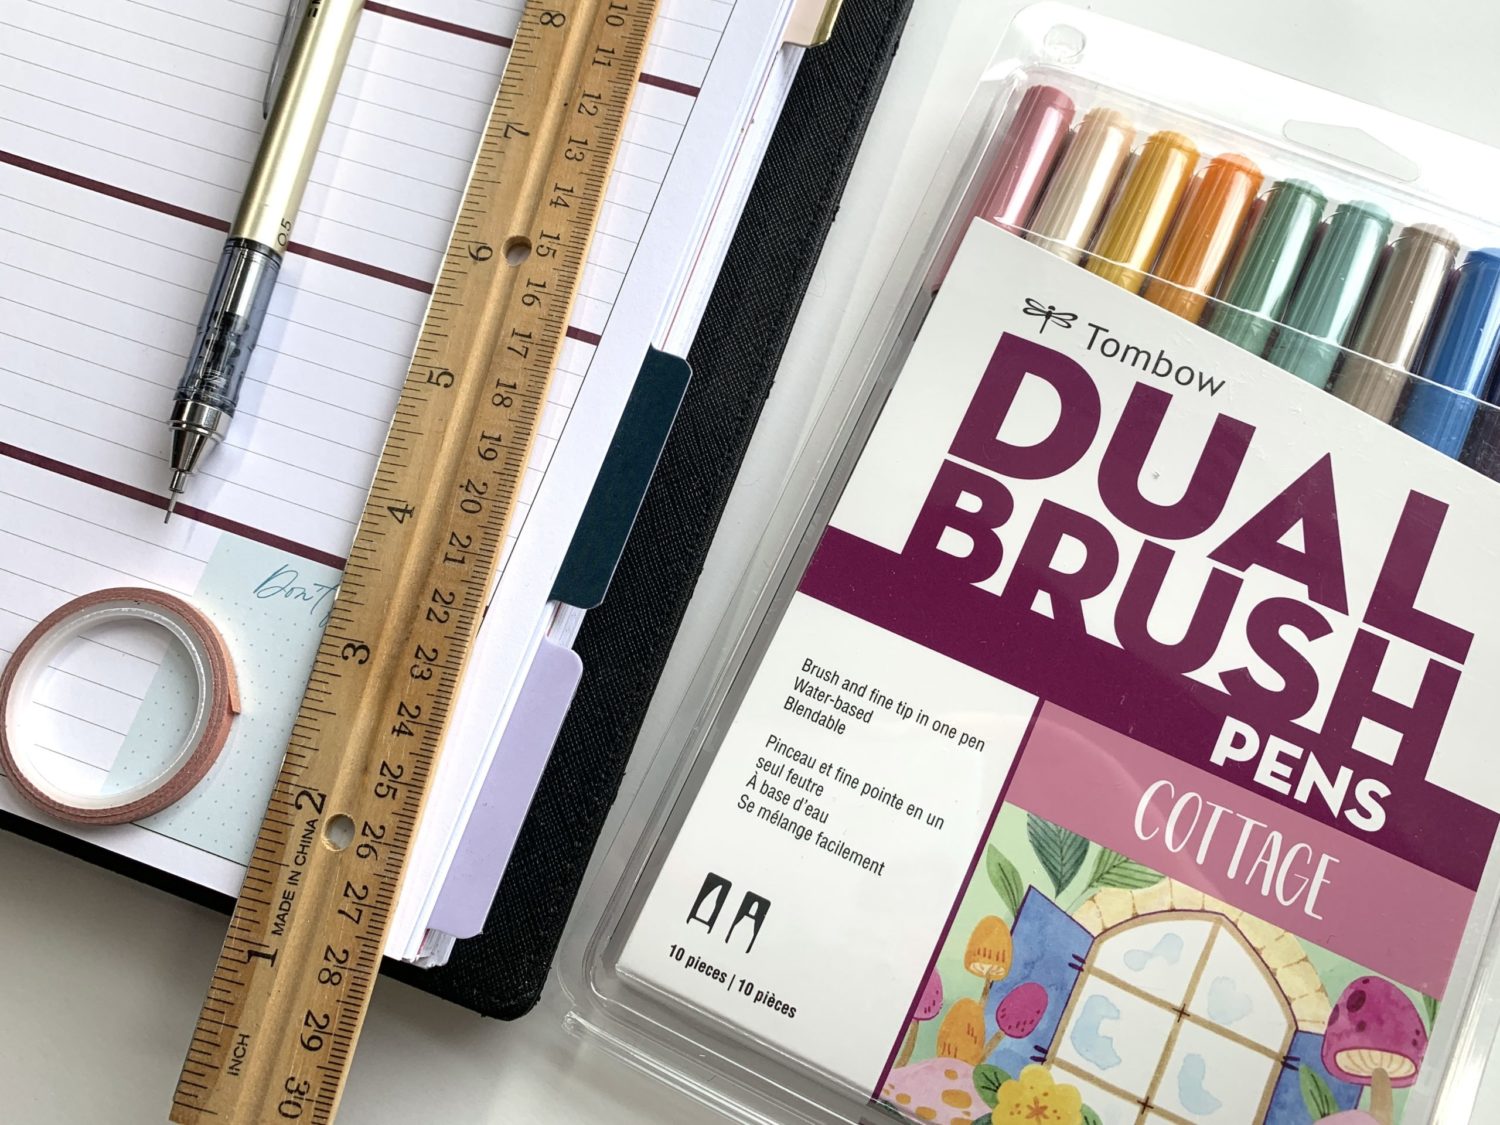
- Tombow Dual Brush Pen Cottage 10-Pack
- Tombow MONO Graph Mechanical Pencil
- Planner
- Ruler
- Thin washi tape
Step 1
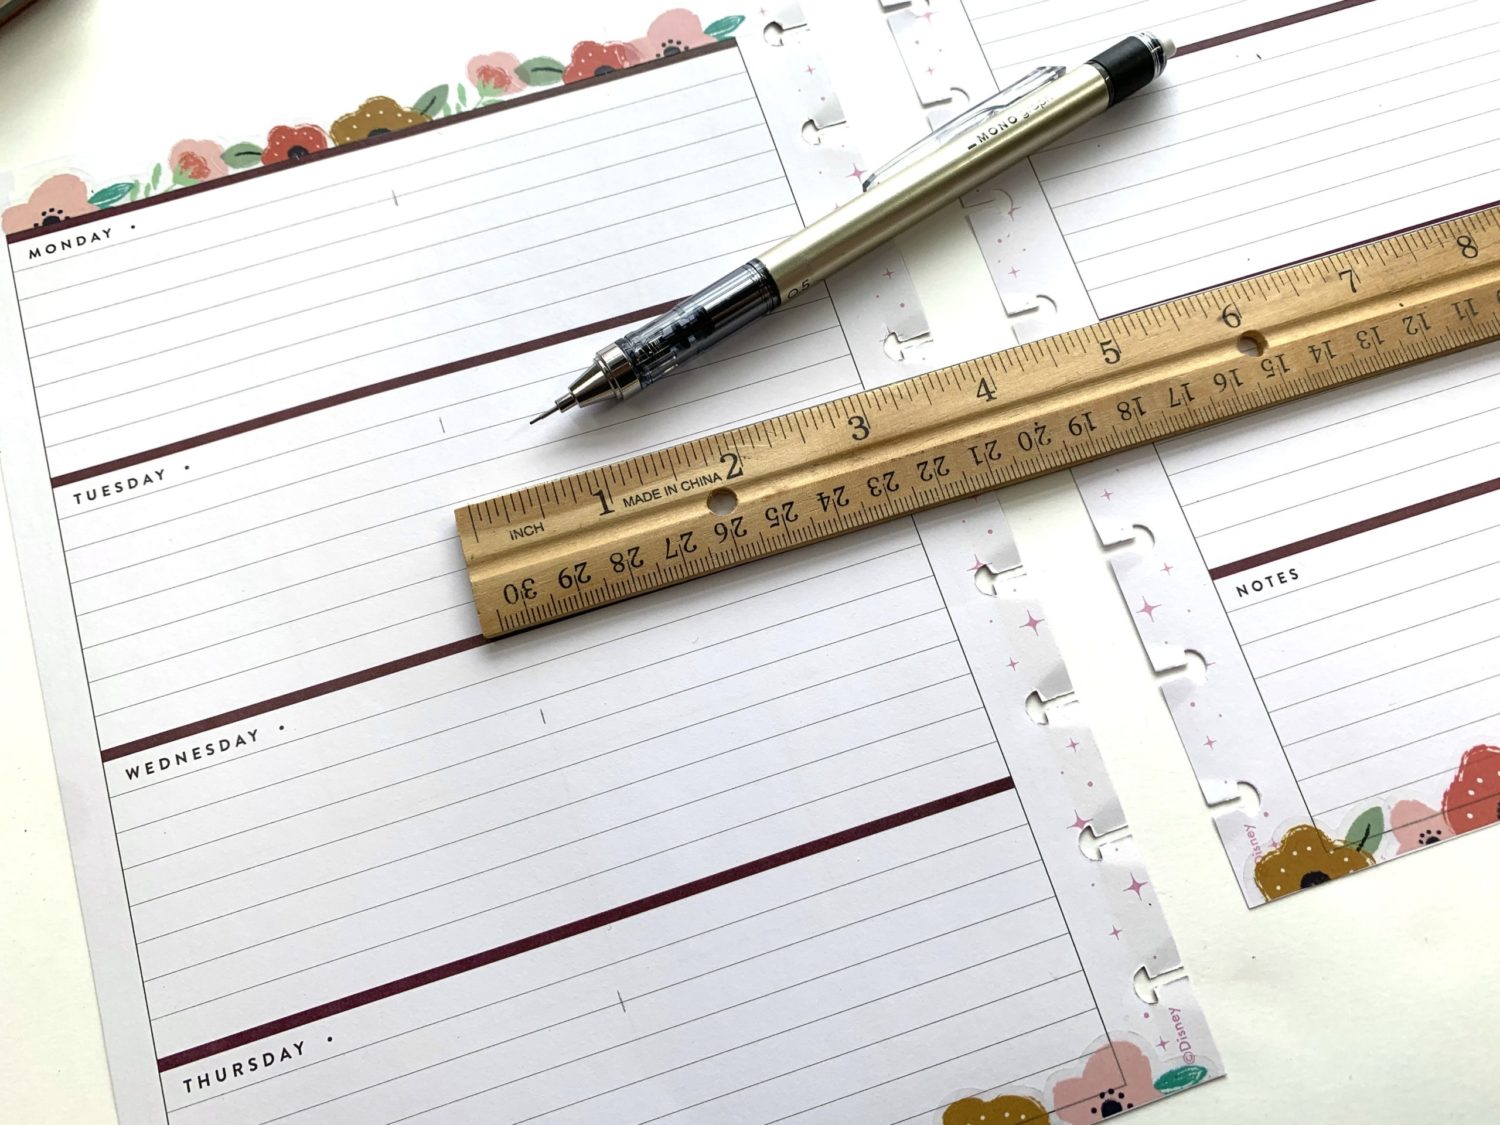
I started by using the MONO Graph Mechanical Pencil and a ruler to mark where the memory boxes would be. The planner I used here is a Happy Planner with a horizontal layout. Each box is six inches wide, so I measured three inches from the right side of each box.
Step 2
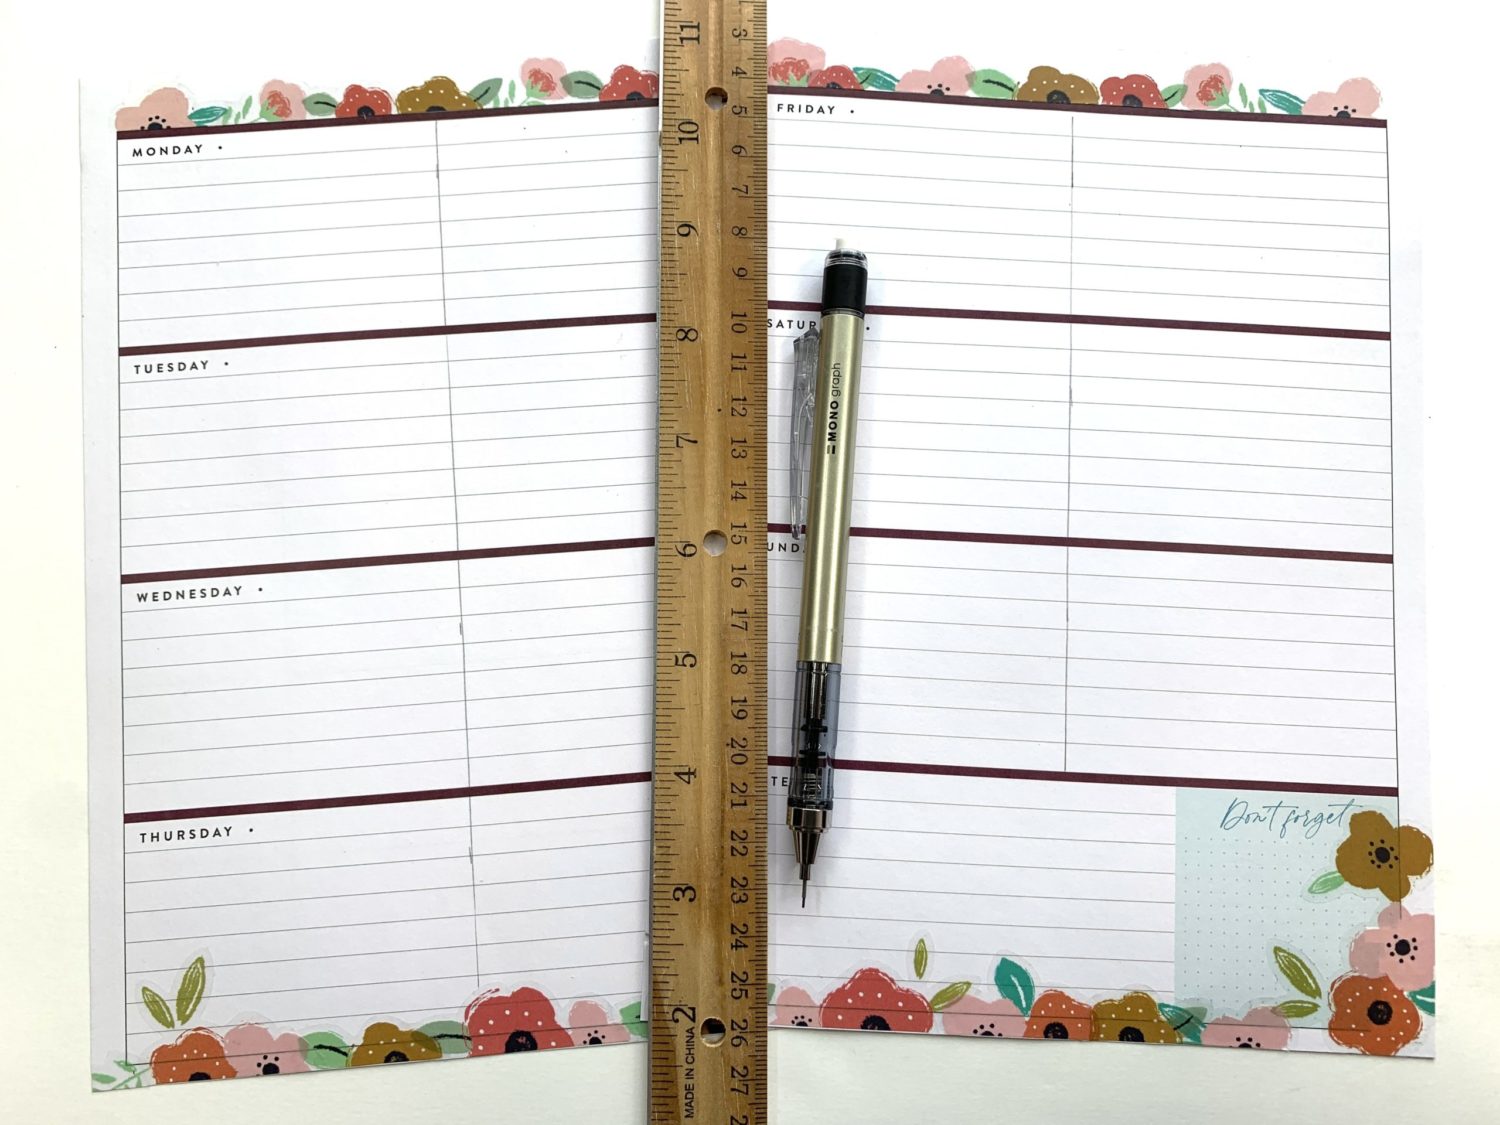
I used the ruler and my pencil to draw one long vertical line through the marks I made in the first step.
Step 3
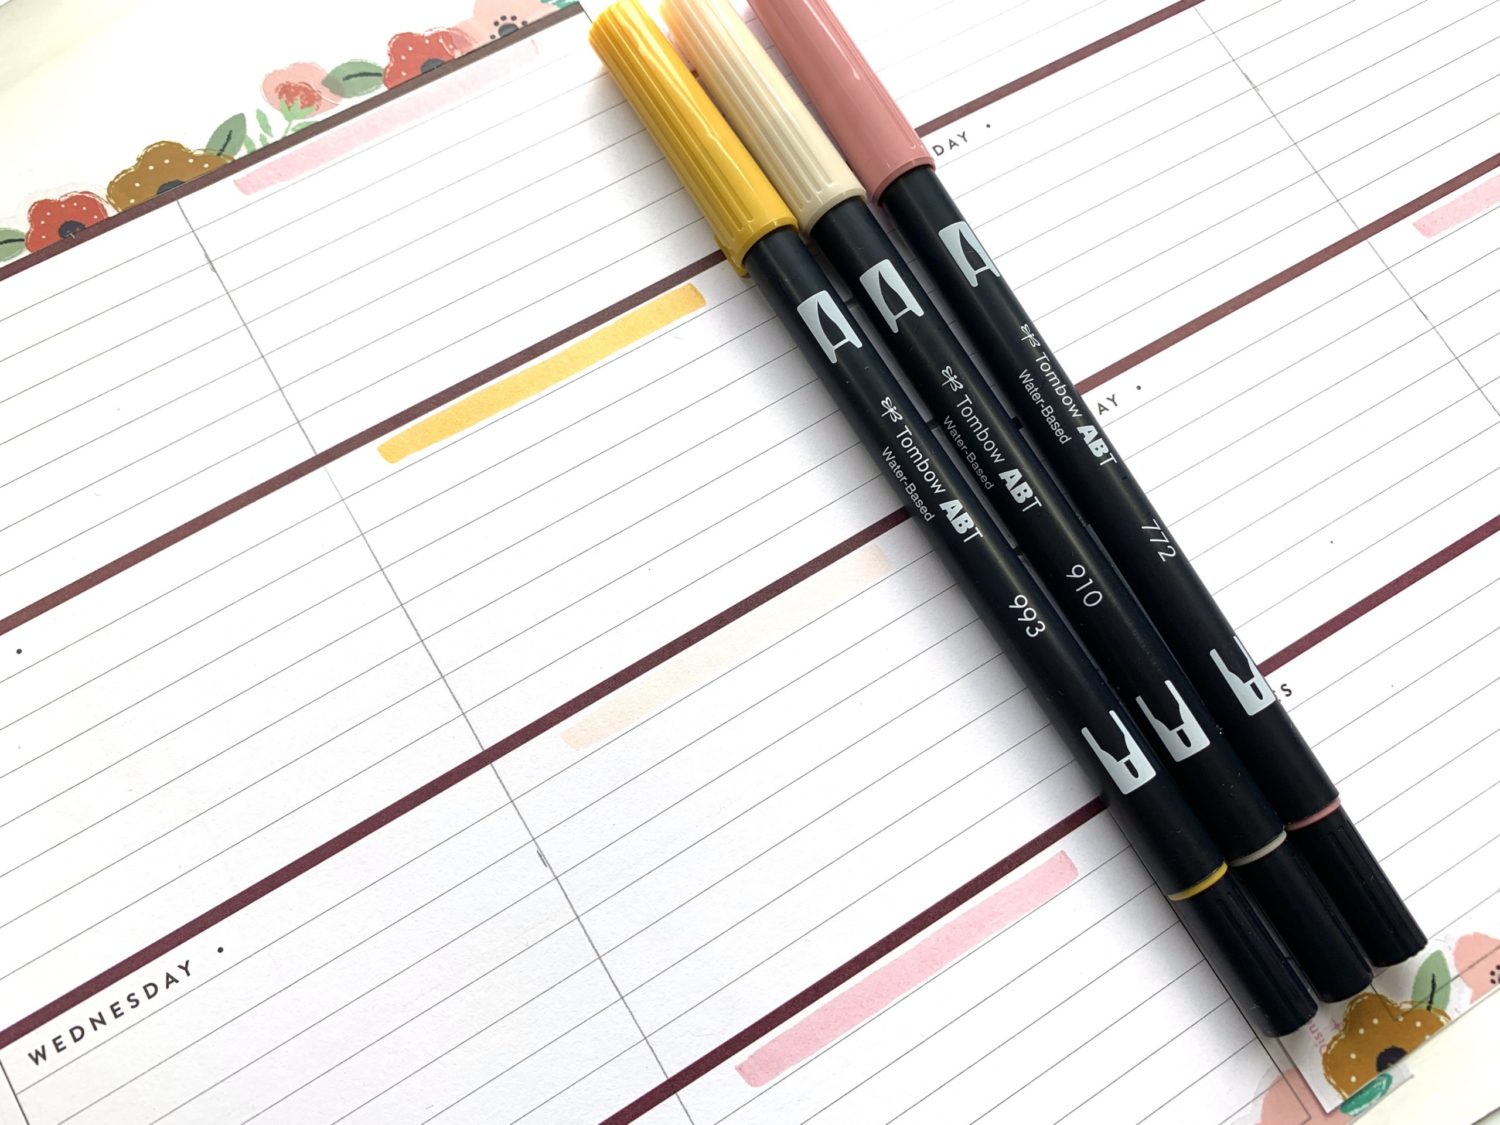
With a few Dual Brush Pen colors from the Cottage 10-Pack, I made a single long brush stroke at the top of each box. I used lighter colors, specifically 772, 910, and 993 because these brushstrokes will be written over.
Step 4
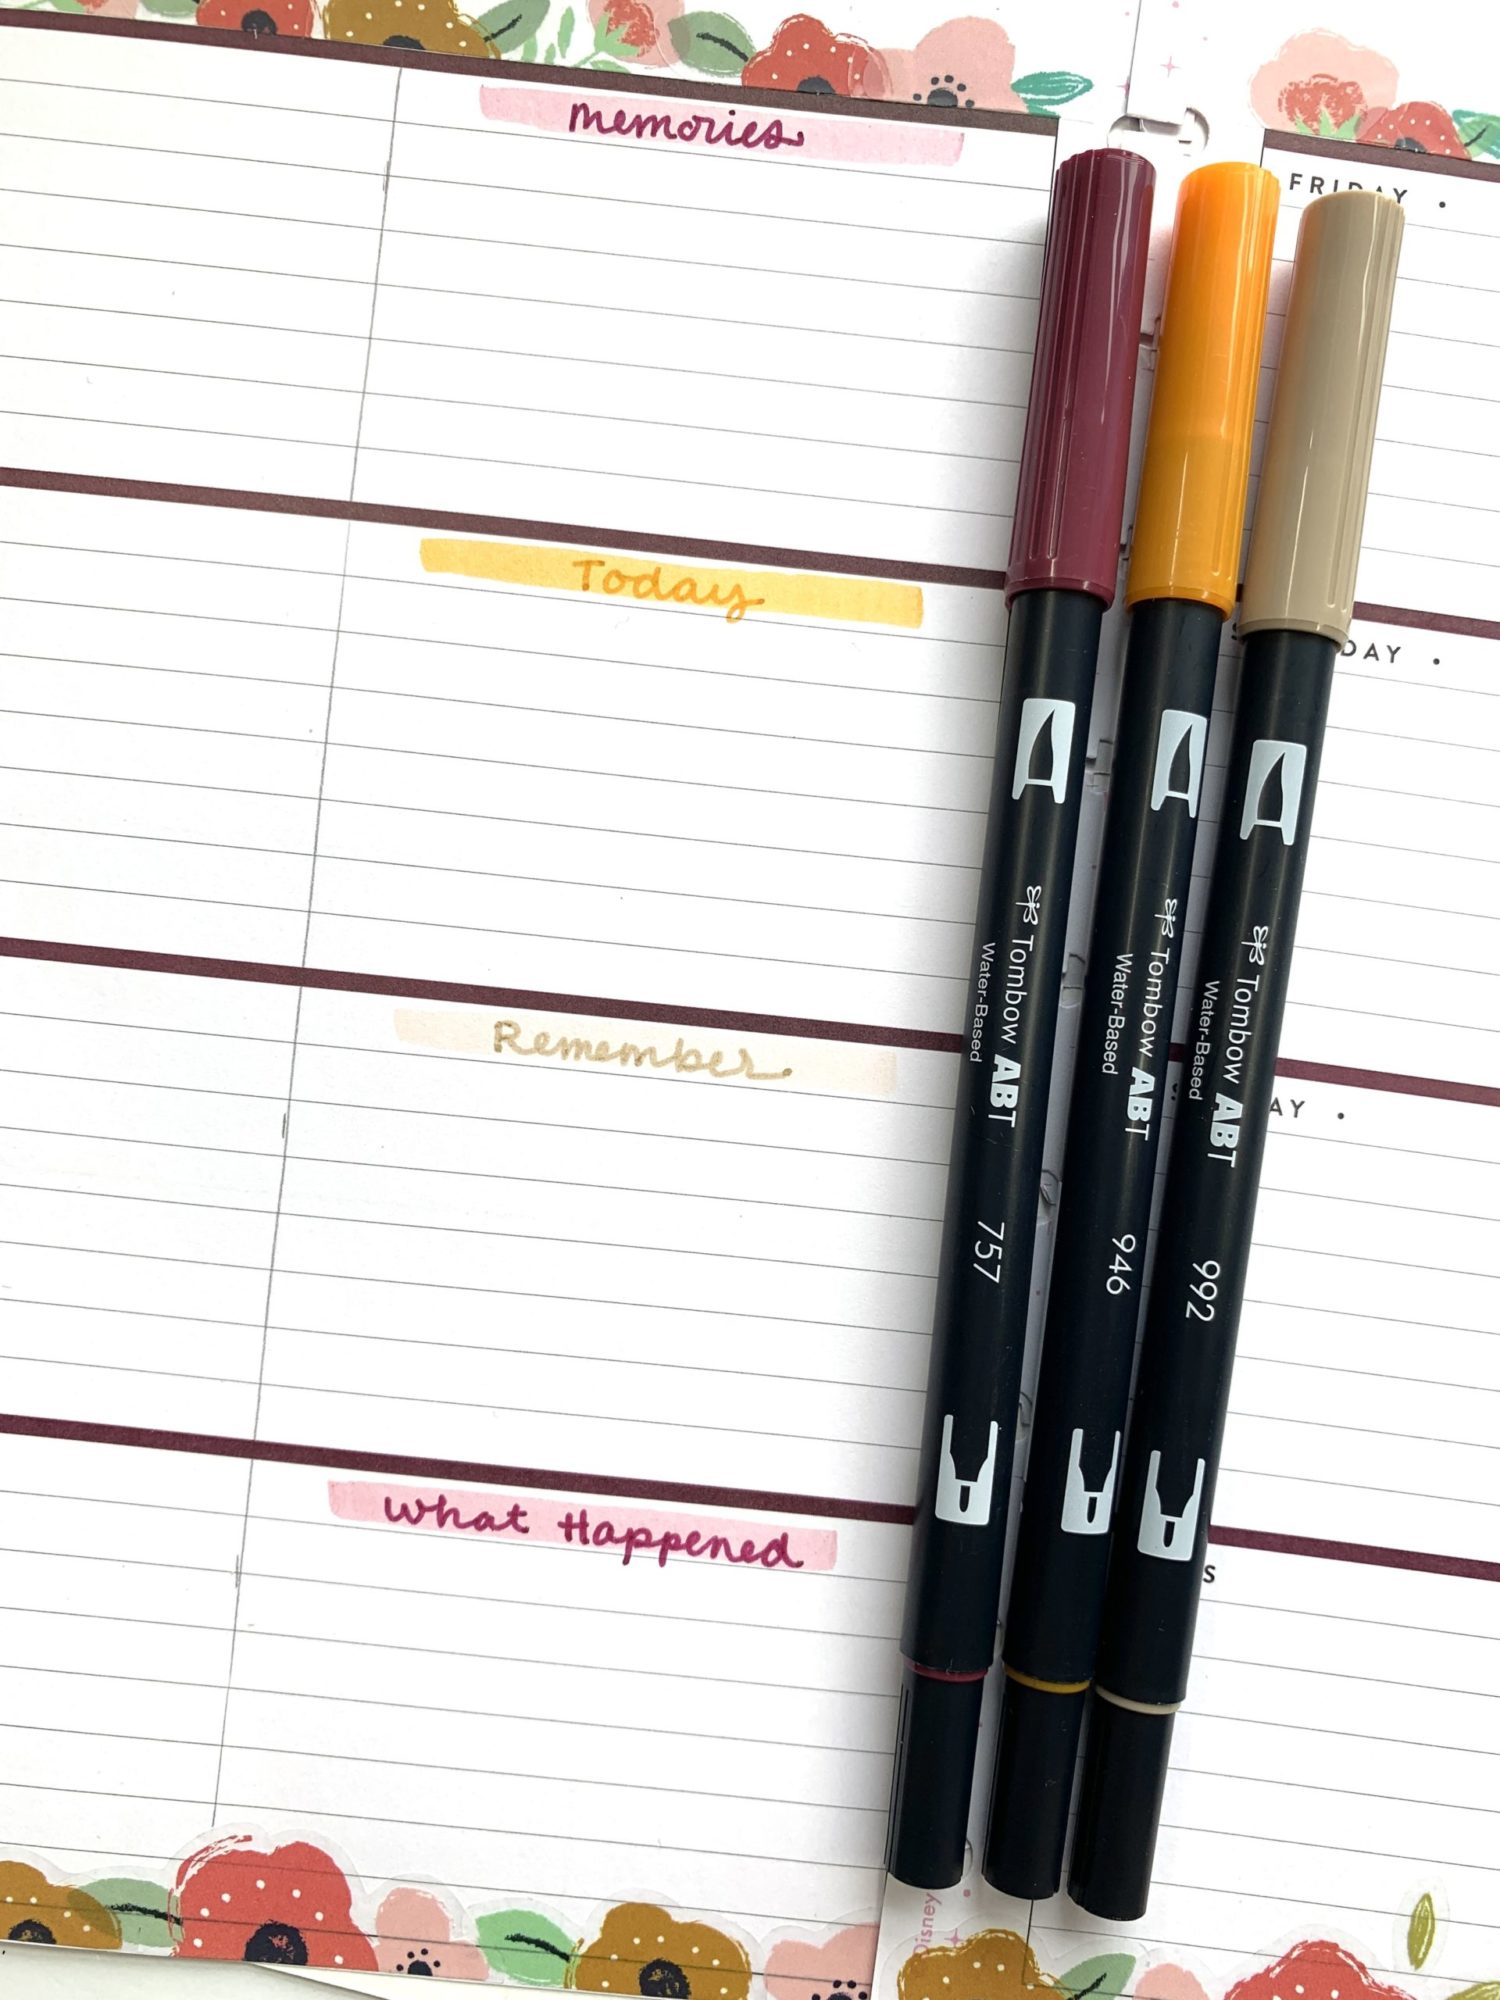
Using more colors from the Dual Brush Pen Cottage 10-Pack, I titled each box. I used Dual Brush Pens 757, 946, and 992 to write things like “memories” and “what happened” on top of the brush strokes from the third step. I could have easily left these blank, but sometimes a blank space can be intimidating. Each title helped fill in space a little and acted as a prompt to start jotting down a few memories from each day.
Step 5
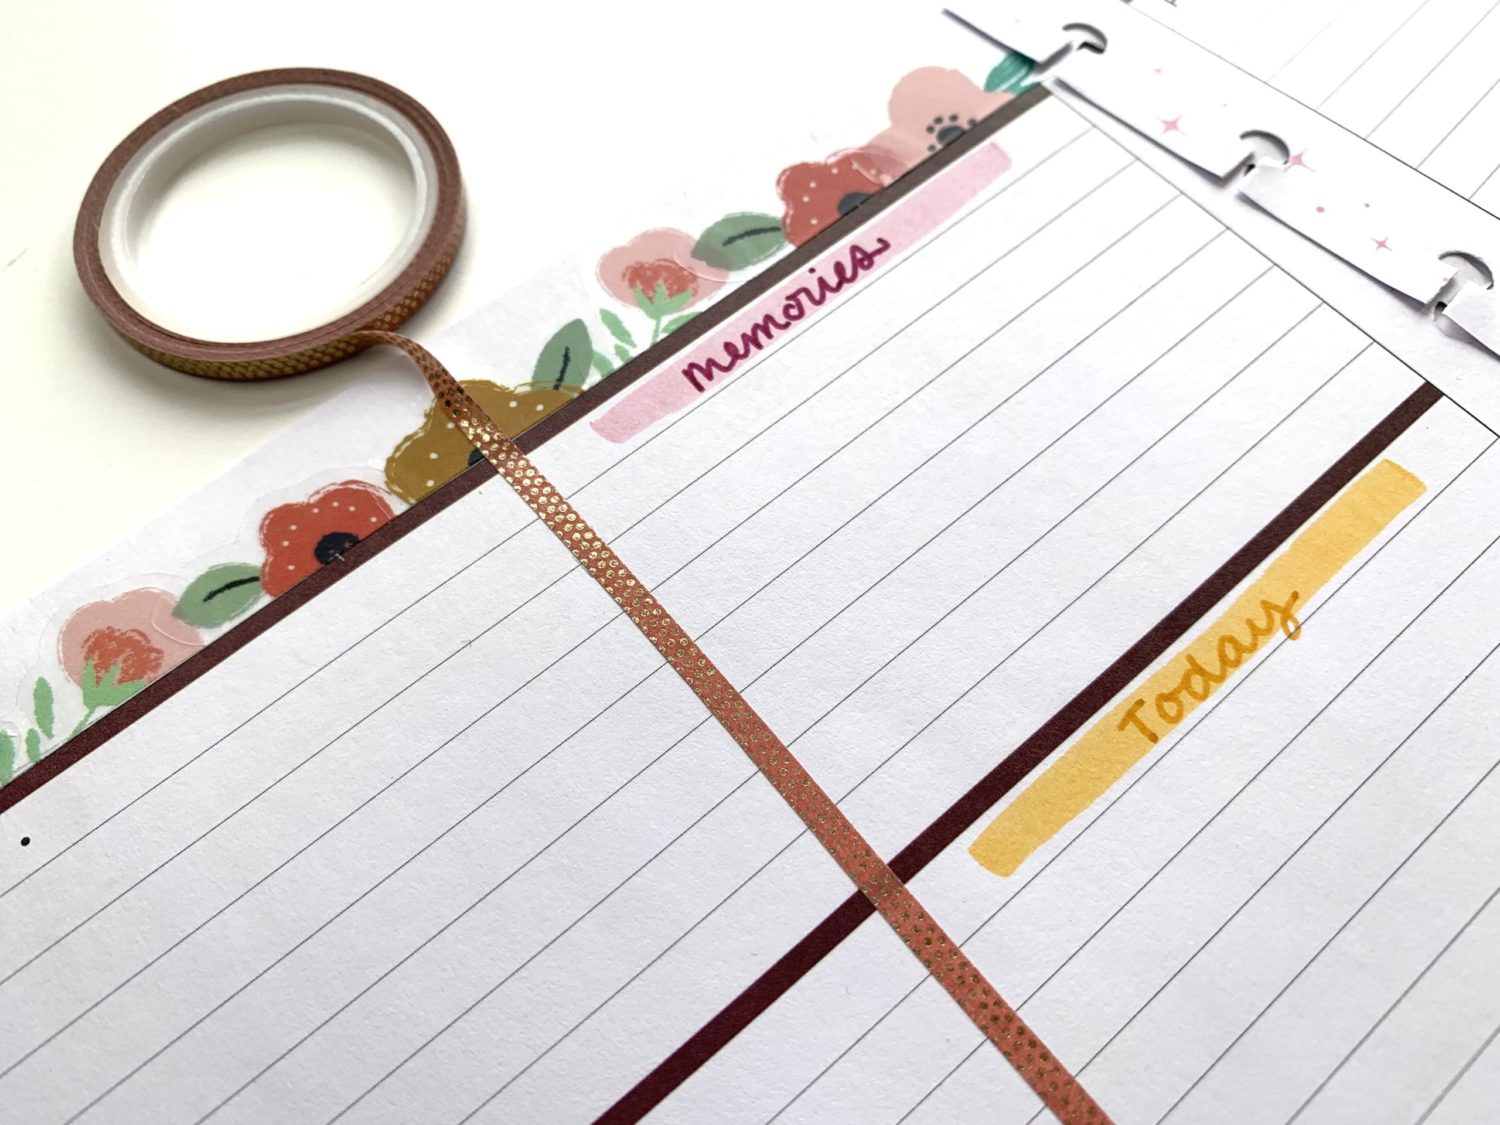
I used a thin washi tape over the top of the pencil line from the second step in order to create a small and clean barrier between the planning and memory sides.
Bonus Step!
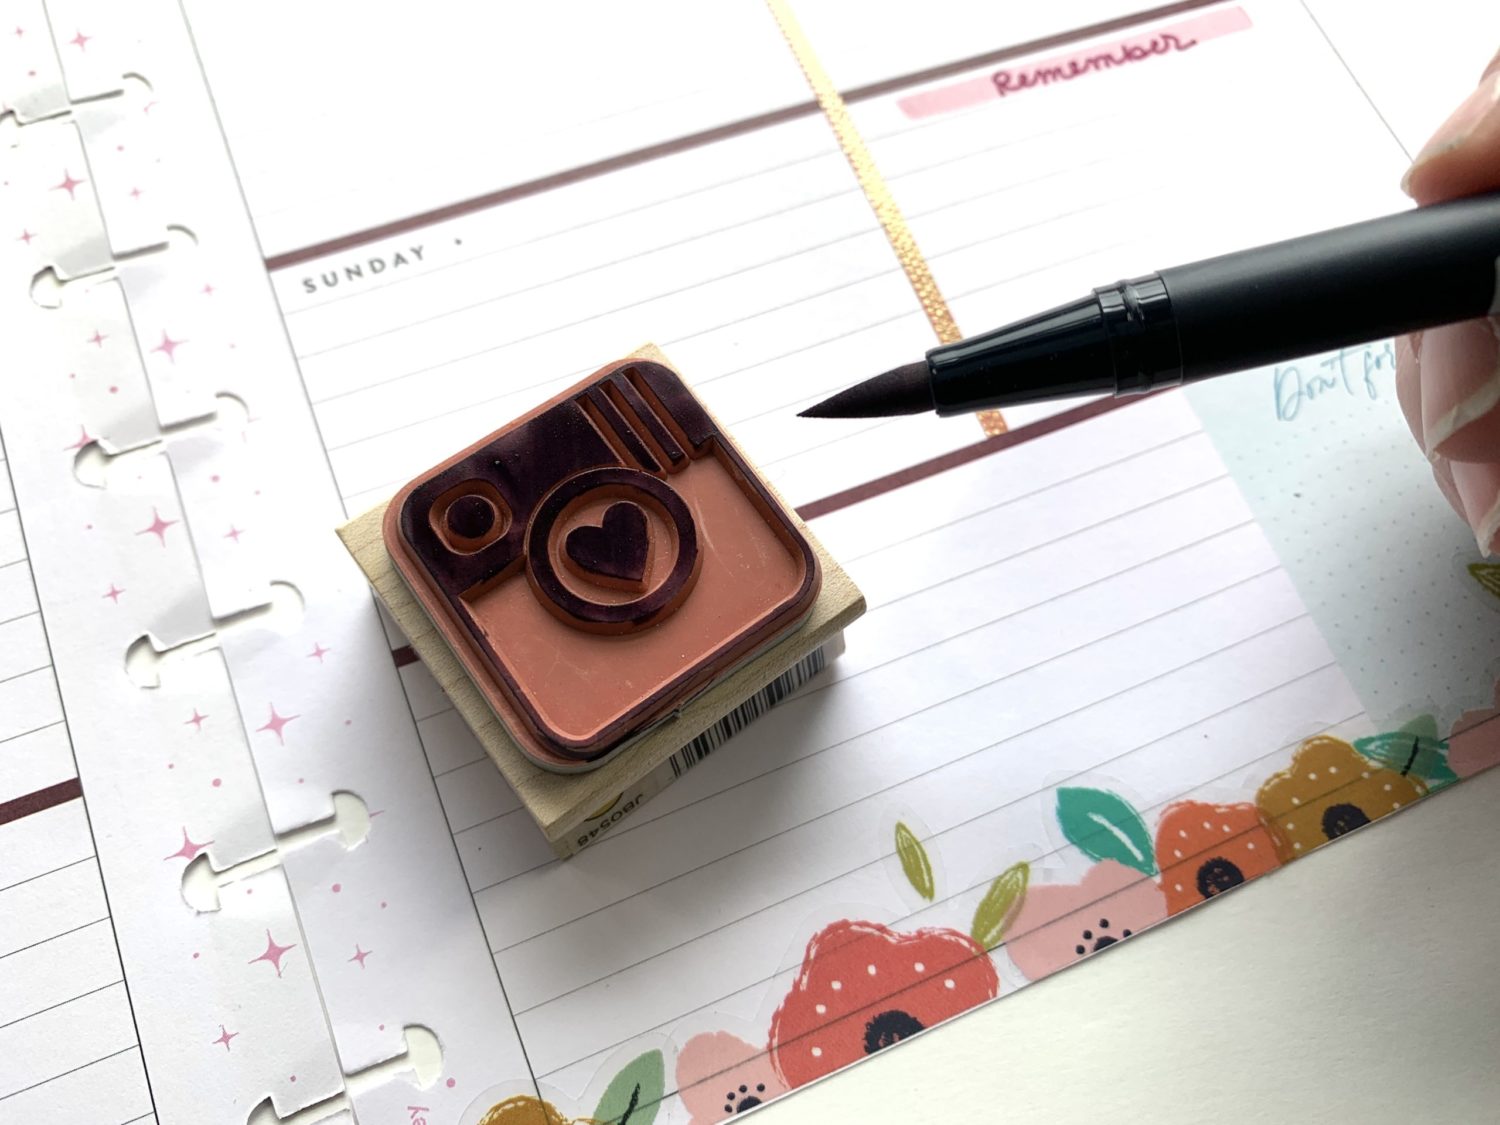
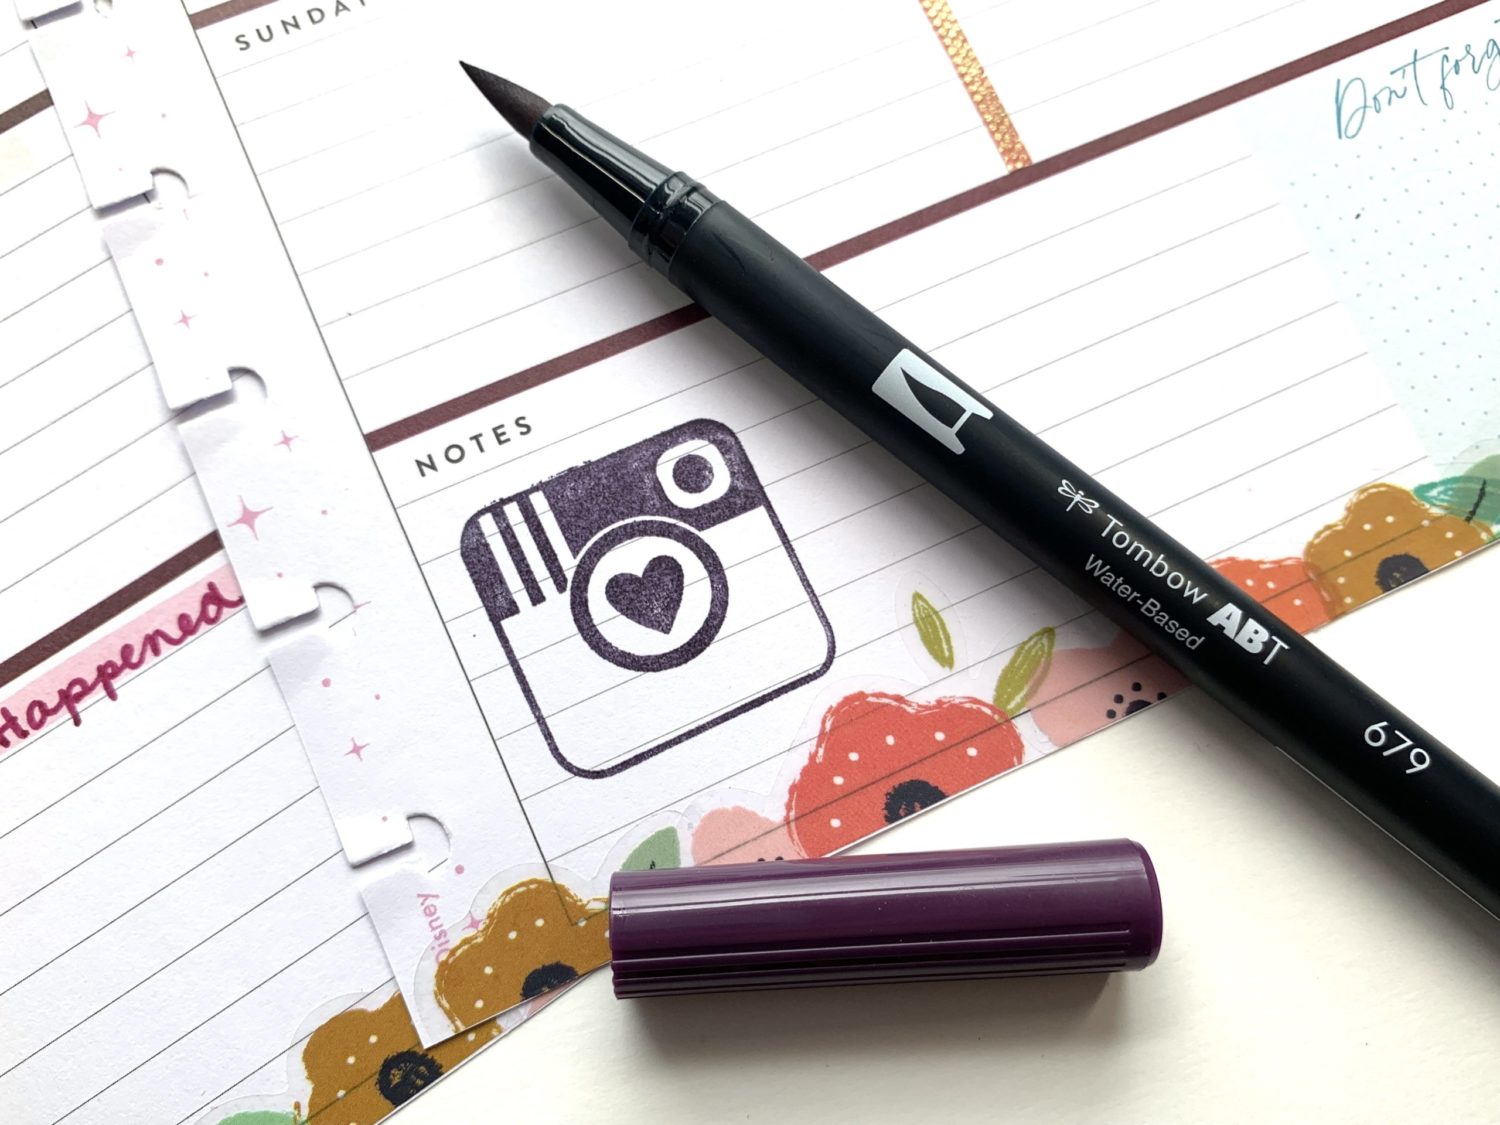
Not everyone knows that the Dual Brush Pens can be used for stamping, so I decided to add this step in as a bonus! Most planners come with a spot for notes in each weekly layout. That is where I added a reminder for social media posts I need to complete. I colored the Instagram icon stamp with the brush end of Dual Brush 679 and then stamped! Using the Dual Brush Pens in a case like this is great because you get to use colors from the palette you’re using instead of an ink pad that might not match the rest of your planner spread!
Filling the Boxes
I filled in my planner normally but added the memory stuff in as the week progressed. Whenever you check into your planner, all you have to do is jot down a few takeaways from the day. It doesn’t have to be poetic and drawn out. Seriously, just a few sentences will be great! I tried to use the warmer colors from the 10-pack for memory journaling and cooler colors for day-to-day tasks. I used the bullet end of the Dual Brush Pens for all of the written stuff.
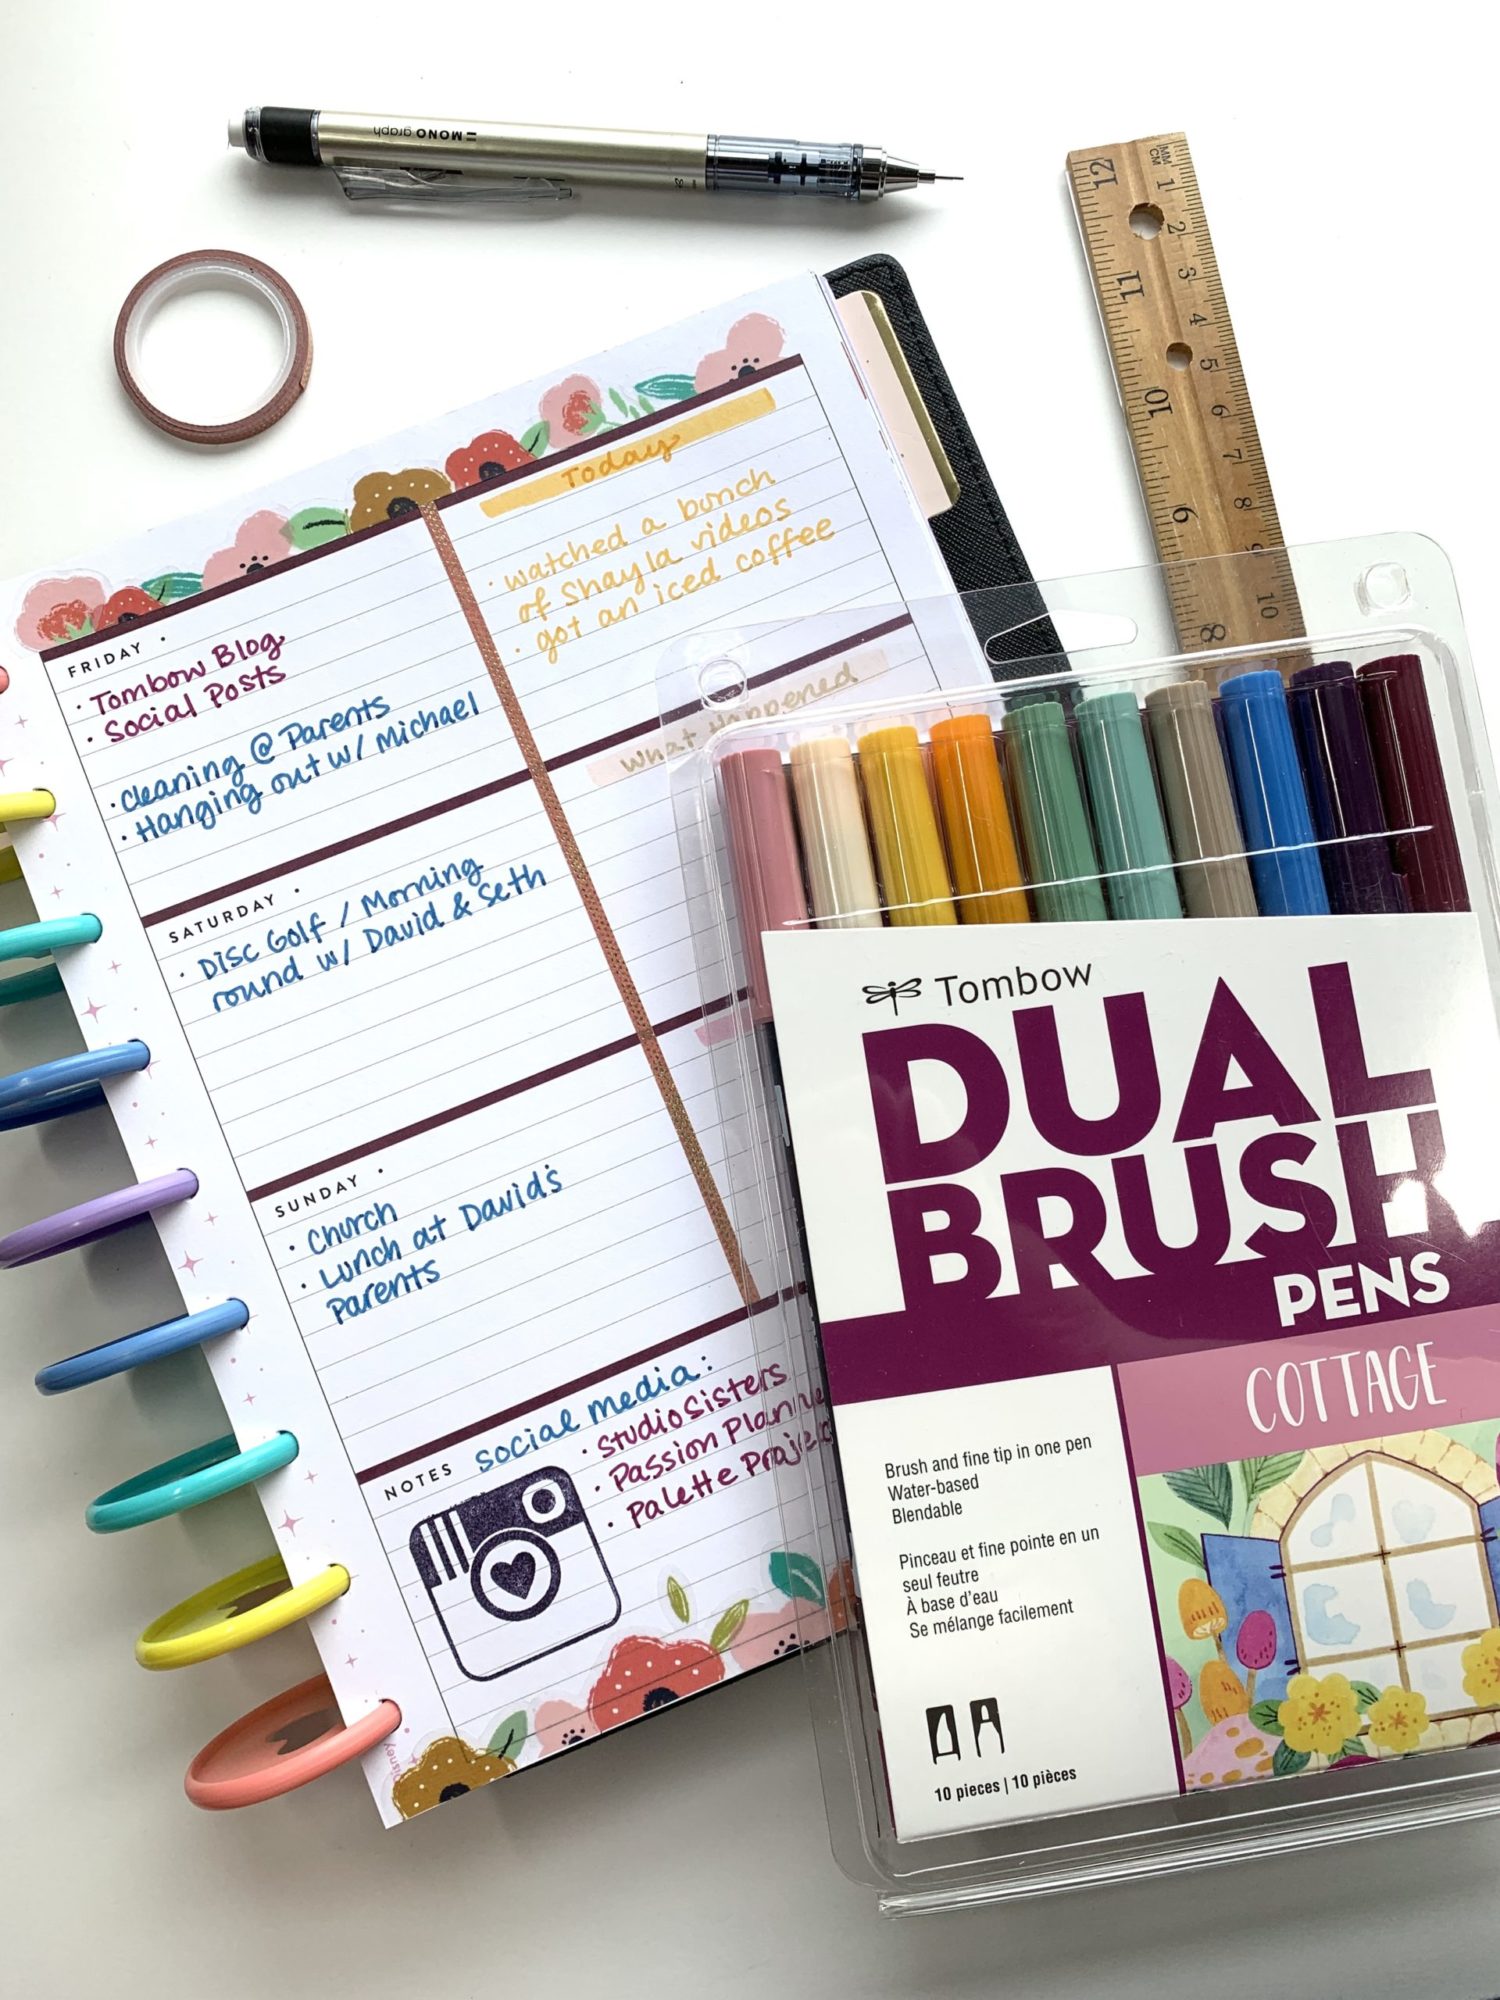
It was really nice to have a cohesive color palette to use for a whole weekly spread. It took the guesswork out of picking colors myself! Below I added a small list of the Dual Brush Pen 10-Packs I think work best in planners. Having a good mix of light and dark colors is important and keeping things more neutral can help you stay calm and relaxed when planning or journaling.
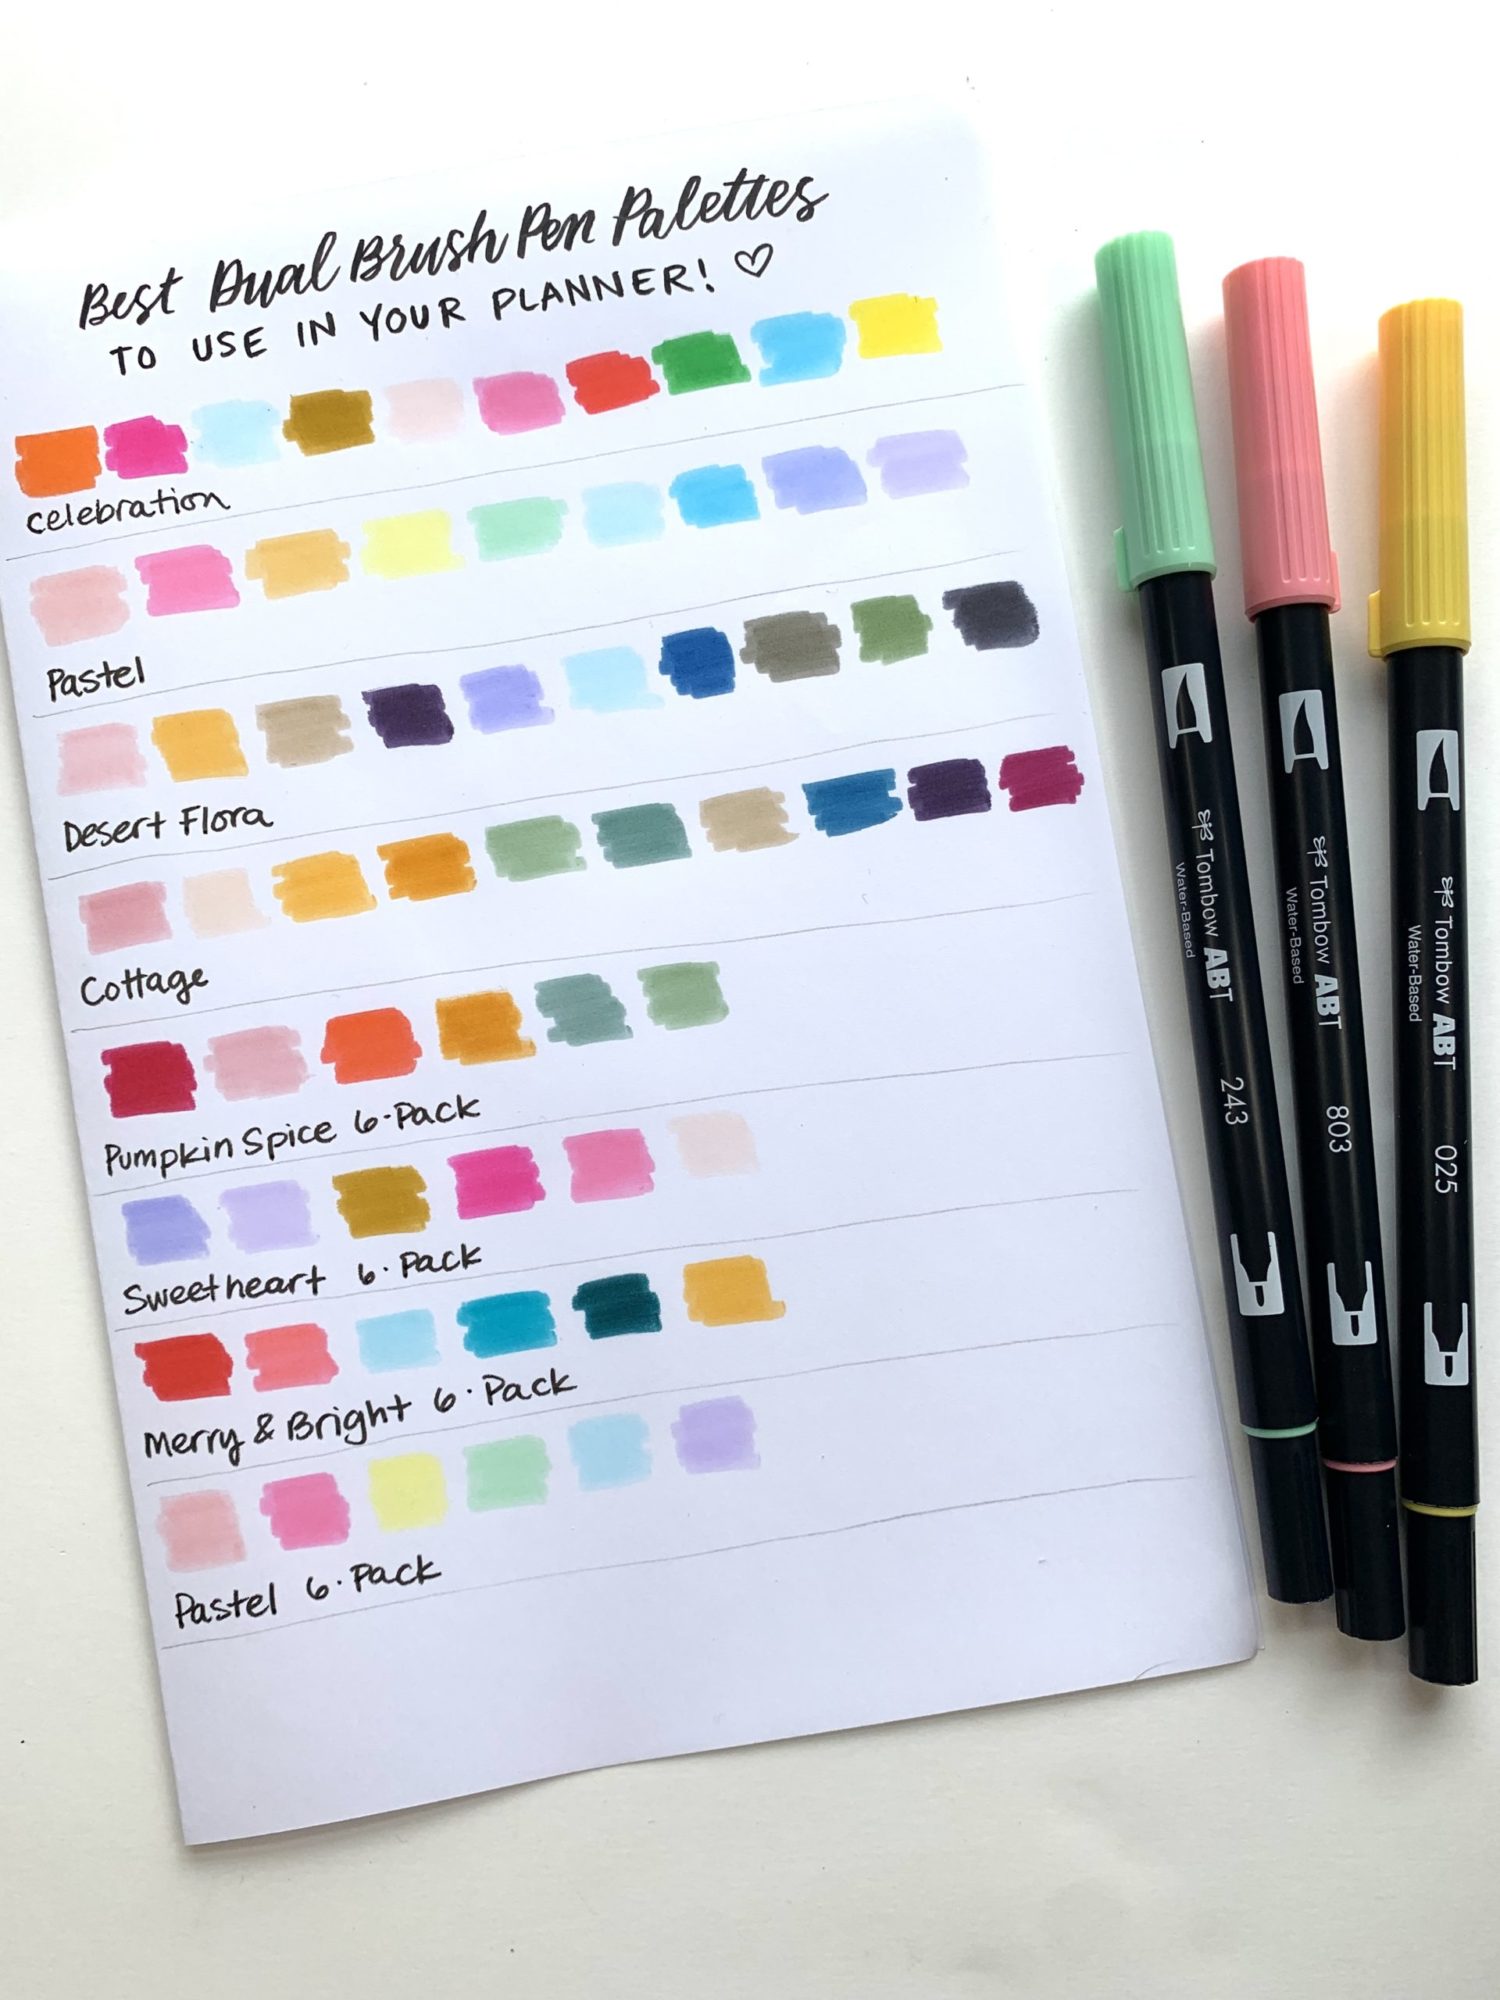
If you want more planner related posts, check out Adrienne Castleton’s Five Ways to Personalize Your Planner or 5 Tips for Sketching in Your Planner with Katie Smith. If you want to check out all of the different Dual Brush Pen Palettes you can use in your planner, just click here!
Until next time, happy crafting!