Hey everyone, It’s Katie here! I love sketching, and will sketch on anything within reach if I have time to kill. So if I have my planner nearby, it will definitely get filled in with some lovely doodles and artwork. Today I will be sharing some of my top tips for including sketches in your planner. If you’re wanting to do a bit more drawing in your task journal or planner, scroll down!
Tips for Sketching in Your Planner:

Supplies:
- Tombow Fudenosuke Brush Pen Hard Tip
- Tombow MONO Drawing Pens
- A Planner – I’m using this Cleerly Stated Bloom Daily Planner today!
- Tombow TwinTone Marker Set, Bright, Pastel
- Tombow Dual Brush Pens
- Productivity Planner Stickers by Bloom Daily Planners (optional, but extra fun!)
Tip #1:
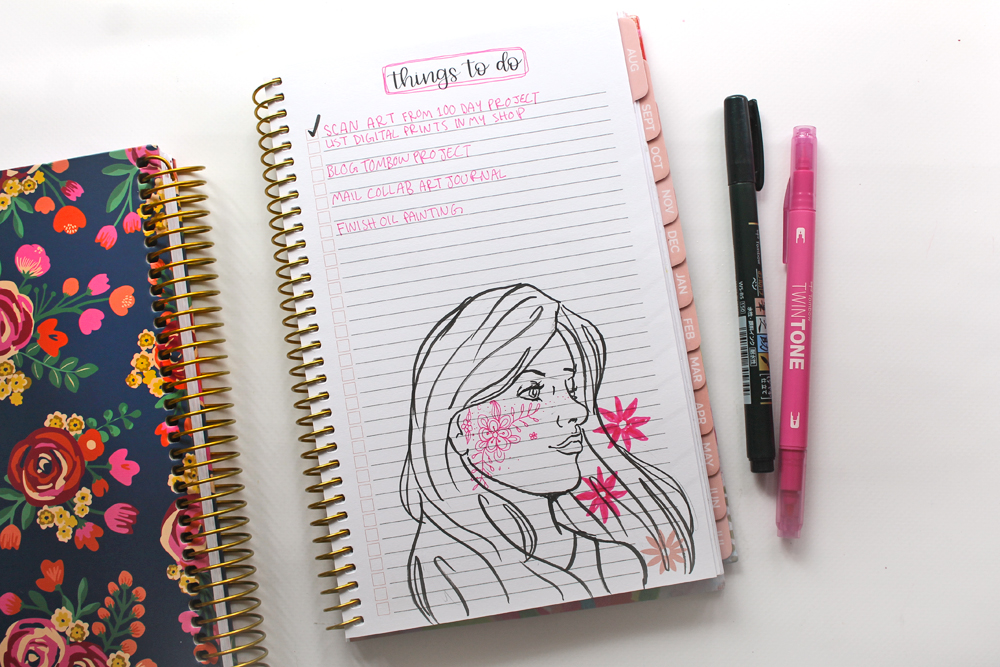
Planners often have a few extra sheets included in them. Sometimes they’re blank, sometimes they’re for notes, or for to-do lists. These extra pages are a fantastic place to sketch, especially if you don’t want to give up any of the space in your weekly or monthly pages.
I used the Fudenosuke Hard Tip to sketch my girl onto the page below my to-do list for the day (because let’s face it, I don’t have a to-do list THAT long), and then added a few extra doodles with the pink TwinTone.
Tip #2:
Start with a pencil. I know you may not want to spend extra time in your planner by sketching with a pencil, because it’s so much quicker just to draw with a marker and skip the pencil. But when I do that I don’t always love how my marker drawing turns out, so I like to start with a very light pencil sketch to work out the details, and then I’ll go over it with ink. My favorite pencils are Tombow’s MONO Drawing Pencils.
Tip #3:
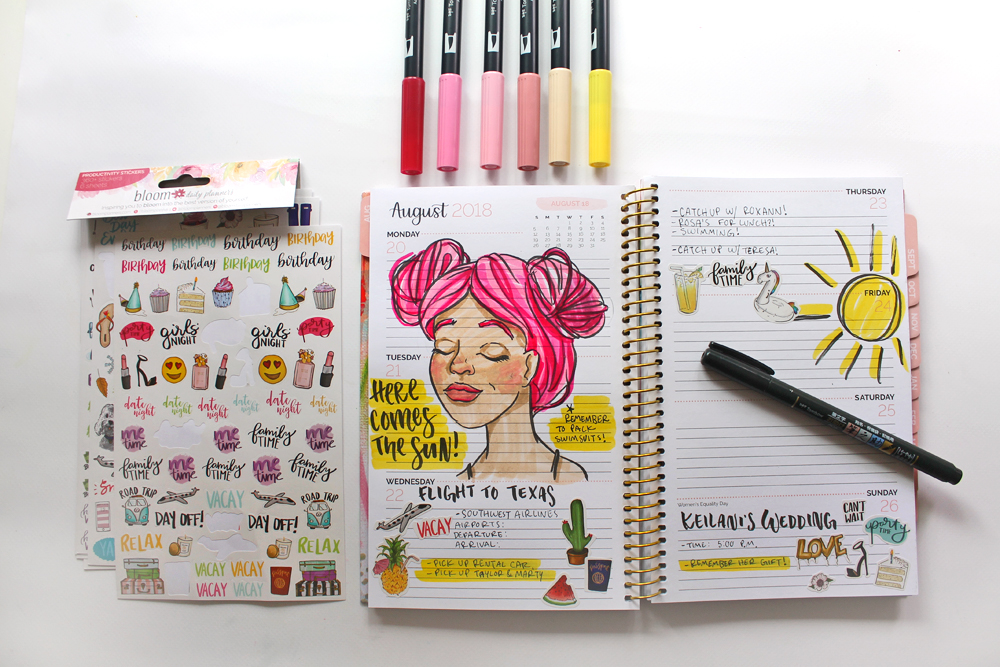
Sketch in the weekly spreads! I’m not the type of person who has every day planned out. I work from home, so I don’t have everyday appointments or meetings I have to schedule. Which makes my weekly spreads pretty empty. To fill in that empty space, I love including sketches.
This week in my planner I’m actually flying to Texas, so I’ve got that written into my planner. Then I draw my space buns girl into the extra days, and colored her in with Dual Brush Pens. I also added a few of the Productivity Planner Stickers from Bloom, because aren’t they SO cute?
Tip #4:
Use markers that won’t bleed through the pages. This will somewhat depend on the type of planner you’re using, but Tombow markers are designed with a water-based ink that doesn’t bleed through most pages, including these in the Bloom Daily Planner.
This is important, because you don’t want the sketches you drew on one page to bleed through onto the next week, making it hard to use that page in your planner!
Tip #5:
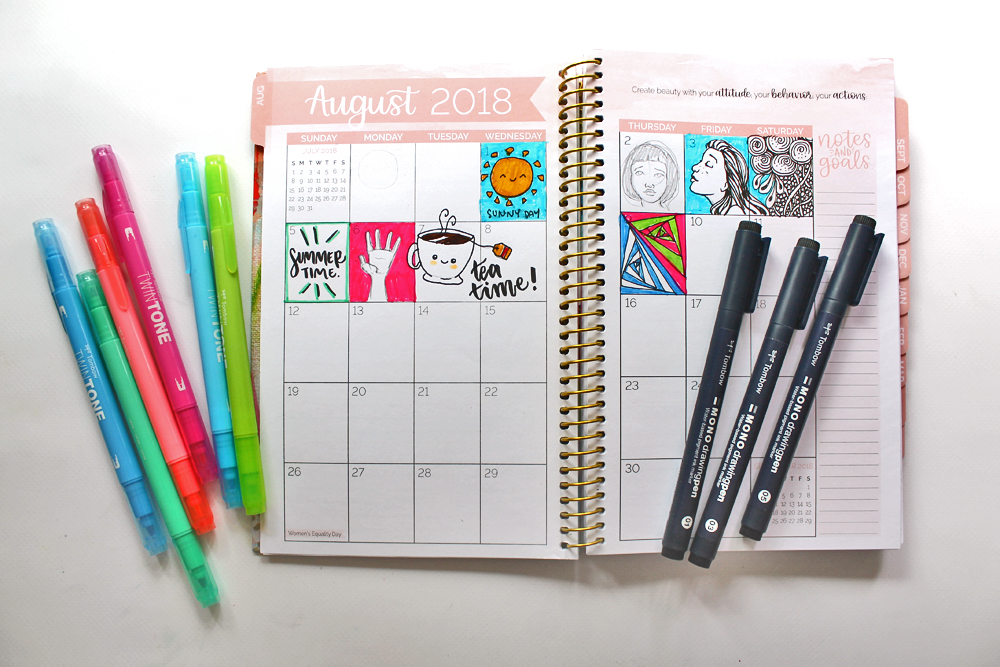
Use the monthly spreads to do a 30 day doodle challenge! These little boxes are often less than 2 inches, which means you can fill them in really quick for a 30 day challenge that ANYONE can do! You can fill them all with kawaii doodles inspired by your day, fill them with zentangle patterns, or even use them for quick sketching practices.
I love using the MONO Drawing Pens for this, They’re fine tips make it so much easier to draw in a small space. The fine tips of the TwinTone Markers are great for adding color as well!
Learn more about Zentangling here.
I hope you found these tips helpful! How do you include sketches in your planner?
-Katie
Pingback: DIY Mixed Media Planner Cover - Tombow USA Blog
Pingback: How to Keep a Memory Journal in Your Planner - Tombow USA Blog