Pencil Shading Tips for Easily Sketching Flowers
Hello friends, this is Smitha! As a self-taught artist, my all-time favorite and most used tool in my stash is a pencil. I’ll share a few easy pencil shading tips that you can incorporate into your drawings to quickly capture the details.
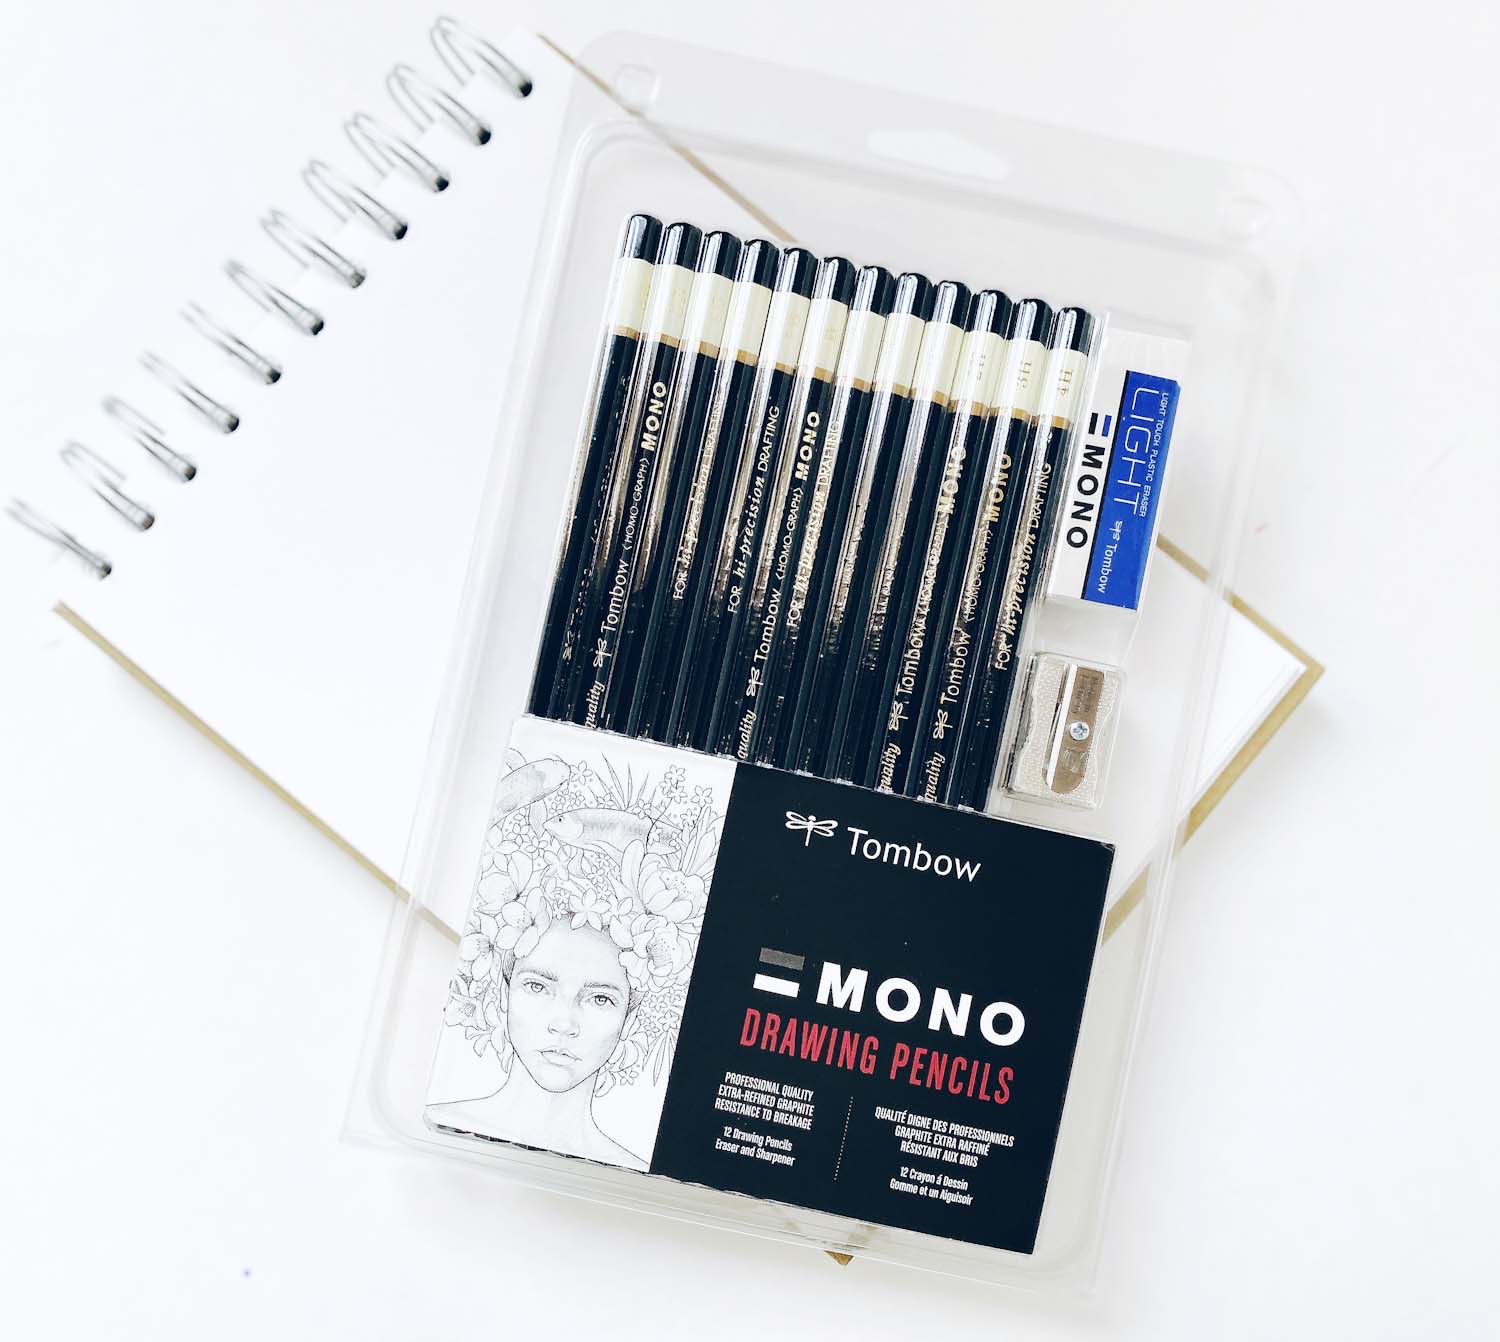
Materials Needed for Pencil Sketching:
- MONO Drawing Pencil Set
- MONO Zero Eraser, Round
- Sketchbook of your choice (opt for smooth-textured paper for best results)
- Smudging tools: blending stump, cotton swabs, or rolled paper cones
Step-by-Step Pencil Shading Techniques for Flowers:
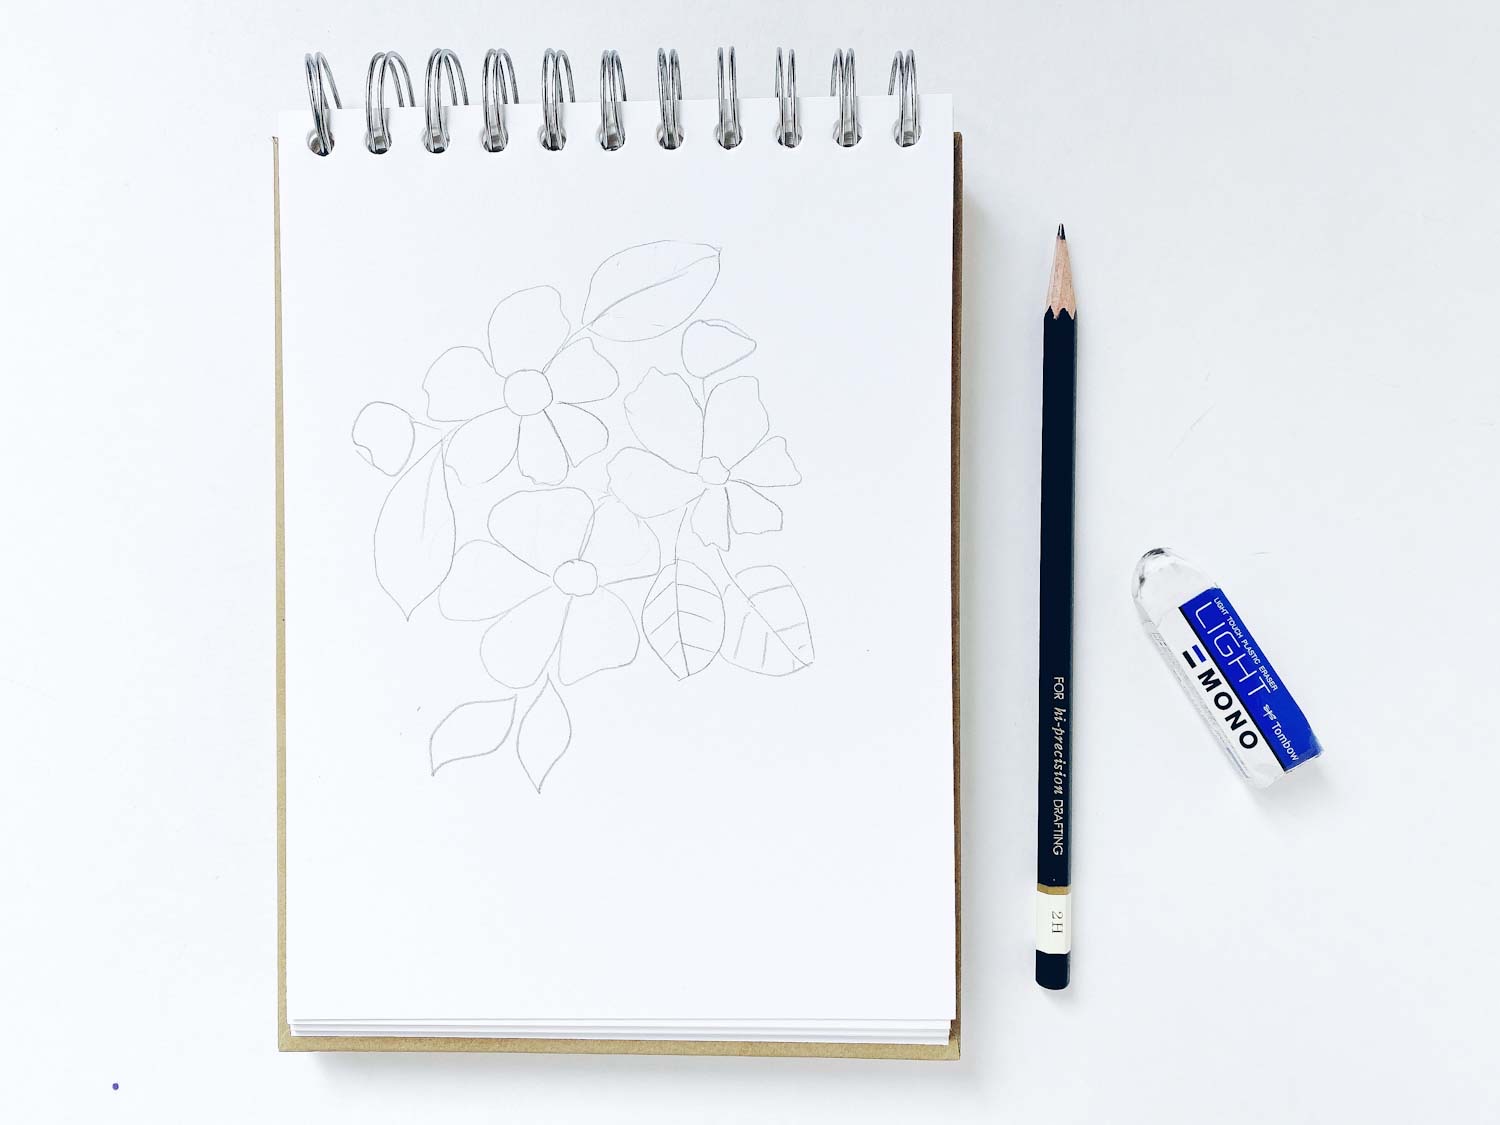
1. Start with quick, light outlines
Begin your sketch by lightly drawing basic outlines using the MONO Drawing Pencil 2H or 4H. These pencils have harder leads that create thin, subtle lines perfect for initial sketches. Don’t press too hard; keeping these outlines gentle makes adjustments easier later.
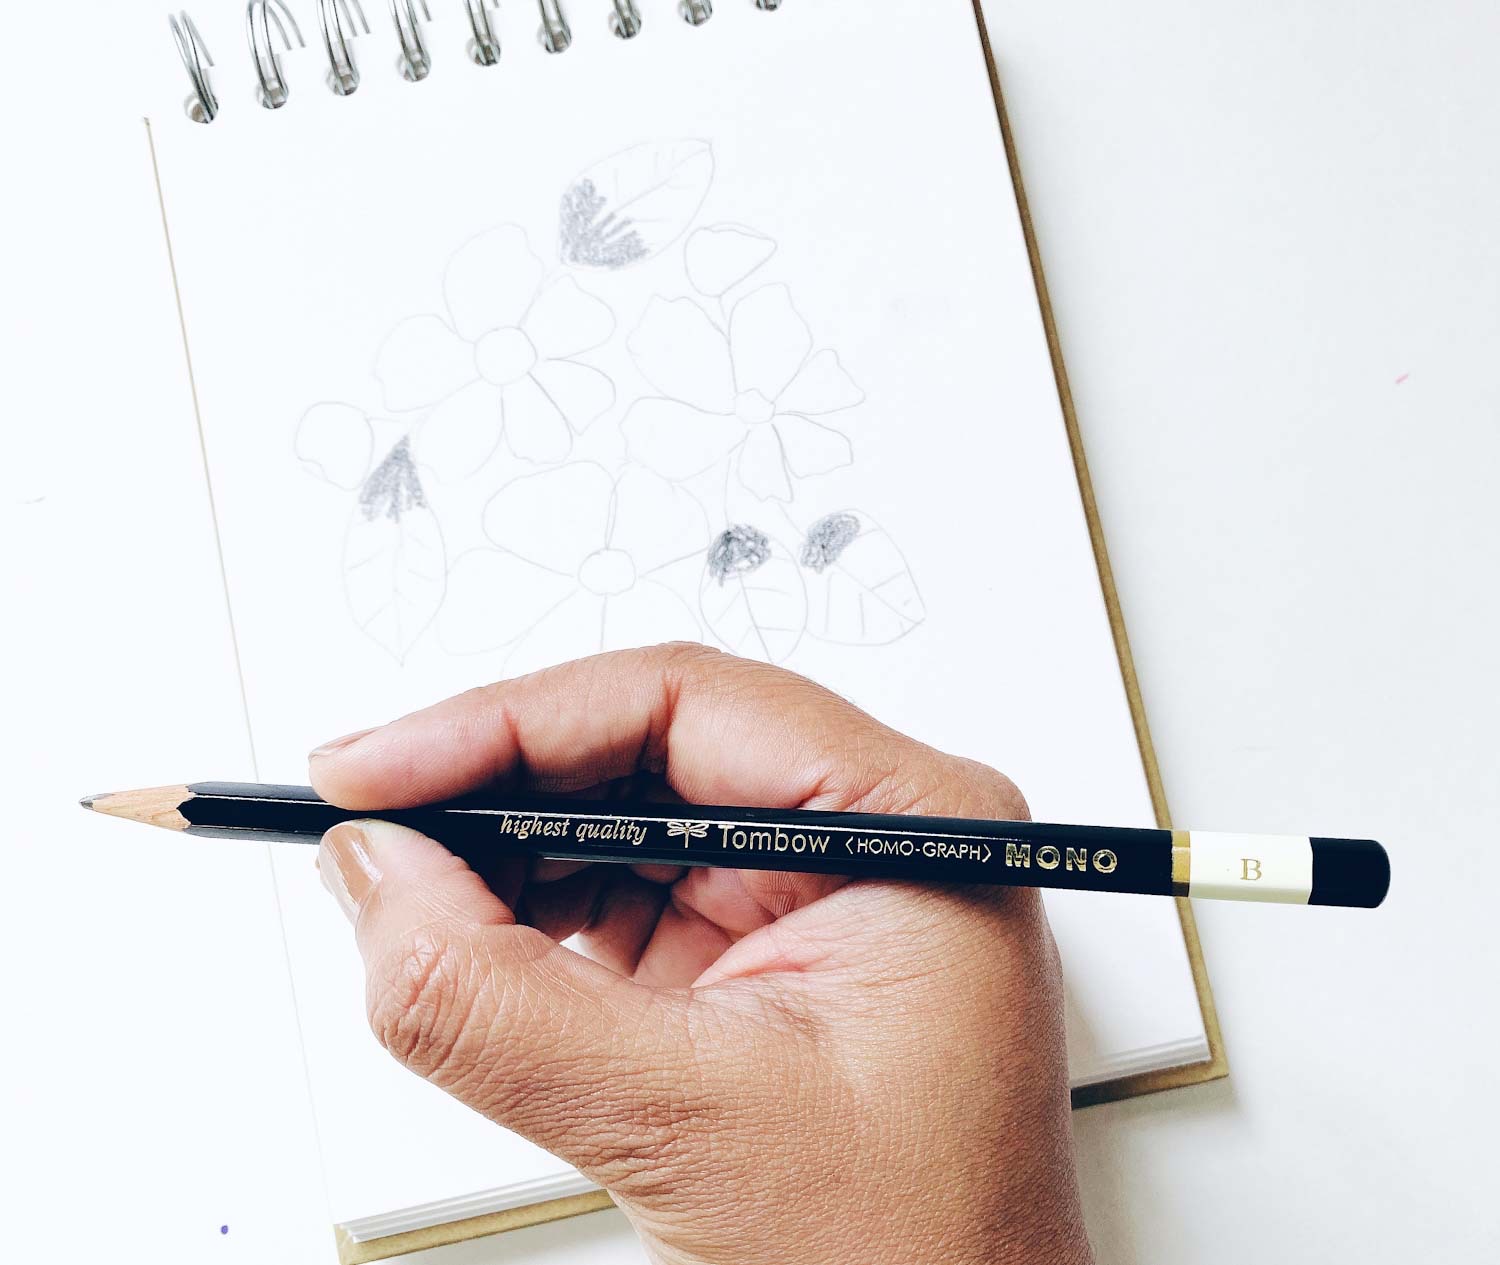
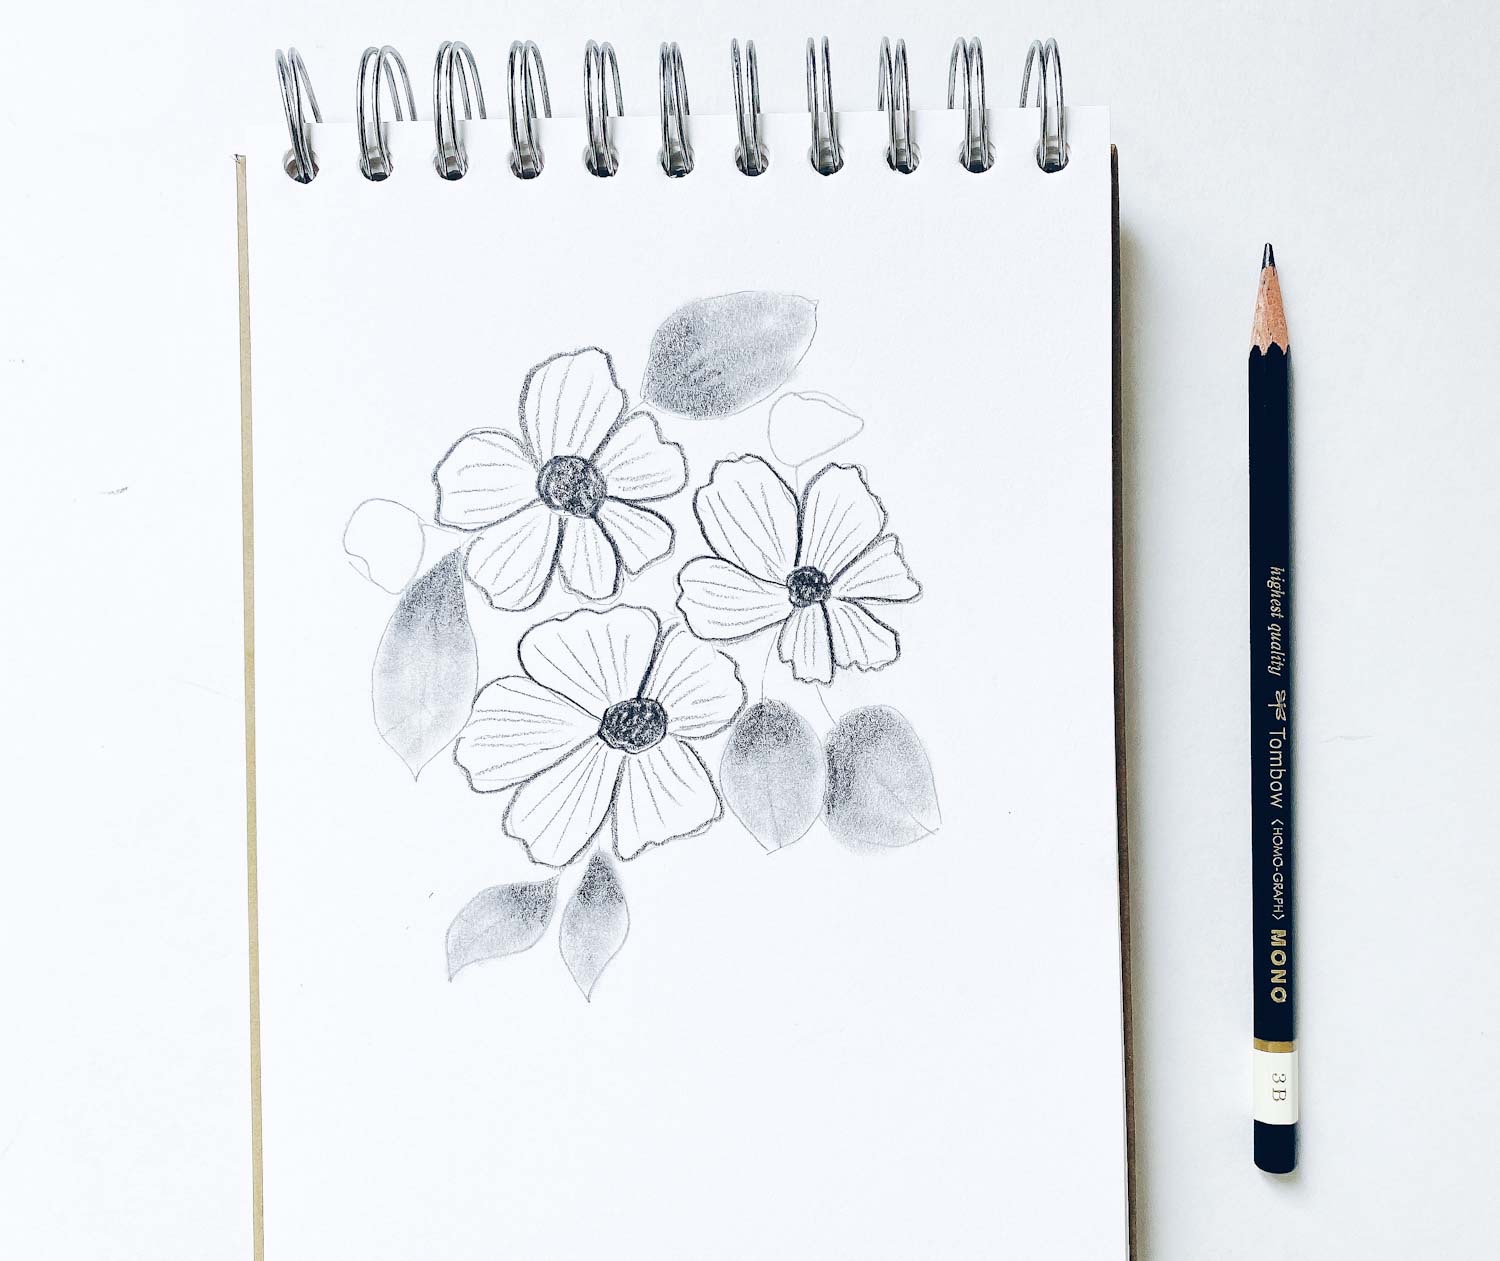
2. Layering shades and darker details
After your initial outline, switch to softer pencils like B, 2B, or 4B from the MONO Drawing Pencil Set to add darker shades and detailed textures. These pencils offer smoother, richer shading perfect for petals, leaves, and stems.
Tip: Keep the tips of your softer pencils slightly blunt to achieve smoother shading transitions.
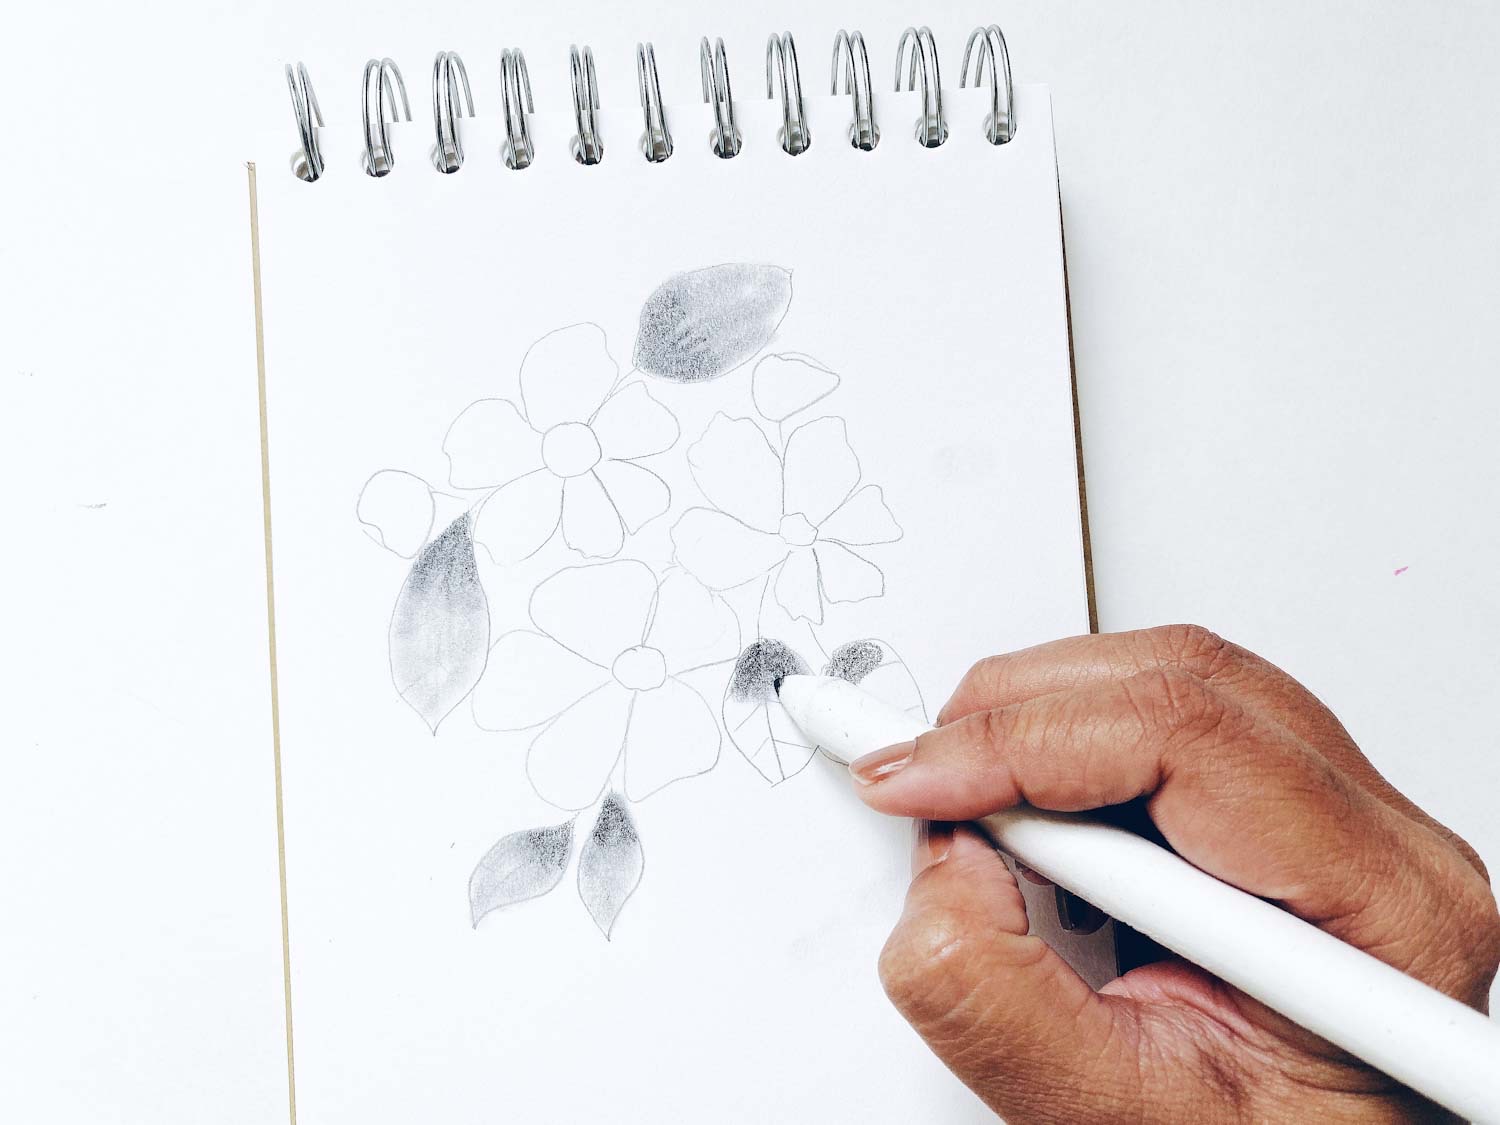
3. Achieve depth through gradient shading
Use gradient shading to create depth and realism. Start shading darker near the center or edges and gradually lighten pressure towards areas reflecting more light. Use smudging techniques with a blending stump or homemade smudging tool (paper cones, cotton swabs) to create smooth gradients.
Tip: Always smudge gently to prevent tearing your paper or over-blending your shading.
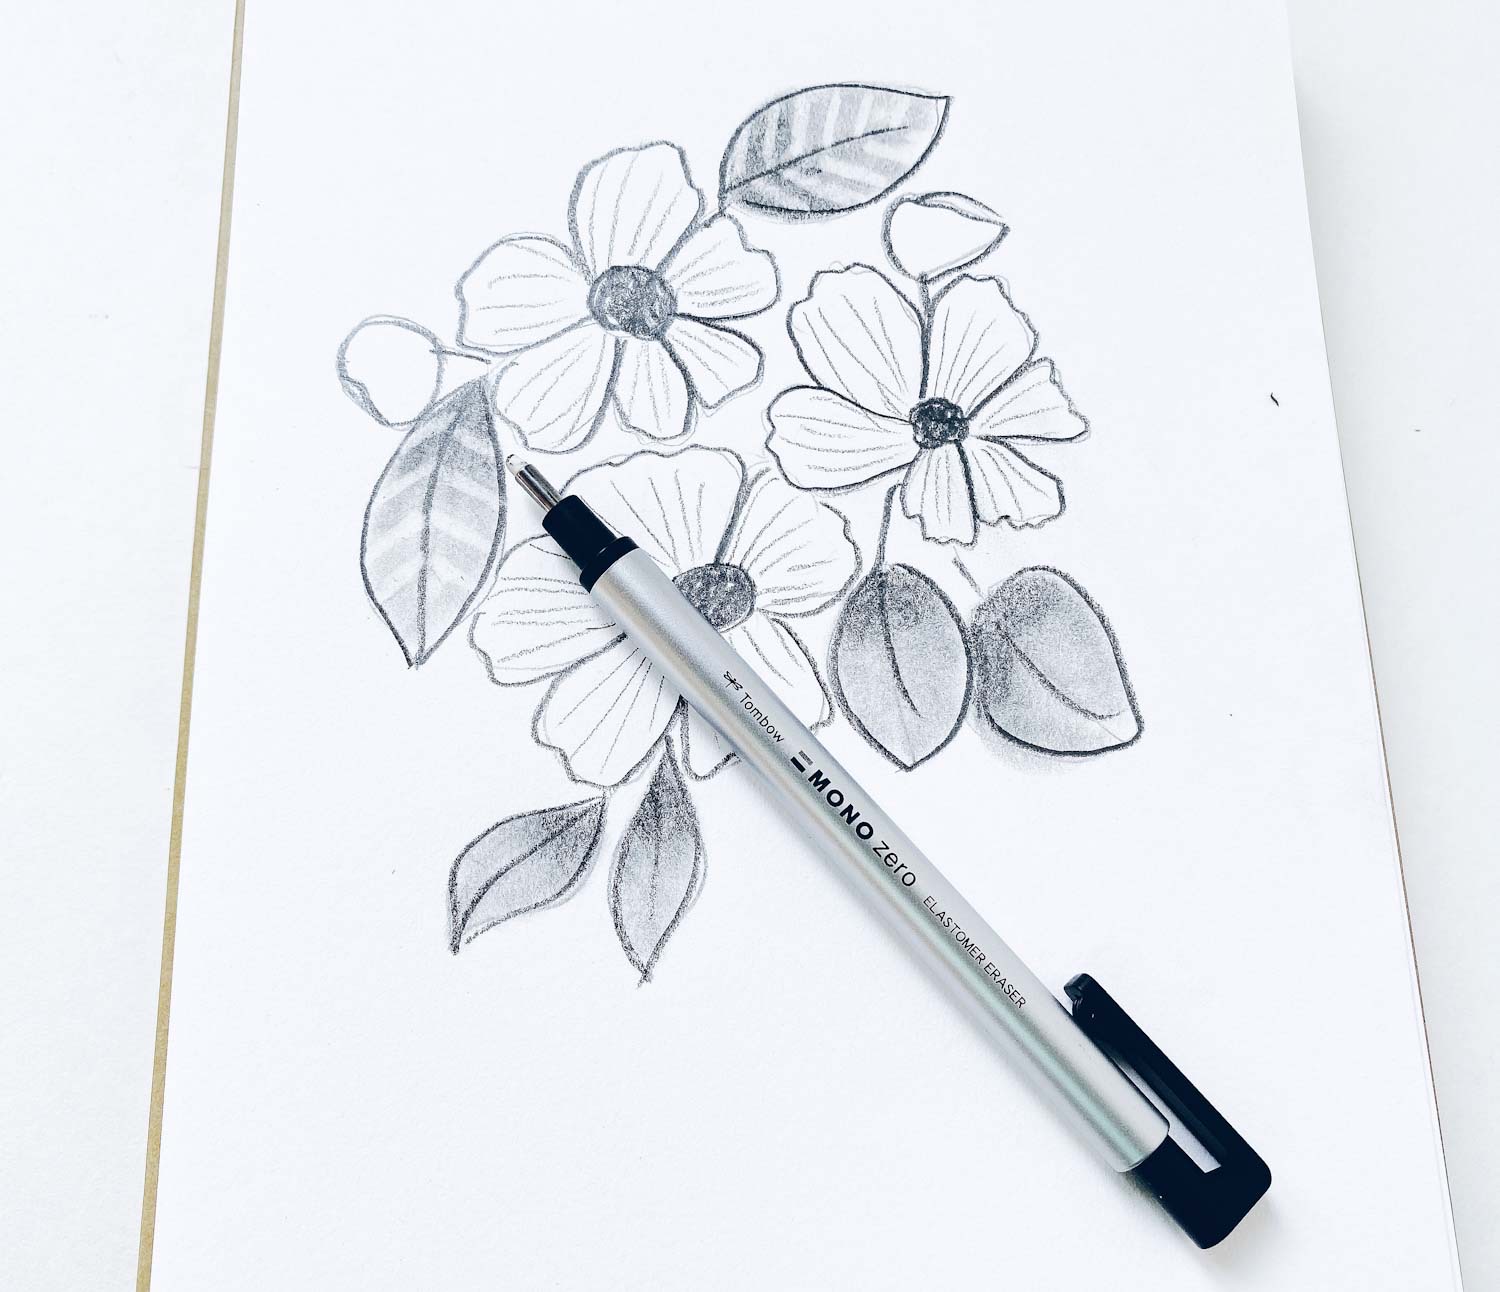
4. Add highlights and fine details
The MONO Zero Eraser is ideal for highlighting and adding fine details like leaf veins, petal edges, or dew drops. Carefully erase areas to reveal the paper beneath, creating dynamic highlights that add dimension.
Tip: Clean the eraser tip frequently to maintain precision and clarity.
5. Experiment with various shading techniques
Try different shading methods to add texture and interest:
- Cross-hatching: Overlapping diagonal lines create texture and depth.
- Stippling: Small dots placed close together for shading.
- Scribbling: Loose, overlapping circles or lines to create quick, textured shading.
6. Practice sketching different flower types
Enhance your pencil shading skills by practicing with various flower shapes:
- Roses (complex layered petals)
- Daisies (simpler shapes, great for beginners)
- Orchids (intricate details and gradients)
- Sunflowers (textured centers and bold petals)
Tip: Study real flowers or photographs to understand natural shading and detail placement.
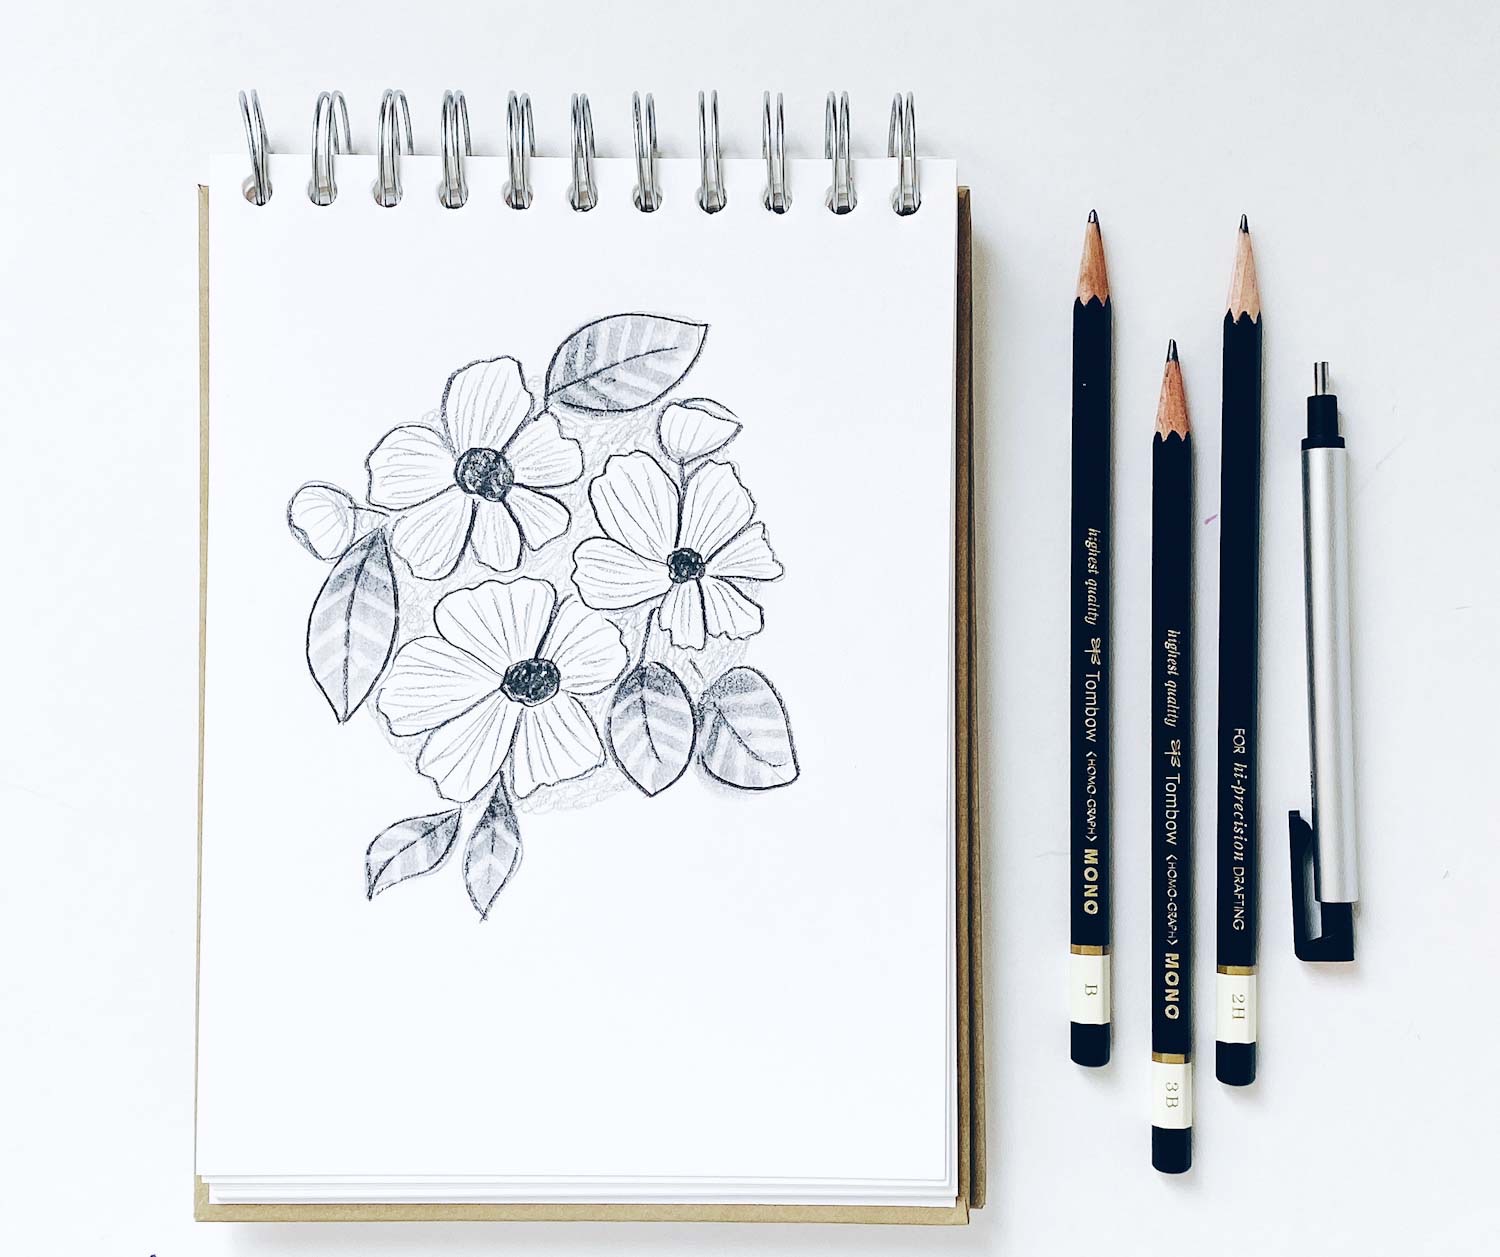
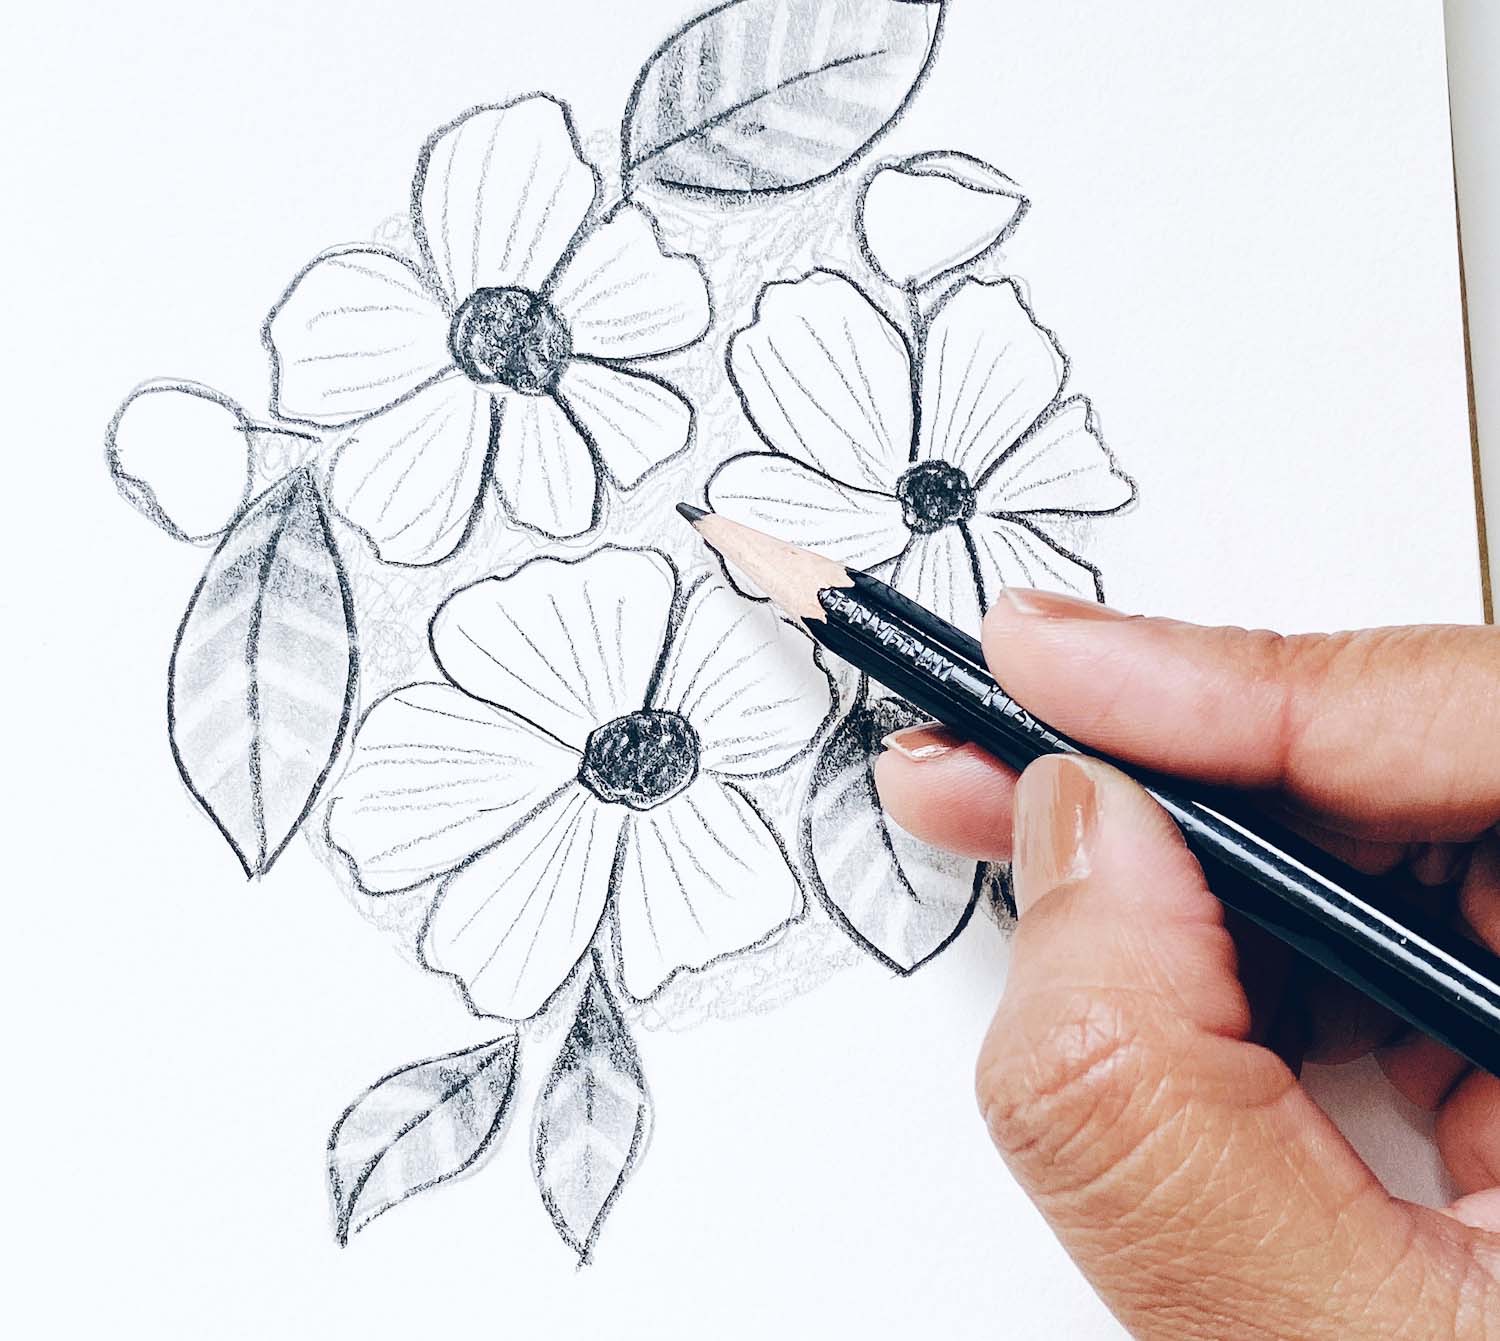
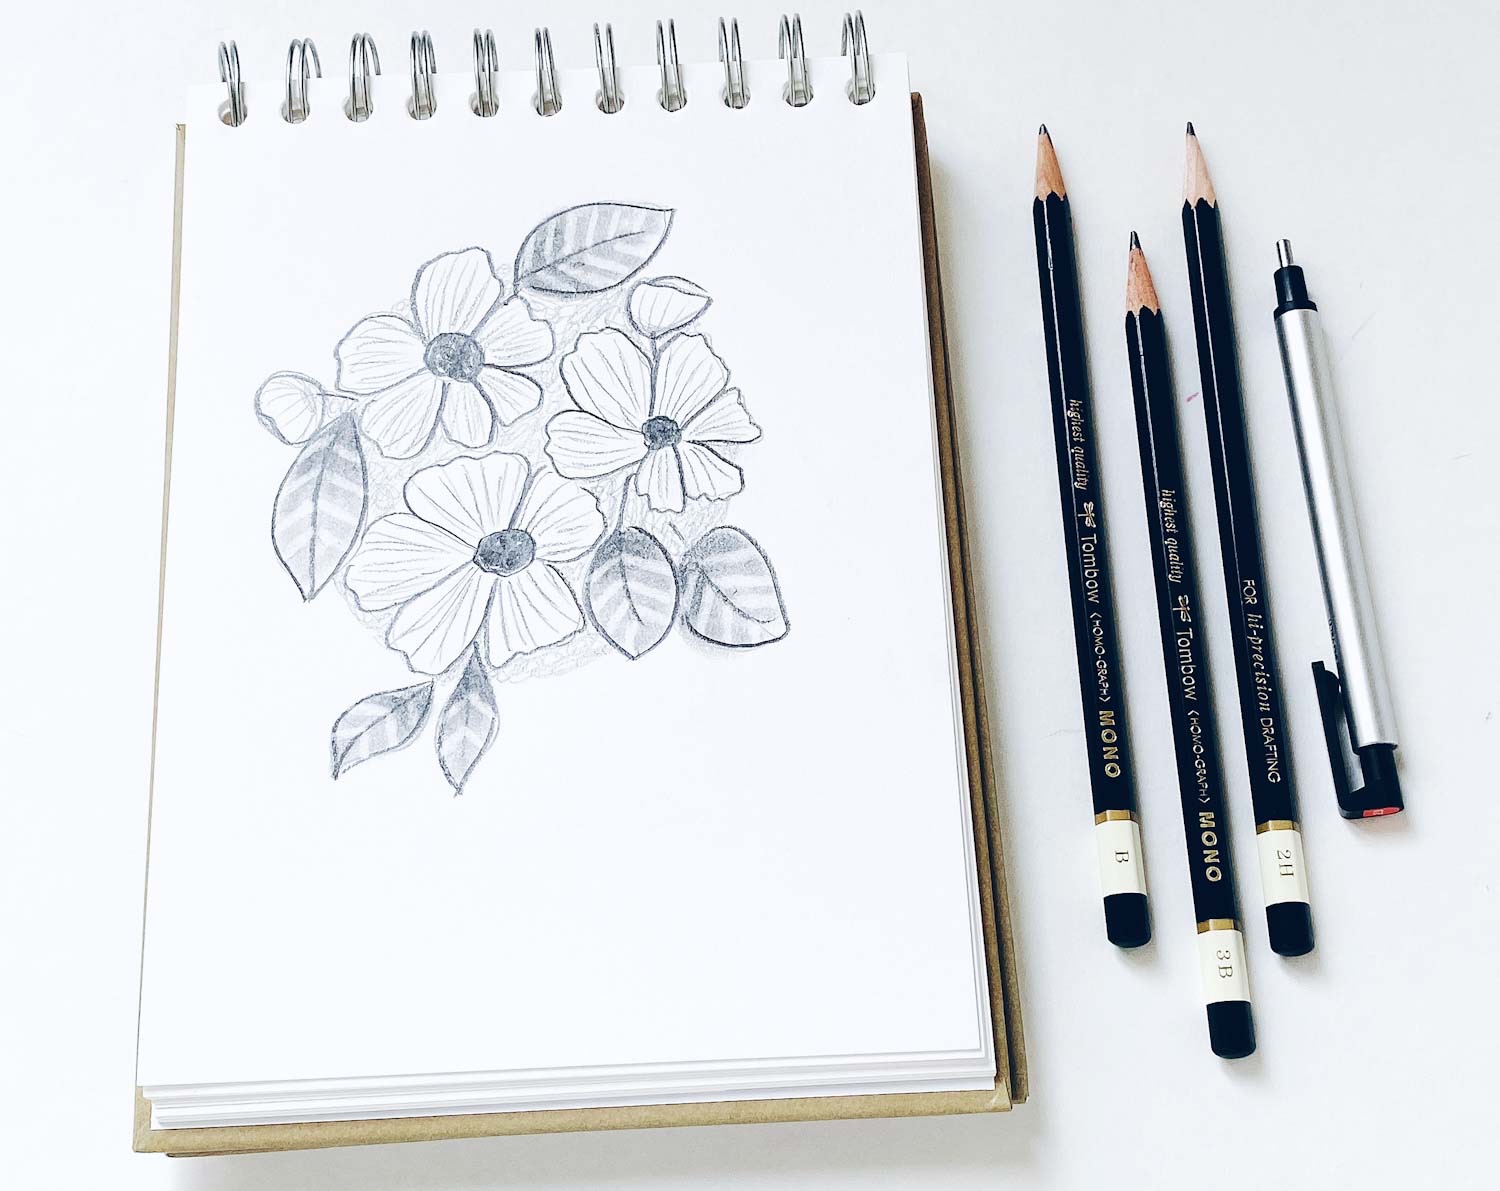
Example floral sketch
Here is how my final floral sketch turned out. I love the varied elements and the pencil easily captured the background and details. Notice the range of light to dark shading, intricate details, and realistic highlights. With practice, pencil shading can bring any floral drawing to life beautifully.
Now we can recreate this with watercolors or paints easily!

Expand your skills further:
Check out additional Tombow tutorials to improve your drawing and shading skills:
Final thoughts
I love sketching flowers with pencils due to their versatility and ease. Do you prefer pencils or pens for your artwork? Share your experiences or questions in the comments below—I’d love to hear from you!
Happy sketching, Smitha
Find me on Instagram: @smithakatti
Back in the day I used strokes, and it looked a little ridiculous, hmm. Now I’m going to try your method 🙂
A must-read for all aspiring or working freelance engineers. Don’t stop posting stories like these.
I used to use strokes back then, and it kind of looked ridiculous, hmm. I will now try your approach.
What a great art. I always wanted to be an artist but unfortunately i am not. Well better up next time.
Wonderful post. should be promoted