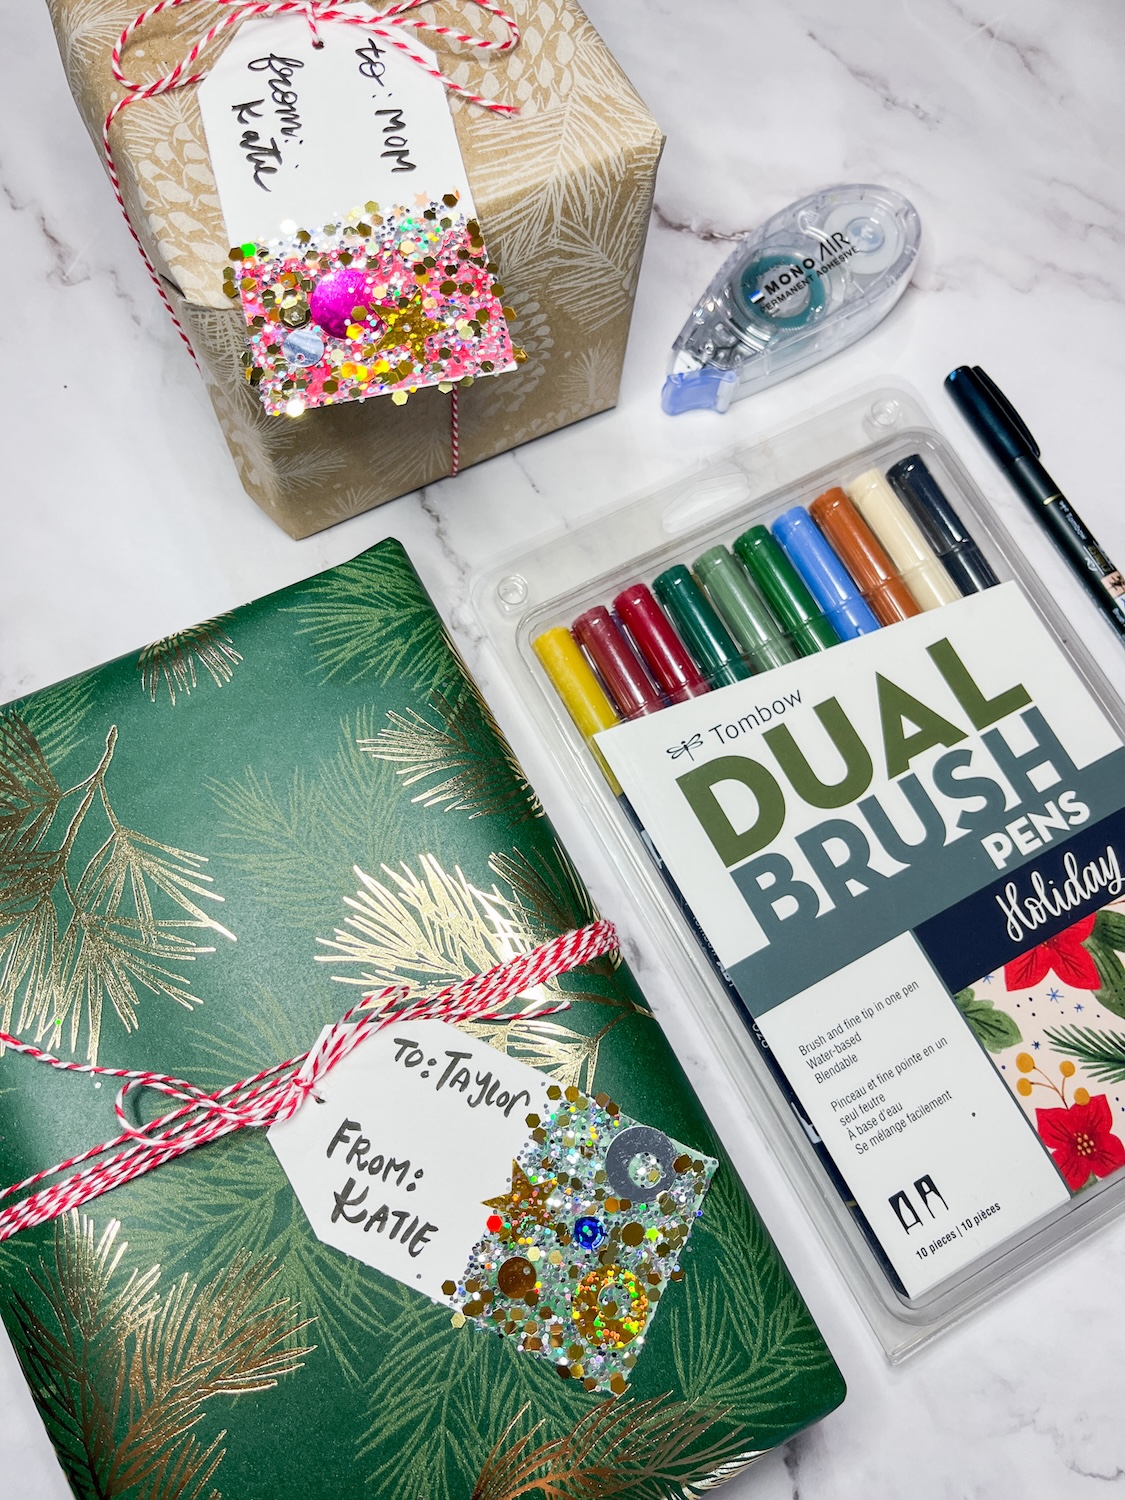
Hi Tombow fans, it’s Katie here today with a FUN tutorial showing you how to make your own easy DIY Glitter Gift Tags that are going to make your Christmas presents sparkle this year!
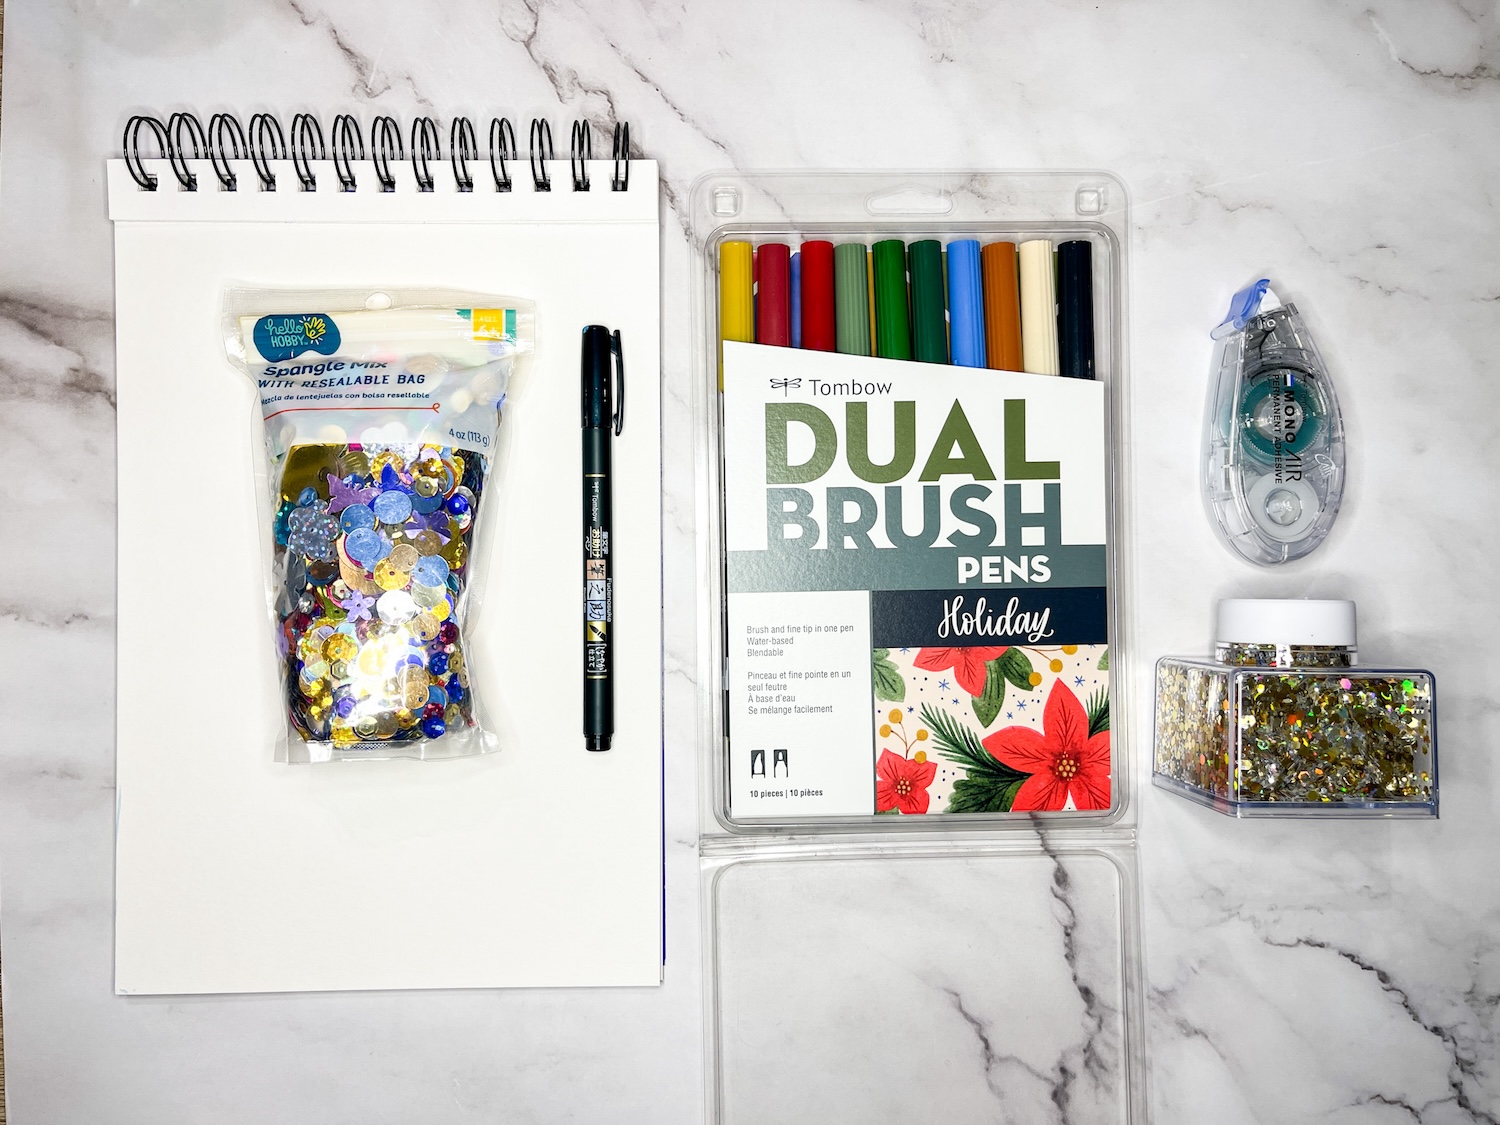
Supplies:
- Tombow MONO Air Touch Adhesive
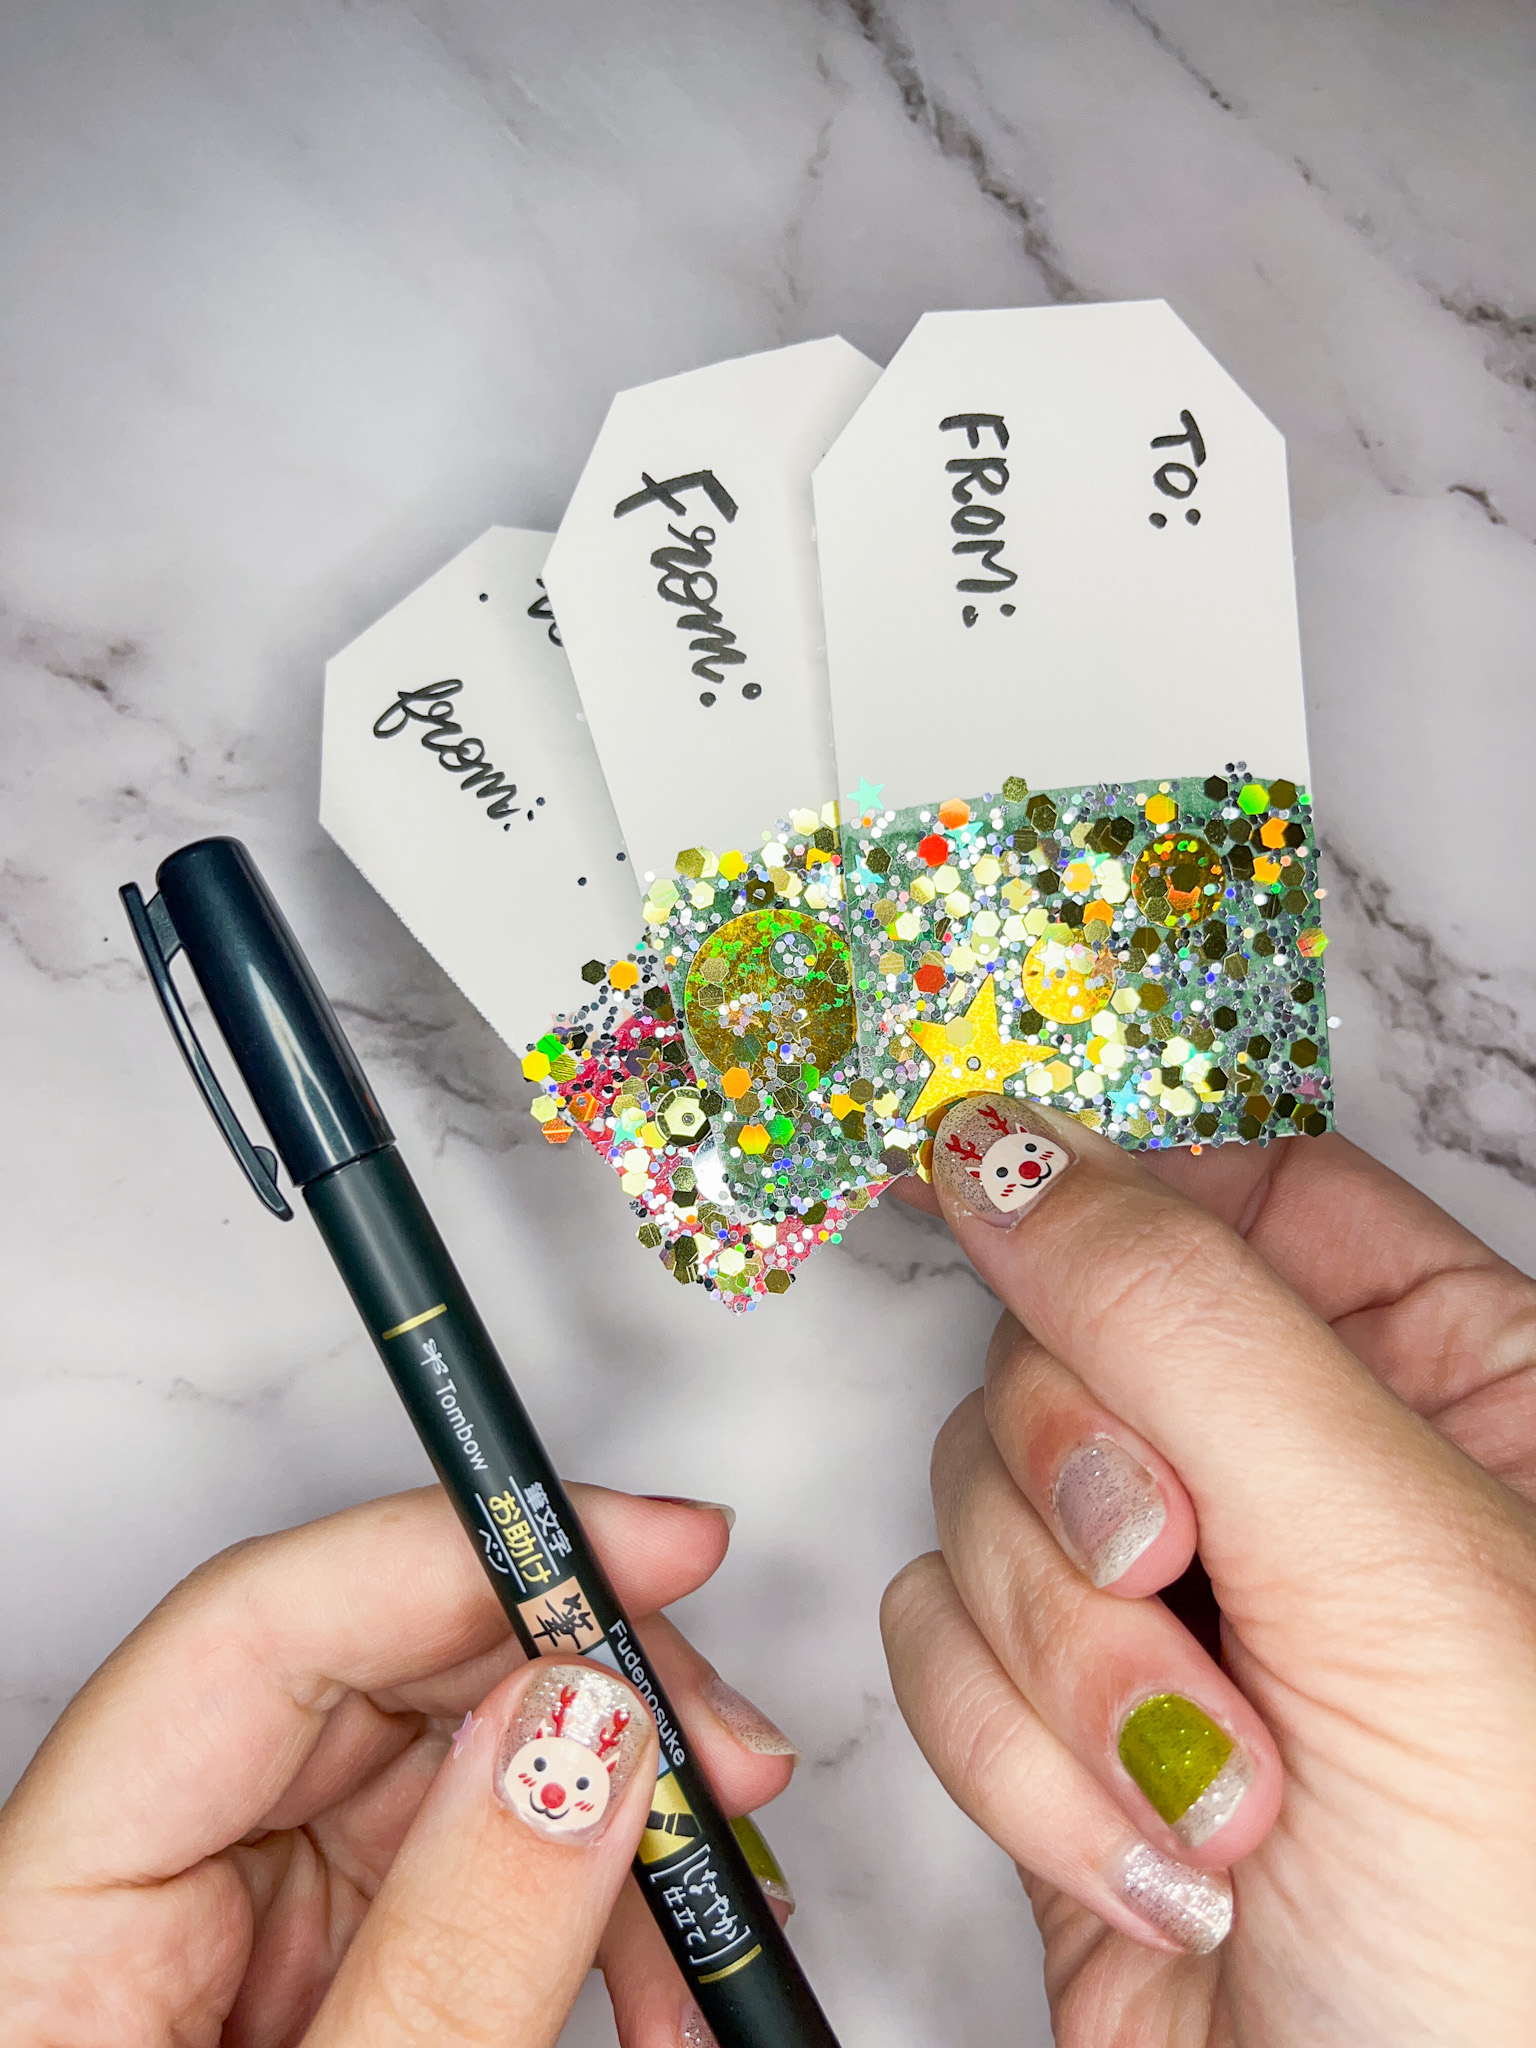
- Tombow Fudenosuke Brush Pen
- Tombow Dual Brush Pen, Holiday, 10-Pack
- Cardstock
- Sequins
- Glitter
Step One:
Cut your cardstock into 2×3.5″ rectangles (or your desired size). You can leave them as rectangles, or cut the corners off to make them more tag-shaped!
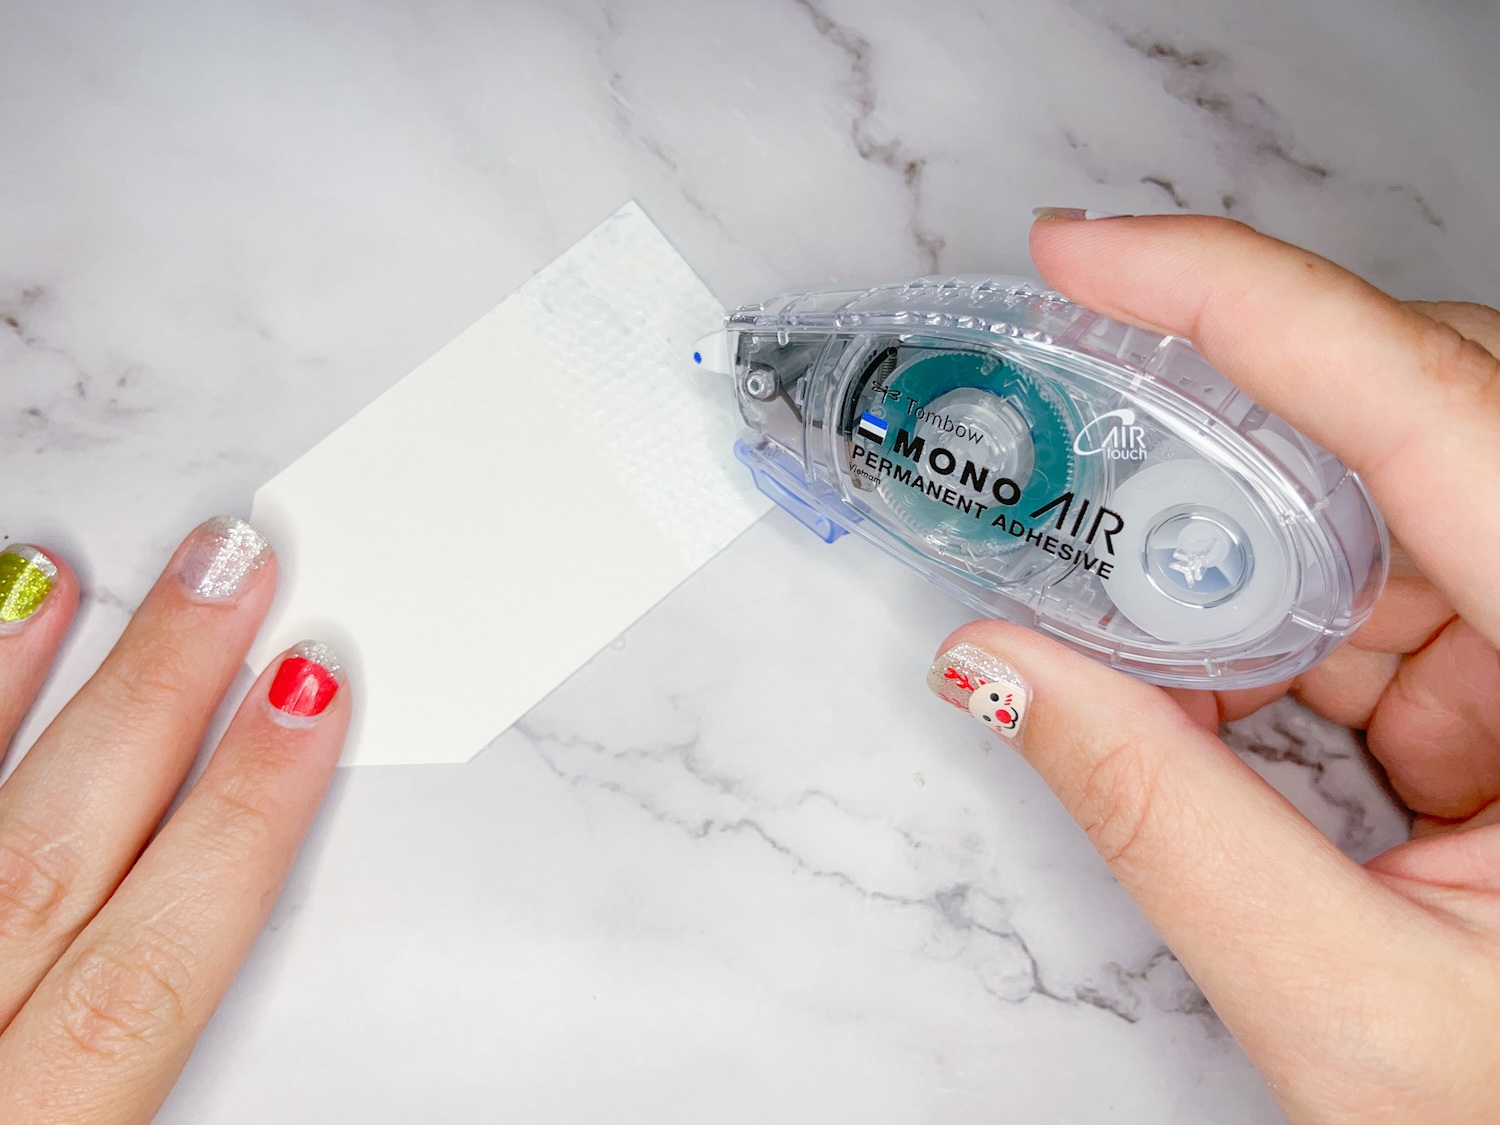
Step Two:
Use your MONO Air Touch Adhesive to apply adhesive to the bottom half of the tag. I like to do multiple strips of it to make sure there is a lot of adhesive on the tag to hold the glitter in the next steps.
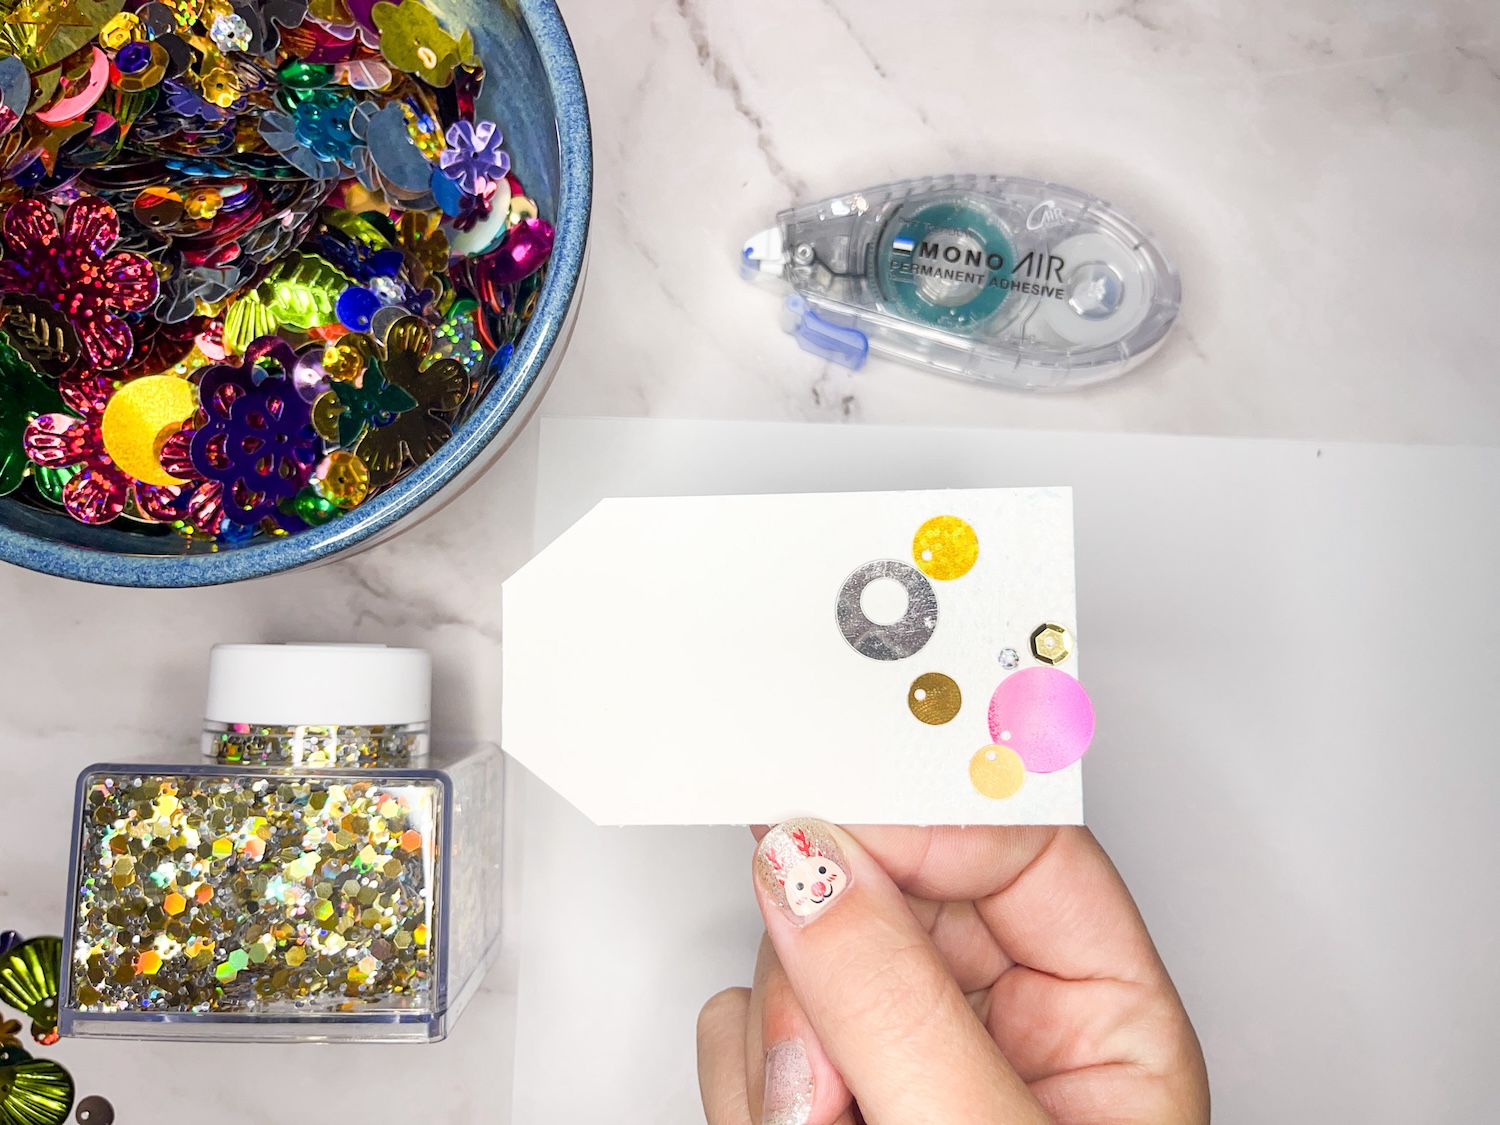
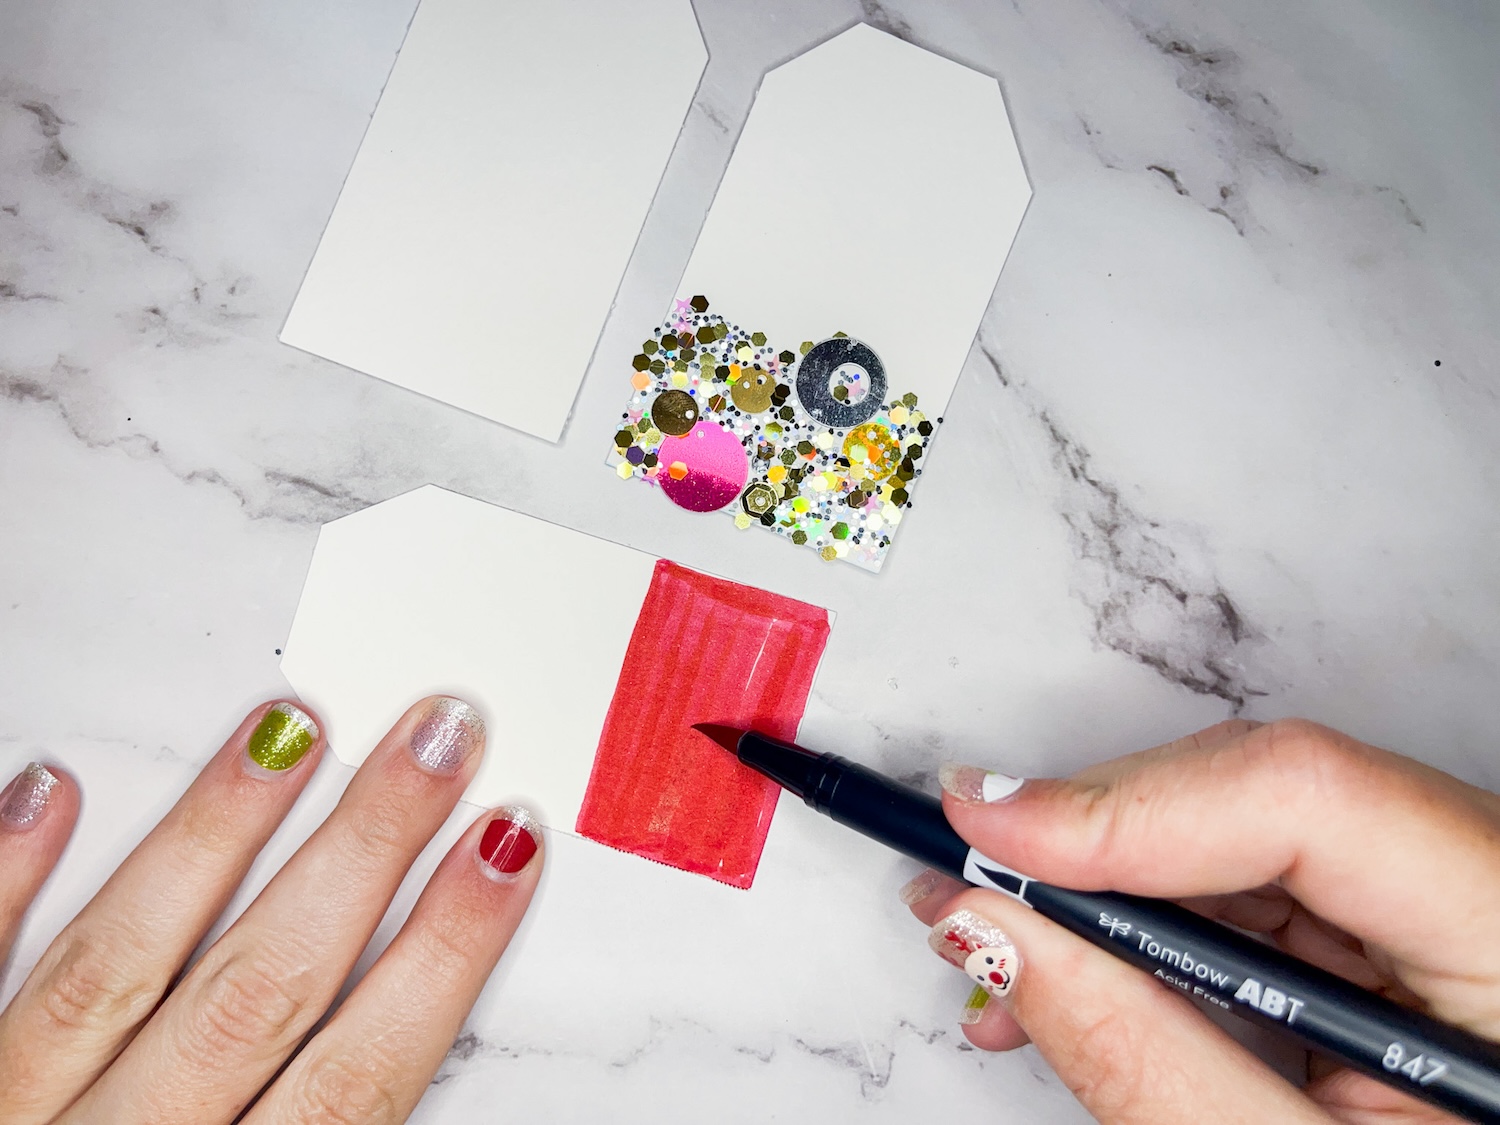
Step Three:
Stick a few of your favorite sequin shapes to the tag. You could completely cover it in either sequins or glitter, but I wanted to do a mix of both to have a variety of size sparkles, so I just added a few sequins.
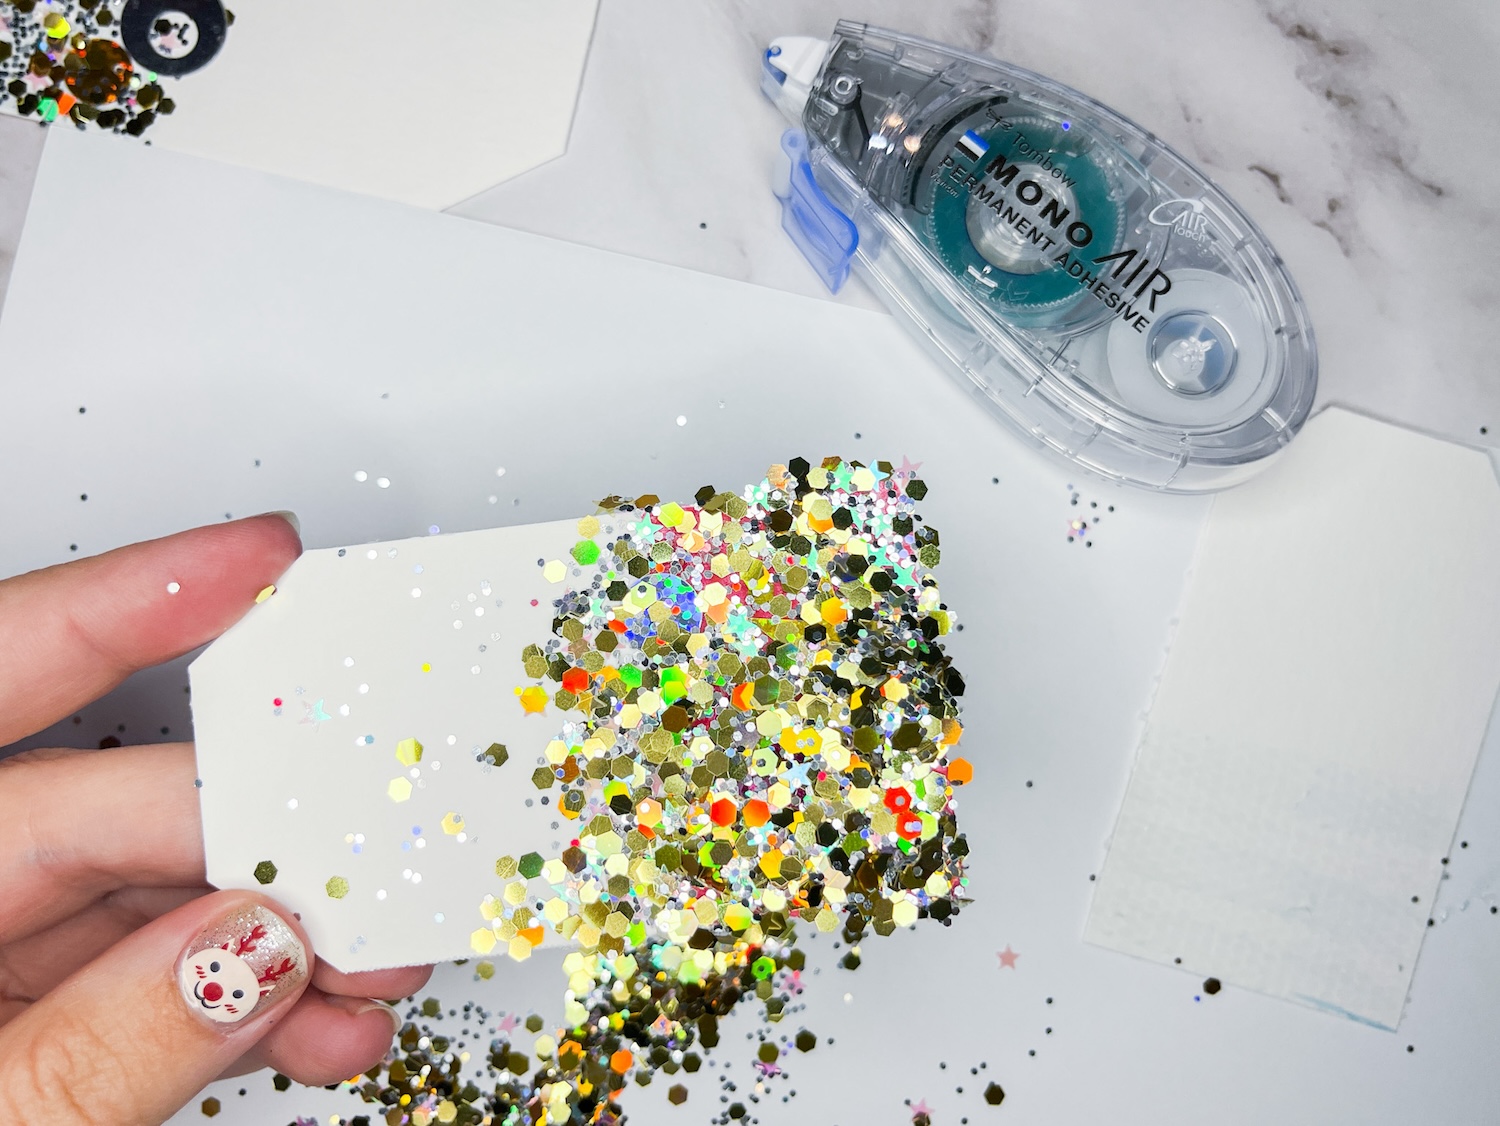
Step Four:
Pour glitter over the MONO Air Touch Adhesive on the tag. Press it down with your fingers to make sure it sticks to the adhesive, and then flip it over onto a piece of scrap paper and knock the excess glitter off (you can pour the extra back into the glitter bottle to reuse!).
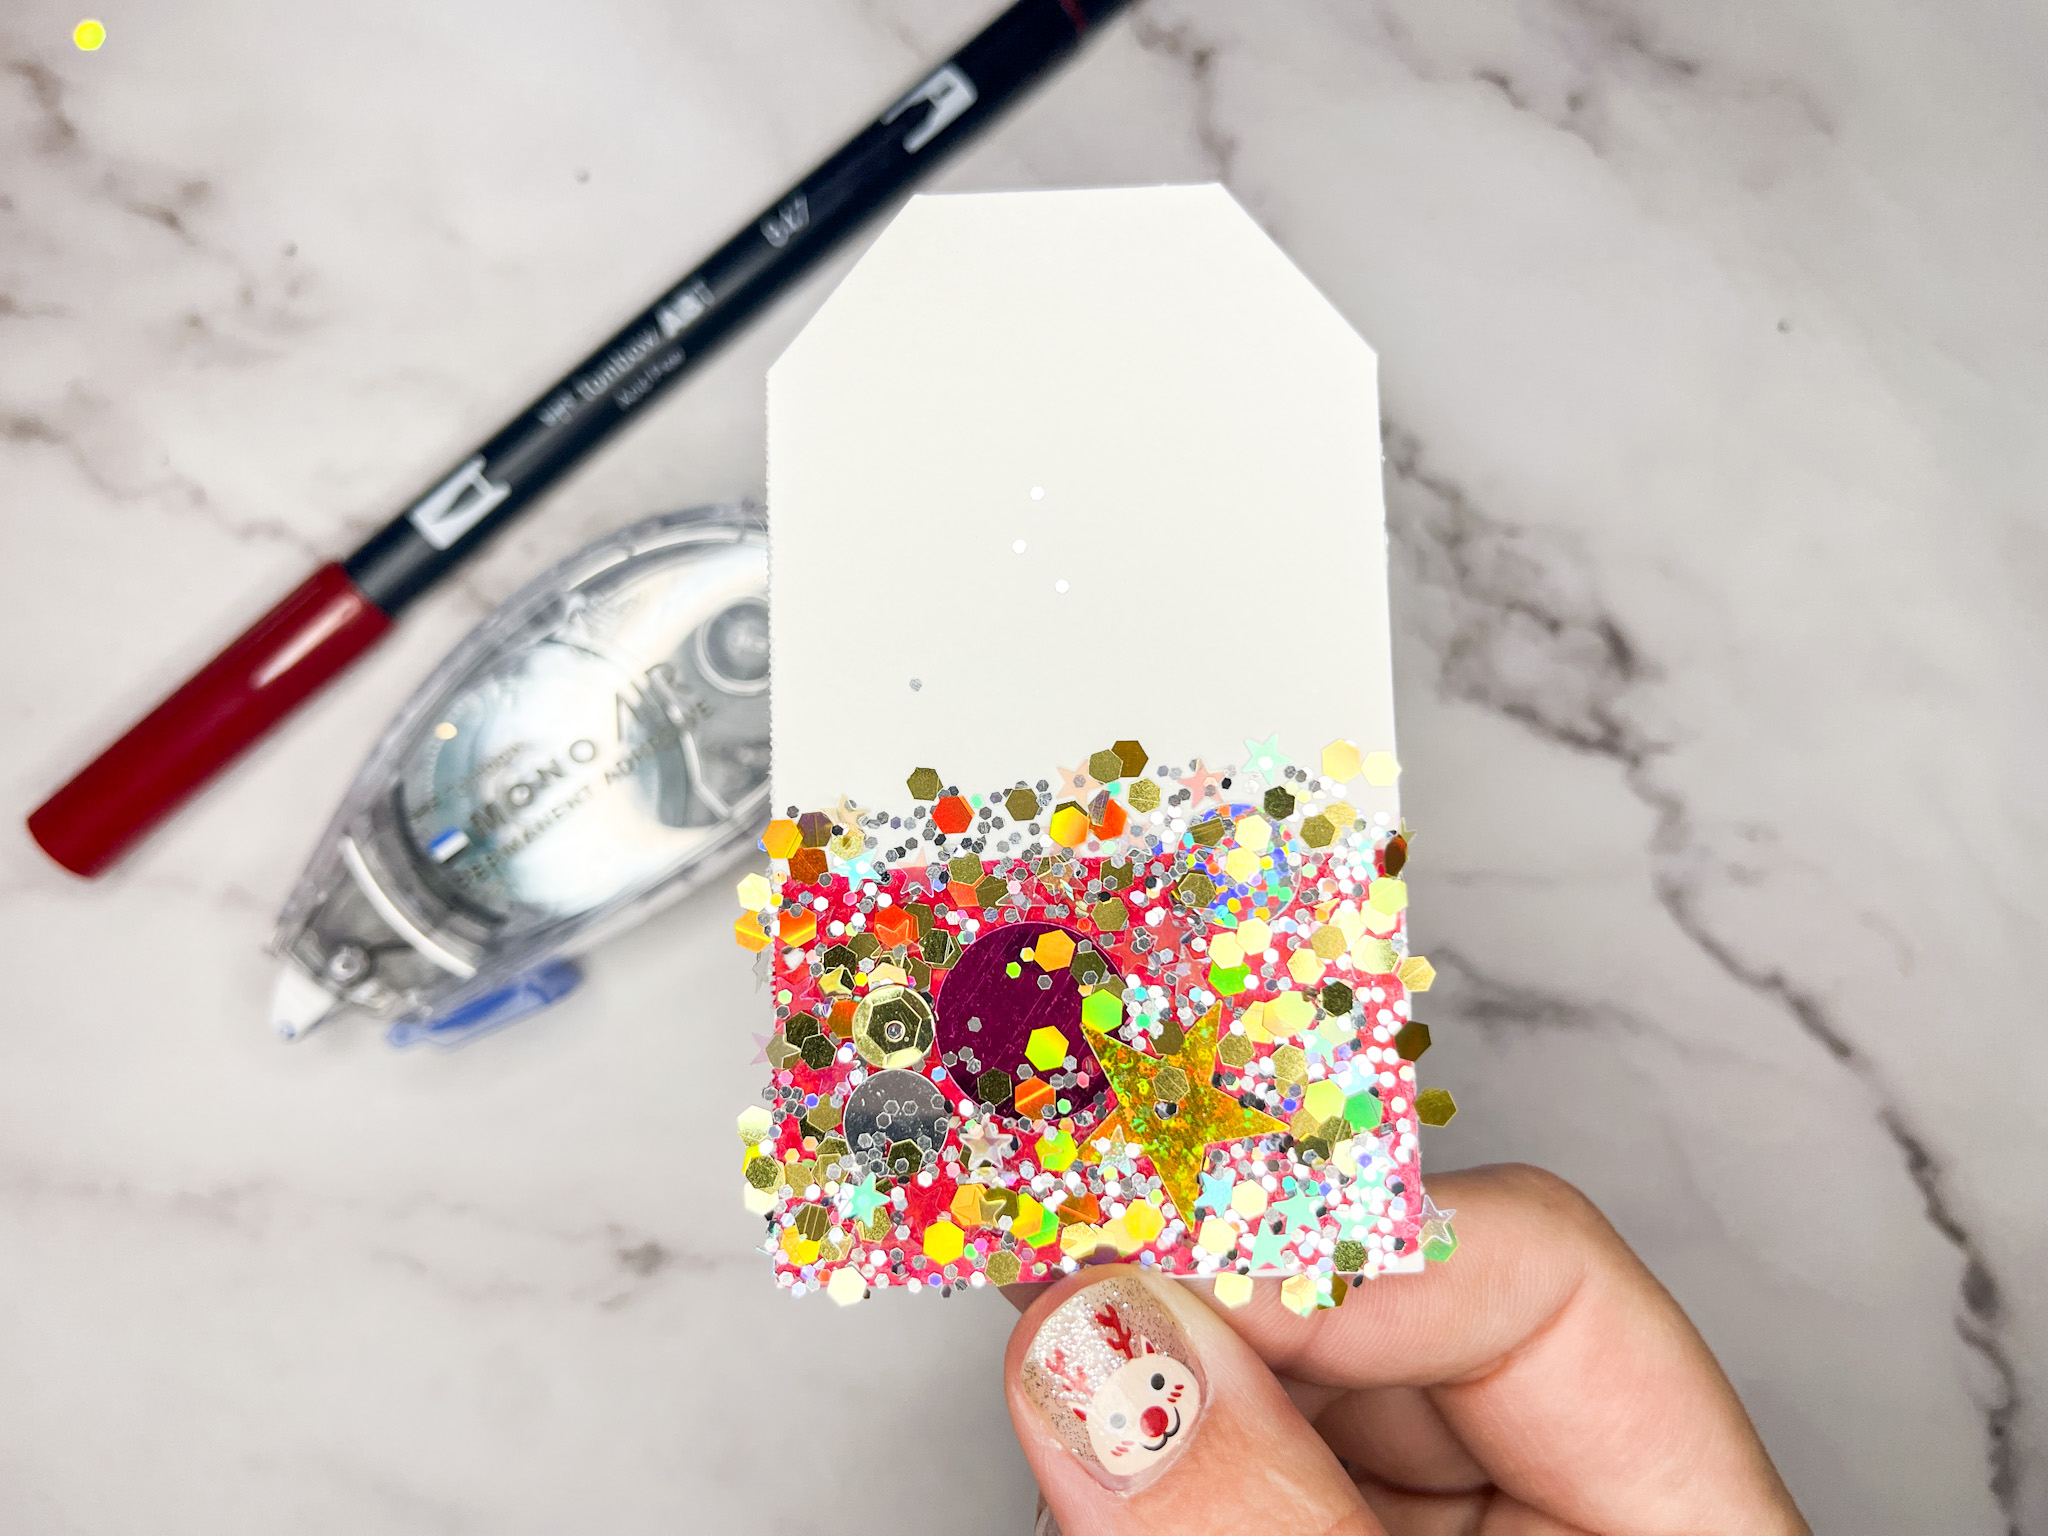
To add more color to your tags, you can start by coloring them with Dual Brush Pens first before you add the adhesive! Let the ink dry, and then repeat steps 2-4. It adds a gorgeous pop of color behind the glitter!
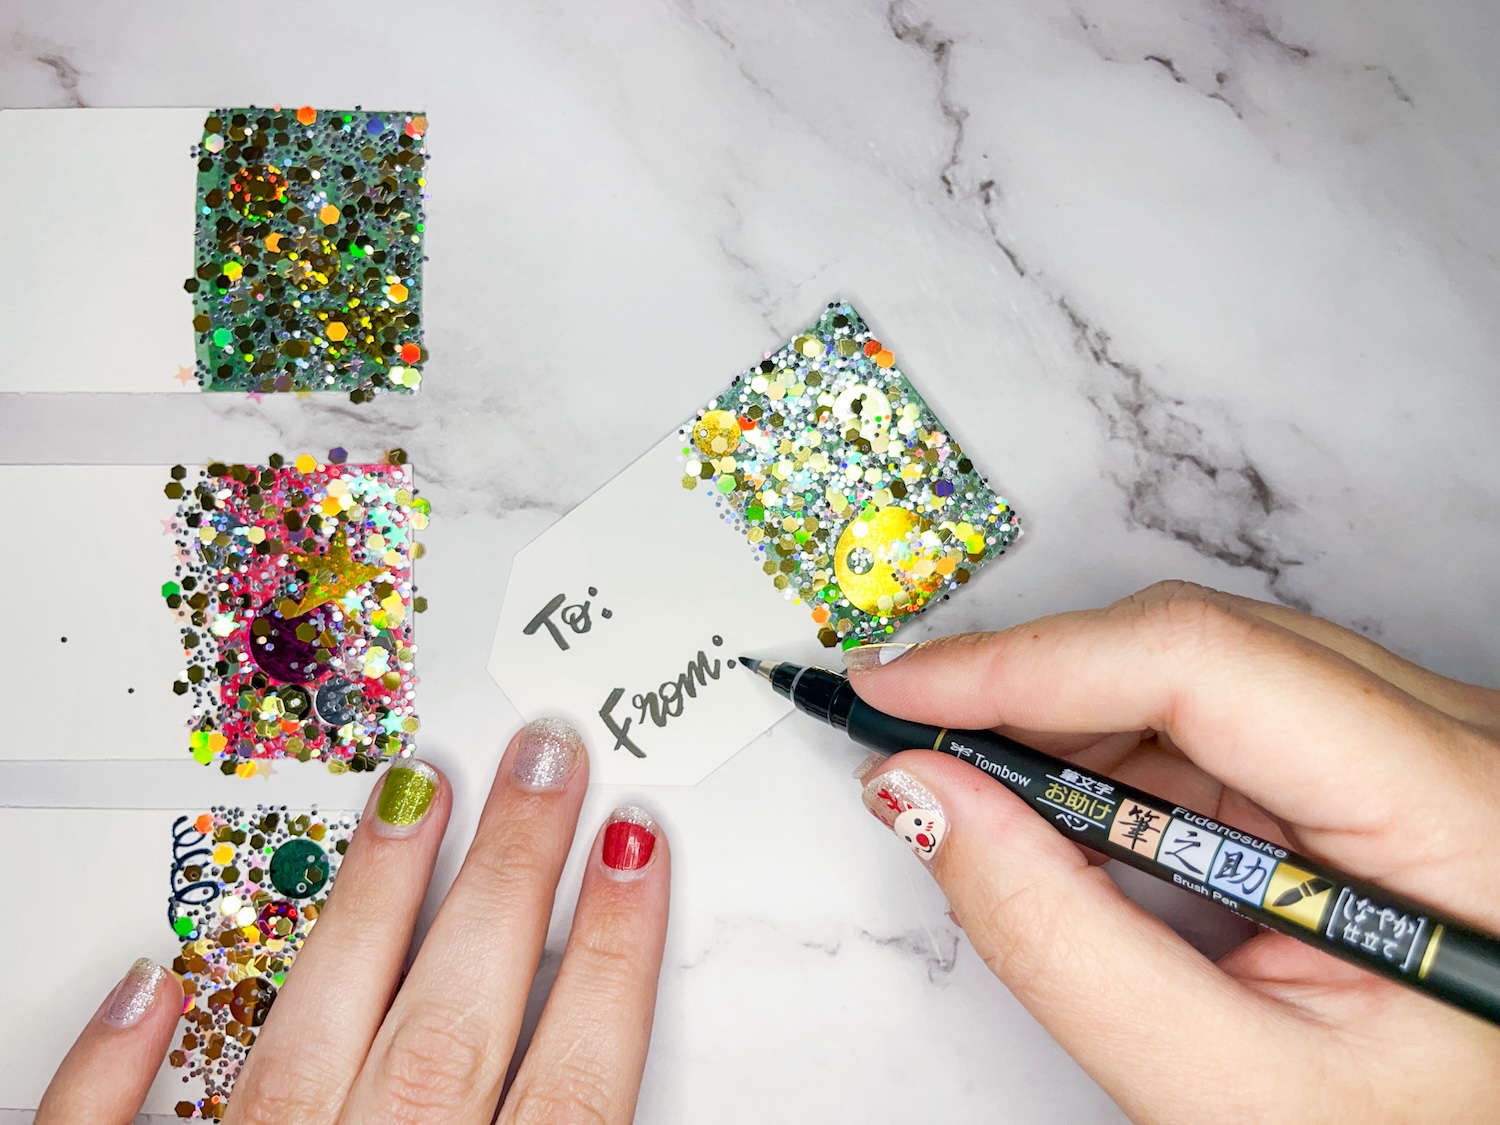
Step Five:
Sign your DIY Glitter Gift Tags with the Fudenosuke Brush Pen. Want to improve your lettering? Here are 5 Exercises to Improve Your Hand Lettering.
Step Six:
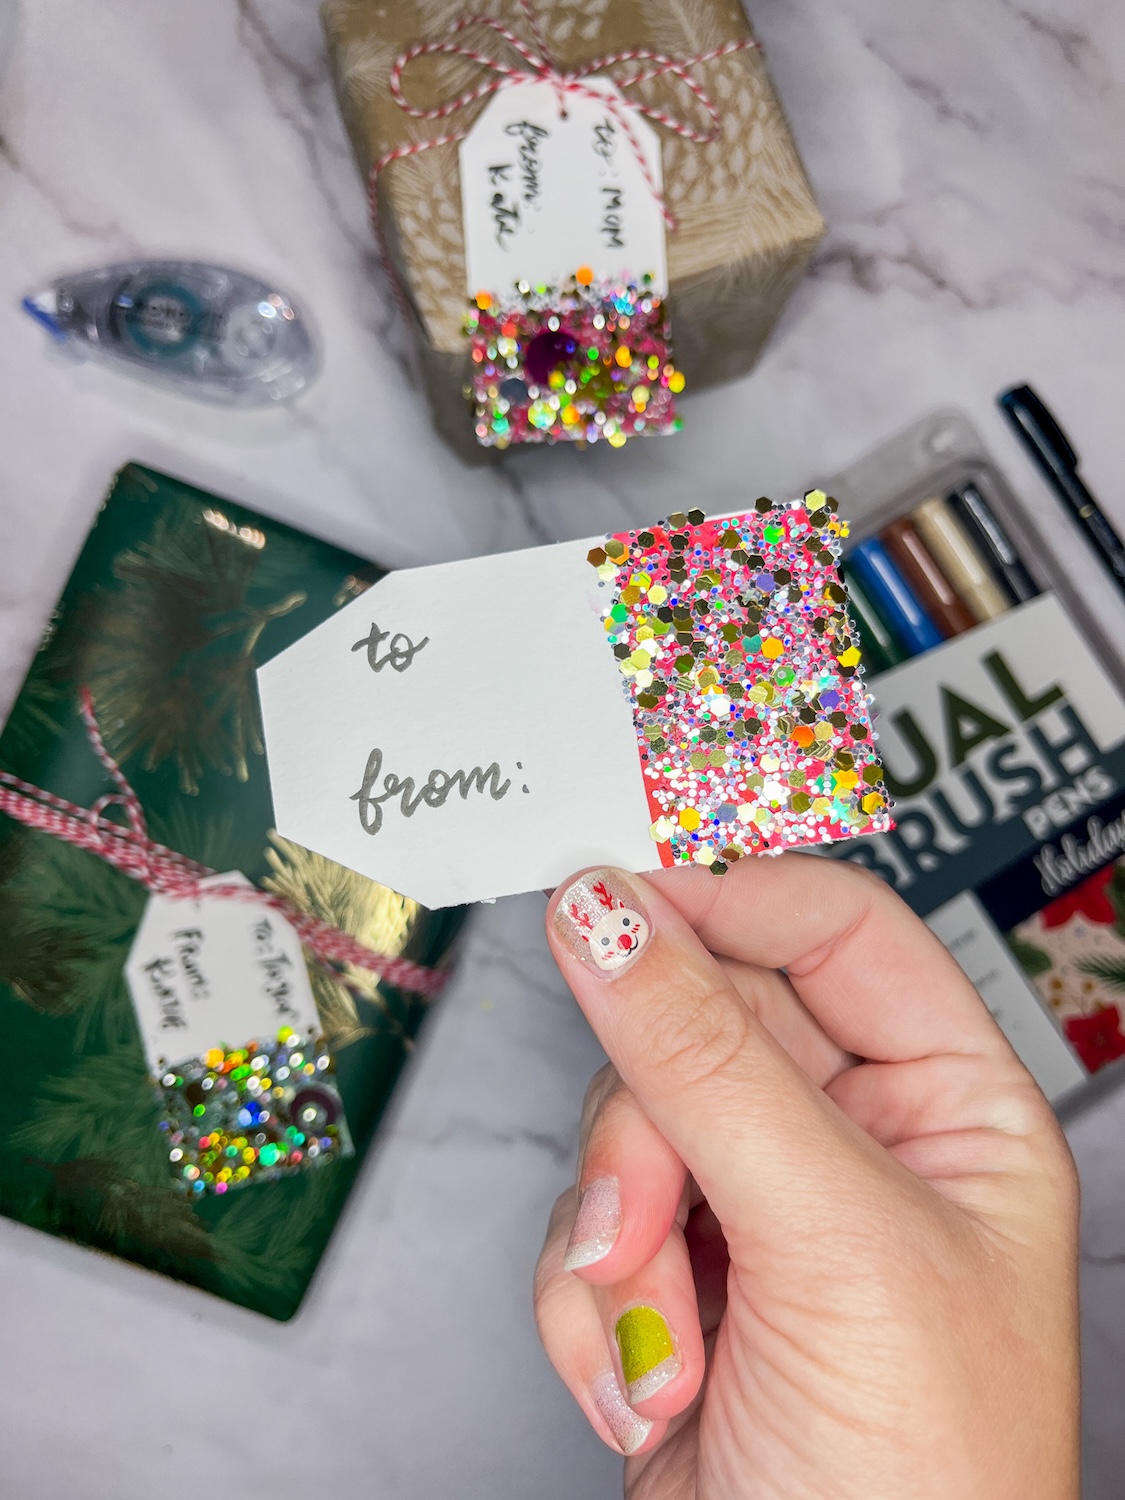
To finish off your tags, punch a hole in the top and tie them to your gift, or use the MONO Air Touch Adhesive to quickly stick them to your gift!
Happy Crafting!
Creating DIY glitter gift tags using Tombow adhesives is a fun and creative way to add a personalized touch to your presents.
Love this glittery idea, Katie! Definitely trying it for my holiday gifts. Thanks for the inspo
Pingback: DIY Paper Roll Snowflakes - Tombow USA Blog