If you’re looking for inspiration to create your best work, nature is a great place to start, because there’s beauty everywhere! Personally, I’m always inspired by flowers, because there are thousands of gorgeous varieties of blooms and combinations of color. I’m Amy from Amy Latta Creations, and today I want to share a fun project with you, a Watercolor Flower Bouquet.
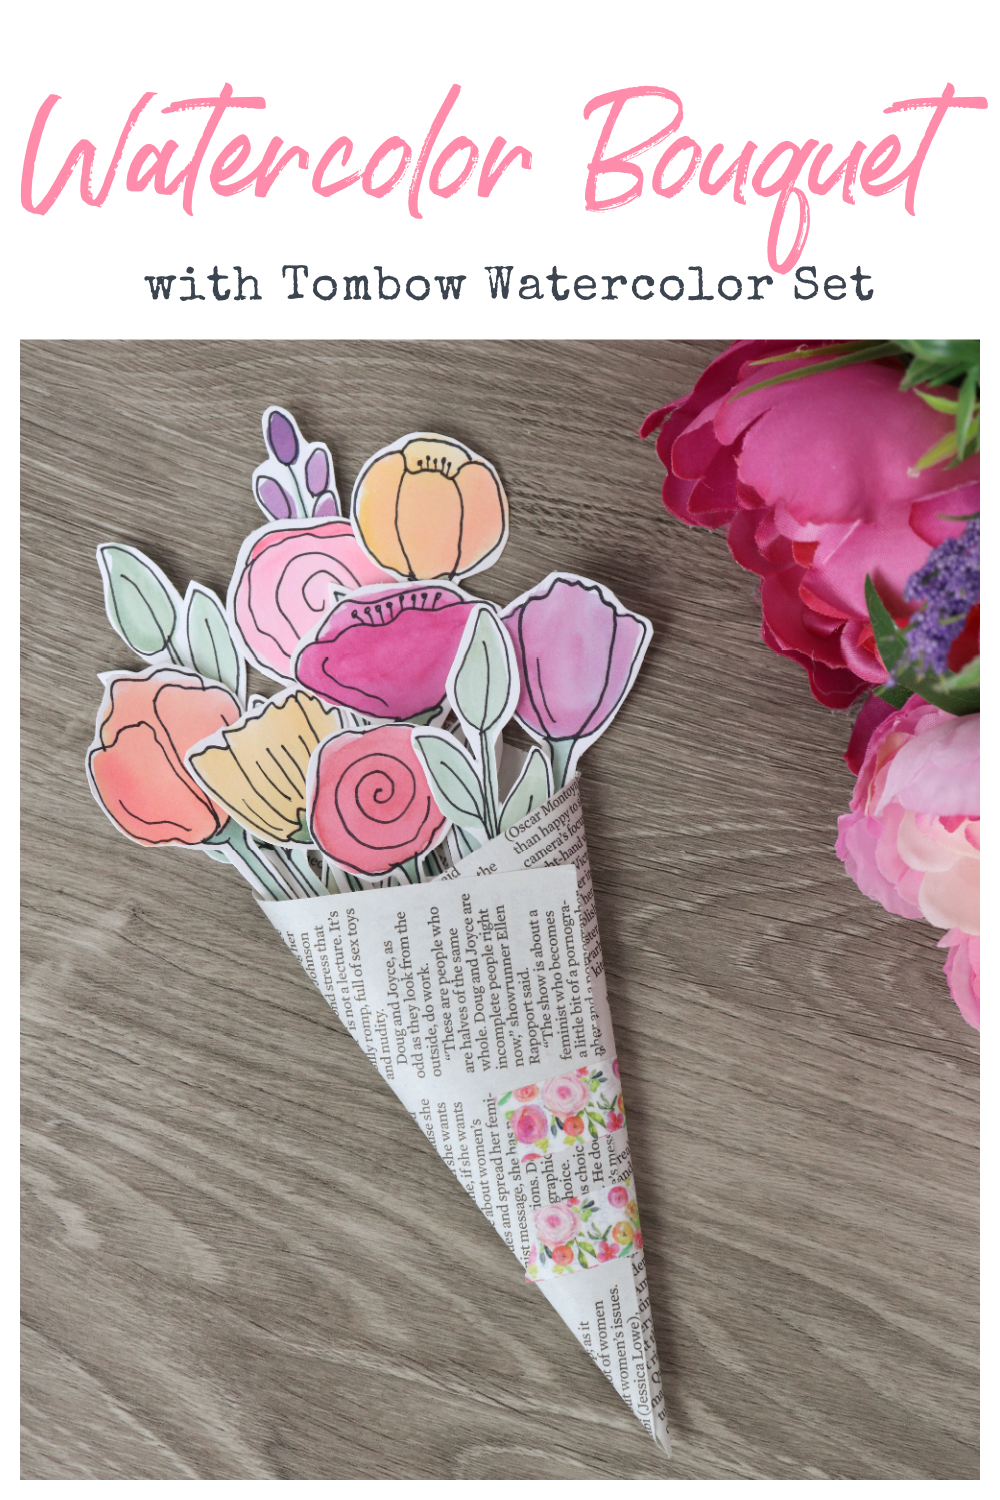
How to Make a Watercolor Flower Bouquet
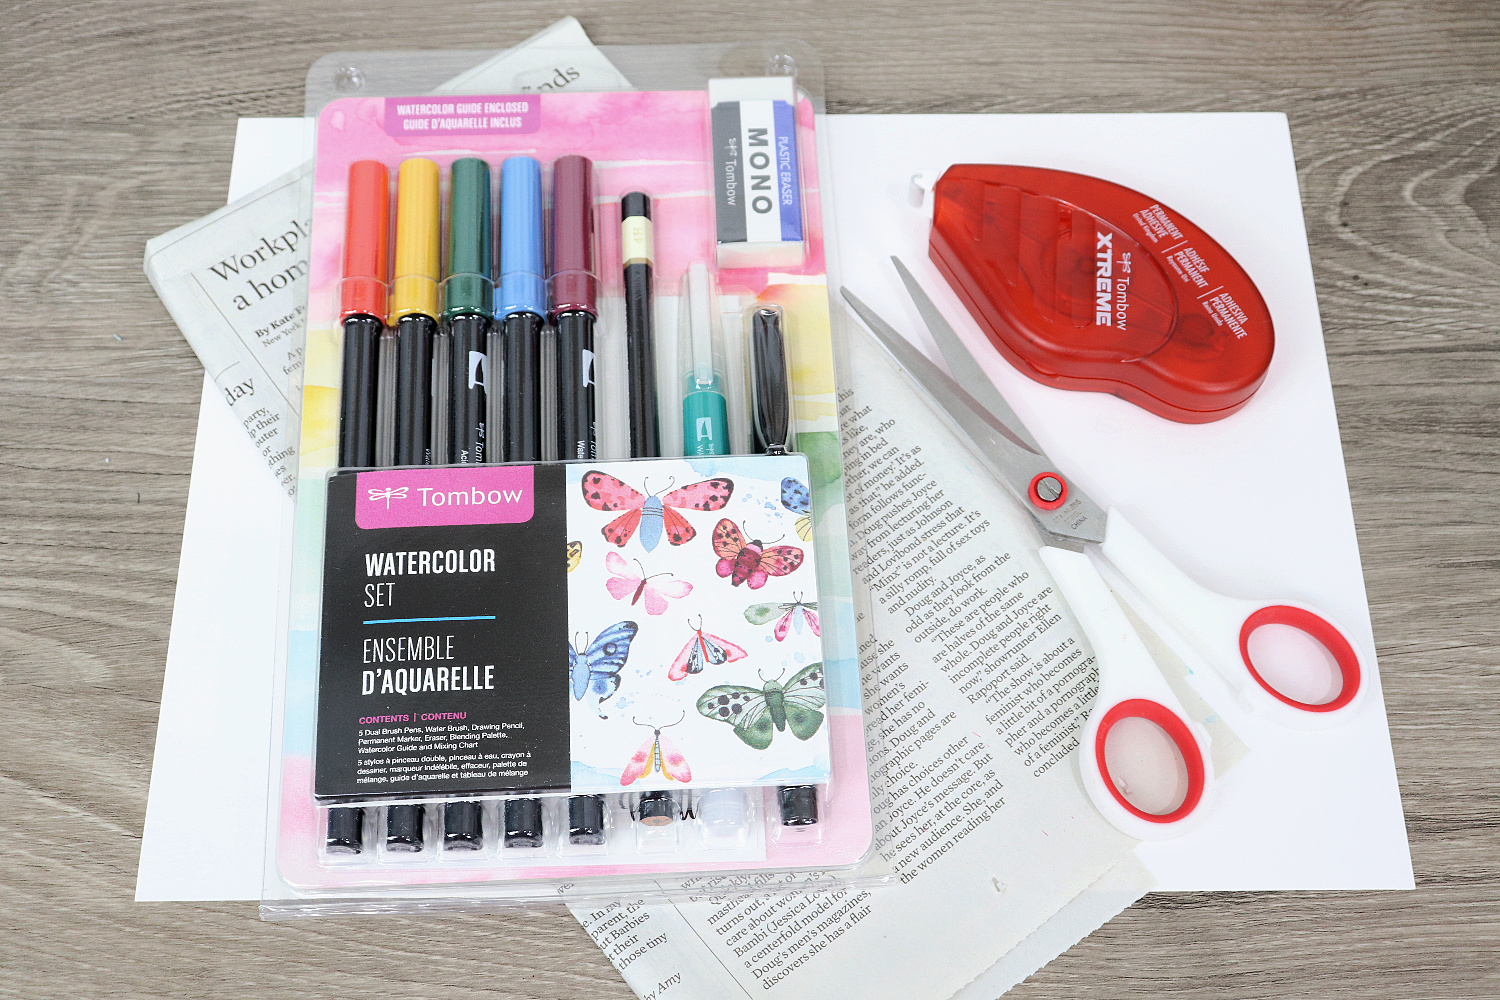
Did you know that Tombow not only has tons of individual art supplies, they also have prepackaged sets that are designed with everything you need to start making certain types of projects? There’s a Drawing Set, a Lettering Basics Set, a Lettering in Color Set, and a Watercolor Set, all of which will get you creating in no time! Today, we’re going to be using the Watercolor Set which includes: 5 Dual Brush Pens, a MONO Drawing pencil, a MONO Eraser, a Water Brush, a MONO Twin Permanent Marker, a Blending Palette, a Color Mixing Chart, and an Instructional Pamphlet. Grab the set along with the other supplies listed below, and let’s make a pretty flower bouquet!
Materials
- Tombow Watercolor Set
- Tombow Xtreme Adhesive Tape Runner
- Bristol Board or Hot Press Watercolor Paper
- Newspaper/Book page
- Washi tape
- Scissors
Instructions
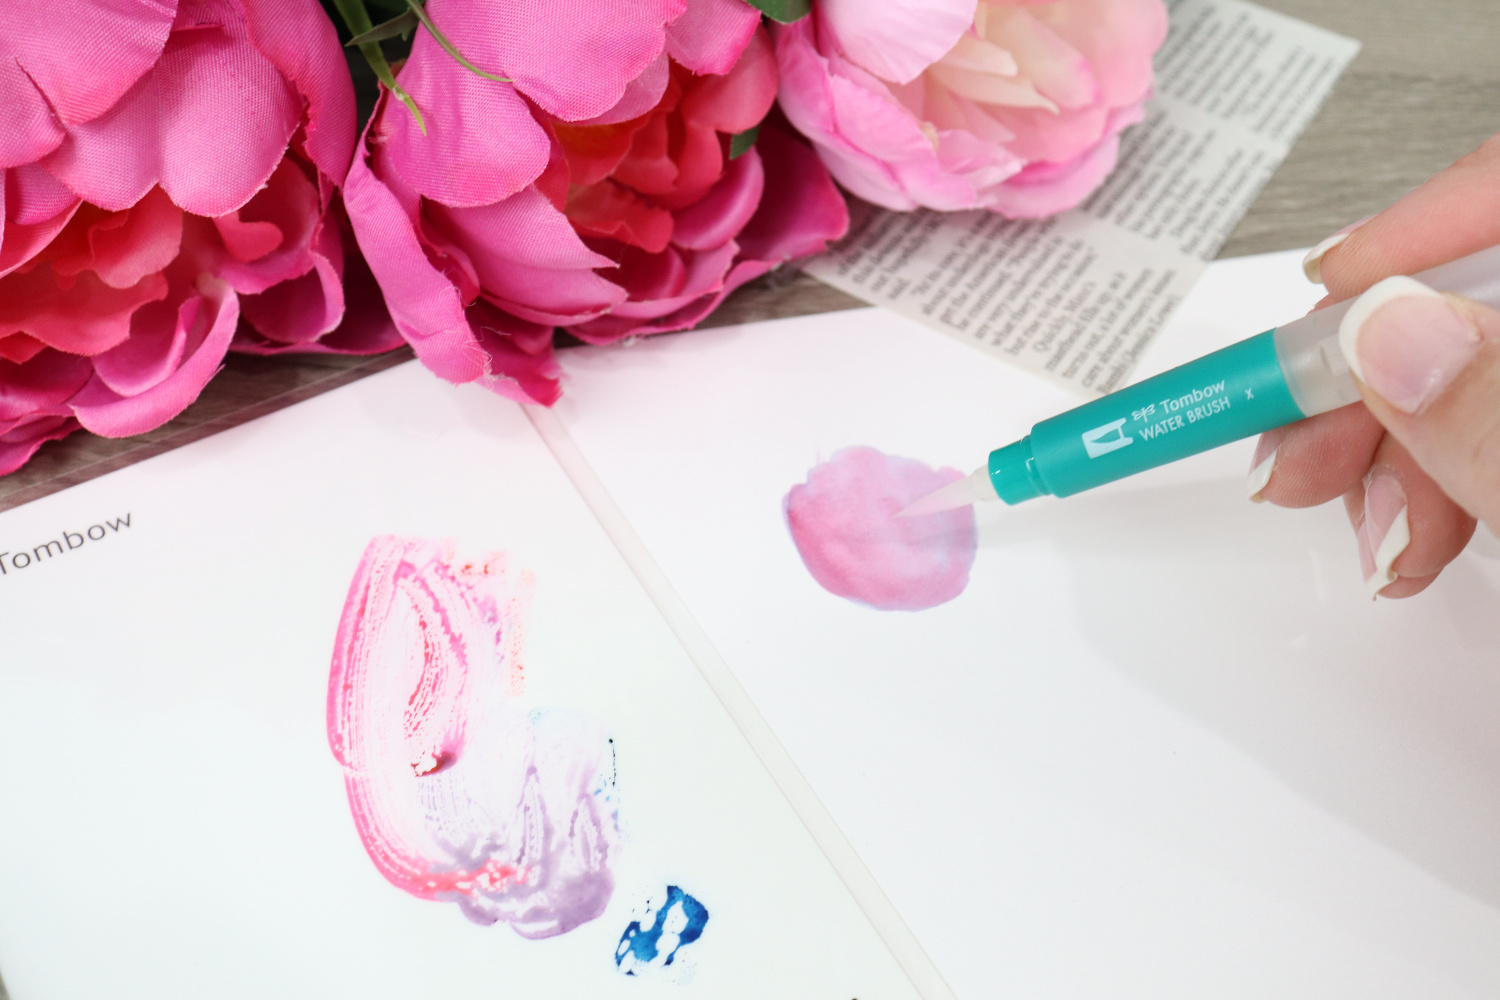
Step 1: Scribble with your colored Dual Brush Pens on the Blending Palette.
This palette comes in your Watercolor Set, and has a shiny surface that will not absorb any of your ink. Instead, the ink will pool and puddle on top of the palette.

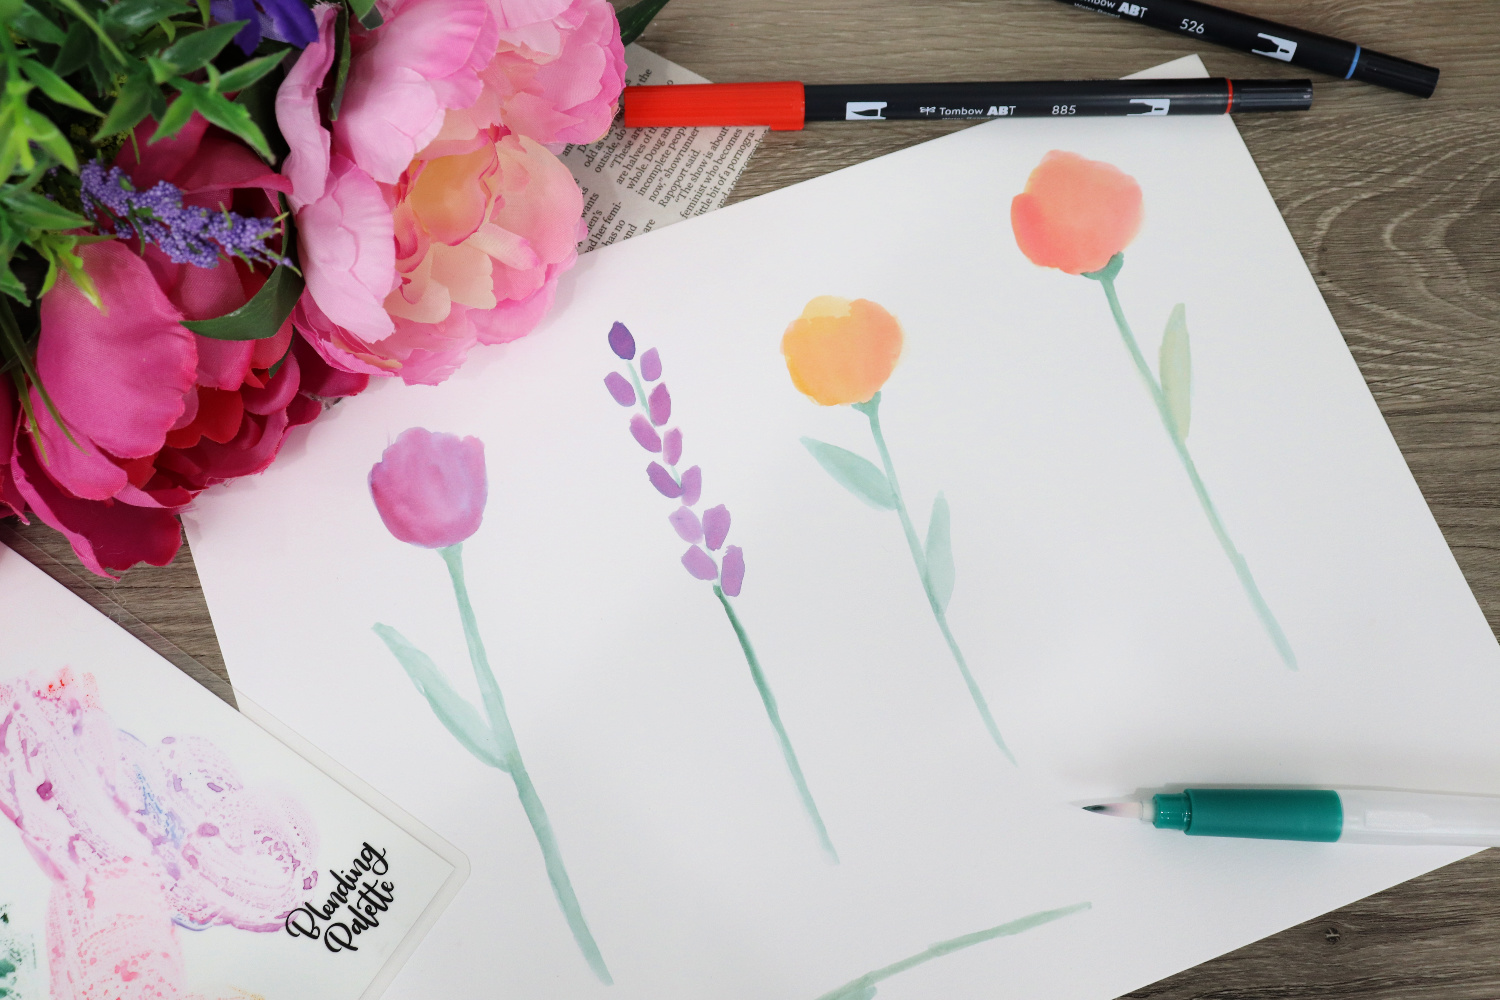
Step 2: Pick up ink with the Water Brush, then paint a colorful shape on your Bristol board.
Make sure the barrel of the water brush is filled with clean, room temperature water. Run the brush tip through the color(s) on the palette, then just use it like a paintbrush on your paper. You can paint an oval, a circle, or a totally irregular shape. This will be the bloom of your flower. I love watercolors, because nothing has to be perfect or exact. Just make whatever shapes you like, and they’ll turn into something beautiful.
Pro Tip: Don’t limit yourself to just the five ink colors of the Dual Brush Pens. Use the color mixing guide in the Watercolor Set to help you create gorgeous custom shades for your blooms.
Step 3: Clean the Water Brush, then pick up green ink and paint a stem and leaf shapes.
To clean the brush, just paint on a piece of scrap paper until the water runs clear again. It’s ok if the bristles still appear to have color as long as the water on your paper is colorless. Then, dip the brush in your green ink and “paint” a vertical line for the stem below your flower’s bloom. Add any leaves you like. Let your painted shapes dry completely before moving on to the next step.
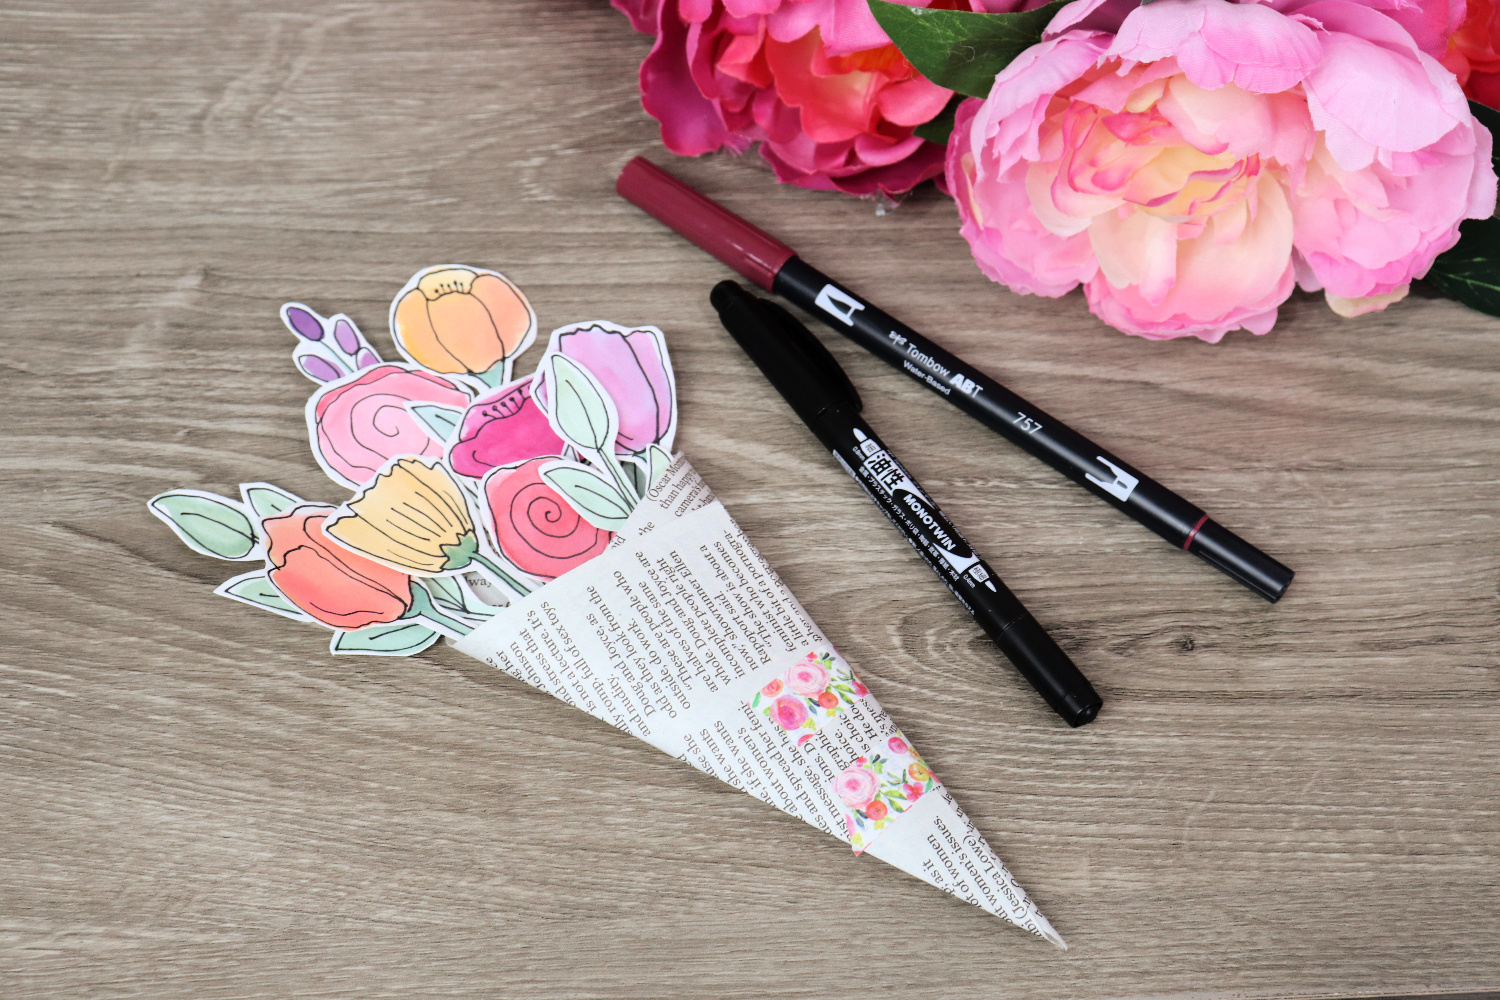
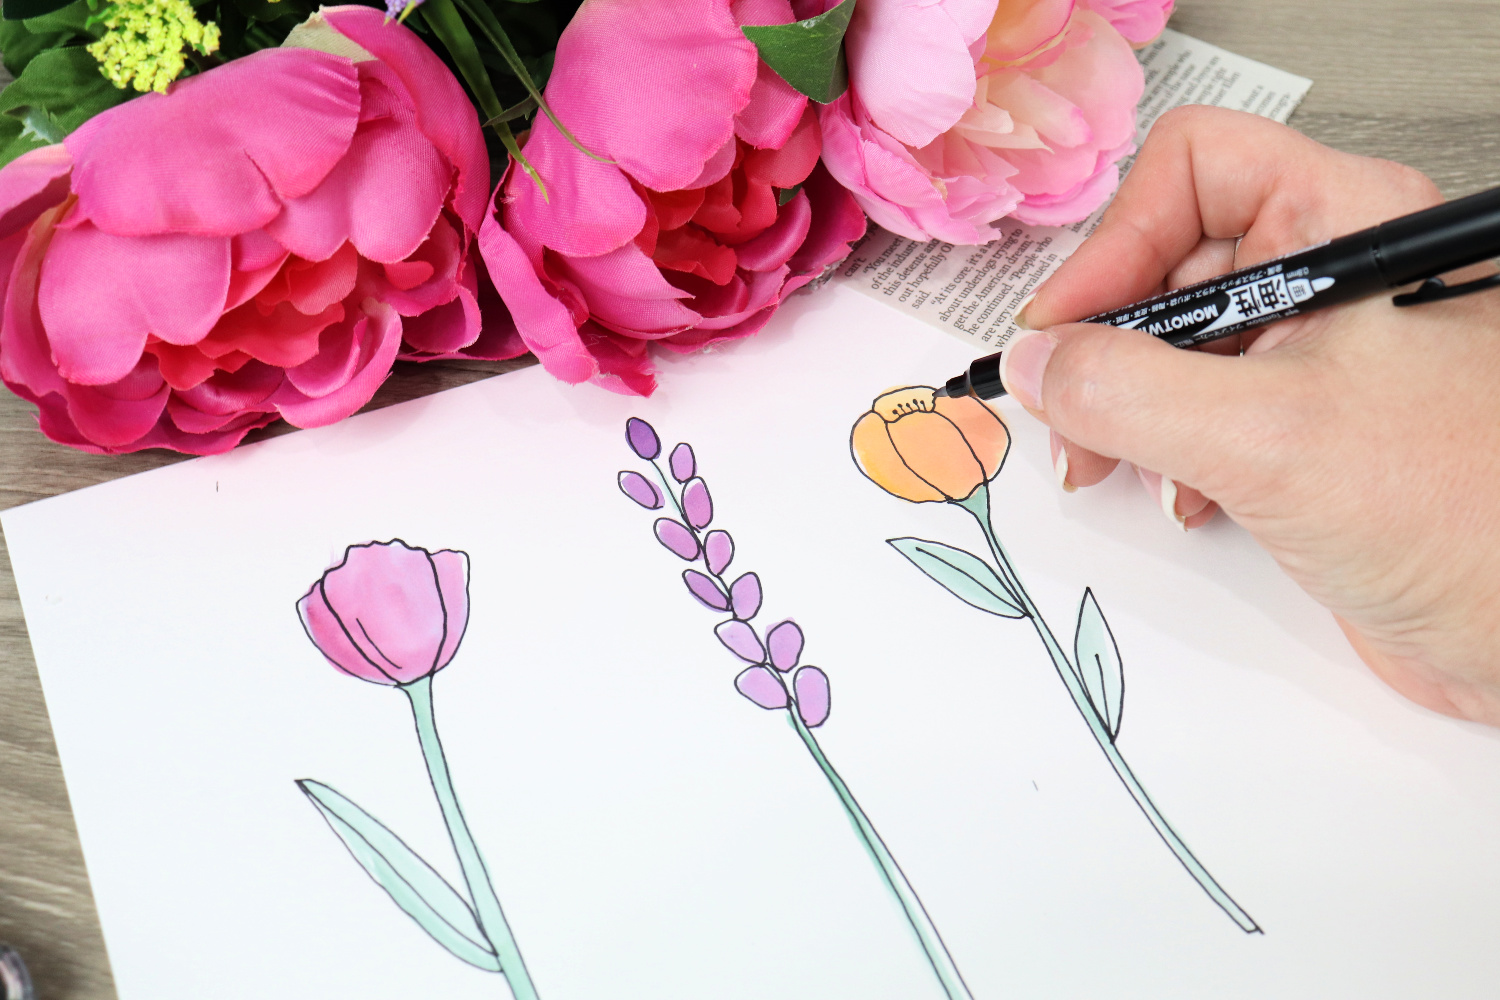
Step 4: Use the MONO Twin Permanent Marker to doodle the outline of the petals, stem, and leaves on top of the colored areas.
The MONO Twin has two different tip sizes, a 0.8mm fine tip and a 0.4mm extra-fine tip. You can use whichever tip you prefer for this project, depending on how thick you want your outlines to be. Personally, I wanted a thinner line, so I used the smaller 0.4mm end. Because it has oil-based, permanent ink, the MONO Twin is ideal for drawing on top of watercolor art; it won’t smear or mix with your colored layer. Don’t worry about perfectly tracing your colored areas, we’re going for an imperfect, hand-drawn effect, so just sketch your lines wherever you want them to go.
Repeat steps 2 and 3 until you’ve created 8-10 flowers.
Try using a variety of colors and shapes so that you can create a bouquet with lots of different types of flowers. You can also create some that are just leafy stems, too. Here are some sample flowers you can recreate, or feel free to come up with your own ideas, too!
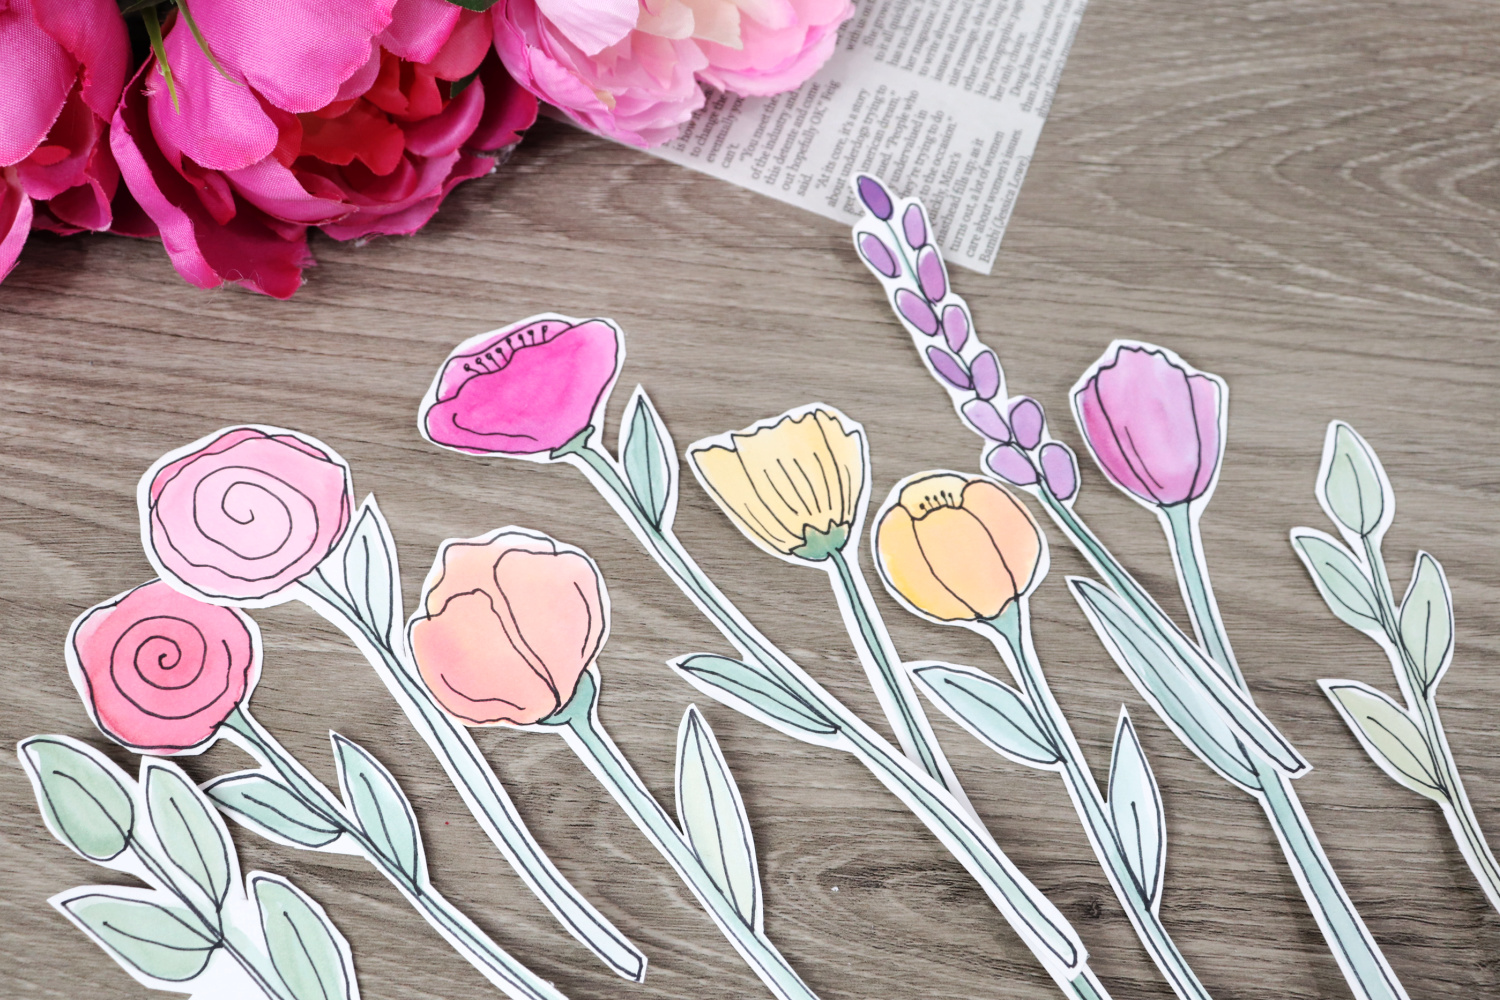
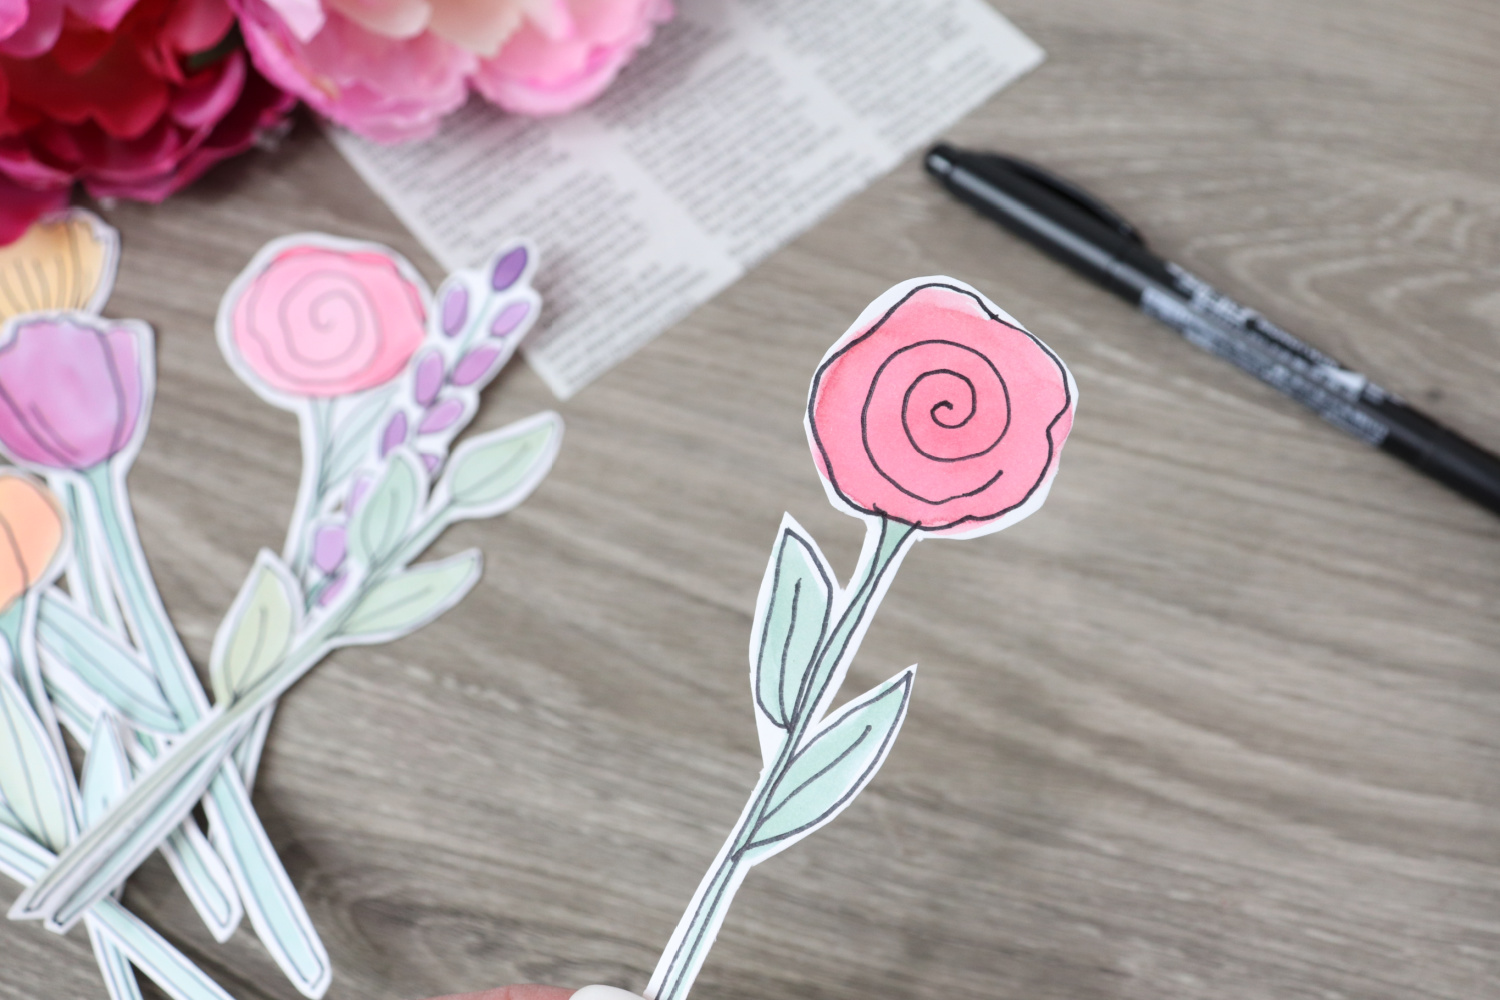
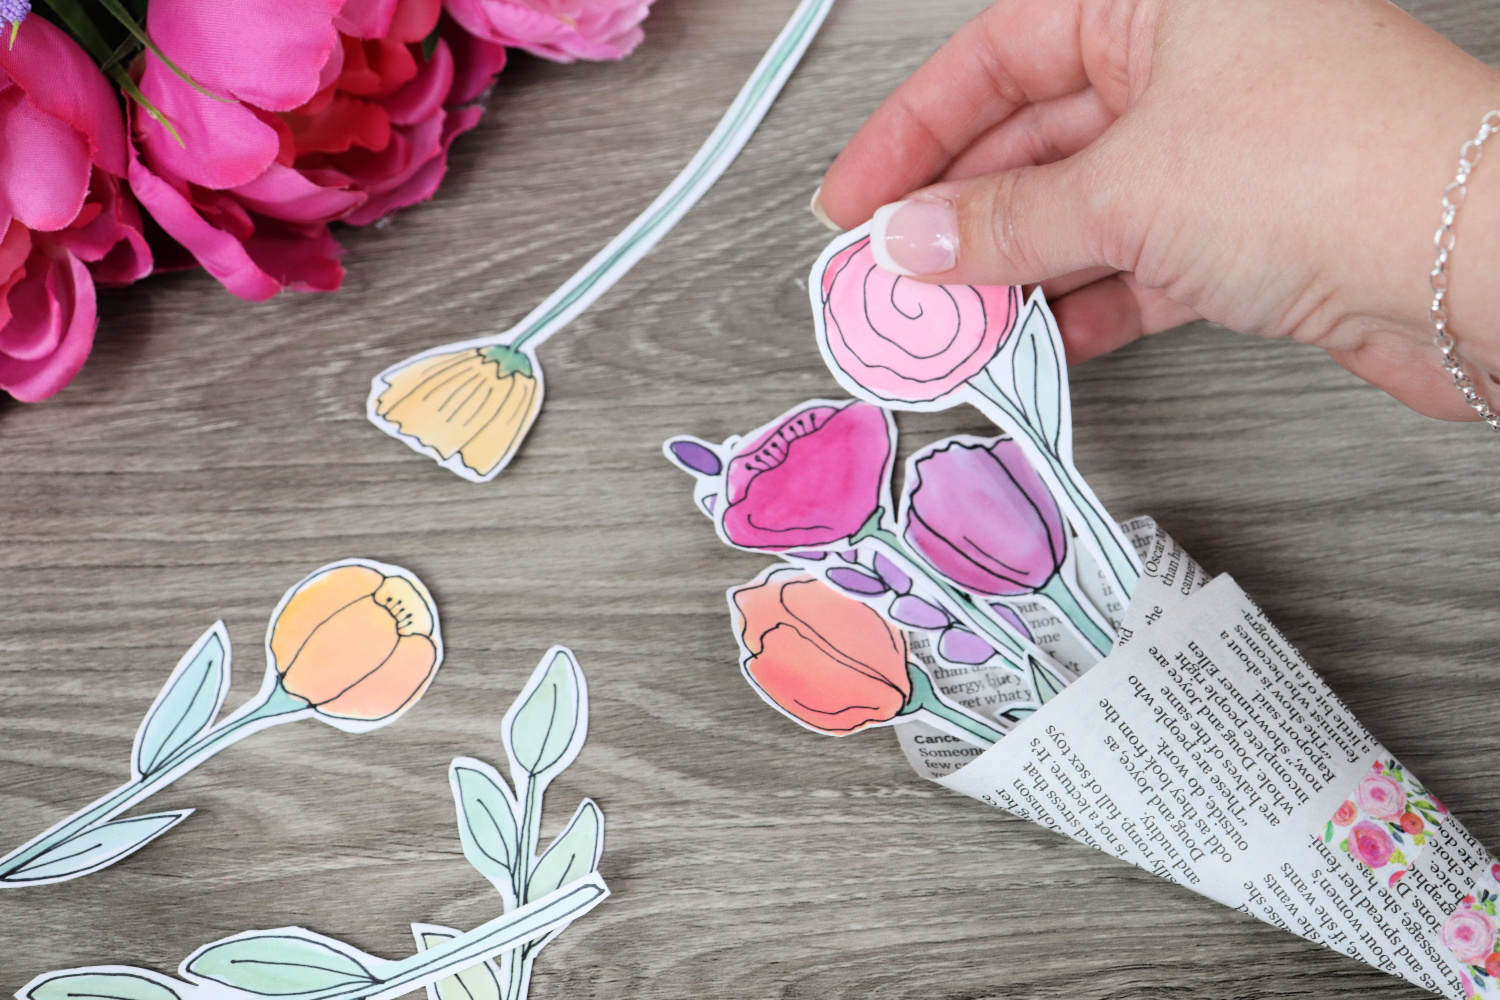
Step 5: Cut out your flowers.
Use a sharp pair of scissors to trim the Bristol board around the edges of each flower. I like to leave a bit of white visible around the outlines.
Step 6: Cut a 5” square from your newspaper or book page, then fold two opposite corners in to form a cone.
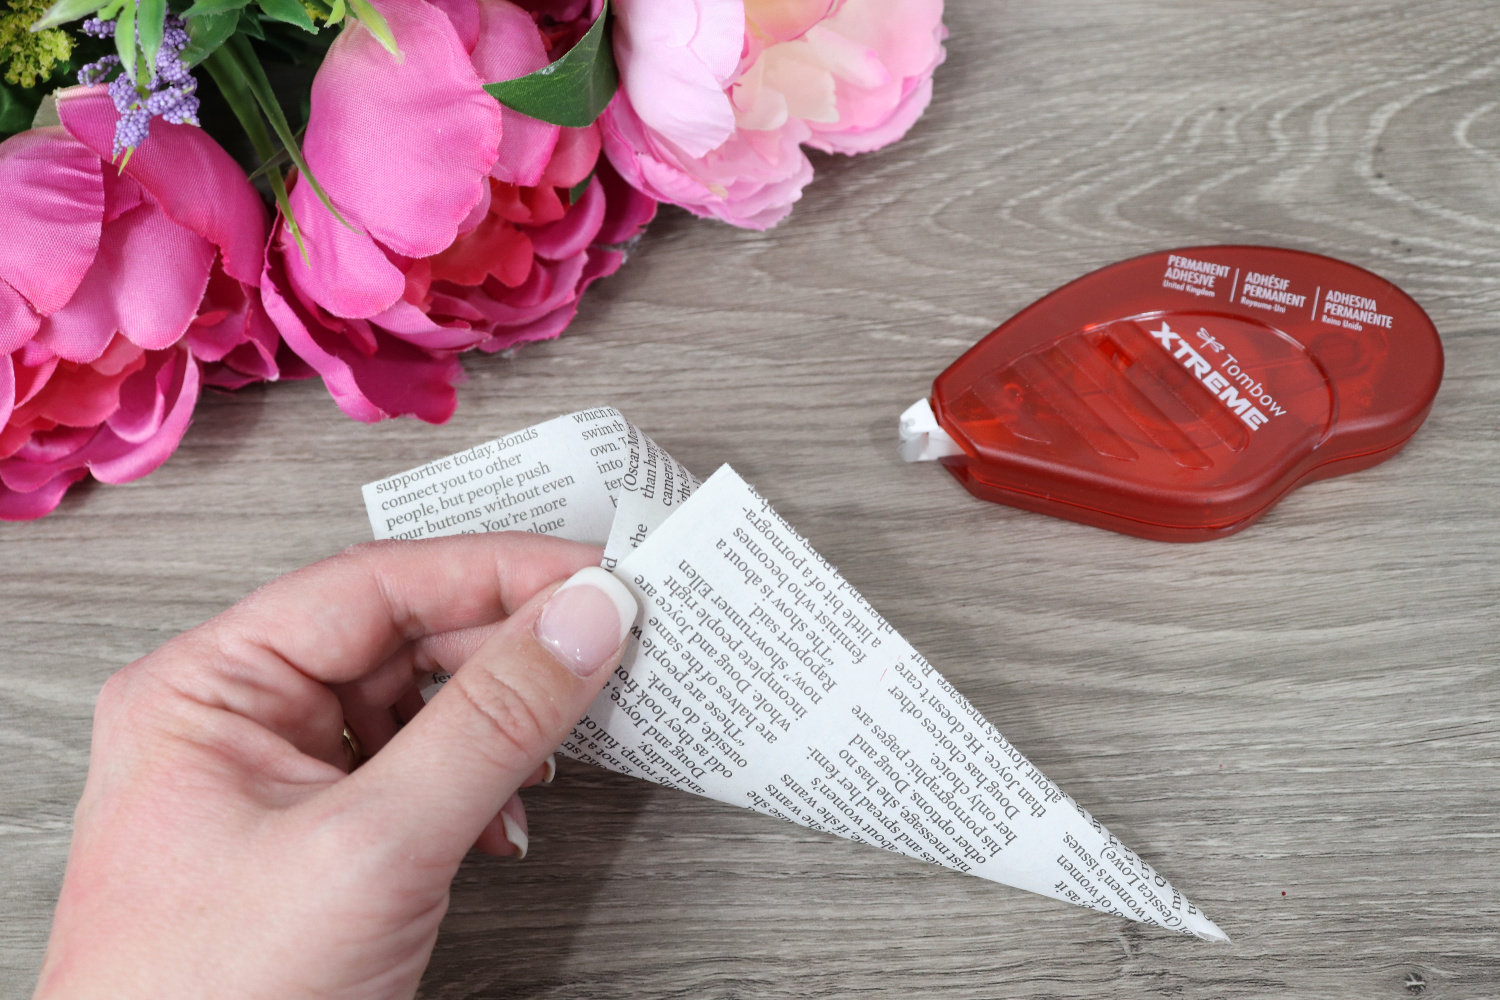
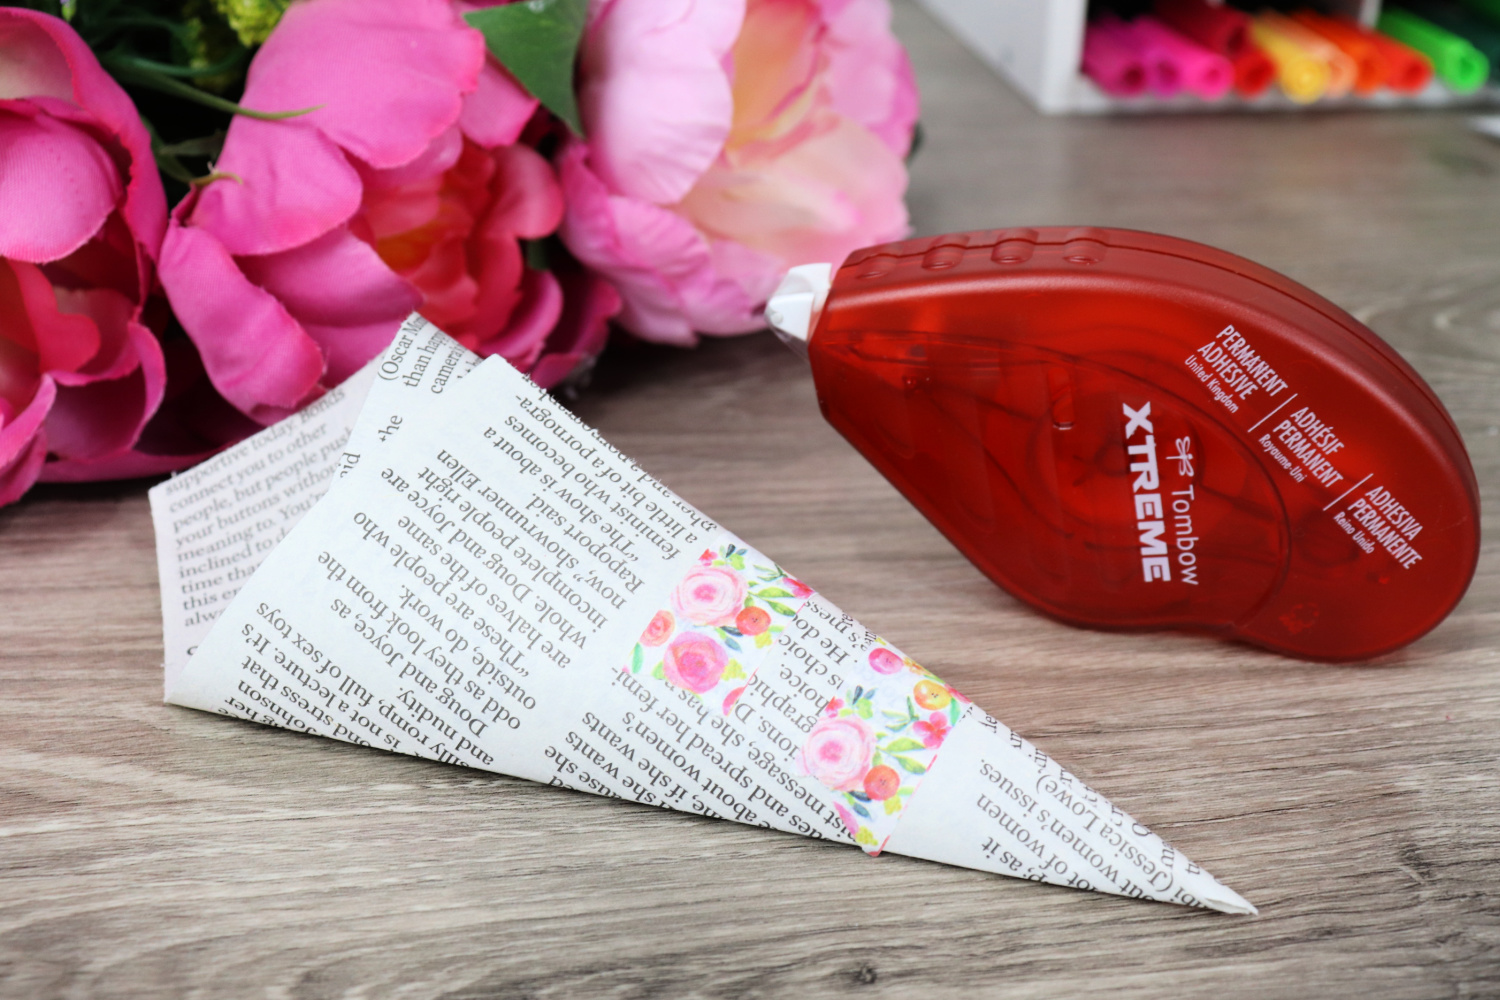
Step 7: Use adhesive to secure the cone, then wrap a piece of decorative washi tape around the edge.
I used the Tombow Xtreme Tape Runner, which gives a permanent bond that’s 5x stronger than most standard adhesive runners. Since it has a really smooth, skip-free application, it won’t rip or wrinkle the thin newspaper.
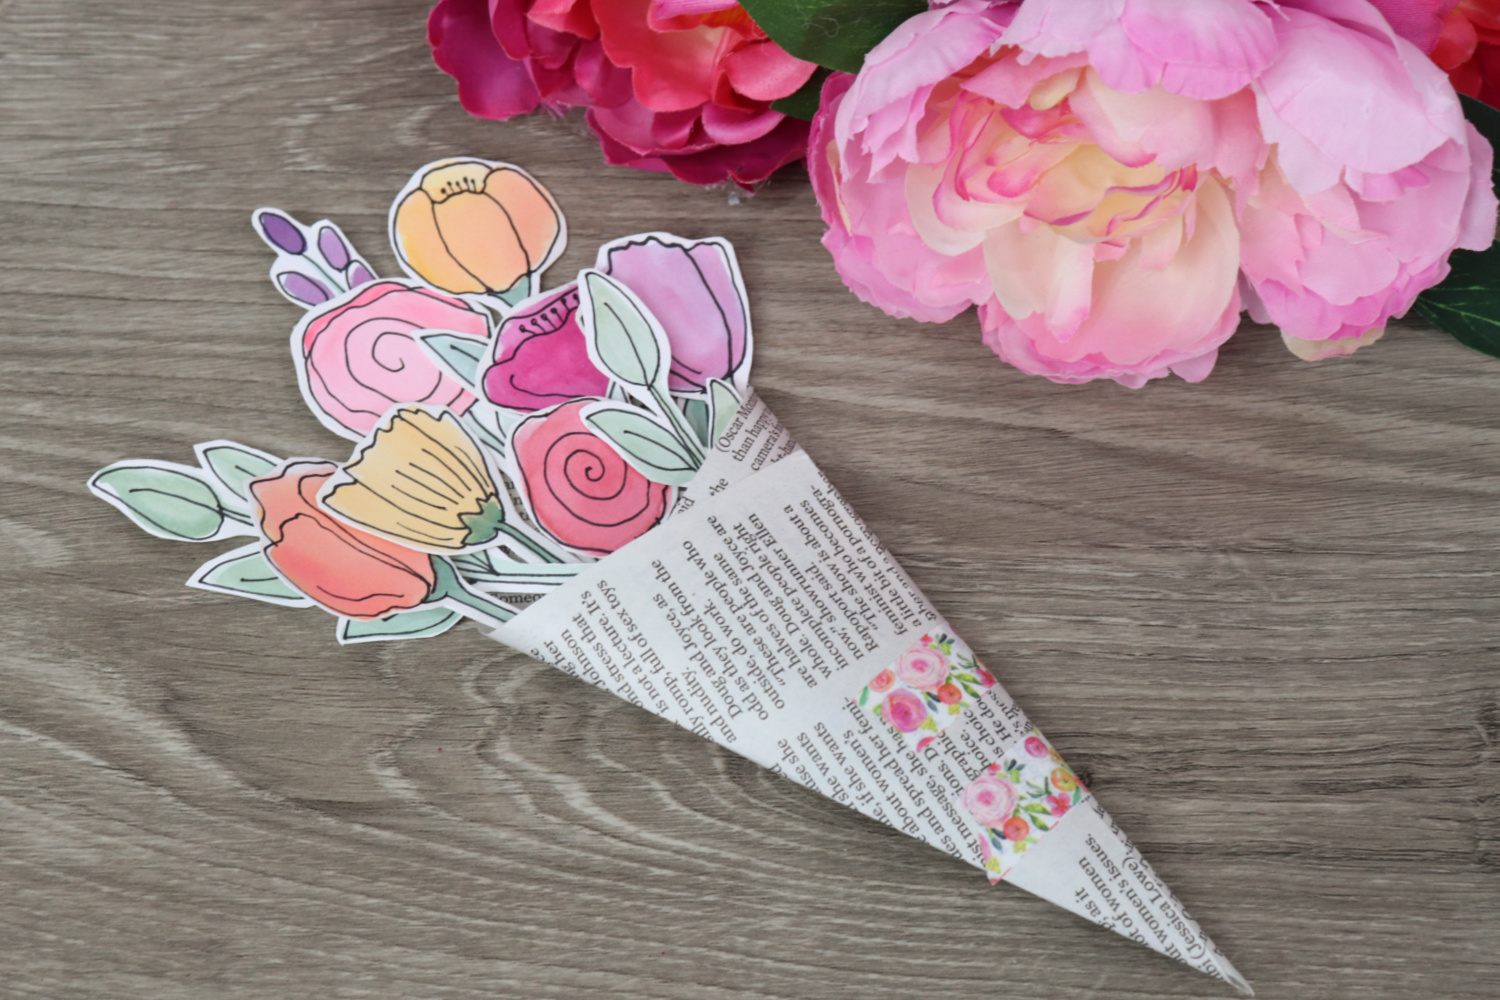
Step 8: Arrange your flowers inside the cone.
If you like, you can use adhesive to keep them in place, or you can keep them loose so that they can be rearranged.
This little bouquet makes a wonderful and inexpensive gift idea for moms, sisters, friends, neighbors, teachers, or any other special people in your life. It’s also a great way to share some pretty spring blooms with folks who are allergic to real flowers, like I am! If you try this project, I’d love to see your version! Make sure to tag @amylattacreations and @tombowusa in your social posts and photos so we can all be inspired by each other. I can’t wait to see what you create.
Want more? Here are a few more project ideas featuring watercolor with Tombow products. Happy Creating!
How to Get a Watercolor Effect with Tombow Dual Brush Pens
Make Your Own Watercolor Bookmarks
Pingback: Watercolor Flower Bouquet - Amy Latta Creations