This week the Design Teams of Tombow and Fancy Pants are joining together to provide you with lots of inspiration in what will be a wonderful blog hop for you all.
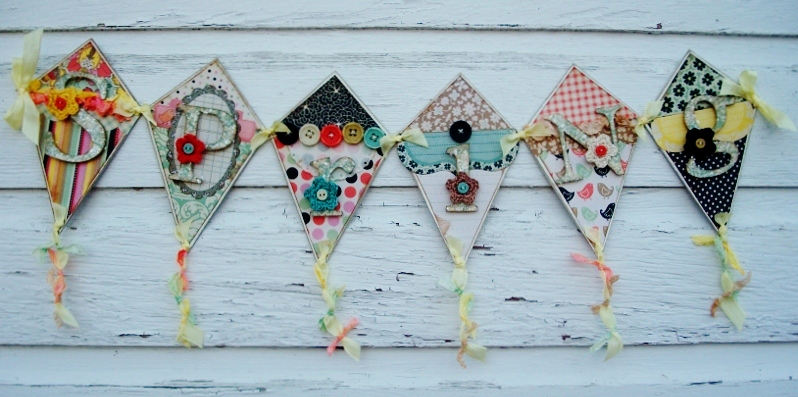
Sharron had sent the Tombow Design Team their assignments earlier this month and one of the themes listed for us as an idea was kites. That was all my little brain needed. Ü I have been wanting to make a pendant type banner like I’ve seen on so many blogs and just hadn’t gotten around to it. So as soon as I saw the word “kites” I knew my banner would say “spring” and be kites.
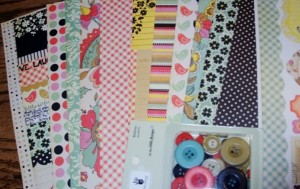
I knew my Fancy Pants goodies were on their way and was sooooo hoping that they would work for what I wanted to create. They did NOT disappoint! Oh my, the papers were PERFECT for me! We have lots of antiques and time worn furniture in our house and the colors were going to go great with my decor. I received goodies from Fancy Pants “It’s the Little Things” line.
The hardest part was drawing the kite. I am NOT a drawing artist, so used LOTS of paper before coming up with a size I thought would work.
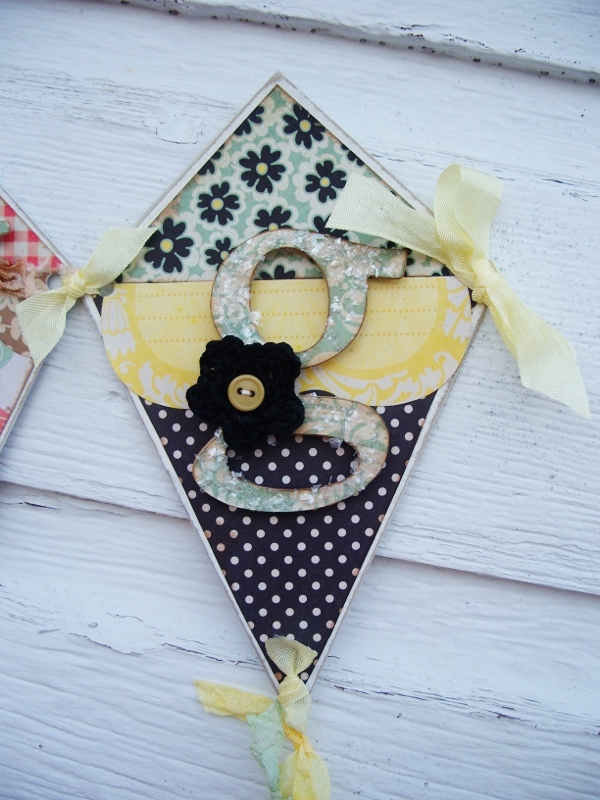
Here is my kite banner using lots of Fancy Pants and Tombow products.
The Tombow products I used were:
New Stamp Runner Permanent Adhesive (to apply the paper to the chipboard)
New Power Tabs (for the crocheted flowers and buttons)
New Foam Tabs (on the letters that spell out “spring”)
Mono Liquid Aqua Glue (on the letters-there are 3 layers of solid cardstock and one of patterned paper to make it look like chipboard letters)
Dual Brush Tip Pens #’s 192, 243, 977, 845, 873, 925, 025 (to color my ribbon like I showed here)
To start I cut my kite pieces with heavy chipboard. If you don’t have any, you can use a box or cereal boxes or just use cardstock and have a lighter weight banner.

Then I painted the edges with creamy white paint and after it dried I sanded the edges for a more time worn look.

Then the real fun began! Ü Mixing papers, patterns, ribbons, buttons, etc. I layed out all my papers first and started mixing and matching until I knew what I wanted to go together. I trimmed down the pattern a little so there was an edge showing, sponged all the edges with tan ink, and glued all my pieces onto the chipboard. I used a solid color for the back.
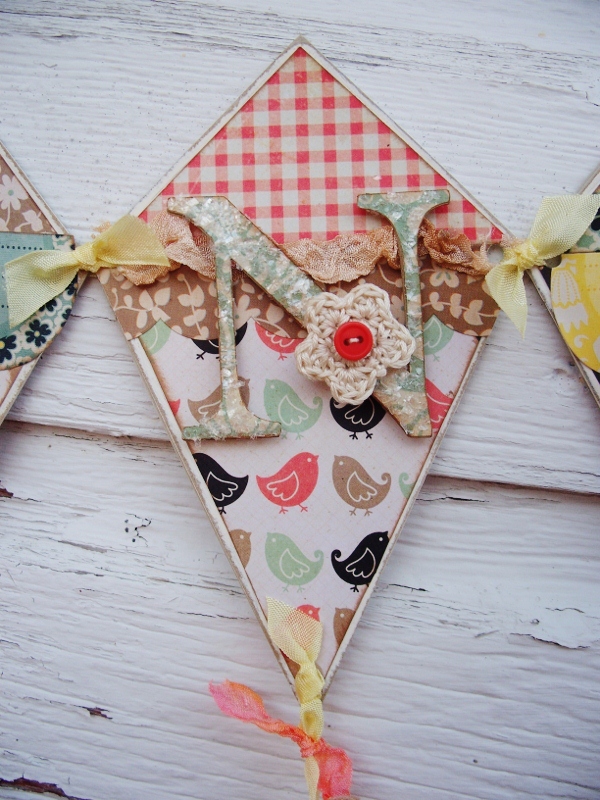
At first I hadn’t planned on each letter (cut with Plantin Schoolbook Cricut Cartridge) having a crocheted flower and button on each one, but it just worked out that way.

After I cut each letter and sponged it, I added Martha Stewart chunky glitter. Anna Wight’s lovely projects inspired me to add some glitter.

Then to the back of the letters I used Tombow’s New Foam Tabs to make them “pop” more.
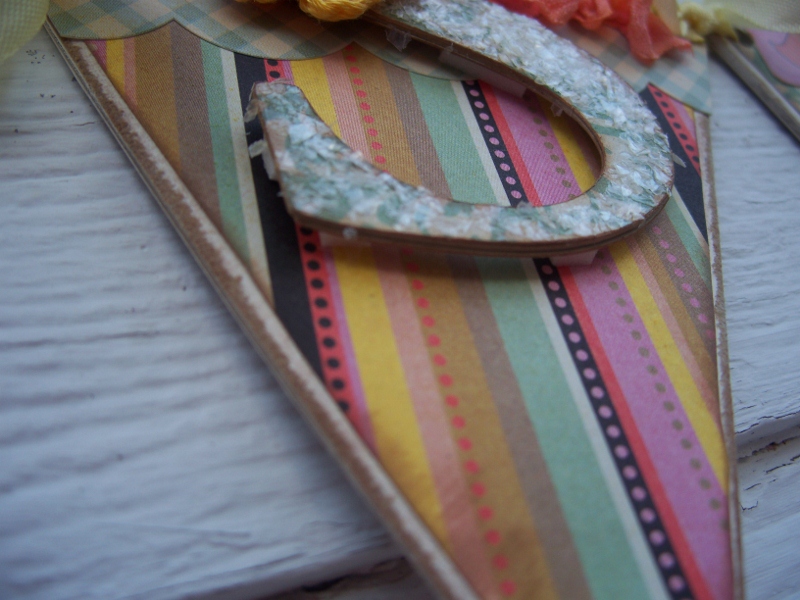


Here you can see the chunky glitter better

I hope you enjoyed my project as much as I enjoyed creating it. Don’t forget to stop by Tombow’s and Fancy Pants’ blogs this week to see what the designers on both teams created.

OMG! I LUUURRRVE these!!! TOTALLY going into my idea folder! Thank you so much for sharing!
Today is definately a beautiful spring day in my neck of the woods
Spring is creeping it’s way in here in New England! I absolutely LOVE this project!!!!
Adorable project Debbie! You are so creative. Hugs!
They are awesome!
So very pretty!