Today I am continuing on with National Smile Week. The projects have been seriously fun. I love all the smiley faces and emoji’s so far. I went a little bit of a different route and used words rather than images for my project. I wanted to create a small framed piece for my daughter. I knew I wanted it to be very bold and colorful.
Here is what I came up with:

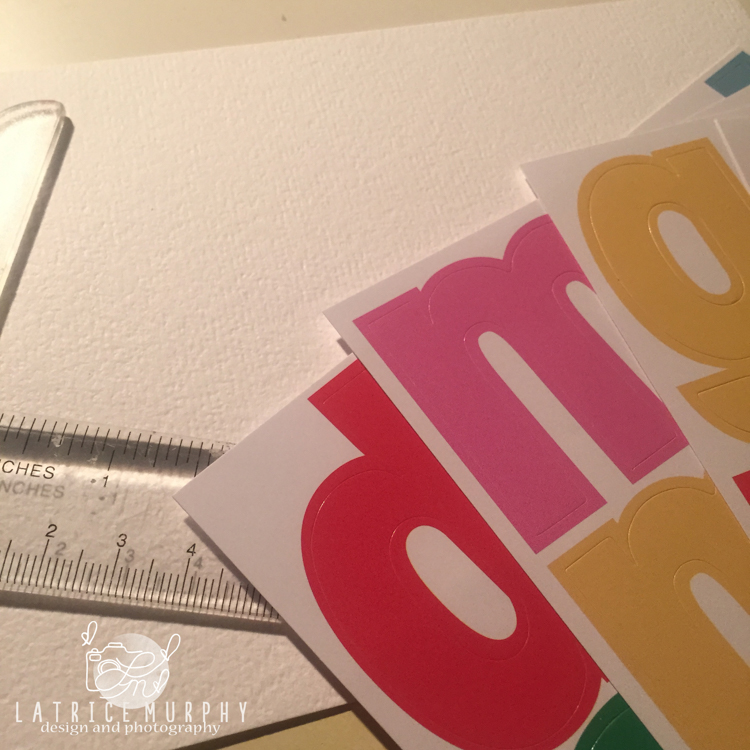
Materials you’ll need:
Stickers
Cardstock
Enamel dots
Frame
Directions:
1. Gather your supplies
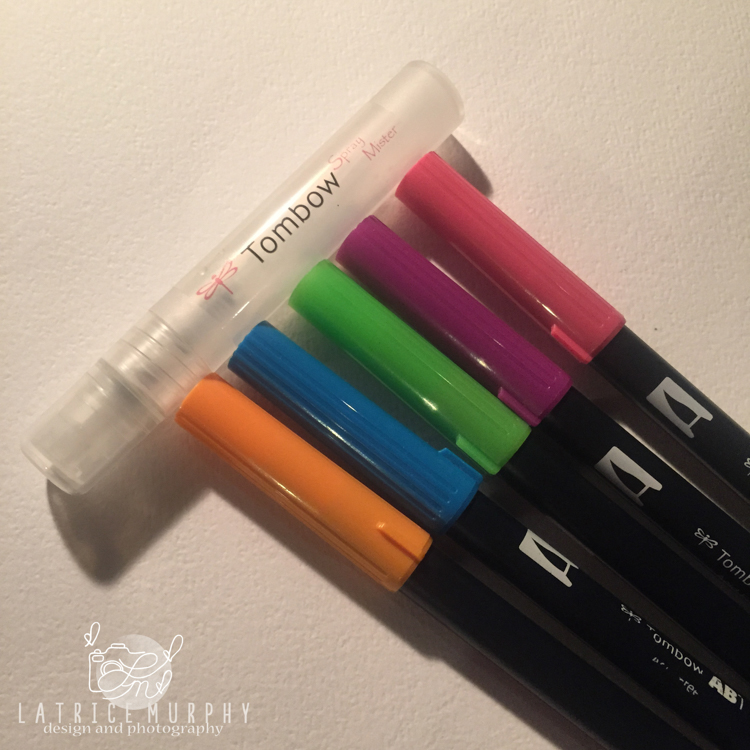
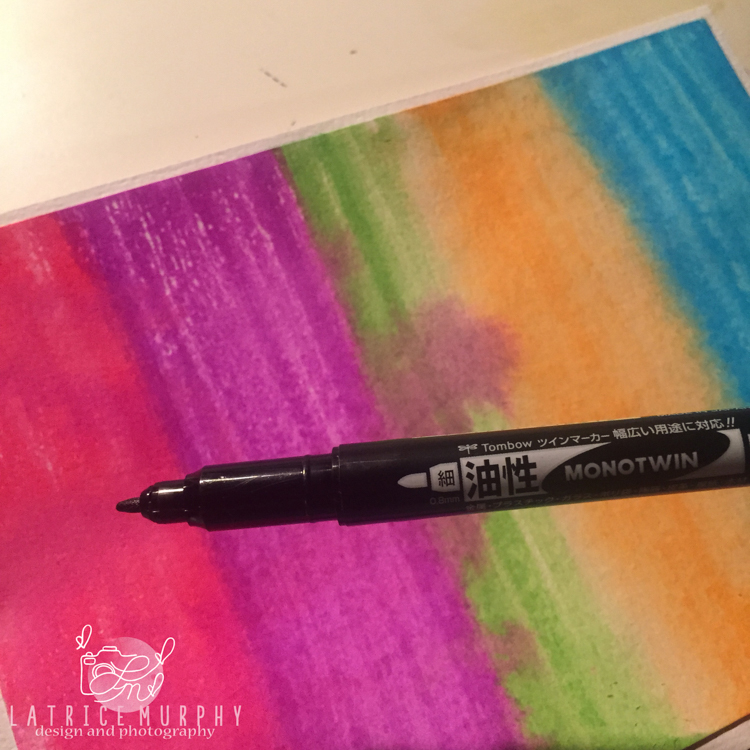
2. Create a colorful background by layering colors and spraying with the Tombow Spray Mister until saturated. Heat dry if needed.
 D
D
Don’t worry if the colors run together. The more the better. I loved that organic mixing of colors for this.
3. Next, using the stickers you’ve chosen create a saying, quote or sentence.
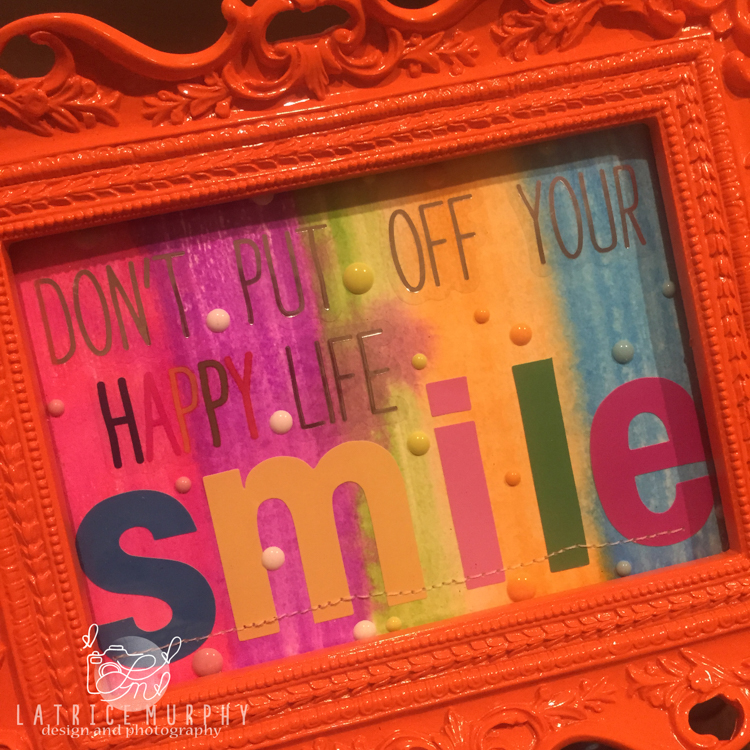
4. Add the enamel dots with their coordinating colors. I didn’t have purple, so white is always my back up.
5. Add stitching along the bottom if desired. I love the texture that machine stitching adds to a project.
6. Frame it up and put it on display.
I loved creating this simple, fast and fun project for you today. I know it will help my daughter smile a little bit more, especially now that school is just a week away.
Don’t forget to check out the other projects this week and come back tomorrow for another project. Happy National Smile week everyone!

![]()
![]()
For the reason that the admin of this website is working, no
hesitation very soon it will bbe well-known, due to its qualit contents.
Hi there, after reading this amazing post i am also glad to share my familiarity here with mates.|