Hello and Happy Saturday! We hope you have thoroughly enjoyed our lineup of guest letterers this week. But, as the saying goes, all good things must come to an end. We’re capping off our Lettering Week with a whimsical lettering tutorial by our very own Signature Designer, Marie Browning. With more than 32 books in print and over 2 million copies sold, Marie has been sharing her knowledge on crafting and lettering for years.
Keep up with Marie online:
Website: www.mariebrowning.com
Blog: https://mariebrowning.wordpress.com/
Facebook: https://www.facebook.com/mariebrowningcreates
YouTube: https://www.youtube.com/user/TombowUSA
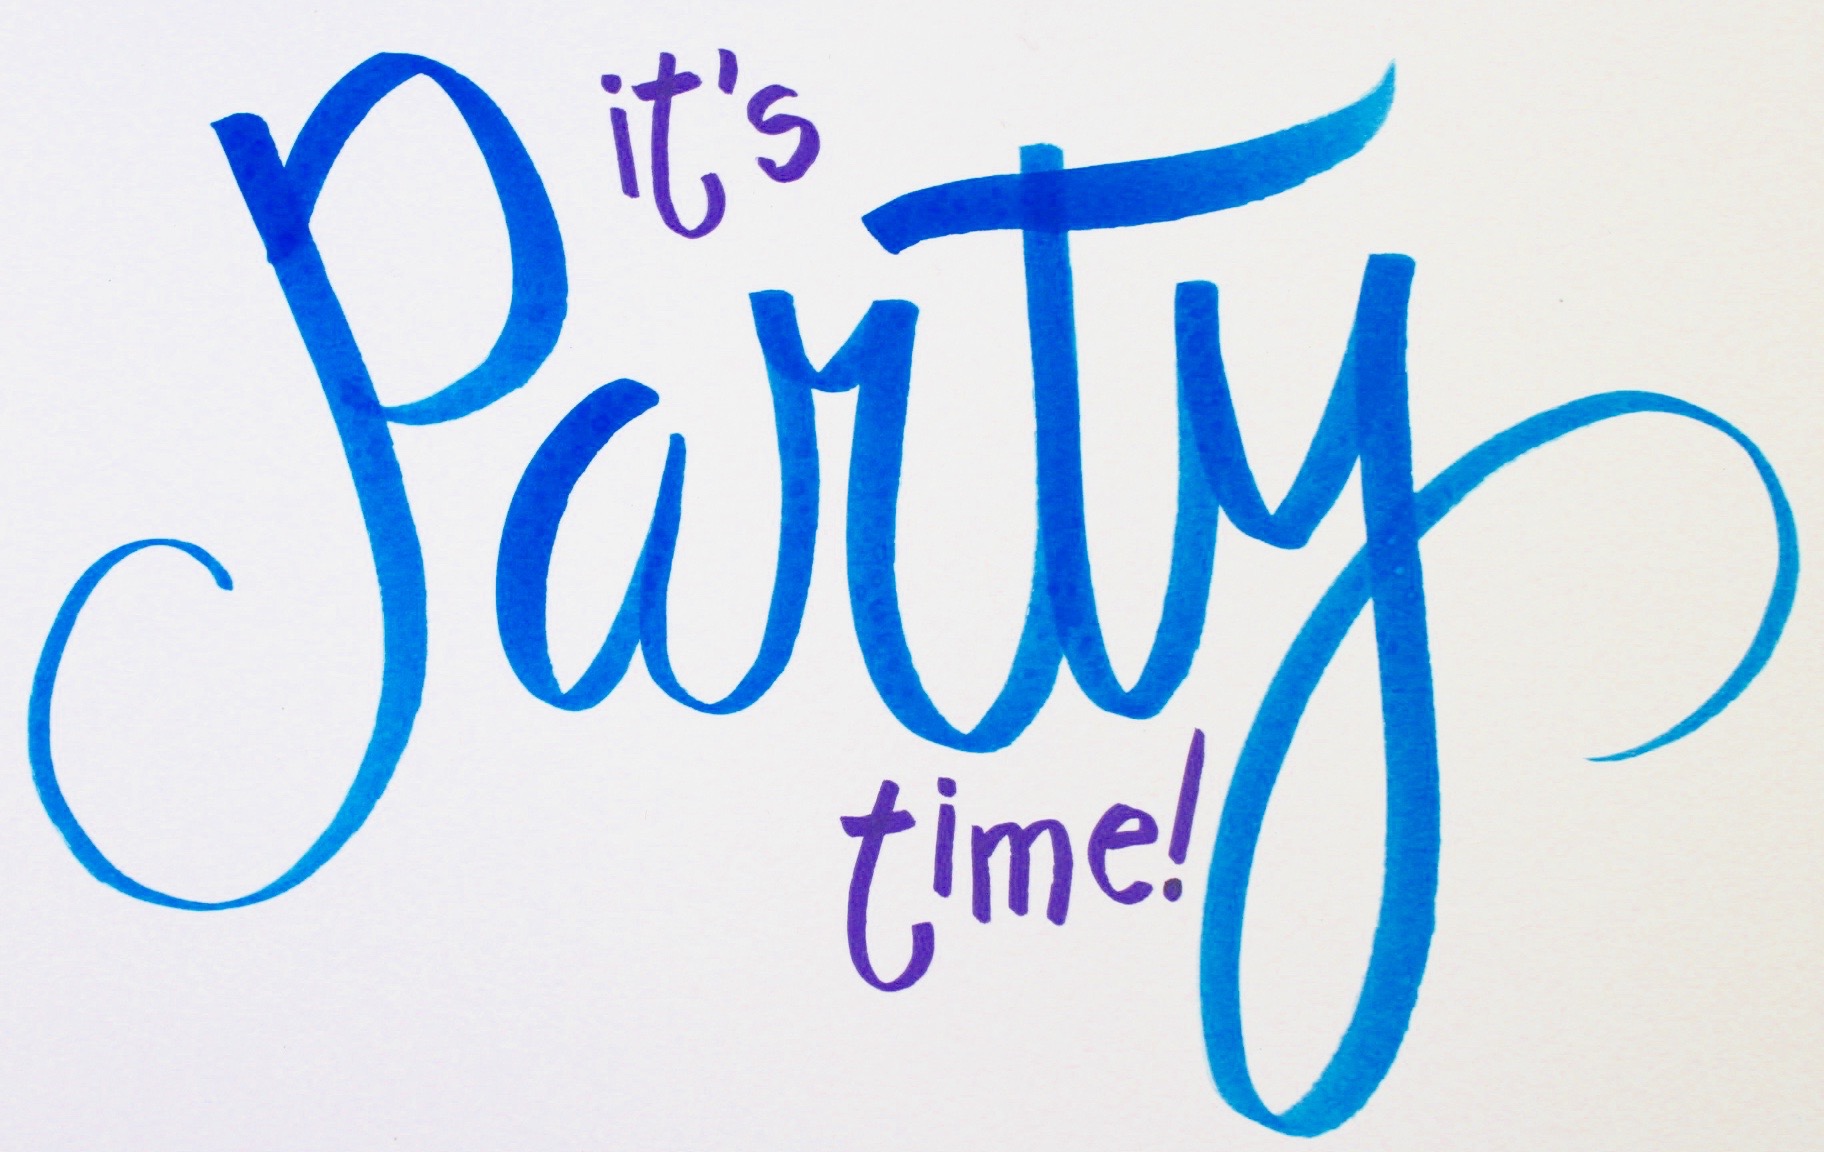
Today, Marie is sharing a fun Confetti Lettering tutorial! You can use this technique for creating unique party invitations, decor, and more!
Materials Needed:
- Tombow Dual Brush Pens (Marie has used 493-Reflex Blue, 636-Imperial Purple, 685-Purple, and N00-Colorless Blender for this tutorial)
- Tombow MONO Glue Pen
- Mixed Media Paper
And here are the steps written out for your convenience!
STEP 1:
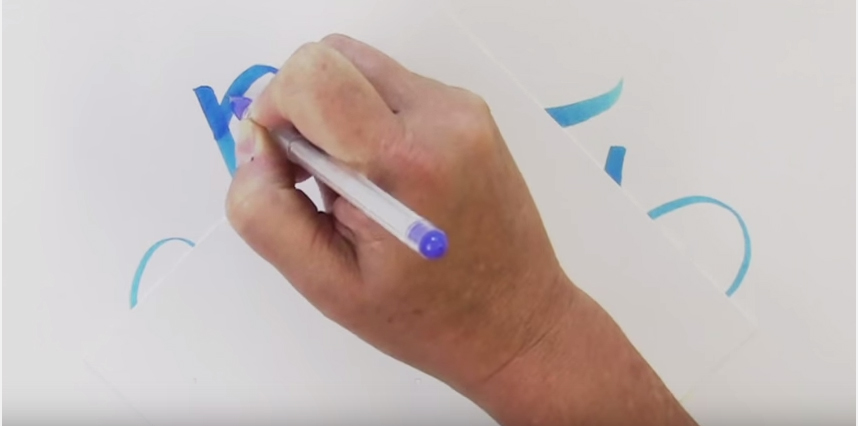
Write out your word (“party,” for example) with the brush tip of your blue Dual Brush Pen. Use heavy pressure to create thick lines on your downstrokes, then ease up on the pressure as you create your upstrokes.

STEP 2:
Using the Glue Pen, draw dots in clusters on your lettering. Let the glue dry completely. The Glue Pen will act as a resist, so where you have drawn the dots, the color will not change.

STEP 3:
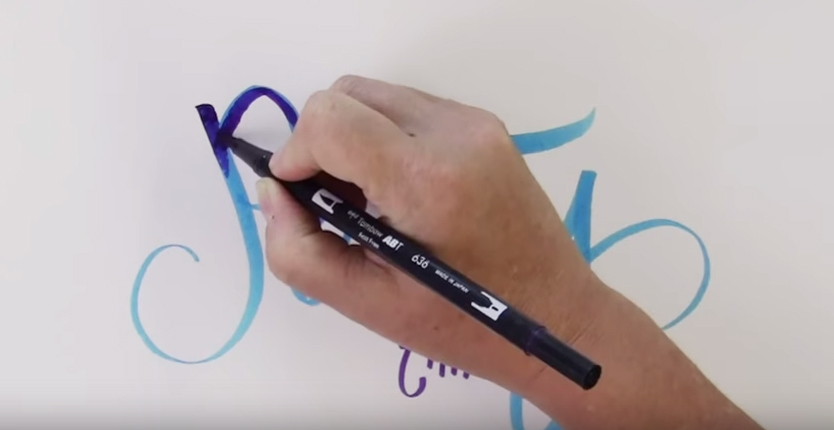
Add in other words with your purple Dual Brush Pens, then apply dark shading on top of each letter in the word “party.” Blend the colors together using the Colorless Blender. As the ink begins to dry, you will see the blue dots from the Glue Pen appear on the letters.

STEP 4:
Using the fine tip of your blue Dual Brush Pen, add additional dots around those on your letters for a fun confetti effect.

For more tips on blended handlettering, check out this video by Marie:
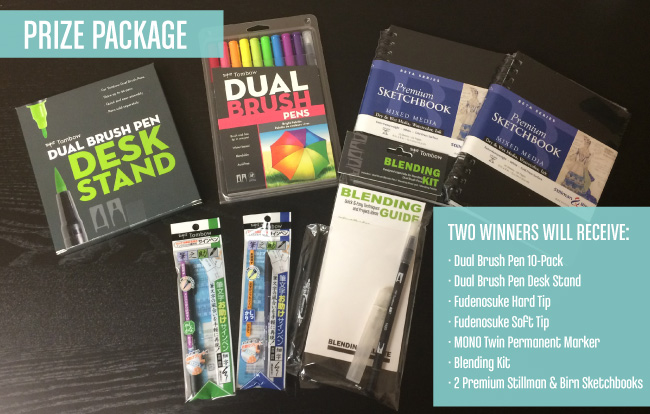
Don’t forget to leave comments on the past posts for more chances to win this awesome prize! You can also earn one extra entry by visiting the Tombow Facebook Page and leaving us a comment telling us who your favorite guest designer was for Lettering Week and what you learned from them!

I’m a total noob to lettering but seeing all the tombow posts really inspired me!!! Can’t wait to try out some of your products! 🙂
Seeing stuff like this makes me feel so inspired!
I love this idea!! I’ll definitely be trying it soon! Thanks for sharing your knowledge!
As a beginner, this post is very inspiring!
Fun technique! Thanks for the tutorial!
Thanks, I love both videos!!!! I think, I go to my place and work know…… bye 🙂
Great tips!!
I love Marie’s tip because it’s something I would have never thought of! Thanks for a chance to win!
Oh wow. What a fun post! I love creative different things like this!!!!! Thank you. Now off to practice my confetti! 😉
I’m a big fan of Marie Browning, and a BiGGER fan of all things Tombow.
How have I never seen the glue pen before?!?
Off to the store . . .
You make it all look so easy!!!! Love your style.
Love the tip about using glue as a mask – very clever!
Great tutorials. Thank you for the videos.
Love these suggestions! Can’t wait to try them, thank you/
Oh my goodness. I loved those both so much. Thank you for sharing your creativity and expertise and showing me how to use my blending brush.
thanks for these tutorials. love the product and already have a lot of the markers. will need to get the glue pens now after watching Marie’s post.
I love the blended lettering. It is gorgeous. The glue is a fun resist technique.
I love the depth that gives!
Thanks so much for all the great lettering ideas!! I am only a beginner but I am soooo inspired by all your tutorials!! Thanks so much!!
Thanks for the tips!
Really love the look of the dots!!!
<3 J
jwoolbright at gmail dot com
HerPeacefulGarden.blogspot.com
CAT LOVERS HOP coming Oct. 26-30 at HerPeacefulGarden.blogspot.com
After watching all the videos, I’m excited to try the techniques. Just waiting on my pens to ship out.