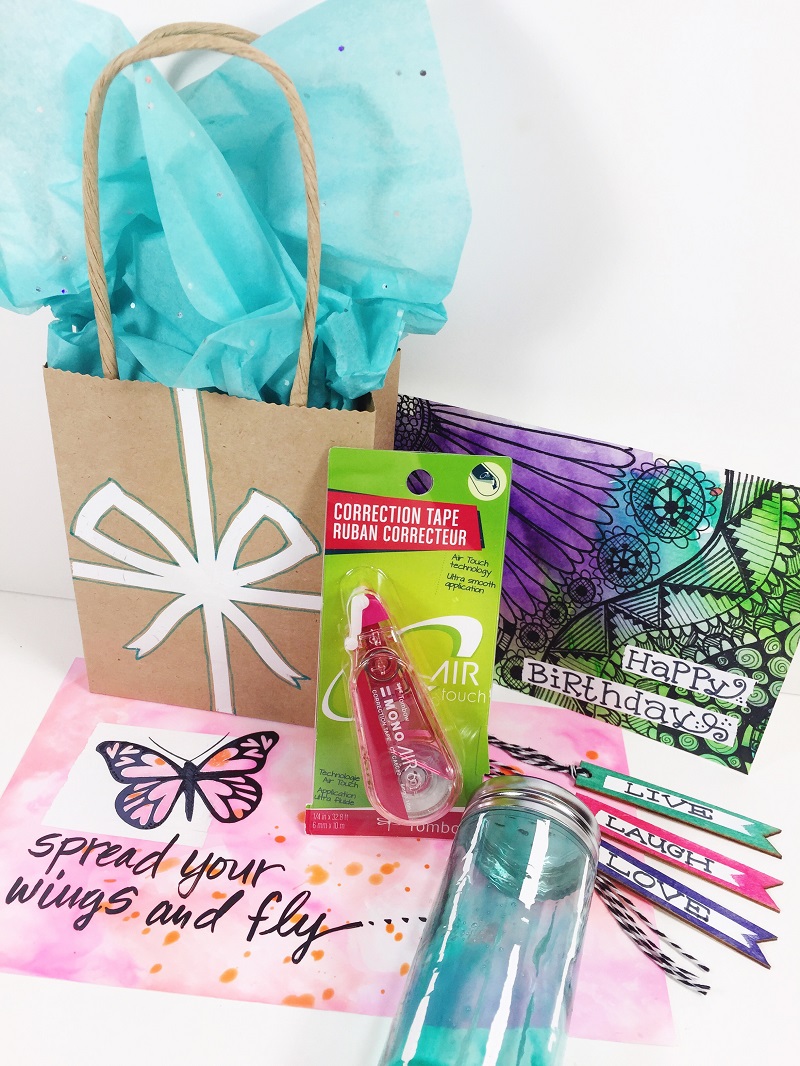
Hi there Tombow fans, Beth here to show you 5 ways to use MONO Air Correction Tape in your mixed media art, including watercolor doodles, wood, glass, photo paper and a gift bag.
I really wanted to push the envelope this week with the Tombow MONO Air Correction Tape to see how many unique surfaces I could incorporate into this post. Some were winners and some were losers, but all were very creative. You have to have a few fails to get to the successes!
Tombow MONO Air Correction Tape is the first ever correction tape using flexible resistance – easy to use from beginning to end. New Airtouch Technology and improved tape adhesive allows users to easily apply correction tape even with the lightest touch. Features a pivoting tape head and unique tape lock system that automatically stops tape and provides smooth, skip-free application. Convenient ultra-compact applicator with protective tip cover.
Technique One:
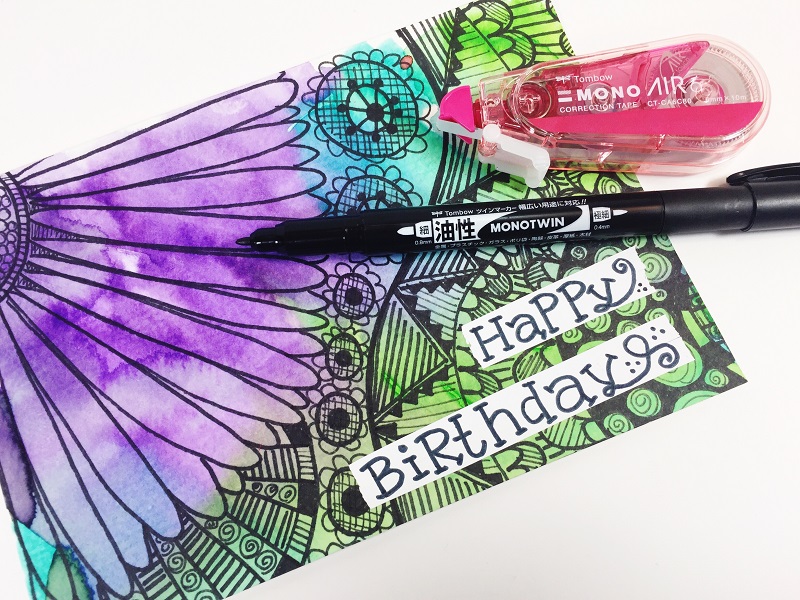
Using Tombow Dual Brush Pens, watercolor then when dry, doodle with Tombow MONO Twin Permanent Marker. Add a sentiment using a double wide stripe of Tombow MONO Air Correction Tape and Mono Twin bullet tip. Try making a bunch of cards in advance and then personalize them as you need them! Click over to THIS POST to see how I created a water color background with Tombow Dual Brush Pens.
Technique Two:
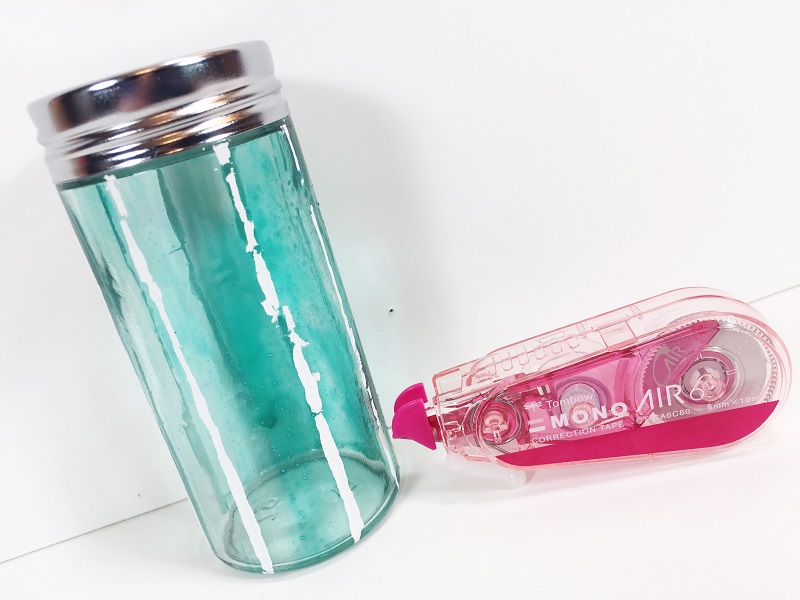
Add distressed stripes to a colored glass jar by simply dragging the Tombow MONO Air Correction Tape down the outside of the jar. This will also work on mirrors. Remember, it is a decorative finish only and would not be washable. The surface of the glass was uneven, which gave this cool distressed finish! Want to color glass jars with Dual Brush Pens and MONO Aqua Liquid Glue, then hop over to THIS POST to see the full tutorial.
Technique Three:
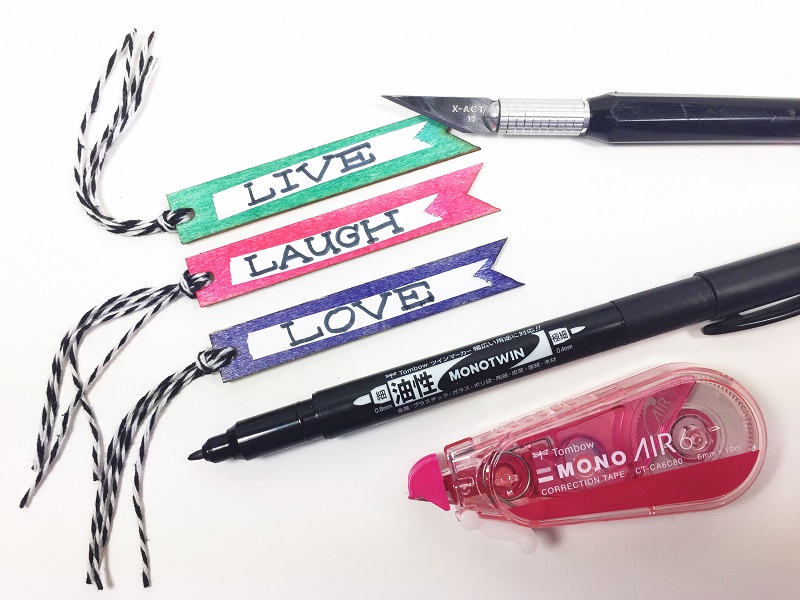
If you know me at all you know I like LOVE to color wooden shapes with my Tombow Dual Brush Pens. These wooden flags were just wide enough to run a stripe of MONO Air Correction Tape through the center, but the square end bothered me, so using a craft knife I scored a fishtail the end and gently scraped away the triangle of correction tape from the end. Then used the Tombow MONO Twin Permenent Marker to add the sentiment. TIP: Use a soft brush to remove any residual scrapings. Full details on coloring wooden shapes with Dual Brush Pens can be found in THIS POST.
Technique Four:
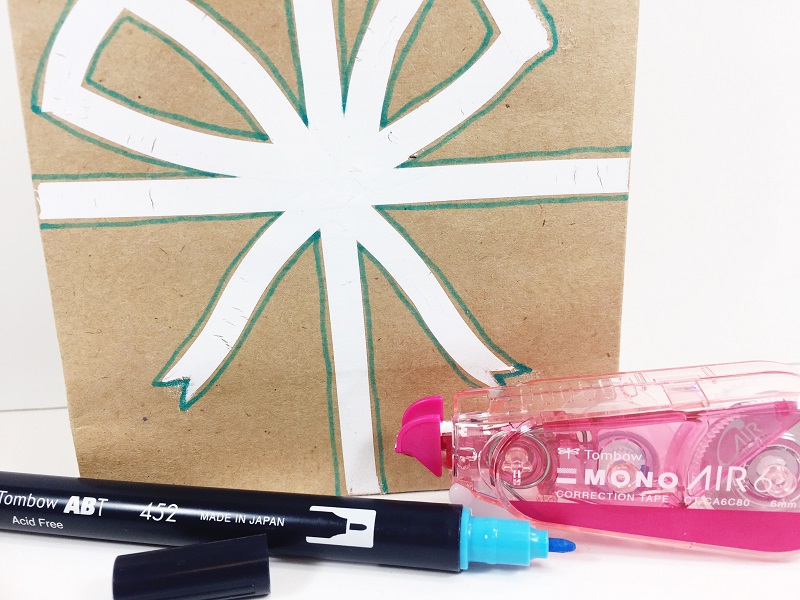
Now minimalism is not usually my thing, but I had some of these Kraft paper gift bags on my work table and thought – brown paper packages tied up with string! Be careful not to curve the lines too much or they will crack and crumble, but the great thing about the MONO Air Correction Tape is that you can run another layer over any imperfections! I used the same score and scrape technique on the square ends and joints of the bow with my craft knife. Then outline with the bullet tip from a Dual Brush Pen to finish to look.
Technique Five:
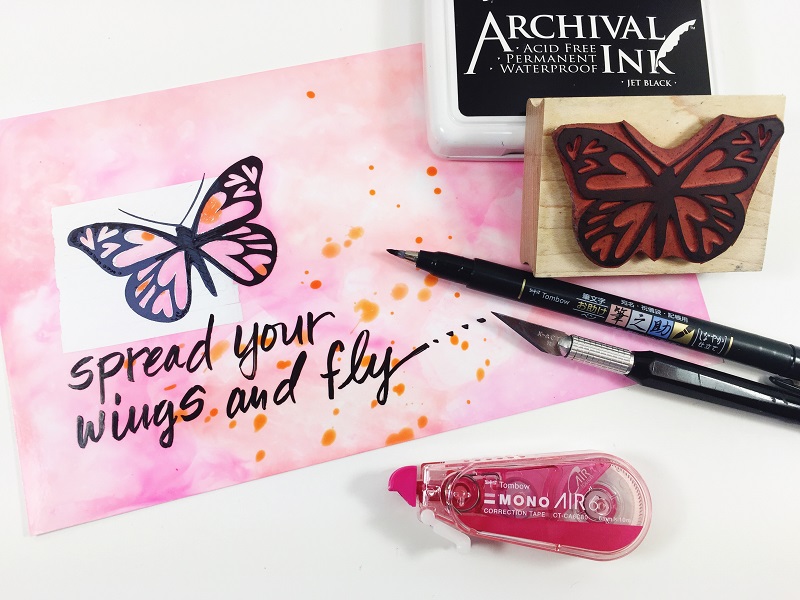
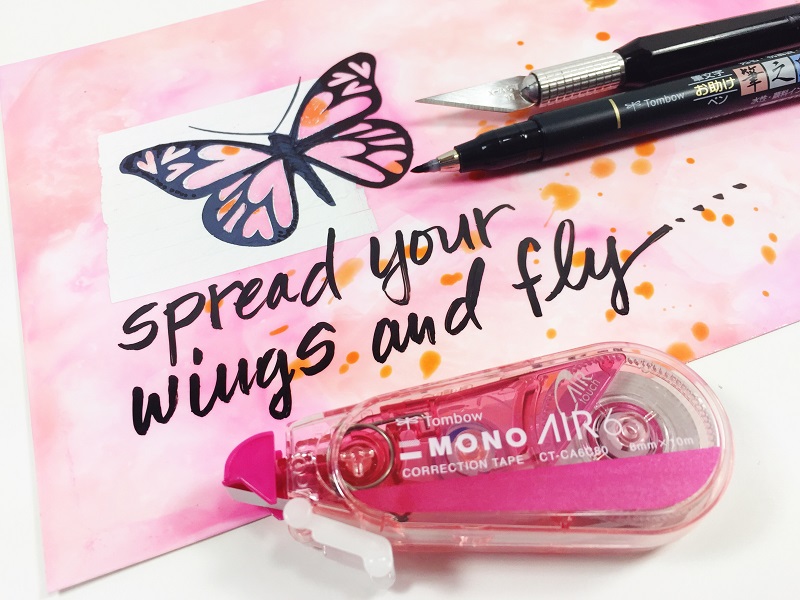
I created a few splash backgrounds on glossy photo paper, added a square with the Tombow MONO Air Correction Tape and then stamped half on and half off the correction tape. Once the ink has set, gently scrape away the correction tape from the inside of the butterfly’s wings to expose the colored background. Add a handwritten quote with the Tombow Fudenosuke Soft Tip Brush Pen. I LOVED the way this turned out, and don’t tell the other techniques, but this one is my FAVORITE! See Jennie’s POST HERE on how to create a splash background with glossy photo paper.
Here is a close up of the butterfly. Did I mention that I love this technique? Love, LOVE, Love!
I hope you have enjoyed my 5 ways to use MONO Air Correction Tape in your Mixed Media and it has inspired you to create!
Now it is YOUR turn to share your MONO Air Correction Tape tips, tricks and techniques. Tag @TombowUSA on Instagram or Facebook using #TombowMONOAirCorrectionTape
Thanks for stopping by! -Beth
