Happy Thanksgiving friends! This is Smitha popping in today with a quick tutorial.
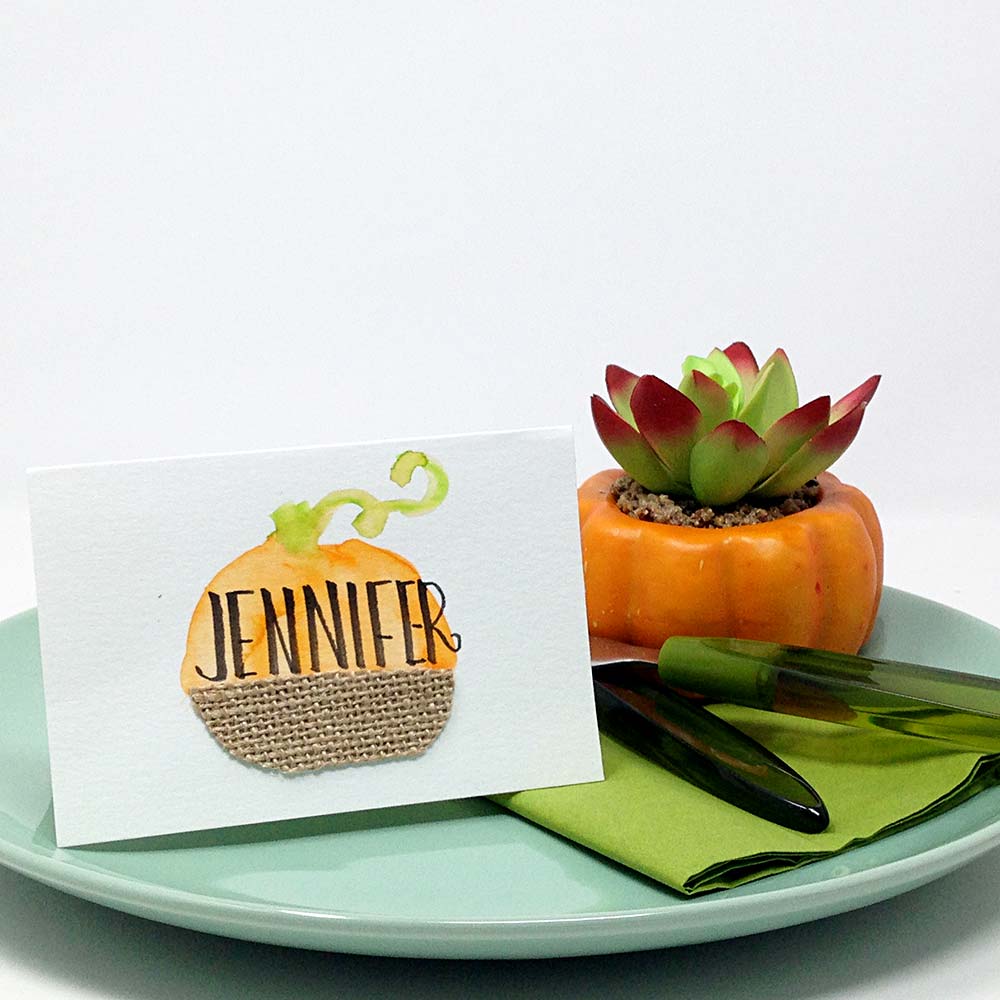
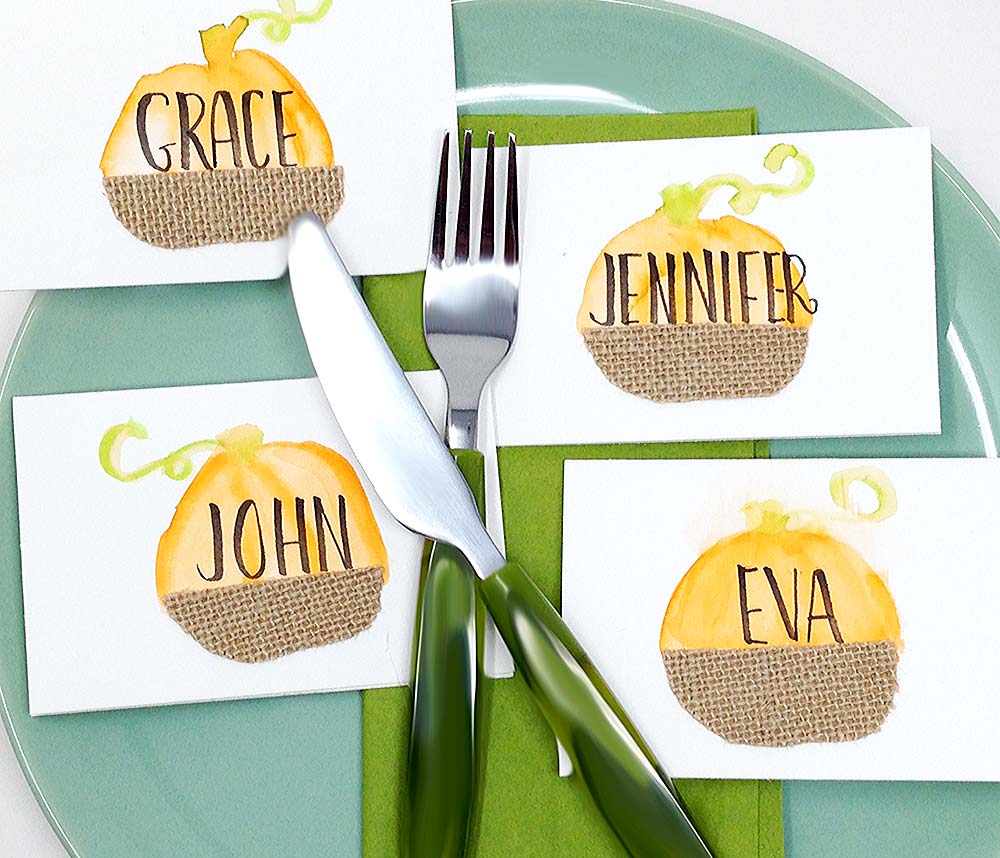
Whether you are planning a big Thanksgiving meal or an intimate Friendsgiving get together these DIY place cards will add a touch of handmade to your festivity!
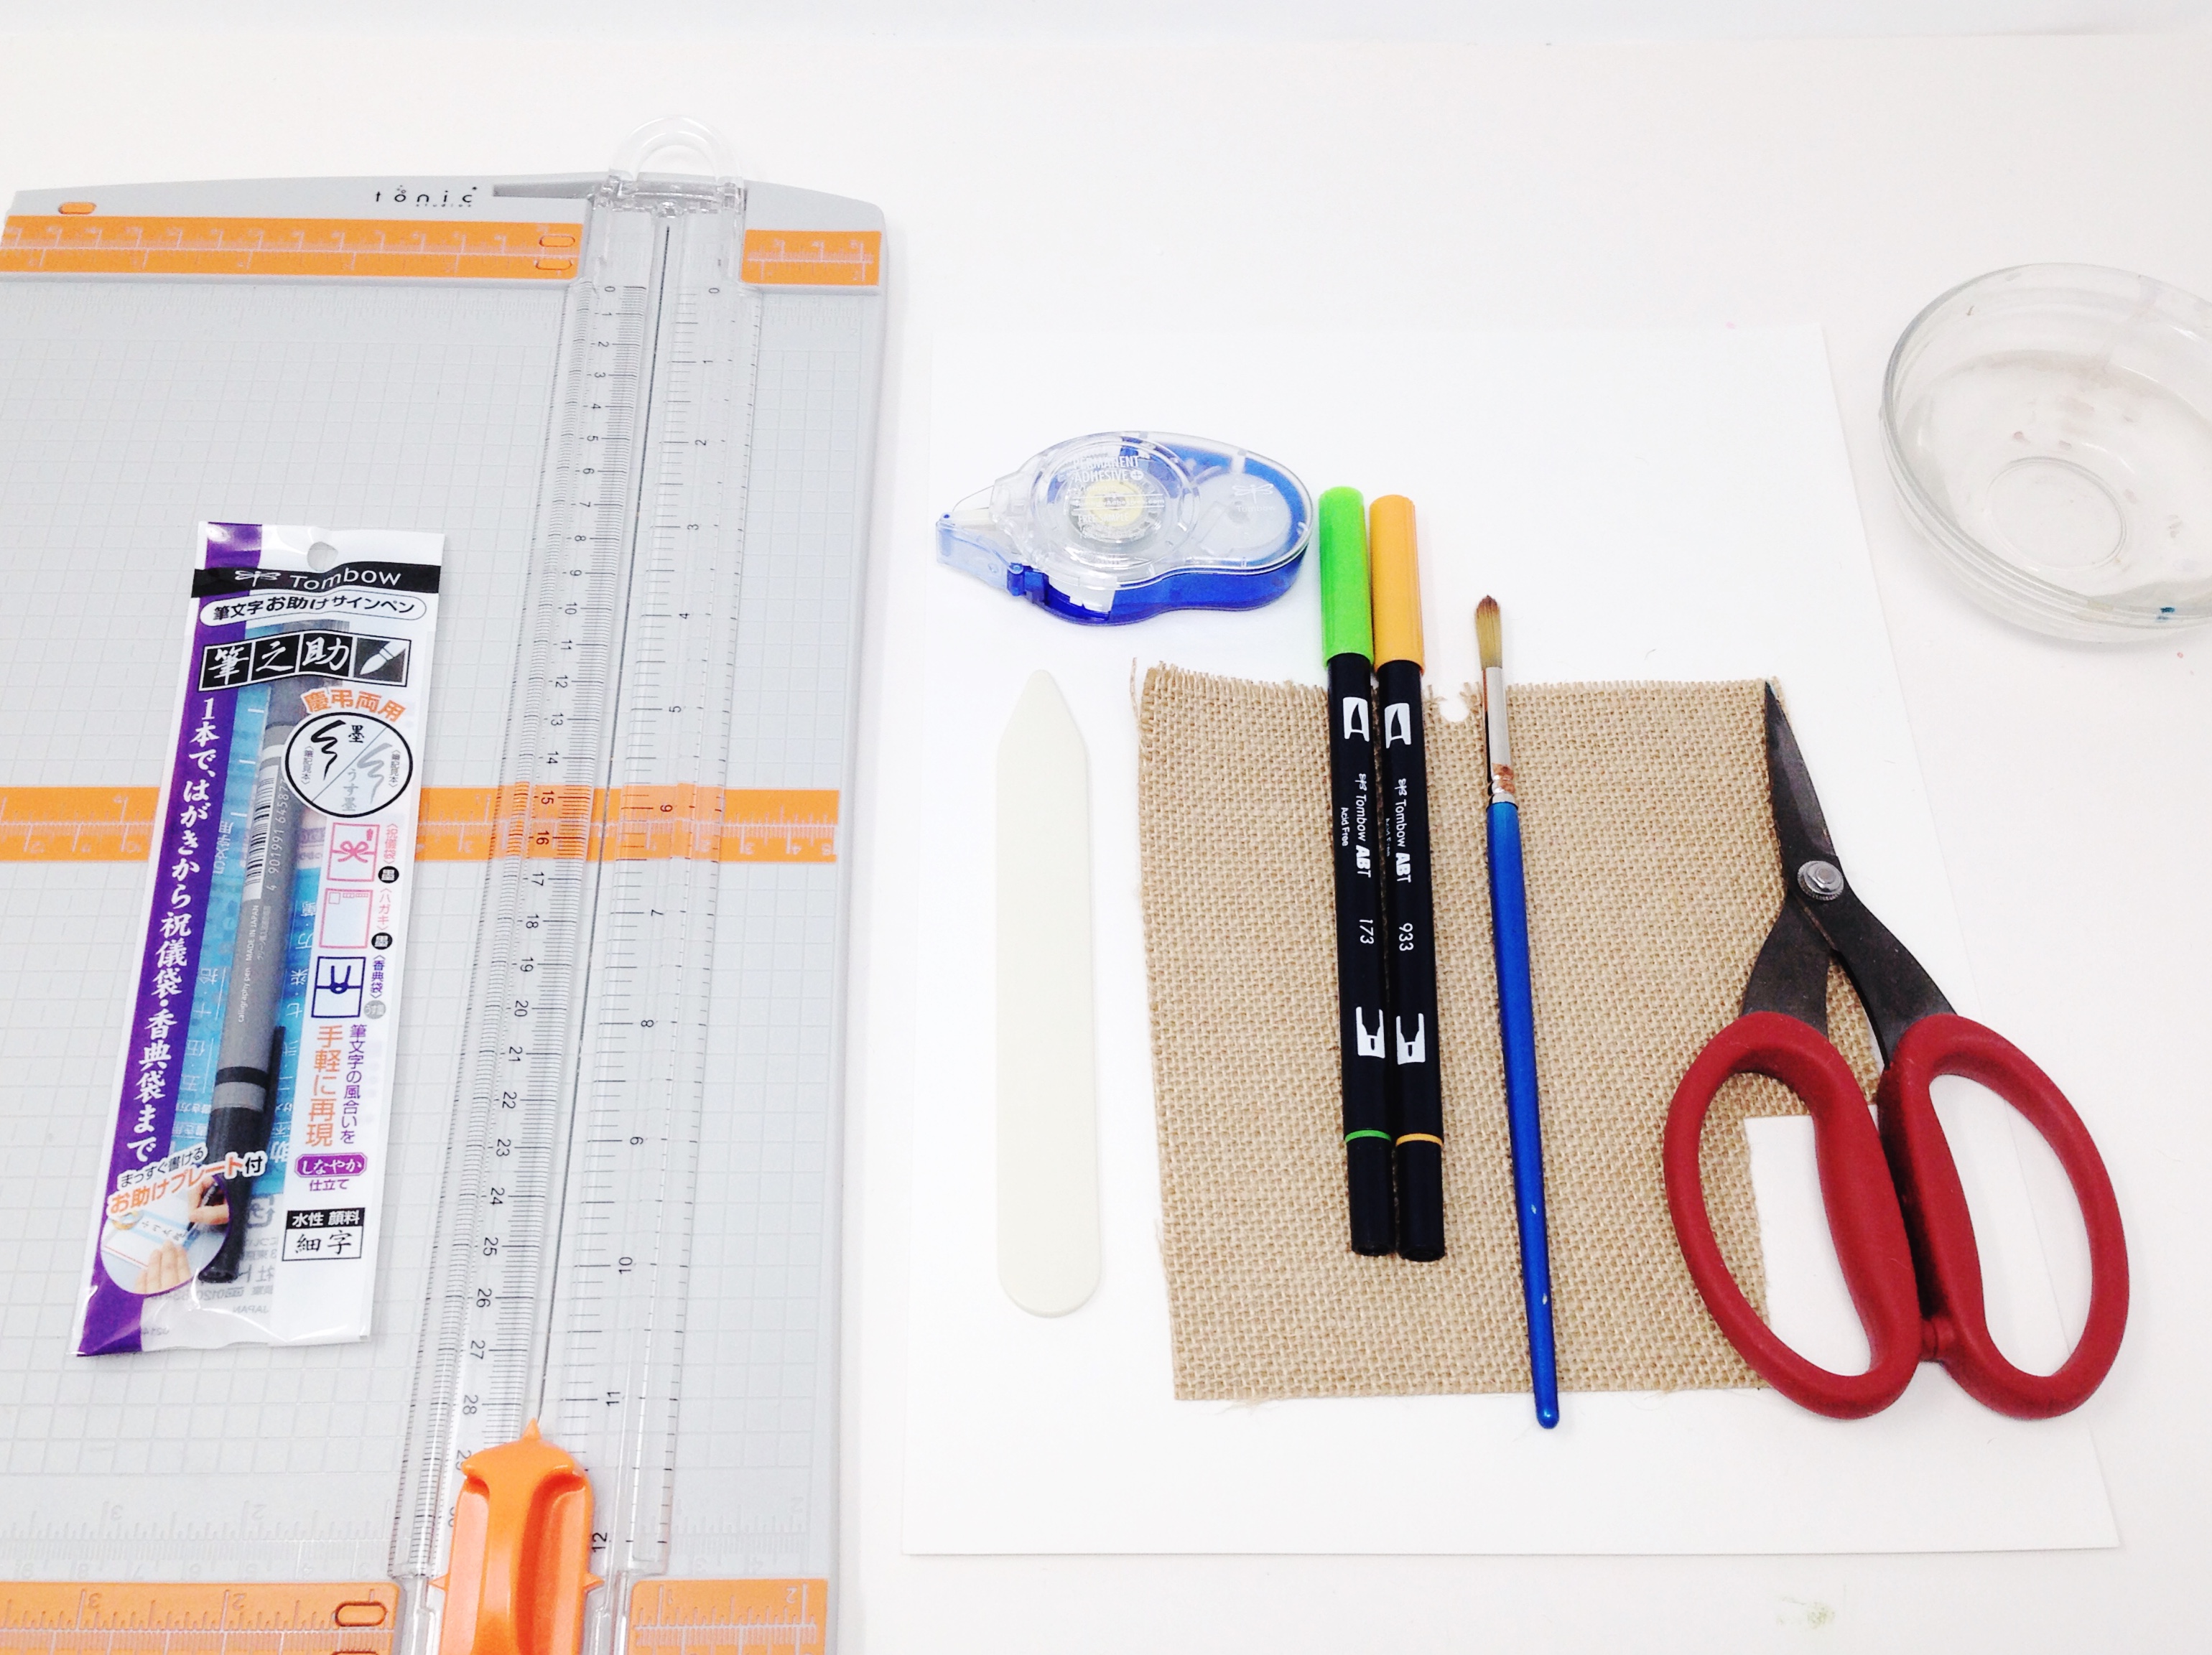
Supplies you need: A paper trimmer, watercolor paper, Tombow Dual Brush Pens, burlap, a pair of scissors, the Tombow Twin Tip Fudenosuke , the Tombow MONO Adhesive+ Permanent, a paint brush and water.
Below is the video tutorial I put together showing you how these place cards came together. Using my Tombow Dual Brush Pens to watercolor is one of my favorite things to do!
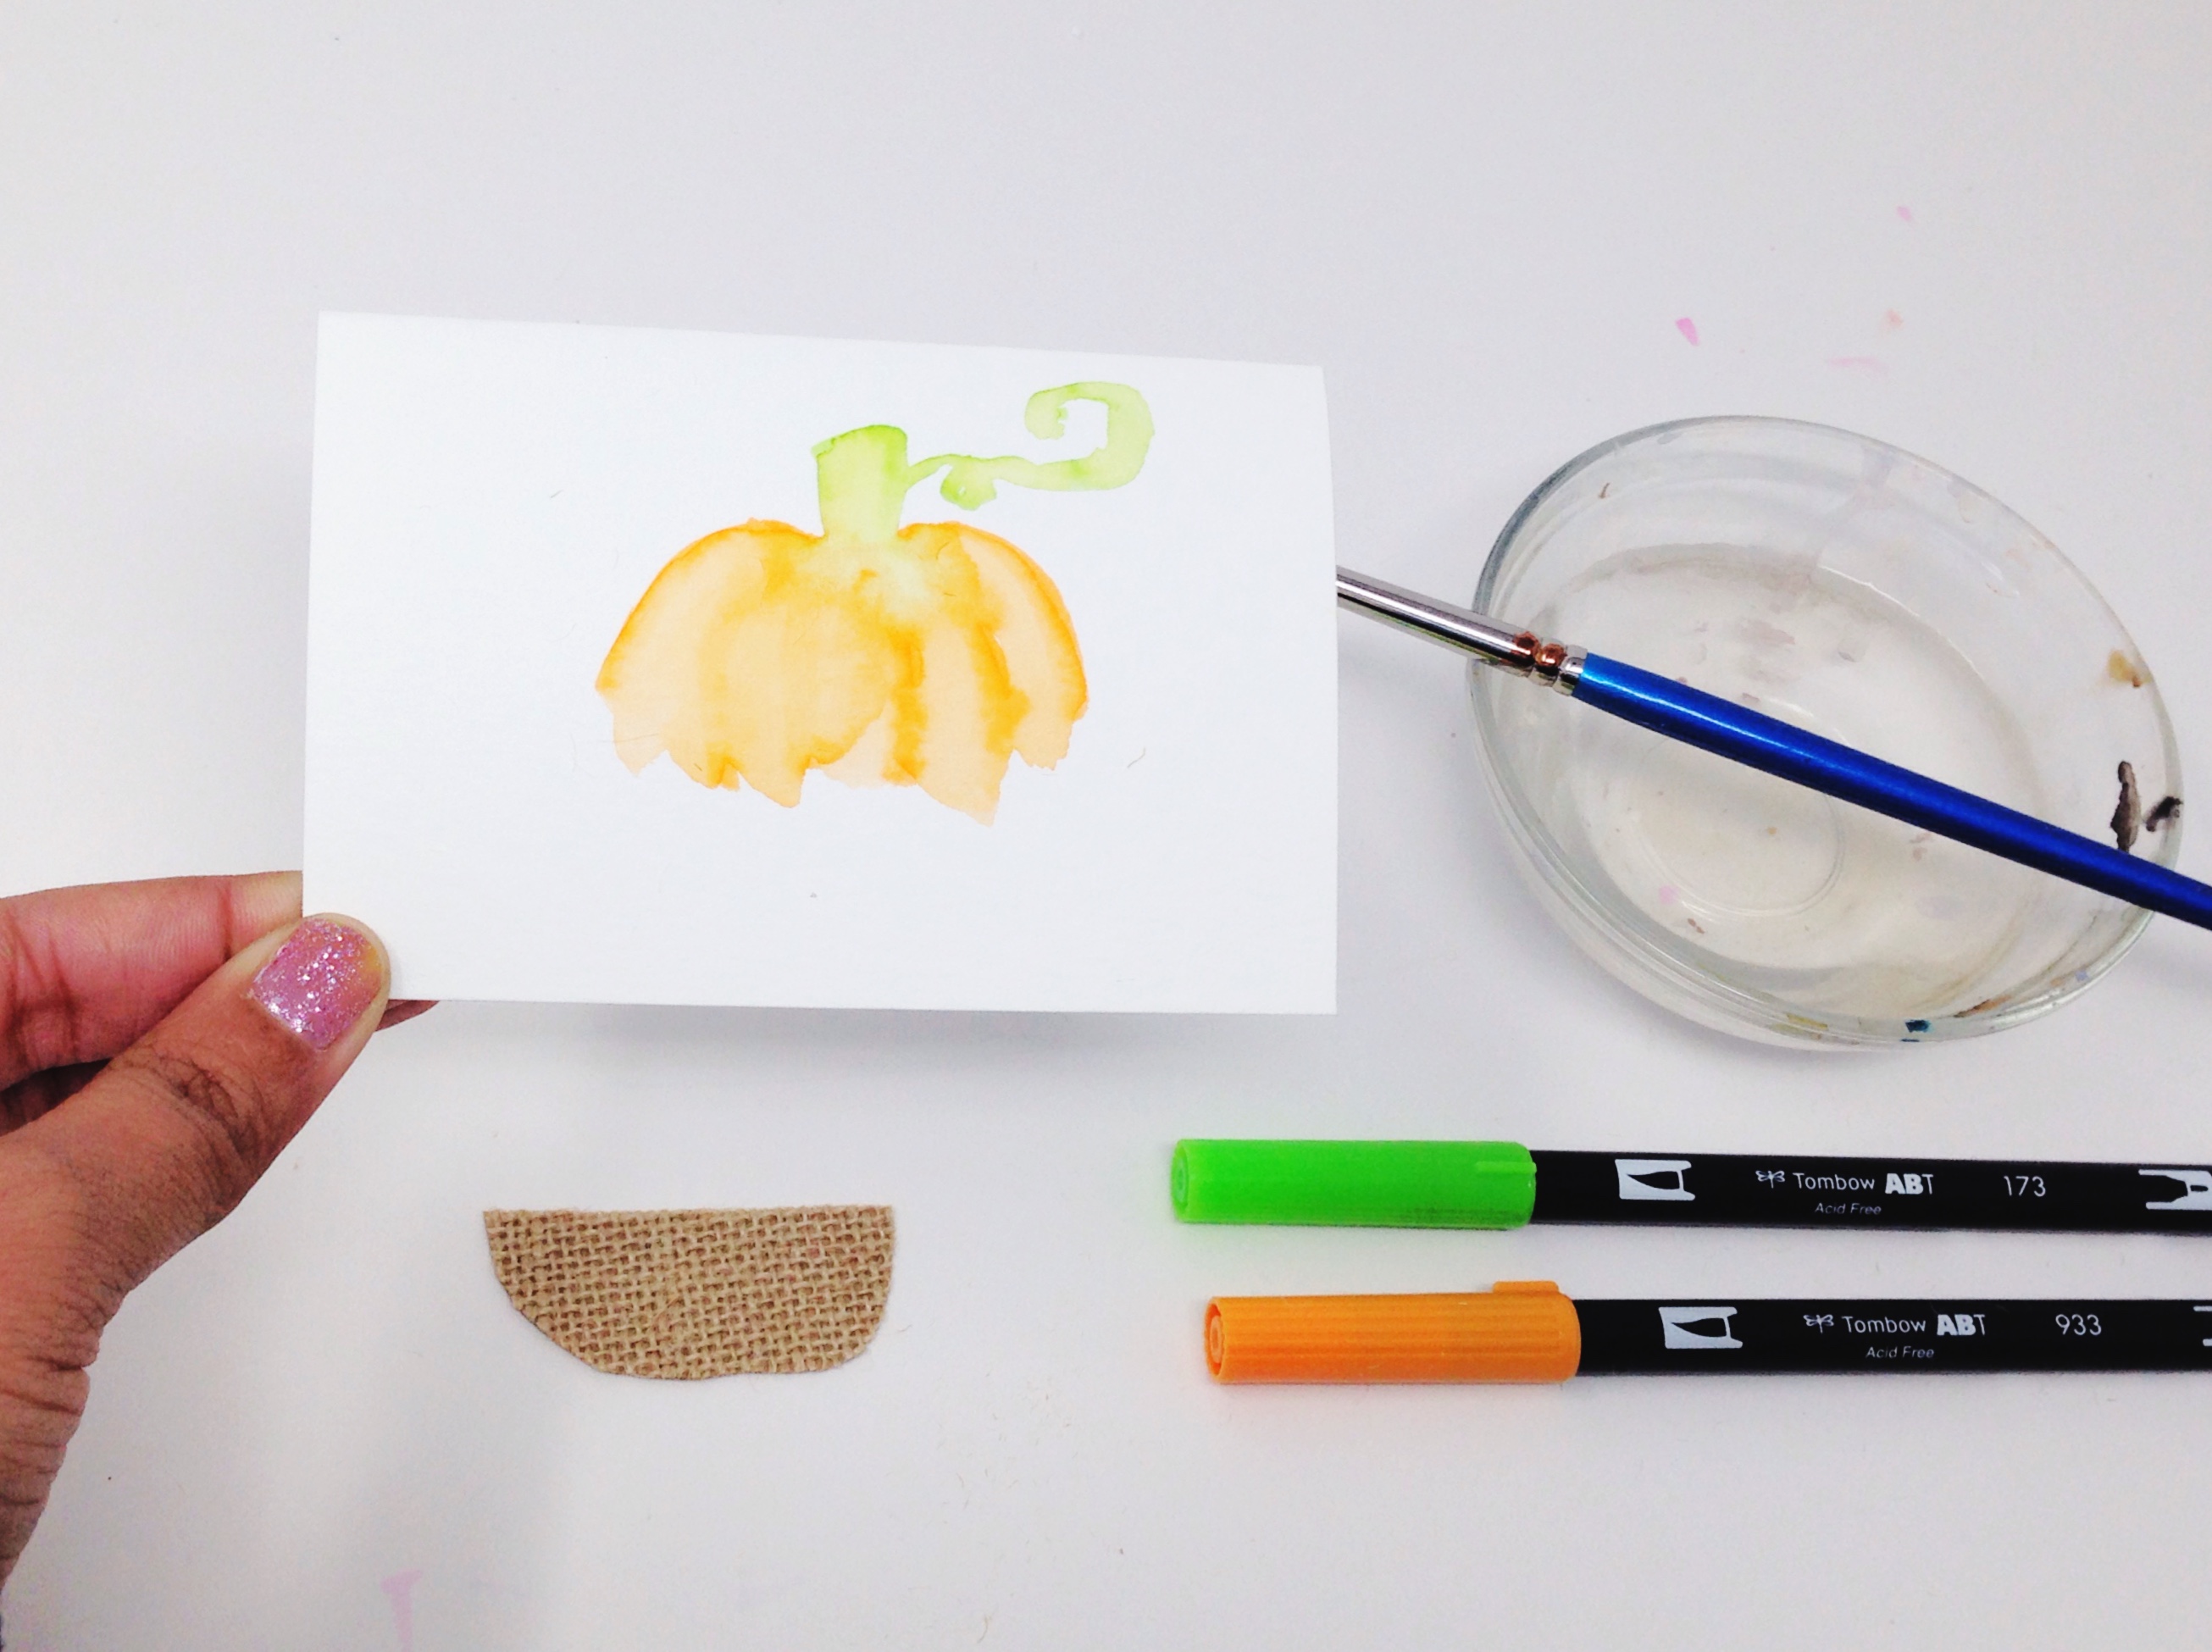
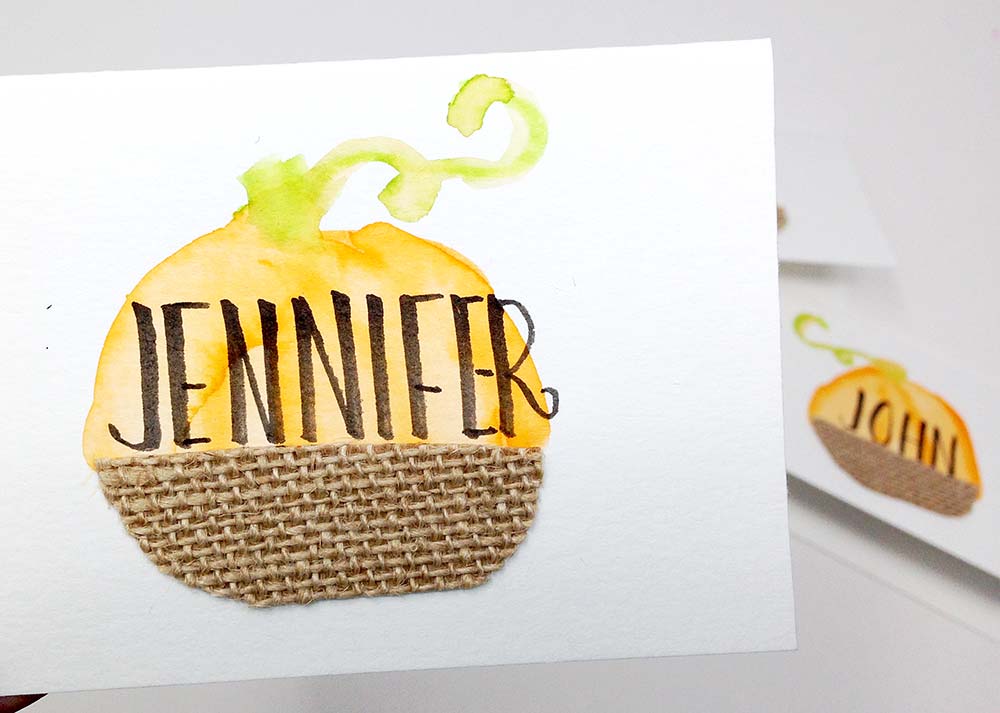
Start by drawing a pumpkin shape with the Dual Brush Pens and then painting over the lines with a damp paintbrush. These pens are water based and react with the water to give a soft watercolor look in just a few seconds.
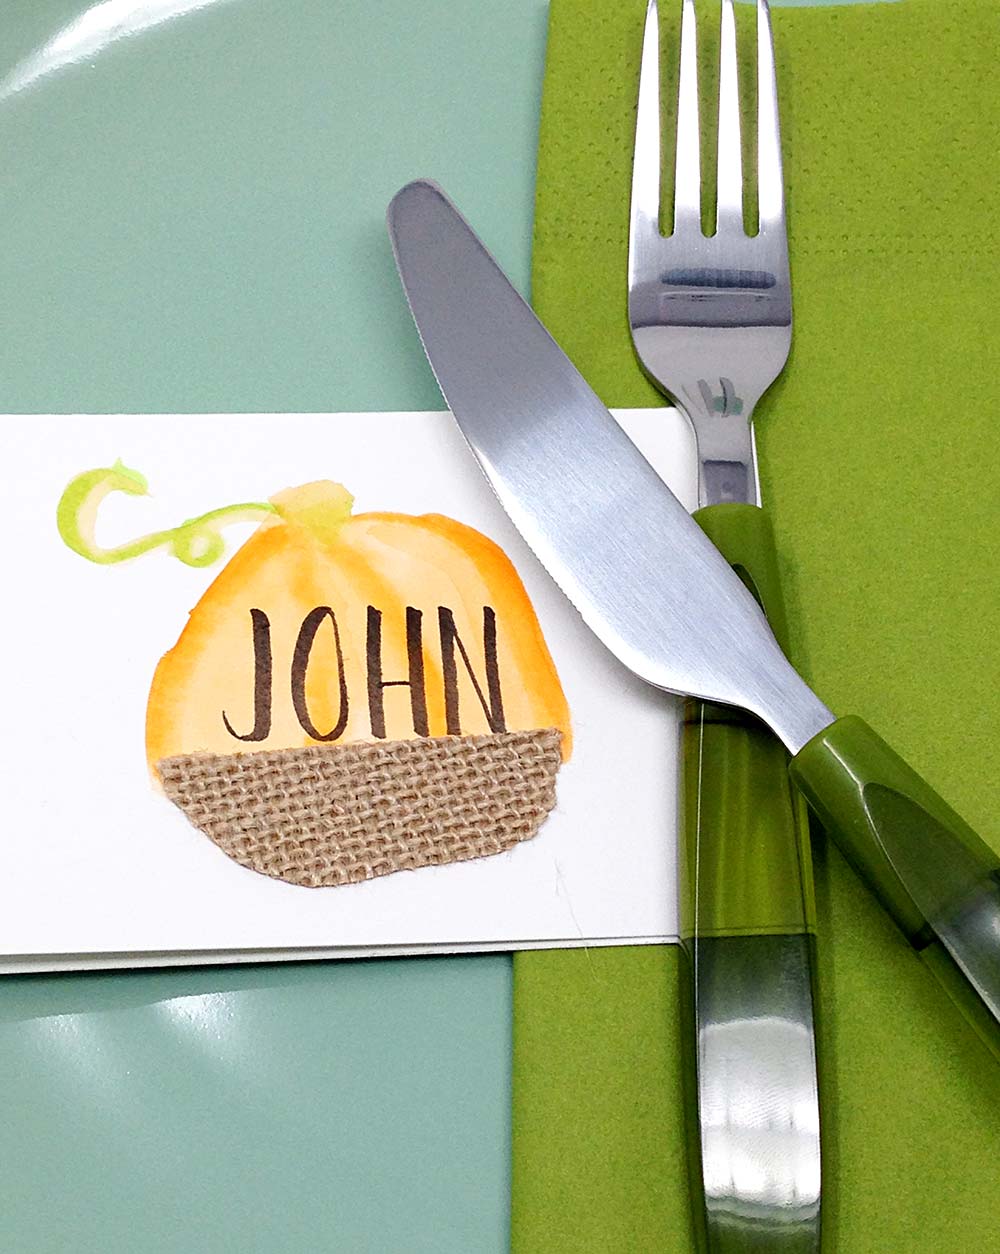
Cut the bottom shape of the pumpkin with burlap. I used a burlap paper here but you can use anything you have on you to bring some texture- gold foil, fabric or even felt.
I used the MoONO Adhesive+ Permanent to adhere the burlap paper to the cardstock. This tape goes down exactly where you press it on the paper and is great for cardmaking!
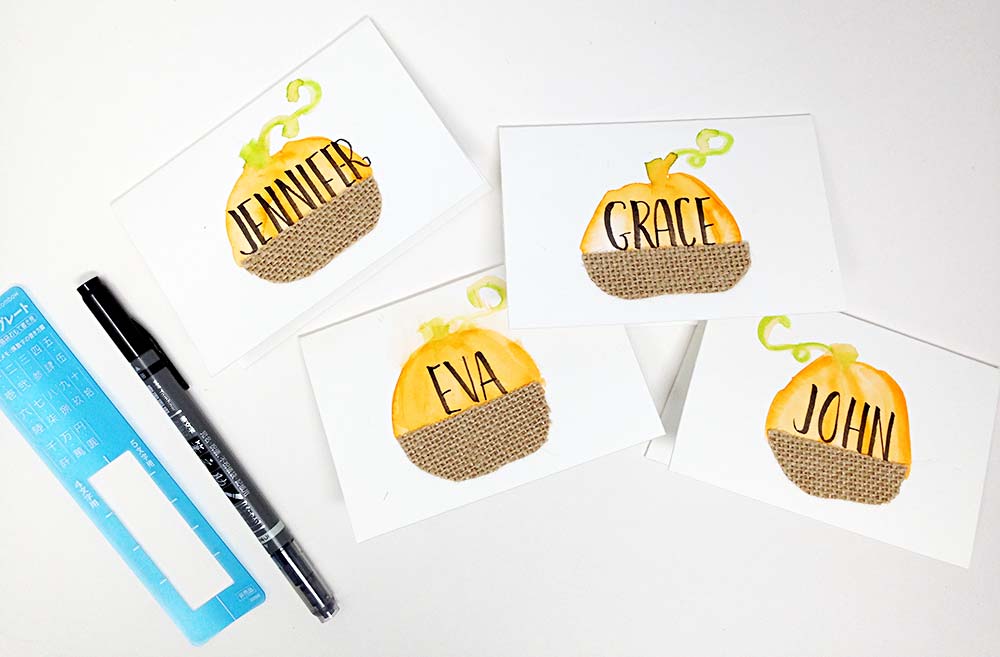
I lettered in the names onto these place cards with the Twin Tip Fudenosuke calligraphy pen. I used the lettering stencil guide that comes with the pen to ensure that all of my letters were the same height. This is such an easy way to letter beautifully.
I love the watery look these place cards have, they just the right touch of artsy but were super simple to make.
It took me about 15 minutes to make these 4 place cards today. We spend so much time cooking the perfect meal, it’s always great to add a handmade touch to the table decorations too!
Happy Crafting!
Smitha

Excellent tutorial and your handwriting is so beautiful. If you will be ever looking for a quicker solution for generating place cards templates with guest names printed on it, you might be interested in checking place card maker from https://placecards.online