Hi everyone, Phawnda Moore here guest posting today to share how to create travel thank you notes. Early in my career as a graphic designer and teacher, I became aware of how we can connect to nearly anyone with our art. Everyone loves to be recognized and see their name written beautifully on a thank you note. We can do that! And more than ever, in a world seeking kindness, I look for opportunities to create a little happiness for those I meet while traveling by giving them a handwritten thank you note.
The very people who make our vacations a success are those least thanked: hotel staff, housekeepers, restaurant servers, tour guides. So, inspired by colleagues and Tombow’s amazing products, I’ll share a few ideas with you today on how to create your own thank you notes while traveling.
Step 1:
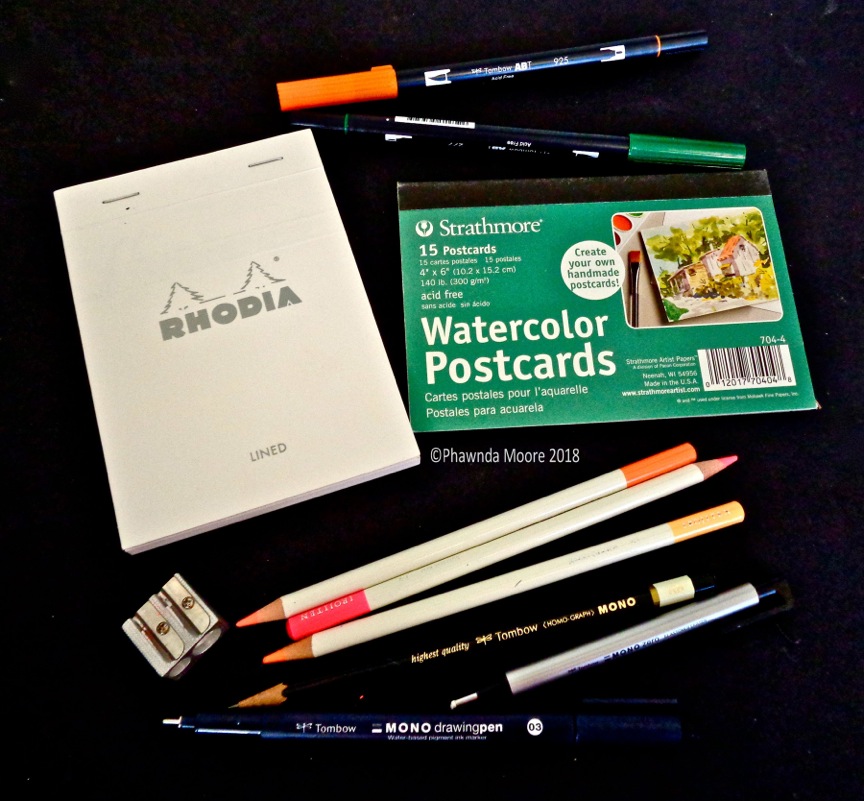
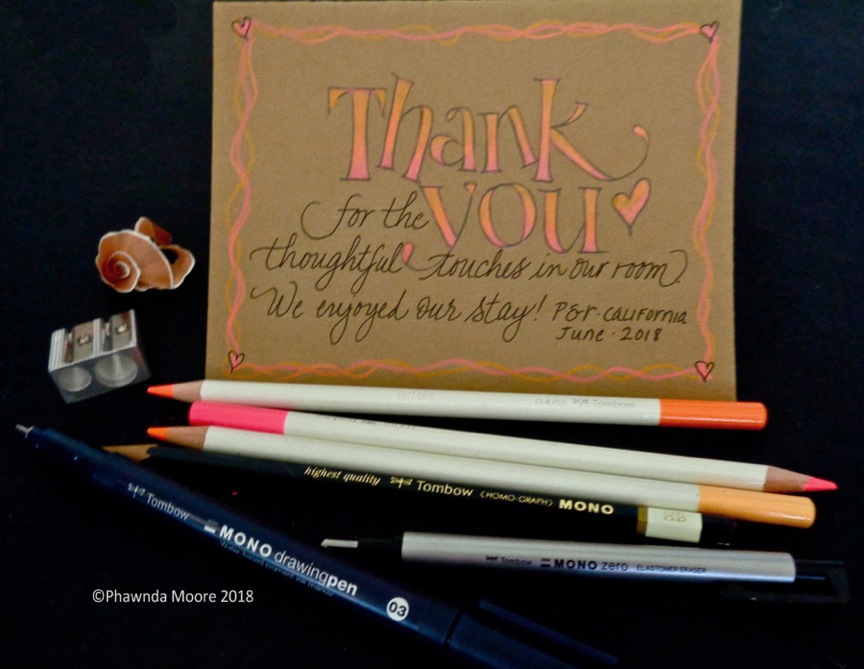
Pack the tools you need to create your thank you notes. My suitcase includes Tombow tools: at least one or two Dual Brush Pens, a MONO Drawing Pencil, an eraser, a pencil sharpener, a MONO Drawing Pen and a few Irojiten Colored Pencils, and paper. No envelopes or stamps necessary.
Step 2:
Prep can also include creating or bringing cards that are ready-to-go. This can be an opportunity to explore your stash and try products you weren’t sure where or how to use. For me, this was neon Irojiten Colored Pencils. I discovered they look wonderful on Stonehenge Kraft paper! Of course, you can also use white cardstock, even small scraps, as a flat card.
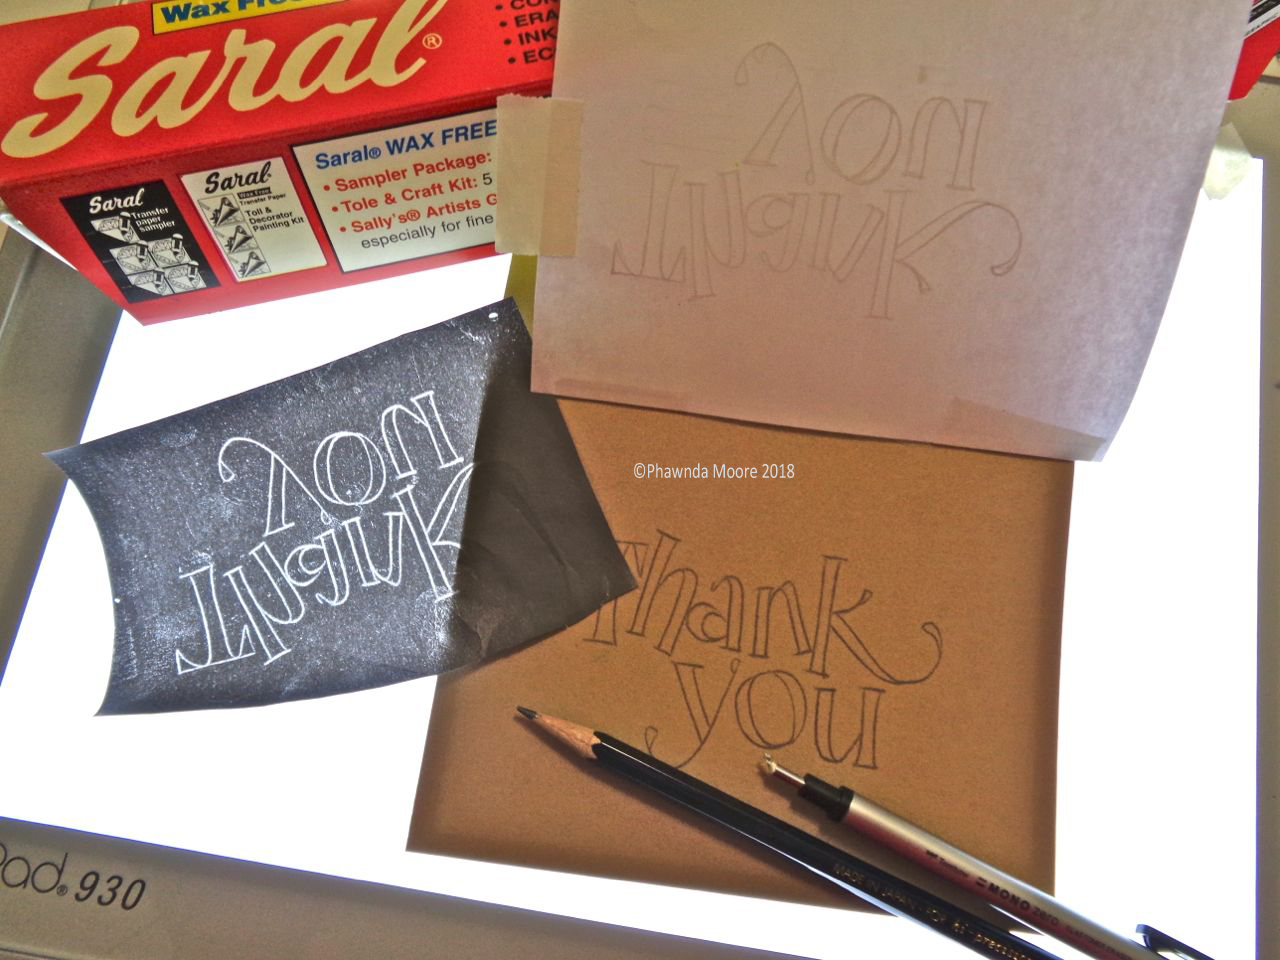
For this thank you note card, I drew Versal letters to fit. Because kraft or any darker paper is hard to see through, Saral transfer paper will transfer your design nicely. Just place the Saral (middle layer, grey paper, grey side down) between your hand-drawn letters (top layer, white paper, your design) and the final paper, (bottom layer, tan, your card). Then lightly trace your letters from the top, through the 3 sheets. A light touch is important for 2 reasons: it will minimize depressing the final page should you need to make corrections, and also preserve the area to accept colored pencil colors. Always use a light touch!
Step 3:
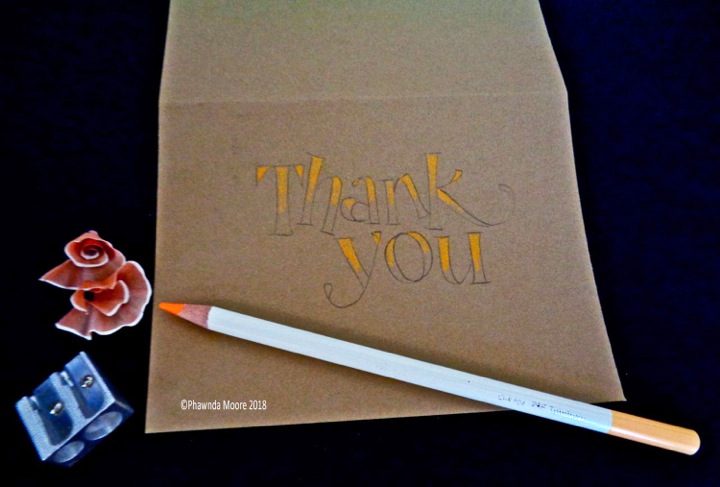
Choose a maximum of 3 Irojiten Colored Pencils. It’s tempting to round up more, but single families of colors, especially neons, make for a stronger design. For this thank you note I chose the warmer palette: Sunset Orange, Equatorial Orange, and Surprise Red. Begin with the lightest color at the TOP of your letters, using a light touch. The colors will blend better if the paper fibers aren’t crushed down.
Step 4:
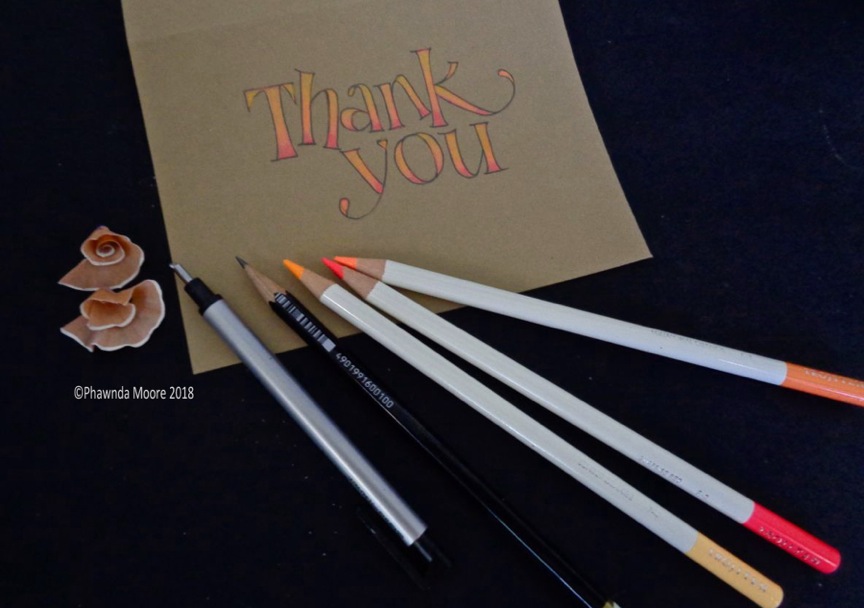
Then add the other two colors in harmony, using them analogously, blending carefully. Keep your pencils as sharp as possible, and notice that the shavings form a little flower shape!
Step 5:
Enhance the outline with an HB pencil. You could also use a MONO Drawing Pen, but it makes correcting more difficult. With the pencil, use the Tombow MONO Zero Eraser to rescue you!
Step 6:
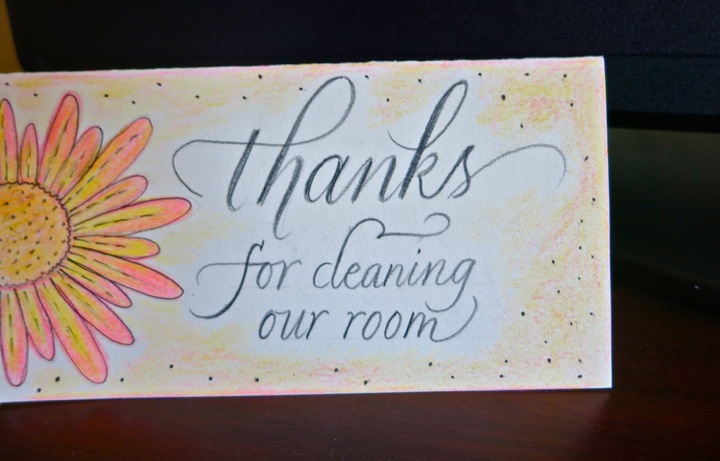
Assess the layout of your thank you note. Add a short but sweet message and perhaps, a border. Often, we don’t know someone’s name so just describe what it is they did for you. For this card, I adjusted the layout by adding a few hearts for balance.
You can also use faux calligraphy with a pencil and colored pencils, using warm or cool colors. This thank you note was done on a scrap and is quicker!
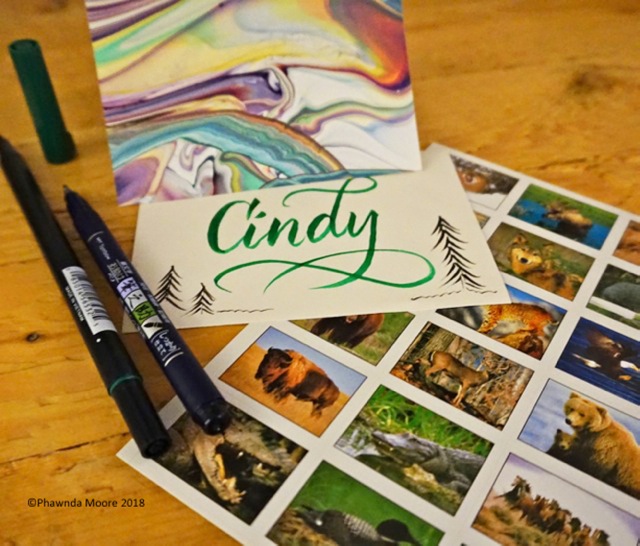
And of course, brush pens work well, too (and are easiest of all!). First, I practiced my layout on the Rhodia pad. This card was for our tour guide, so I left space on the inside for everyone to sign. I’d packed a marbled paper card for our trip to Yellowstone, and suddenly it looked like the water and rivers there. The stickers were a souvenir at a gift store and were a nice touch for the back of the envelope. I chose the bison we’d seen every day. I’ve also used the Rhodia pad alone for a quick thank you note.
I always wish I could see the face of my recipient when they open their thank you note, but the important thing is that it’s an unexpected surprise to their day, and I hope, brings a smile to their face.
I hope this is helpful for your traveling experiences!
I teach in Northern California and have just updated my fall schedule. Please visit my Facebook page for tips and events! Thank you for stopping by and blessings on your travels!